Articles
How To Seal Paint On Furniture
Modified: September 1, 2024
Learn how to seal paint on furniture with our step-by-step guide. Protect and preserve the finish of your favorite pieces. Perfect for all types of furniture!
(Many of the links in this article redirect to a specific reviewed product. Your purchase of these products through affiliate links helps to generate commission for Storables.com, at no extra cost. Learn more)
Introduction
When it comes to refurbishing furniture, painting is a popular and effective way to give new life to old pieces. Not only does it allow you to rejuvenate worn-out furniture, but it also gives you the creative freedom to express your personal style and add a unique touch to your home décor. However, to ensure that your painted furniture lasts and maintains its beauty over time, it’s crucial to properly seal the paint.
In this article, we will guide you through the process of sealing paint on furniture. Whether you have just finished painting a coffee table, a dresser, or a set of chairs, following these steps will help protect the paint from chipping, scratching, and fading, making your newly painted furniture more durable and long-lasting.
Before we jump into the steps, let’s briefly explain why sealing paint on furniture is so important. Paint seals not only add an extra layer of protection, but they also enhance the overall finish. They act as a barrier against moisture, dirt, stains, and daily wear and tear, ensuring that your furniture retains its color vibrancy and smoothness for years to come.
Additionally, sealing paint on furniture can also provide a subtle sheen or gloss, adding depth and richness to the final result. Depending on your preference, you can choose different types of sealers, such as polyurethane, wax, or varnish, each with its unique benefits and finishes.
Now that we understand the significance of sealing paint on furniture, let’s dive into the step-by-step process, starting with gathering the necessary materials.
Key Takeaways:
- Properly sealing painted furniture is essential for longevity, durability, and aesthetic appeal. It protects against chips, scratches, and fading, while enhancing the overall finish and adding a personalized touch to home décor.
- Choosing the right type of paint and sealer is crucial for achieving the desired outcome. Each type offers unique benefits and finishes, so following manufacturer’s instructions is key for proper application and usage.
Read more: How To Seal Outdoor Furniture
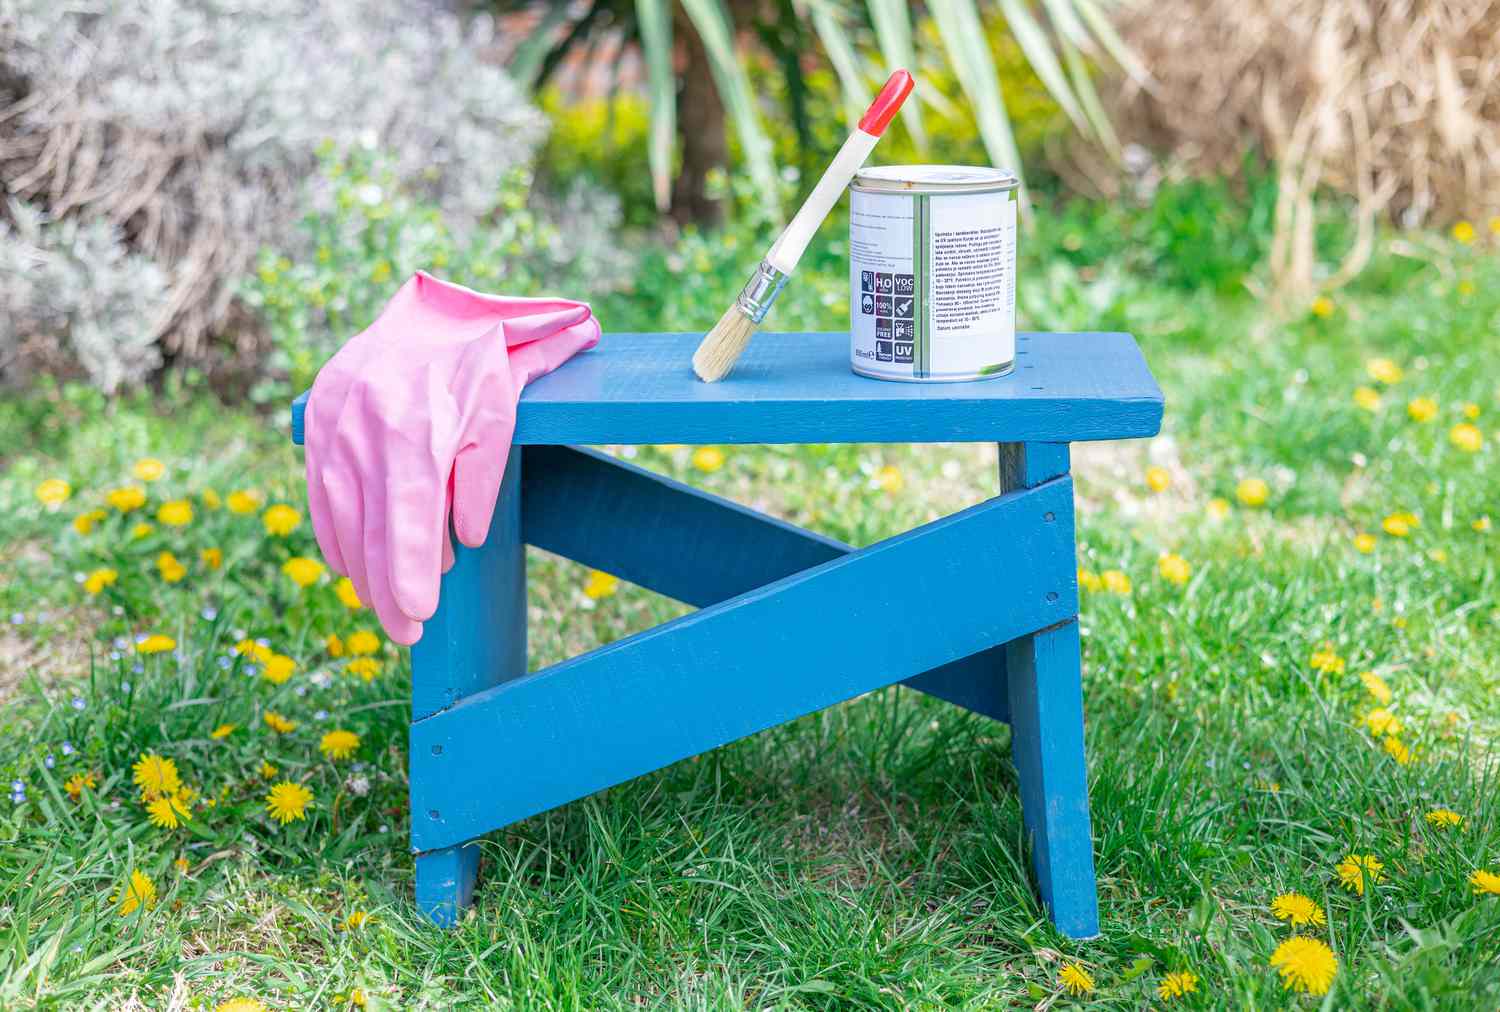
Step 1: Gather Materials
Before you begin sealing the paint on your furniture, it’s essential to gather all the necessary materials. Having everything prepared in advance will make the process smoother and more efficient.
Here’s a list of items you’ll need:
- Clean cloth or sponge
- Mild detergent or cleaner
- Sandpaper (various grits, such as coarse and fine)
- Paintbrush or foam roller
- Sealer (polyurethane, wax, or varnish)
- Stir stick
- Protective gloves
- Drop cloth or newspaper
- Painter’s tape (optional)
Ensure that you have all the materials ready before you start the process. It is recommended to choose a sealer that is compatible with the type of paint you used to ensure proper adhesion and longevity.
If you’re working indoors, make sure the area is well-ventilated to prevent the buildup of fumes. If possible, open windows and doors or use fans to improve air circulation during the sealing process.
Once you have gathered all the necessary materials, move on to the next step: preparing the furniture for sealing.
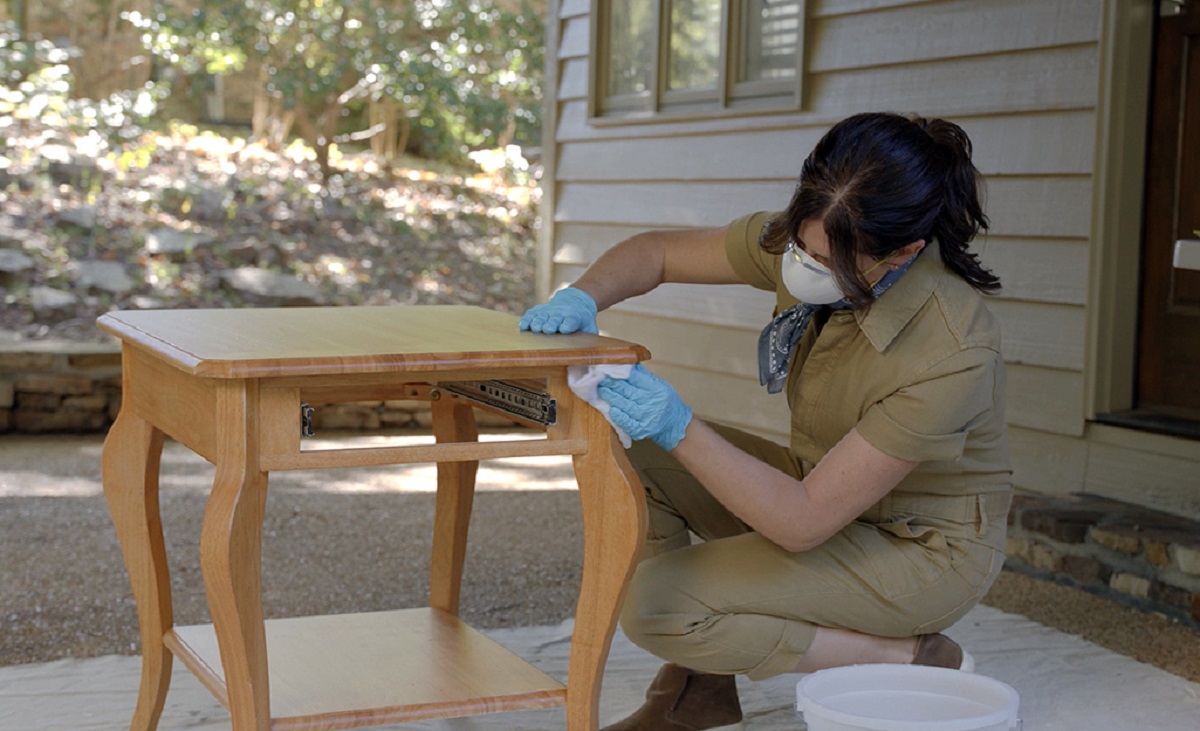
Step 2: Prepare the Furniture
Properly preparing your furniture before applying a sealer is vital for achieving a smooth and flawless finish. This step involves cleaning the surface, removing any existing paint or varnish, and ensuring that it is free of dust and debris.
Here’s what you need to do:
- Start by dusting off the furniture using a clean cloth or sponge. This will remove any loose dirt or particles from the surface.
- If there are any stains or build-up on the furniture, use a mild detergent or cleaner diluted in water to gently scrub the surface. Be sure to follow the manufacturer’s instructions for the appropriate dilution ratio.
- For stubborn stains or grease, you may need to use a stronger cleaner or degreaser. Again, ensure that you read and follow the manufacturer’s guidelines for proper usage.
- Rinse the furniture with clean water to remove any residue from the cleaning process.
- Allow the furniture to dry completely before proceeding to the next step. This step is crucial, as applying sealer on a damp surface can lead to poor adhesion and uneven results.
- If there is existing paint or varnish on the furniture that you want to remove, you can use sandpaper to strip it off. Start with a coarse-grit sandpaper to remove the bulk of the existing finish and then switch to a finer-grit sandpaper for a smoother surface.
- Be sure to sand in the direction of the grain to avoid scratches. Take your time and work methodically to ensure an even surface.
- Once you have stripped off the old finish, wipe away any sanding dust with a clean cloth or sponge.
By properly preparing the furniture, you create a clean canvas for the sealer to adhere to, resulting in a more durable and flawless finish. Now that the furniture is clean and free of any residue or old paint, it’s time to move on to the next step: priming the surface.
Step 3: Prime the Surface
Priming the surface of your furniture is an important step in the paint sealing process. Primers create a smooth and even base for the paint to adhere to, improving its bond and durability. They also seal the surface, preventing any stains or discoloration from bleeding through the topcoat.
Here’s how to prime the surface:
- Choose a primer that is suitable for the type of paint you’ll be using. There are primers specifically formulated for different surfaces, such as wood, metal, or laminate.
- Stir the primer thoroughly with a stir stick to ensure even consistency.
- Using a paintbrush or foam roller, apply a thin and even coat of primer to the furniture. Work in small sections and make sure to cover all surfaces, including any nooks and crevices.
- Follow the manufacturer’s instructions regarding drying time. Most primers require at least a couple of hours to dry fully.
- Once the primer is dry, lightly sand the surface with fine-grit sandpaper. This helps smooth out any imperfections and creates a better surface for the paint to adhere to.
- After sanding, remove any dust or debris with a clean cloth or sponge.
Priming the surface provides a solid foundation for the paint and ensures better adhesion and longevity. It also helps the paint color appear more vibrant and true to your desired shade.
Now that the surface is primed and ready, it’s time to move on to the exciting part: applying the paint!
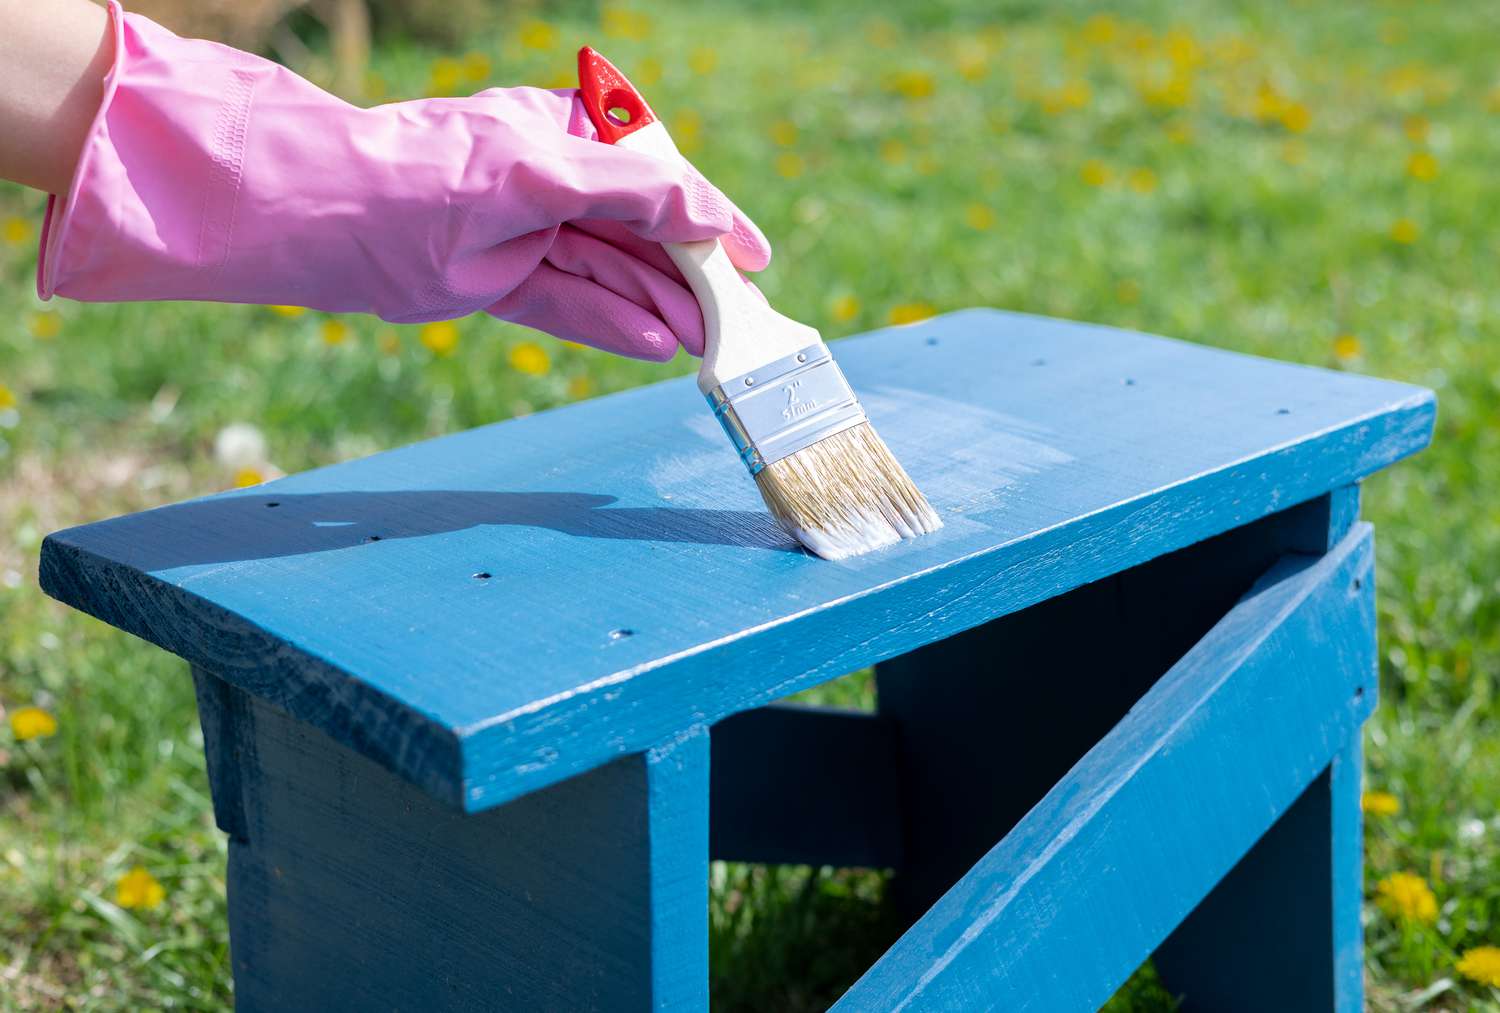
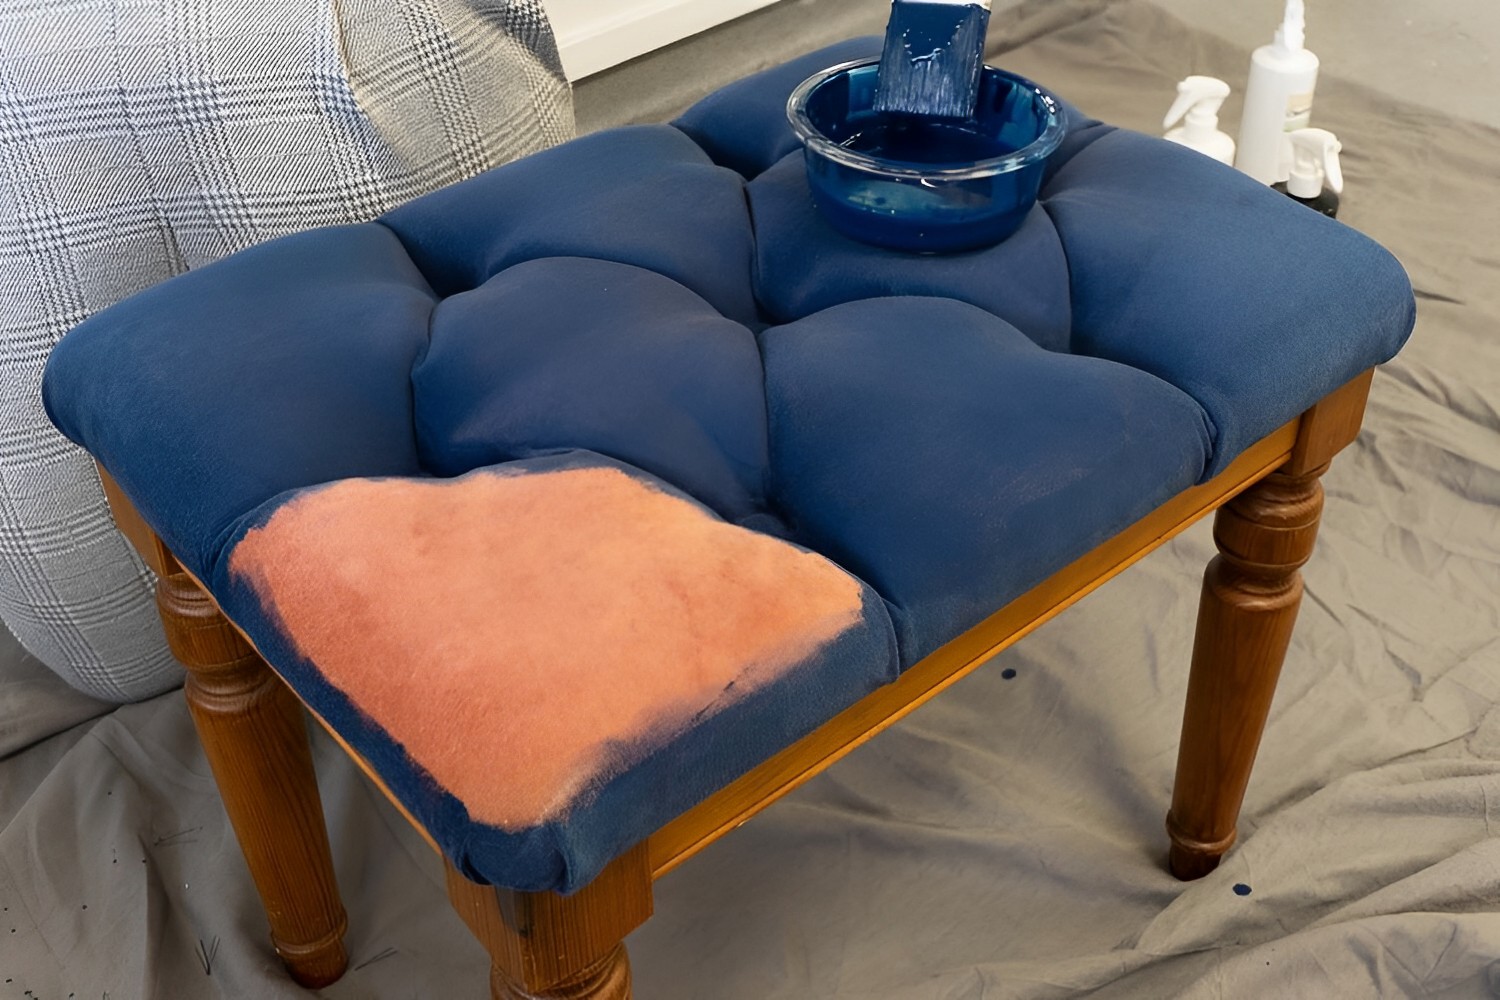
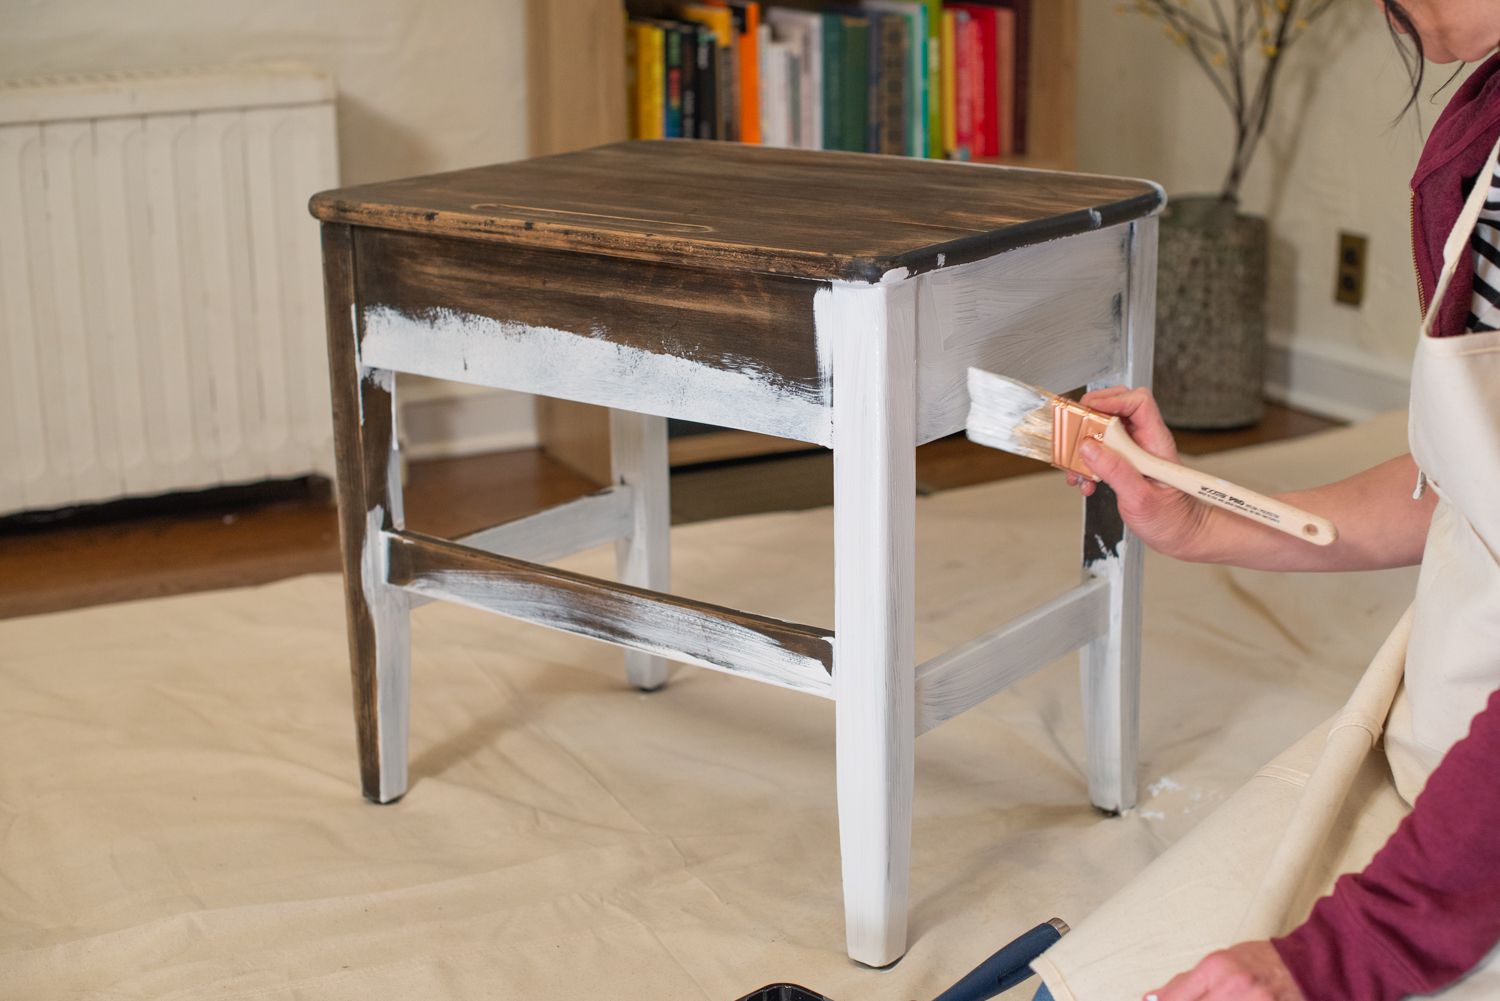
Step 4: Apply the Paint
Now that you have prepared the furniture and primed the surface, it’s time to apply the paint. This is where you get to showcase your creativity and transform your furniture into a personalized work of art.
Here’s how to apply the paint:
- Choose the type of paint that suits your project and desired finish. There are various options available, such as latex, chalk paint, or acrylic. Make sure to read the manufacturer’s instructions for proper usage and application.
- Stir the paint thoroughly with a stir stick to ensure an even consistency. If the paint is too thick, you can add a small amount of water to thin it out, but be careful not to make it too watery.
- Using a paintbrush or foam roller, apply the paint to the furniture in smooth and even strokes. Work in small sections and make sure to cover all surfaces, including any intricate details.
- Allow the first coat of paint to dry completely before applying a second or third coat. This is important to ensure good coverage and a solid color. Follow the manufacturer’s instructions for drying time between coats.
- If necessary, lightly sand the surface between coats to smooth out any imperfections. Remember to remove any sanding dust with a clean cloth or sponge before applying the next coat.
- Once you have achieved the desired color and coverage, allow the final coat of paint to dry fully.
Applying the paint requires patience and attention to detail. Taking your time and using smooth, even strokes will result in a professional-looking finish. Whether you prefer a bold and vibrant color or a soft and subtle hue, the paint allows you to express your personal style and breathe new life into your furniture.
With the paint applied and dry, it’s time to move on to the next step: allowing drying time before sealing the paint.
After painting furniture, use a clear polyurethane sealer to protect the paint and provide a durable finish. Apply multiple thin coats for best results.
Read more: How To Paint Furniture With Chalk Paint
Step 5: Allow Drying Time
After applying the final coat of paint, it’s important to allow sufficient drying time before moving on to the next step of sealing the paint. Patience is key during this stage to ensure that the paint fully cures and hardens, creating a durable and long-lasting finish.
Here’s how to properly allow drying time:
- Consult the paint manufacturer’s instructions for the recommended drying time. Different types of paint may require varying durations to fully dry and cure.
- Ensure that the furniture is placed in a well-ventilated area with optimal temperature and humidity conditions for drying. Avoid areas with high humidity, as it can prolong the drying process and potentially affect the final finish.
- Be mindful of any specific environmental factors that may impact the drying time, such as cold temperatures or high humidity levels.
- Avoid touching or moving the furniture during the drying period to prevent smudges or damages to the paint’s surface.
- Allow ample time for the paint to dry completely. Rushing this step can result in a compromised finish and the potential for the sealer not adhering properly.
The drying time may vary depending on the type of paint used, the thickness of the paint layers, and the environmental conditions. It’s better to err on the side of caution and give the paint more time to cure than rushing the process.
Once you are confident that the paint has fully dried and cured, you can move on to the next step: sanding the surface.
Step 6: Sand the Surface
After allowing the paint to dry and cure, it’s time to sand the surface of the furniture. Sanding helps smooth out any imperfections, enhance the adhesion of the sealer, and create a professional-looking finish.
Here’s how to sand the surface:
- Begin by selecting a fine-grit sandpaper, typically around 220 to 320 grit. The goal is to create a smooth surface without removing too much paint.
- Lightly sand the entire surface of the furniture, following the wood grain or the direction of the brush strokes. This helps to level out any raised areas, brush marks, or drips.
- Be gentle and avoid applying too much pressure while sanding. The goal is to create a smooth and even surface, not to remove all the paint.
- Periodically wipe away the sanding dust with a clean cloth or sponge to assess the smoothness of the surface. This will also help you identify any areas that may require additional sanding.
- If there are areas where the paint has chipped or cracked, gently sand those areas until they are smooth and blend seamlessly with the rest of the surface.
- After sanding, use a clean cloth or sponge to remove any residual dust from the surface. This is crucial to ensure proper adhesion of the sealer.
By sanding the surface, you create a smooth and flawless base for the sealer, resulting in a professional-looking finish. Sanding also helps the sealer adhere better to the paint, ensuring its longevity and durability.
With the surface now smooth and dust-free, it’s time to move on to the final step: applying the sealer to protect and enhance the painted furniture.
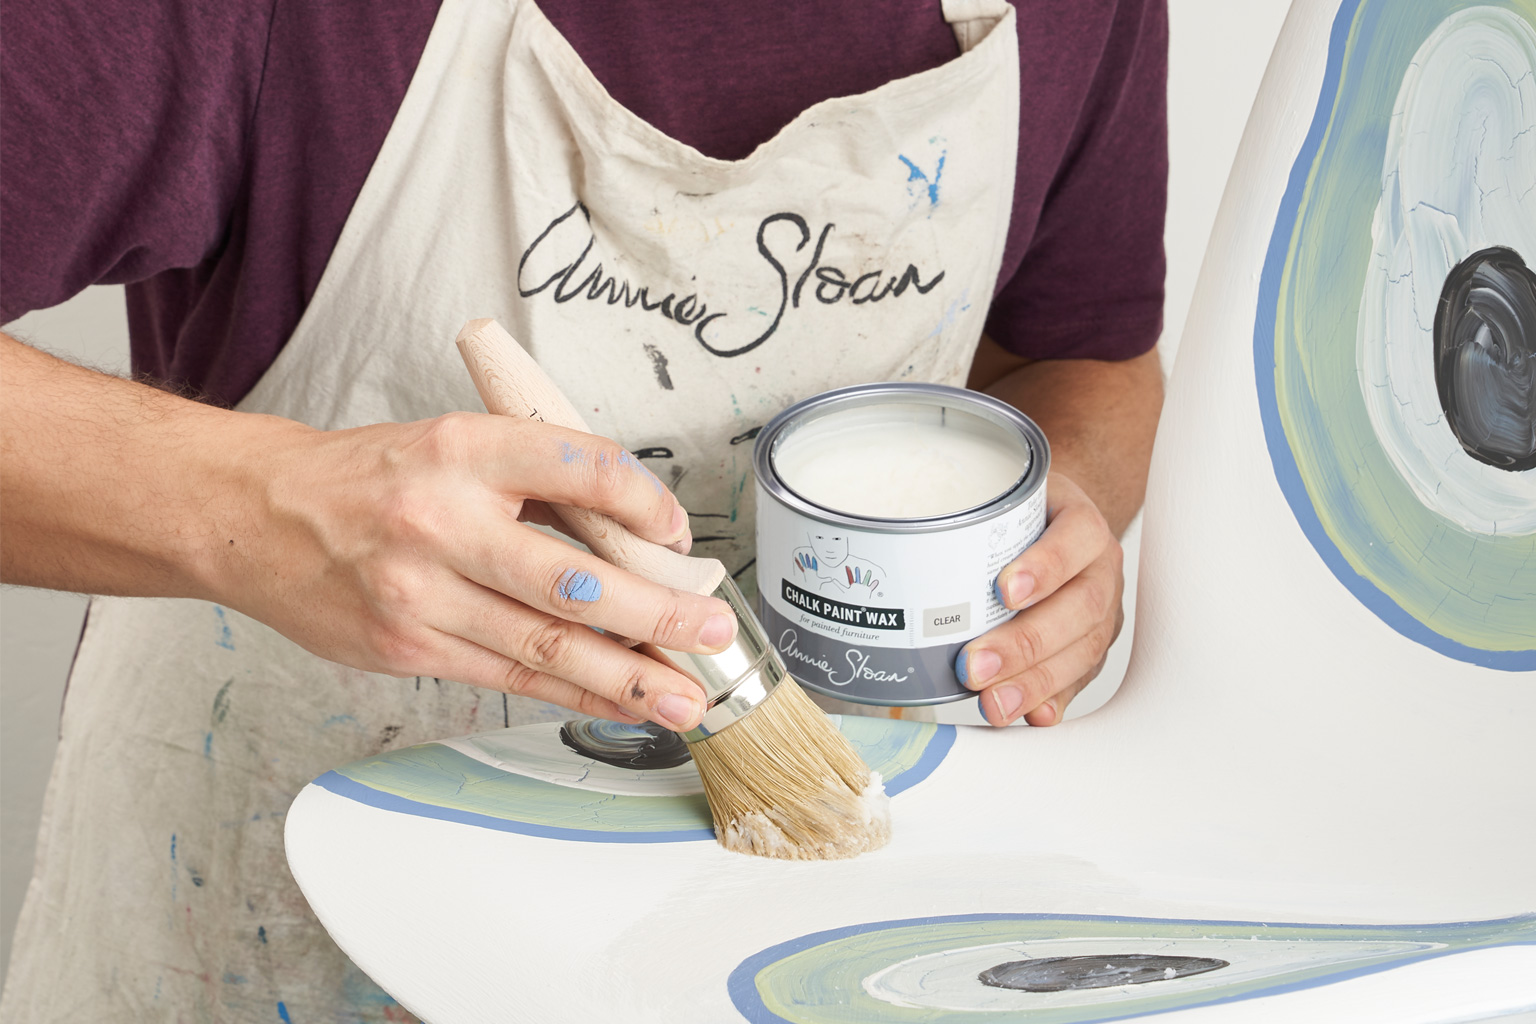
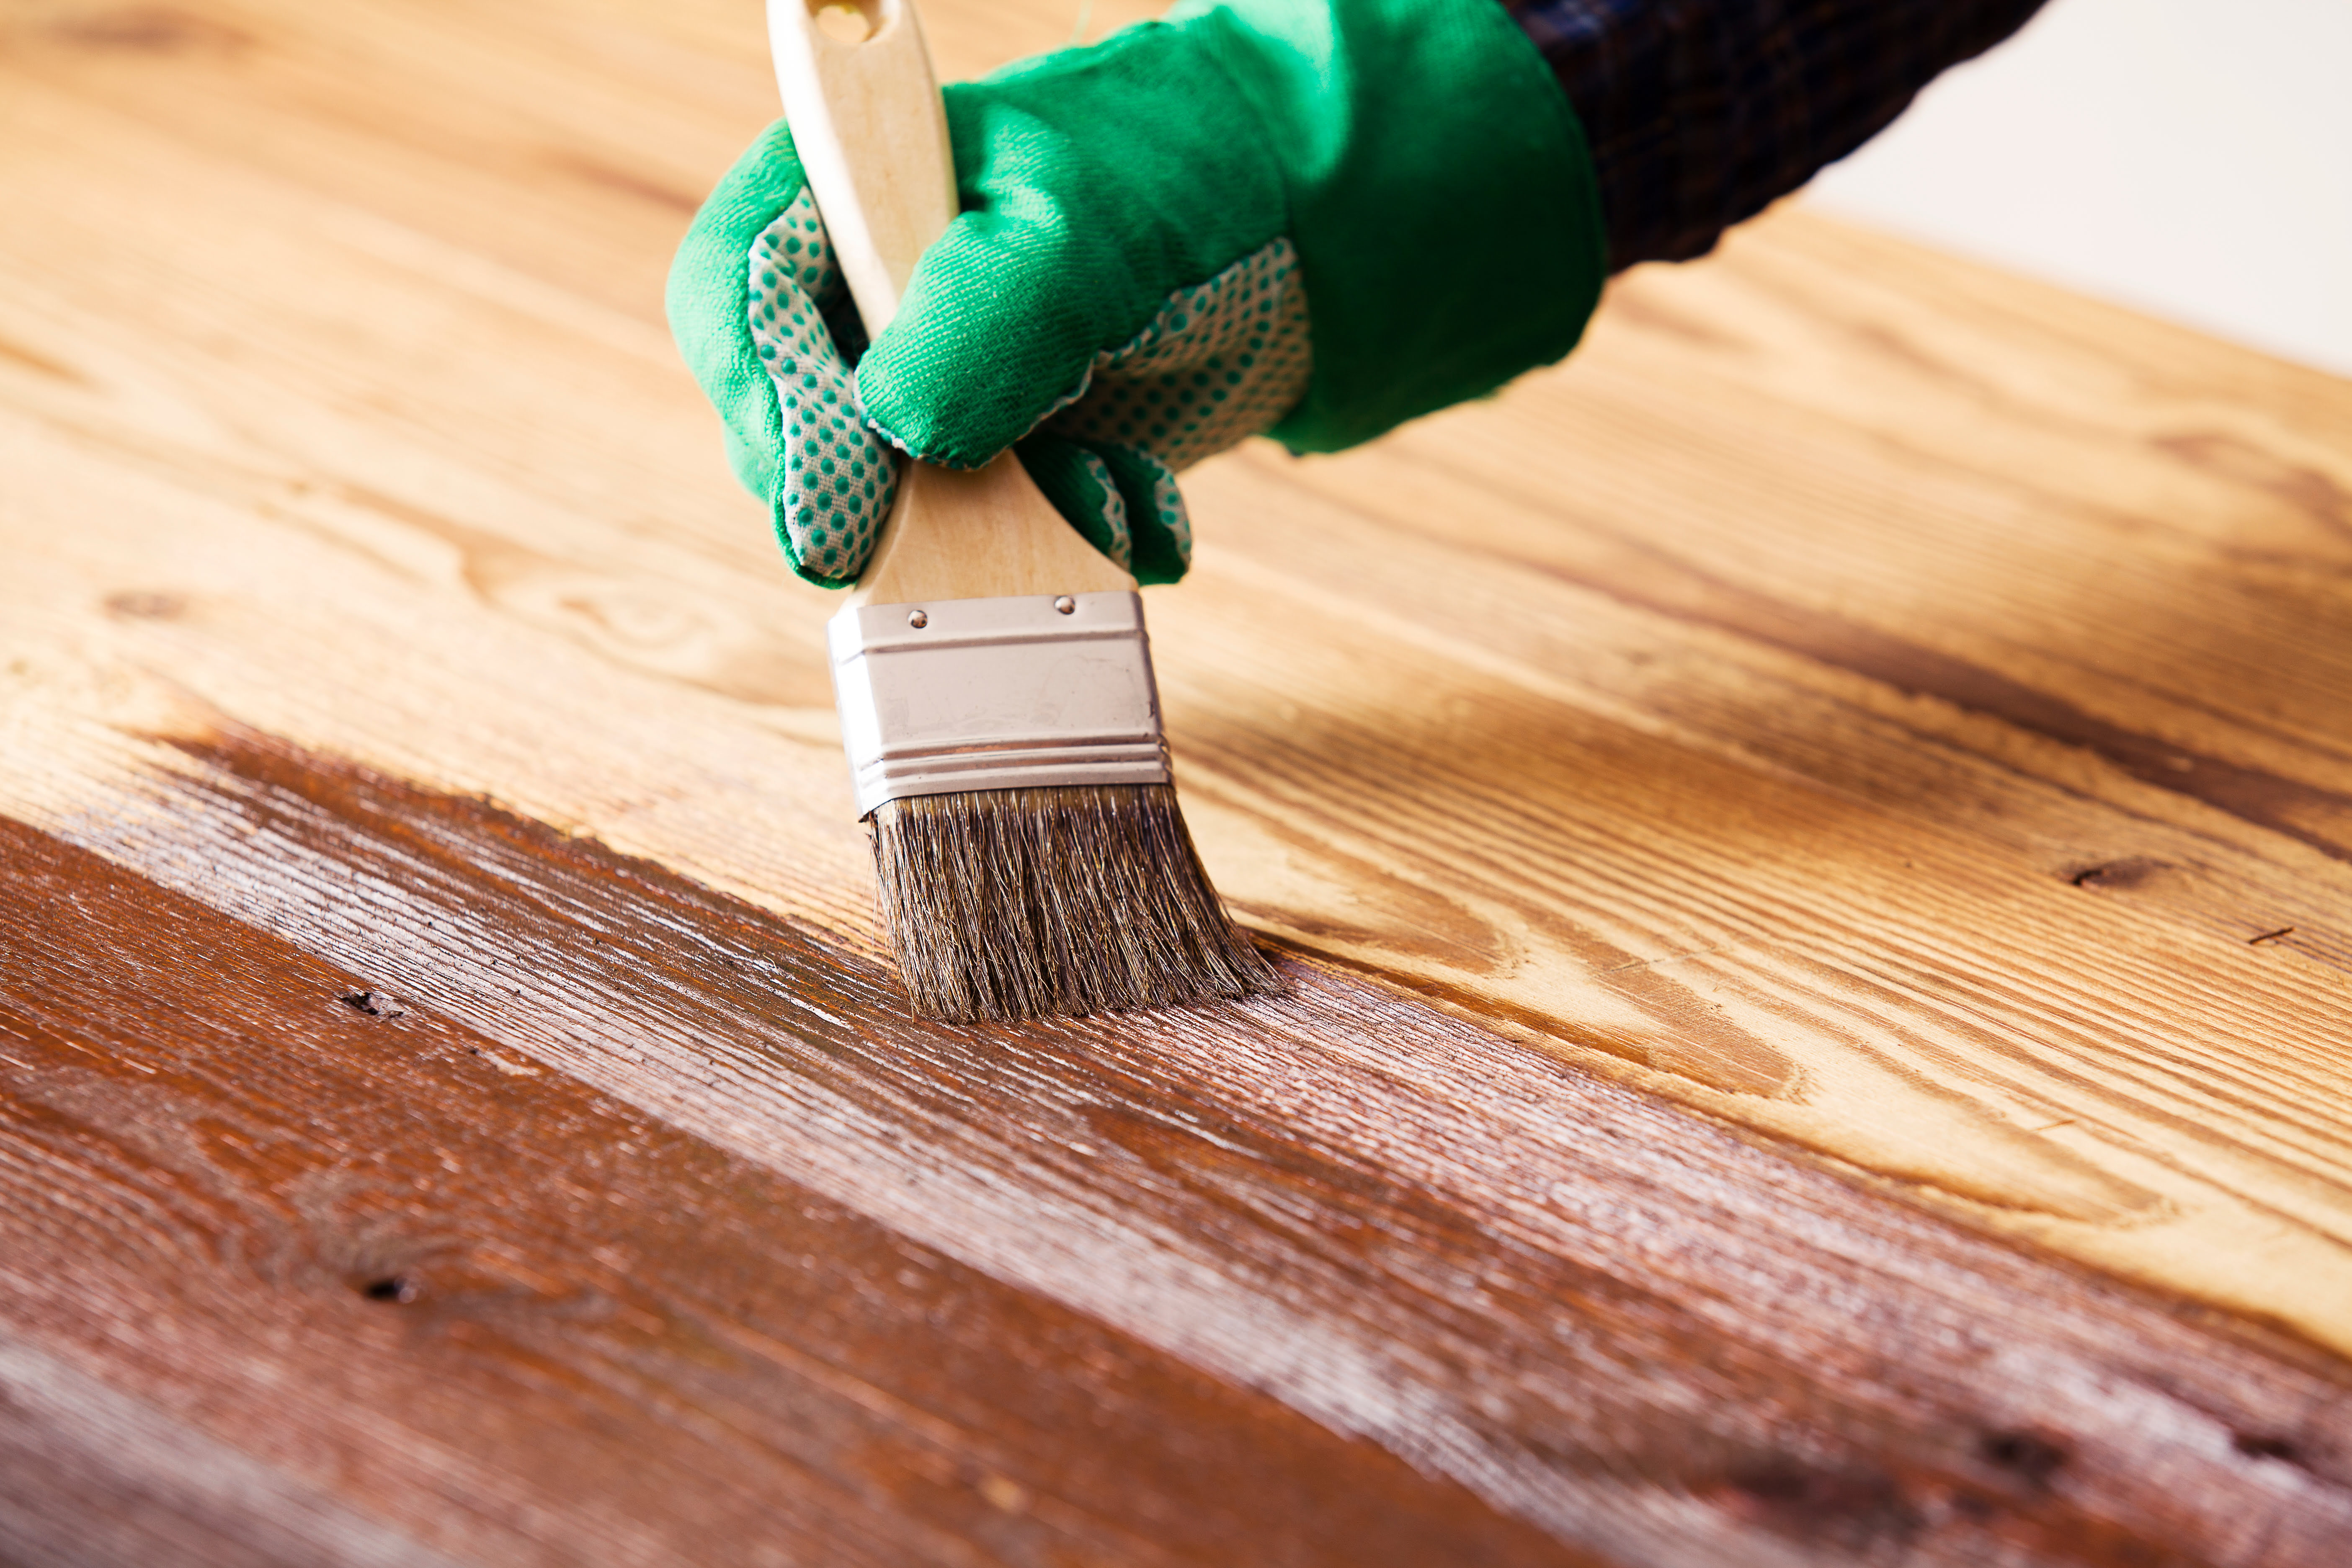
Step 7: Apply the Sealer
The final step in sealing paint on furniture is to apply a protective sealer. The sealer acts as a barrier, providing added durability and enhancing the overall finish of the painted surface. It helps to protect the paint from scratches, moisture, and everyday wear and tear, keeping your furniture looking fresh and vibrant for years to come.
Here’s how to apply the sealer:
- Choose a sealer that is suitable for the type of paint you used. There are various options available, such as polyurethane, wax, or varnish. Each sealer has its own unique benefits and finishes, so choose the one that aligns with your desired outcome.
- If using a sealer that requires stirring or mixing, do so with a stir stick to ensure an even consistency.
- Wearing protective gloves, use a brush or foam roller to apply a thin and even coat of sealer to the entire surface of the furniture. Work in small sections, ensuring full coverage.
- Follow the manufacturer’s instructions for drying time between coats. Some sealers may require multiple coats for optimal protection.
- If you prefer a matte finish, opt for a flat or satin sealer. If you desire a glossy finish, choose a gloss or high-gloss sealer. Keep in mind that glossier finishes tend to highlight imperfections more than matte finishes.
- Allow the sealer to dry completely according to the manufacturer’s instructions before using or moving the furniture.
Applying the sealer is the final touch in the paint sealing process. It not only protects the paint but also enhances its appearance, providing a smooth and polished finish.
Once the sealer is dry, your newly painted and sealed furniture is ready to be enjoyed and showcased in your home. Remember to follow any additional care instructions provided by the sealer manufacturer to maintain the beauty and longevity of your project.
Congratulations on successfully sealing the paint on your furniture and giving it a new lease on life!
Conclusion
Sealing the paint on furniture is a crucial step in ensuring its longevity, durability, and overall aesthetic appeal. By following the steps outlined in this article, you can protect your painted furniture from chips, scratches, and fading, while also enhancing its finish and adding a personalized touch to your home décor.
We started by gathering all the necessary materials, including cleaning supplies, paint, brushes, and sealers. Properly preparing the furniture by cleaning and removing any existing finishes was the next important step. Priming the surface created a smooth and even base for the paint to adhere to, while applying multiple coats of paint allowed us to achieve the desired color and coverage.
After allowing ample drying time, we utilized sandpaper to create a smooth surface before finally applying the sealer. The sealer acted as a protective barrier, enhancing the appearance of the paint and safeguarding it from daily wear and tear.
Remember, choosing the right type of paint and sealer for your project is vital. Each type has its own unique characteristics and finishes, so it’s important to consider your desired outcome and follow the manufacturer’s instructions for proper application and usage.
By spending a little time and effort on sealing the paint, you can transform old, worn-out furniture into beautiful, long-lasting pieces that reflect your personal style. Whether you prefer a rustic, distressed look or a modern, sleek finish, sealing the paint helps ensure that your furniture remains a standout feature in your home for years to come.
So, gather your materials, unleash your creativity, and embark on the journey of transforming your furniture through the power of paint and proper sealing. Enjoy the process and the satisfaction of seeing your furniture come to life with a fresh, vibrant look!
Frequently Asked Questions about How To Seal Paint On Furniture
Was this page helpful?
At Storables.com, we guarantee accurate and reliable information. Our content, validated by Expert Board Contributors, is crafted following stringent Editorial Policies. We're committed to providing you with well-researched, expert-backed insights for all your informational needs.


0 thoughts on “How To Seal Paint On Furniture”