Home>Furniture>Living Room Furniture>How To Make Coffee Table Legs
Living Room Furniture
How To Make Coffee Table Legs
Modified: March 16, 2024
Get creative with your living room furniture! Learn how to make coffee table legs that will transform your space into a unique and stylish haven.
(Many of the links in this article redirect to a specific reviewed product. Your purchase of these products through affiliate links helps to generate commission for Storables.com, at no extra cost. Learn more)
Introduction
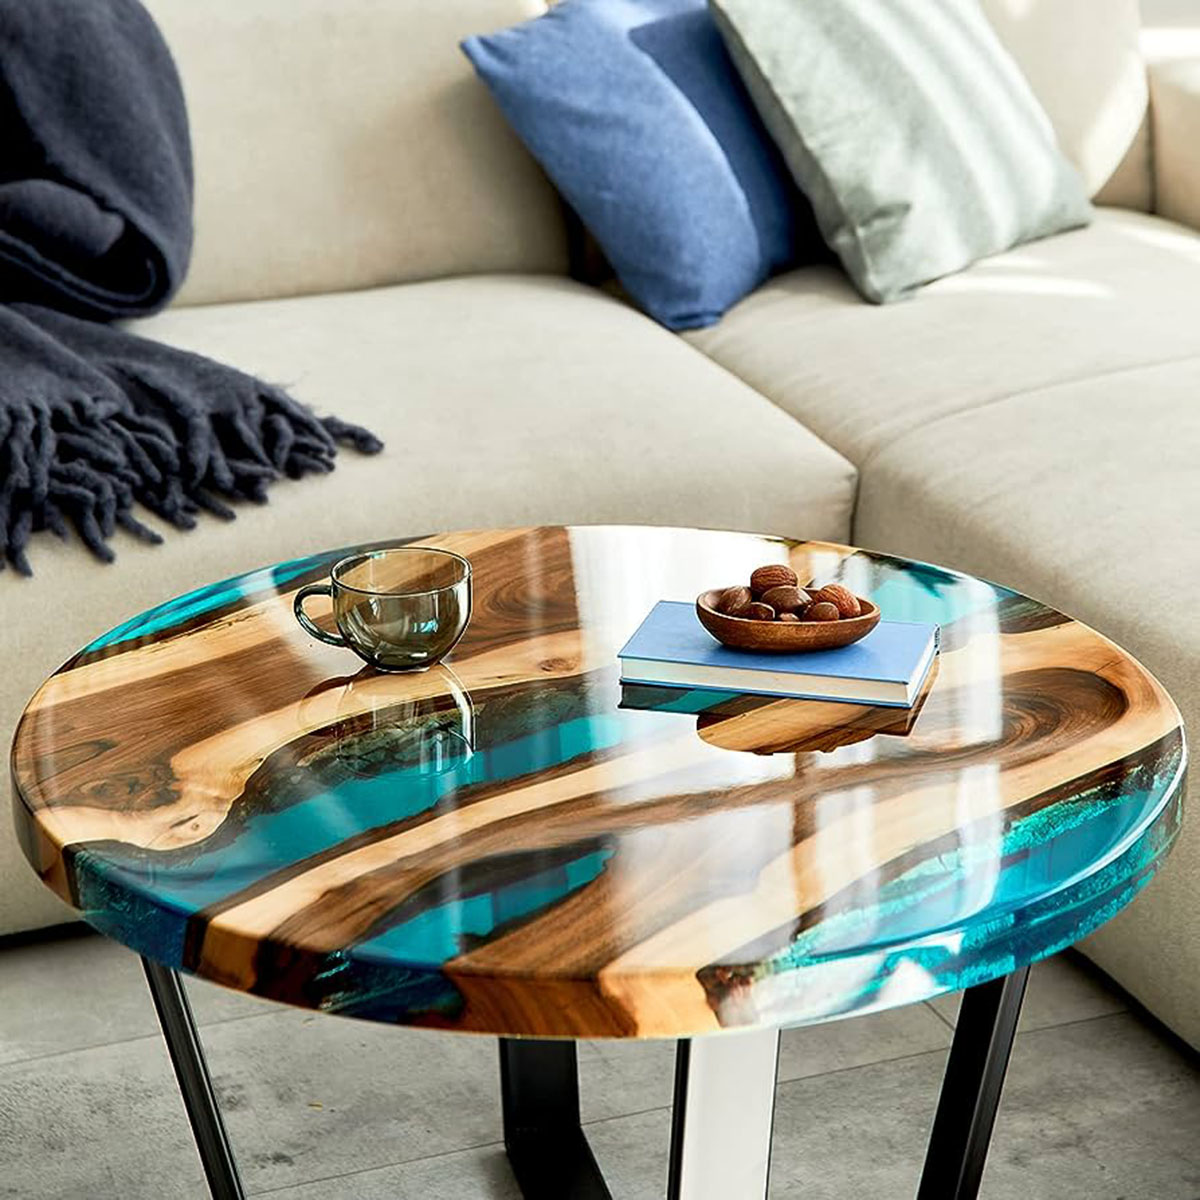
When it comes to furnishing your living room, a coffee table is an essential piece of furniture that not only adds functionality but also contributes to the overall aesthetic appeal of the space. While there are countless options available on the market, making your own coffee table legs can be a rewarding and creative project.
In this article, we will guide you through the process of making coffee table legs from scratch. We will cover everything from choosing the right materials to finishing and staining the legs, ensuring that you have a comprehensive understanding of the process.
By making your own coffee table legs, you have the freedom to customize the design, shape, and height according to your preferences. Whether you want sleek and modern legs or rustic and traditional ones, you have the power to bring your vision to life.
So, roll up your sleeves and get ready to embark on this exciting DIY project. Let’s dive into the intricacies of making coffee table legs that will undoubtedly become the focal point of your living room.
Key Takeaways:
- Making your own coffee table legs allows you to customize the design, shape, and material, adding a unique and personal touch to your living room furniture while saving money.
- By following the steps of choosing the right materials, measuring and cutting accurately, creating a design, shaping, and finishing, you can create a beautiful and functional piece of furniture that reflects your taste and creativity.
Read more: How To Make Chippendale-Style Table Legs
Choosing the Right Materials
Before you start making your coffee table legs, it’s crucial to choose the right materials that will not only provide the necessary strength but also align with your desired design aesthetic.
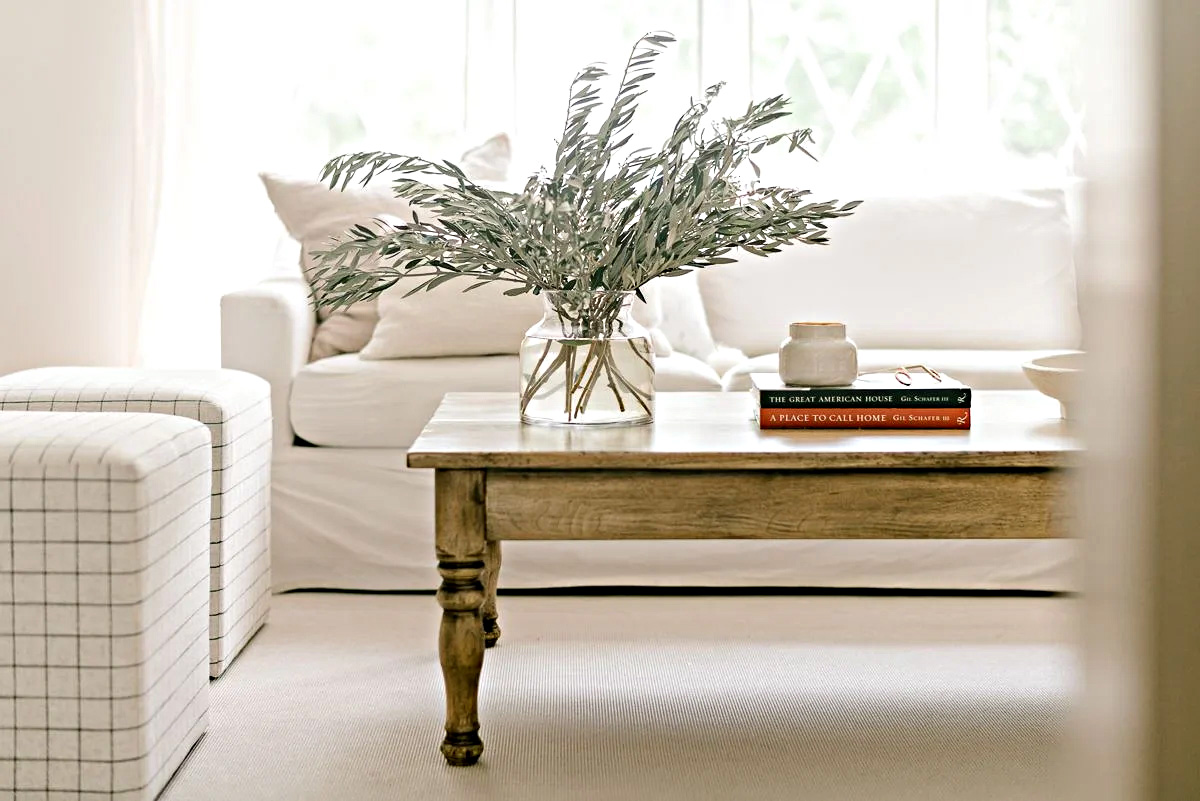
One of the most commonly used materials for coffee table legs is wood, as it offers durability, versatility, and a natural beauty that can complement any style of living room. Some popular choices include oak, maple, walnut, and cherry. Each type of wood has its own unique characteristics, so consider factors such as color, grain pattern, and hardness when making your selection.
Another option is metal. Metal coffee table legs can give a sleek and contemporary look to your living room. Materials like steel, iron, and aluminum are commonly used for their strength and stability. Additionally, metal legs can be painted or powder-coated to match the overall color scheme of your living room.
It’s important to note that the thickness and dimensions of the materials will depend on the size and style of your coffee table. Thicker materials generally provide more stability, especially for larger coffee tables, while thinner materials can create a more delicate and subtle aesthetic.
Consider your personal style and the overall theme of your living room when choosing the material for your coffee table legs. Whether you prefer a traditional, rustic, modern, or industrial look, selecting the right materials will ensure that your coffee table legs align harmoniously with the rest of your living room decor.
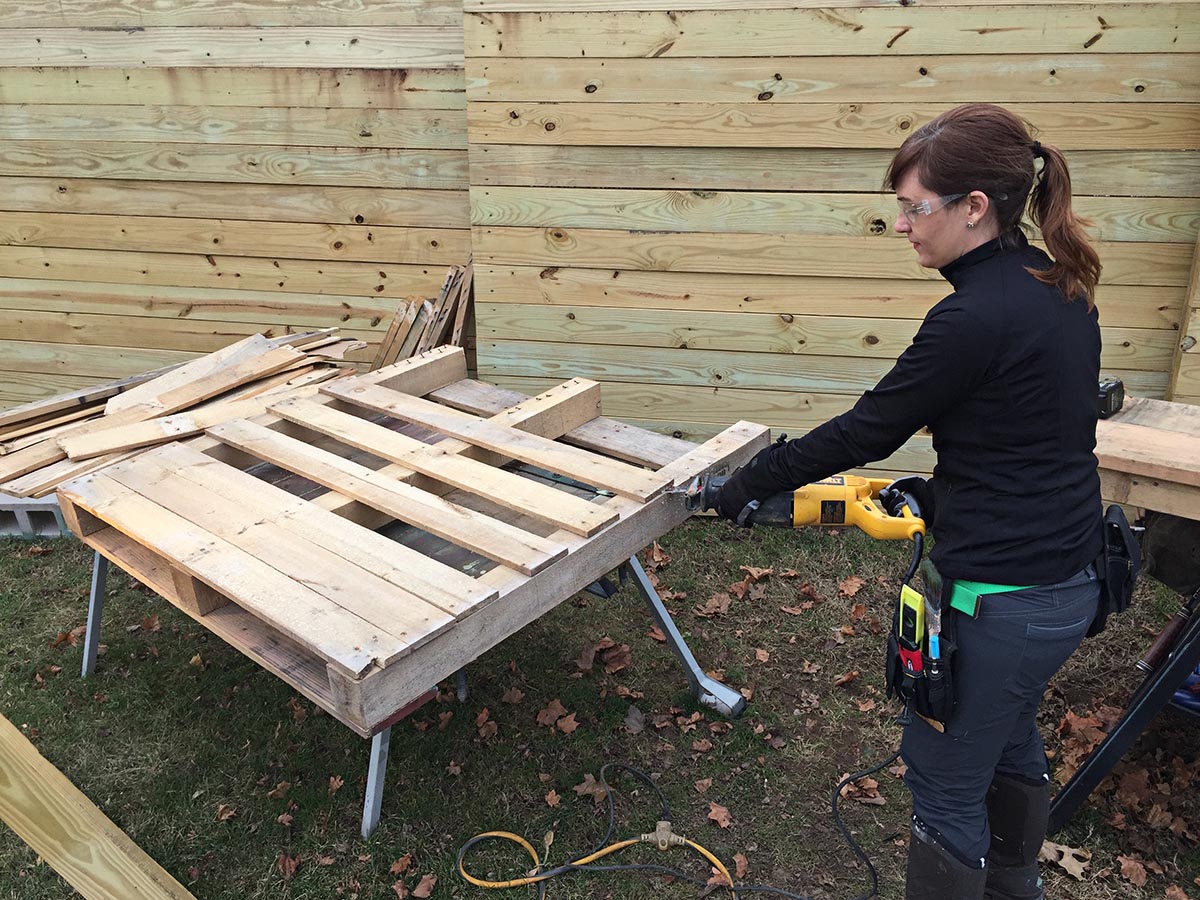
Measuring and Cutting the Legs
Once you have selected the materials for your coffee table legs, the next step is to measure and cut them to the desired length. Accuracy and precision are key in this process to ensure that all the legs are equal in size.
Start by determining the height you want your coffee table to be. This will dictate the length of the legs. Measure the distance from the bottom of the tabletop to the floor and subtract any additional height that will be added by the table base or any decorative elements.
Using a measuring tape, mark the desired length on each leg. Double-check your measurements to avoid any errors. It’s always better to measure twice and cut once to prevent any wastage of materials.
Before cutting the legs, make sure you have the appropriate tools for the job. A circular saw or a miter saw is typically used to make accurate and clean cuts. Ensure that the blade is suitable for cutting through the chosen material, whether it’s wood or metal.
Secure the legs firmly in place, ensuring that they will not move during the cutting process. Use clamps or a vise to hold the legs securely while cutting.
When making the cuts, follow your marked measurements precisely. Take your time and use a steady hand to create clean and straight cuts. If you’re using a circular saw, guide the saw along a straight edge or use a fence to maintain a straight cutting line.
After cutting all the legs, double-check their lengths to ensure that they are consistent. Make any necessary adjustments by trimming the legs to the correct length.
Remember, accuracy is key during this step, as any discrepancies in the leg lengths can affect the stability of your coffee table. Take your time and be meticulous in measuring and cutting the legs to achieve the best results.
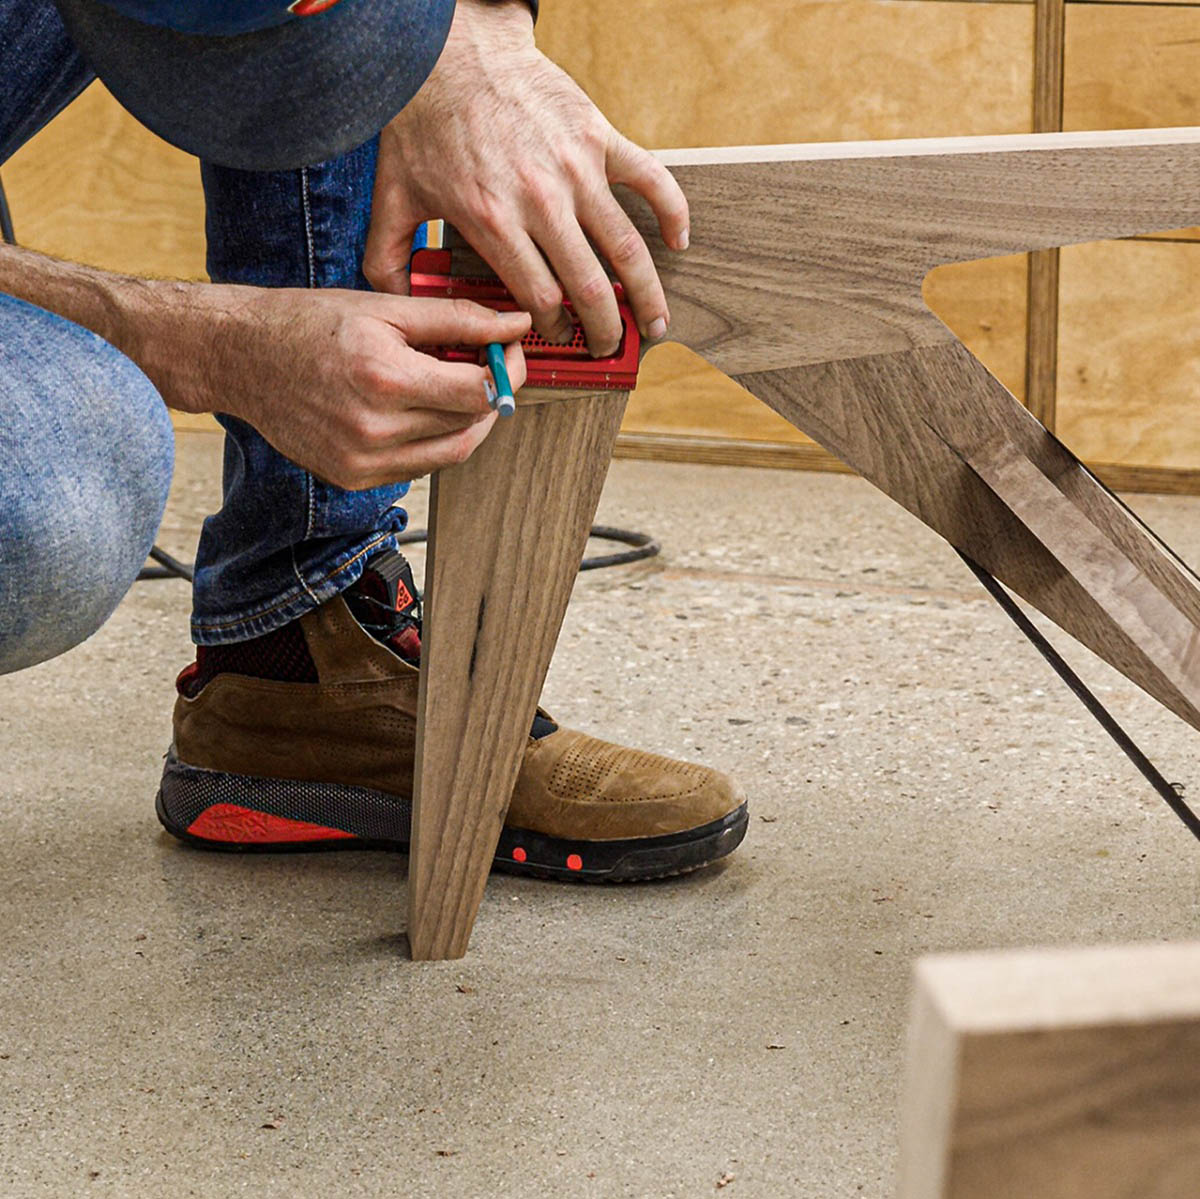
Creating a Design or Pattern
Once you have measured and cut the legs for your coffee table, you can move on to creating a design or pattern that will add visual interest and personalization to your furniture piece.
There are various options for designing your coffee table legs, depending on your style preferences and skill level. Here are a few ideas to consider:
- Straight Legs: If you prefer a clean and minimalist look, straight legs are a classic choice. They offer simplicity and elegance, making them suitable for a wide range of interior styles.
- Tapered Legs: Tapered legs feature a wider top that gradually narrows towards the bottom. These legs add a touch of sophistication and can give your coffee table a mid-century modern or Scandinavian vibe.
- Curved Legs: If you want to add a touch of elegance and uniqueness to your coffee table, consider creating curved legs. This design can range from subtle curves to more dramatic and intricate shapes, depending on your skill and creativity.
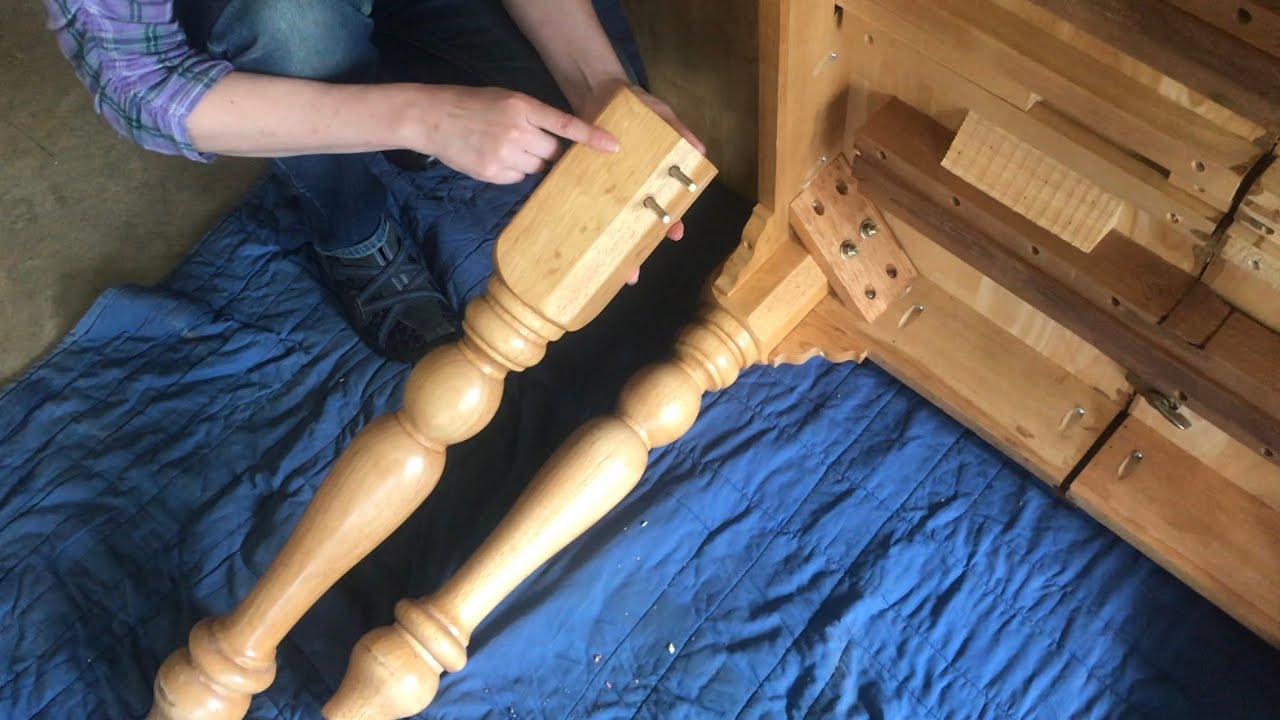
- Turned Legs: Turned legs are a more advanced design option that requires woodworking skills or professional assistance. These legs feature intricate patterns and details created by turning the wooden material on a lathe.
- Embossed or Carved Designs: For a more artistic and decorative look, consider adding embossed or carved designs to your coffee table legs. This can be done by hand or with the help of carving tools. Embossed designs can include floral patterns, geometric shapes, or any other design that reflects your personal taste.
Before you proceed with any design, take some time to sketch your ideas or find inspiration from magazines, online resources, or even existing furniture pieces. This will help you visualize the end result and refine your design before executing it on the coffee table legs.
Once you have decided on a design, you can transfer it onto the legs using a pencil or create a stencil for more intricate patterns. Be patient and take your time to ensure that the design is accurately transferred to the legs.
Remember, the design or pattern you choose should complement the overall style and theme of your living room. It should also be suitable for the size and scale of your coffee table. Whether you opt for simplicity or intricate details, the design will add a unique touch to your handmade coffee table legs.
When making coffee table legs, consider using materials like wood, metal, or even repurposed items like old furniture legs for a unique look. Make sure to measure and cut the legs to the desired height and attach them securely to the table top for stability.
Shaping and Sanding the Legs
With the design or pattern finalized, it’s time to shape and sand the coffee table legs to achieve the desired look and ensure a smooth and polished finish.
If you have opted for straight or tapered legs, shaping may involve rounding the edges or creating beveled edges to add a subtle touch of elegance. This can be done using a router or a chisel, depending on the level of detail you want to achieve.
For curved legs, shaping can be more labor-intensive. You may need to use a band saw or a coping saw to carefully cut along the design lines, creating the desired curves. Take your time and work slowly, making sure to follow your design template and maintaining a smooth and even shape.
Once the shaping is complete, it’s time to sand the legs. Sanding plays a crucial role in achieving a polished and refined look for your coffee table legs.
Start with a coarse-grit sandpaper to remove any rough edges or imperfections. Sand all surfaces of the legs in the direction of the wood grain to ensure an even finish. Gradually move on to finer-grit sandpaper to achieve a smoother surface.
During the sanding process, make sure to pay attention to the details and edges of the legs, ensuring that they are evenly sanded and free from any splinters or rough patches.
After sanding, wipe down the legs with a clean cloth to remove any dust or debris. This will reveal the natural beauty of the wood or the smooth finish of the metal legs.
If you want to add an extra layer of refinement, consider using wood filler to fill in any small gaps or imperfections in the wood. This will help achieve a flawless finish when stained or painted.
Remember, shaping and sanding may require time and patience, but the end result will be well worth the effort. These steps are critical in achieving a professional-looking finish for your handmade coffee table legs.
Read more: How To Make A Coffee Table Aquarium
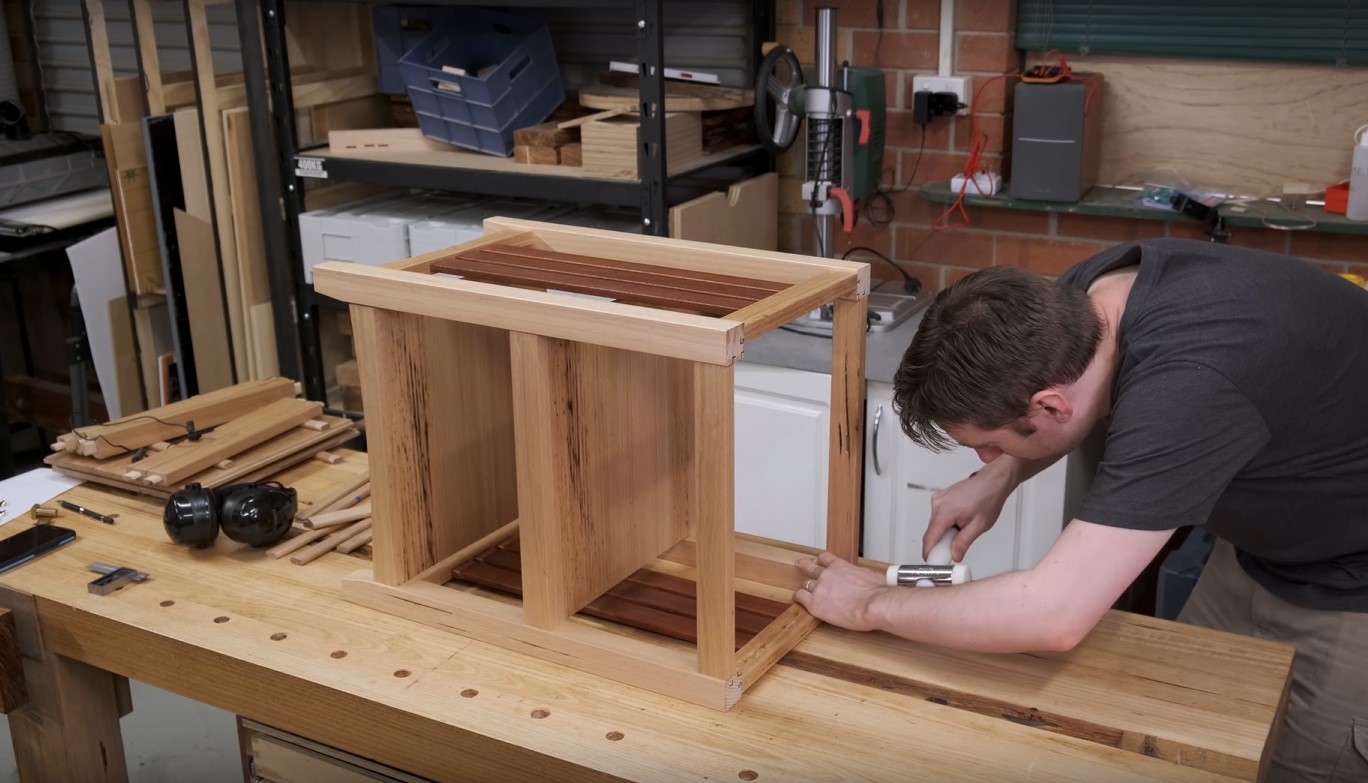
Attaching the Legs to the Tabletop
With the coffee table legs shaped, sanded, and ready to go, it’s time to securely attach them to the tabletop to ensure stability and durability.
Before proceeding, make sure you have all the necessary tools and hardware for the job. The type of attachment method will depend on the design of your coffee table and the materials you are working with.
For wooden coffee table legs, one common and reliable method is to use metal corner brackets. These brackets can be attached to the tabletop and the legs using screws. Make sure to choose brackets that are sturdy and appropriate for the weight and size of your coffee table. Measure and mark the positions for the brackets on both the tabletop and the legs, ensuring that they are aligned and level.
To attach the brackets, pre-drill holes to prevent splitting the wood and then secure them with screws. Use a level to check that the legs are properly aligned and adjust as necessary.
If you are working with metal legs, you may need to weld or use metal fasteners to attach them to the tabletop. Consult with a professional or follow the instructions provided with the specific metal legs you have chosen to ensure a secure attachment.
Once the legs are attached, it’s essential to test the stability of the coffee table. Gently push and apply pressure from different angles to ensure that it doesn’t wobble or feel unstable. If necessary, make any adjustments or reinforce the attachment points to improve the stability.
Remember to follow all safety precautions when attaching the legs, especially when using power tools or working with metal components. If you are unsure about any step of the process, it’s best to consult with a professional or seek guidance from experienced individuals.
By ensuring a secure attachment, you can have peace of mind knowing that your coffee table legs will withstand daily use and provide a sturdy base for your tabletop.
Finishing and Staining the Legs
Once the coffee table legs are securely attached to the tabletop, it’s time to apply the finishing touches and bring out the natural beauty of the wood or metal.
If you are working with wooden legs, applying a finish can protect the wood from moisture, stains, and scratches, while enhancing its appearance. There are various options for finishing, including clear coats, varnishes, and lacquers. Choose a finish that aligns with your desired level of sheen and protection.
Before applying the finish, ensure that the legs are clean and free from any dust or debris. Lightly sand them with a fine-grit sandpaper to create a smooth surface for the finish to adhere to.
Next, apply the finish according to the manufacturer’s instructions. This may involve using a brush, a cloth, or a spray for an even and consistent application. Make sure to cover all surfaces of the legs, including hard-to-reach areas.
Allow the finish to dry completely before moving on to staining, if desired. Staining can add color and depth to the wood, enhancing its natural grain and character.
Choose a stain color that complements the overall aesthetic of your living room and matches any existing furniture or woodwork. Test the stain on a small, inconspicuous area of the leg or a scrap piece of wood to ensure that you achieve the desired color.
Apply the stain evenly using a brush or a cloth, following the direction of the wood grain. Allow the stain to penetrate the wood for the recommended period specified by the manufacturer, and then wipe off any excess stain with a clean cloth. This will prevent the color from becoming too dark or blotchy.
Once the stain has dried, you can apply multiple coats of clear finish or varnish to protect the color and provide a glossy or satin finish, depending on your preference.
Remember to follow proper ventilation and safety guidelines when working with finishes and stains, as they may contain volatile chemicals. Use protective gloves and ensure you are working in a well-ventilated area.
By applying a finish and stain, you can enhance the visual appeal of your coffee table legs while protecting them from wear and tear.
Conclusion
Congratulations! You have reached the end of this comprehensive guide on making your own coffee table legs. By taking the time and effort to create handmade legs, you have not only saved money but also added a unique and personal touch to your living room furniture.
Throughout this process, we discussed the importance of choosing the right materials, measuring and cutting the legs accurately, creating a design or pattern that reflects your style, shaping and sanding the legs for a polished finish, attaching them securely to the tabletop, and finally, finishing and staining the legs to protect and enhance their appearance.
By exercising attention to detail and patience, you can create coffee table legs that seamlessly blend with your living room decor, whether you prefer a modern, rustic, or traditional aesthetic.
Remember to always prioritize safety and consult with professionals or experienced individuals if you need guidance on specific steps or techniques.
Now, it’s time to showcase your craftsmanship. Place your newly made coffee table legs under your tabletop and admire the transformation. Your personalized coffee table will undoubtedly become the centerpiece of your living room, inviting conversations, and adding character to the space.
Enjoy the satisfaction of having created a beautiful and functional piece of furniture that reflects your taste and creativity.
Frequently Asked Questions about How To Make Coffee Table Legs
Was this page helpful?
At Storables.com, we guarantee accurate and reliable information. Our content, validated by Expert Board Contributors, is crafted following stringent Editorial Policies. We're committed to providing you with well-researched, expert-backed insights for all your informational needs.

0 thoughts on “How To Make Coffee Table Legs”