Tableware
How To Set Silverware On The Table
Modified: August 20, 2024
Learn how to set your table with beautiful tableware. Expert tips and techniques for arranging silverware on your dining table.
(Many of the links in this article redirect to a specific reviewed product. Your purchase of these products through affiliate links helps to generate commission for Storables.com, at no extra cost. Learn more)
Introduction
Welcome to the world of tableware, where every meal becomes an opportunity to showcase your style and attention to detail. Whether you’re hosting a formal dinner party or simply setting the table for a family meal, the way you arrange your silverware can make a big impact on the overall look and feel of the table. But with so many knives, forks, and spoons to choose from, it’s easy to get overwhelmed.
In this article, we will guide you through the art of setting silverware on the table. We’ll show you step-by-step how to create a visually appealing table setting that will impress your guests and elevate your dining experience. From choosing the right silverware to arranging glasses and napkins, we’ve got you covered.
So, whether you’re a seasoned host looking to refresh your table setting skills or a beginner wanting to learn the basics, let’s dive in and unlock the secrets to a perfectly set table that will leave a lasting impression.
Key Takeaways:
- Choose the right silverware by considering material, style, and number of pieces. Clean and polish each piece for a visually appealing table setting that reflects your personal style and ambiance.
- Position silverware with precision, ensuring proper spacing and alignment. Add elegance with creatively placed napkins and thoughtfully arranged glasses to elevate the dining experience for your guests.
Read more: How To Disinfect Silverware
Step 1: Choosing the Right Silverware
Before you start setting the table, it’s important to select the right silverware for the occasion. The type of silverware you choose can set the tone for your meal and enhance the overall aesthetic of the table. Here are a few things to consider when choosing your silverware:
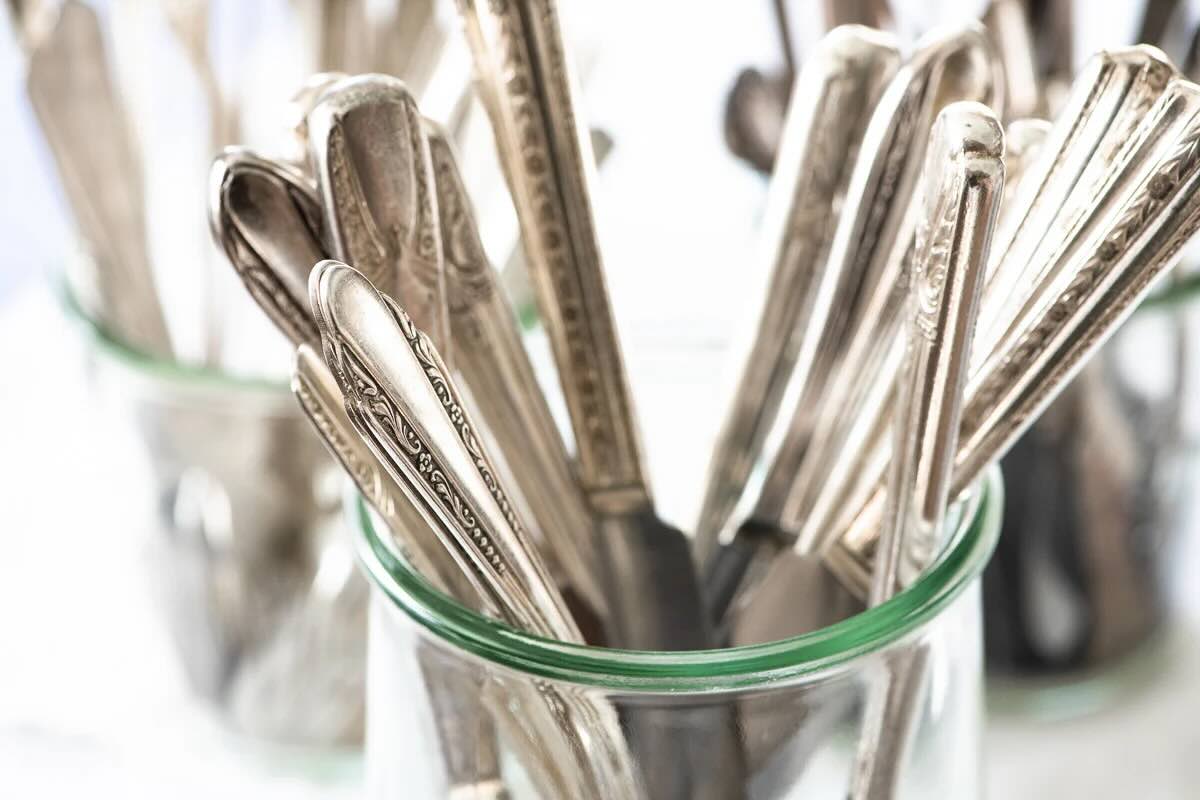
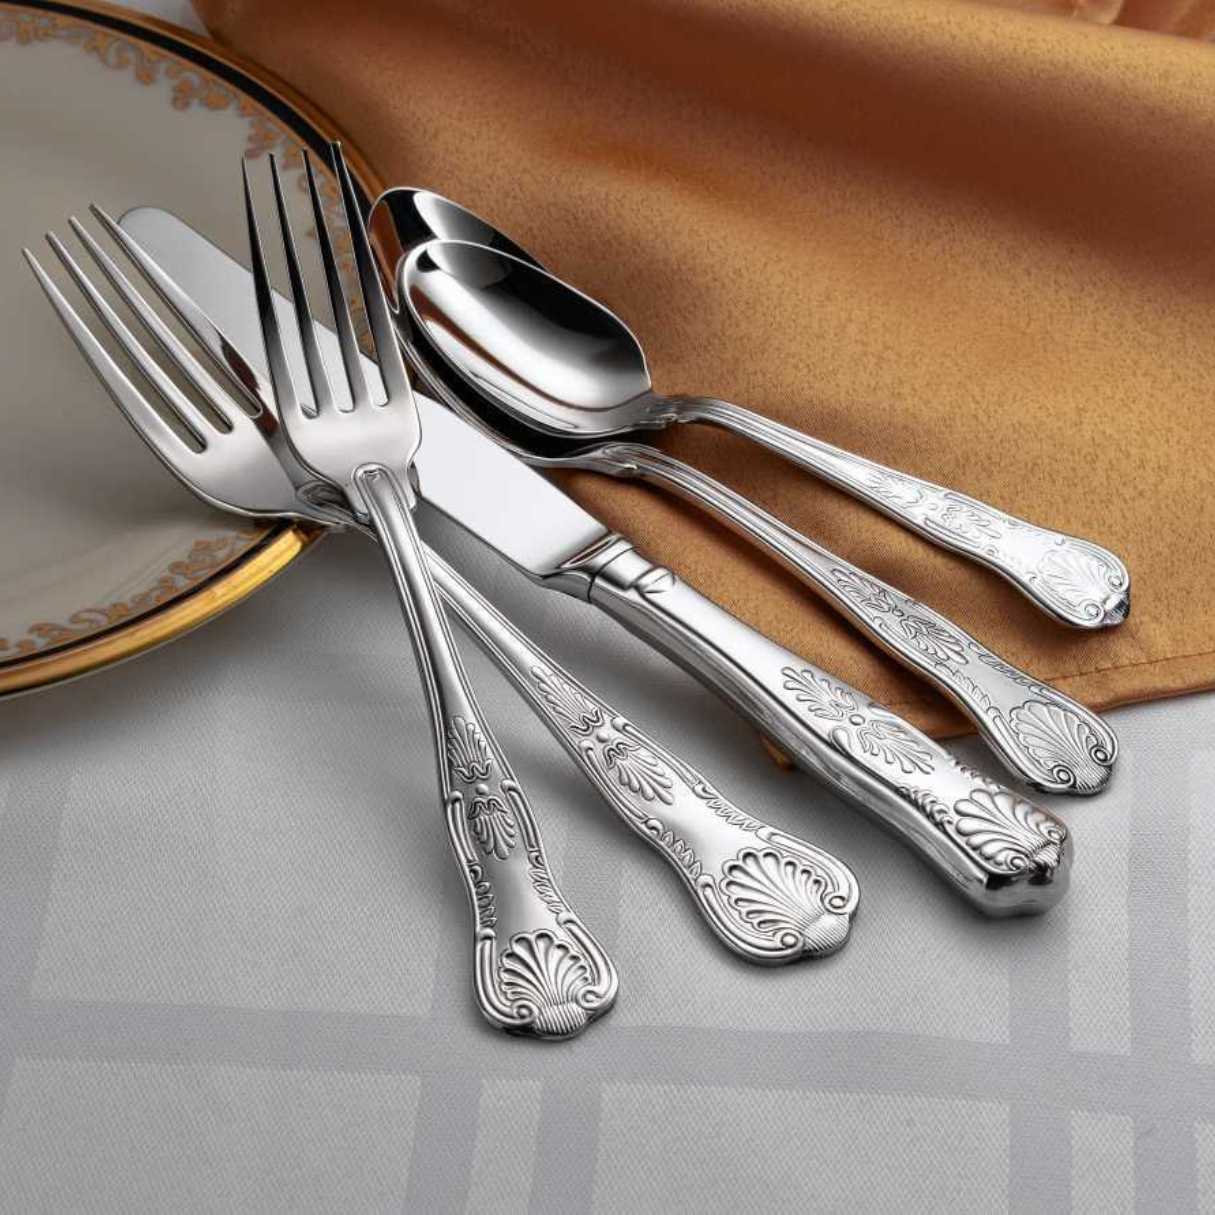
- Material: Silverware is available in various materials, including stainless steel, silver-plate, and sterling silver. Stainless steel is the most practical choice for everyday use as it is durable and easy to maintain. Silver-plate and sterling silver are more elegant options for special occasions, but they require more care to prevent tarnishing.
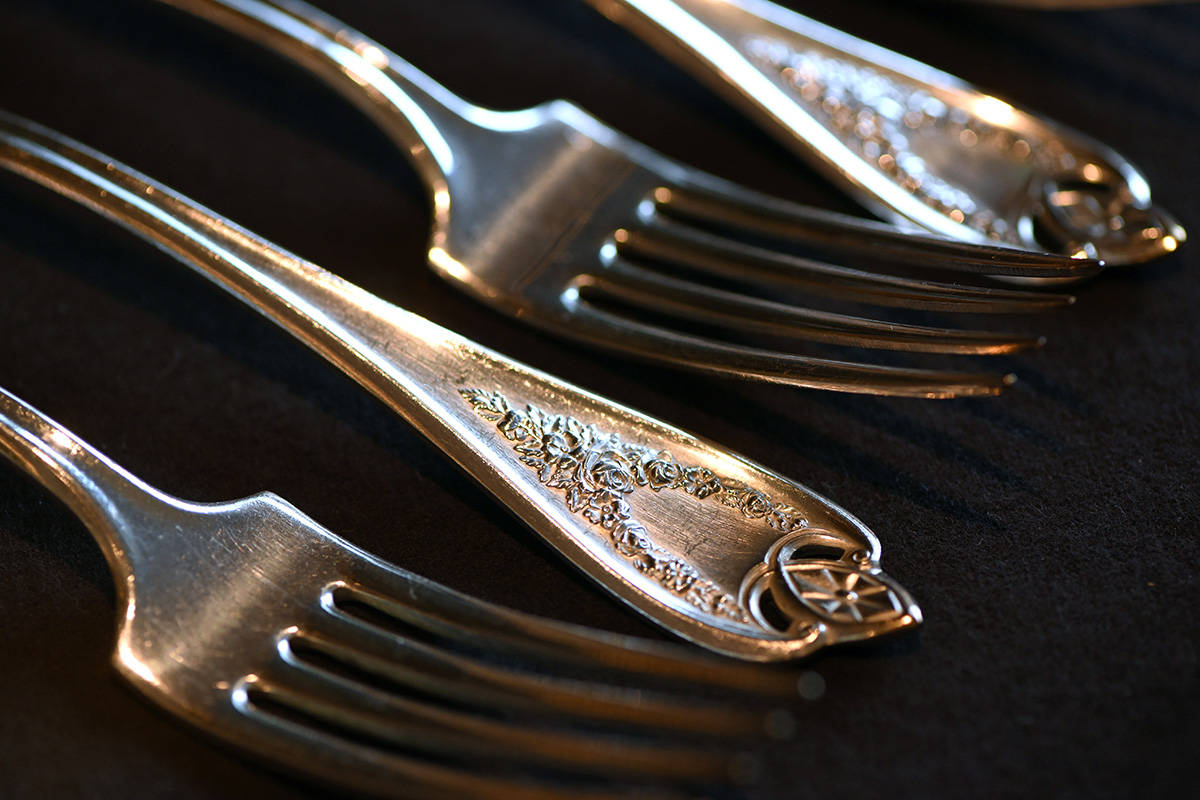
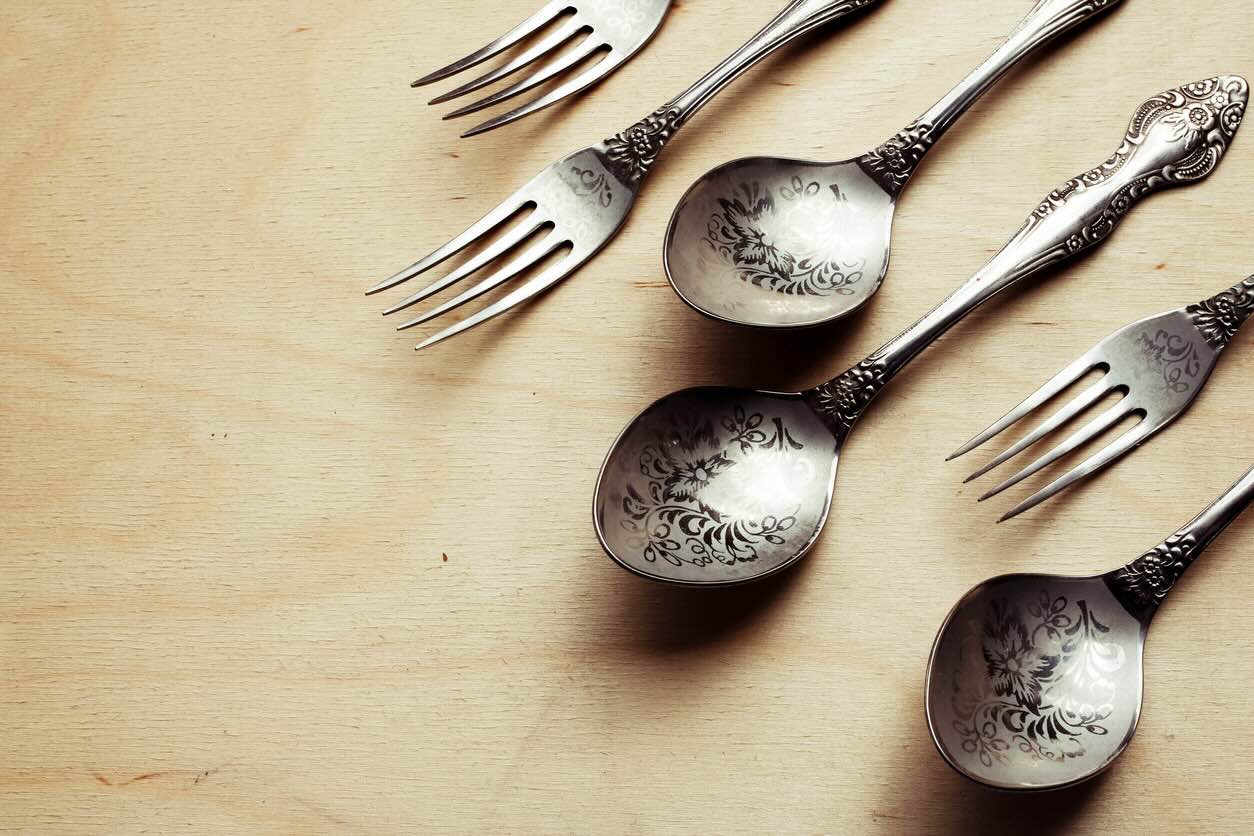
- Style: Consider the style of your tableware and match it with the silverware. If you have modern, minimalist dishes, opt for sleek and contemporary silverware. For traditional or vintage tableware, choose silverware with ornate patterns or intricate designs. The key is to create harmony between your dishes and silverware.
- Number of Pieces: Decide how many pieces of silverware you will need. A standard set usually includes a dinner knife, dinner fork, salad fork, teaspoon, and soup spoon. However, you can add or subtract pieces depending on your needs. For example, if you’re serving seafood, you might want to include a seafood fork.
Once you have chosen your silverware, make sure it is clean and polished before placing it on the table. Any fingerprints or smudges can detract from the overall presentation. Wipe each piece with a soft cloth to remove any dust or marks, and ensure they shine brightly.
Remember, the silverware you choose sets the foundation for your table setting, so take your time and select pieces that reflect your personal style and the ambiance you wish to create.
Step 2: Placing the Dinner Plate
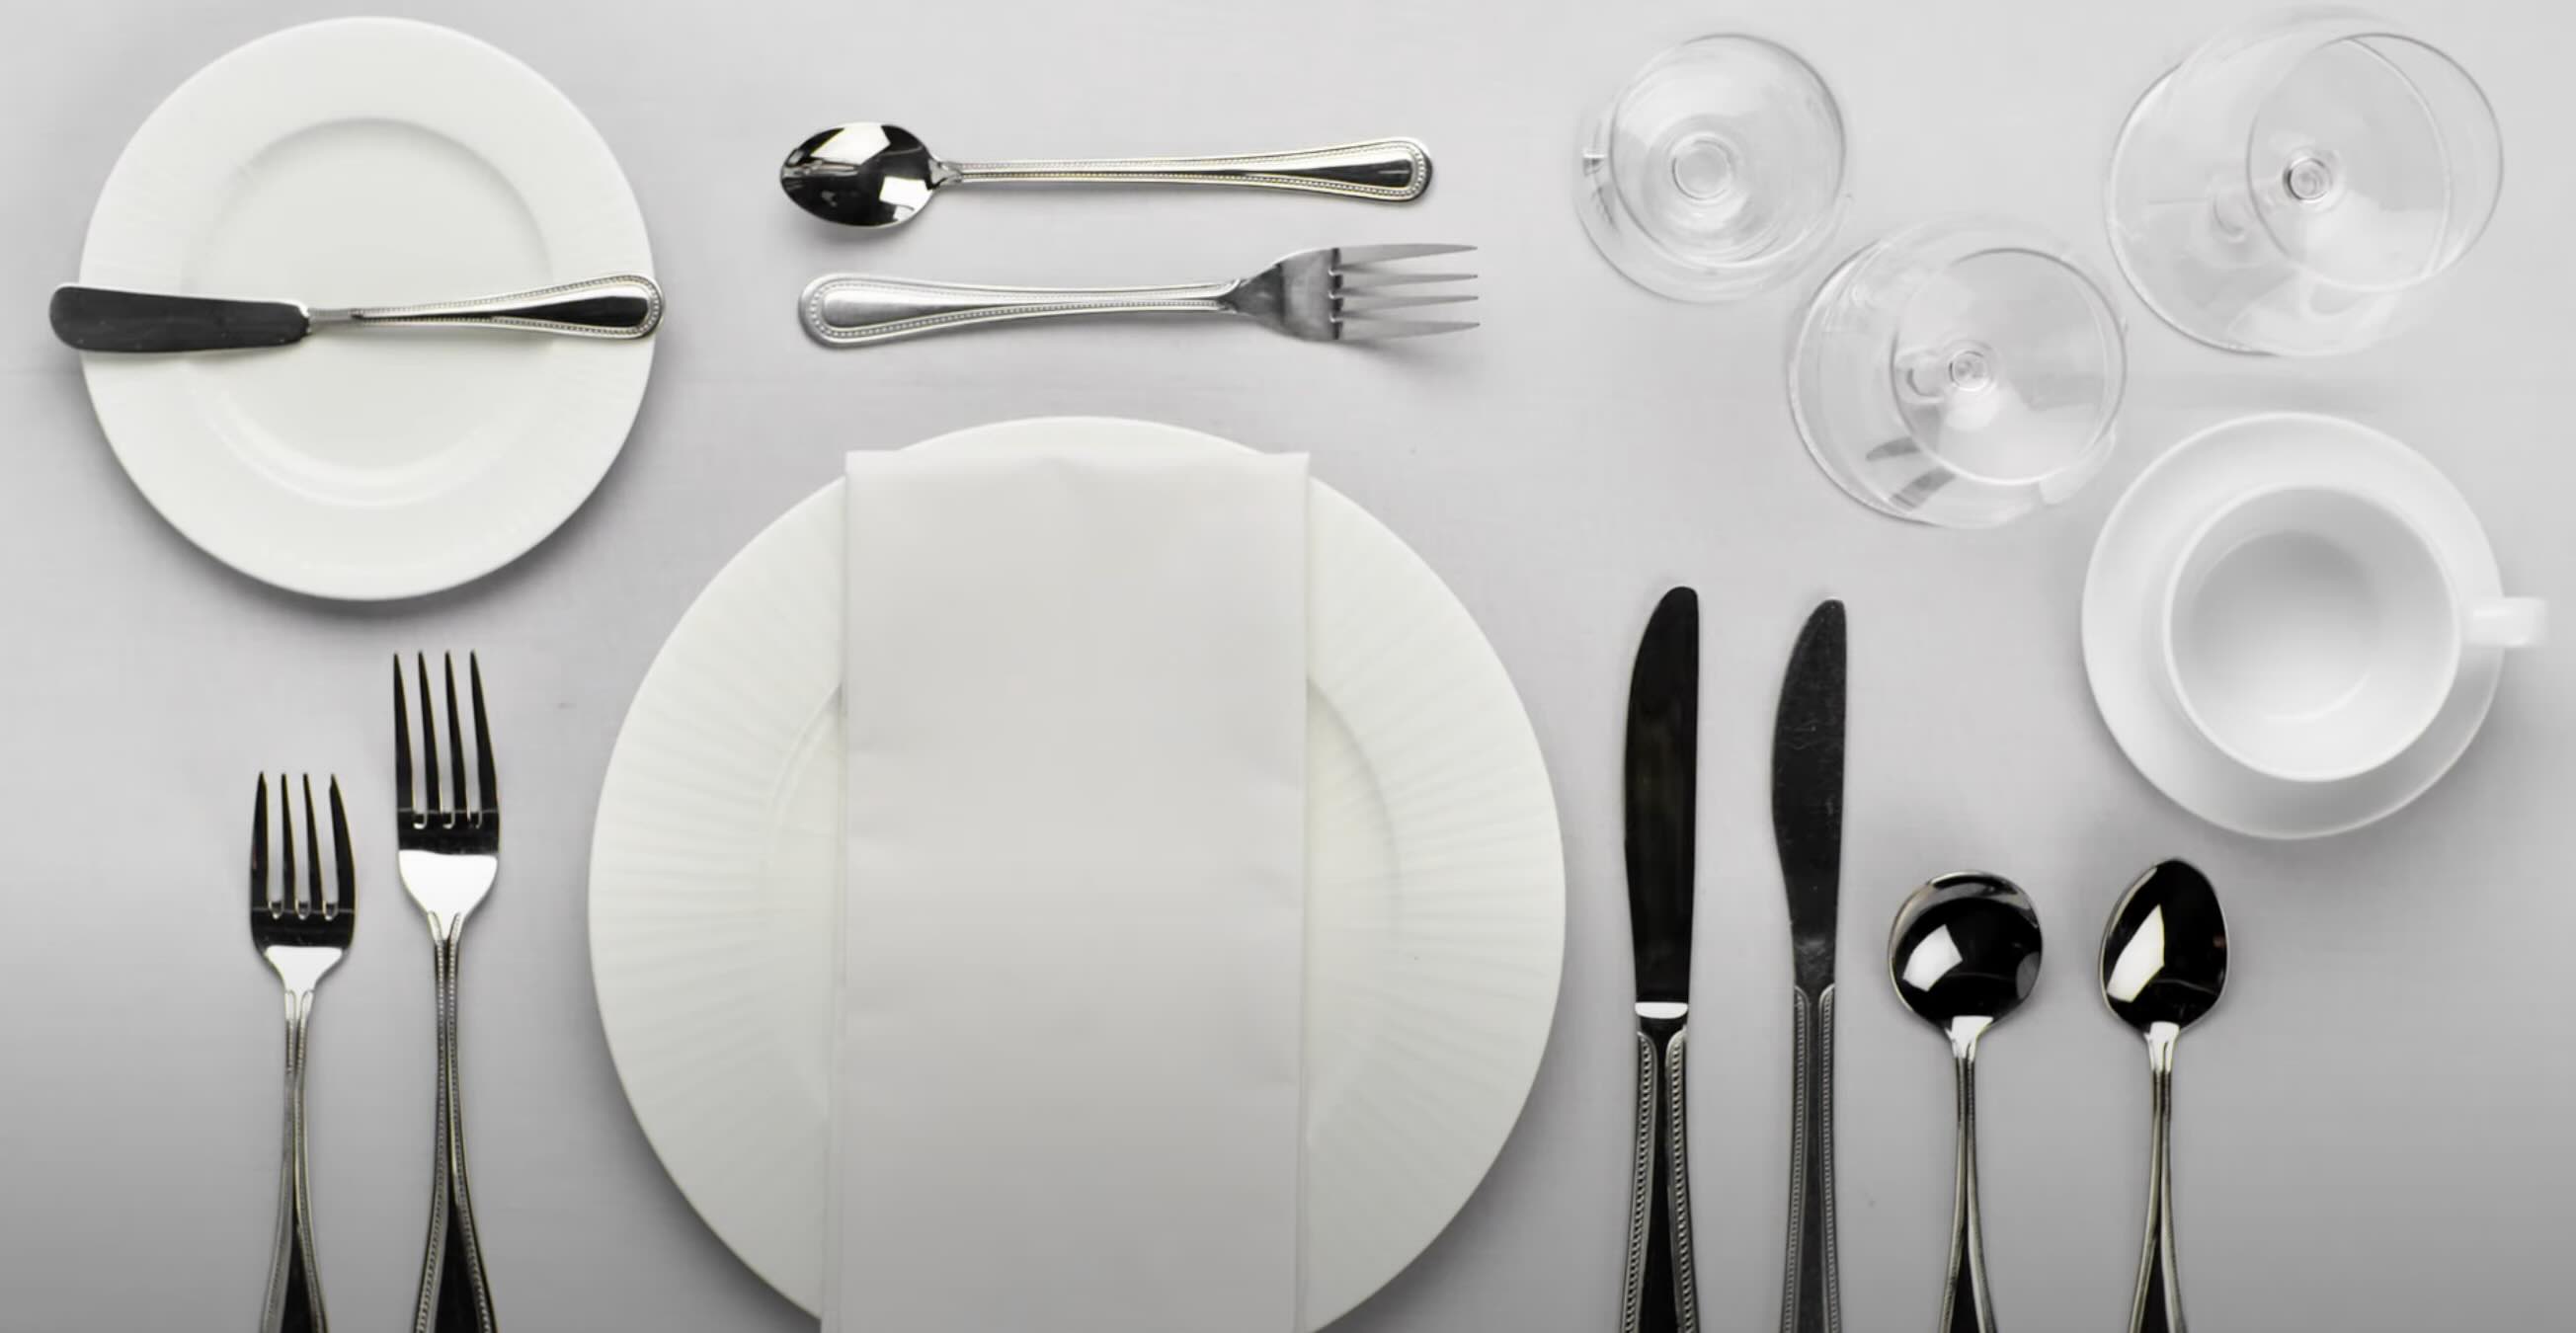
Once you have chosen your silverware, it’s time to start setting the table. The first item to place is the dinner plate. The dinner plate serves as the primary foundation for the table setting and is typically centered in front of each dining chair.
To place the dinner plate:
- Position: Start by aligning the edge of the dinner plate with the edge of the table, about an inch away from the edge. Ensure that the plate is centered and placed directly in front of the chair.
- Spacing: Leave enough space between each place setting to avoid a crowded look. Aim for approximately 2 feet between each dinner plate to allow guests to dine comfortably.
- Alignment: For a formal table setting, make sure the dinner plate is aligned with the bottom edge of the placemat or tablecloth. This creates a balanced and visually appealing arrangement.
Remember to also consider the size of your table. If you have a smaller table, you may need to adjust the spacing accordingly to avoid a cramped setting.
Placing the dinner plate correctly sets the stage for a well-organized and inviting table setting. It creates a focal point for the rest of the silverware and complements the overall aesthetic of your dining experience.
Step 3: Positioning the Fork
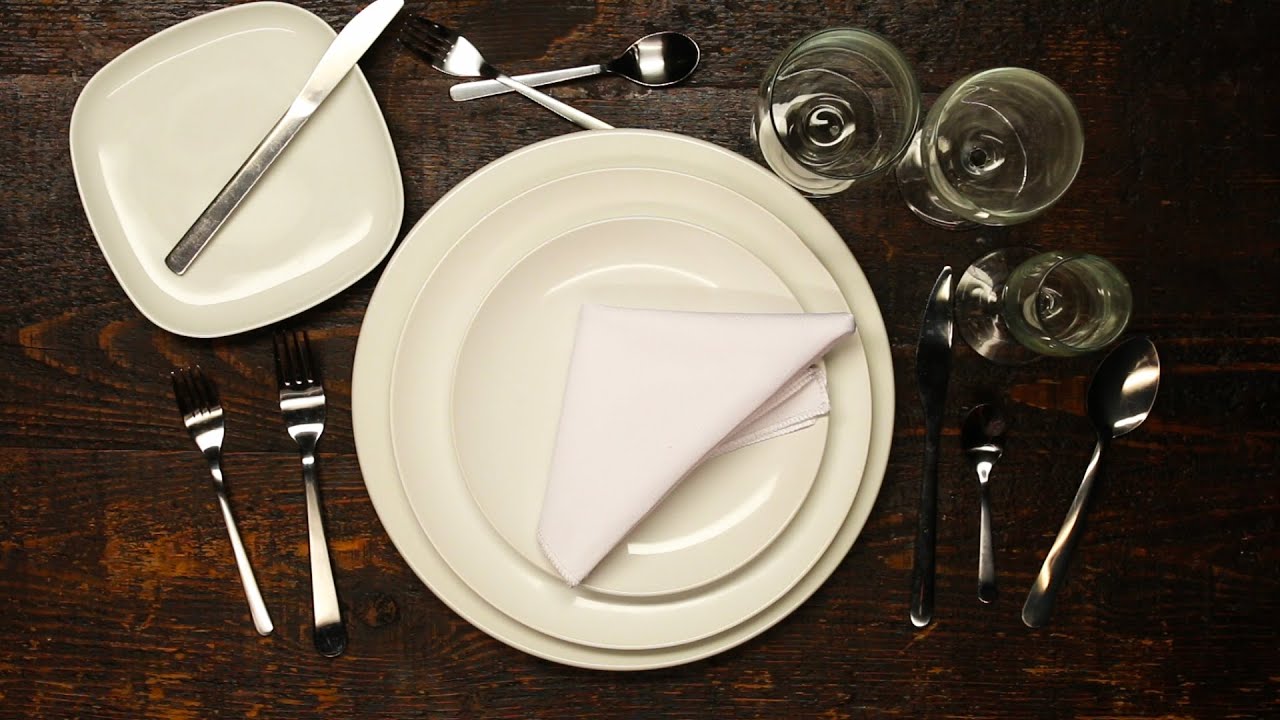
Now that the dinner plate is in place, it’s time to address the fork placement in table settings. This essential utensil is typically positioned on the left side of the plate, playing a key role in the overall arrangement.
To position the fork:
- Side: Place the fork to the left of the dinner plate. The handle should be positioned towards the guest, while the tines face upward.
- Spacing: Leave a small amount of space between the edge of the dinner plate and the handle of the fork. Aim for about an inch of space to create an aesthetically pleasing arrangement.
- Alignment: Align the bottom end of the fork’s handle with the bottom edge of the dinner plate. This ensures a visually balanced and harmonious table setting.
If you’re serving salad or appetizers before the main course, you may also include a smaller salad fork, which is placed to the left of the main fork. The salad fork should be slightly smaller in size and positioned furthest from the plate.
Remember, when setting the fork, pay attention to the other utensils that will be used during the meal. Ensure that there is enough space between each utensil to prevent them from crowding or tangling with one another.
By positioning the fork correctly, you establish a clear and organized setting that enhances both the visual appeal and functionality of the table. It also indicates to your guests where they should start when enjoying their meal.
Step 4: Placing the Knife
Next in line is the knife, which is typically placed on the right side of the dinner plate. The knife serves as an essential tool for cutting and spreading, and its placement is crucial in creating a well-arranged table setting.
To place the knife:
- Side: Position the knife to the right of the dinner plate, with the blade facing inward towards the plate. The knife should be placed between the plate and the water glass, ensuring that the handle is easily accessible for the guest.
- Spacing: Similar to the fork, leave a small amount of space between the edge of the dinner plate and the handle of the knife. Aim for about an inch to maintain a visually balanced and uncluttered look.
- Alignment: Align the bottom end of the knife’s handle with the bottom edge of the dinner plate, creating a visually cohesive setting.
In some formal table settings, you may also include a butter knife, which is placed on the bread plate or to the right of the dinner knife. The butter knife should be positioned with the blade facing downwards towards the plate.
When placing the knife, remember to consider the other utensils that will be used during the meal. Allow enough space between the knife and the fork, as well as the other items on the table, to maintain an organized and visually appealing arrangement.
By properly positioning the knife, you create a balanced and functional table setting that offers ease of use for your guests when enjoying their meal.
When setting silverware on the table, remember to place the forks on the left and the knives and spoons on the right. The blade of the knife should face the plate, and the bottom of the utensils should be aligned with the bottom of the plate.
Read more: How To Identify Silverware
Step 5: Positioning the Spoon
Now it’s time to position the spoon, which is typically placed on the right side of the knife. The spoon is an essential utensil for enjoying soups, desserts, and other dishes that require spooning.
To position the spoon:
- Side: Place the spoon to the right of the knife, with the bowl of the spoon facing upward towards the plate. The handle of the spoon should be positioned towards the guest.
- Spacing: Leave a small amount of space between the edge of the dinner plate and the handle of the spoon. Aim for about an inch of space to maintain a visually balanced and orderly setting.
- Alignment: Align the bottom end of the spoon’s handle with the bottom edge of the dinner plate, ensuring a cohesive and visually pleasing arrangement.
If you’re serving a dessert that requires a separate spoon, you may also include a smaller dessert spoon. The dessert spoon is placed to the right of the soup spoon and should be slightly smaller in size.
As with the fork and knife, make sure there is enough space between the spoon and other utensils to prevent them from overlapping or interfering with one another. This will maintain a neat and well-arranged table setting.
By positioning the spoon correctly, you provide your guests with easy access to the necessary utensil for enjoying various dishes, adding convenience and functionality to their dining experience.
Step 6: Adding Additional Silverware
Depending on the meal you’re serving, you may need to include additional silverware to accommodate the various courses and dining needs. Here are some common additional silverware pieces and their placement:
- Salad Fork: If you’re serving a salad as a separate course, place the salad fork to the left of the main fork. The salad fork is typically smaller and may have a slightly different design, making it distinguishable from the main fork.
- Soup Spoon: For soups or other dishes that require a spoon, place the soup spoon to the right of the dinner knife. The soup spoon is larger and deeper than the teaspoon and is positioned closer to the plate.
- Seafood Fork: If you’re serving seafood, such as shrimp or lobster, include a seafood fork. The seafood fork is smaller and designed specifically for extracting meat from shells. Place it to the right of the soup spoon or at the top of the plate.
- Dessert Spoon and Fork: If you’re serving dessert, provide a separate spoon and fork. Place the dessert spoon to the right of the soup spoon, and the dessert fork to the left of the dessert spoon.
When adding additional silverware, remember to maintain proper spacing between each piece and ensure that they align with the rest of the table setting. This will create a cohesive and well-organized arrangement.
However, it’s important to note that not all meals will require these additional silverware pieces. Adjust the selection and placement of silverware based on the specific dishes you’re serving.
By including the necessary additional silverware, you ensure that your guests have the appropriate utensils for each course, allowing them to enjoy their meal with ease and comfort.
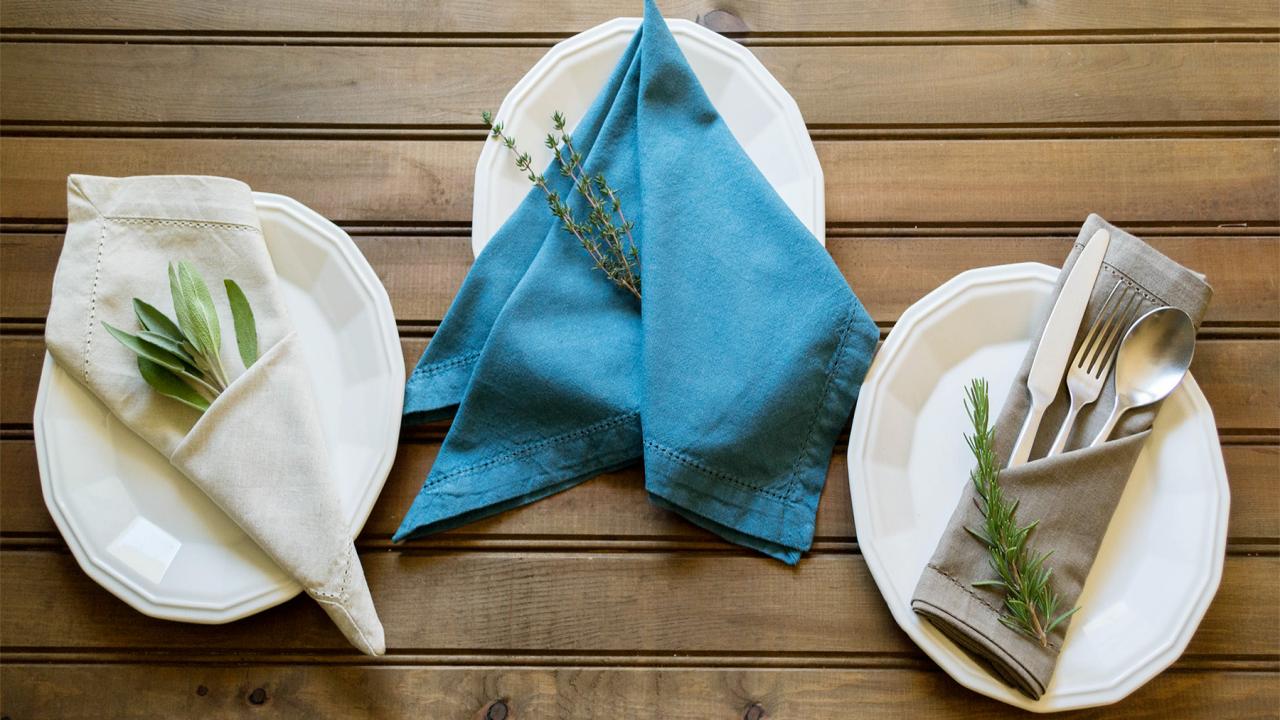
Step 7: Placing Napkins
Now that the silverware is in place, it’s time to add a touch of elegance and practicality to the table by placing napkins. Napkins not only serve a functional purpose but also contribute to the overall aesthetic of the table setting.
To place the napkins:
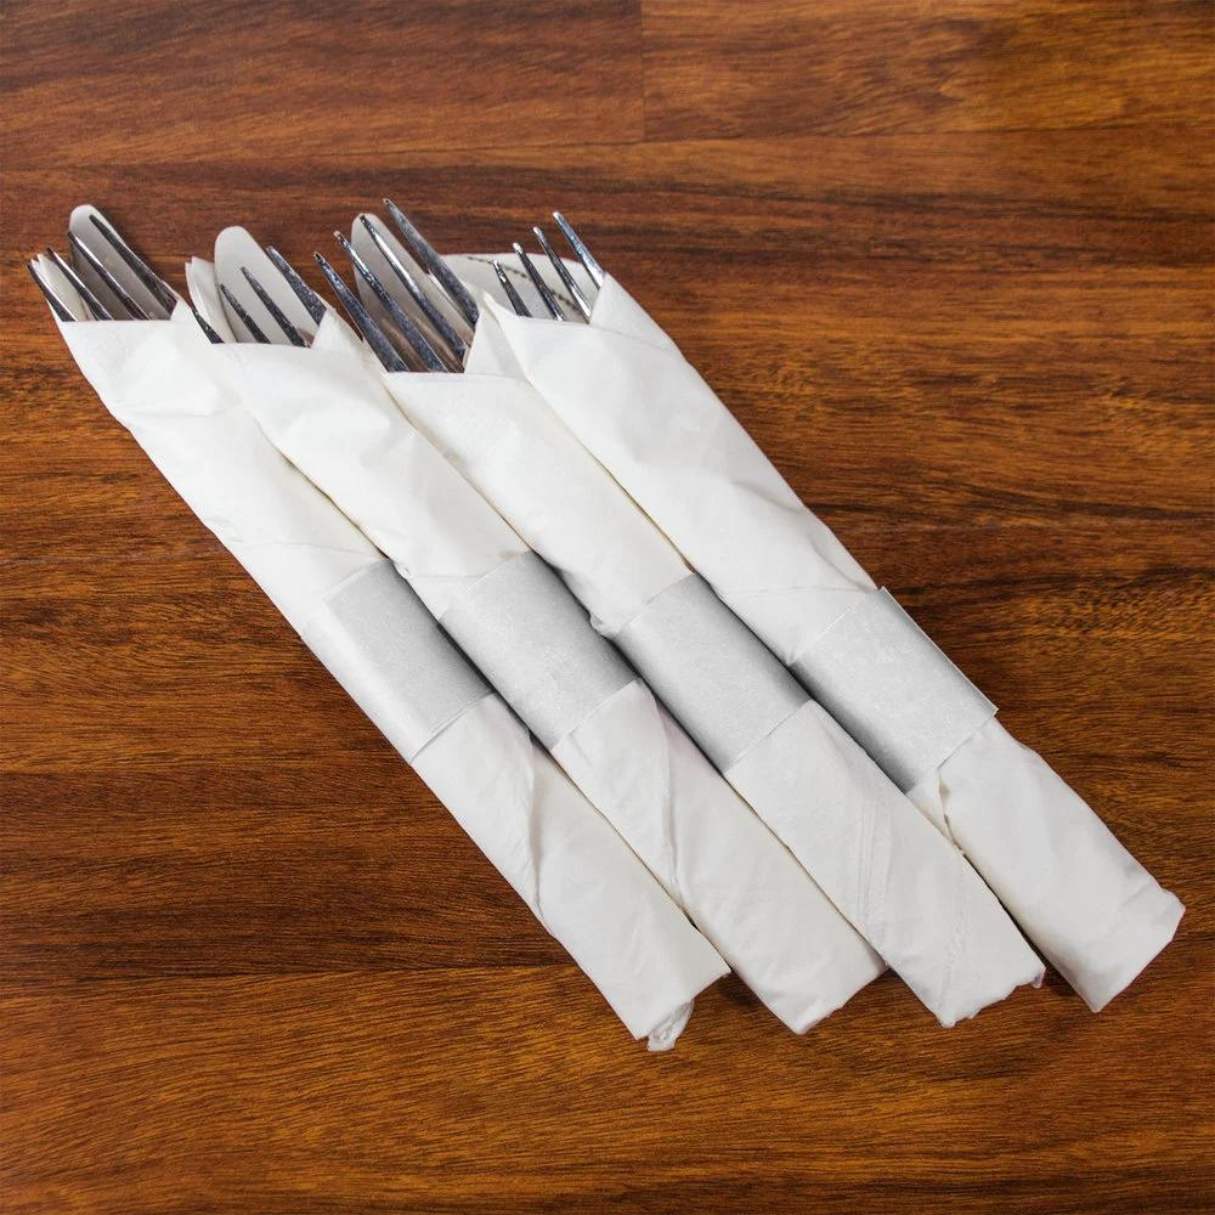
- Position: Napkins can be placed either on the left side of the dinner plate, where the fork is positioned, or neatly folded and placed on the dinner plate itself. Choose the placement that suits your personal preference and the style of your table setting.
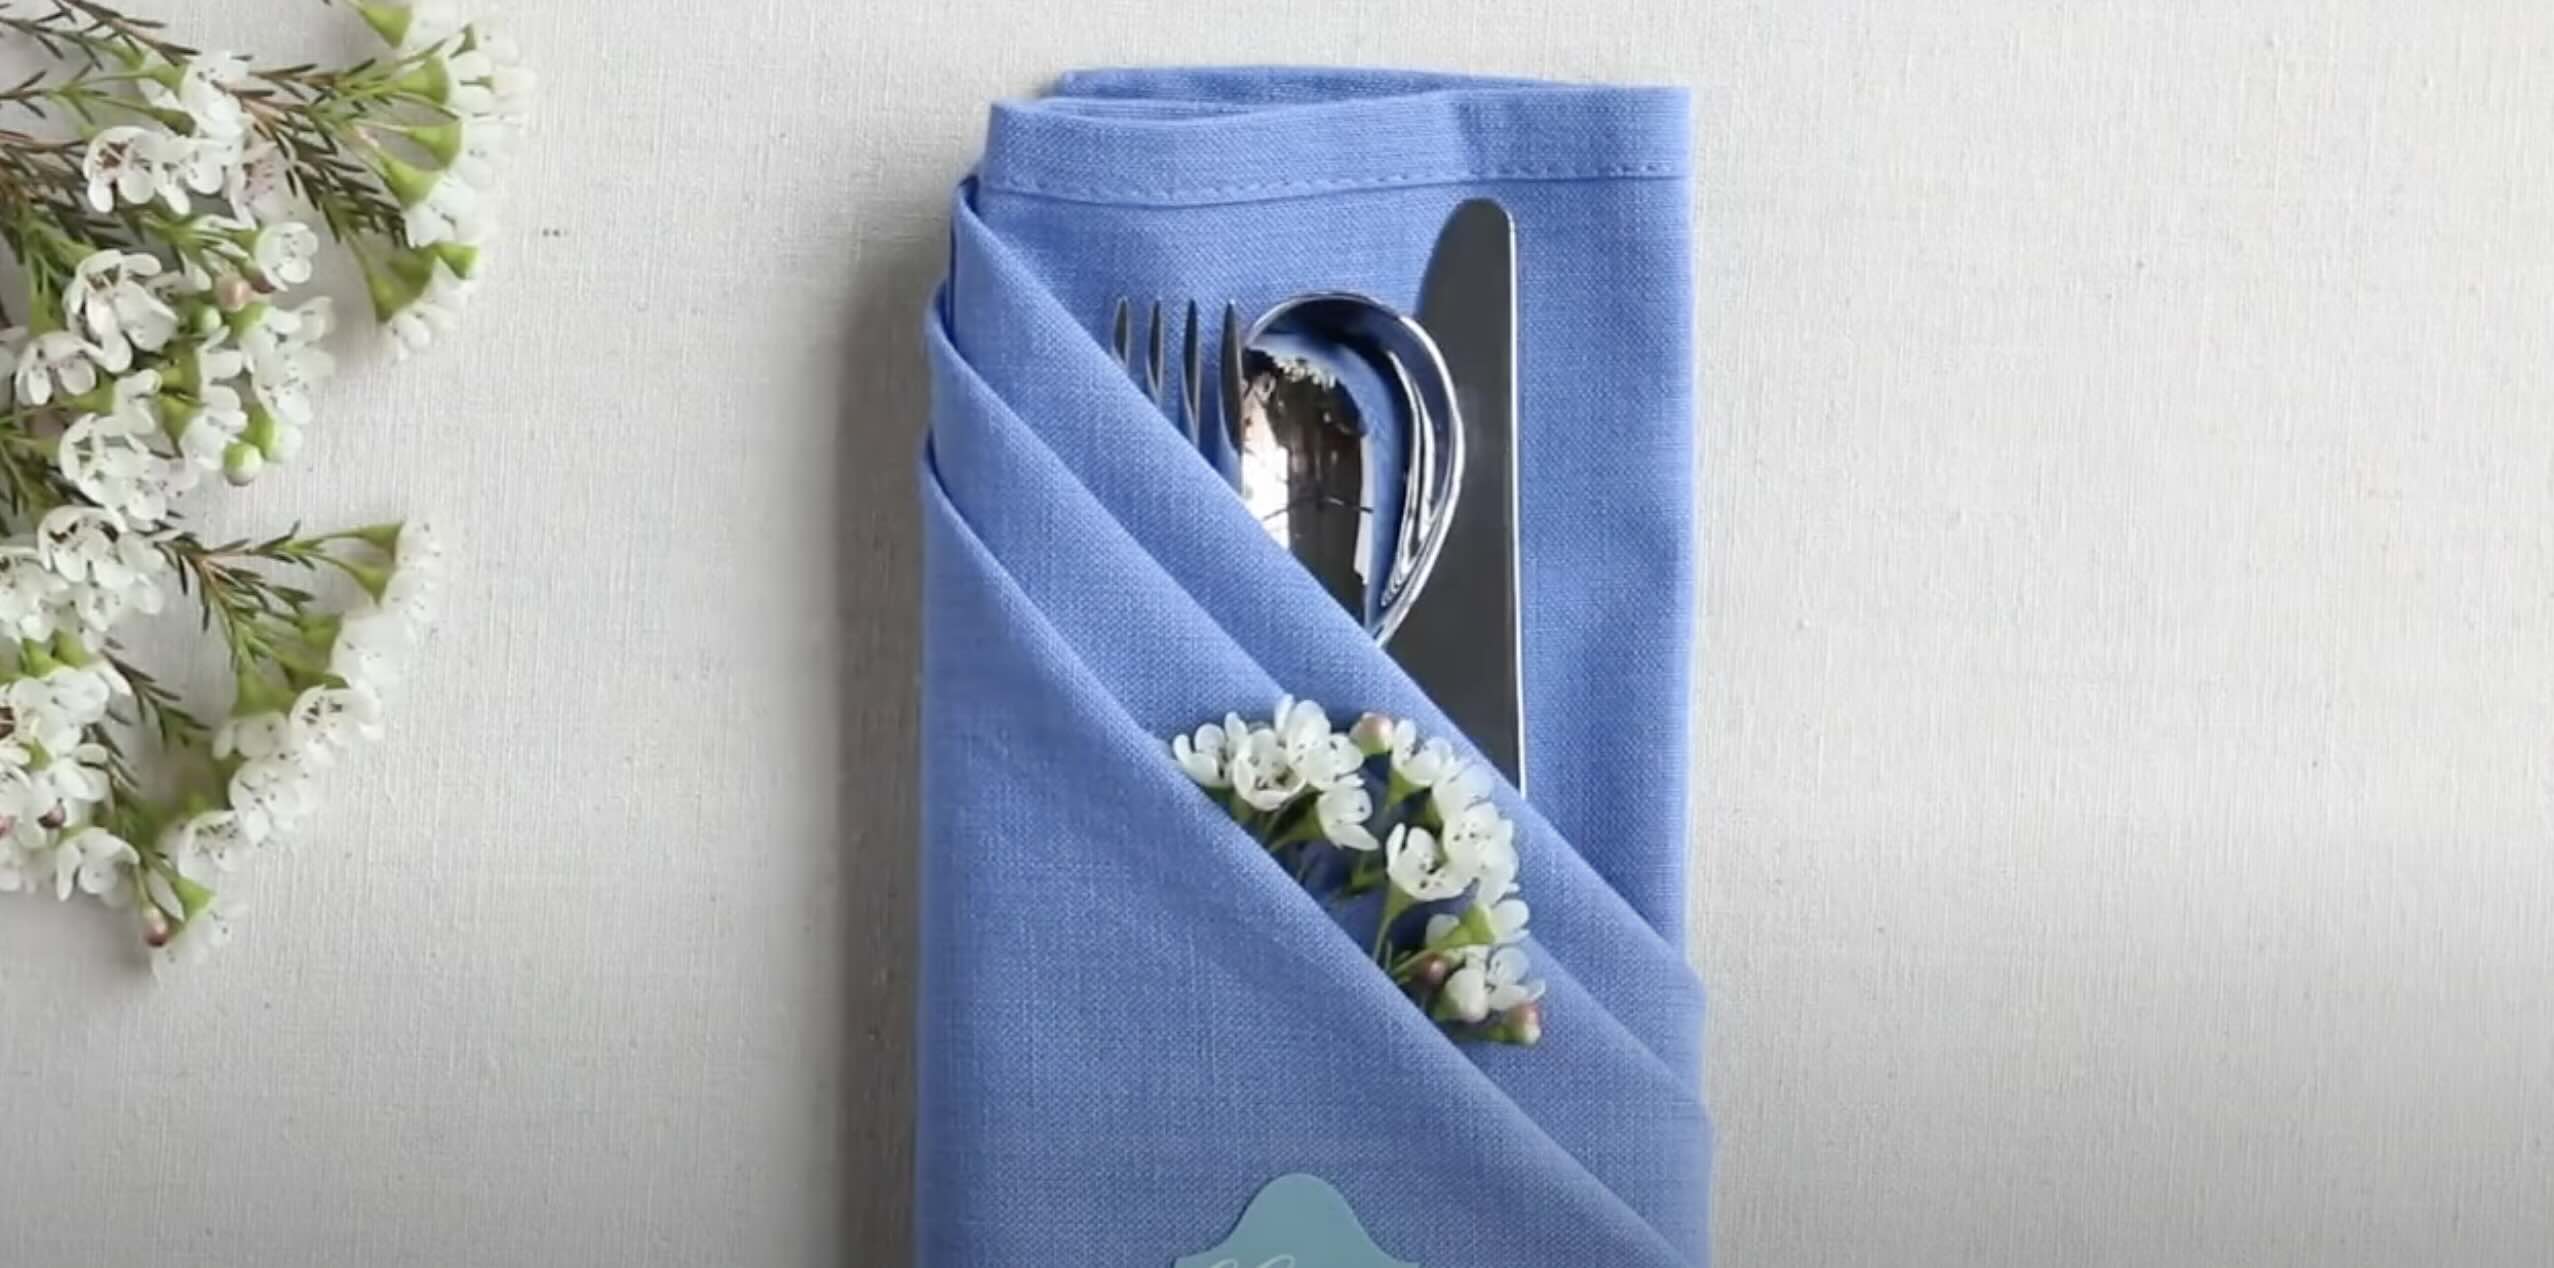
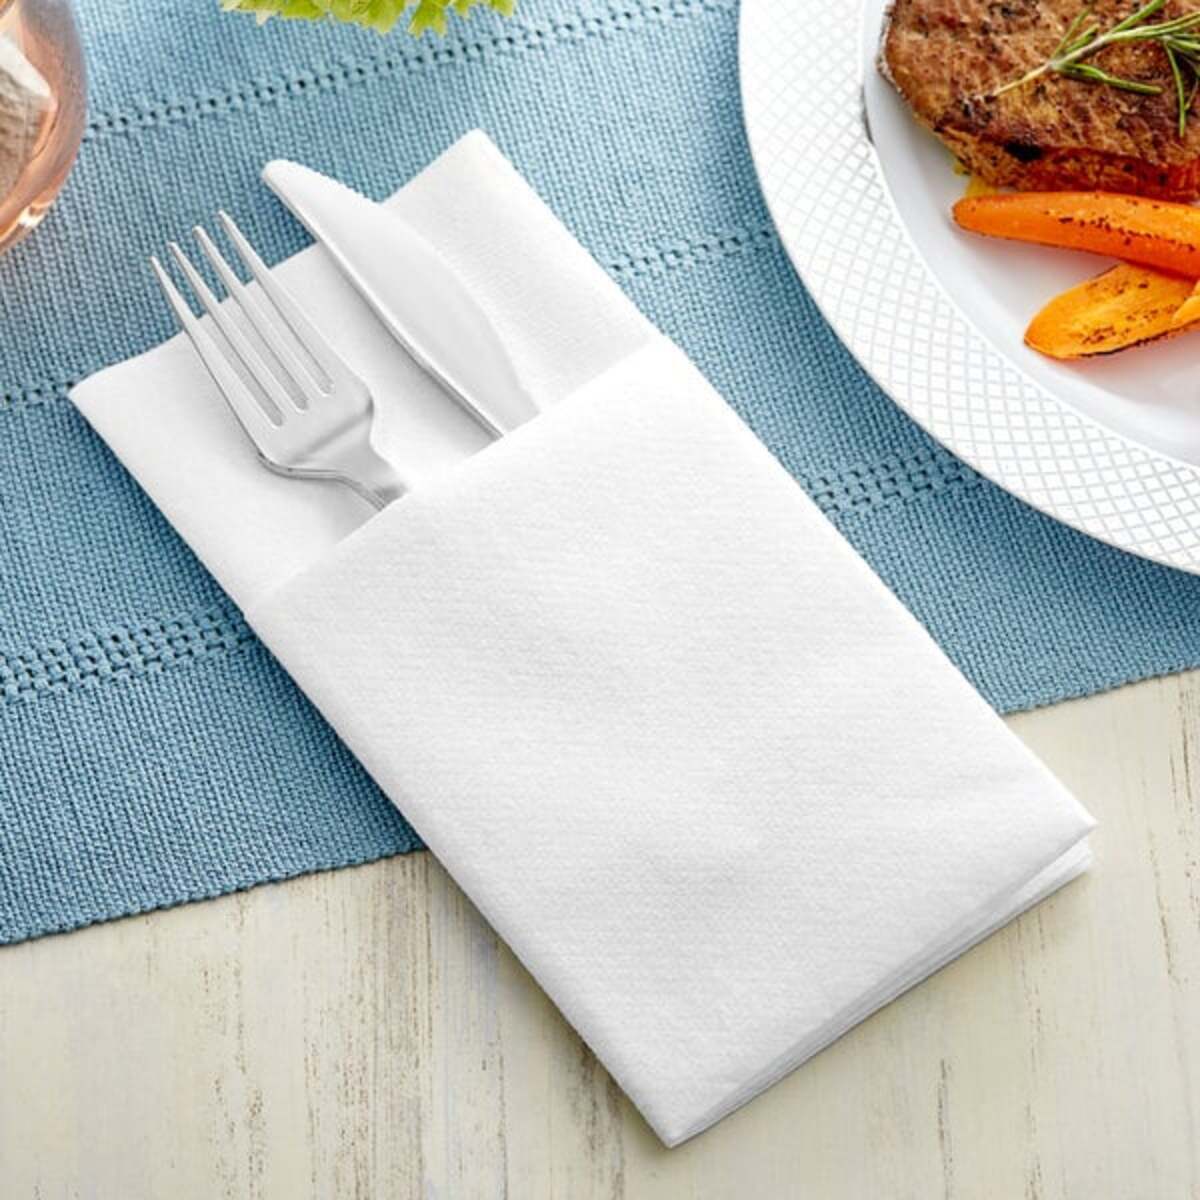
- Folding: Fold the napkins in a way that complements the overall theme or style of your table. Popular napkin folding styles include simple rectangle folds, elegant pocket folds, or decorative fan folds.
- Decorative Touches: Add a decorative touch by placing a napkin ring or a small sprig of fresh herbs on top of the napkin. This can enhance the visual appeal and tie in with the overall table decor.
Ensure that the napkins are clean, well-pressed, and free from any wrinkles or stains. This attention to detail will uplift the entire table setting.
Remember to provide each guest with their own individual napkin. This makes it easier for them to access, use, and return to their laps during the meal.
Placing the napkins adds a refined and sophisticated touch to your table setting. It also serves as a practical tool for your guests to use throughout the meal, making them feel comfortable and well-cared for.
Step 8: Arranging Glasses
No table setting is complete without the inclusion of glasses. The proper arrangement of glasses not only adds elegance to the table but also ensures that your guests have the appropriate vessel for their choice of beverage.
To arrange glasses:
- Placement: Place the drinking glasses directly above the knives. The glasses should be evenly spaced and aligned with each other.
- Order: Arrange the glasses in the order in which they will be used. The water glass is typically placed closest to the guest, followed by the wine glass, and then any additional glasses for other beverages.
- Alignment: Align the bottom rims of the glasses with the bottom edge of the dinner knife. This creates a visually balanced and harmonious arrangement.
- Glass Types: If you’re serving multiple types of wine, consider using different glasses to enhance the experience. Each glass should be appropriate for the type of wine being served.
Ensure that the glasses are clean and free from any smudges or watermarks. This will enhance the visual appeal and showcase your attention to detail.
Remember, the arrangement of glasses can vary depending on the occasion and the beverages being served. Adjust the placement and selection of glasses accordingly to suit your specific needs.
By thoughtfully arranging the glasses, you create an inviting and sophisticated table setting that reflects the care and consideration you put into every aspect of the dining experience.
Read more: How To Organize Silverware
Conclusion
Setting silverware on the table is both an art form and a practical skill that can elevate any dining experience. By following the steps outlined in this article, you can create a visually appealing and well-organized table setting that is sure to impress your guests.
From choosing the right silverware to placing each utensil with precision, every detail contributes to the overall aesthetic and functionality of the table. Consider the material and style of your silverware, and ensure that each piece is clean and polished before setting the table.
Start by placing the dinner plate as the central element, followed by positioning the fork, knife, and spoon in their respective places. Depending on the meal, you may need to include additional silverware such as a salad fork, soup spoon, seafood fork, or dessert spoon and fork.
Don’t forget to add a touch of elegance by placing napkins creatively, either to the left of the dinner plate or folded neatly on top. And complete the table setting by arranging glasses in the proper order and aligning them with the dinner knife.
Remember, the goal is to create a harmonious and inviting table setting that not only looks beautiful but also enhances the dining experience for your guests. Pay attention to the details and make adjustments as needed to suit the occasion and the dishes being served.
By mastering the art of setting silverware on the table, you’ll be able to create a memorable and aesthetically pleasing atmosphere that sets the stage for enjoyable meals and cherished moments with family and friends.
Frequently Asked Questions about How To Set Silverware On The Table
Was this page helpful?
At Storables.com, we guarantee accurate and reliable information. Our content, validated by Expert Board Contributors, is crafted following stringent Editorial Policies. We're committed to providing you with well-researched, expert-backed insights for all your informational needs.

0 thoughts on “How To Set Silverware On The Table”