
Tableware
How To Melt Silverware At Home
Modified: December 7, 2023
Learn how to melt tableware, specifically silverware, at home. Discover step-by-step instructions and safety precautions to transform your old utensils into something new and exciting.
(Many of the links in this article redirect to a specific reviewed product. Your purchase of these products through affiliate links helps to generate commission for Storables.com, at no extra cost. Learn more)
Introduction
Welcome to the fascinating world of melting silverware at home! If you’re a fan of creative DIY projects or have a passion for jewelry making, learning how to melt silverware can be an exciting skill to acquire. Not only does it allow you to repurpose old or damaged silverware, but it also gives you the opportunity to create unique and personalized silver pieces that reflect your own style.
But before we dive into the process, let’s talk about the importance of safety precautions. Melting silverware involves working with high temperatures and molten metal, which can be hazardous if not handled properly. It is crucial to follow safety guidelines and take necessary precautions to ensure your well-being throughout the entire process.
To get started, here’s a list of the materials you’ll need:
- Old or damaged silverware (spoons, forks, etc.)
- Crucible or heat-resistant container
- Crucible tongs or heat-resistant gloves
- Crucible furnace or torch
- Flux
- Molds (if shaping the molten silver)
- Safety goggles
- Protective clothing (long-sleeved shirt, pants)
- Fire extinguisher (just in case)
Now let’s jump into the step-by-step process of melting silverware:
Key Takeaways:
- Transform old silverware into personalized pieces by safely melting and shaping them at home. Prioritize safety, gather materials, and follow step-by-step instructions for a rewarding DIY experience.
- Create stunning silver pieces reflecting your style through careful preparation, melting, pouring, shaping, and polishing. Safely repurpose old silverware into unique and lustrous works of art.
Read more: How To Store Ice Melt
Safety Precautions
Before starting any silverware melting project, it’s important to prioritize safety. Here are some essential safety precautions to follow:
- Always work in a well-ventilated area or outdoors to avoid inhaling harmful fumes.
- Wear appropriate protective clothing, including safety goggles and heat-resistant gloves.
- Ensure you have a fire extinguisher nearby and know how to use it.
- Keep flammable materials and any sources of ignition away from your workspace.
- Work on a stable and fire-resistant surface to prevent accidents.
- Never leave the melting silverware unattended.
With safety in mind, let’s move on to preparing the silverware for melting.
Key Takeaways:
- Transform old silverware into personalized pieces by safely melting and shaping them at home. Prioritize safety, gather materials, and follow step-by-step instructions for a rewarding DIY experience.
- Create stunning silver pieces reflecting your style through careful preparation, melting, pouring, shaping, and polishing. Safely repurpose old silverware into unique and lustrous works of art.
Read more: How To Store Ice Melt
Safety Precautions
Before embarking on any silverware melting project, it is essential to prioritize safety. Working with high temperatures and molten metal can be dangerous, so taking proper precautions is crucial to ensure your well-being throughout the process. Here are some essential safety tips to follow:
- Choose the right workspace: Find a well-ventilated area in your home or, even better, work outdoors. This will help prevent the buildup of harmful fumes and provide better airflow while you’re melting the silverware.
- Protective gear: Always wear the appropriate safety gear to protect yourself from heat and potential splatters. This includes safety goggles, heat-resistant gloves, and long-sleeved clothing. Alternatively, you can use a heat-resistant apron.
- Fire safety: Have a fire extinguisher nearby and know how to use it. Ensure that there are no flammable materials or sources of ignition near your workspace.
- Stable surface: Work on a stable and fire-resistant surface, such as a metal table or a stone countertop, to prevent accidents and ensure the stability of your equipment.
- Maintain focus: Always stay attentive and focused while melting silverware. Never leave the melting metal unattended, as it can reach high temperatures and pose a significant risk if mishandled.
- Proper equipment: Make sure you have all the necessary equipment before starting the melting process. This includes a crucible or a heat-resistant container, crucible tongs or heat-resistant gloves, a crucible furnace or torch, and flux for cleaning the silver.
- Know the melting points: Different types of silverware may have different melting points. Familiarize yourself with the specific melting point of the silverware you are working with to avoid any mishaps or overheating.
- Dispose of waste safely: Properly dispose of any waste materials, such as used flux or leftover metal scraps, according to local regulations and guidelines. This will help ensure the safety of not only yourself but also the environment.
By following these safety precautions, you can enjoy the process of melting silverware with peace of mind, knowing that you have taken necessary steps to protect yourself and create a safe working environment. Now that we have covered safety, let’s move on to the materials needed for melting silverware.
Materials Needed
Before you start melting silverware, it’s important to gather all the necessary materials. Having the right tools and equipment will ensure a smooth and successful melting process. Here’s a list of the materials you will need:
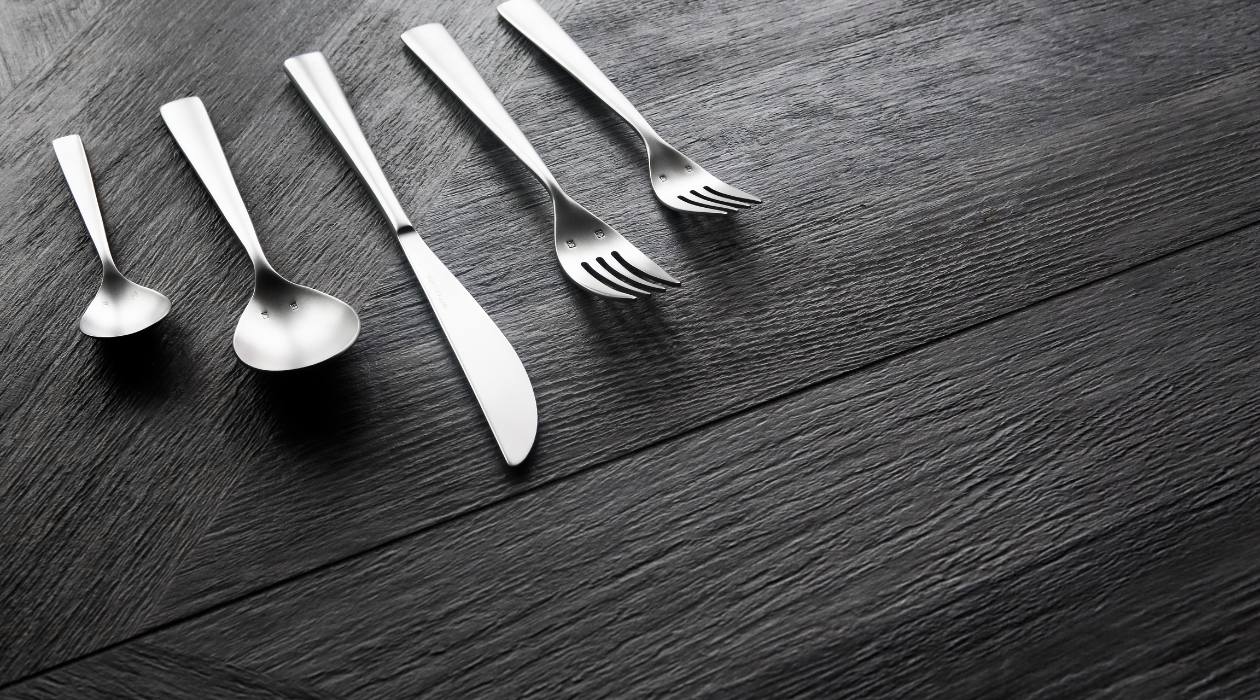
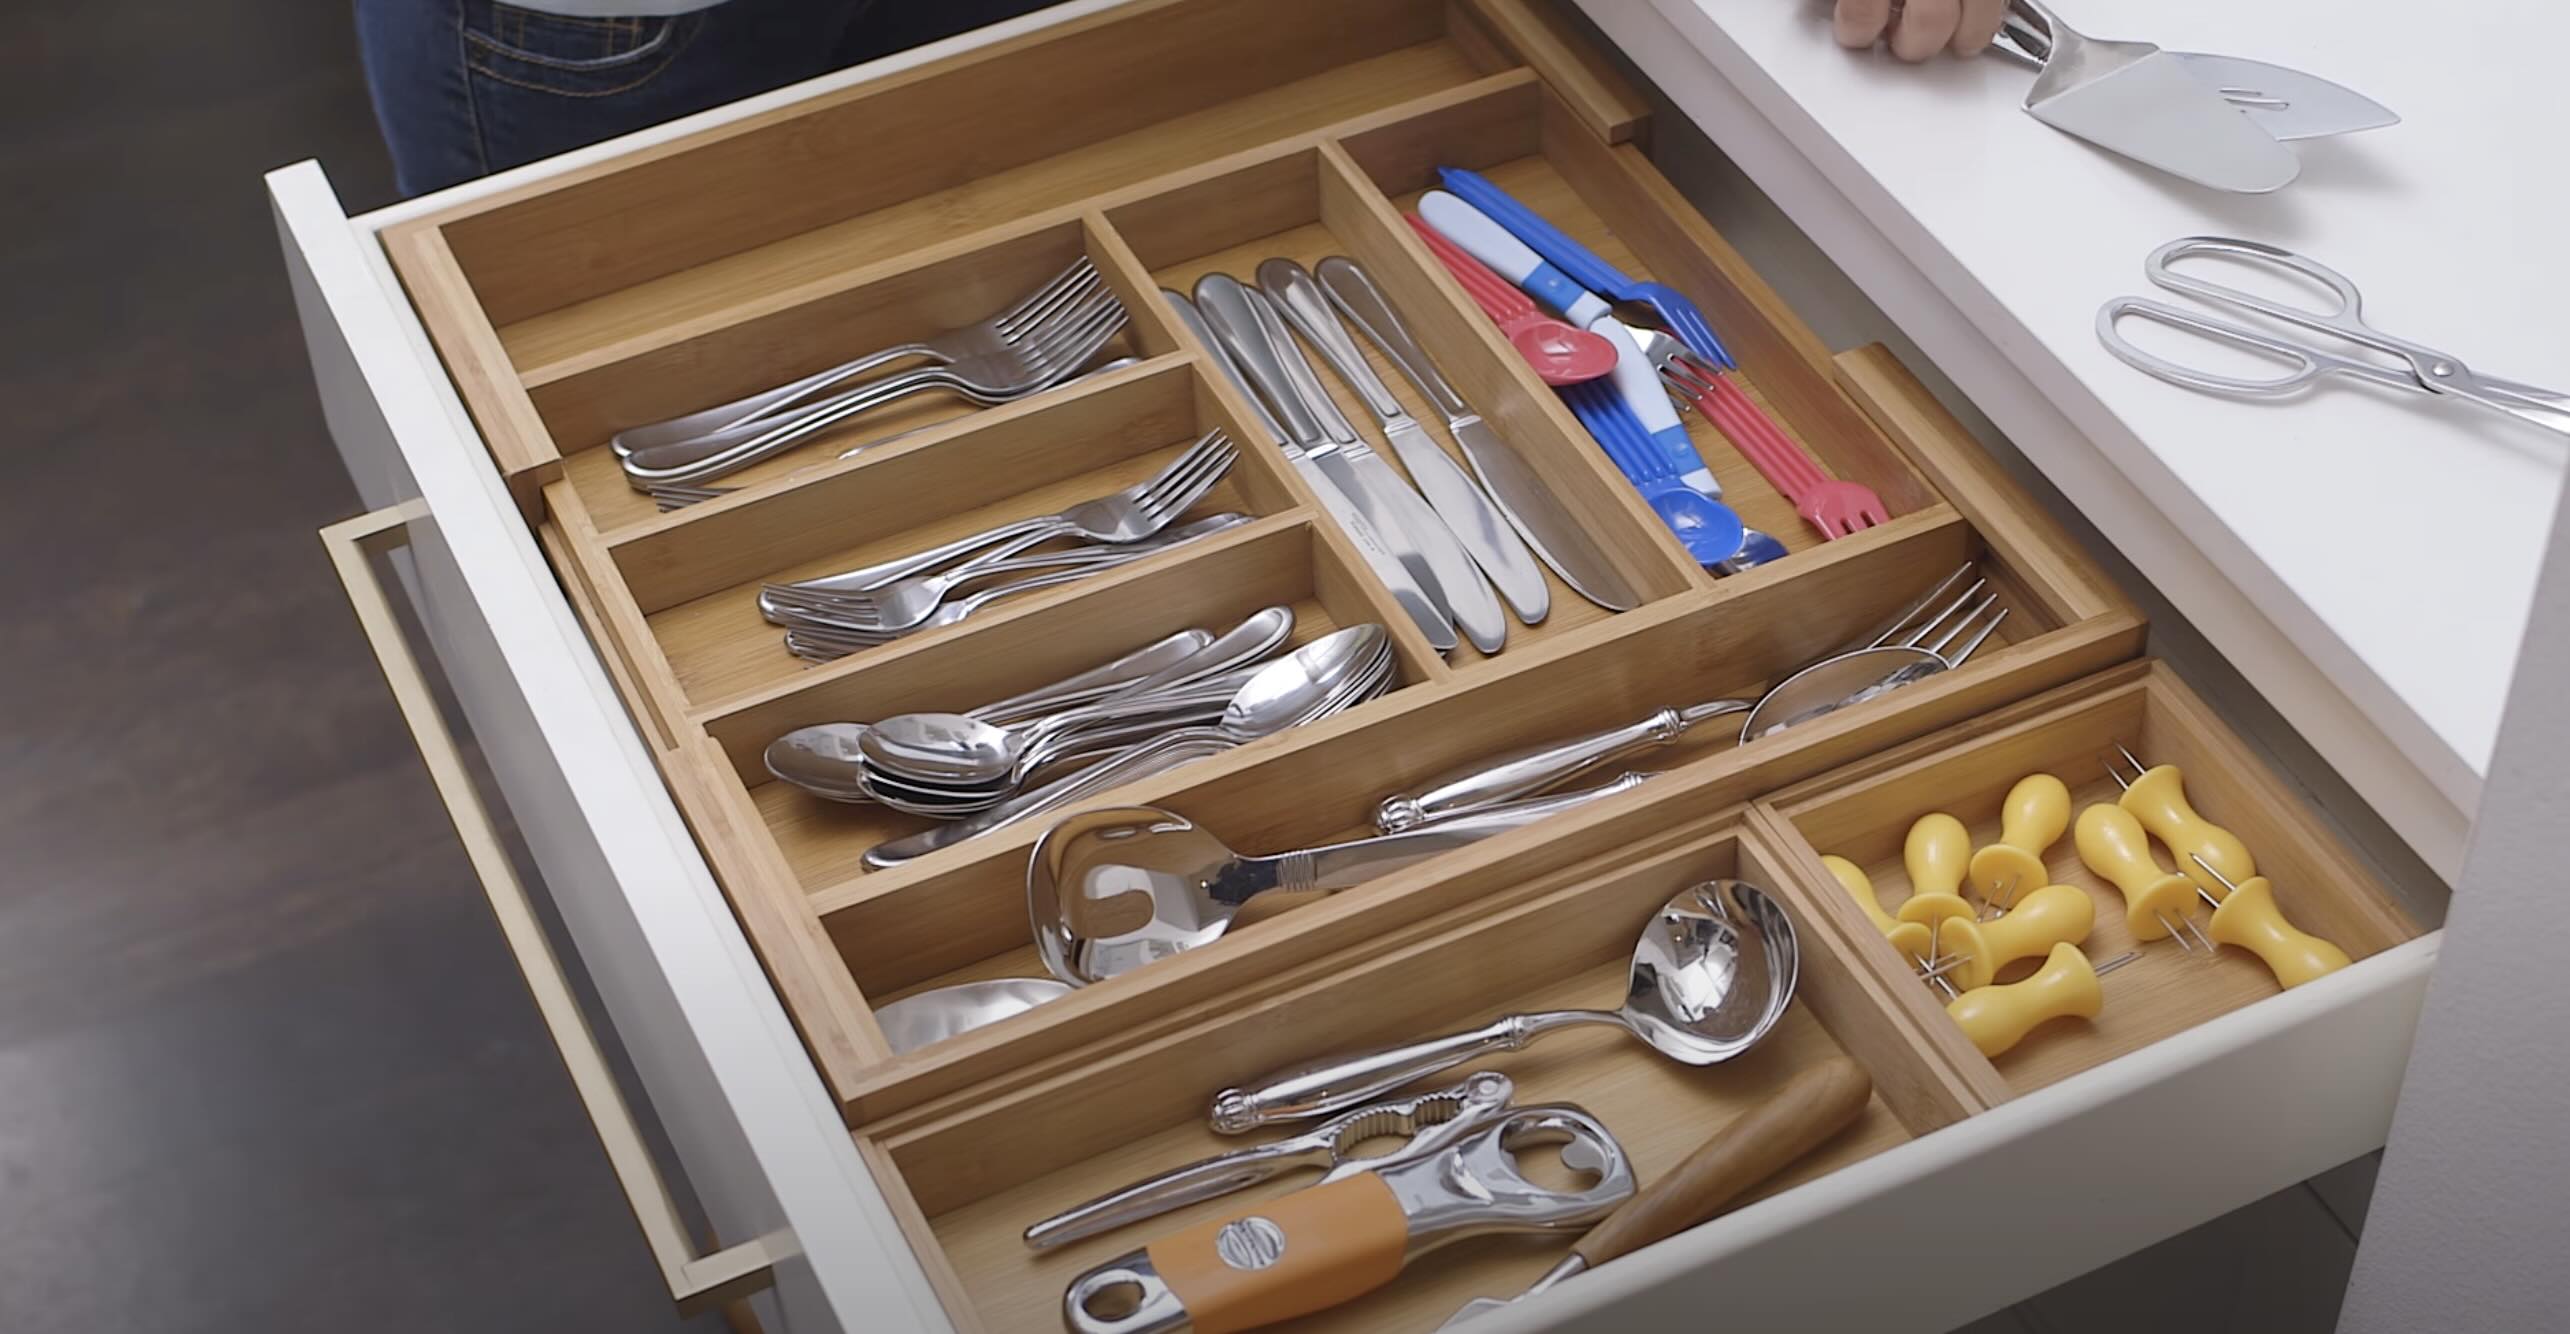
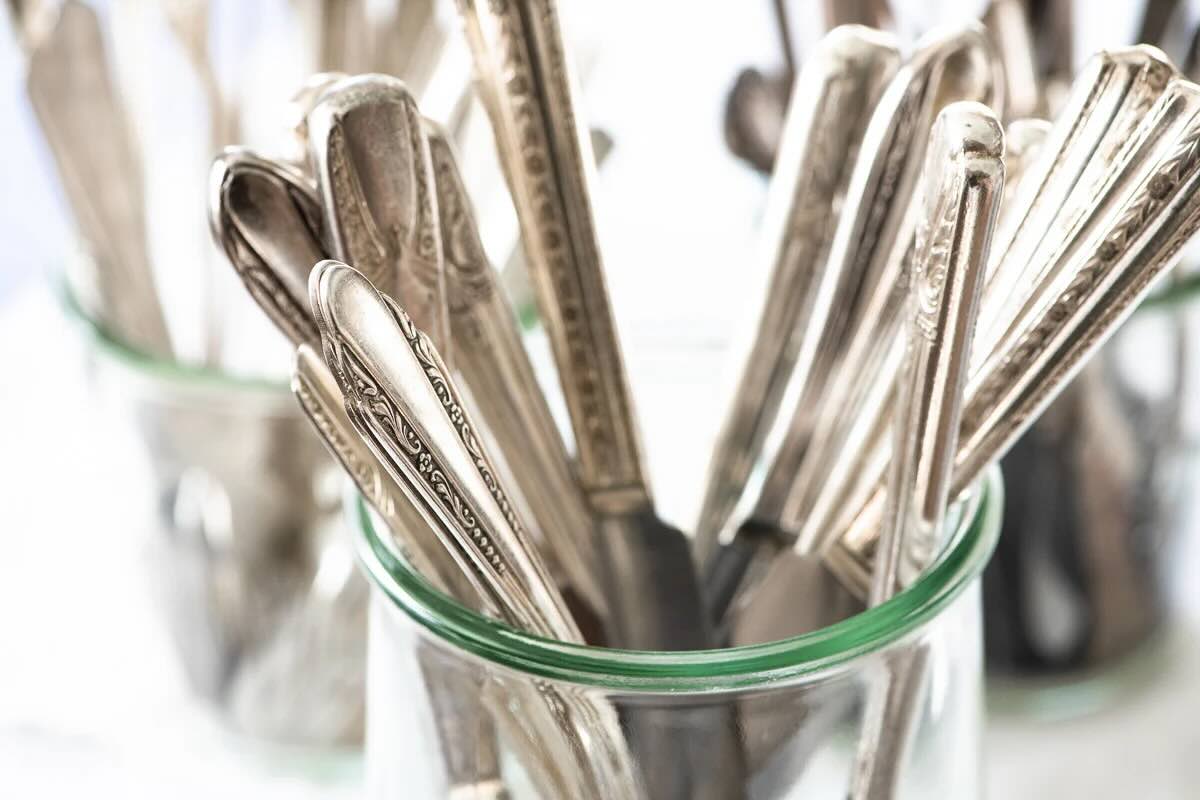
- Silverware: Select old or damaged silverware pieces that you want to melt down. These can include spoons, forks, knives, or any other silver items you have on hand.
- Crucible or heat-resistant container: You will need a crucible or a heat-resistant container to melt the silverware. Ideally, choose a crucible made of materials like graphite or ceramic that can withstand high temperatures.
- Crucible tongs or heat-resistant gloves: To handle the hot crucible or container, you will need crucible tongs or heat-resistant gloves. This will protect your hands from burns and ensure safe handling of the molten silver.
- Crucible furnace or torch: A crucible furnace or a torch is essential for heating the silverware and melting it down. Make sure to use an appropriate heat source that can generate high temperatures to melt the silver effectively.
- Flux: Flux is a material used to clean and remove impurities from the molten silver. It helps improve the quality and purity of the final silver piece. Choose a flux specifically designed for silver melting.
- Molds (optional): If you plan on shaping the molten silver into specific forms, you may want to use molds. Molds can be made of materials like metal or silicone and come in various shapes and sizes.
- Safety goggles: Protect your eyes with safety goggles to shield them from any potential splatters or flying debris during the melting process.
- Protective clothing: Wear long-sleeved clothing and long pants to protect your arms and legs from the high temperatures involved in melting silverware.
- Fire extinguisher: Have a fire extinguisher nearby as a precautionary measure in case of any unforeseen accidents or emergencies.
By having all these materials ready and within reach, you can proceed with confidence in your silverware melting project. In the next steps, we will guide you through the process of preparing the silverware and melting it down to create beautiful silver pieces. Let’s get started!
Step 1: Preparing the Silverware
Before you can melt the silverware, it’s important to properly prepare and clean the pieces. This will help remove any dirt, tarnish, or contaminants, ensuring a cleaner melt and higher-quality silver. Follow these steps to prepare the silverware for melting:
- Safety First: Remember to wear safety goggles and protective gloves throughout the entire process to protect yourself from potential injuries.
- Inspect the Silverware: Examine the silverware pieces to ensure they are suitable for melting. Look for any plastic components or non-metallic coatings that may hinder the melting process. Remove any such components before proceeding.
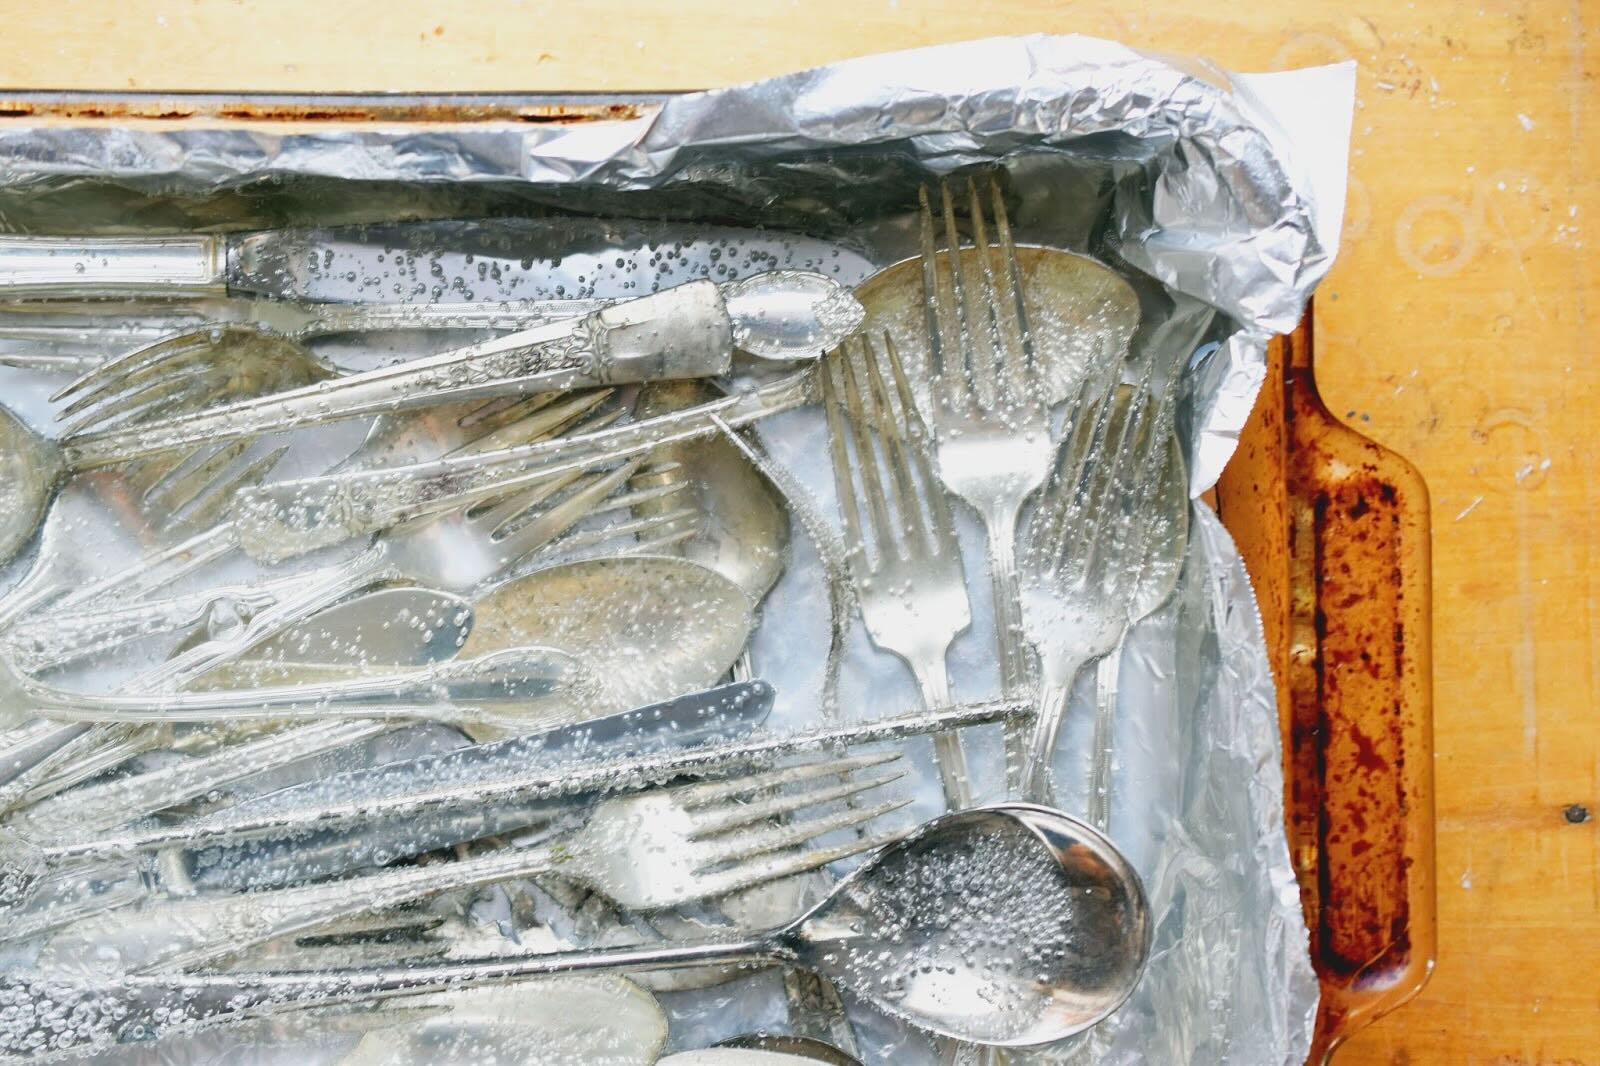
- Clean the Silverware: Begin by washing the silverware with warm soapy water to remove any surface dirt or debris. Use a soft brush or cloth to gently scrub away any tarnish or corrosion. Rinse the silverware thoroughly and dry it completely before moving on to the next step.
- Remove Contaminants: Once the silverware is dry, inspect it closely for any remaining contaminants, such as stubborn tarnish or grease. Use a silver polish or a specialized metal cleaner to remove these contaminants, following the instructions on the product. Make sure to clean both the exterior and interior of the silverware pieces.
- Final Rinse: After cleaning, give the silverware a final rinse to remove any residue from the cleaning products. Dry the pieces thoroughly to prevent water spots or moisture that may interfere with the melting process.
- Organize and Sort: Arrange the cleaned silverware pieces by type and size. This will make it easier to select the specific pieces you want to melt and ensure a more efficient melting process.
By following these steps, you can ensure that your silverware is clean, free from contaminants, and ready for melting. Proper preparation is essential for achieving high-quality results and creating beautiful silver pieces. Now that the silverware is prepared, let’s move on to the next step: melting the silver.
Be sure to use proper safety equipment, such as gloves and eye protection, when melting silverware at home. Also, make sure to use a well-ventilated area to avoid inhaling any fumes.
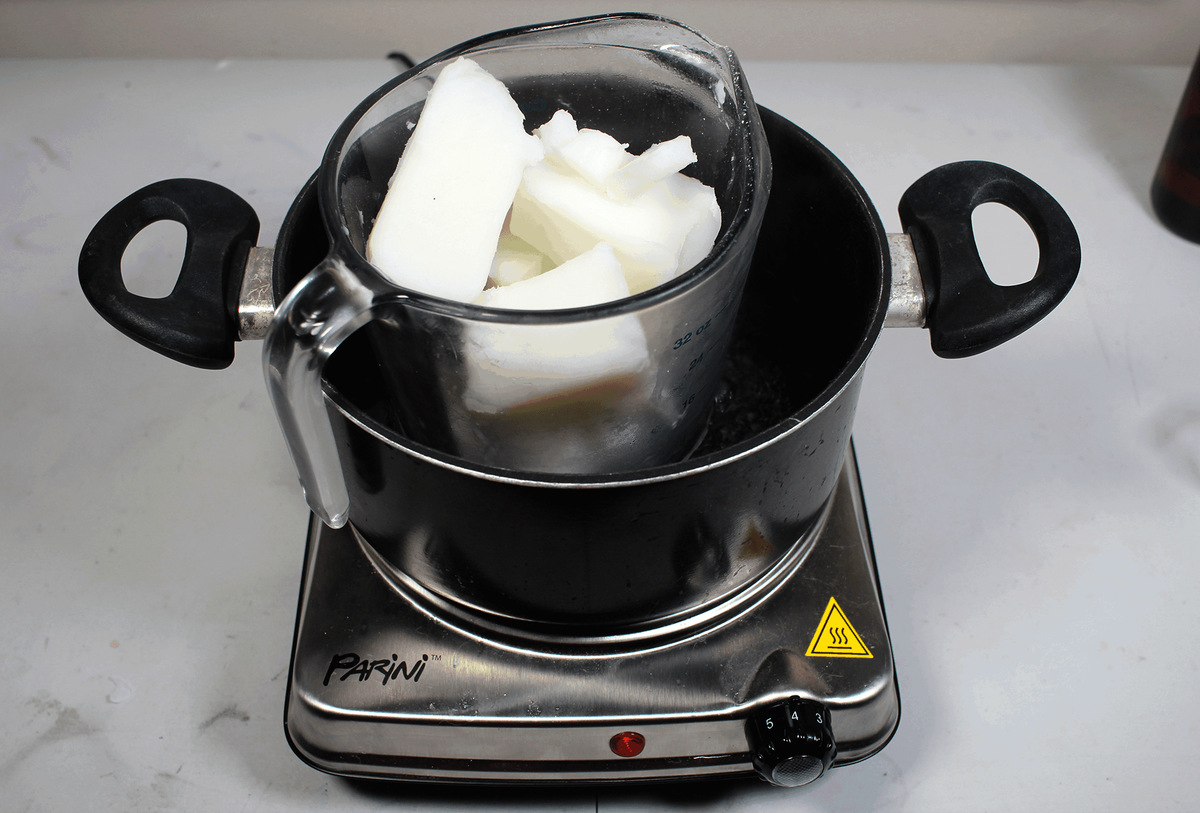
Step 2: Melting the Silverware
Now that the silverware is prepared, it’s time to melt it down and transform it into molten silver. This step requires careful handling and attention to safety. Follow these guidelines to melt the silverware effectively:
- Safety First: Before you begin, double-check that you are wearing safety goggles, heat-resistant gloves, and any other necessary protective gear. Safety should always be a top priority during the melting process.
- Prepare the Crucible: Place the cleaned silverware pieces into a crucible or heat-resistant container. Make sure not to overload the crucible to ensure efficient melting. If the pieces are too large, you may need to cut or break them into smaller sections for easier melting.
- Apply Flux (Optional): If desired, you can apply flux to the silverware pieces before melting. Flux helps remove impurities and enhances the purity of the molten silver. Follow the instructions provided with the flux for the appropriate amount and application method.
- Fire up the Furnace: Ignite the crucible furnace or torch and heat it to the desired temperature. The melting point of silver is around 1763 degrees Fahrenheit or 961 degrees Celsius. Monitor the heat carefully, ensuring that it reaches the melting point without overheating.
- Melting the Silverware: Place the crucible or container with the silverware into the heated furnace or torch flame. As the silverware heats up, it will gradually start to melt and turn into molten silver. Use crucible tongs or heat-resistant gloves to handle the crucible safely.
- Stir the Molten Silver: Once the silverware has completely melted, use a metal rod or spoon to gently stir the molten silver. This helps ensure uniform heat distribution and helps separate any remaining impurities from the silver. Be cautious with the stirring to avoid splatters or spills.
- Monitor the Temperature: Throughout the melting process, closely monitor the temperature to prevent overheating or excessive cooling. Adjust the heat source accordingly to maintain the desired temperature for the molten silver.
Remember, melting silverware requires careful attention and proper temperature control. By following these steps, you can successfully melt the silverware and turn it into molten silver. Once the silverware is completely melted, the next step is to pour the molten silver into a desired mold or container. We will discuss this step in detail in the next section.
Step 3: Pouring the Molten Silver
After successfully melting the silverware and obtaining a pool of molten silver, it’s time to carefully pour it into a mold or container. This step requires precision and caution to ensure a smooth and controlled pouring process. Follow these steps for pouring the molten silver:
- Safety First: Before you begin pouring the molten silver, reiterate your safety precautions. Wear heat-resistant gloves, safety goggles, and protective clothing to shield yourself from potential splatters or burns.
- Prepare the Mold: If you plan on shaping the molten silver into a specific form, prepare the mold beforehand. Ensure that the mold is clean and free from any contaminants or substances that could interfere with the pouring process or affect the quality of the final product.
- Position the Crucible: Carefully lift the crucible or heat-resistant container containing the molten silver and position it just above the mold or container where you want to pour the silver. Take your time to align the crucible properly and ensure a controlled pouring process.
- Controlled Pouring: Begin pouring the molten silver into the mold or container in a slow and controlled manner. Allow the silver to flow smoothly into the desired shape. Avoid sudden or forceful pouring, as this can lead to splatters or irregular shapes.
- Filling the Mold: Continue pouring the molten silver until the mold is filled to the desired level. Be mindful of any intricate designs or fine details in the mold to ensure that the silver reaches all areas evenly. Take your time and work steadily to achieve the desired outcome.
- Allow Cooling: Once the mold is filled, allow the molten silver to cool and solidify. The cooling time will depend on the size and thickness of the silver piece. Avoid touching or moving the mold until the silver has fully hardened to avoid any distortions or imperfections.
By carefully following these steps, you can pour the molten silver into a mold or container, shaping it according to your desired design. Once the silver has cooled and solidified, it is time for the next step: cleaning and polishing the silver piece to enhance its appearance. We’ll discuss this step in detail in the next section.
Step 4: Cooling and Shaping the Silver
After pouring the molten silver into the mold or container, the next step is to let it cool and solidify. This process allows the silver to take on the desired shape and form. Follow these steps to ensure a successful cooling and shaping process:
- Allow Sufficient Cooling Time: Once the molten silver is poured into the mold or container, let it cool undisturbed. The cooling time will vary depending on the size and thickness of the silver piece. It’s crucial to exercise patience and avoid touching or moving the silver until it has completely solidified.
- Monitor the Cooling Process: Keep an eye on the silver piece as it cools to ensure that there are no drastic temperature changes or irregularities. Rapid cooling could lead to cracks or other imperfections. If necessary, adjust the environment for more controlled cooling, such as placing the mold in a cooler area or using a cooling agent.
- Inspect the Solidified Silver: Once the silver has cooled and hardened, carefully inspect it for any defects or irregularities. Assess the overall shape, texture, and surface smoothness. If there are any imperfections, such as air bubbles or rough spots, they can often be addressed during the cleaning and polishing stage.
- Shape the Silver (optional): If desired, you can further shape the cool silver piece after solidification. Use appropriate tools, such as files, sandpaper, or polishing compounds, to refine the shape and smooth out any rough edges. Take your time to achieve the desired final form and ensure consistency in the overall design.
- Ensure Stability: Once the silver has cooled and been shaped, verify that it has a stable and secure structure. For larger or more intricate pieces, consider reinforcing the silver with additional support, such as wires or metal frames, to enhance durability and maintain the desired shape over time.
By following these steps, you can successfully cool and shape the molten silver into a solid piece. Take your time and pay attention to detail to ensure the highest quality and desired outcome. The final step in the process is cleaning and polishing the silver piece to bring out its luster and shine. We’ll discuss this step in detail in the next section.
Step 5: Cleaning and Polishing the Silver
Now that you have cooled and shaped the silver, it’s time to give it a thorough cleaning and polishing to bring out its natural shine. This step will enhance the appearance of the silver piece and give it a radiant finish. Follow these steps to clean and polish your silver:
- Clean the Silver: Start by washing the silver piece with mild dish soap and warm water. Use a soft brush or cloth to gently scrub away any dirt or residue. Rinse the silver thoroughly and dry it with a soft, lint-free cloth to prevent water spots or scratches.
- Remove Tarnish: If there are any signs of tarnish on the silver, you can use a silver polish specifically designed for this purpose. Apply the polish following the instructions on the packaging, and use a soft cloth to gently buff the silver, removing the tarnish. Be mindful not to over-polish, as excessive buffing can cause damage.
- Polish the Silver: After removing any tarnish, you can proceed to polish the silver for a shiny finish. Use a silver polishing cloth or a specialized silver polish to gently buff the surface of the silver. Work in small, circular motions to bring out its natural luster. Pay extra attention to crevices or intricate details where dirt or polish residue may accumulate.
- Finishing Touches: Once the silver is polished, use a clean, soft cloth to remove any excess polish and give the piece a final buff. This will further enhance its shine and ensure a smooth, flawless appearance.
- Store Properly: After cleaning and polishing, store your silver piece in a dry, tarnish-resistant storage bag or a lined jewelry box. This will help protect it from exposure to moisture and air, which can lead to tarnish or discoloration. Consider including anti-tarnish strips or silica gel packets to absorb moisture and maintain the silver’s pristine condition.
By following these steps, you can effectively clean and polish your silver piece, bringing out its natural beauty and sparkle. Regular cleaning and proper storage will help preserve your silver’s shine and ensure its longevity. Now, you can proudly showcase and enjoy your beautifully transformed silverware creation.
As you can see, the process of melting silverware at home offers a unique and creative way to repurpose old or damaged silver items. Remember to prioritize safety throughout the entire process, from preparing the silverware to cleaning the final piece. Enjoy the rewarding experience of melting silverware and let your creativity shine!
Thank you for joining us on this journey of learning how to melt silverware at home. We hope you find success and joy in your silverware melting endeavors.
Read more: How To Store Melted Butter
Conclusion
Melting silverware at home is a rewarding and creative process that allows you to repurpose old or damaged silver items into unique and personalized pieces. By following the step-by-step guide provided in this article, you can safely and effectively melt silverware and transform it into beautiful works of art.
Throughout this article, we emphasized the importance of prioritizing safety precautions, from wearing the necessary protective gear to working in a well-ventilated area. Always remember to exercise caution and follow safety guidelines to prevent any accidents or injuries.
We discussed the materials needed for the melting process, including silverware, a crucible or heat-resistant container, crucible tongs or heat-resistant gloves, a crucible furnace or torch, flux, molds (if desired), safety goggles, protective clothing, and a fire extinguisher. Gathering these materials beforehand ensures a smooth and efficient melting process.
The step-by-step instructions provided in this article guided you through preparing the silverware, melting it down, pouring the molten silver into a mold, and allowing it to cool and solidify. We also covered the essential step of cleaning and polishing the silver piece to achieve a radiant and lustrous finish.
By following these steps and paying attention to detail, you can create stunning silver pieces that reflect your personal style and showcase your creativity. Whether you choose to make jewelry, home decor items, or any other silverware creations, the possibilities are endless.
Remember to properly store your silver pieces in a tarnish-resistant bag or jewelry box, and regularly clean and polish them to maintain their shine and beauty. With proper care, your melted silverware creations can last for generations to come.
Congratulations on learning how to melt silverware at home! We hope you find joy and fulfillment in this creative endeavor. So go ahead, gather your materials, follow the steps, and let your imagination run wild. Happy silverware melting!
Frequently Asked Questions about How To Melt Silverware At Home
Was this page helpful?
At Storables.com, we guarantee accurate and reliable information. Our content, validated by Expert Board Contributors, is crafted following stringent Editorial Policies. We're committed to providing you with well-researched, expert-backed insights for all your informational needs.
0 thoughts on “How To Melt Silverware At Home”