Home>diy>Home Improvement>How Long Does A Bathroom Renovation Take
Home Improvement
How Long Does A Bathroom Renovation Take
Modified: August 28, 2024
Find out how long a bathroom renovation takes with our expert tips and advice. Get your home-improvement project started today!
(Many of the links in this article redirect to a specific reviewed product. Your purchase of these products through affiliate links helps to generate commission for Storables.com, at no extra cost. Learn more)
Introduction
Welcome to our comprehensive guide on bathroom renovations! If you’re considering giving your bathroom a makeover, one of the first questions that may come to mind is how long the process will take. While the duration of a bathroom renovation can vary depending on several factors, we’re here to provide you with a general overview of what to expect.
Renovating a bathroom is an exciting project that can not only enhance the functionality of the space but also breathe new life into your home. However, it’s important to understand that the timeline for a bathroom renovation can be influenced by various factors.
In this article, we’ll break down the different stages of a bathroom renovation and discuss the factors that can impact the overall duration. By understanding the process and considering these factors, you can have a realistic expectation of how long your bathroom renovation will take.
Before we dive into the timeline, keep in mind that every bathroom renovation is unique. Factors such as the size of the bathroom, the extent of the renovation, and the availability of materials and contractors can all play a role in determining how long the project will take.
Now, let’s explore the key factors that can affect the duration of a bathroom renovation.
Key Takeaways:
- The duration of a bathroom renovation is influenced by factors such as project size, permit acquisition, material availability, contractor schedules, and unforeseen complications. Understanding these factors helps in setting realistic expectations for the timeline.
- The comprehensive stages of a bathroom renovation, from planning to final touches, require attention to detail and proper execution. By following the outlined process, homeowners can achieve a successful and rewarding transformation of their space.
Factors Affecting the Duration of a Bathroom Renovation
When it comes to bathroom renovations, several factors can impact the timeline. Understanding these factors will help you anticipate any potential delays and plan accordingly. Here are some of the key factors that can affect the duration of your bathroom renovation:
- Size and Scope of the Project: The size and complexity of the renovation will have a significant impact on how long it takes to complete. A simple cosmetic update, such as replacing fixtures and repainting walls, will generally take less time compared to a complete gut renovation that involves reconfiguring the layout, moving plumbing and electrical lines, and installing new fixtures.
- Permits and Approvals: Depending on the scope of your renovation, you may need to obtain permits and approvals from your local building department. The process of obtaining permits can vary depending on your location and the specific requirements of your project. It’s essential to factor in the time needed for permit application and approval when estimating the duration of your renovation.
- Availability of Materials: The availability of the materials you choose for your bathroom renovation can impact the timeline. If you opt for custom-made fixtures or unique materials that require special ordering, it may take longer for them to be delivered. Ensuring that all the materials are readily available or ordering them well in advance can help prevent delays during the renovation.
- Contractor Availability: The availability of a reliable and experienced contractor or renovation team is crucial for keeping your project on track. Before starting the renovation, it’s essential to confirm the contractor’s schedule and ensure they have allocated sufficient time for your project. Keep in mind that reputable contractors may have busy schedules, so it’s advisable to book their services well in advance.
- Unforeseen Issues: Sometimes, unexpected issues can arise during a renovation, such as hidden plumbing problems, electrical issues, or structural challenges. These unforeseen issues can add time to the renovation process as they need to be addressed appropriately. It’s important to build in some flexibility in your timeline to account for any unexpected complications.
By considering these factors and planning accordingly, you can have a better understanding of how long your bathroom renovation is likely to take. The next section will provide an overview of the different stages involved in a typical bathroom renovation, further helping you estimate the timeline for your project.
Planning Phase
The planning phase is the first step in any successful bathroom renovation. It involves determining your goals, setting a budget, and finalizing the design. This stage is crucial as it lays the foundation for the entire project. Here are the key steps involved in the planning phase:
- Defining Your Goals: Start by considering your reasons for renovating your bathroom. Are you looking to improve functionality, update the aesthetics, or increase the resale value of your home? Clearly defining your goals will help guide your decision-making throughout the renovation process.
- Setting a Budget: Determine a realistic budget for your renovation, taking into account the cost of materials, labor, permits, and any unforeseen expenses. Consider getting quotes from contractors or professionals to get an idea of the potential costs involved in your project.
- Creating a Design: Work with a professional designer or utilize online resources to create a design plan for your new bathroom. Consider factors such as layout, fixtures and fittings, color scheme, and overall style. This step will help you visualize the end result and make any necessary adjustments before construction begins.
- Researching Materials and Fixtures: Take the time to research and select the materials and fixtures for your bathroom renovation. Consider factors such as durability, functionality, and aesthetic appeal. Look for inspiration online, visit showrooms, and consult with professionals to ensure you make informed choices.
- Hiring Professionals: If you plan to work with contractors or professionals, this is the stage to interview and select the right team for your project. Look for reputable contractors with experience in bathroom renovations and check their references and credentials before making a decision.
- Obtaining Permits: Depending on the scope of your renovation, you may need to obtain permits from your local building department. Research the necessary permits and approval process and allow sufficient time for application and approvals.
The planning phase is essential for a smooth and successful bathroom renovation. Taking the time to define your goals, set a budget, and finalize the design will help ensure that you stay on track throughout the process. Once the planning phase is complete, you can move on to the next stage, which involves the demolition and removal of existing fixtures.
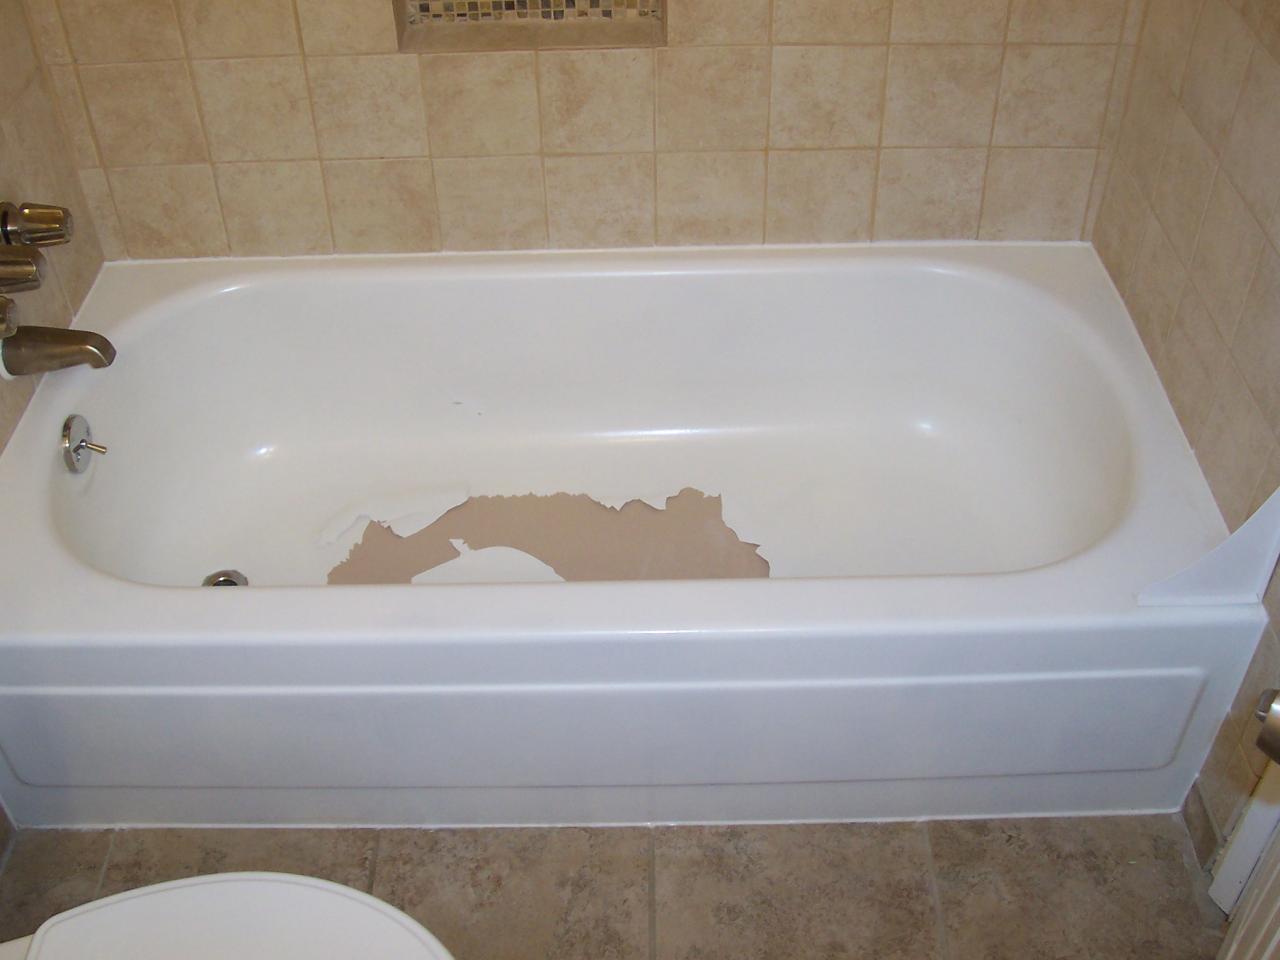
Demolition and Removal of Existing Fixtures
Once the planning phase is complete, it’s time to roll up your sleeves and begin the demolition and removal of existing fixtures in your bathroom. This stage can be messy and time-consuming, but it’s a necessary step to create a clean slate for your renovation. Here’s what to expect during the demolition and removal phase:
- Prepare the Workspace: Before starting the demolition, protect the surrounding areas and floors by covering them with drop cloths or plastic sheets. This will help minimize the spread of dust and debris.
- Remove Fixtures: Begin by disconnecting and removing all existing fixtures, such as sinks, toilets, bathtubs or showers, cabinets, and countertops. If you are not experienced with plumbing or electrical work, it’s best to hire professionals to handle the disconnection.
- Demolish Walls and Flooring: Depending on the extent of your renovation, you may need to remove wall tiles, drywall, or flooring. Carefully demolish these elements to create a blank canvas for the next stage of the renovation. Use appropriate tools and protective gear to ensure your safety.
- Address Structural Issues: During the demolition phase, it’s not uncommon to discover underlying structural issues, such as water damage, mold, or rot. If any structural problems are uncovered, it’s crucial to address them before proceeding with the renovation. Consult with professionals, such as structural engineers or contractors, for proper assessment and repair.
- Clean and Dispose: Once the demolition is complete, thoroughly clean the space and dispose of all debris in accordance with local regulations. This may involve hiring a waste removal company or utilizing a dumpster.
The duration of the demolition and removal phase can vary depending on the size and complexity of your bathroom and the amount of demolition necessary. It’s important to exercise caution during this stage and follow proper safety protocols. Once the demolition and removal of existing fixtures are finished, you can move on to the next stages of your bathroom renovation, which include plumbing and electrical work.
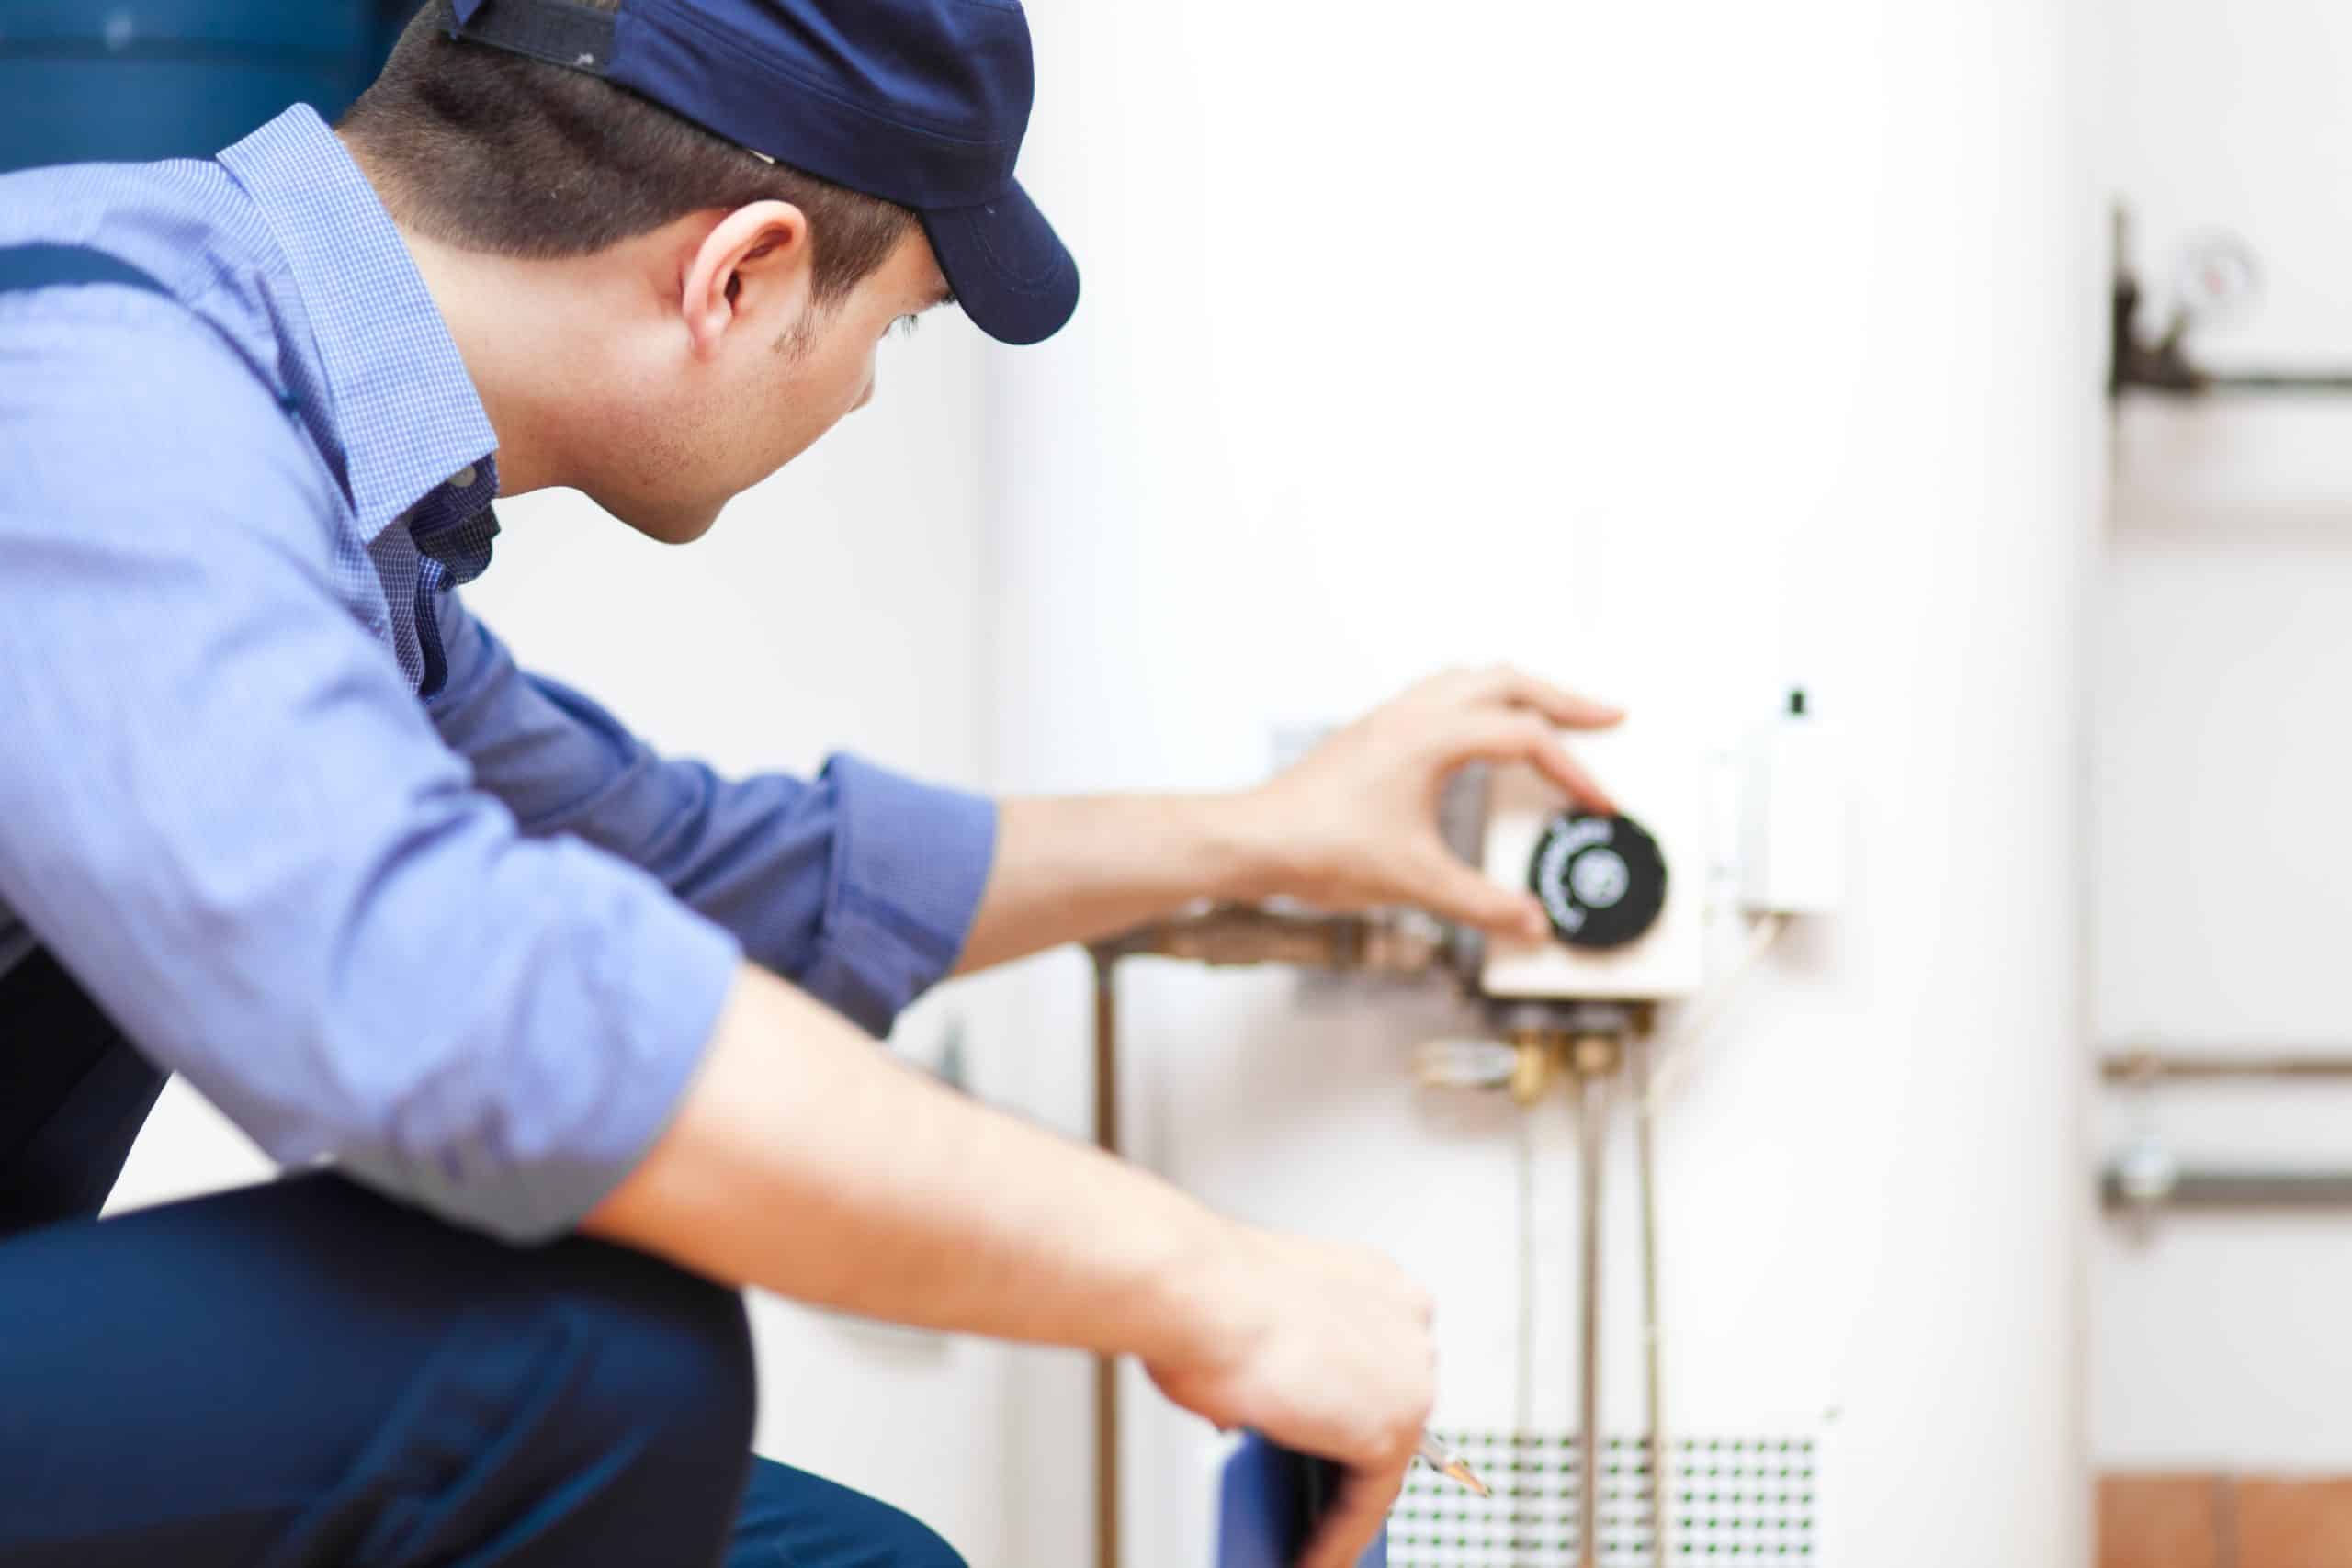
Plumbing and Electrical Work
Once the demolition and removal phase is complete, it’s time to address the plumbing and electrical work in your bathroom renovation. This stage is crucial as it involves ensuring your bathroom’s functionality and safety. Here is an overview of what to expect during the plumbing and electrical work:
- Update Plumbing: If your renovation involves relocating fixtures or changing the layout of your bathroom, plumbing adjustments will be necessary. This may include moving water supply lines, drainage pipes, and venting. It’s essential to hire a licensed plumber who can handle these tasks efficiently and adheres to local building codes.
- Upgrade Electrical Systems: Upgrading your bathroom’s electrical systems is essential for safety and functionality. This may involve installing new outlets, lighting fixtures, exhaust fans, and wiring for features such as heated floors or towel warmers. Hiring a licensed electrician will ensure that the electrical work is done correctly and in compliance with building codes.
- Install New Plumbing Fixtures: Once the plumbing lines are in place, it’s time to install new plumbing fixtures such as sinks, toilets, showers, and bathtubs. It’s crucial to follow the manufacturer’s instructions, use proper seals, and ensure all connections are secure to prevent any future issues.
- Test Plumbing and Electrical Systems: Before moving on to the next stage of the renovation, it’s essential to test the plumbing and electrical systems to ensure everything is functioning correctly. This may include checking for leaks, running water through the pipes, testing electrical connections, and verifying that all outlets and switches are in working order.
The duration of the plumbing and electrical work will depend on the complexity of your renovation and the extent of changes to be made. It’s advisable to work with experienced professionals who can efficiently complete these tasks while ensuring compliance with building codes and safety standards.
Once the plumbing and electrical work is completed, you can move on to the next stage of your bathroom renovation, which involves the installation of new walls and flooring.
A bathroom renovation can take anywhere from 2 to 3 weeks for a simple update, to 6 to 8 weeks for a more extensive remodel. Factors such as the size of the bathroom, the scope of work, and the availability of materials can all impact the timeline.
Read more: How Long Does Plumbing Take
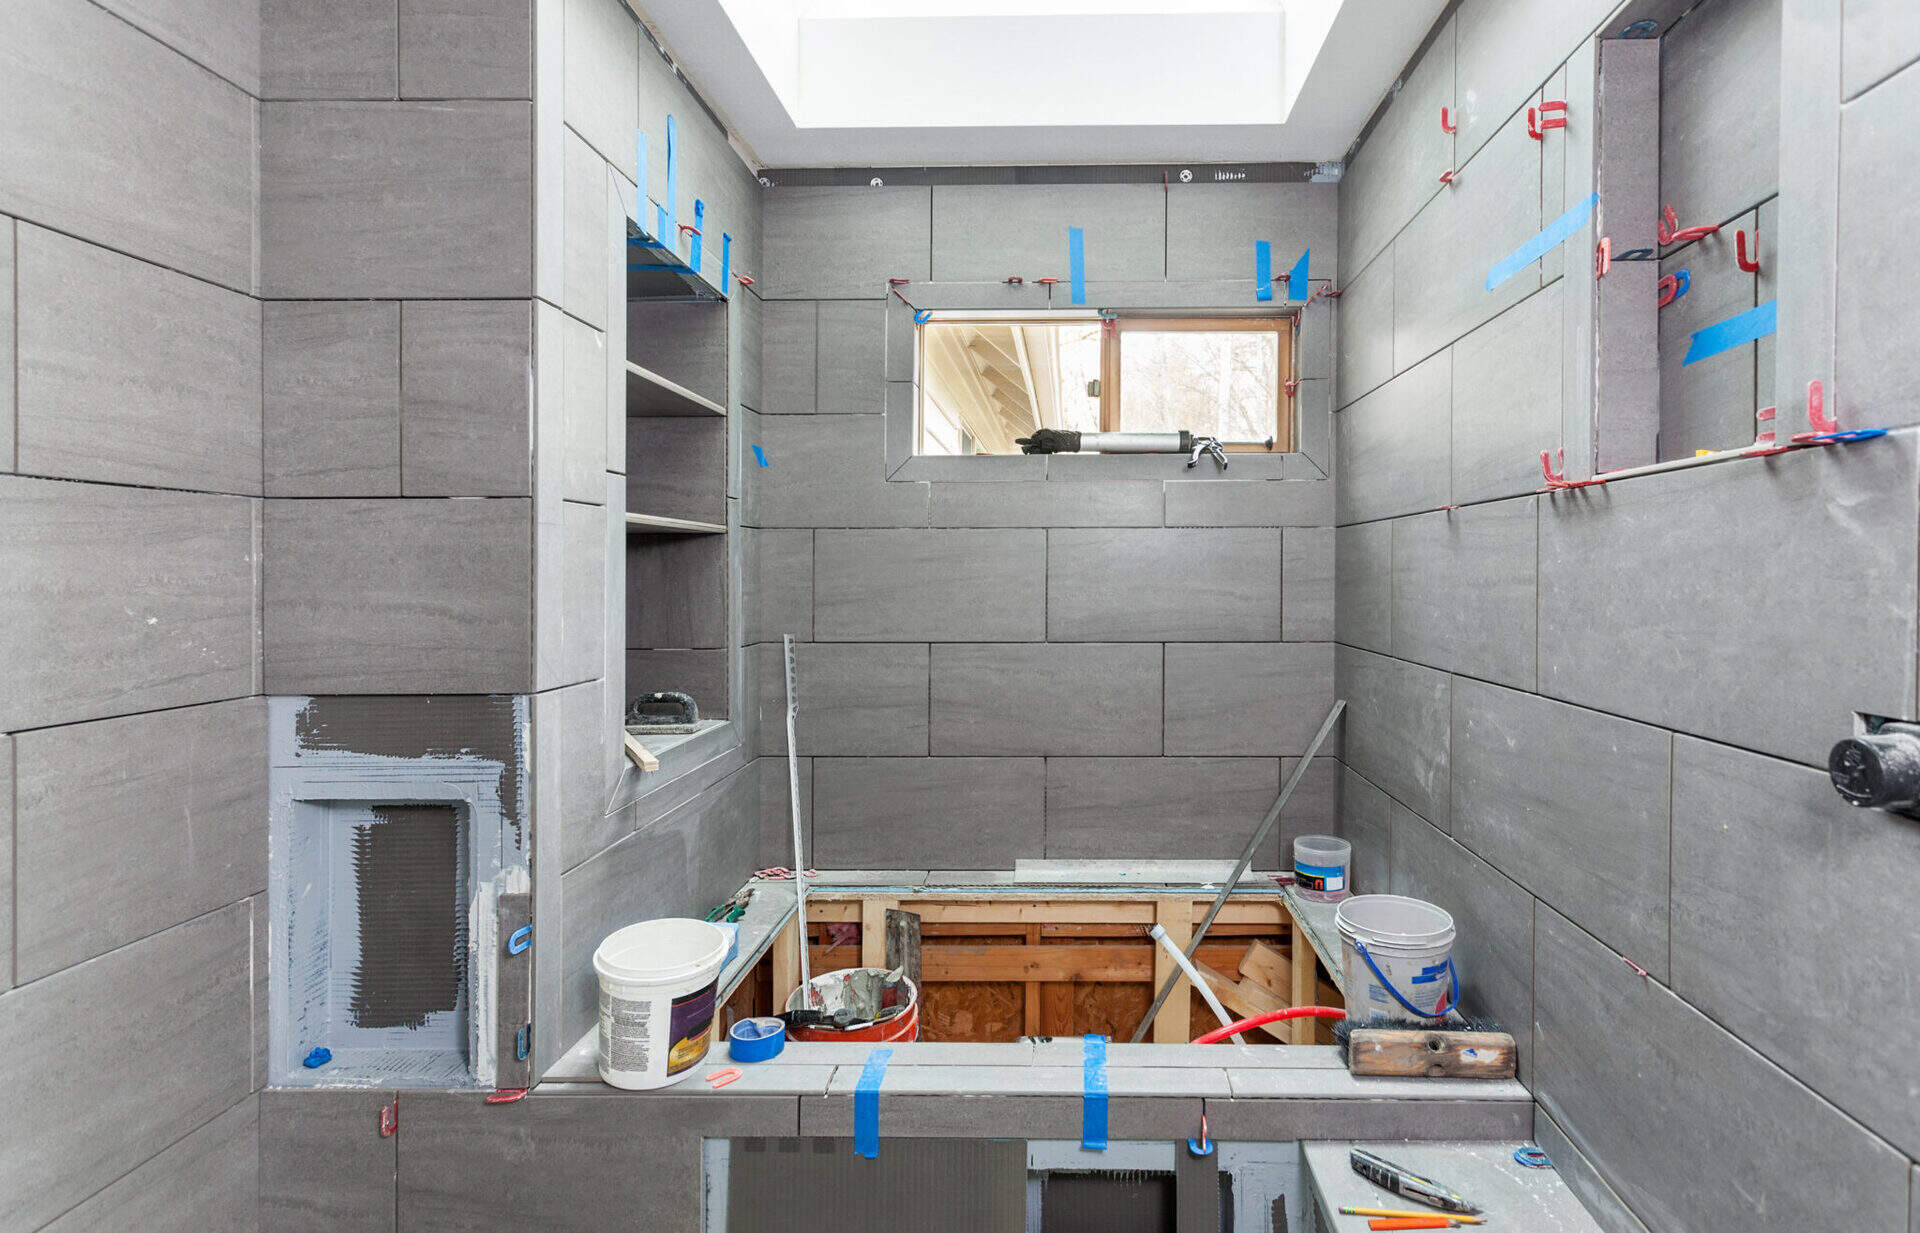
Wall and Flooring Installation
After the plumbing and electrical work is completed, it’s time to focus on the installation of new walls and flooring in your bathroom renovation. This stage is crucial for transforming the look and feel of your space. Here’s what you can expect during the wall and flooring installation process:
- Prepare the Surfaces: Before installing new walls and flooring, ensure that the surfaces are properly prepared. This may involve patching any holes, sanding rough areas, and applying a primer to create a smooth and even surface.
- Install Walls: If you are using tiles or other types of wall coverings, start by measuring and marking the layout. Apply an adhesive or mortar, and then carefully place each tile or panel, ensuring they are level and properly aligned. Allow the adhesive to dry before grouting the joints and sealing the walls.
- Lay Flooring: Whether you’re installing tiles, hardwood, laminate, or vinyl flooring, the process typically involves measuring and cutting the flooring materials to fit the space. Follow the manufacturer’s instructions for proper installation techniques, including adhesive or click-lock systems. It’s important to ensure that the flooring is properly laid, without gaps or unevenness.
- Grout and Seal: If you have chosen tiles for either the walls or flooring, it’s essential to grout the joints between the tiles. Apply the grout, remove the excess, and allow it to dry. Once the grout is dry, seal the grout lines to protect them from moisture and staining.
- Install Baseboards and Trim: Complete the installation by adding baseboards and trim along the edges of the walls and flooring. This will provide a polished and finished look to your new bathroom.
The duration of the wall and flooring installation phase will depend on the size of your bathroom, the complexity of the design, and the materials you’ve chosen. It’s important to follow proper installation techniques and allow sufficient drying or curing time for the adhesive and grout.
Once the walls and flooring are installed, you can move on to the next stage of your bathroom renovation, which involves the installation of fixtures and accessories.
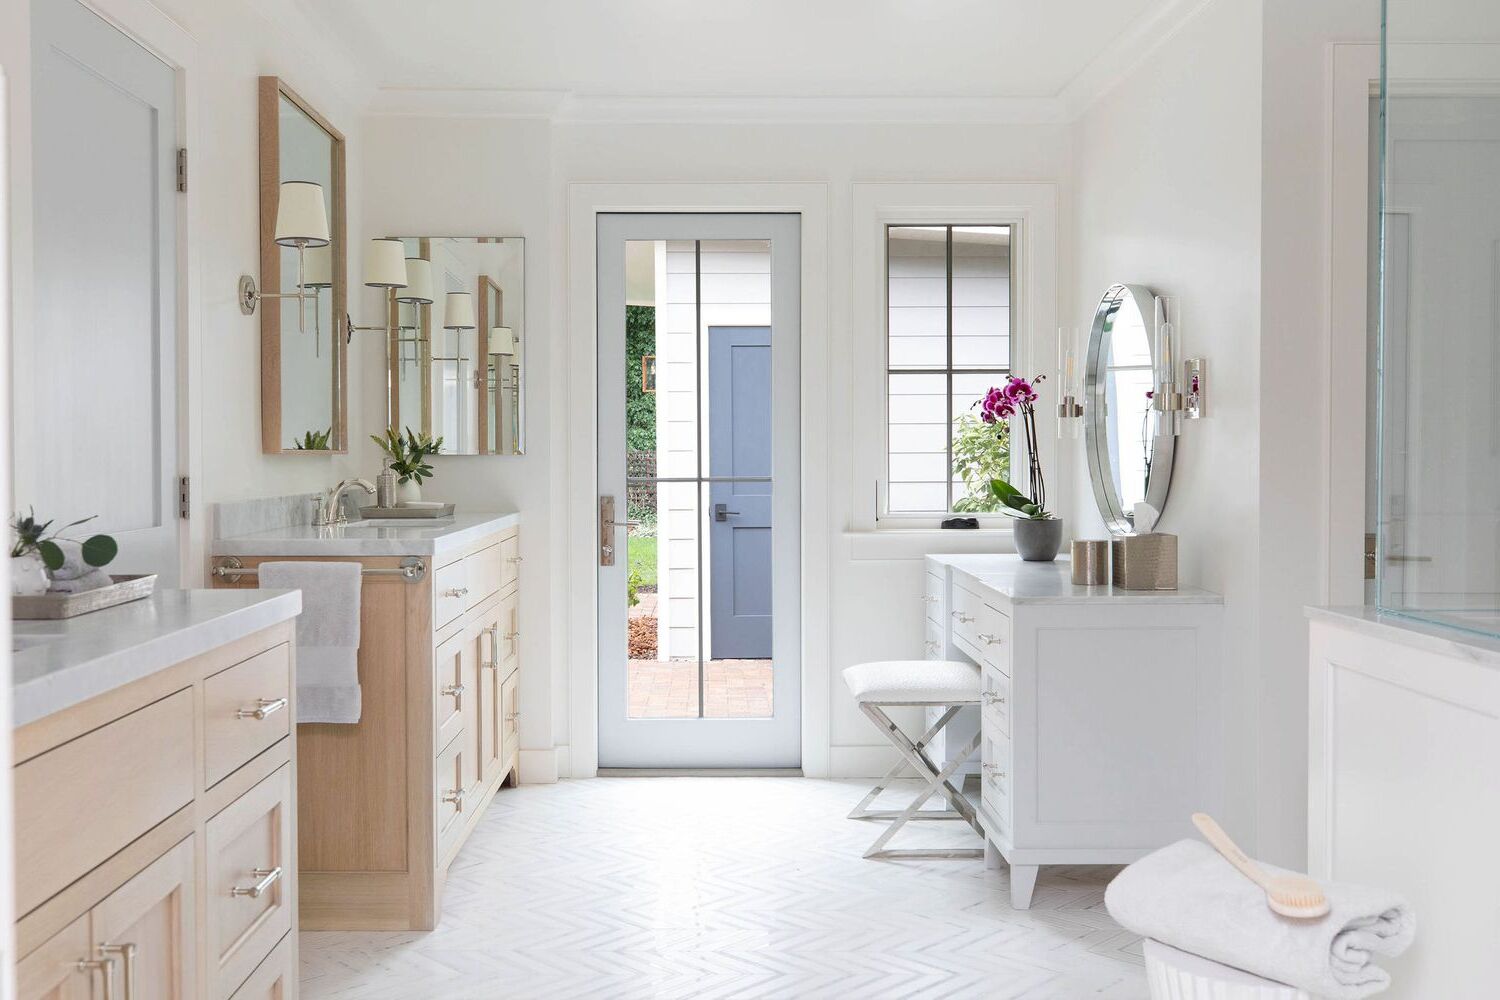
Installation of Fixtures and Accessories
With the walls and flooring in place, it’s time to move on to the exciting stage of installing fixtures and accessories in your bathroom renovation. This is where your vision for the space starts to come to life. Here is an overview of what to expect during the installation of fixtures and accessories:
- Install Bathroom Vanity: Begin by installing the bathroom vanity or cabinet. Follow the manufacturer’s instructions, ensuring it is properly leveled and securely anchored to the wall. Connect the plumbing fixtures, such as the sink and faucet, to the vanity.
- Mount Shower or Bathtub: If your bathroom renovation includes a shower or bathtub, it’s time to install them. Depending on the type of fixture, this may involve connecting the plumbing, installing the showerhead or bathtub spout, and properly sealing the edges to prevent leaks.
- Attach Toilet: Install the toilet according to the manufacturer’s instructions, connecting the water supply and ensuring a proper seal around the base to prevent leaks. Ensure that it is securely anchored and level.
- Mount Bathroom Accessories: This includes installing towel bars, toilet paper holders, hooks, and other accessories. Measure and mark the positions, using a level for accuracy, and securely attach them to the walls.
- Hang Mirrors and Cabinets: Mount mirrors and cabinets on the walls, carefully measuring and marking the desired positions. Use appropriate hardware to ensure they are securely attached.
- Install Lighting Fixtures: Mount the chosen lighting fixtures, following electrical safety guidelines and ensuring they are properly connected and secured.
The duration of the fixture and accessory installation phase will depend on the number of fixtures and accessories you have chosen and the complexity of their installation. It’s important to follow the manufacturer’s instructions and ensure that all connections are secure and properly sealed to avoid any future issues.
Once the fixtures and accessories are installed, you can move on to the final stages of your bathroom renovation, which involve painting and finishing.
Painting and Finishing
As you near the completion of your bathroom renovation, it’s time to focus on the final touches that will bring your vision to life. Painting and finishing the space will provide the desired aesthetic and add those finishing touches that make your bathroom feel complete. Here’s what to consider during the painting and finishing phase:
- Preparation: Start by preparing the surfaces for painting. This may involve sanding any rough areas, filling in any holes or imperfections, and applying a primer to ensure proper paint adhesion.
- Color Selection: Choose a color scheme that complements the overall design of your bathroom. Consider factors such as the size of the space, the lighting, and the desired ambiance. Test paint samples on the walls to ensure you are happy with the chosen colors.
- Paint Walls and Ceiling: Apply the chosen paint color to the walls and ceiling using a roller or brush. Be sure to use painter’s tape to achieve clean edges at corners and along trim. Allow sufficient drying time between coats, and apply additional coats if needed for full coverage.
- Paint Cabinets and Trim: If your bathroom includes cabinets or trim, paint them accordingly. Ensure surfaces are properly cleaned and lightly sanded before applying paint. Use a brush or small roller for precise application.
- Finishing Touches: Once the painting is complete, focus on the final details that will elevate the appearance of your bathroom. This may involve installing new hardware on cabinets, applying a sealant or grout cleaner to tile surfaces, and adding any final decorative elements such as artwork or plants.
The duration of the painting and finishing phase will depend on the size of your bathroom, the number of coats of paint required, and the complexity of the finishing touches. Take your time to ensure a professional-looking finish and pay attention to detail for a polished final result.
With the painting and finishing complete, you are now ready for the final stage of your bathroom renovation: clean-up and the final touches.
Clean-up and Final Touches
Congratulations! You are in the home stretch of your bathroom renovation. The clean-up and final touches stage is where you put the finishing shines on your newly transformed space. Here’s what you should focus on during this phase:
- Clean Your Space: After weeks of renovation work, your bathroom is likely to be dusty and cluttered. Start by thoroughly cleaning the space, including wiping down surfaces, vacuuming or sweeping the floors, and cleaning fixtures and mirrors. Pay extra attention to hard-to-reach corners and crevices.
- Inspect for Any Issues: Take the time to inspect your renovated bathroom for any possible issues or touch-ups that need attention. Look for any paint drips, loose fixtures, or areas that may have been missed during the renovation process. Address these concerns promptly to ensure a flawless final result.
- Check Functionality: Test each fixture, such as faucets, showers, and toilets, to ensure they are fully functional. Look for any leaks or drips and make any necessary adjustments or repairs.
- Complete Grouting and Caulking: If there are any remaining grout or caulk lines that need to be filled or touched up, do so at this stage. Properly applied grout and caulk will not only enhance the overall appearance but also provide protection against moisture and mildew.
- Add Final Décor and Accessories: Once your bathroom is clean and all functional aspects are in order, add the final touches that will make the space feel truly special. This could include hanging artwork, placing fresh towels, adding decorative items, and organizing toiletries in a visually pleasing manner.
- Document Your Renovation: Before you fully enjoy your new bathroom, take a moment to capture the transformation. Take photos or create a scrapbook to document the before and after of your renovation journey. It’s a great way to appreciate the hard work and share your success with others.
The clean-up and final touches phase is the final step before you can start using and enjoying your newly renovated bathroom. Take pride in your accomplishment and take the time to savor the result of your hard work. Congratulations on a successful bathroom renovation!
Conclusion
Congratulations on completing your bathroom renovation! The journey from the initial planning phase to the final touches has been an exciting and transformative one. By understanding the factors that can affect the duration of a bathroom renovation and following the steps outlined in this guide, you’ve been able to successfully navigate through each stage of the process.
Remember, every bathroom renovation is unique, and the duration can vary based on factors such as the size and scope of the project, permit approval timelines, availability of materials, and contractor schedules. It’s essential to have a realistic expectation of the time involved and to build in some flexibility to account for unforeseen issues that may arise.
Throughout the renovation process, you’ve tackled tasks such as demolition, plumbing, electrical work, wall and flooring installation, fixture and accessory installation, painting, and final touches. Each step has contributed to creating a functional and aesthetically pleasing bathroom that meets your goals and preferences.
As you enjoy your newly renovated bathroom, take a moment to appreciate the hard work and dedication you’ve put into this project. Be proud of the transformation and the value it has added to your home. Remember to properly maintain your new bathroom by following regular cleaning routines and addressing any repairs or maintenance needs promptly.
If you have any questions or concerns about your bathroom renovation or any future home improvement projects, don’t hesitate to reach out to professionals in the field. They can provide expert advice and assistance to ensure your space continues to look and function at its best.
Thank you for joining us on this comprehensive guide to bathroom renovations. We hope it has provided you with valuable insights and inspiration for your own project. Wishing you many years of enjoyment in your beautifully renovated bathroom!
Frequently Asked Questions about How Long Does A Bathroom Renovation Take
Was this page helpful?
At Storables.com, we guarantee accurate and reliable information. Our content, validated by Expert Board Contributors, is crafted following stringent Editorial Policies. We're committed to providing you with well-researched, expert-backed insights for all your informational needs.


0 thoughts on “How Long Does A Bathroom Renovation Take”