Home>Furniture & Design>Bathroom Accessories>How To Get Dye Out Of A Bathtub
Bathroom Accessories
How To Get Dye Out Of A Bathtub
Modified: August 30, 2024
Learn effective methods to remove dye stains from your bathtub with the right bathroom accessories. Keep your bathtub looking clean and new.
(Many of the links in this article redirect to a specific reviewed product. Your purchase of these products through affiliate links helps to generate commission for Storables.com, at no extra cost. Learn more)
Introduction
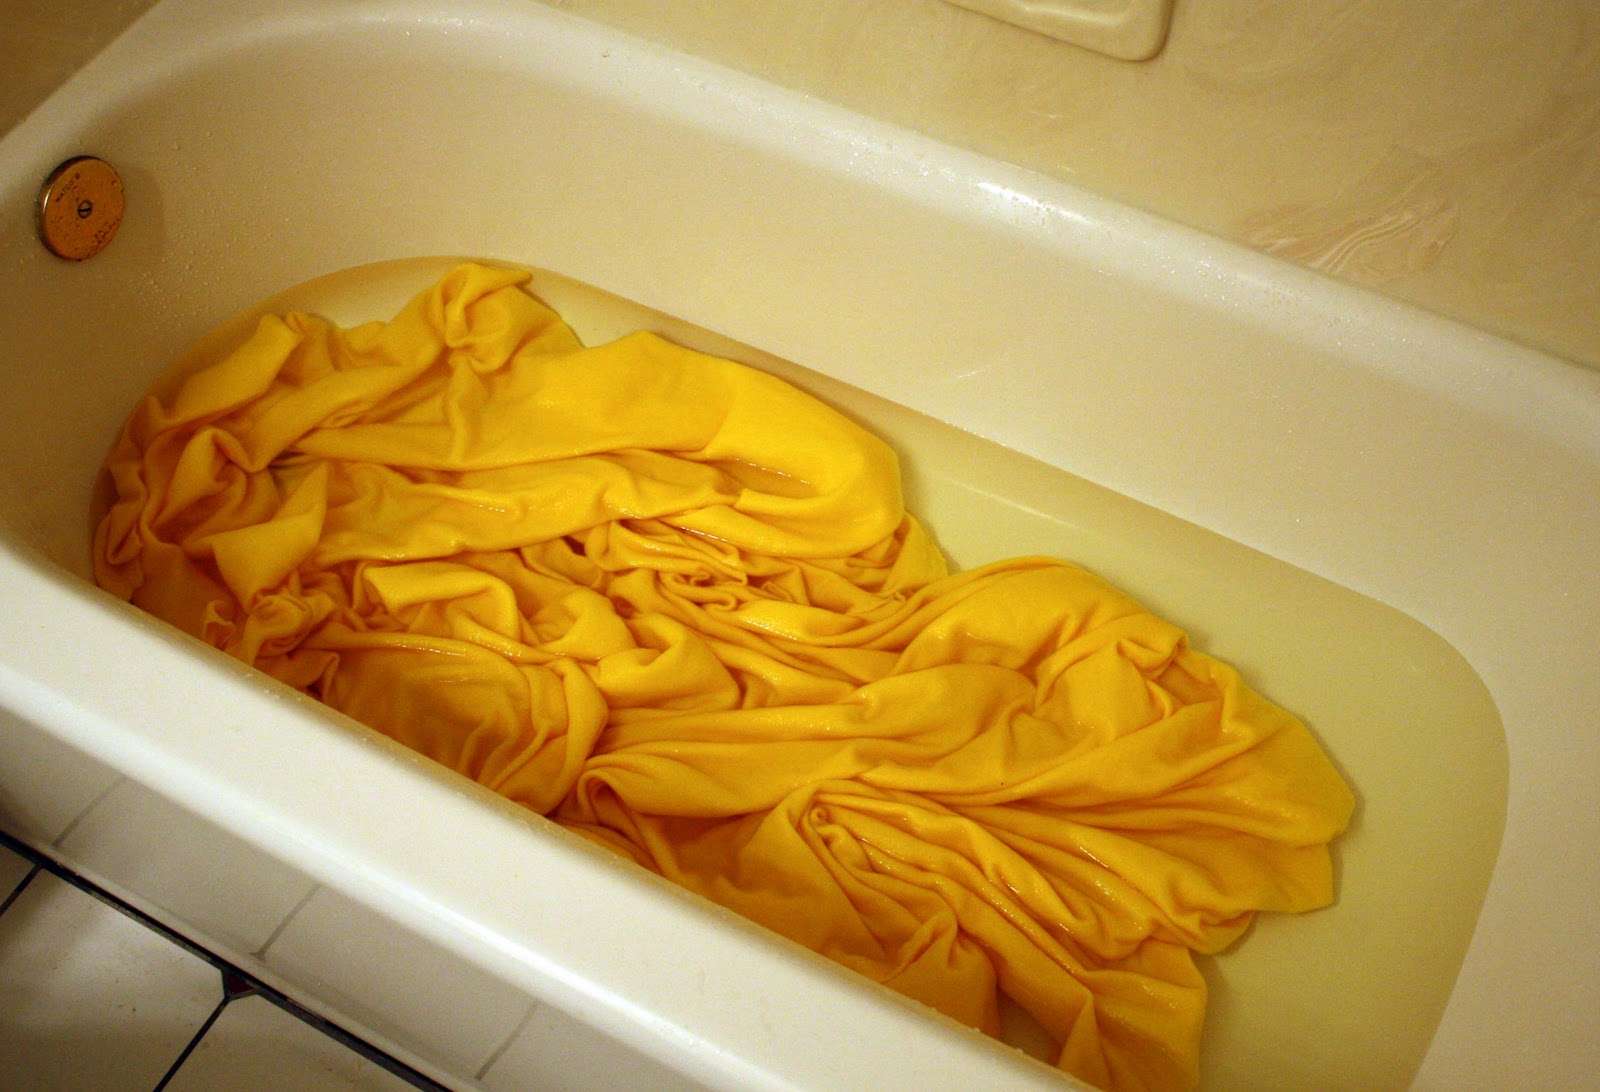
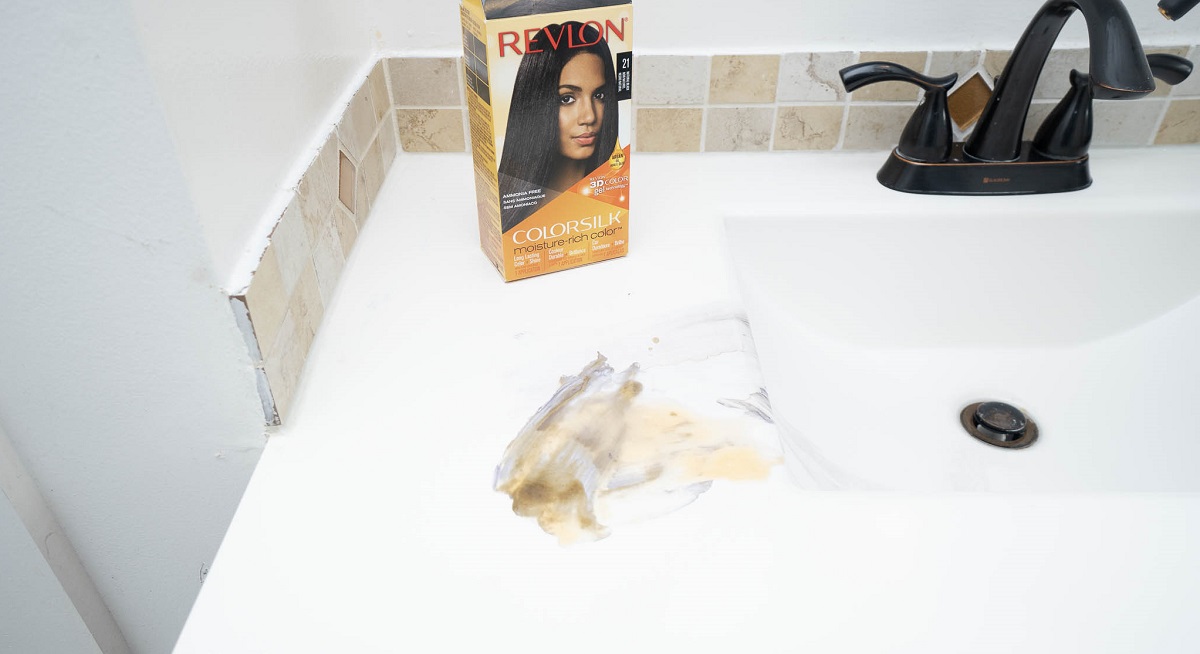
Dealing with a stubborn dye stain in your bathtub can be a frustrating experience. Whether it's from hair dye, fabric dye, or any other coloring agent, the sight of a discolored bathtub can be disheartening. However, with the right approach and a few simple techniques, you can effectively remove the dye and restore your bathtub to its pristine condition.
In this comprehensive guide, we will walk you through the step-by-step process of removing dye stains from your bathtub. From gathering the necessary supplies to applying the cleaning solution and scrubbing the stain, we'll cover everything you need to know to tackle this common household challenge. By following these instructions, you can say goodbye to unsightly dye stains and hello to a sparkling clean bathtub.
So, roll up your sleeves and get ready to bid farewell to those pesky dye stains. With a positive attitude and the right tools at your disposal, you'll soon have your bathtub looking as good as new. Let's dive into the process and reclaim the pristine appearance of your bathtub!
Key Takeaways:
- Say goodbye to stubborn dye stains in your bathtub by creating a powerful cleaning solution using white vinegar, baking soda, and hydrogen peroxide. Scrub gently and rinse thoroughly for a sparkling clean tub!
- Restore your bathtub to its pristine condition by following a step-by-step process. Gather supplies, create a potent cleaning solution, apply it to the stains, scrub gently, and rinse thoroughly for a dye-free bathtub!
Read more: How To Get Hair Dye Out Of A Carpet
Step 1: Gather Your Supplies
Before embarking on the journey to remove dye stains from your bathtub, it's essential to gather the necessary supplies. Having the right tools and cleaning agents at your disposal will streamline the stain removal process and ensure a more effective outcome. Here's a comprehensive list of supplies you'll need:
-
Rubber Gloves: Protect your hands from the cleaning solution and potential skin irritation by wearing rubber gloves throughout the cleaning process.
-
Protective Eyewear: Shield your eyes from splashes and fumes by wearing protective eyewear, such as safety goggles.
-
Ventilation: Ensure proper ventilation in the bathroom by opening windows or using a fan. This will help dissipate fumes from cleaning agents and create a more comfortable environment for the cleaning process.
-
White Vinegar: This versatile household staple is highly effective in removing stains and discoloration. Its acidic properties make it an excellent natural cleaner for tackling dye stains.
-
Baking Soda: Known for its gentle abrasive properties, baking soda is a powerful yet non-abrasive cleaner that can help lift and remove dye stains from the bathtub surface.
-
Hydrogen Peroxide: This common antiseptic agent also serves as a potent stain remover. Its oxidizing properties make it particularly effective in breaking down and lifting dye stains.
-
Spray Bottle: Use a spray bottle to create and apply the cleaning solution evenly onto the stained areas of the bathtub.
-
Soft Cleaning Cloth or Sponge: Opt for a non-abrasive cleaning cloth or sponge to gently scrub the stained areas without causing damage to the bathtub surface.
-
Old Towels or Rags: Keep old towels or rags handy to wipe away excess cleaning solution and moisture from the bathtub after the stain removal process.
-
Plastic Wrap (Optional): In case the stain requires a longer treatment time, having plastic wrap on hand can help keep the cleaning solution in place and prevent it from drying out too quickly.
By ensuring that you have all these supplies readily available, you'll be well-prepared to tackle the dye stains in your bathtub effectively and efficiently. With the right tools at your disposal, you're one step closer to restoring the pristine condition of your bathtub.
Step 2: Create a Cleaning Solution
Creating an effective cleaning solution is a crucial step in the process of removing dye stains from your bathtub. The right combination of cleaning agents can help break down and lift the stubborn dye, restoring the pristine appearance of the tub. Here's a simple yet powerful cleaning solution that you can easily prepare at home:
Ingredients for the Cleaning Solution:
1. White Vinegar:
White vinegar is a versatile and natural cleaning agent that is highly effective in tackling a wide range of stains, including dye discoloration. Its acidic nature helps break down the dye molecules, making them easier to remove from the bathtub surface.
2. Baking Soda:
Baking soda, also known as sodium bicarbonate, is renowned for its gentle abrasive properties. When combined with white vinegar, it creates a powerful foaming action that can help lift and loosen the dye stains from the bathtub surface.
3. Hydrogen Peroxide:
Hydrogen peroxide is a common household antiseptic that also serves as a potent stain remover. Its oxidizing properties make it particularly effective in breaking down and lifting dye stains, leaving the bathtub looking clean and refreshed.
Instructions for Creating the Cleaning Solution:
-
Mixing the Ingredients: In a small bowl or container, combine equal parts of white vinegar and hydrogen peroxide. For example, you can start with 1/2 cup of each ingredient, depending on the size of the stained area.
-
Adding Baking Soda: Gradually add baking soda to the vinegar and hydrogen peroxide mixture, creating a paste-like consistency. The foaming action will indicate the chemical reaction taking place, which is essential for lifting the dye stains.
-
Thorough Mixing: Use a spoon or whisk to thoroughly mix the ingredients, ensuring that the baking soda is evenly distributed and forms a cohesive cleaning paste.
Read more: How To Get Out Of A Bathtub
Additional Tips:
- Proportions: Adjust the proportions of the ingredients based on the size and severity of the dye stains. For larger areas, you may need to increase the quantities accordingly.
- Consistency: Aim for a paste-like consistency that can be easily applied to the stained areas of the bathtub. The foaming action indicates the activation of the cleaning solution.
By following these simple steps and using the recommended ingredients, you can create a potent cleaning solution that is tailored to combat dye stains effectively. With the cleaning solution ready, you're now equipped to move on to the next step of applying it to the stained areas of the bathtub and initiating the stain removal process.
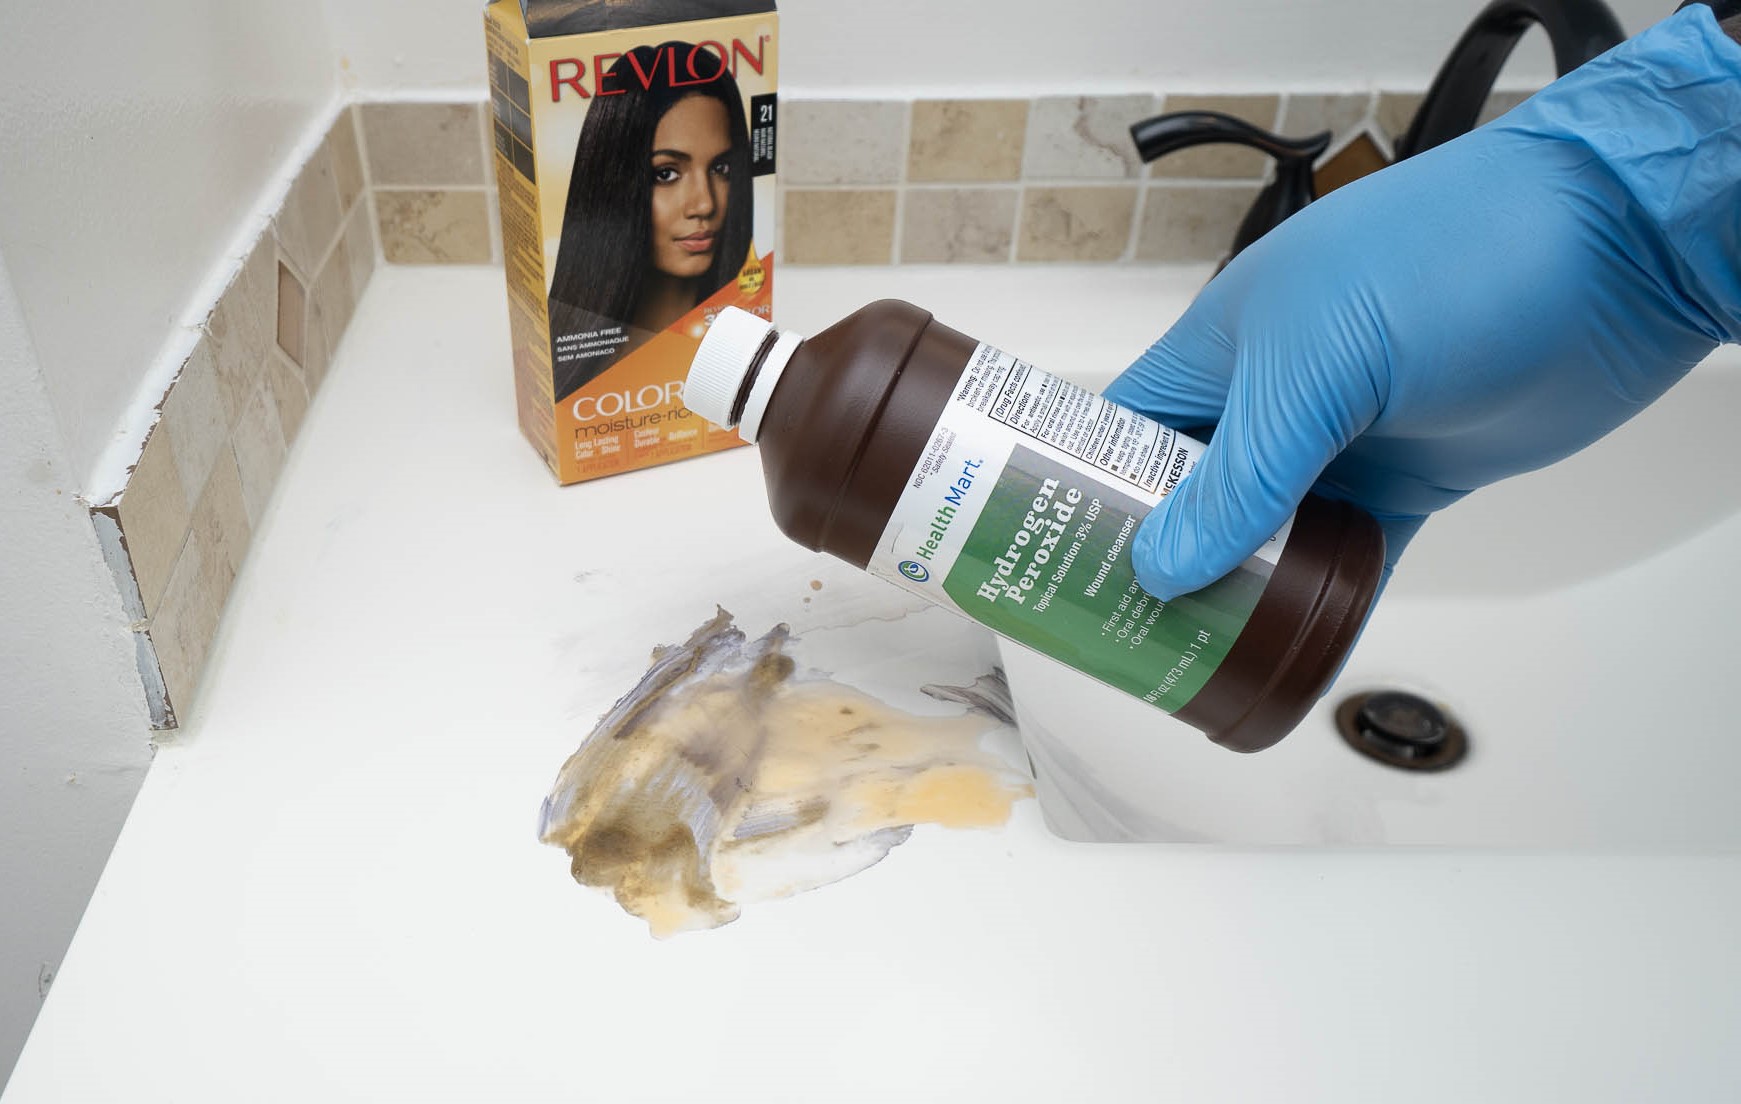
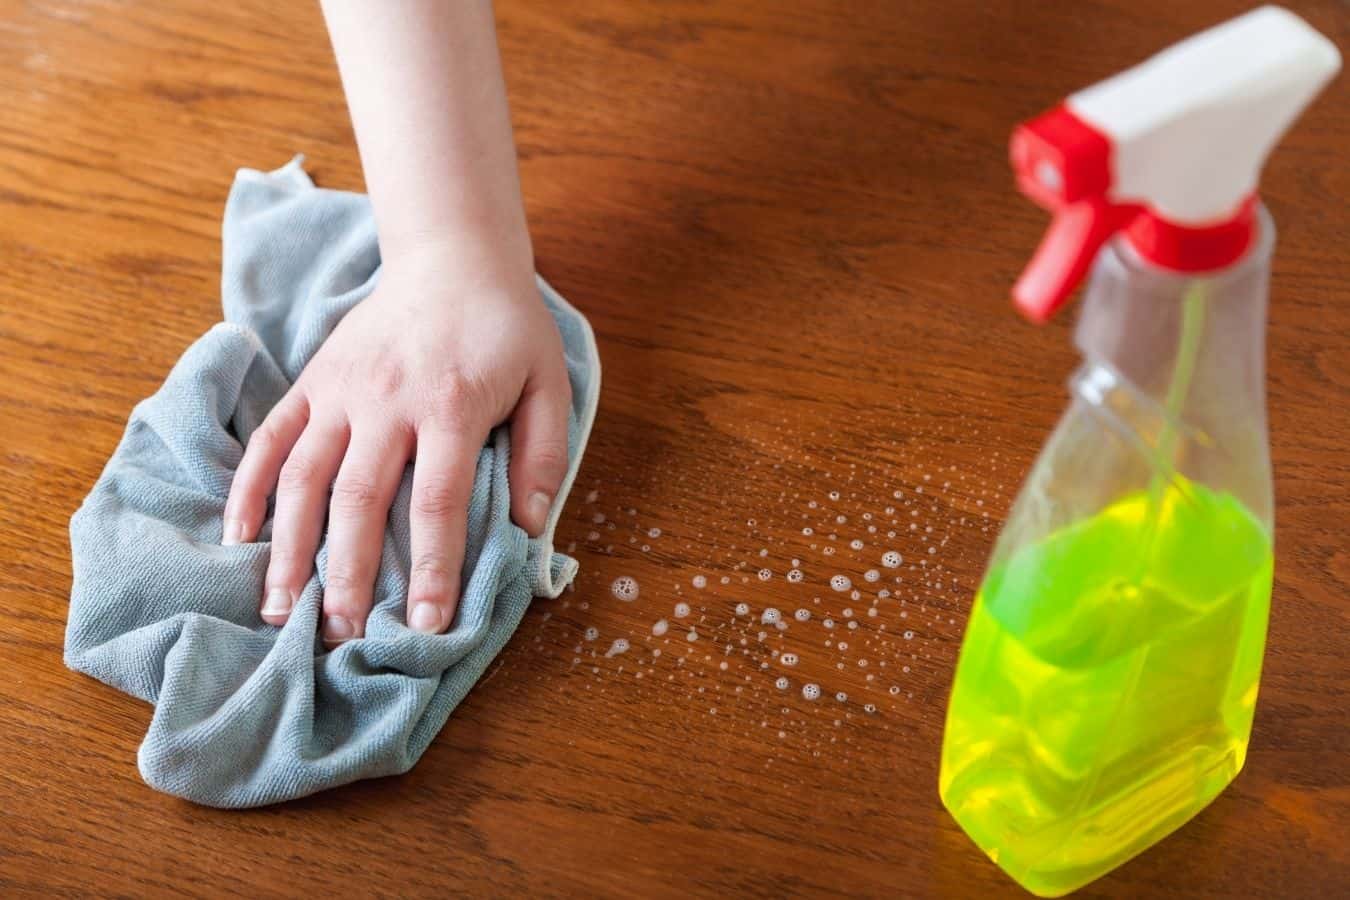
Step 3: Apply the Cleaning Solution
With the potent cleaning solution prepared and the necessary supplies at hand, it's time to apply the mixture to the stained areas of the bathtub. The application process is a critical step in the journey to remove dye stains effectively. By ensuring thorough and even coverage of the cleaning solution, you can maximize its stain-lifting potential and expedite the restoration of your bathtub's pristine appearance.
Instructions for Applying the Cleaning Solution:
-
Preparation: Before applying the cleaning solution, ensure that the bathtub surface is dry. Use a soft cleaning cloth or sponge to gently remove any surface debris or loose particles from the stained areas. This will create a clean and receptive surface for the application of the cleaning solution.
-
Even Application: Using a spray bottle or a spoon, apply the cleaning solution generously to the dye-stained areas of the bathtub. Ensure that the solution covers the entire stained surface, forming a uniform layer over the affected areas. The foaming action of the solution indicates its activation and the beginning of the stain removal process.
-
Dwell Time: Allow the cleaning solution to dwell on the stained areas for a sufficient period. The dwell time may vary based on the severity of the dye stains. For more stubborn or deeply ingrained stains, consider covering the treated areas with plastic wrap to prevent the solution from drying out too quickly.
-
Ventilation: During the dwell time, ensure that the bathroom remains well-ventilated. Proper ventilation helps dissipate any fumes from the cleaning solution and creates a more comfortable environment for the stain removal process.
-
Observation: As the cleaning solution interacts with the dye stains, observe any changes in the appearance of the stains. The foaming action and gradual fading of the dye discoloration indicate the active breakdown and lifting of the stains from the bathtub surface.
-
Reapplication (If Necessary): For particularly stubborn or persistent dye stains, consider reapplying the cleaning solution after the initial dwell time. This additional application can further enhance the stain-lifting process and expedite the overall removal of the discoloration.
By following these detailed instructions and taking a methodical approach to applying the cleaning solution, you can effectively initiate the process of removing dye stains from your bathtub. The thorough application of the potent cleaning solution sets the stage for the subsequent step of scrubbing the stains, bringing you closer to the ultimate goal of restoring your bathtub to its pristine condition.
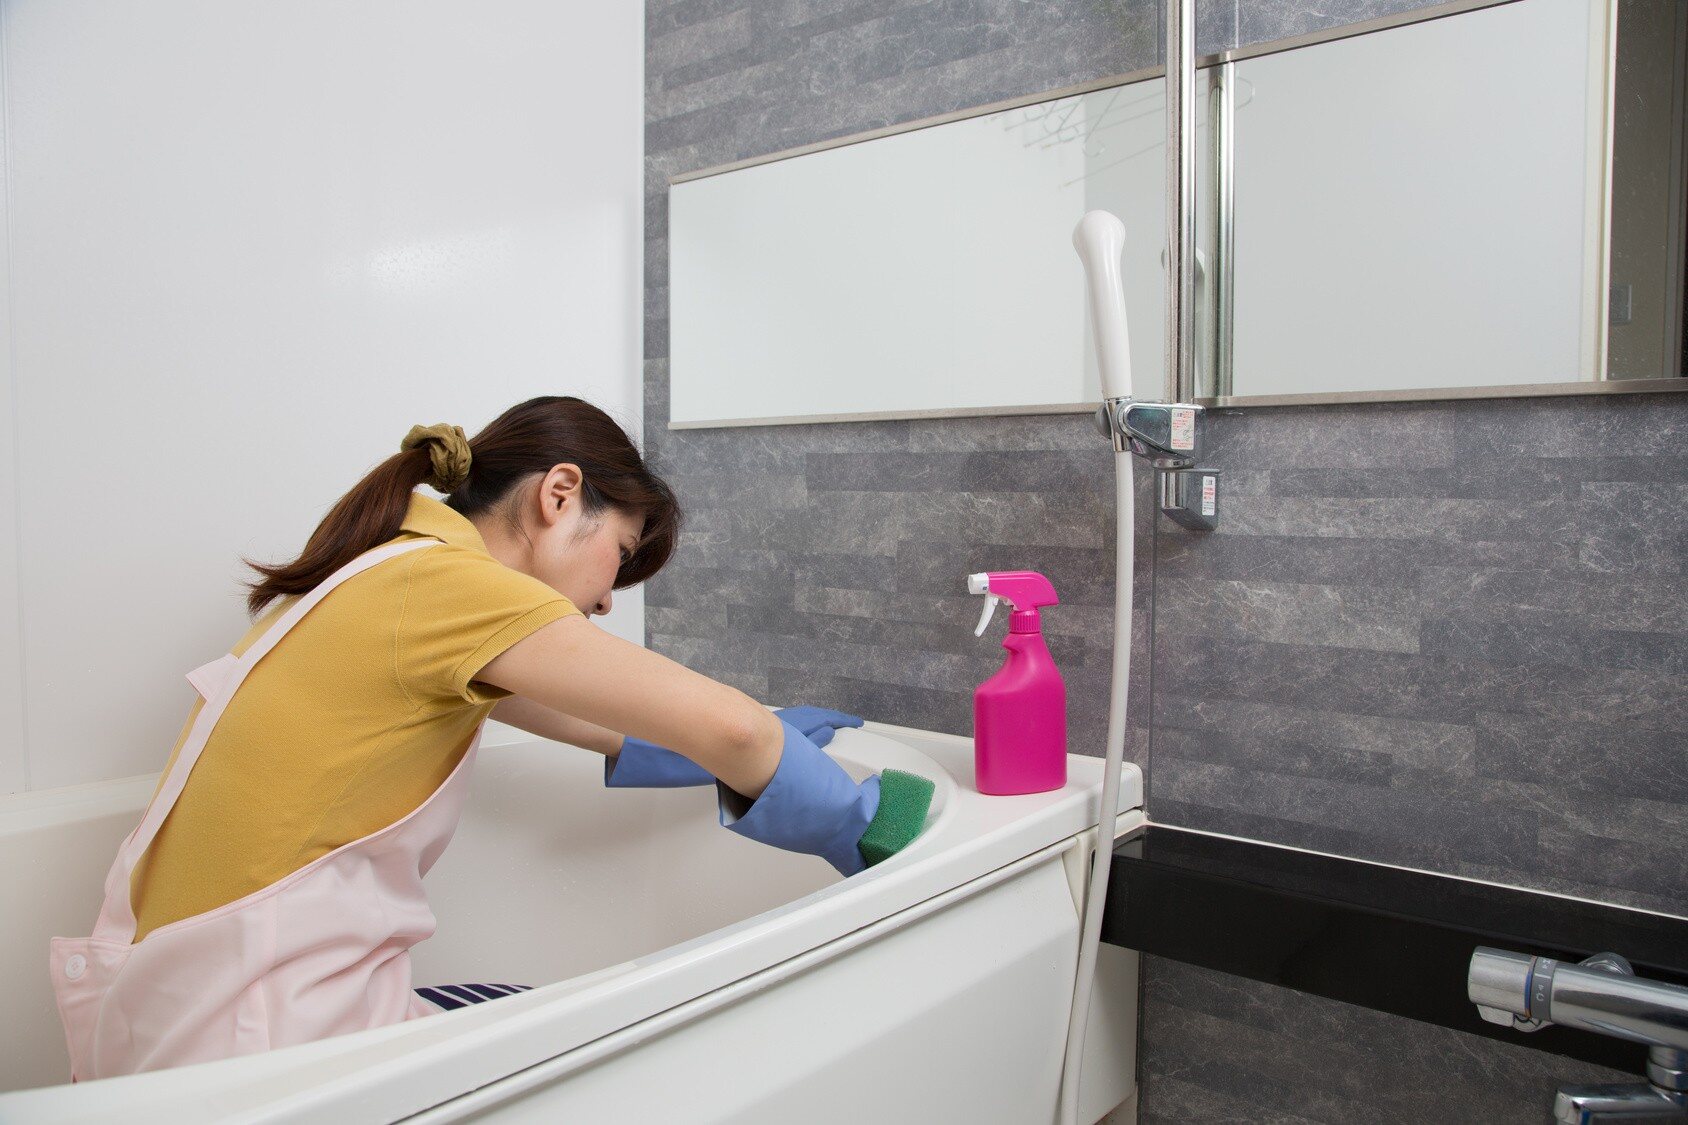
Step 4: Scrub the Stain
After allowing the cleaning solution to dwell on the dye-stained areas and work its magic, the next crucial step in the stain removal process is to gently scrub the affected areas. This step is essential for dislodging the loosened dye particles and lifting them from the bathtub surface. By employing the right technique and using a non-abrasive cleaning cloth or sponge, you can effectively expedite the removal of the dye stains and restore the pristine appearance of your bathtub.
Read more: How To Get Hair Dye Out Of Wood Floor
Instructions for Scrubbing the Stain:
-
Gentle Pressure: Using a soft cleaning cloth or sponge, apply gentle pressure to the stained areas. Avoid using excessive force, as this can potentially damage the bathtub surface. Instead, focus on using controlled and deliberate movements to target the dye-stained regions.
-
Circular Motions: Employ circular motions while scrubbing the stains. This technique helps distribute the cleaning solution and lift the loosened dye particles more effectively. By maintaining a consistent circular motion, you can cover the entire stained area and ensure thorough stain removal.
-
Observation: As you scrub the stained areas, observe the gradual fading of the dye discoloration. The combination of the cleaning solution and gentle scrubbing action works in tandem to lift the dye particles from the bathtub surface. This visual feedback indicates the progress of the stain removal process.
-
Patience and Persistence: For more stubborn or deeply ingrained dye stains, exercise patience and persistence during the scrubbing process. It may take some time and repeated gentle scrubbing to completely lift the stains. By remaining diligent and methodical, you can achieve a more comprehensive removal of the discoloration.
-
Rinse and Repeat (If Necessary): After scrubbing the stained areas, rinse the bathtub surface thoroughly with water. This step helps remove any residual cleaning solution and lifted dye particles. If traces of the dye stains persist, consider repeating the application of the cleaning solution and gentle scrubbing until the desired results are achieved.
By following these detailed instructions and employing a gentle yet purposeful approach to scrubbing the dye-stained areas, you can effectively expedite the removal process and restore the pristine appearance of your bathtub. The combination of the potent cleaning solution and methodical scrubbing technique sets the stage for the final step of rinsing and drying the bathtub, bringing you closer to the ultimate goal of achieving a sparkling clean and dye-free bathtub.
Step 5: Rinse and Dry the Bathtub
After successfully applying the cleaning solution and gently scrubbing the dye-stained areas, the final step in the process of removing dye stains from your bathtub involves thorough rinsing and drying. This critical step ensures the complete removal of any residual cleaning solution, lifted dye particles, and restores the bathtub to its pristine and sparkling clean state.
Instructions for Rinsing and Drying:
-
Water Rinse: Begin by thoroughly rinsing the entire bathtub surface with clean water. Use a handheld showerhead or a bucket to ensure comprehensive coverage. The goal is to remove any remaining traces of the cleaning solution and lifted dye particles from the bathtub surface.
-
Visual Inspection: As you rinse the bathtub, visually inspect the stained areas for any lingering signs of dye discoloration. The combination of water rinsing and visual observation allows you to assess the effectiveness of the stain removal process and identify any areas that may require additional attention.
-
Drying Process: Once the bathtub has been thoroughly rinsed, use old towels or rags to dry the surface. Wipe the entire bathtub, paying particular attention to the previously stained areas. This drying process helps eliminate moisture and ensures that the bathtub is left gleaming and free from any residual cleaning solution or dye particles.
-
Ventilation: After drying the bathtub, ensure that the bathroom is well-ventilated to expedite the drying process and prevent the accumulation of moisture. Open windows or use a fan to promote air circulation, allowing the bathtub to dry completely.
-
Final Inspection: Conduct a final visual inspection of the bathtub surface to confirm the successful removal of the dye stains. The absence of any residual discoloration signifies the completion of the stain removal process and the restoration of your bathtub to its original pristine condition.
By meticulously following these instructions and dedicating attention to the rinsing and drying process, you can achieve a remarkable transformation, bidding farewell to the unsightly dye stains and welcoming back the immaculate appearance of your bathtub. With the completion of this final step, you can revel in the satisfaction of a job well done and enjoy the rejuvenated beauty of your dye-free bathtub.
Conclusion
In conclusion, successfully removing dye stains from your bathtub is a rewarding accomplishment that restores the pristine appearance of this essential fixture in your home. By following the step-by-step process outlined in this comprehensive guide, you have effectively tackled the challenge of dye stain removal with confidence and precision. From gathering the necessary supplies to creating a potent cleaning solution, applying it to the stained areas, gently scrubbing the stains, and finally rinsing and drying the bathtub, you have demonstrated a proactive approach to restoring the beauty of your bathroom.
The journey to remove dye stains from your bathtub is not merely a practical task but also a testament to your dedication to maintaining a clean and inviting living space. The successful execution of each step in the stain removal process reflects your commitment to upholding the aesthetics and functionality of your home environment. By embracing this endeavor, you have not only eliminated unsightly dye stains but also revitalized the overall ambiance of your bathroom.
As you stand back and admire the gleaming, dye-free surface of your bathtub, take pride in the meticulous effort and attention to detail that have yielded such remarkable results. The transformation from discolored stains to a spotless bathtub is a testament to your perseverance and willingness to confront household challenges head-on. Your proactive approach to stain removal has not only enhanced the visual appeal of your bathroom but also contributed to a more hygienic and inviting living space for you and your family.
Moving forward, the knowledge and skills you have acquired in this stain removal process can serve as valuable assets in maintaining the cleanliness and beauty of your home. Whether it's addressing future stains or undertaking routine cleaning tasks, the experience gained from this endeavor empowers you to approach household maintenance with confidence and efficacy.
In the end, the successful removal of dye stains from your bathtub signifies more than just a clean surface; it symbolizes your proactive approach to preserving the comfort and beauty of your living space. With a sparkling clean bathtub as a testament to your dedication, you can take pride in the transformative impact of your efforts and revel in the rejuvenated allure of your home.
Frequently Asked Questions about How To Get Dye Out Of A Bathtub
Was this page helpful?
At Storables.com, we guarantee accurate and reliable information. Our content, validated by Expert Board Contributors, is crafted following stringent Editorial Policies. We're committed to providing you with well-researched, expert-backed insights for all your informational needs.

0 thoughts on “How To Get Dye Out Of A Bathtub”