Home>Furniture & Design>Bathroom Accessories>How To Get Scratches Out Of Bathtub
Bathroom Accessories
How To Get Scratches Out Of Bathtub
Modified: March 2, 2024
Learn how to easily remove scratches from your bathtub with our expert tips and tricks. Keep your bathroom accessories looking brand new!
(Many of the links in this article redirect to a specific reviewed product. Your purchase of these products through affiliate links helps to generate commission for Storables.com, at no extra cost. Learn more)
Introduction
A pristine and gleaming bathtub can elevate the ambiance of any bathroom, creating a serene and inviting space for relaxation. However, over time, scratches and blemishes may mar the once flawless surface, detracting from the overall aesthetic appeal. Fortunately, there are several effective methods to restore the luster of your bathtub and banish those unsightly scratches.
In this comprehensive guide, we will explore various techniques for removing scratches from your bathtub, ranging from simple DIY remedies to professional-grade solutions. Whether your bathtub is made of acrylic, fiberglass, porcelain, or enamel, these methods can help you achieve a smooth and flawless finish, revitalizing the appearance of your bath fixture.
By understanding the nature of bathtub scratches and the appropriate methods for addressing them, you can regain the pristine look of your bathtub without the need for costly replacements or extensive renovations. With a bit of patience and the right tools, you can restore your bathtub to its former glory, ensuring that it remains a focal point of elegance and comfort in your bathroom.
So, let's delve into the world of bathtub restoration and discover the steps to effectively eliminate scratches, allowing you to enjoy a beautifully rejuvenated bathtub that exudes timeless charm and sophistication. Whether you're a seasoned DIY enthusiast or a homeowner looking to revitalize your bathroom, this guide will equip you with the knowledge and techniques needed to achieve remarkable results.
Key Takeaways:
- Say goodbye to bathtub scratches with simple DIY methods like baking soda and water. No need for costly replacements – just a little elbow grease and patience can restore your bathtub’s flawless appearance.
- For stubborn scratches, consider using a commercial cleaner or sanding the surface. Finish off with a high-quality bathtub polish for a luxurious, scratch-free finish that revitalizes your entire bathroom.
Read more: How To Get Out Of A Bathtub
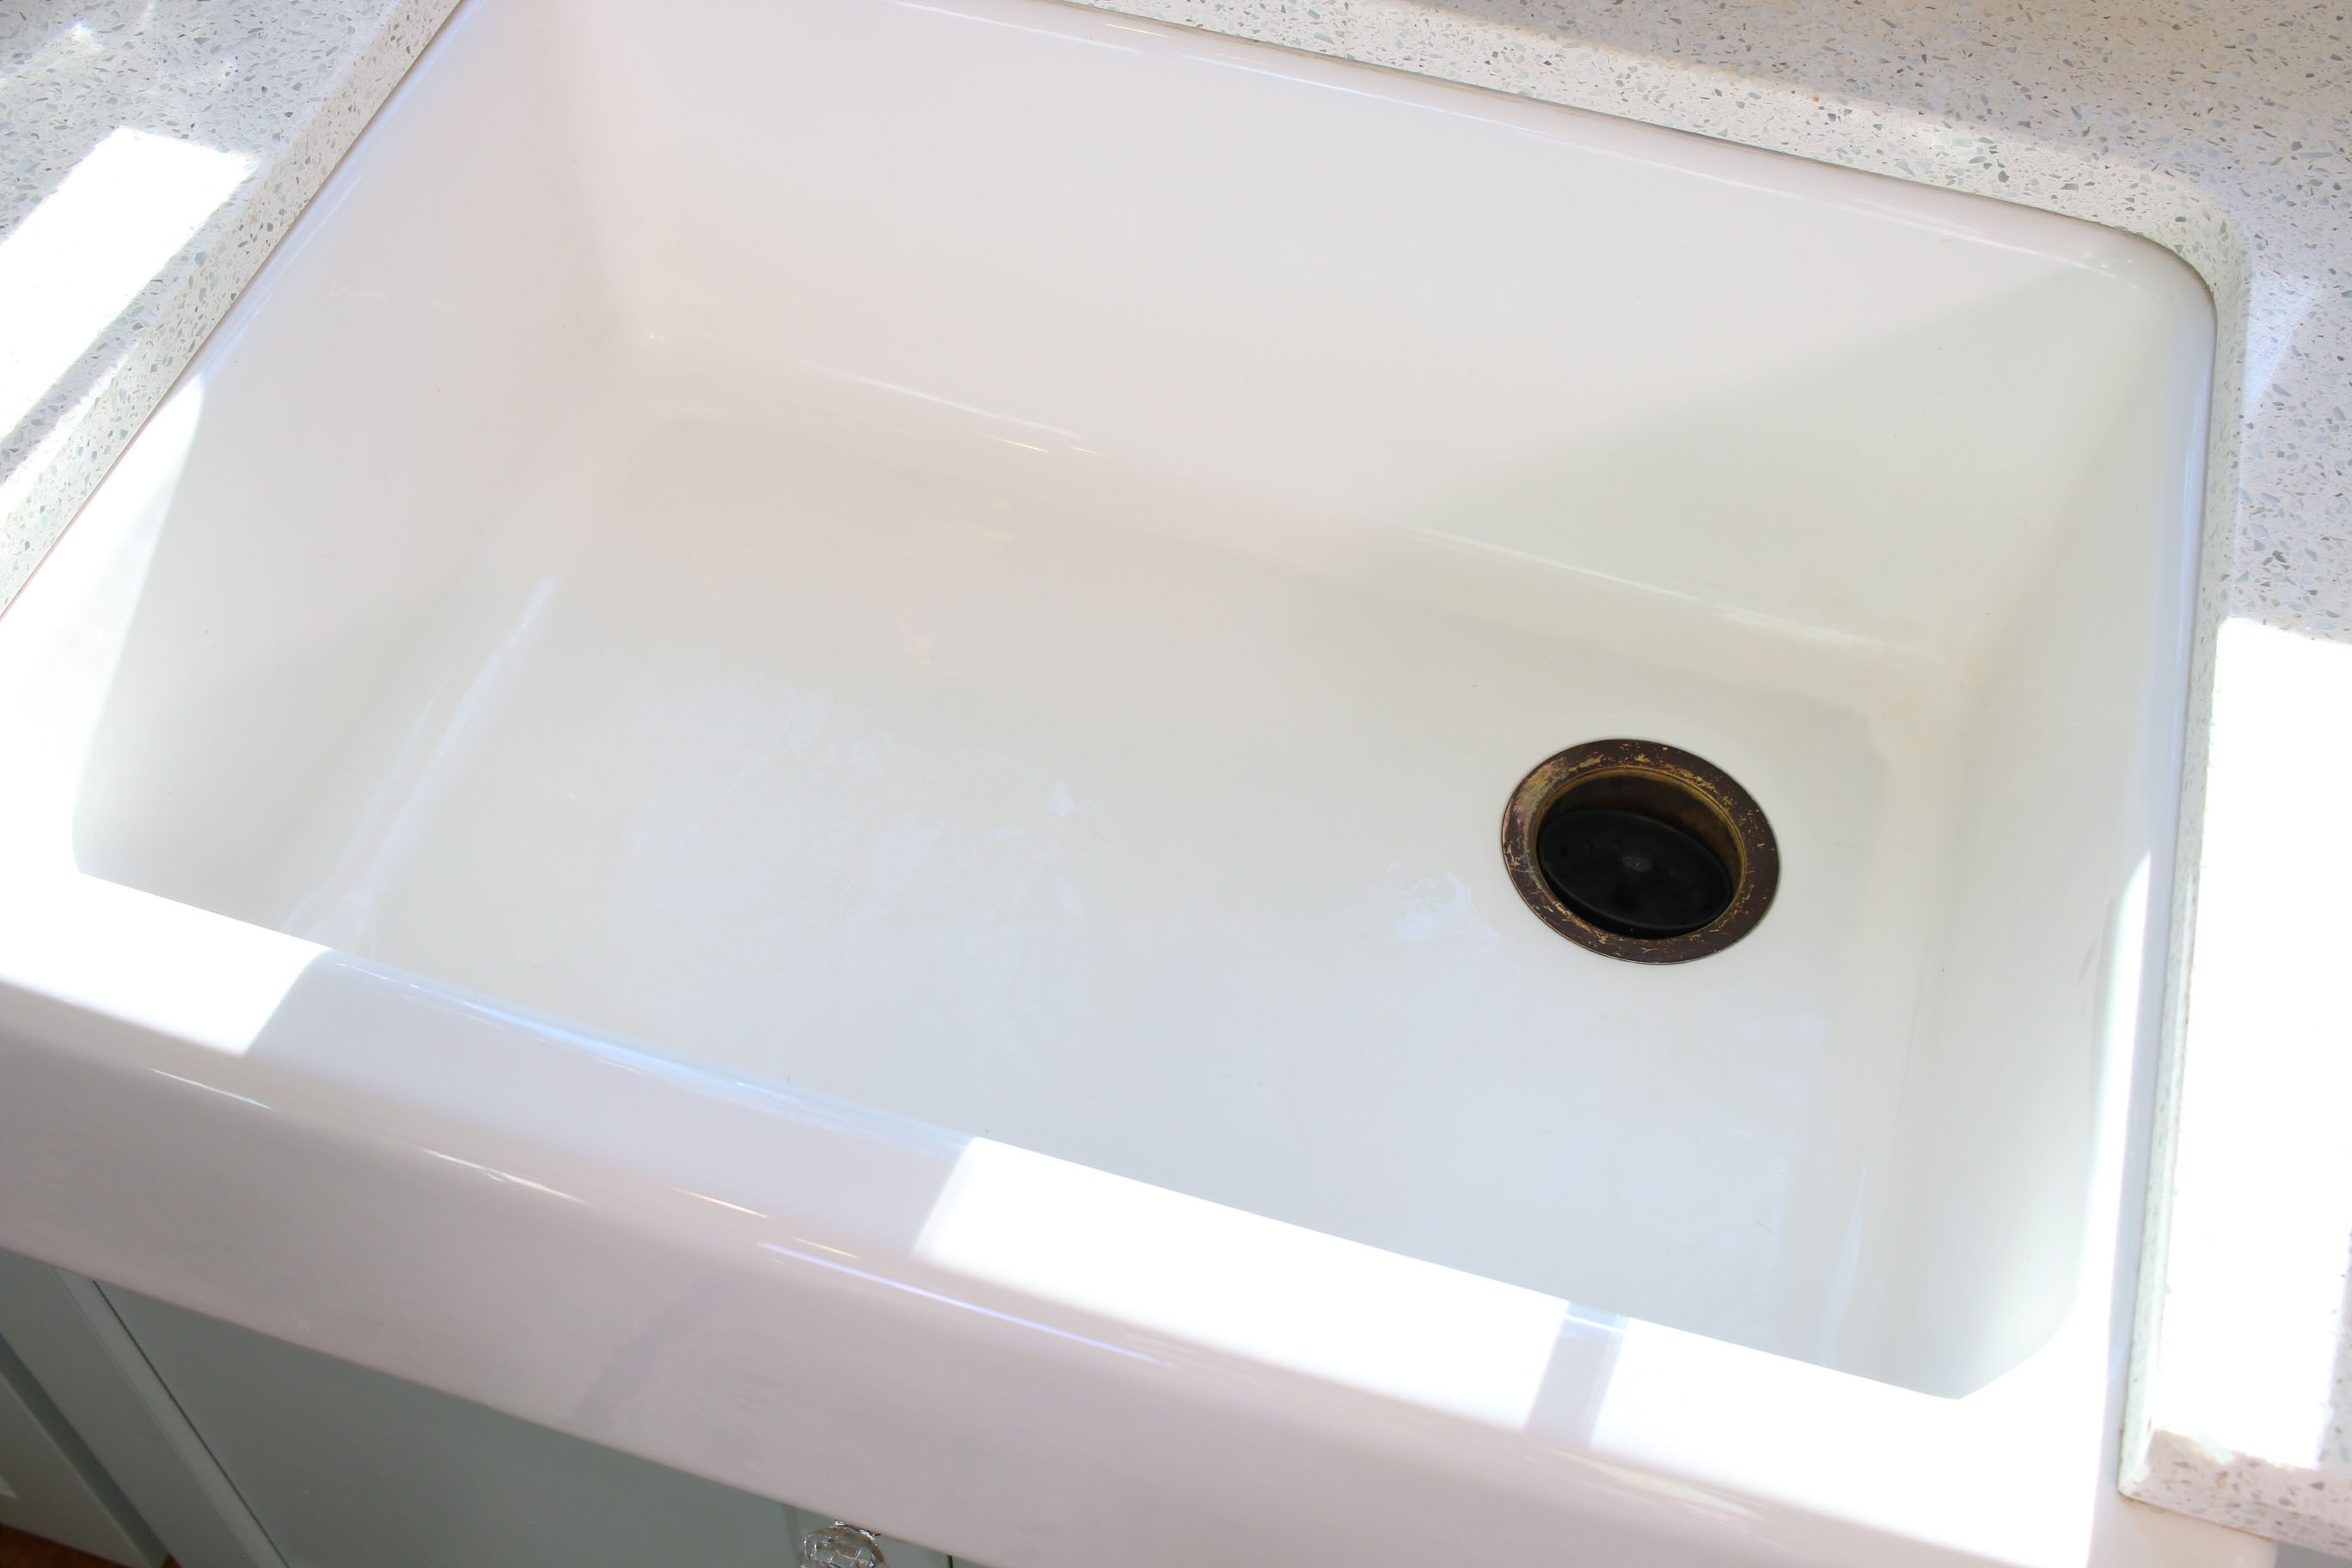
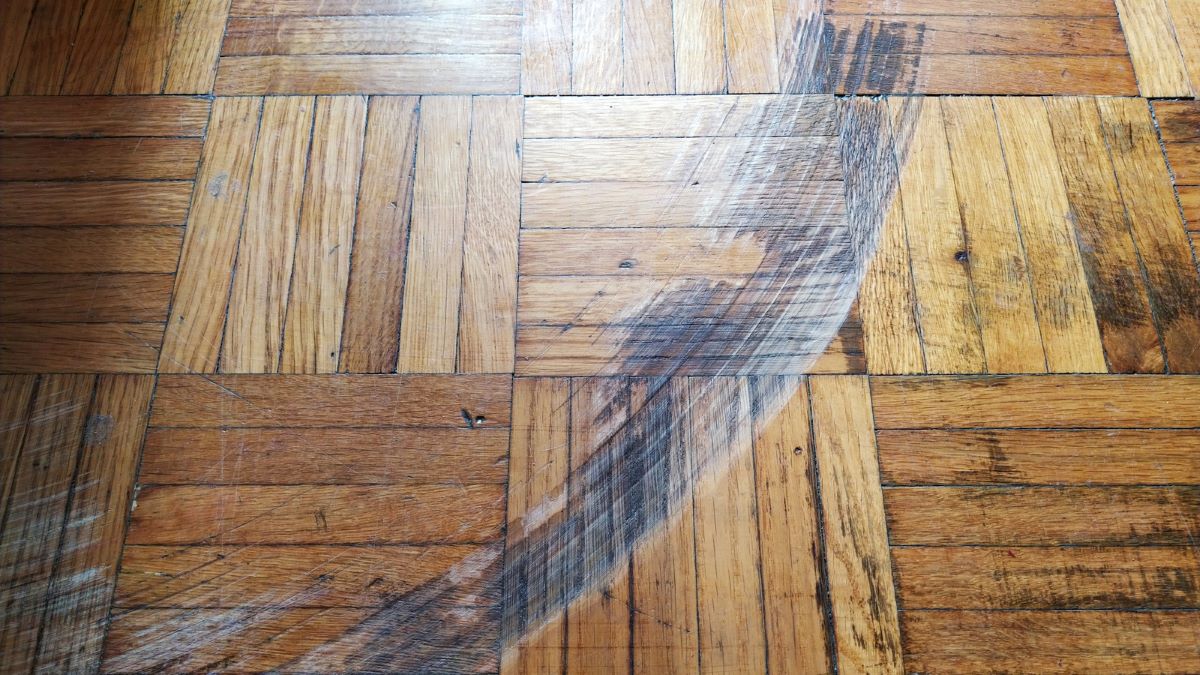
Assessing the Scratches
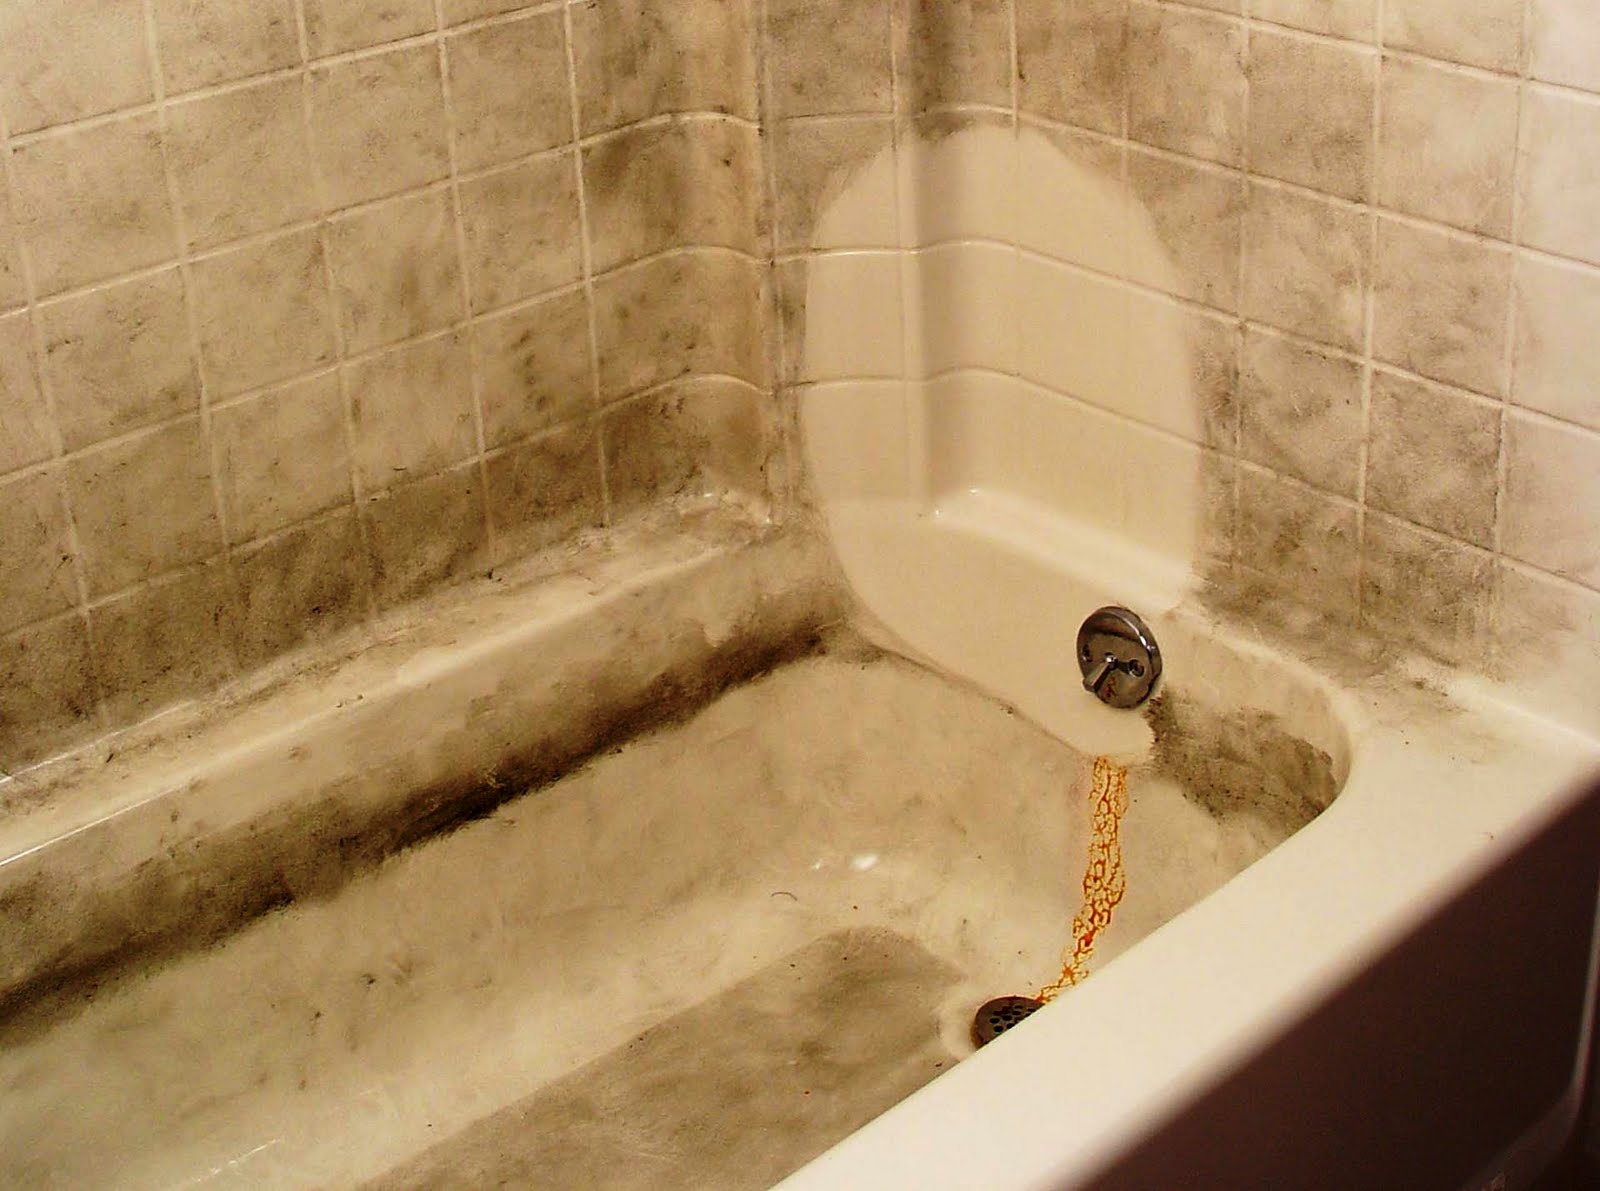
Before embarking on the journey to restore your bathtub's flawless appearance, it's crucial to assess the nature and extent of the scratches. This initial step will provide valuable insights into the severity of the damage and guide you in selecting the most appropriate method for achieving optimal results.
Begin by carefully examining the scratches on your bathtub's surface. Are they shallow and surface-level, or do they extend deeper, creating noticeable grooves? Identifying the depth and distribution of the scratches will help determine the best approach for addressing them effectively.
Next, consider the material of your bathtub, as different materials may require specific treatment methods. For instance, acrylic and fiberglass bathtubs are more susceptible to scratches than porcelain or enamel ones. Understanding the composition of your bathtub will enable you to tailor your restoration efforts accordingly.
Additionally, take note of any discoloration or staining around the scratched areas. These blemishes may indicate underlying damage or the presence of mineral deposits, which could impact the overall restoration process.
It's also essential to assess the overall condition of the bathtub, including any existing chips, cracks, or areas of wear and tear. By evaluating the comprehensive state of the bathtub, you can address multiple imperfections simultaneously, ensuring a comprehensive and cohesive restoration outcome.
Furthermore, consider the location of the scratches. Are they concentrated in a specific area, such as the bottom of the bathtub, or are they scattered across the surface? Understanding the distribution of the scratches will help you prioritize and allocate resources effectively, especially if you're dealing with multiple imperfections.
By meticulously assessing the scratches and their surrounding conditions, you can gain a comprehensive understanding of the restoration requirements, empowering you to make informed decisions and select the most suitable approach for achieving a flawless bathtub surface.
This careful assessment sets the stage for the subsequent steps in the restoration process, guiding you toward the most effective methods for eliminating scratches and revitalizing your bathtub's appearance. With a clear understanding of the nature and scope of the scratches, you can proceed with confidence, knowing that your efforts are tailored to address the specific needs of your bathtub.
Using Baking Soda and Water
One of the most popular and effective DIY methods for removing scratches from a bathtub involves the use of simple yet powerful ingredients: baking soda and water. This natural and non-abrasive solution offers a gentle yet potent approach to buffing out surface-level scratches, restoring the bathtub's smooth and flawless appearance.
To begin the process, create a paste by combining baking soda with water, forming a thick and spreadable mixture. The precise ratio may vary depending on the severity of the scratches, but a general guideline is to mix three parts baking soda with one part water, adjusting the quantities as needed to achieve the desired consistency.
Once the paste is prepared, apply it directly to the scratched areas of the bathtub, ensuring thorough coverage of the imperfections. Using a soft, damp cloth or sponge, gently rub the baking soda paste into the scratches using circular motions. This method allows the mild abrasiveness of the baking soda to buff out the scratches without causing damage to the bathtub's surface.
As you work the paste into the scratches, you may notice the formation of a slight lather, indicating the gentle exfoliation of the scratched areas. Continue massaging the paste into the scratches for several minutes, allowing the natural abrasiveness of the baking soda to gradually diminish the appearance of the imperfections.
After the application and gentle scrubbing, allow the baking soda paste to sit on the scratched areas for approximately 10 to 15 minutes. This dwell time enables the alkaline properties of the baking soda to further penetrate the scratches, facilitating the gradual smoothing and blending of the damaged surface.
Following the dwell period, thoroughly rinse the bathtub with clean water, ensuring the complete removal of the baking soda paste. Use a soft cloth to dry the bathtub, and then inspect the previously scratched areas. You may observe a remarkable improvement in the appearance of the scratches, with many of the surface-level imperfections significantly diminished or completely eradicated.
This method is particularly effective for addressing shallow scratches and minor blemishes, providing a budget-friendly and environmentally conscious solution for restoring the bathtub's pristine finish. By harnessing the natural exfoliating properties of baking soda and water, you can achieve impressive results, rejuvenating your bathtub and enhancing the overall appeal of your bathroom space.
Use a non-abrasive cleaner and a soft cloth to gently buff out the scratches. For deeper scratches, try using a fine-grit sandpaper followed by a polishing compound. Always test in a small area first.
Applying a Commercial Cleaner
When it comes to tackling stubborn scratches and blemishes on your bathtub, utilizing a commercial cleaner specifically formulated for the task can yield impressive results. These specialized cleaners are designed to effectively target and diminish scratches, restoring the smooth and flawless surface of your bathtub.
Before applying the commercial cleaner, it's essential to select a product that is compatible with the material of your bathtub. Different types of bathtubs, such as acrylic, fiberglass, porcelain, or enamel, may require cleaners with specific formulations to ensure optimal results without causing damage.
To begin the application process, carefully follow the manufacturer's instructions provided with the commercial cleaner. This may involve wearing protective gloves and ensuring proper ventilation in the bathroom to minimize exposure to fumes.
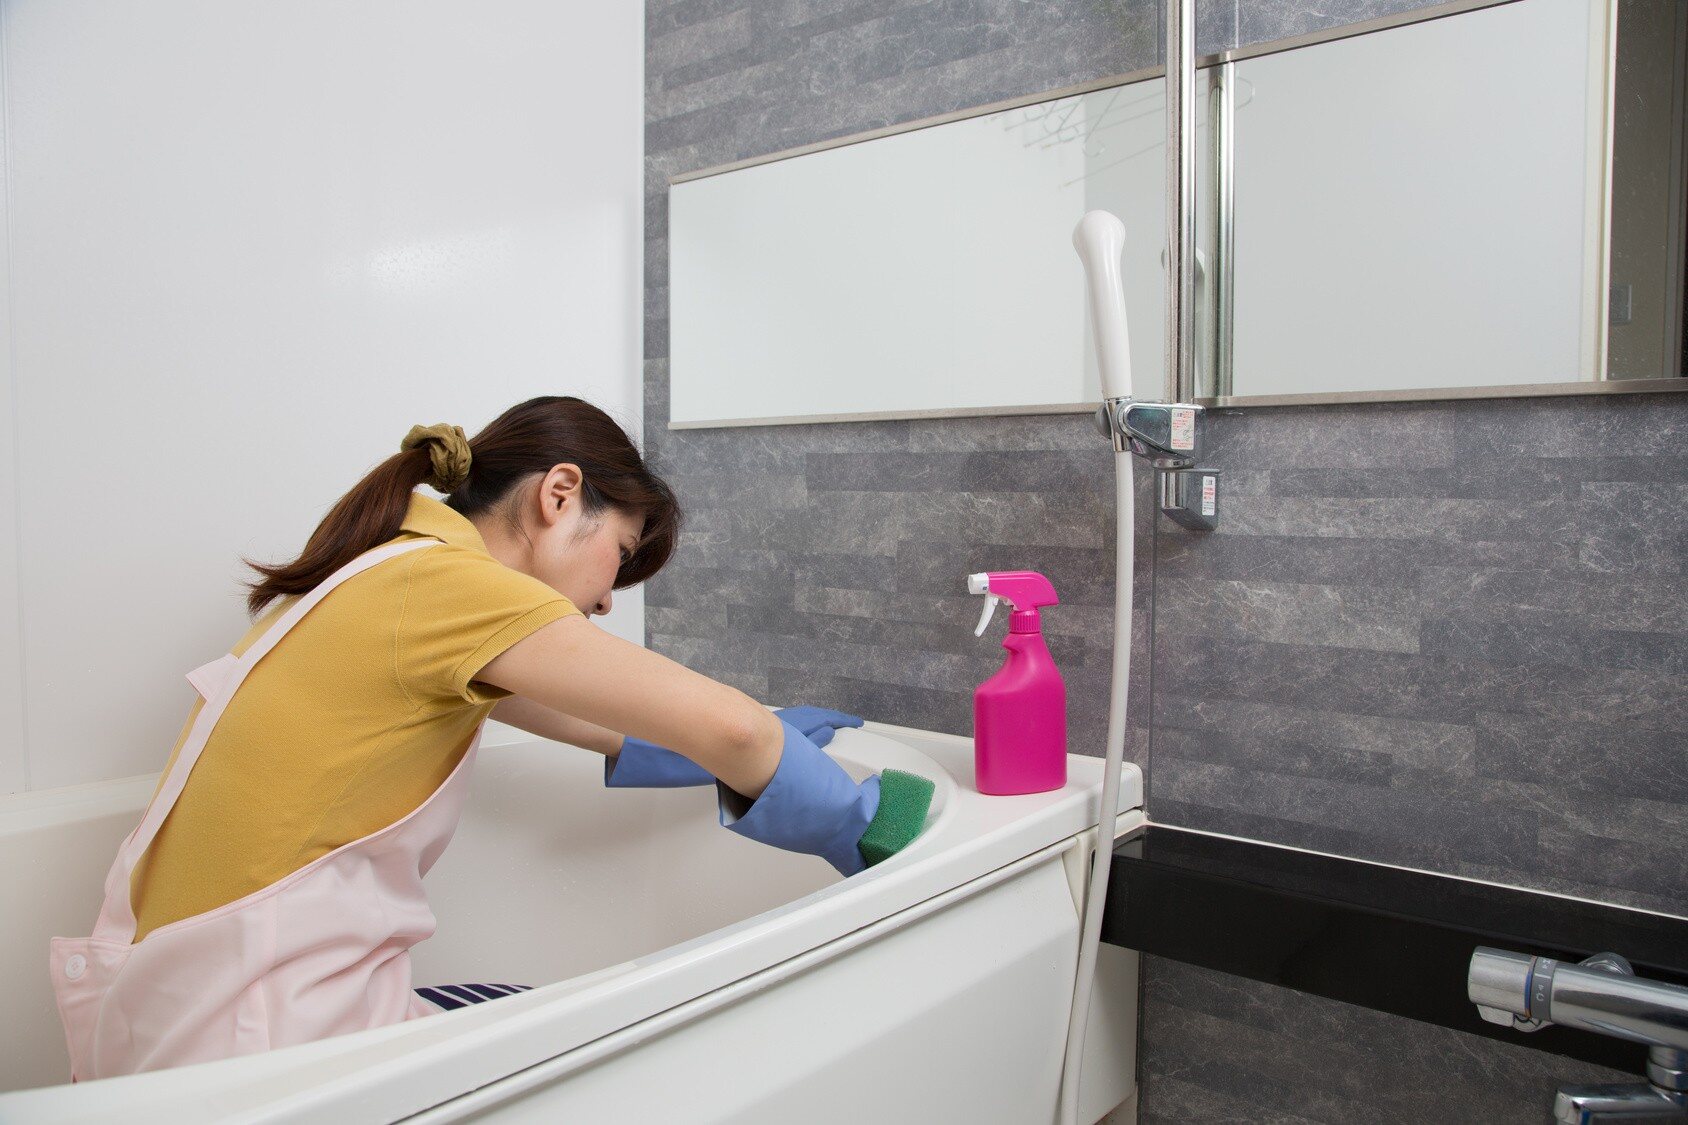
Start by thoroughly cleaning the bathtub to remove any dirt, soap scum, or residue that may interfere with the effectiveness of the commercial cleaner. Use a mild detergent or soap to cleanse the bathtub, and rinse it thoroughly to prepare the surface for the application of the commercial cleaner.
Once the bathtub is clean and dry, apply the commercial cleaner directly to the scratched areas, ensuring complete coverage of the imperfections. Depending on the product, you may need to use a soft cloth, sponge, or applicator provided with the cleaner to gently massage the product into the scratches.
Allow the commercial cleaner to dwell on the scratched areas for the specified duration recommended by the manufacturer. This dwell time is crucial for the active ingredients in the cleaner to penetrate the scratches and work their magic in diminishing the appearance of the imperfections.
After the designated dwell period, thoroughly rinse the bathtub with clean water to remove the commercial cleaner. Use a soft cloth to dry the bathtub, and then inspect the previously scratched areas. You may notice a significant improvement in the appearance of the scratches, with many of the blemishes visibly reduced or effectively eliminated.
It's important to note that some commercial cleaners may require multiple applications to achieve the desired results, especially for deeper or more persistent scratches. Follow the manufacturer's guidelines regarding the frequency and duration of application to maximize the effectiveness of the cleaner.
By utilizing a high-quality commercial cleaner tailored to address bathtub scratches, you can effectively restore the pristine appearance of your bathtub, enhancing the overall aesthetic appeal of your bathroom. This method offers a convenient and targeted approach to eliminating scratches, providing a valuable solution for homeowners seeking to rejuvenate their bathtubs with professional-grade results.
Sanding the Surface
Sanding the surface of a bathtub is a more intensive approach to addressing scratches, particularly those that are deeper or more pronounced. This method involves carefully smoothing out the scratched areas to restore a uniform and flawless finish, effectively eliminating the visible imperfections and revitalizing the bathtub's appearance.
Before embarking on the sanding process, it's crucial to gather the necessary materials and ensure that the bathtub is thoroughly cleaned and free of any residual soap scum or debris. Additionally, it's important to select the appropriate sandpaper grit for the specific type of bathtub material, as using the wrong grit can potentially damage the surface.
Begin by identifying the scratches that require sanding, paying close attention to their depth and distribution. For shallow scratches, start with a fine-grit sandpaper, such as 800-grit, while deeper scratches may necessitate the use of coarser grits, such as 400-grit, to effectively smooth out the imperfections.
Carefully sand the scratched areas using light pressure and circular motions, ensuring consistent and even coverage across the surface. It's essential to maintain a gentle touch to avoid causing further damage to the bathtub's material, especially in the case of acrylic or fiberglass surfaces, which are more susceptible to abrasion.
As you progress with the sanding process, periodically pause to assess the results and determine the extent of the scratches' removal. This iterative approach allows for precise control over the restoration process, enabling you to gradually diminish the appearance of the scratches without compromising the integrity of the bathtub's surface.
After sanding the scratched areas, thoroughly rinse the bathtub to remove any residual debris or particles resulting from the sanding process. Use a soft cloth to dry the bathtub, and then inspect the sanded areas to evaluate the effectiveness of the treatment. You may notice a significant improvement in the appearance of the scratches, with many of the imperfections visibly reduced or smoothed out.
Following the initial sanding, it may be necessary to repeat the process with progressively finer grits of sandpaper to achieve a polished and seamless finish. This multi-step approach allows for meticulous refinement of the bathtub's surface, ensuring that the scratches are effectively addressed and the overall appearance is restored to its original splendor.
By meticulously sanding the surface of the bathtub, you can effectively diminish the visibility of scratches and blemishes, achieving a smooth and uniform finish that enhances the aesthetic appeal of your bathroom. This method offers a comprehensive and targeted solution for addressing deeper scratches, empowering homeowners to rejuvenate their bathtubs with professional-grade results.
Read more: How To Get Oatmeal Out Of Bathtub
Polishing the Bathtub
Polishing the bathtub serves as the final touch in the restoration process, imparting a luxurious sheen and impeccable finish to the surface. This essential step not only enhances the visual appeal of the bathtub but also ensures that the scratches are seamlessly blended, resulting in a flawlessly rejuvenated fixture.
To commence the polishing process, it is imperative to select a high-quality bathtub polish or refinishing compound designed to deliver exceptional results. These specialized products are formulated to effectively conceal minor imperfections, restore luster, and provide a protective layer that enhances the durability of the bathtub surface.
Before applying the polish, thoroughly clean the bathtub to remove any residual debris, cleaning agents, or moisture. This preparatory step is essential for ensuring optimal adhesion and uniform application of the polish, allowing it to effectively conceal the scratches and elevate the overall appearance of the bathtub.
Once the bathtub is clean and dry, apply the polish according to the manufacturer's instructions, using a soft cloth or applicator to ensure even coverage across the entire surface. Work methodically, focusing on the areas where scratches were addressed, to ensure that the polish effectively conceals the imperfections and imparts a consistent sheen.
After applying the polish, allow it to dry and cure as per the manufacturer's guidelines. This curing period is crucial for the polish to bond with the bathtub surface, creating a resilient and visually appealing finish that effectively masks the previously treated scratches.
Following the curing process, gently buff the bathtub surface with a clean, soft cloth to reveal the polished sheen. This final step enhances the luster of the bathtub, creating a smooth and radiant appearance that showcases the successful restoration of the surface.
Upon completion, inspect the bathtub to admire the remarkable transformation achieved through the comprehensive restoration process. The once-noticeable scratches are now seamlessly blended into the polished surface, exuding a timeless elegance and revitalizing the overall aesthetic of the bathroom.
By meticulously polishing the bathtub, you can achieve a stunning and enduring finish that not only conceals scratches but also elevates the entire bathing environment. This final step in the restoration process ensures that your bathtub regains its original allure, becoming a focal point of beauty and sophistication in your home.
Frequently Asked Questions about How To Get Scratches Out Of Bathtub
Was this page helpful?
At Storables.com, we guarantee accurate and reliable information. Our content, validated by Expert Board Contributors, is crafted following stringent Editorial Policies. We're committed to providing you with well-researched, expert-backed insights for all your informational needs.
0 thoughts on “How To Get Scratches Out Of Bathtub”