Home>Furniture & Design>Bathroom Accessories>How To Get Grime Out Of A Bathtub
Bathroom Accessories
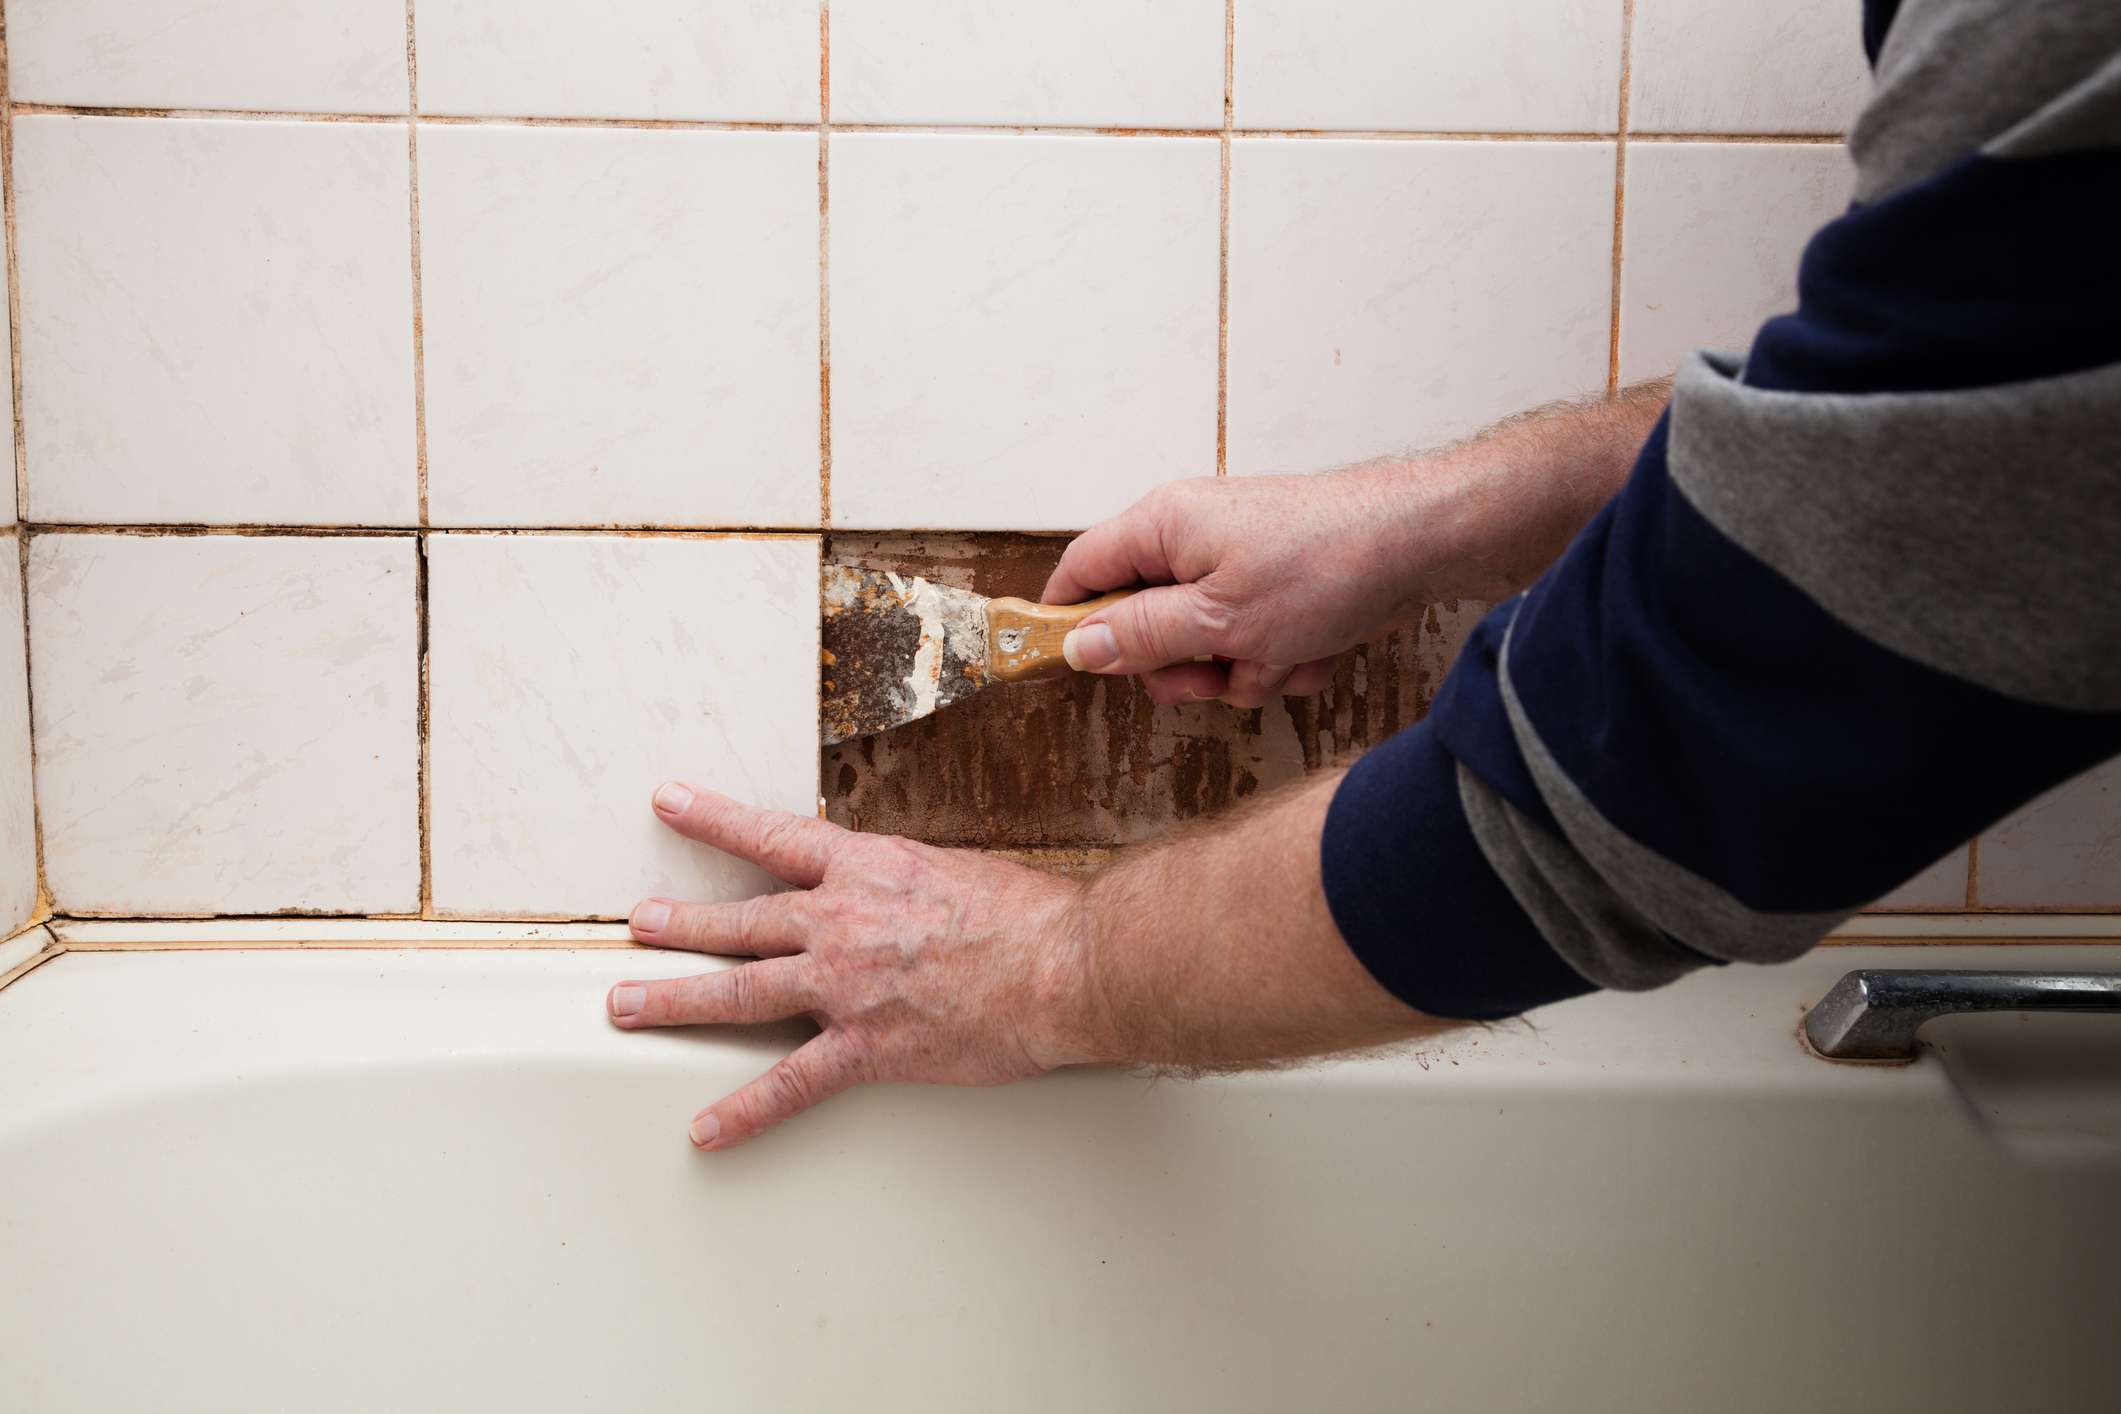
How To Get Grime Out Of A Bathtub
Modified: August 31, 2024
Learn effective techniques for removing grime from your bathtub with our expert tips on bathroom accessories. Keep your bathroom sparkling clean!
(Many of the links in this article redirect to a specific reviewed product. Your purchase of these products through affiliate links helps to generate commission for Storables.com, at no extra cost. Learn more)
Introduction
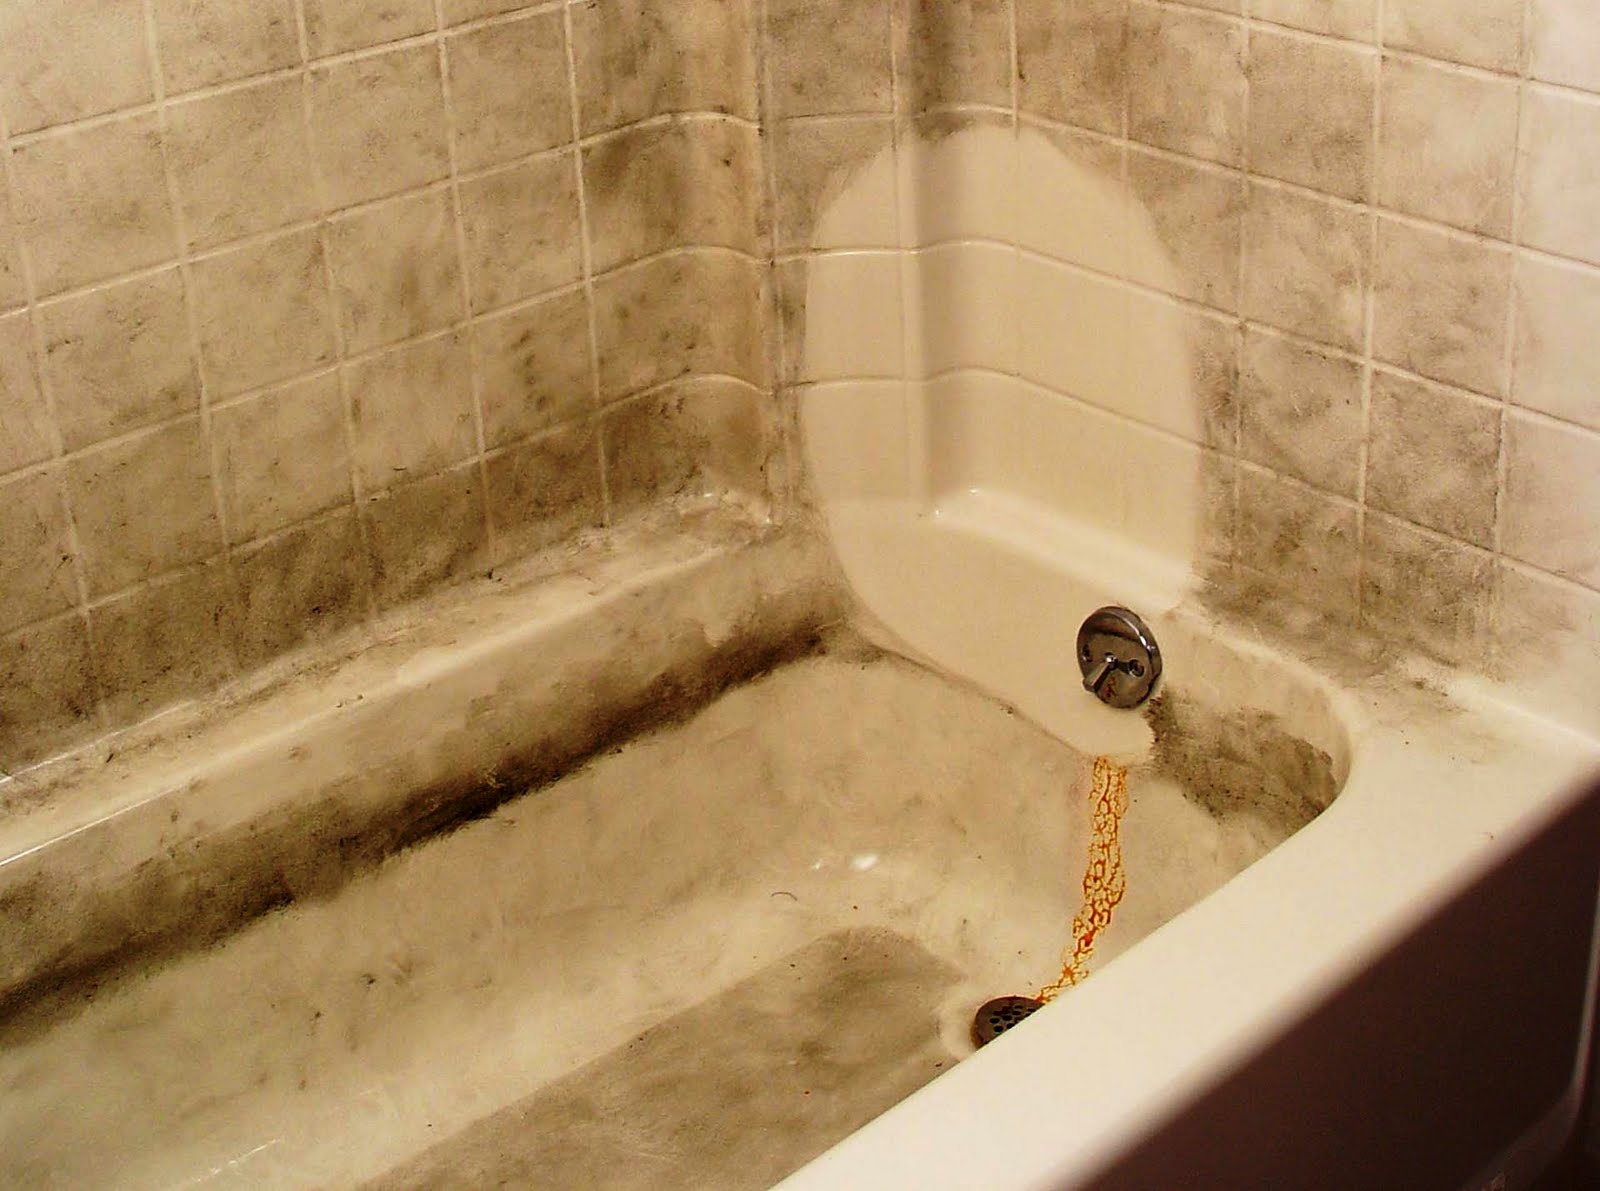
Cleaning a bathtub can be a daunting task, especially when faced with stubborn grime and dirt buildup. Over time, soap scum, mineral deposits, and body oils can accumulate, leaving unsightly stains and making the bathtub appear less inviting. However, with the right materials and techniques, restoring your bathtub to its former glory is entirely achievable.
In this comprehensive guide, we will walk you through the step-by-step process of removing grime from your bathtub, allowing you to enjoy a sparkling clean bathing space once again. By following these instructions and using the recommended cleaning solutions, you can effectively eliminate grime and maintain a hygienic and visually appealing bathtub.
Whether you're dealing with a porcelain, acrylic, or fiberglass bathtub, the methods outlined in this guide are designed to be safe and effective for various materials. With a little effort and the proper approach, you can transform your bathtub from grimy to gleaming, creating a more inviting and relaxing environment for your daily bathing routine.
So, gather your cleaning supplies and let's dive into the process of banishing grime from your bathtub, restoring its shine, and revitalizing your bathroom space. With these simple yet effective steps, you'll soon be enjoying a clean and rejuvenated bathtub that enhances the overall comfort and cleanliness of your home.
Key Takeaways:
- Say goodbye to bathtub grime by using baking soda, white vinegar, and dish soap. Scrub with a soft cloth or sponge, rinse thoroughly, and enjoy a sparkling, clean tub.
- Transform your bathtub from grimy to gleaming by following a systematic cleaning process. Prepare, apply a powerful cleaning solution, scrub diligently, rinse, and dry for impressive results.
Read more: How To Get Out Of A Bathtub
Materials Needed
To effectively tackle the grime in your bathtub, you'll need a few essential materials to ensure a thorough cleaning process. These items are readily available and, when used in combination, can help you achieve impressive results. Here's what you'll need:
-
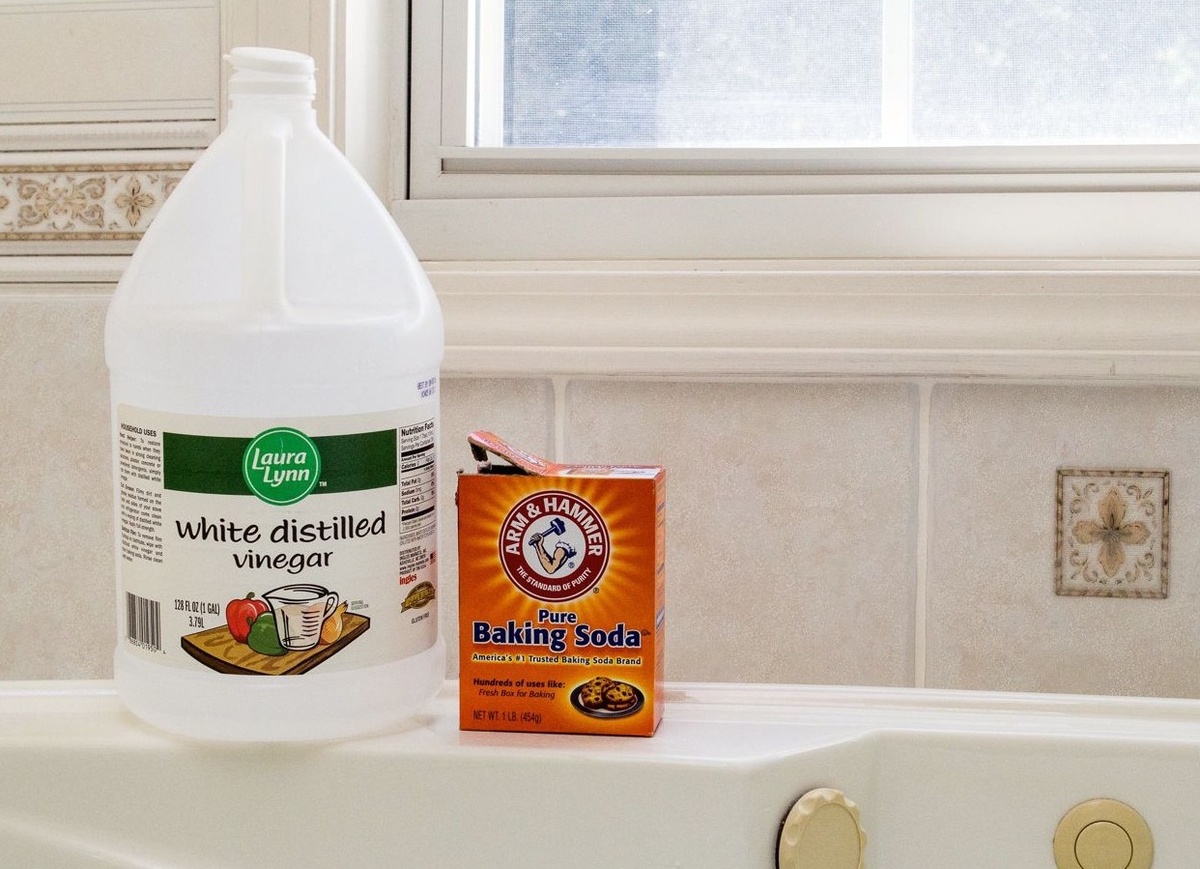
Baking Soda: This versatile household staple is renowned for its gentle yet effective abrasive properties, making it ideal for scrubbing away grime and stains without damaging the bathtub surface.
-
White Vinegar: Known for its natural cleaning abilities, white vinegar is a powerful ally in the battle against bathtub grime. Its acidic nature helps dissolve mineral deposits and soap scum, leaving your bathtub sparkling clean.
-
Dish Soap or Castile Soap: A mild dish soap or castile soap serves as an excellent degreaser, effectively cutting through body oils and soap residue that contribute to bathtub grime.
-
Microfiber Cloth or Soft Sponge: Opt for a non-abrasive cleaning tool to avoid scratching the bathtub surface while effectively removing grime and residue.
-
Spray Bottle: Having a spray bottle on hand allows you to easily apply the cleaning solution to the bathtub surface, ensuring even coverage for thorough cleaning.
-
Rubber Gloves: Protect your hands from prolonged exposure to cleaning solutions and grime by wearing rubber gloves throughout the cleaning process.
-
Old Toothbrush: This small, versatile tool is perfect for reaching tight corners and crevices, allowing you to tackle grime in hard-to-reach areas of the bathtub.
-
Lemon (Optional): If you prefer a natural and refreshing scent, a lemon can be used to add a pleasant aroma to your cleaning solution while providing additional cleaning power.
By gathering these materials, you'll be well-equipped to embark on the grime-fighting journey and restore your bathtub to its pristine condition. With these items at your disposal, you can confidently proceed to the next steps of the cleaning process, knowing that you have everything you need to achieve a satisfying outcome.
Step 1: Preparing the Bathtub
Before diving into the cleaning process, it's essential to prepare the bathtub to ensure optimal results. By taking the time to prepare the surface and surrounding area, you can create a conducive environment for effectively tackling the grime. Here's how to prepare the bathtub for the cleaning process:
Clear the Surface
Begin by removing any items from the bathtub, such as shampoo bottles, soap dishes, or bath toys. Clearing the surface allows for unrestricted access to the entire bathtub, ensuring that every area is thoroughly cleaned.
Rinse with Warm Water
Using a handheld showerhead or a bucket, rinse the bathtub with warm water to remove loose debris, dirt, and surface grime. This initial rinse helps to loosen and dislodge any easily removable particles, making the subsequent cleaning process more efficient.
Read more: How To Get Oatmeal Out Of Bathtub
Ventilate the Area
Proper ventilation is crucial during the cleaning process, especially when working with cleaning solutions. Open a window or turn on the bathroom exhaust fan to ensure adequate airflow. This helps minimize the inhalation of cleaning fumes and promotes a more comfortable environment for the cleaning task.
Protect Surrounding Surfaces
To prevent accidental damage to surrounding surfaces, such as bathroom tiles or countertops, consider placing towels or old cloths along the edges of the bathtub. This precautionary measure provides a protective barrier and helps contain any splashes or drips during the cleaning process.
Wear Protective Gear
Before proceeding, don a pair of rubber gloves to protect your hands from prolonged exposure to cleaning solutions and grime. Additionally, consider wearing old clothing to avoid any potential splashes or spills from affecting your attire.
By diligently preparing the bathtub and its surroundings, you set the stage for a successful cleaning endeavor. These initial steps create a safe, organized, and conducive environment for effectively addressing the grime that has accumulated in your bathtub. With the preparation complete, you're now ready to move on to the next phase of the cleaning process, armed with the necessary precautions and a clear focus on achieving a sparkling clean bathtub.
Step 2: Applying the Cleaning Solution
With the bathtub prepared and the stage set for a thorough cleaning, it's time to apply the cleaning solution to tackle the persistent grime. The carefully selected cleaning solution, comprising baking soda, white vinegar, and dish soap, is a powerful combination that effectively targets and eliminates the accumulated dirt and stains. Here's a detailed breakdown of the process for applying the cleaning solution:
Read more: How To Get Bathtub Stopper Out
Creating the Cleaning Solution
Begin by preparing the cleaning solution in a spray bottle. To do this, combine equal parts of baking soda and white vinegar in the spray bottle. The reaction between the two ingredients will create a foaming effect, indicating the chemical reaction that helps break down grime and stains. If desired, you can add a few drops of dish soap or castile soap to the mixture for added degreasing power.
Application to the Bathtub Surface
Once the cleaning solution is ready, generously spray it onto the entire surface of the bathtub, ensuring even coverage. The foaming action of the solution helps to penetrate and loosen the grime, making it easier to remove. Pay particular attention to areas with visible stains or heavy grime buildup, ensuring that the solution thoroughly coats these trouble spots.
Optional Lemon Enhancement
For a natural and refreshing scent, consider incorporating a lemon into the cleaning process. Cut a lemon in half and rub it directly onto the bathtub surface after applying the cleaning solution. The citric acid in the lemon not only adds a pleasant aroma but also provides additional cleaning power, particularly effective against mineral deposits and soap scum.
Allowing the Solution to Work
After applying the cleaning solution, allow it to sit and work its magic for approximately 10-15 minutes. This dwell time is crucial as it gives the solution ample opportunity to break down the grime and stains, making them easier to remove during the subsequent scrubbing process.
By following these steps to apply the cleaning solution, you effectively prime the bathtub for the next phase of the cleaning process. The powerful combination of ingredients in the solution, coupled with the optional lemon enhancement, sets the stage for a thorough and effective grime-fighting endeavor. With the cleaning solution in place, you're now ready to proceed to the next step: scrubbing the bathtub to banish the remaining grime and reveal the revitalized surface beneath.
Read more: How To Get Dye Out Of A Bathtub
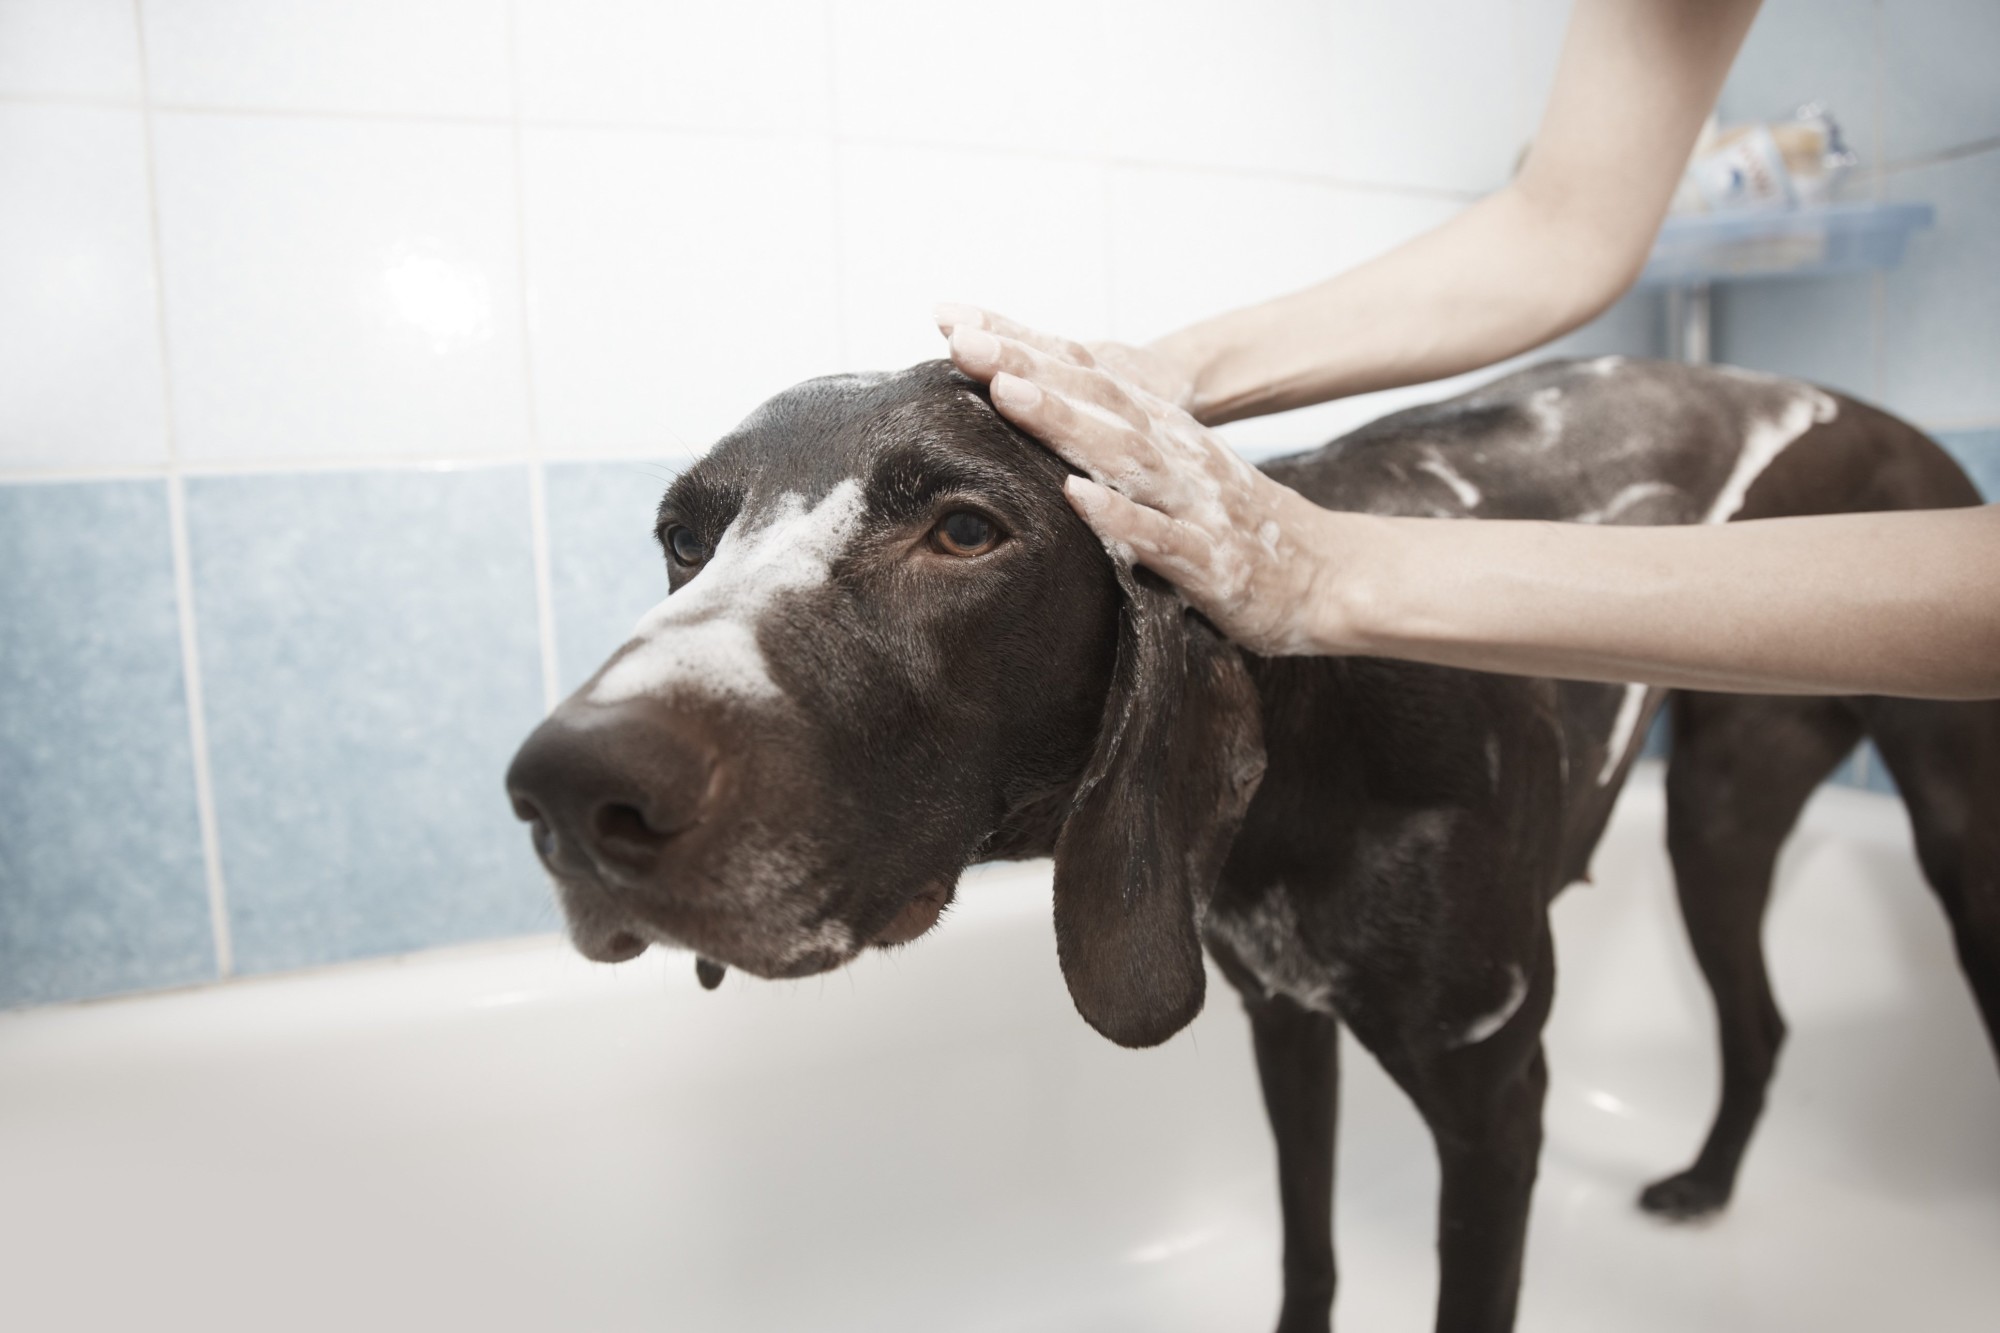
Step 3: Scrubbing the Bathtub
After allowing the cleaning solution to work its magic, it's time to roll up your sleeves and tackle the grime with a thorough scrubbing. This step is crucial for dislodging and removing the loosened dirt, stains, and residue, revealing the renewed surface of your bathtub. Here's a detailed breakdown of the process for effectively scrubbing the bathtub:
Selecting the Cleaning Tool
Choose a non-abrasive cleaning tool, such as a microfiber cloth or a soft sponge, to avoid scratching the bathtub surface. These gentle yet effective tools provide the necessary scrubbing power without causing damage, ensuring that the bathtub retains its original luster.
Targeting Trouble Spots
Begin by focusing on areas with visible stains or stubborn grime buildup. Using the selected cleaning tool, apply firm yet gentle pressure to these trouble spots, working in small circular motions to dislodge the grime. Pay particular attention to the areas around the drain, along the waterline, and any crevices where grime tends to accumulate.
Utilizing the Old Toothbrush
For hard-to-reach areas and tight corners, enlist the help of an old toothbrush. The small bristles and compact size of the toothbrush make it ideal for targeting intricate areas where grime may be deeply embedded. Use the toothbrush to scrub along grout lines, around fixtures, and in any other confined spaces that require detailed attention.
Read more: How To Get A Ring Out Of A Bathtub
Persistent Stains and Buildup
In cases where persistent stains or heavy buildup are encountered, a bit of extra elbow grease may be necessary. Gently increase the pressure and continue scrubbing, allowing the cleaning solution and the mechanical action of scrubbing to work in tandem to break down and remove the stubborn grime.
Rinse and Assess
Periodically rinse the cleaning tool and the bathtub surface with warm water to remove dislodged grime and evaluate the progress. This step allows you to gauge the effectiveness of the scrubbing process and identify any areas that may require additional attention.
Repeat as Needed
For particularly stubborn grime, don't hesitate to repeat the scrubbing process as needed. Persistence and thoroughness are key to achieving a truly clean and revitalized bathtub surface. By being diligent and methodical in your approach, you can ensure that every inch of the bathtub receives the attention it deserves.
By following these detailed steps for scrubbing the bathtub, you actively contribute to the removal of grime and stains, unveiling a refreshed and gleaming surface. With the grime effectively dislodged and removed, you're now ready to proceed to the final step: rinsing and drying the bathtub to complete the cleaning process.
Step 4: Rinsing and Drying
With the grime successfully dislodged and removed through the scrubbing process, the final step involves thoroughly rinsing the bathtub to eliminate any remaining cleaning solution, dirt, and residue. This crucial rinsing phase is followed by the drying process, ensuring that the bathtub is left sparkling clean and ready for immediate use. Here's a detailed breakdown of the rinsing and drying steps to complete the cleaning process:
Read more: How To Get Scratches Out Of Bathtub
Rinsing the Bathtub Surface
Begin by using the handheld showerhead or a clean bucket of warm water to thoroughly rinse the entire bathtub surface. Ensure that all traces of the cleaning solution, along with dislodged grime and residue, are effectively washed away. Pay particular attention to corners, crevices, and areas around the drain to ensure comprehensive rinsing.
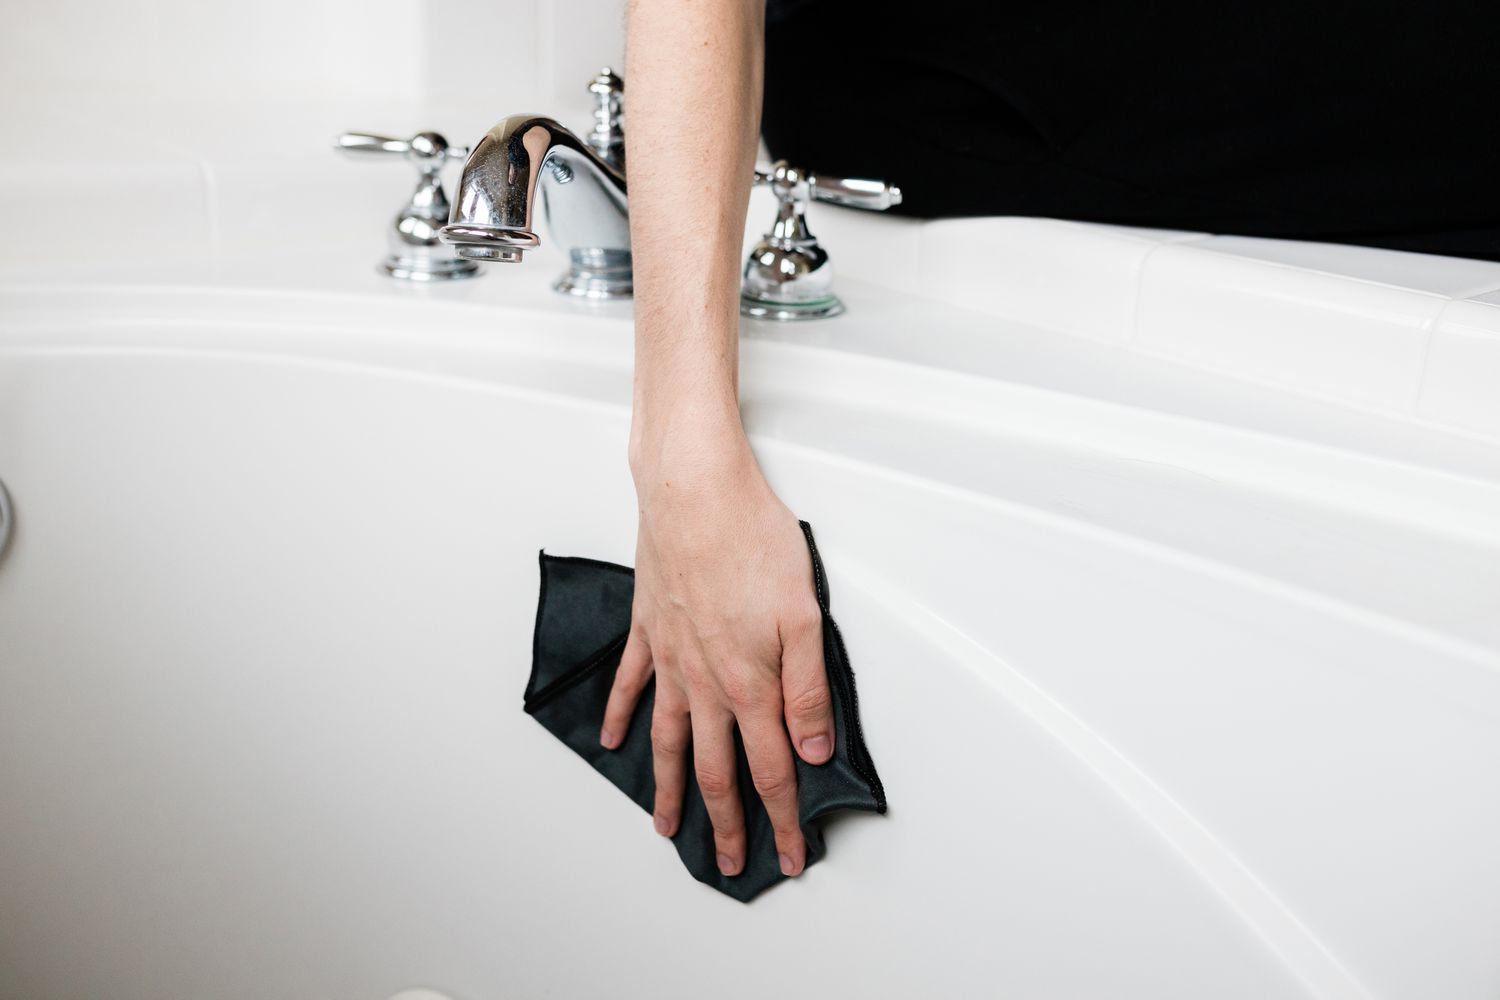
Wiping Down with a Clean Cloth
Following the rinsing process, use a clean microfiber cloth or a soft sponge to wipe down the bathtub surface. This additional step helps to remove any remaining moisture and ensures that the bathtub is left streak-free and gleaming. Pay attention to detail, gently wiping along the surface to absorb excess water and promote faster drying.
Drying with a Towel
To expedite the drying process, use a dry towel to further absorb any lingering moisture on the bathtub surface. Thoroughly dry the entire bathtub, including the surrounding edges and fixtures, to prevent water spots and promote a pristine finish. This step also helps to reveal the true cleanliness of the bathtub, showcasing the successful removal of grime and stains.
Final Inspection
Once the bathtub is thoroughly rinsed and dried, take a moment to conduct a final inspection. Check for any remaining spots or streaks, addressing them promptly with a clean, dry cloth if necessary. This meticulous inspection ensures that the bathtub is left in impeccable condition, ready to be enjoyed without any lingering traces of grime or cleaning solution.
By diligently following these steps to rinse and dry the bathtub, you complete the comprehensive cleaning process, leaving behind a revitalized and hygienic bathing space. With the grime banished and the bathtub restored to its former glory, you can take pride in the accomplishment of transforming a once-dull surface into a sparkling centerpiece of cleanliness and comfort.
Read more: How To Get The Elderly Out Of A Bathtub
Conclusion
In conclusion, successfully removing grime from a bathtub involves a systematic approach that combines effective cleaning solutions, thorough scrubbing, and meticulous rinsing. By following the step-by-step process outlined in this guide, you can achieve a remarkable transformation, turning a grimy bathtub into a pristine and inviting bathing space.
The journey begins with the essential step of preparing the bathtub, ensuring that the surface is clear, rinsed, and protected. This initial preparation sets the stage for the subsequent application of the powerful cleaning solution, comprising baking soda, white vinegar, and optional dish soap. The chemical reaction and foaming action of the solution work to penetrate and loosen the accumulated grime, preparing it for the scrubbing phase.
With the cleaning solution in place, the scrubbing process becomes the focal point of the cleaning endeavor. Using non-abrasive cleaning tools and, if necessary, an old toothbrush, you diligently work to dislodge and remove the loosened grime, paying particular attention to trouble spots and persistent stains. This meticulous scrubbing effort ensures that every inch of the bathtub receives the attention it deserves, resulting in a thoroughly cleansed surface.
The final steps of rinsing and drying complete the cleaning process, ensuring that the bathtub is left free of cleaning solution and residue. Thorough rinsing, followed by gentle wiping and drying, reveals the revitalized surface of the bathtub, free from grime and streaks. This meticulous attention to detail culminates in a visually appealing and hygienic bathing space that enhances the overall comfort and cleanliness of the home.
By diligently following these steps and utilizing the recommended materials, you can confidently tackle grime in your bathtub, achieving impressive results and revitalizing your bathing environment. The satisfaction of witnessing a once-grimy bathtub transform into a sparkling centerpiece of cleanliness is a testament to the effectiveness of the cleaning process outlined in this guide.
In essence, banishing grime from a bathtub is not merely a cleaning task; it is a transformative journey that revitalizes a key element of the home. With the knowledge and techniques acquired from this guide, you are empowered to maintain a clean and inviting bathtub, ensuring a hygienic and enjoyable bathing experience for yourself and your household.
Frequently Asked Questions about How To Get Grime Out Of A Bathtub
Was this page helpful?
At Storables.com, we guarantee accurate and reliable information. Our content, validated by Expert Board Contributors, is crafted following stringent Editorial Policies. We're committed to providing you with well-researched, expert-backed insights for all your informational needs.

0 thoughts on “How To Get Grime Out Of A Bathtub”