Home>Furniture & Design>Bathroom Accessories>How To Get Bathtub Drain Out
Bathroom Accessories
How To Get Bathtub Drain Out
Published: February 20, 2024
Learn how to easily remove a bathtub drain with our step-by-step guide. Find the best bathroom accessories and tools for the job.
(Many of the links in this article redirect to a specific reviewed product. Your purchase of these products through affiliate links helps to generate commission for Storables.com, at no extra cost. Learn more)
Introduction
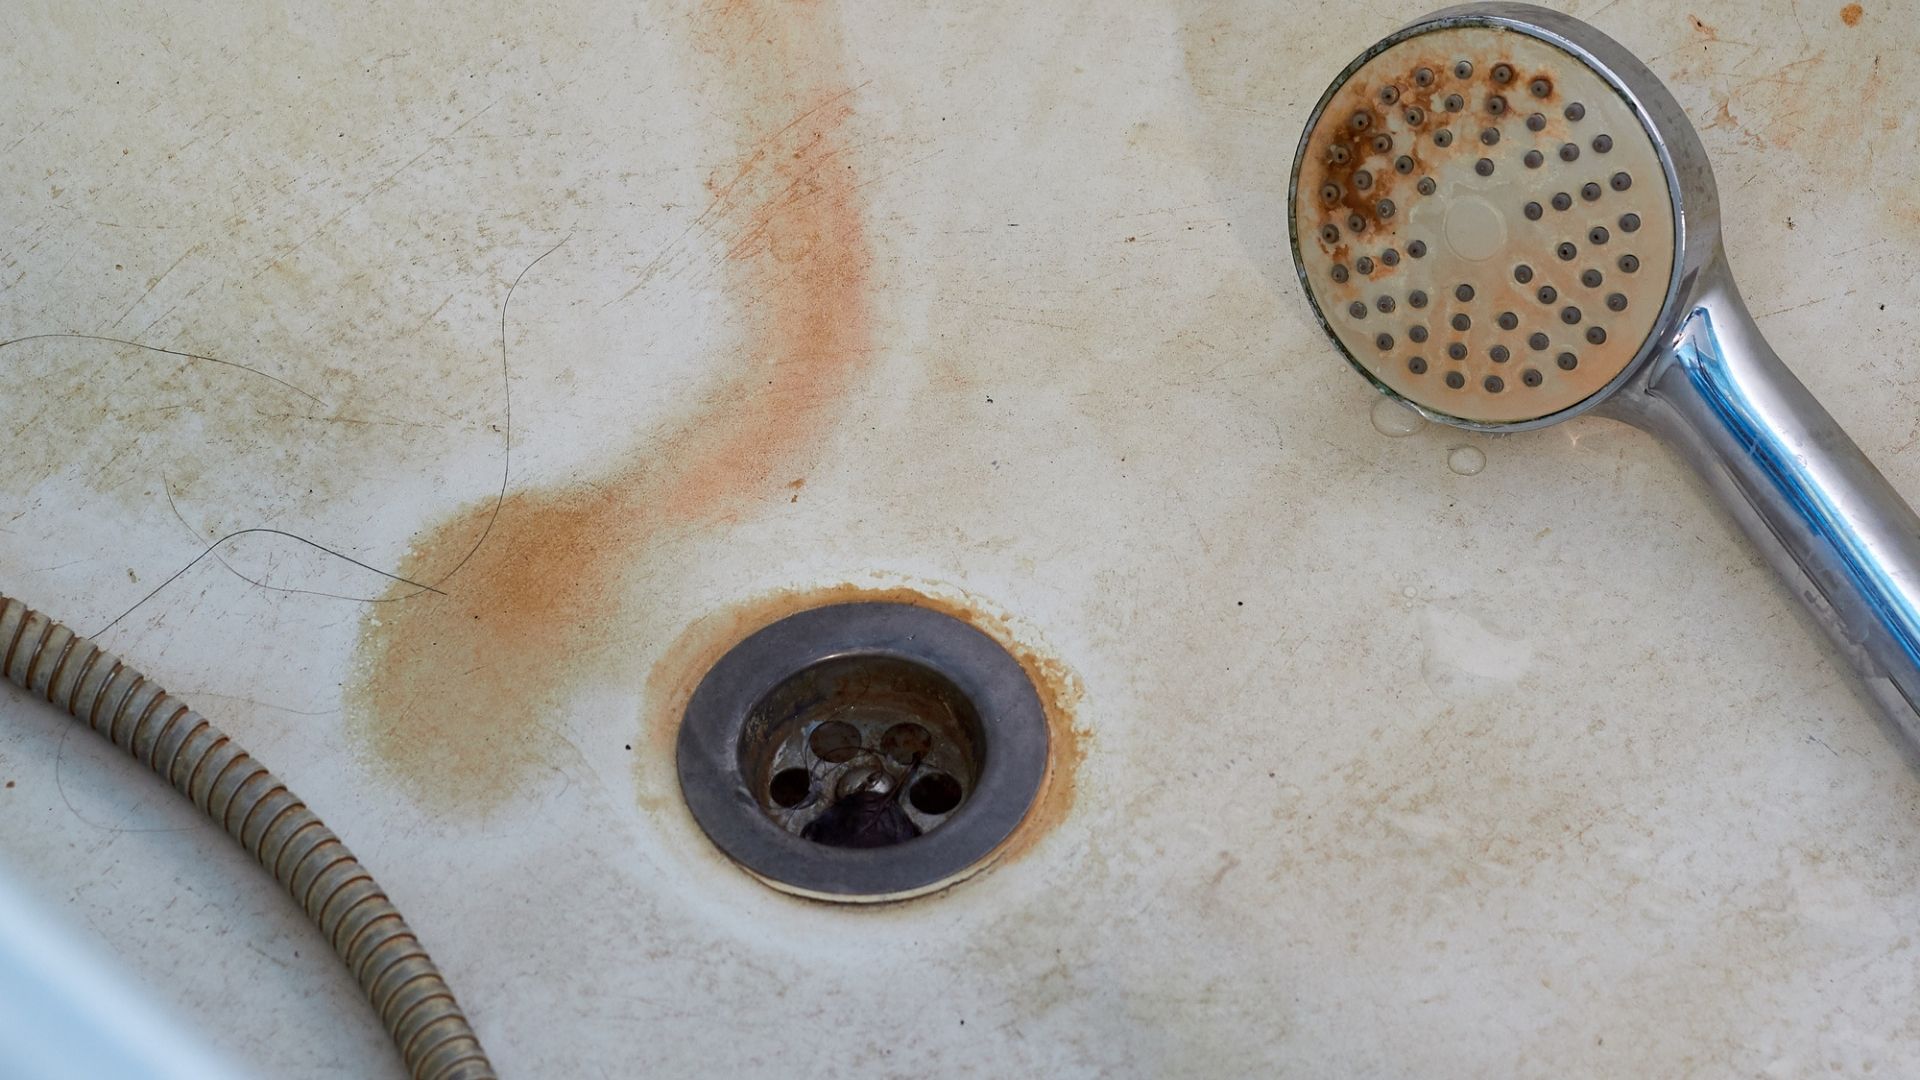
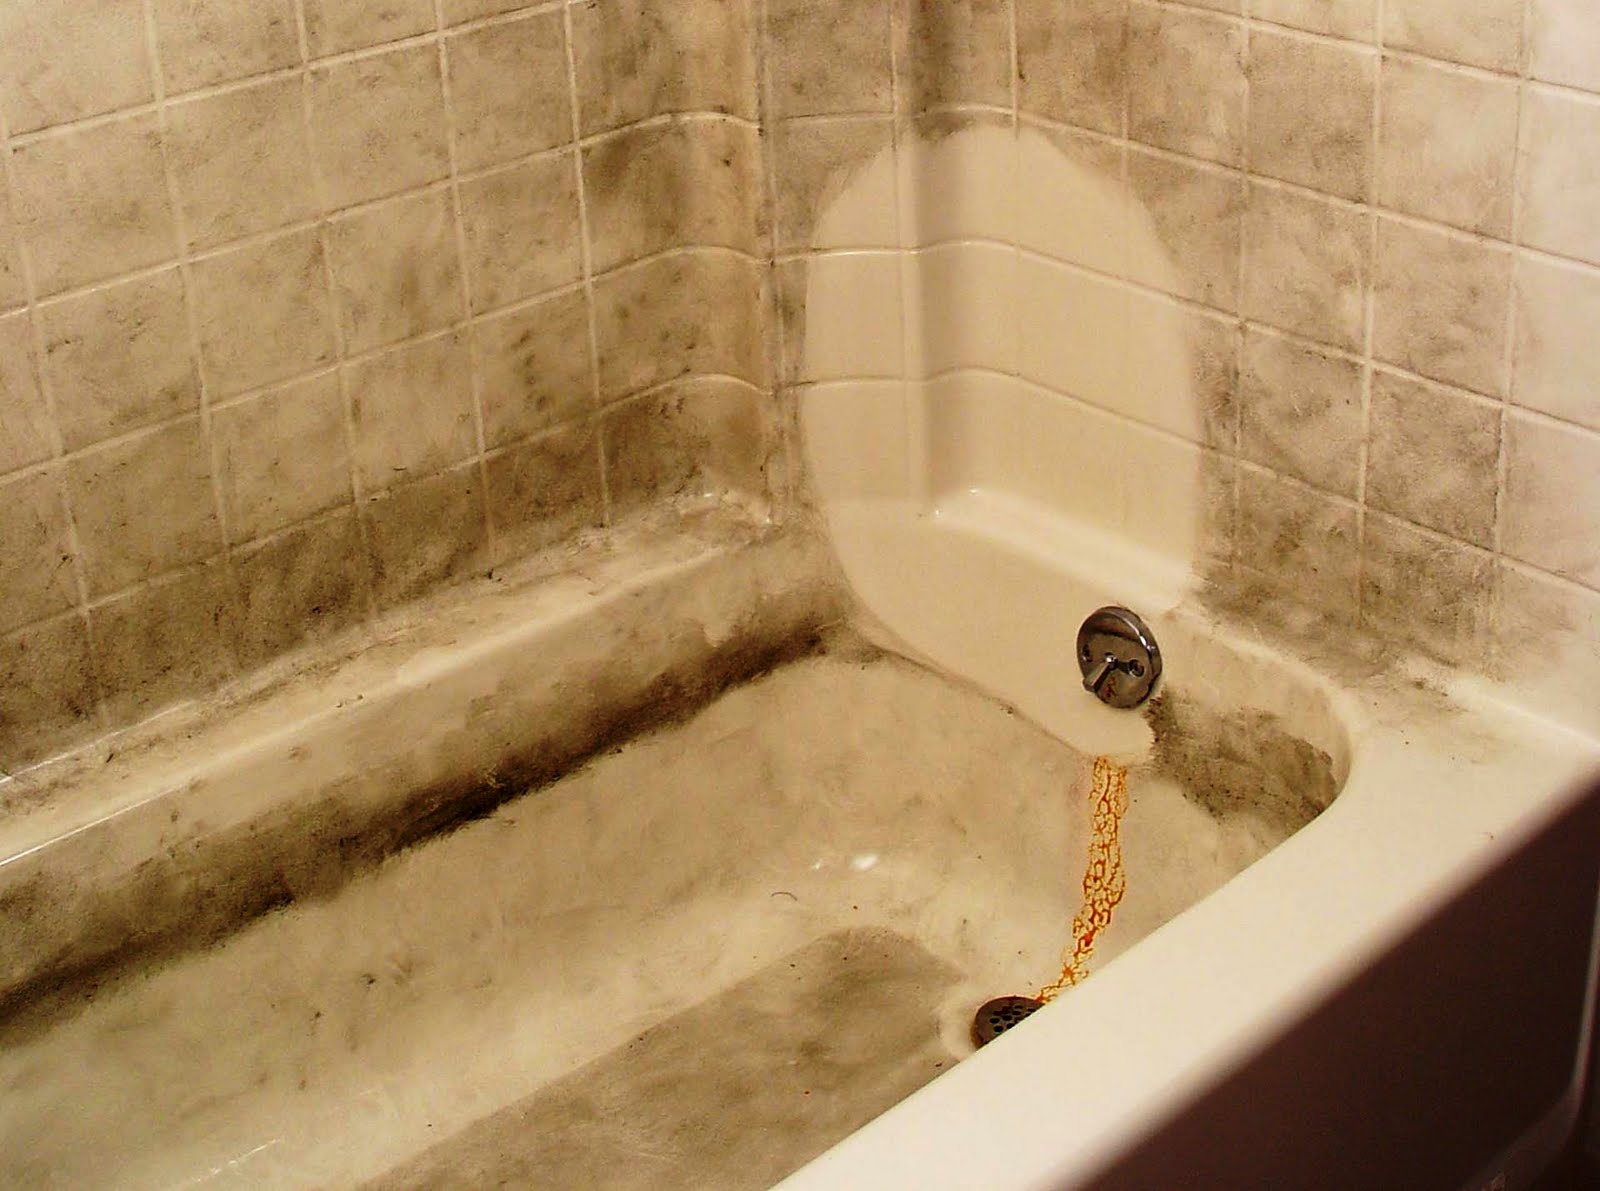
Removing a bathtub drain may seem like a daunting task, but with the right tools and a bit of know-how, it can be a manageable DIY project. Over time, bathtub drains can become clogged, corroded, or simply outdated, prompting the need for removal and replacement. Whether you're looking to upgrade your bathroom aesthetics or address a persistent drainage issue, understanding how to remove a bathtub drain is a valuable skill for any homeowner.
In this comprehensive guide, we will walk you through the step-by-step process of removing a bathtub drain. From gathering the necessary tools and materials to executing each stage with precision, you'll gain the confidence and expertise needed to tackle this project with ease. By following these instructions, you can effectively remove the old drain and prepare the space for a new, improved fixture.
So, roll up your sleeves, gather your tools, and let's dive into the process of removing a bathtub drain. With a little patience and attention to detail, you'll soon have a clear understanding of how to get the job done right.
Key Takeaways:
- Removing a bathtub drain is a manageable DIY project that requires the right tools and step-by-step guidance. By following the process, you can upgrade your bathroom and address drainage issues with confidence.
- Cleaning the drain opening and installing a new drain are crucial final steps in revitalizing your bathtub. With patience and attention to detail, you can enjoy improved functionality and a refreshed bathroom space.
Read more: How To Get Toy Out Of Bathtub Drain
Tools and Materials Needed
Before embarking on the task of removing a bathtub drain, it's essential to gather the necessary tools and materials. Having the right equipment at your disposal will streamline the process and ensure that you can tackle each step effectively. Here's a comprehensive list of the tools and materials you'll need for this project:
Tools:
- Screwdriver Set: A set of screwdrivers, including both flathead and Phillips head varieties, will be essential for loosening and removing screws and other fasteners.
- Adjustable Pliers: These versatile pliers will come in handy for gripping and turning various components during the removal process.
- Locking Pliers (Vise-Grips): These specialized pliers can provide a secure grip on the drain flange, allowing for controlled twisting and removal.
- Plumber's Putty Knife: This tool is useful for scraping away old plumber's putty and other sealants from the drain and surrounding area.
- Plumbers' Wrench: Also known as a drain key, this specialized wrench is designed to grip the crossbars inside the drain, facilitating the removal of the drain flange.
- Rubber Mallet: A rubber mallet can be used to gently tap and loosen the drain flange without causing damage to the bathtub or surrounding surfaces.
Materials:
- Replacement Bathtub Drain: If you're planning to install a new drain after removal, ensure that you have the replacement drain on hand, complete with any accompanying gaskets or seals.
- Plumber's Putty: This pliable, waterproof sealing compound is essential for creating a watertight seal between the new drain and the bathtub surface.
- Pipe Thread Sealant (Teflon Tape): If your new drain requires threaded connections, pipe thread sealant or Teflon tape will be necessary to prevent leaks and ensure a secure fit.
- Cleaning Solution: A mild cleaning solution or bathroom cleaner can be used to thoroughly clean the drain opening and surrounding area before installing the new drain.
- Rags or Towels: Keep a supply of clean rags or towels on hand to wipe away excess water, debris, and cleaning solutions as you work through the removal process.
By ensuring that you have these tools and materials readily available, you'll be well-prepared to tackle the task of removing a bathtub drain with confidence and efficiency. With everything in place, you can proceed to the next steps of the removal process, knowing that you have the right resources at your fingertips.
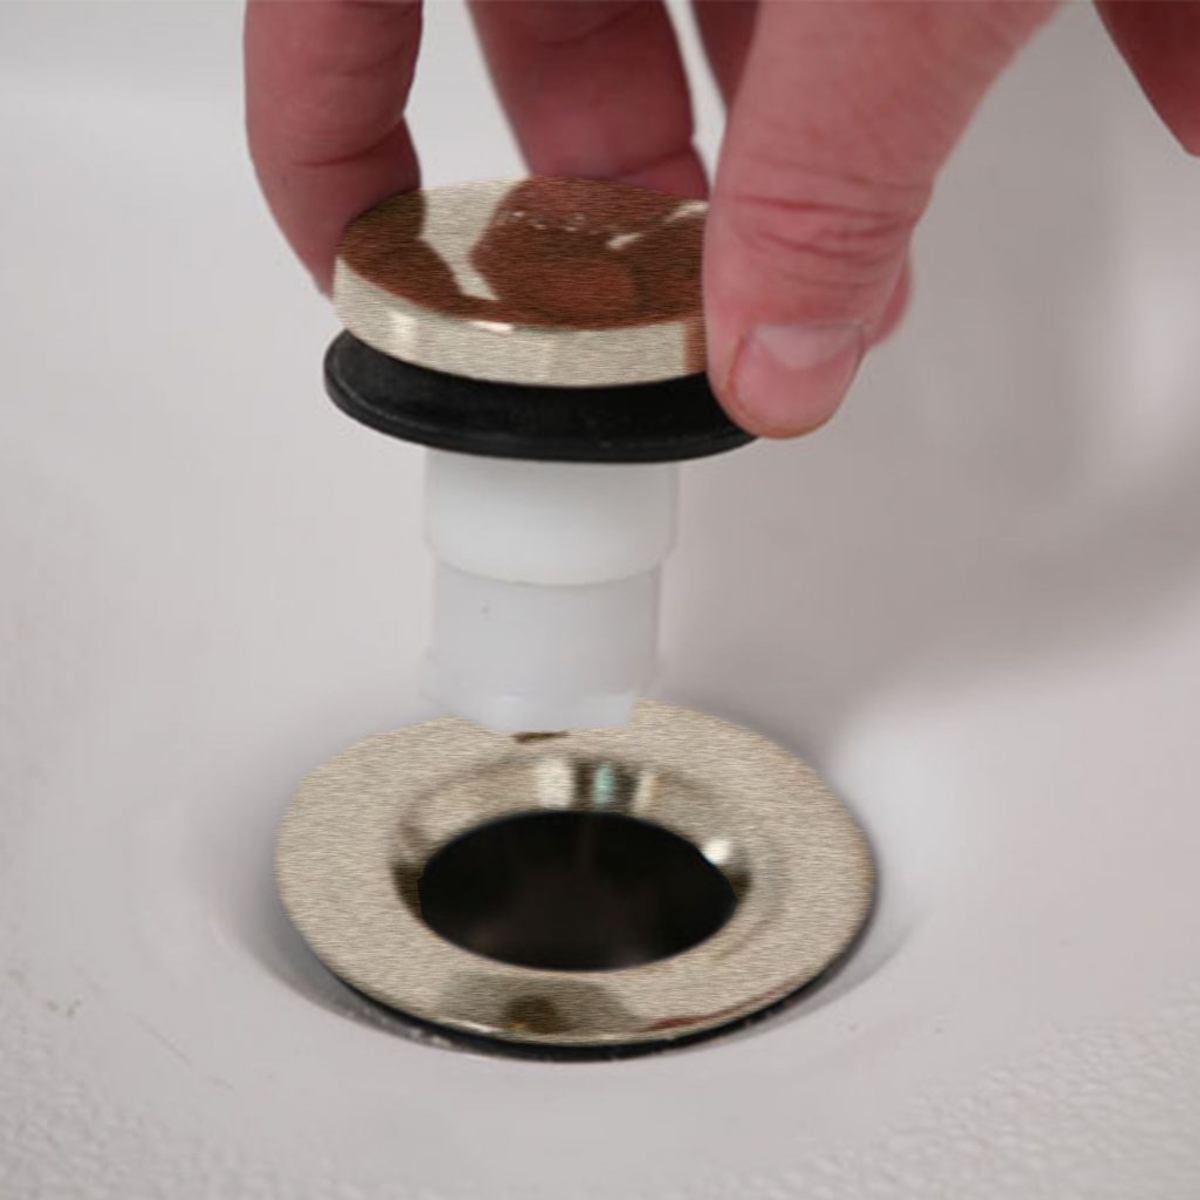
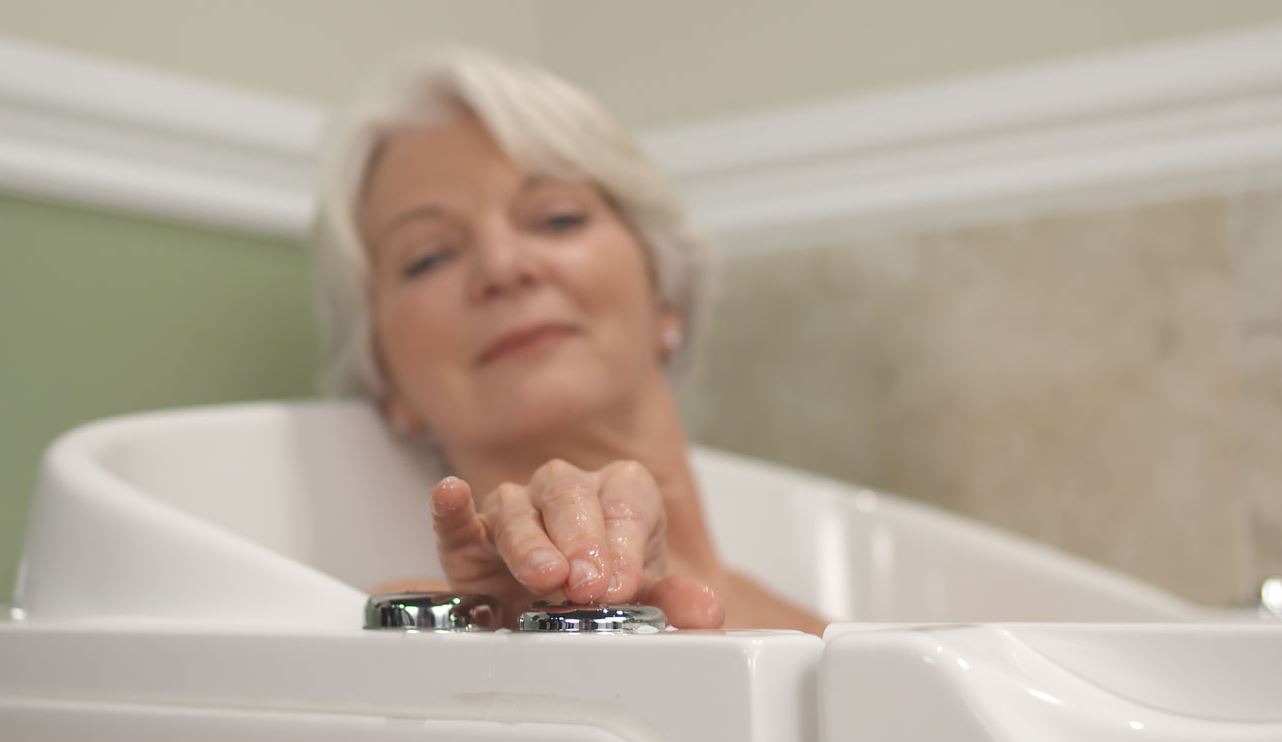
Step 1: Remove the Stopper
The first step in removing a bathtub drain is to take out the stopper. The stopper is the component that prevents water from draining out of the bathtub and is often operated by a lever or knob located near the faucet. To remove the stopper, follow these steps:
-
Access the Stopper Mechanism: Depending on the type of stopper in your bathtub, you may need to access the mechanism beneath the tub or simply unscrew the stopper from the drain. For a plunger-style stopper, you may need to remove the overflow cover to access the linkage and plunger assembly.
-
Unscrew or Release the Stopper: If your bathtub stopper is secured with a screw, use a screwdriver to loosen and remove it. For lever-operated stoppers, you may need to unscrew the knob or lever to release the stopper from the drain.
-
Pull Out the Stopper: Once the stopper is no longer secured, carefully pull it out of the drain. Some stoppers may be connected to a linkage or plunger assembly, so be mindful of any attached components as you remove the stopper.
-
Inspect and Clean the Stopper: Take this opportunity to inspect the stopper for any damage or buildup that may be contributing to drainage issues. Clean the stopper thoroughly with a mild cleaning solution and a brush to remove any accumulated debris or soap scum.
By successfully removing the stopper, you've completed the initial phase of preparing the bathtub drain for further disassembly. With the stopper out of the way, you can now proceed to the next step with confidence, knowing that you've effectively cleared the path for accessing the drain flange and continuing the removal process.
Read more: How To Pull A Bathtub Drain Out
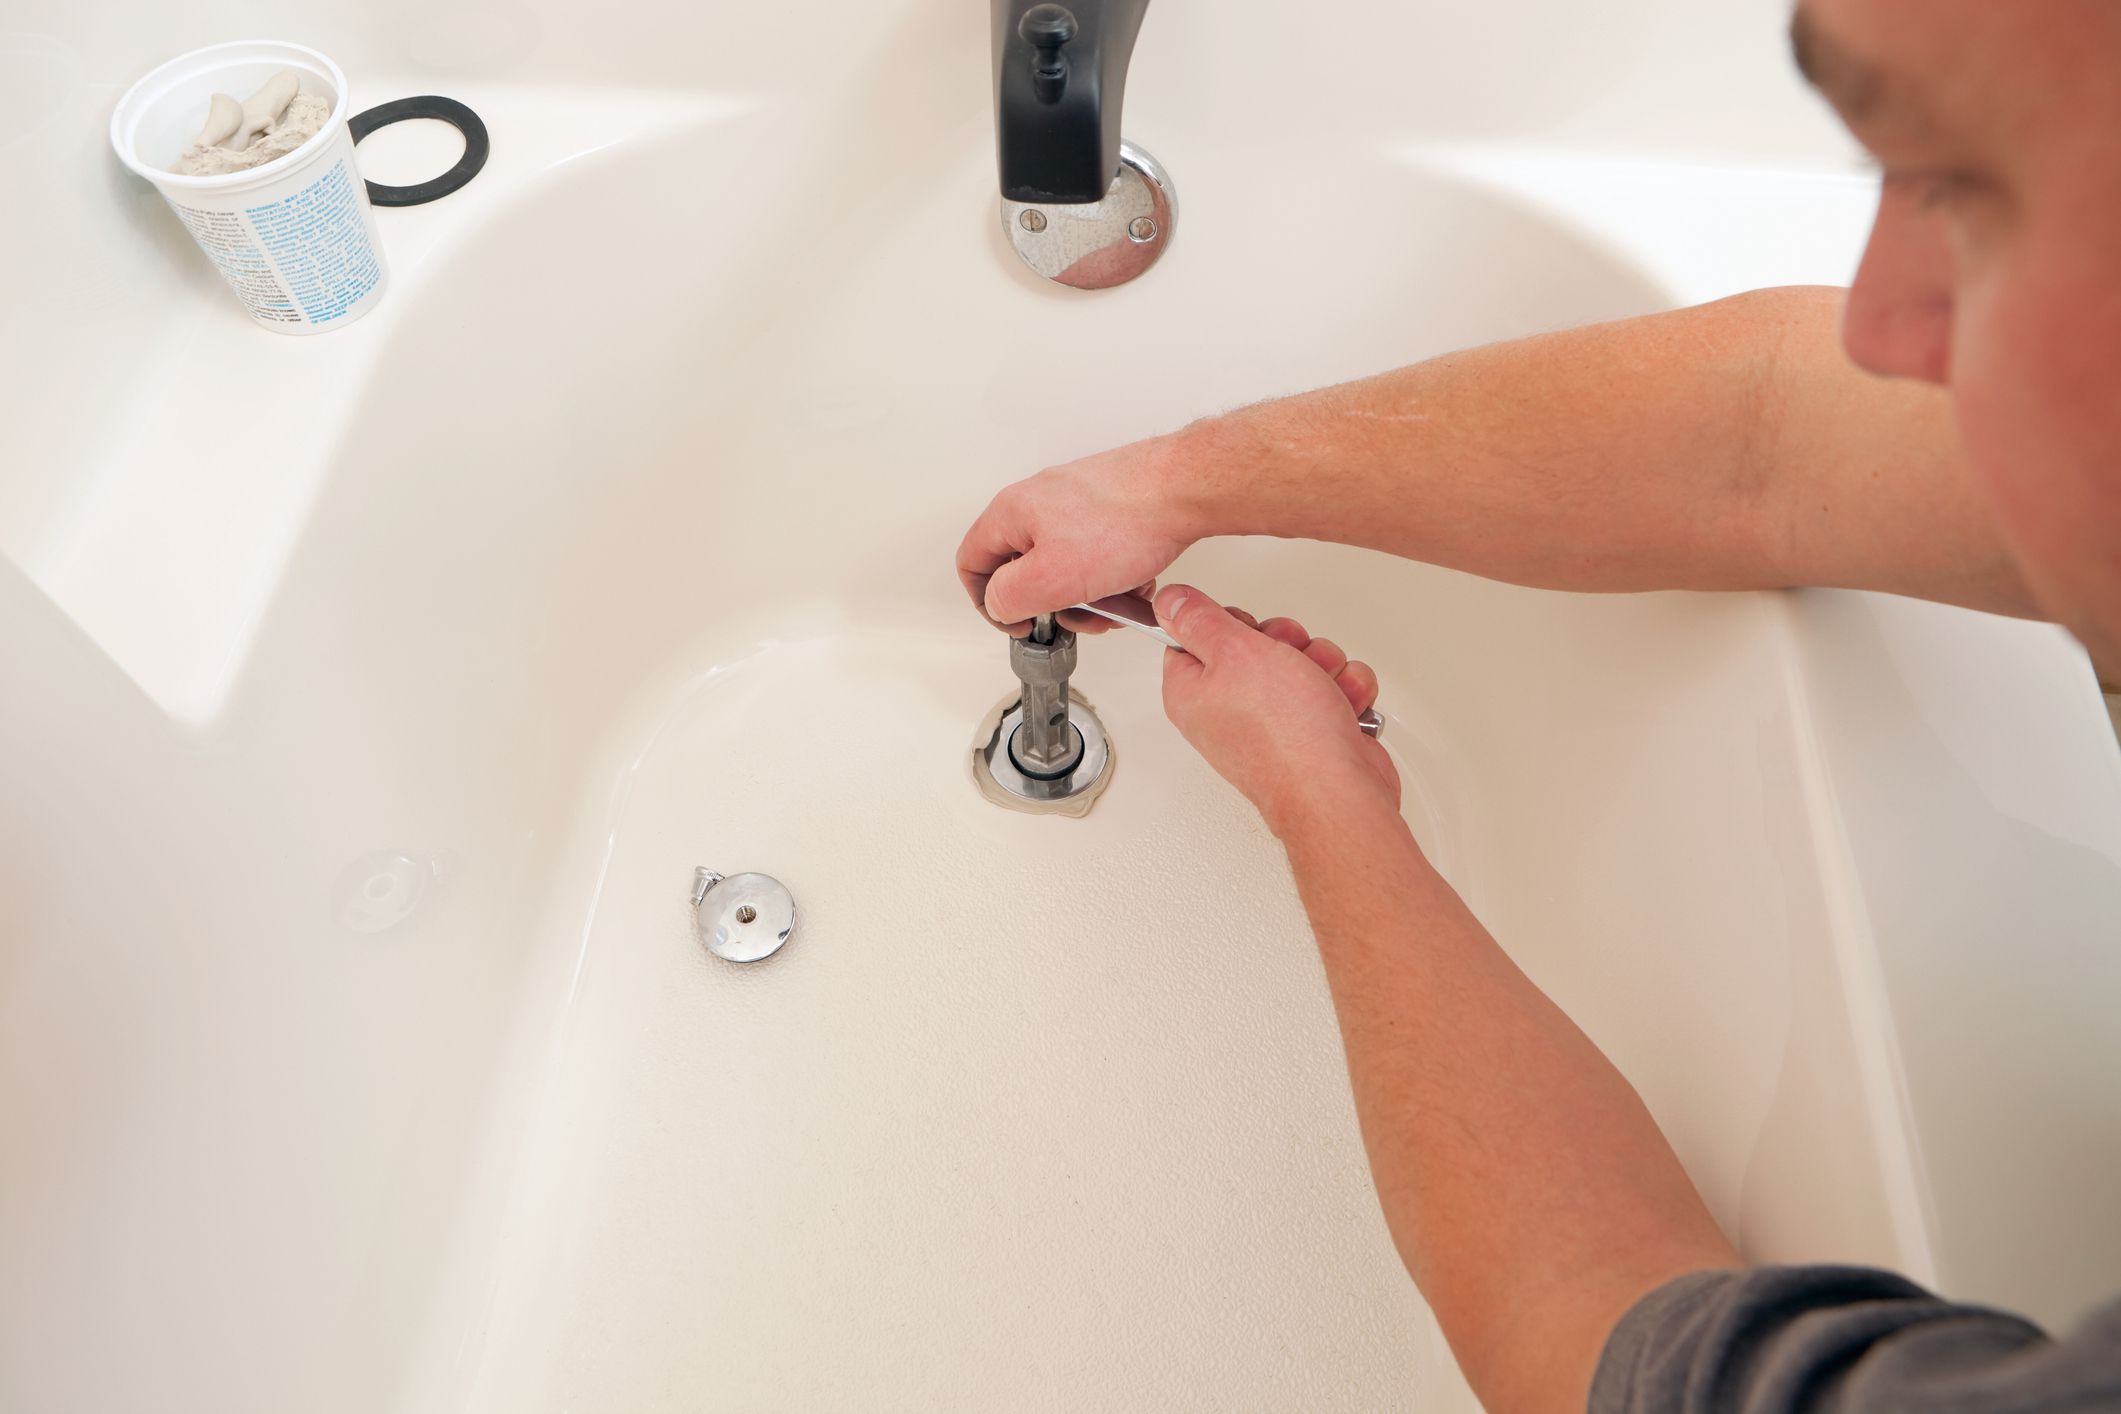
Step 2: Loosen the Drain Flange
With the stopper successfully removed, the next crucial step in the process of removing a bathtub drain is to loosen the drain flange. The drain flange is the visible portion of the drain assembly that extends above the surface of the bathtub. It is typically secured in place with screws or a locking mechanism, and loosening it is essential for accessing and removing the underlying components. Here's a detailed guide on how to effectively loosen the drain flange:
-
Inspect the Drain Flange: Before proceeding, take a moment to closely examine the drain flange. Note any visible screws, slots, or other fastening mechanisms that are securing it in place. Some drain flanges may feature a cross-shaped pattern or notches designed to accommodate a specialized wrench for removal.
-
Prepare the Drain Flange: If the drain flange is covered in old plumber's putty or sealant, use a plumber's putty knife to carefully scrape away any excess material. This will expose the fasteners and provide better access for the removal process.
-
Select the Appropriate Tool: Depending on the type of fasteners securing the drain flange, choose the appropriate tool for loosening them. For screws, a screwdriver or drill with a screwdriver bit may be needed. If the drain flange features notches or a cross-shaped pattern, a specialized plumbers' wrench or drain key will be necessary.
-
Loosen the Fasteners: Using the selected tool, begin to loosen and remove the screws or fasteners holding the drain flange in place. If the drain flange has a locking mechanism, such as notches or a cross-shaped pattern, position the plumbers' wrench or drain key securely and turn it counterclockwise to release the flange.
-
Apply Gentle Pressure: In some cases, the drain flange may be tightly secured due to corrosion or accumulated debris. To facilitate loosening, apply gentle pressure and use a rubber mallet to tap the wrench or key if necessary. Exercise caution to avoid damaging the bathtub surface or surrounding area.
By following these detailed steps, you can effectively loosen the drain flange and prepare it for removal. With the drain flange successfully loosened, you're now ready to proceed to the next stage of removing the bathtub drain, bringing you one step closer to completing this DIY project with confidence and precision.
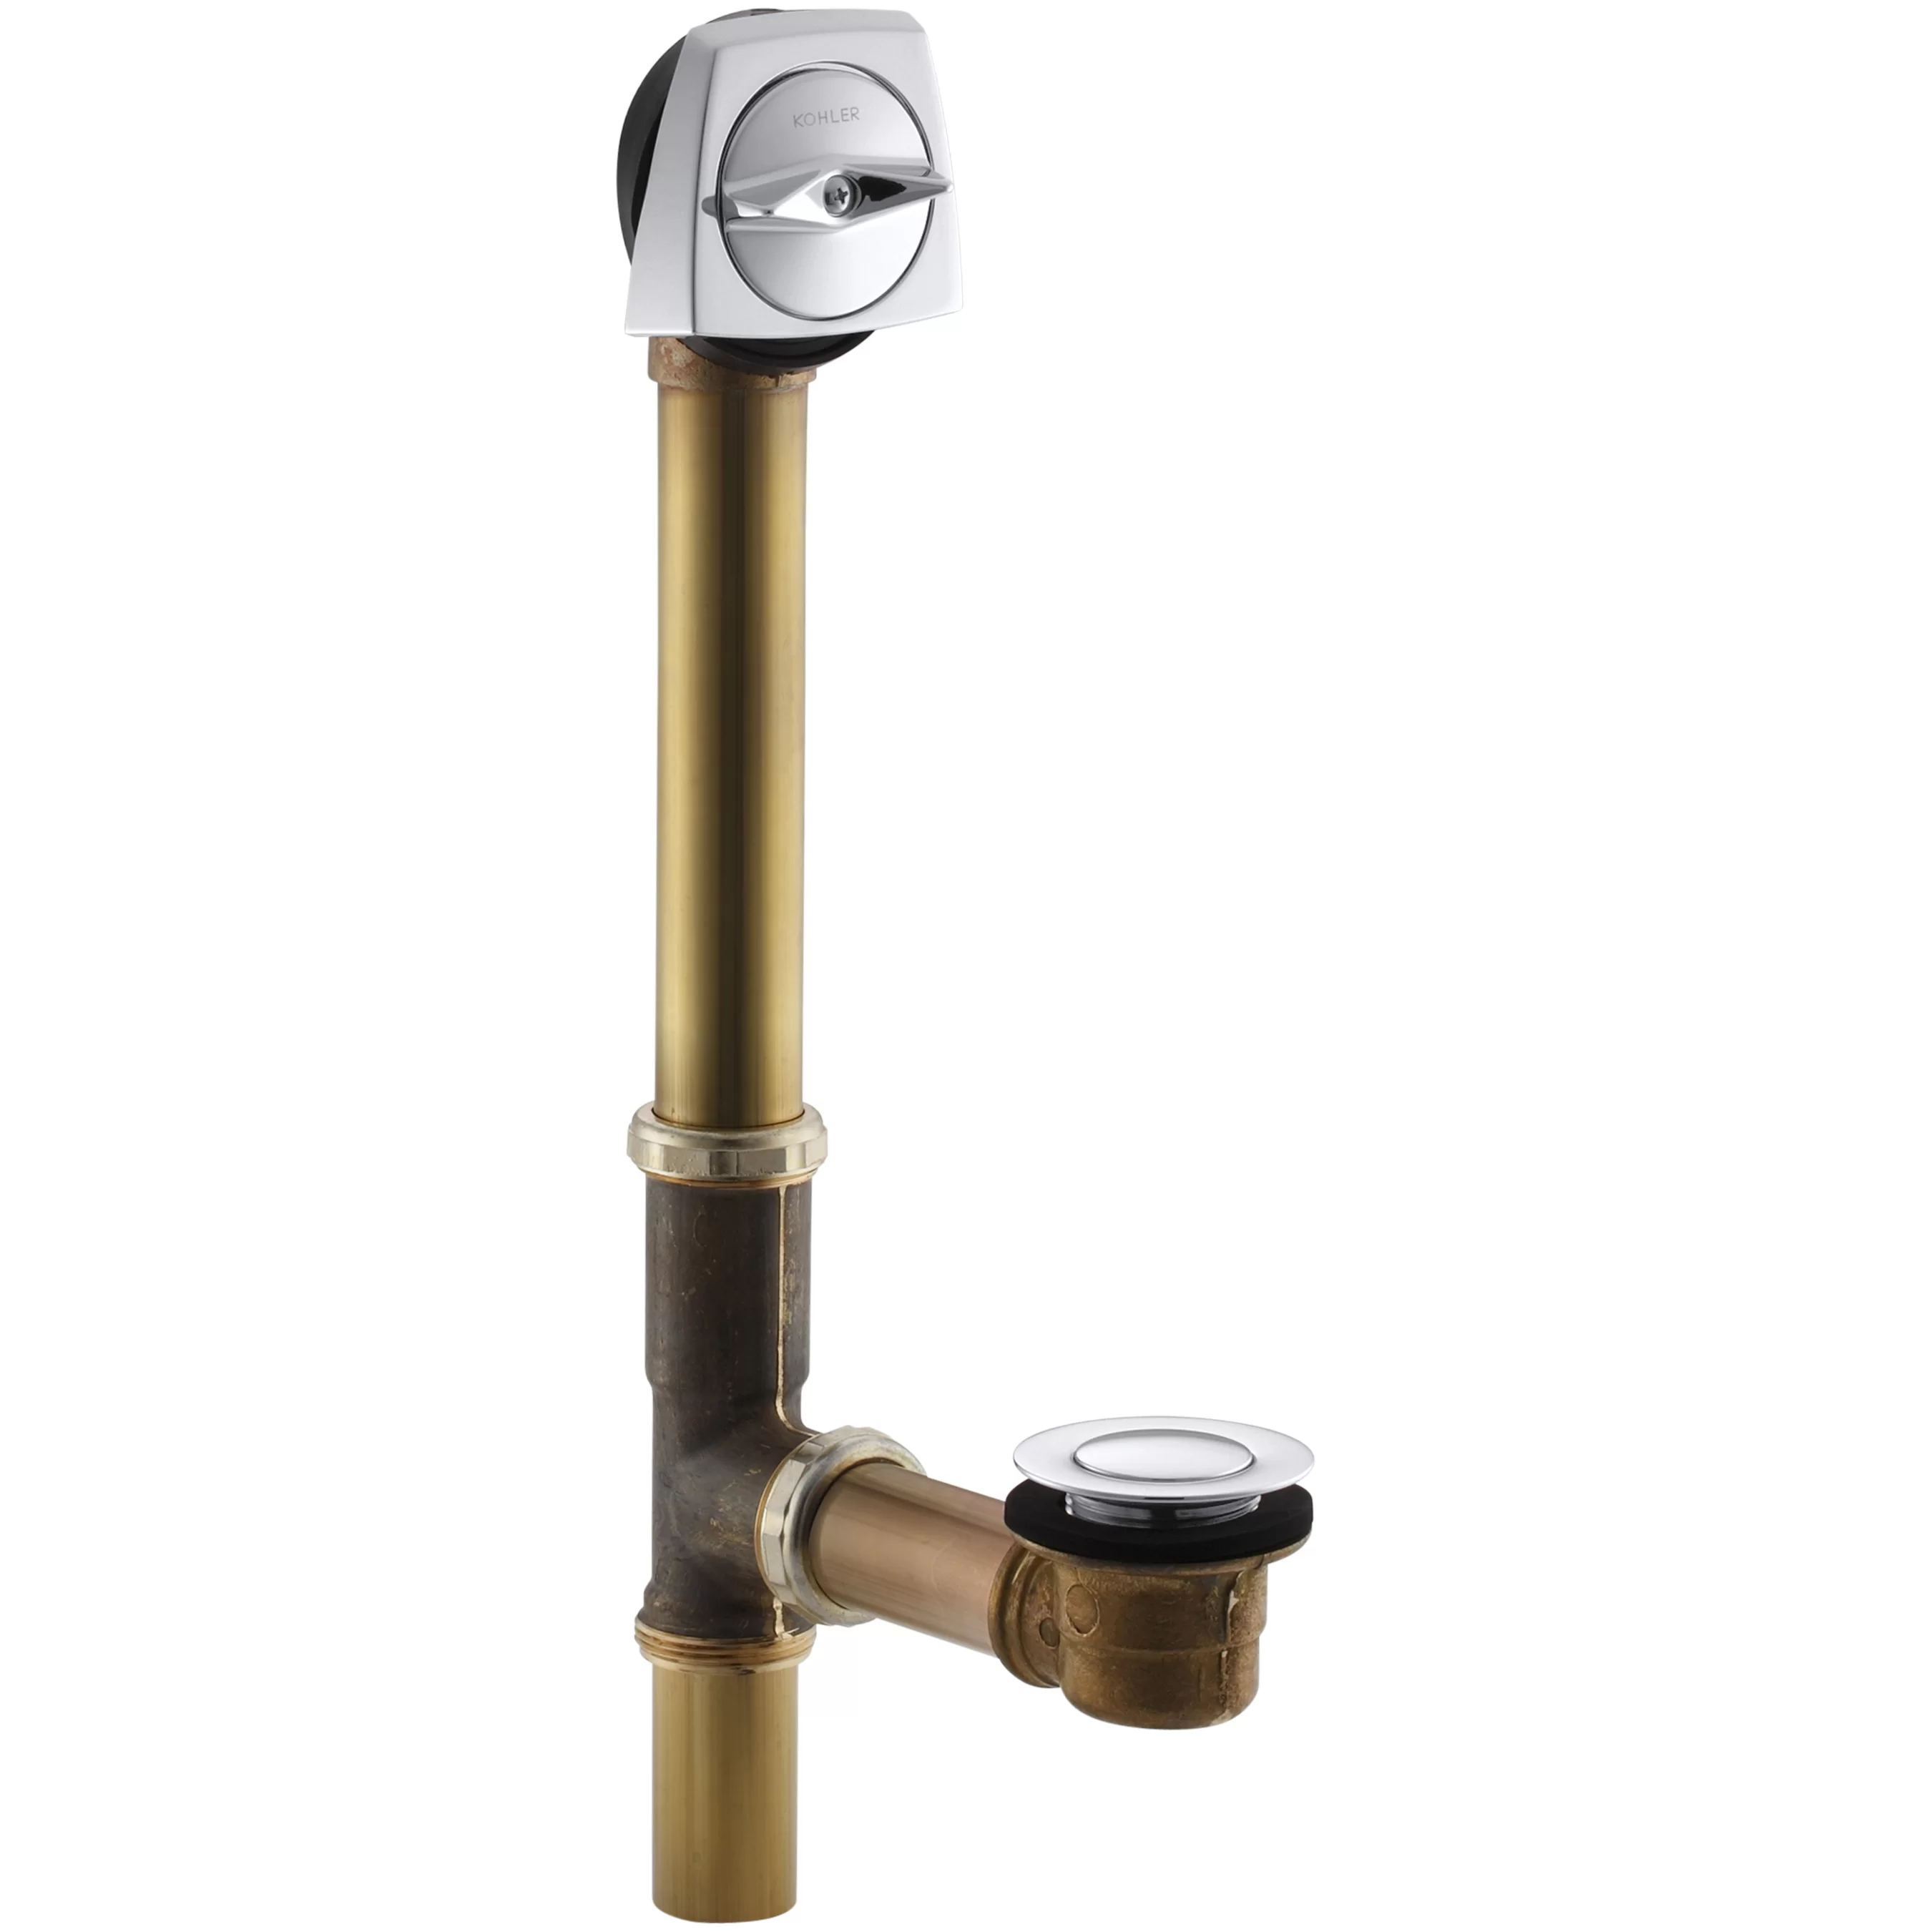
Step 3: Remove the Drain Flange
With the drain flange successfully loosened, the next critical phase in the process of removing a bathtub drain is the actual removal of the drain flange. This step requires precision and attention to detail to ensure that the flange is extracted without causing damage to the surrounding bathtub surface. Here's a detailed guide on how to effectively remove the drain flange:
-
Lift and Rotate: Once the fasteners securing the drain flange have been fully loosened, carefully lift the flange upward while simultaneously rotating it in a counterclockwise direction. This twisting motion helps to disengage the flange from any remaining threads or sealant, allowing for smoother removal.
-
Inspect for Resistance: As you lift and rotate the drain flange, be mindful of any resistance or sticking points. If the flange encounters significant resistance, avoid forcing it and instead assess the situation. It may be necessary to apply additional penetrating oil or a rust-dissolving solution to alleviate stubborn corrosion or buildup.
-
Utilize Locking Pliers: In cases where the drain flange proves challenging to remove by hand, locking pliers, also known as Vise-Grips, can provide a secure grip for controlled twisting and extraction. Position the locking pliers around the outer edge of the flange and gently apply pressure while rotating it counterclockwise.
-
Tap with Rubber Mallet: If the drain flange remains stubbornly fixed in place, a rubber mallet can be used to gently tap the outer edge of the flange. This tapping action helps to loosen any remaining sealant or corrosion, gradually freeing the flange from its seated position.
-
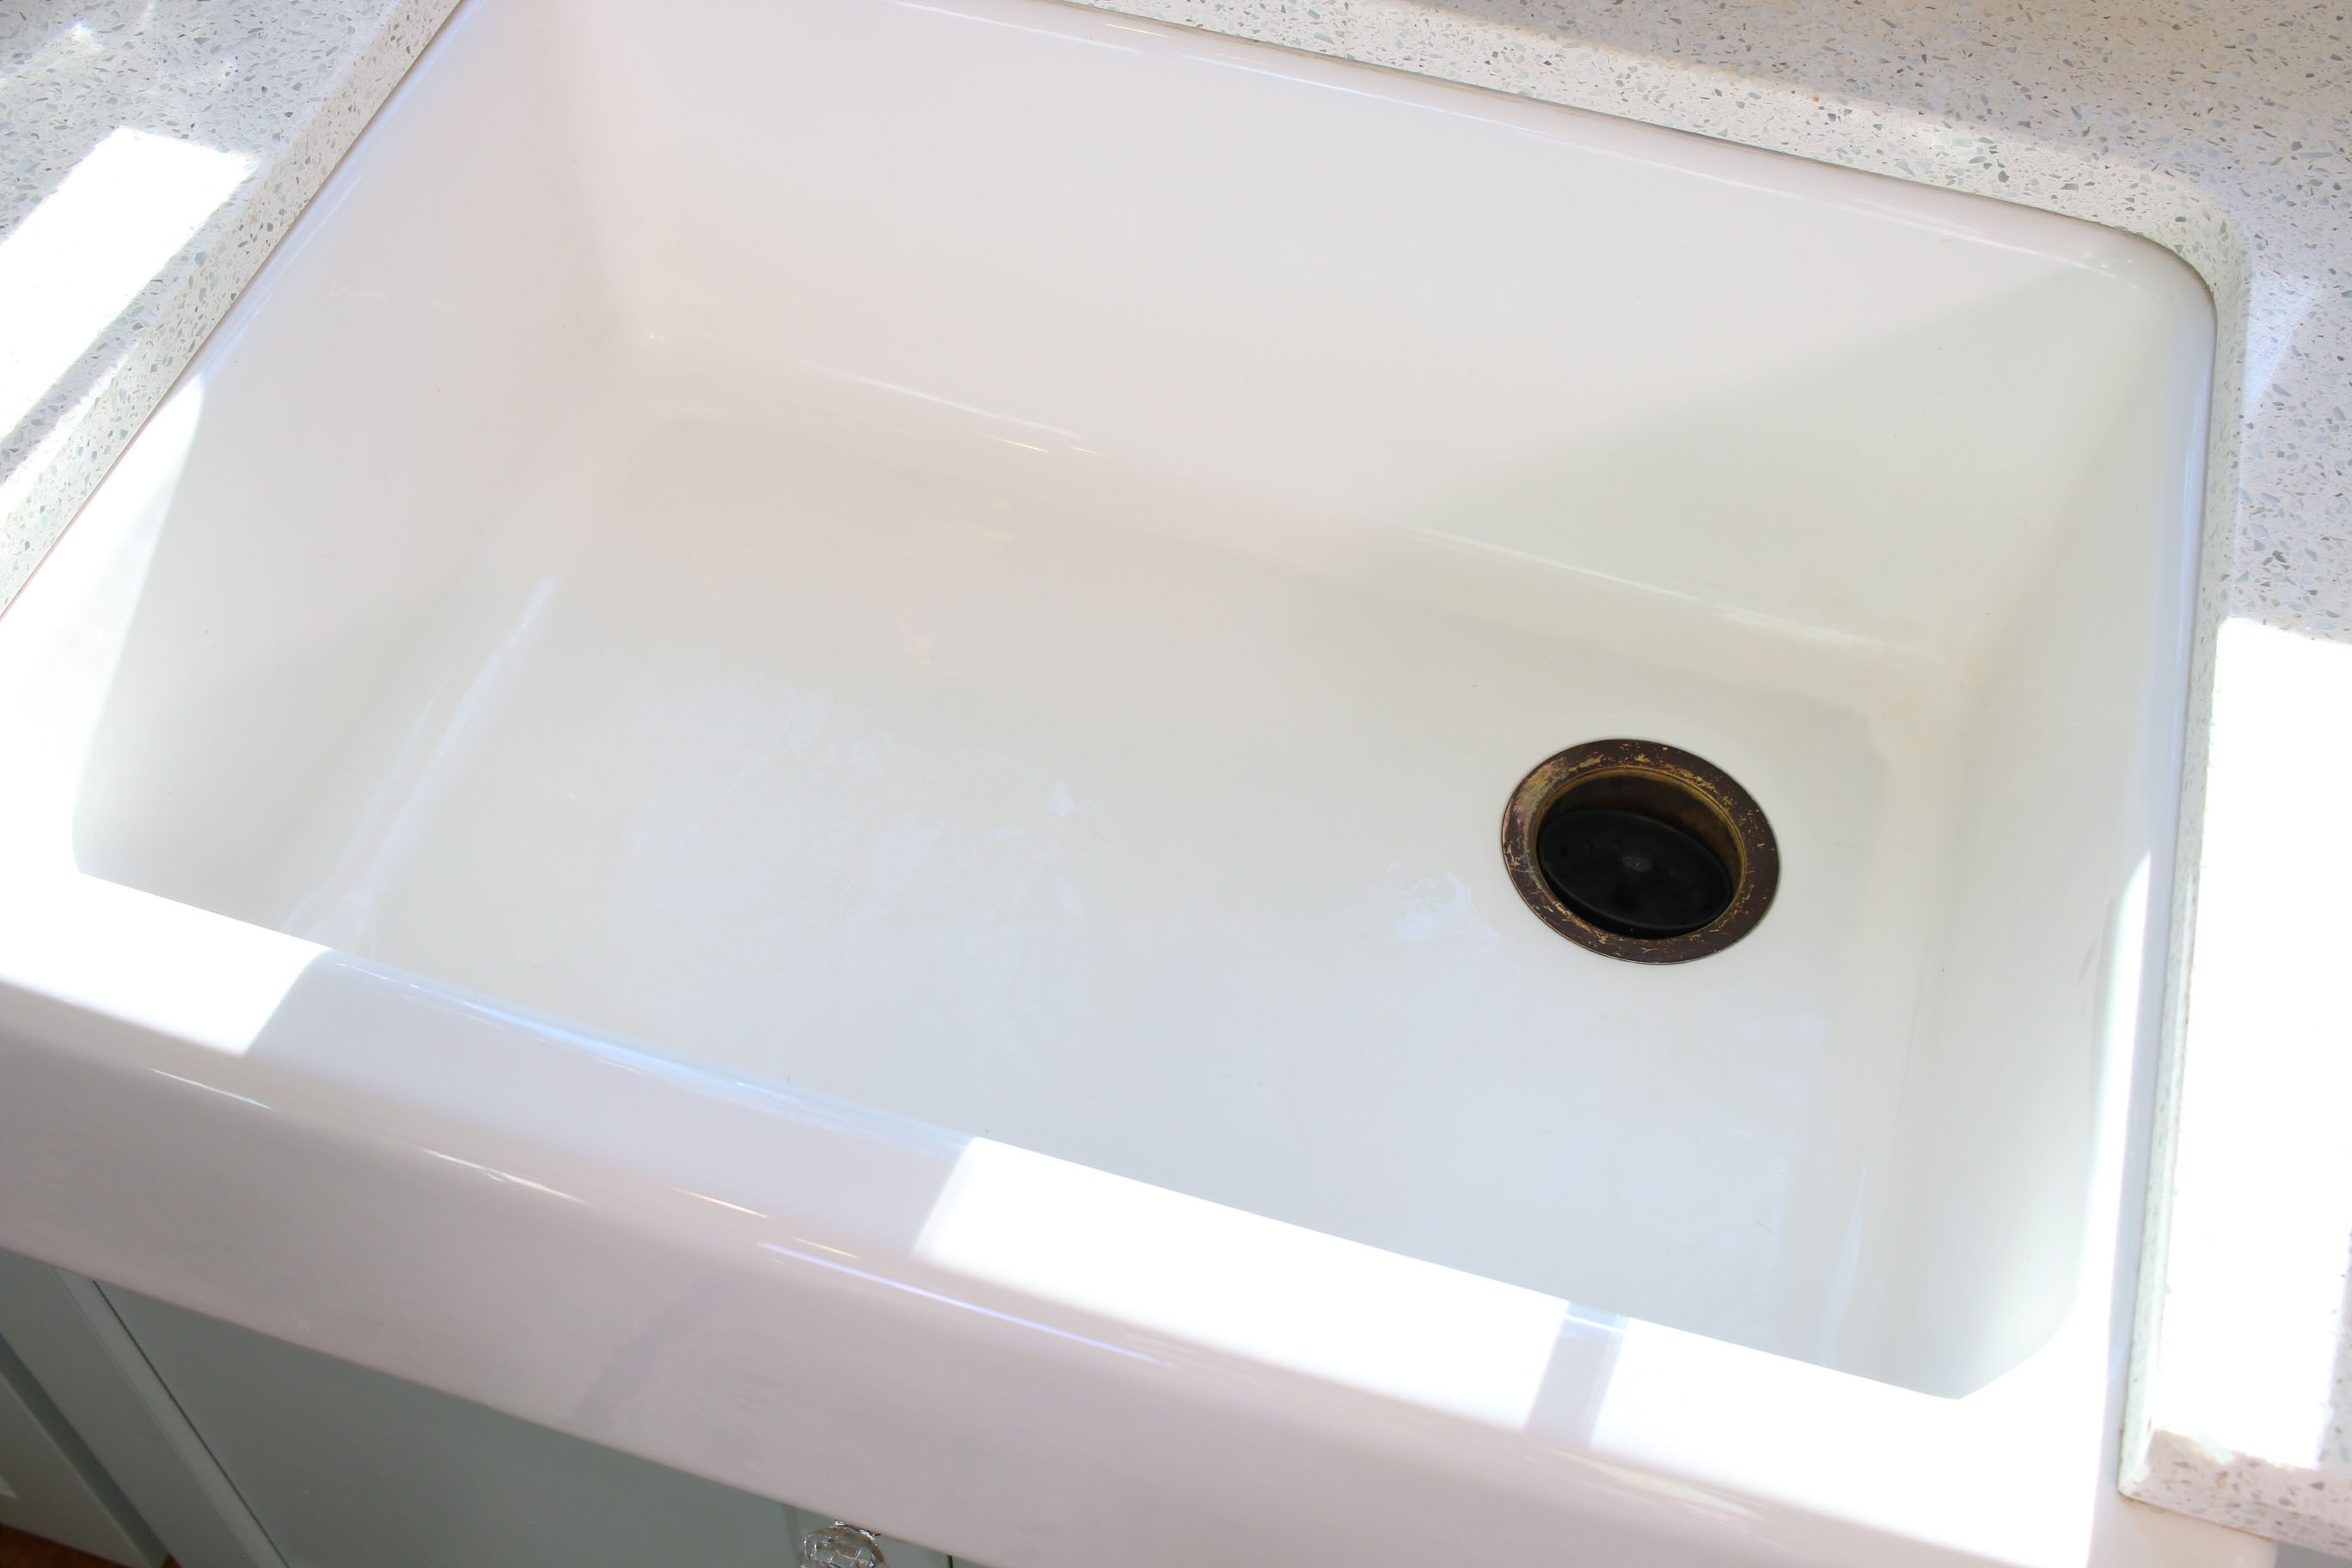
Inspect and Clean the Drain Opening: Once the drain flange has been successfully removed, take a moment to inspect the exposed drain opening. Clear away any residual plumber's putty, sealant, or debris from the opening and surrounding area. Use a mild cleaning solution and a brush to thoroughly clean the exposed surfaces, ensuring a clean and smooth foundation for the installation of the new drain.
By following these detailed steps, you can effectively remove the drain flange and prepare the drain opening for further cleaning and, if necessary, the installation of a new drain. With the drain flange successfully extracted, you're one step closer to completing the removal process and can proceed with confidence and expertise.
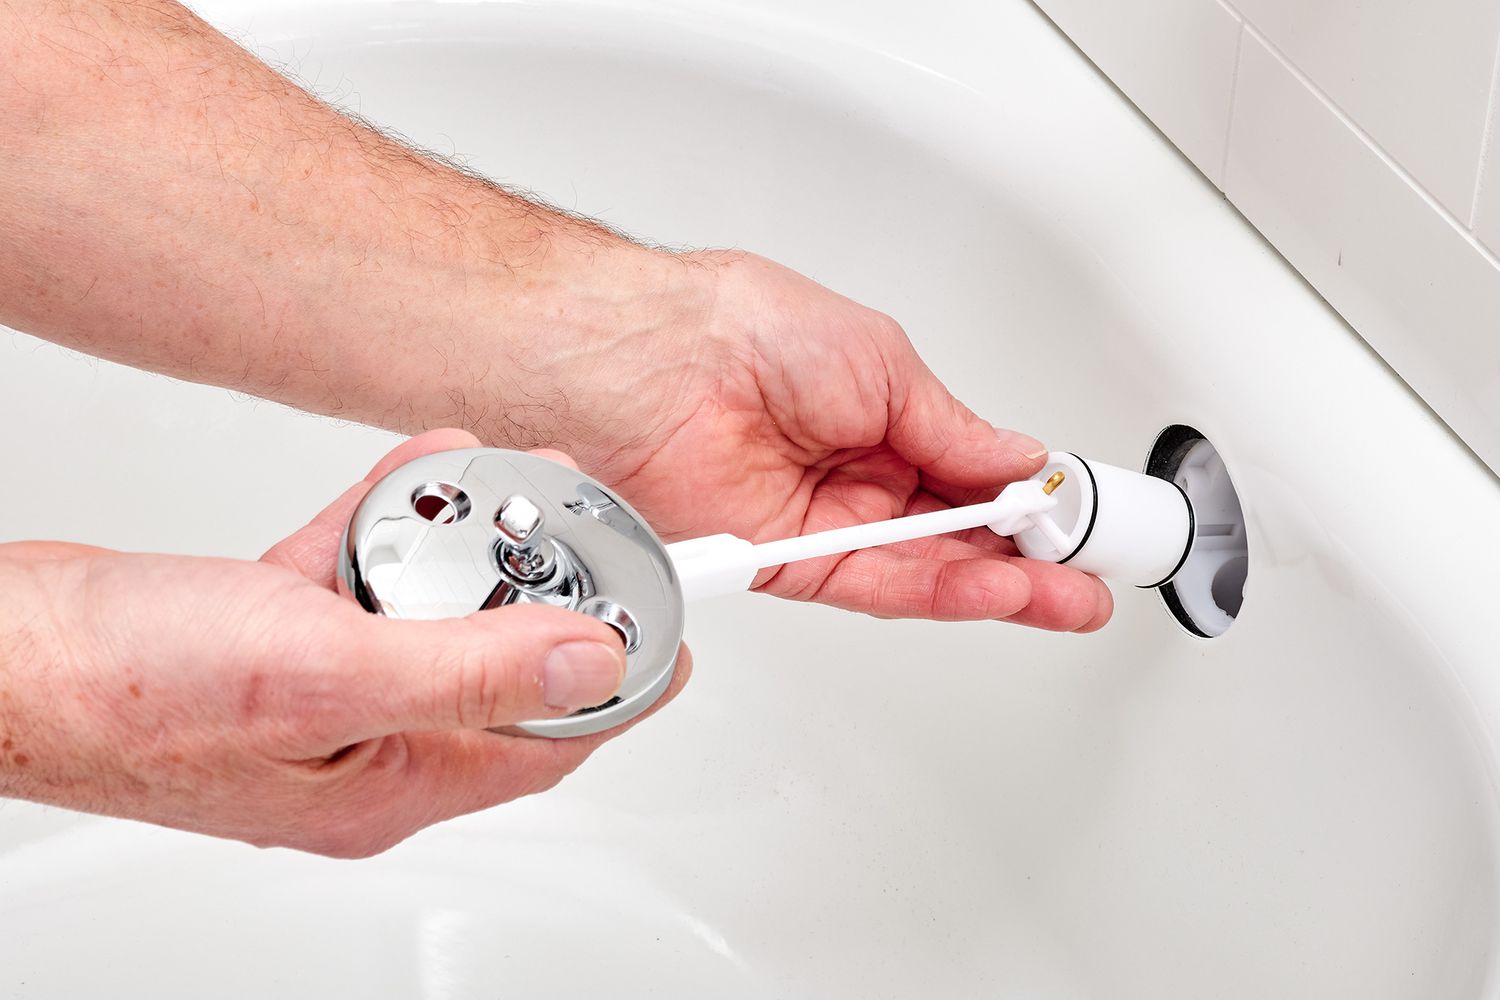
Use a screwdriver to remove the screws on the overflow cover. Then, use pliers to unscrew the drain and pull it out. If it’s stuck, try using a drain removal tool or lubricant.
Step 4: Clean the Drain Opening
After successfully removing the drain flange, it's essential to devote attention to cleaning the exposed drain opening thoroughly. This critical step ensures that the drainage system is free from any residual debris, sealant, or buildup, creating an optimal foundation for the installation of a new drain if required. Here's a detailed guide on how to effectively clean the drain opening:
-
Inspect the Drain Opening: Before proceeding with the cleaning process, take a moment to inspect the exposed drain opening. Look for any remnants of old plumber's putty, sealant, or debris that may be clinging to the surfaces. Additionally, check for any signs of corrosion or damage that may require further attention.
-
Scrape Away Residual Sealant: Use a plumber's putty knife or a similar scraping tool to carefully remove any remaining traces of plumber's putty or sealant from the drain opening. Ensure that the edges and inner surfaces of the opening are thoroughly cleared of any obstructing material, allowing for a clean and secure fit for the new drain.
-
Clean with a Mild Solution: Prepare a mild cleaning solution by diluting a suitable bathroom cleaner or mild detergent in water. Dip a clean rag or sponge into the solution and gently scrub the exposed surfaces of the drain opening. Pay close attention to removing any accumulated grime, soap scum, or mineral deposits that may have accumulated over time.
-
Use a Brush for Detailing: For stubborn residue or hard-to-reach areas within the drain opening, utilize a soft-bristled brush to provide detailed cleaning. Scrub the inner surfaces of the opening, ensuring that all traces of debris and buildup are effectively dislodged and removed.
-
Rinse and Dry Thoroughly: After cleaning the drain opening, rinse the surfaces with clean water to remove any remaining cleaning solution or loosened debris. Use a dry towel or rag to thoroughly dry the exposed surfaces, ensuring that no moisture or residue is left behind.
-
Inspect for Cleanliness: Once the cleaning process is complete, take a moment to inspect the drain opening again. Verify that the surfaces are free from any remaining debris, sealant, or buildup, and ensure that the area is clean and ready for the next steps in the removal or installation process.
By following these detailed steps, you can effectively clean the drain opening, preparing it for further maintenance or the installation of a new drain if necessary. With the drain opening now thoroughly cleaned and inspected, you're well-equipped to proceed with the next stages of the removal or renovation project, knowing that the foundational elements are in optimal condition.
Step 5: Install the New Drain
With the old drain successfully removed and the drain opening thoroughly cleaned, the final phase of this project involves installing a new bathtub drain. Whether you're replacing the old drain due to wear and tear, upgrading to a more modern fixture, or addressing persistent drainage issues, the installation of a new drain is a pivotal step in revitalizing your bathtub. Here's a detailed guide on how to effectively install the new drain:
-
Prepare the Replacement Drain: Before proceeding with the installation, ensure that the replacement drain is readily available and compatible with your bathtub's specifications. Verify that any accompanying gaskets, seals, or threaded components are in place and ready for use.
-
Apply Plumber's Putty: To create a watertight seal between the new drain and the bathtub surface, roll a suitable amount of plumber's putty into a rope-like shape. Carefully press the putty around the underside of the replacement drain flange, ensuring even coverage to prevent water leakage.
-
Position the New Drain: With the plumber's putty in place, position the new drain assembly into the cleaned drain opening. Align the drain flange with the opening and gently press it down, allowing the plumber's putty to create a secure seal between the drain and the bathtub surface.
-
Secure the Drain Flange: If the new drain features screws or fasteners, use a screwdriver to secure them in place, ensuring that the drain flange is firmly seated against the bathtub surface. If the drain requires threaded connections, apply pipe thread sealant or Teflon tape to the threads before assembling and tightening the components.
-
Test for Leaks: Once the new drain is installed, run water into the bathtub and observe the drain area for any signs of leakage. Check for water seepage around the drain flange and ensure that the seal is secure. If any leaks are detected, disassemble the drain and reapply the plumber's putty or address any potential issues before proceeding.
-
Finalize the Installation: After confirming that the new drain is securely in place and free from leaks, wipe away any excess plumber's putty or sealant from the surrounding area. Thoroughly clean the bathtub surface to remove any residual materials, leaving the area tidy and ready for use.
By following these detailed steps, you can effectively install a new bathtub drain, revitalizing the functionality and aesthetics of your bathtub. With the new drain securely in place, you can enjoy improved drainage performance and a refreshed look for your bathroom space.
Read more: How To Change Out Bathtub Drain
Conclusion
Congratulations! You've successfully navigated the process of removing a bathtub drain, equipping yourself with valuable DIY skills and the satisfaction of revitalizing your bathroom space. By following the step-by-step guide outlined in this comprehensive tutorial, you've gained the knowledge and confidence needed to tackle this project with precision and efficiency.
As you reflect on the journey from removing the stopper to installing a new drain, it's important to recognize the impact of your efforts. By taking the initiative to address drainage issues, upgrade outdated fixtures, or simply maintain your bathtub, you've demonstrated a proactive approach to home maintenance and improvement.
Not only have you acquired practical skills in plumbing and maintenance, but you've also gained a deeper understanding of the intricate components that contribute to the functionality of your bathtub. From loosening the drain flange to meticulously cleaning the drain opening, each step has provided valuable insights into the inner workings of this essential fixture.
Furthermore, by embracing the DIY spirit and taking on this project yourself, you've empowered yourself to make meaningful enhancements to your living space. The ability to remove and install a bathtub drain is a testament to your resourcefulness and willingness to engage in hands-on home improvement endeavors.
As you bask in the satisfaction of a job well done, it's important to recognize the impact of your efforts. Whether you've resolved a persistent drainage issue, upgraded to a more modern drain fixture, or simply refreshed the appearance of your bathtub, your actions have contributed to the overall comfort and functionality of your home.
In conclusion, the journey of removing a bathtub drain is not just about the practical task at hand; it's a testament to your ability to take charge of home maintenance and improvement. By following this guide, you've not only mastered the art of removing a bathtub drain but also embraced the rewarding experience of enhancing your living space through hands-on efforts. So, take a moment to appreciate your accomplishment, and revel in the newfound knowledge and skills you've gained along the way.
Frequently Asked Questions about How To Get Bathtub Drain Out
Was this page helpful?
At Storables.com, we guarantee accurate and reliable information. Our content, validated by Expert Board Contributors, is crafted following stringent Editorial Policies. We're committed to providing you with well-researched, expert-backed insights for all your informational needs.

0 thoughts on “How To Get Bathtub Drain Out”