Home>Furniture & Design>Bathroom Accessories>How To Get Toy Out Of Bathtub Drain
Bathroom Accessories
How To Get Toy Out Of Bathtub Drain
Modified: October 18, 2024
Learn how to safely and effectively remove a toy from your bathtub drain with our expert tips and bathroom accessories. Keep your plumbing in top condition with our helpful advice.
(Many of the links in this article redirect to a specific reviewed product. Your purchase of these products through affiliate links helps to generate commission for Storables.com, at no extra cost. Learn more)
Introduction
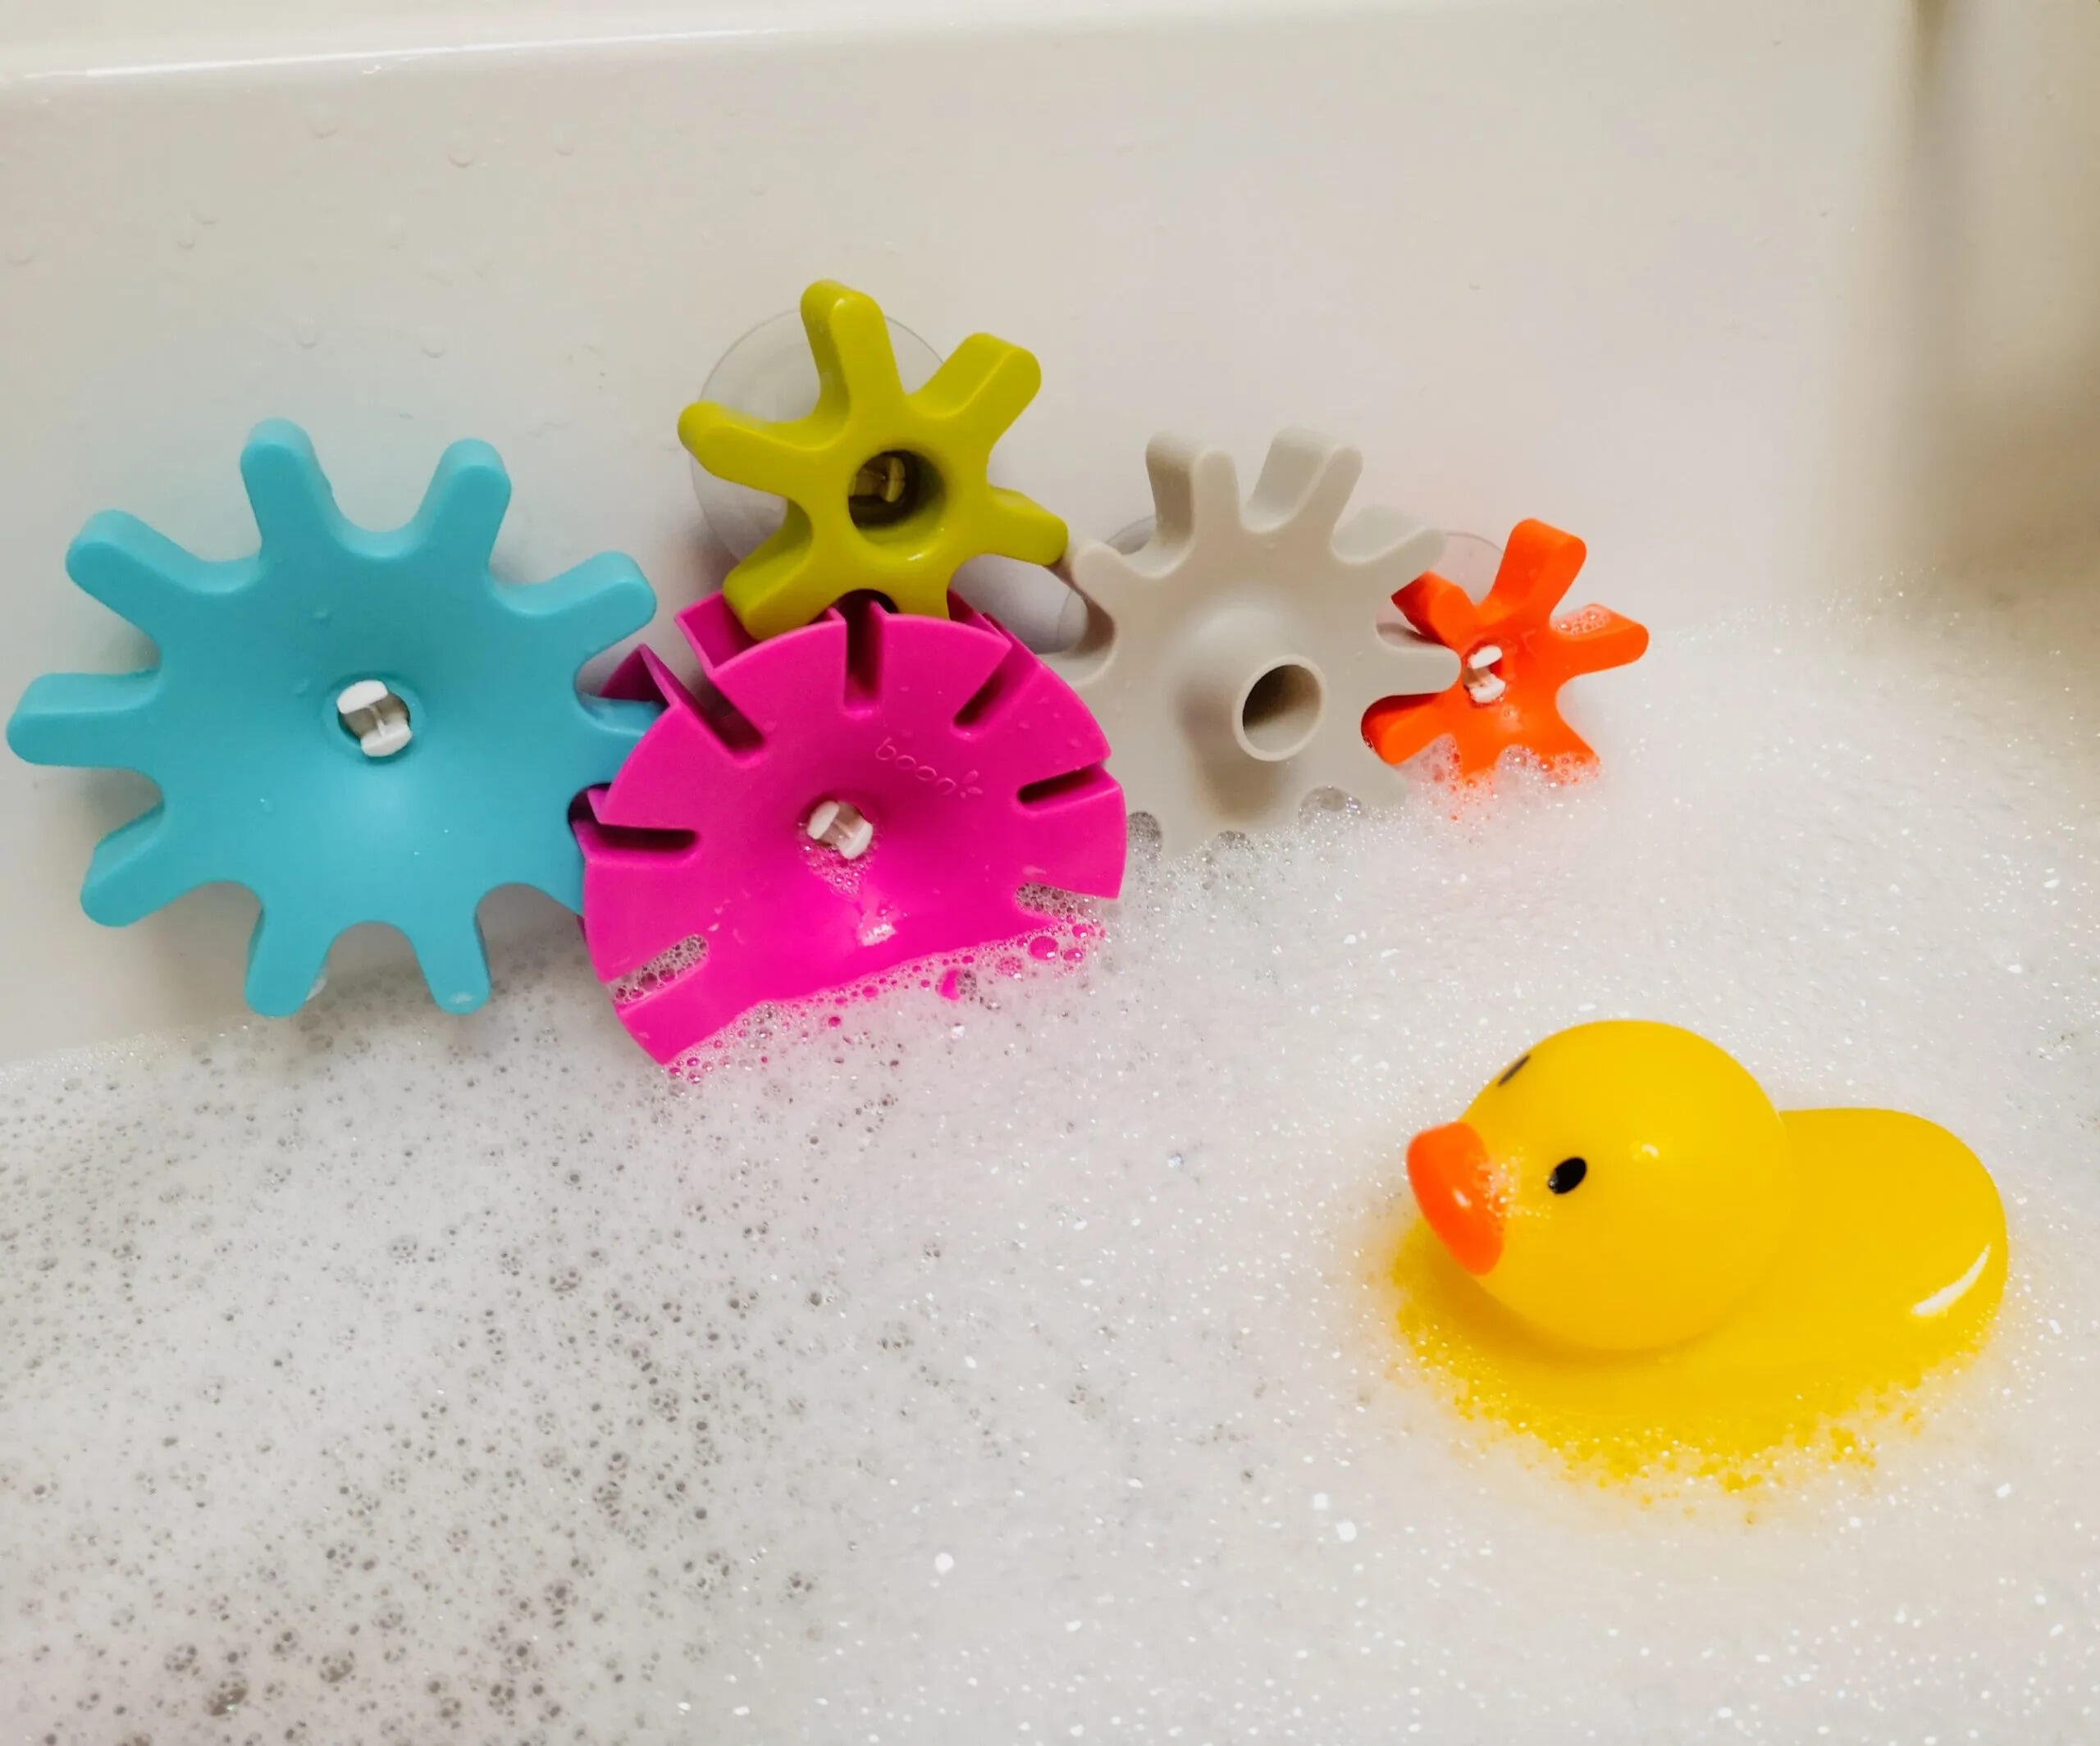
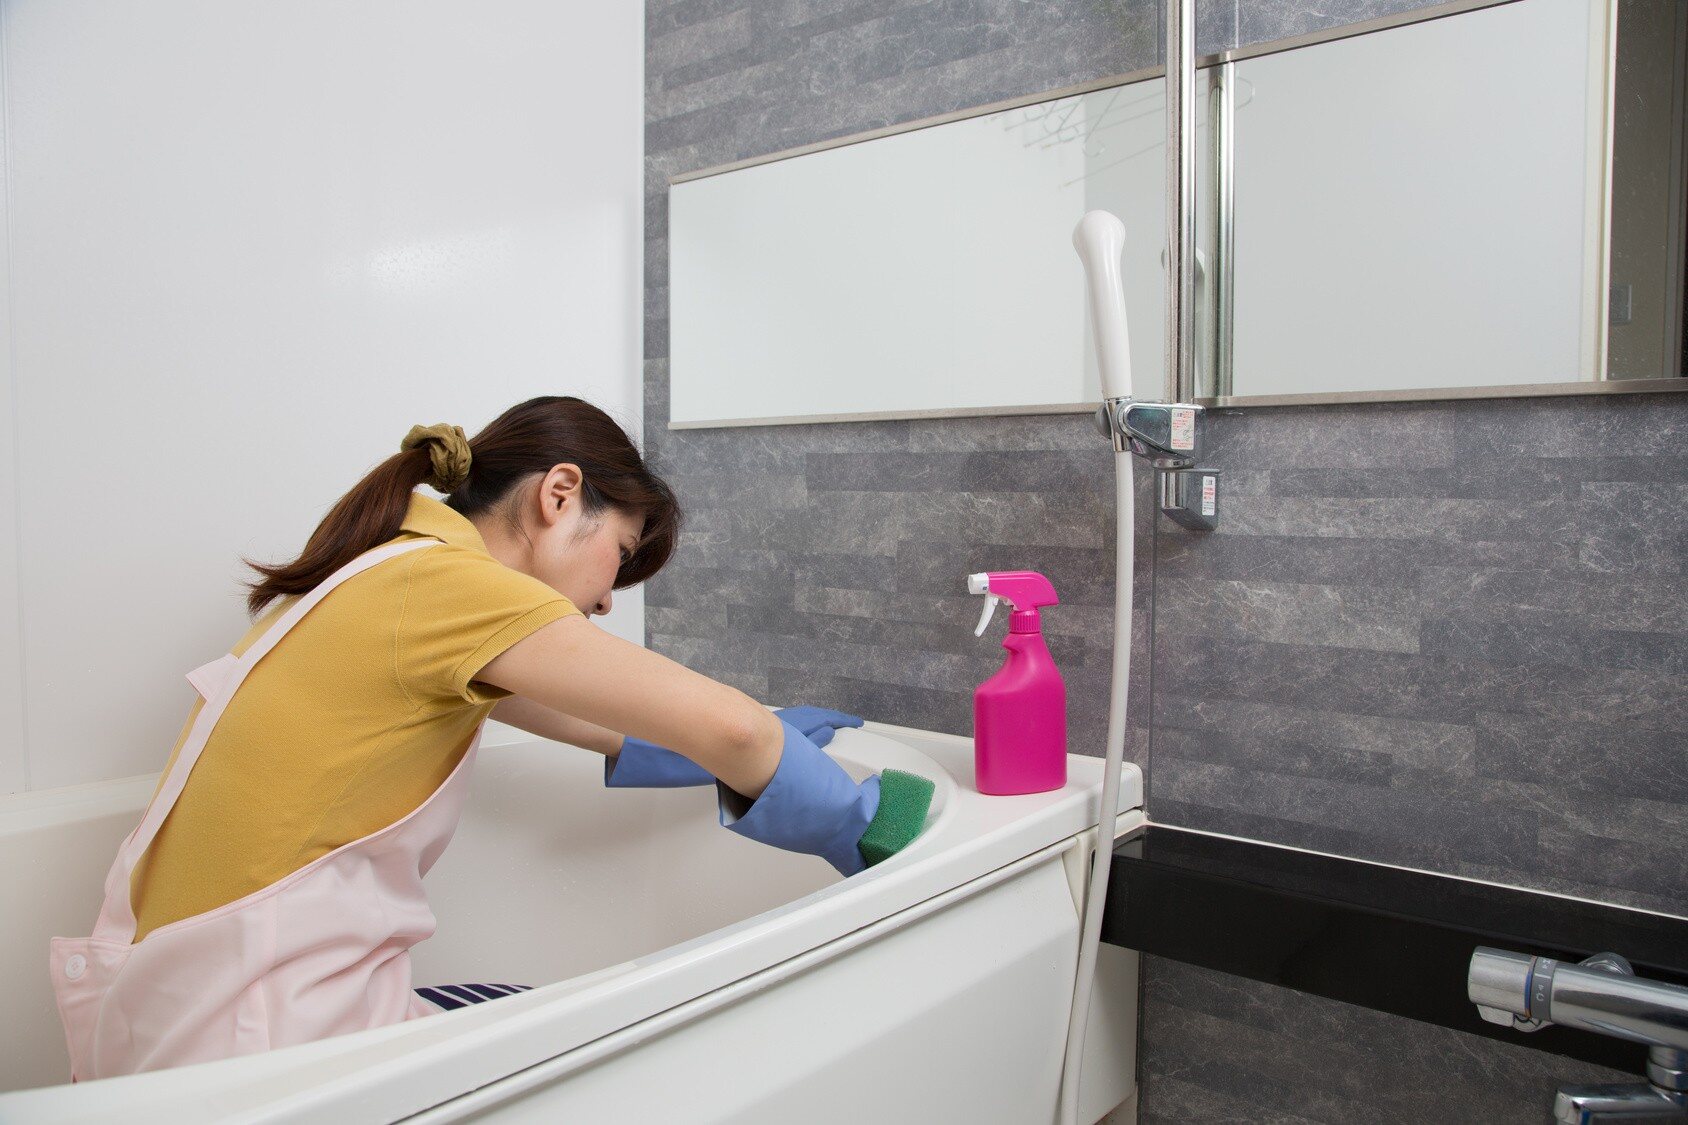
Discovering a toy lodged in the bathtub drain can be a frustrating and inconvenient situation. Whether it's a rubber duck, a small action figure, or any other toy, the obstruction can lead to slow drainage or a completely clogged drain. However, before succumbing to panic or the thought of calling a professional plumber, it's essential to understand that there are steps you can take to address this issue on your own. By following a systematic approach and utilizing the right tools, you can effectively dislodge the toy from the drain and restore proper drainage to your bathtub.
In this comprehensive guide, we will walk you through the step-by-step process of removing a toy from your bathtub drain. From assessing the situation to using various techniques and tools, we will equip you with the knowledge and confidence to tackle this common household dilemma. By the end of this guide, you will have a clear understanding of the methods available to you and be prepared to take the necessary action to resolve the issue. So, roll up your sleeves, gather your tools, and let's dive into the process of freeing your bathtub drain from the clutches of a stubborn toy obstruction.
Key Takeaways:
- Don’t panic if a toy gets stuck in your bathtub drain! Assess the situation, gather tools like a plunger and drain snake, and follow step-by-step instructions to remove the obstruction and restore proper drainage.
- Use a plunger, drain snake, or chemical drain cleaner to dislodge and remove the toy from the drain. Test the drain by running water to ensure the obstruction has been successfully resolved and your bathtub is fully functional.
Read more: How To Change Out Bathtub Drain
Step 1: Assess the situation
Before diving into the process of removing a toy from your bathtub drain, it's crucial to assess the situation carefully. This initial step sets the stage for the subsequent actions you'll take to address the obstruction effectively.
Start by observing the symptoms of a clogged drain. Is the water draining slowly, or is it not draining at all? Understanding the extent of the blockage will help you determine the severity of the issue and the potential methods needed to resolve it.
Next, consider the type of toy that has found its way into the drain. Is it a small, flexible toy that may have partially passed through the drain cover, or is it a larger, solid toy that is likely causing a complete blockage? This assessment will influence the approach you take to dislodge the toy from the drain.
Additionally, take note of any previous attempts to address the clog. If you or someone else has already tried to remove the toy using a plunger or other methods, it's essential to factor in these efforts when devising your own strategy. Understanding what has been done before can provide valuable insight into the nature of the obstruction and guide your next steps.
Furthermore, consider the accessibility of the drain. Is the drain cover easily removable, or does it seem to be fixed in place? Assessing the accessibility of the drain will help you determine the tools and techniques that will be most effective in gaining access to the toy lodged within.
Lastly, evaluate your comfort level and expertise in handling the situation. If you feel confident in your ability to address the clog independently, you may choose to proceed with the removal process. However, if you have concerns about causing further damage or exacerbating the issue, it may be prudent to seek professional assistance.
By thoroughly assessing the situation, you will gain a clear understanding of the nature of the clog and the factors that will influence your approach to resolving it. Armed with this knowledge, you can confidently proceed to the next steps in the process of freeing your bathtub drain from the grip of a stubborn toy obstruction.
Step 2: Gather necessary tools
As you embark on the mission to free your bathtub drain from a trapped toy, having the right tools at your disposal is essential. These tools will empower you to tackle the obstruction with precision and efficiency. Here's a comprehensive list of the necessary tools you'll need to gather before proceeding with the removal process:
-
Plunger: A standard cup plunger or a flange plunger can be highly effective in dislodging the toy from the drain. The plunger creates a strong seal over the drain opening, allowing you to apply forceful pressure to dislodge the obstruction.
-
Drain snake: Also known as a plumbing snake or auger, this tool is designed to navigate through the drain, hook onto the obstruction, and pull it out. A drain snake is particularly useful for reaching and retrieving toys that may be lodged deeper within the drain pipe.
-
Chemical drain cleaner: While not a physical tool, a chemical drain cleaner can be a valuable asset in breaking down organic materials and debris that may be contributing to the clog. Look for a drain cleaner specifically formulated for bathtub drains and follow the manufacturer's instructions carefully.
-
Adjustable wrench: This versatile tool will come in handy if you need to remove the drain cover or access the plumbing beneath the bathtub. It allows you to loosen and tighten nuts and bolts, providing access to the components of the drain system.
-
Bucket: Having a bucket nearby is practical for collecting water that may spill out during the removal process. It also provides a convenient receptacle for storing the drain cover and any extracted debris.
-
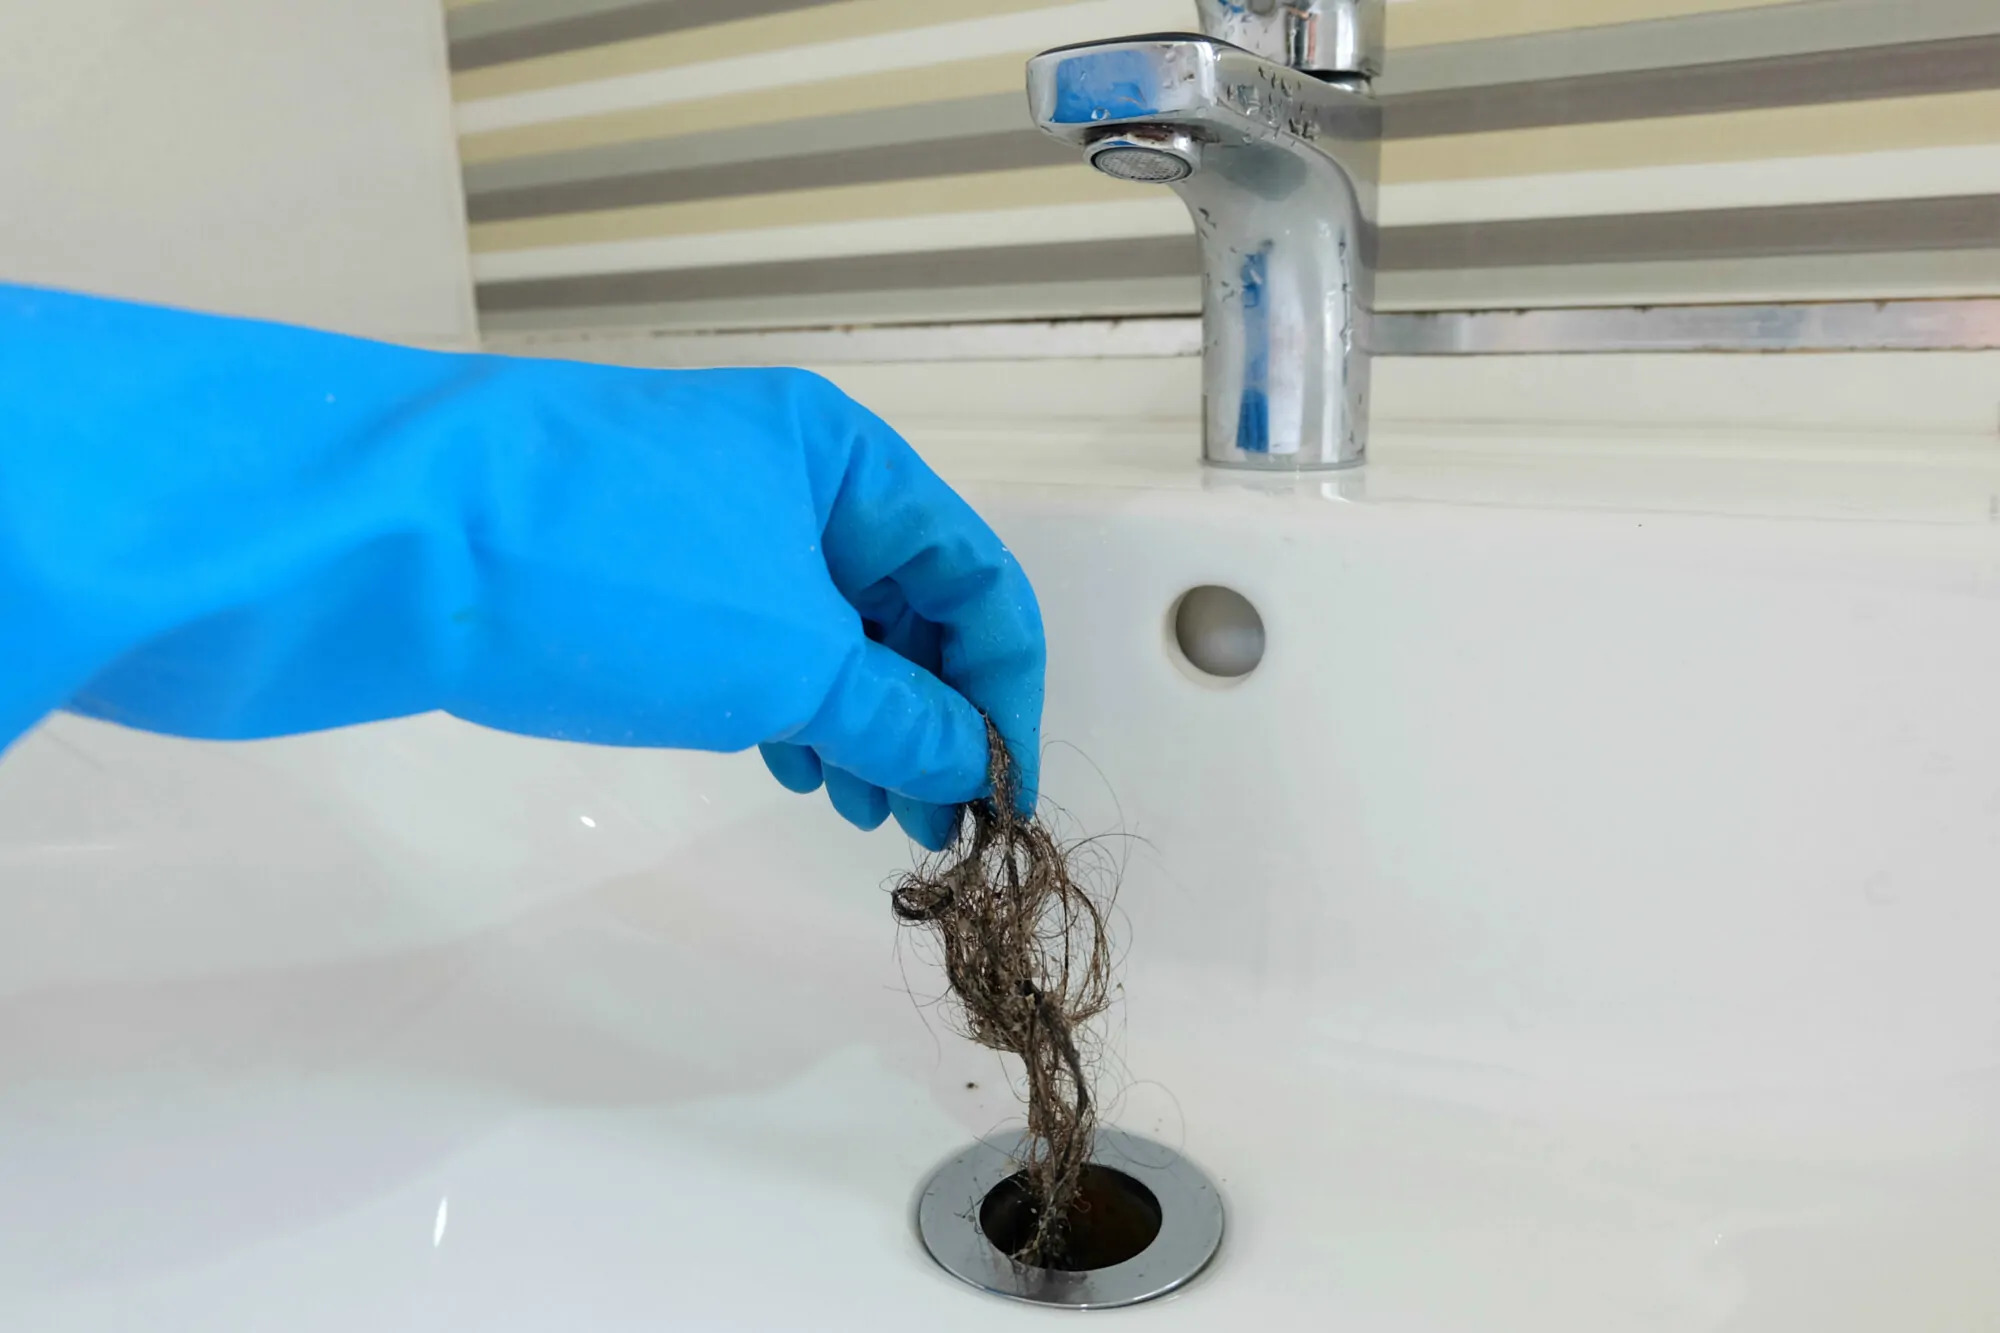
Rubber gloves: Protect your hands from coming into direct contact with any debris or chemical substances by wearing durable rubber gloves. This simple yet crucial tool ensures your safety and hygiene throughout the process.
-
Flashlight: Illuminating the area around the drain with a flashlight can help you inspect the interior of the drain and identify the location of the toy obstruction. It's especially useful if the drain is located in a dimly lit or hard-to-reach area.
By gathering these essential tools, you will be well-prepared to tackle the task of freeing your bathtub drain from the clutches of a stubborn toy obstruction. With the right tools at your disposal, you can approach the removal process with confidence and precision, increasing the likelihood of a successful outcome.
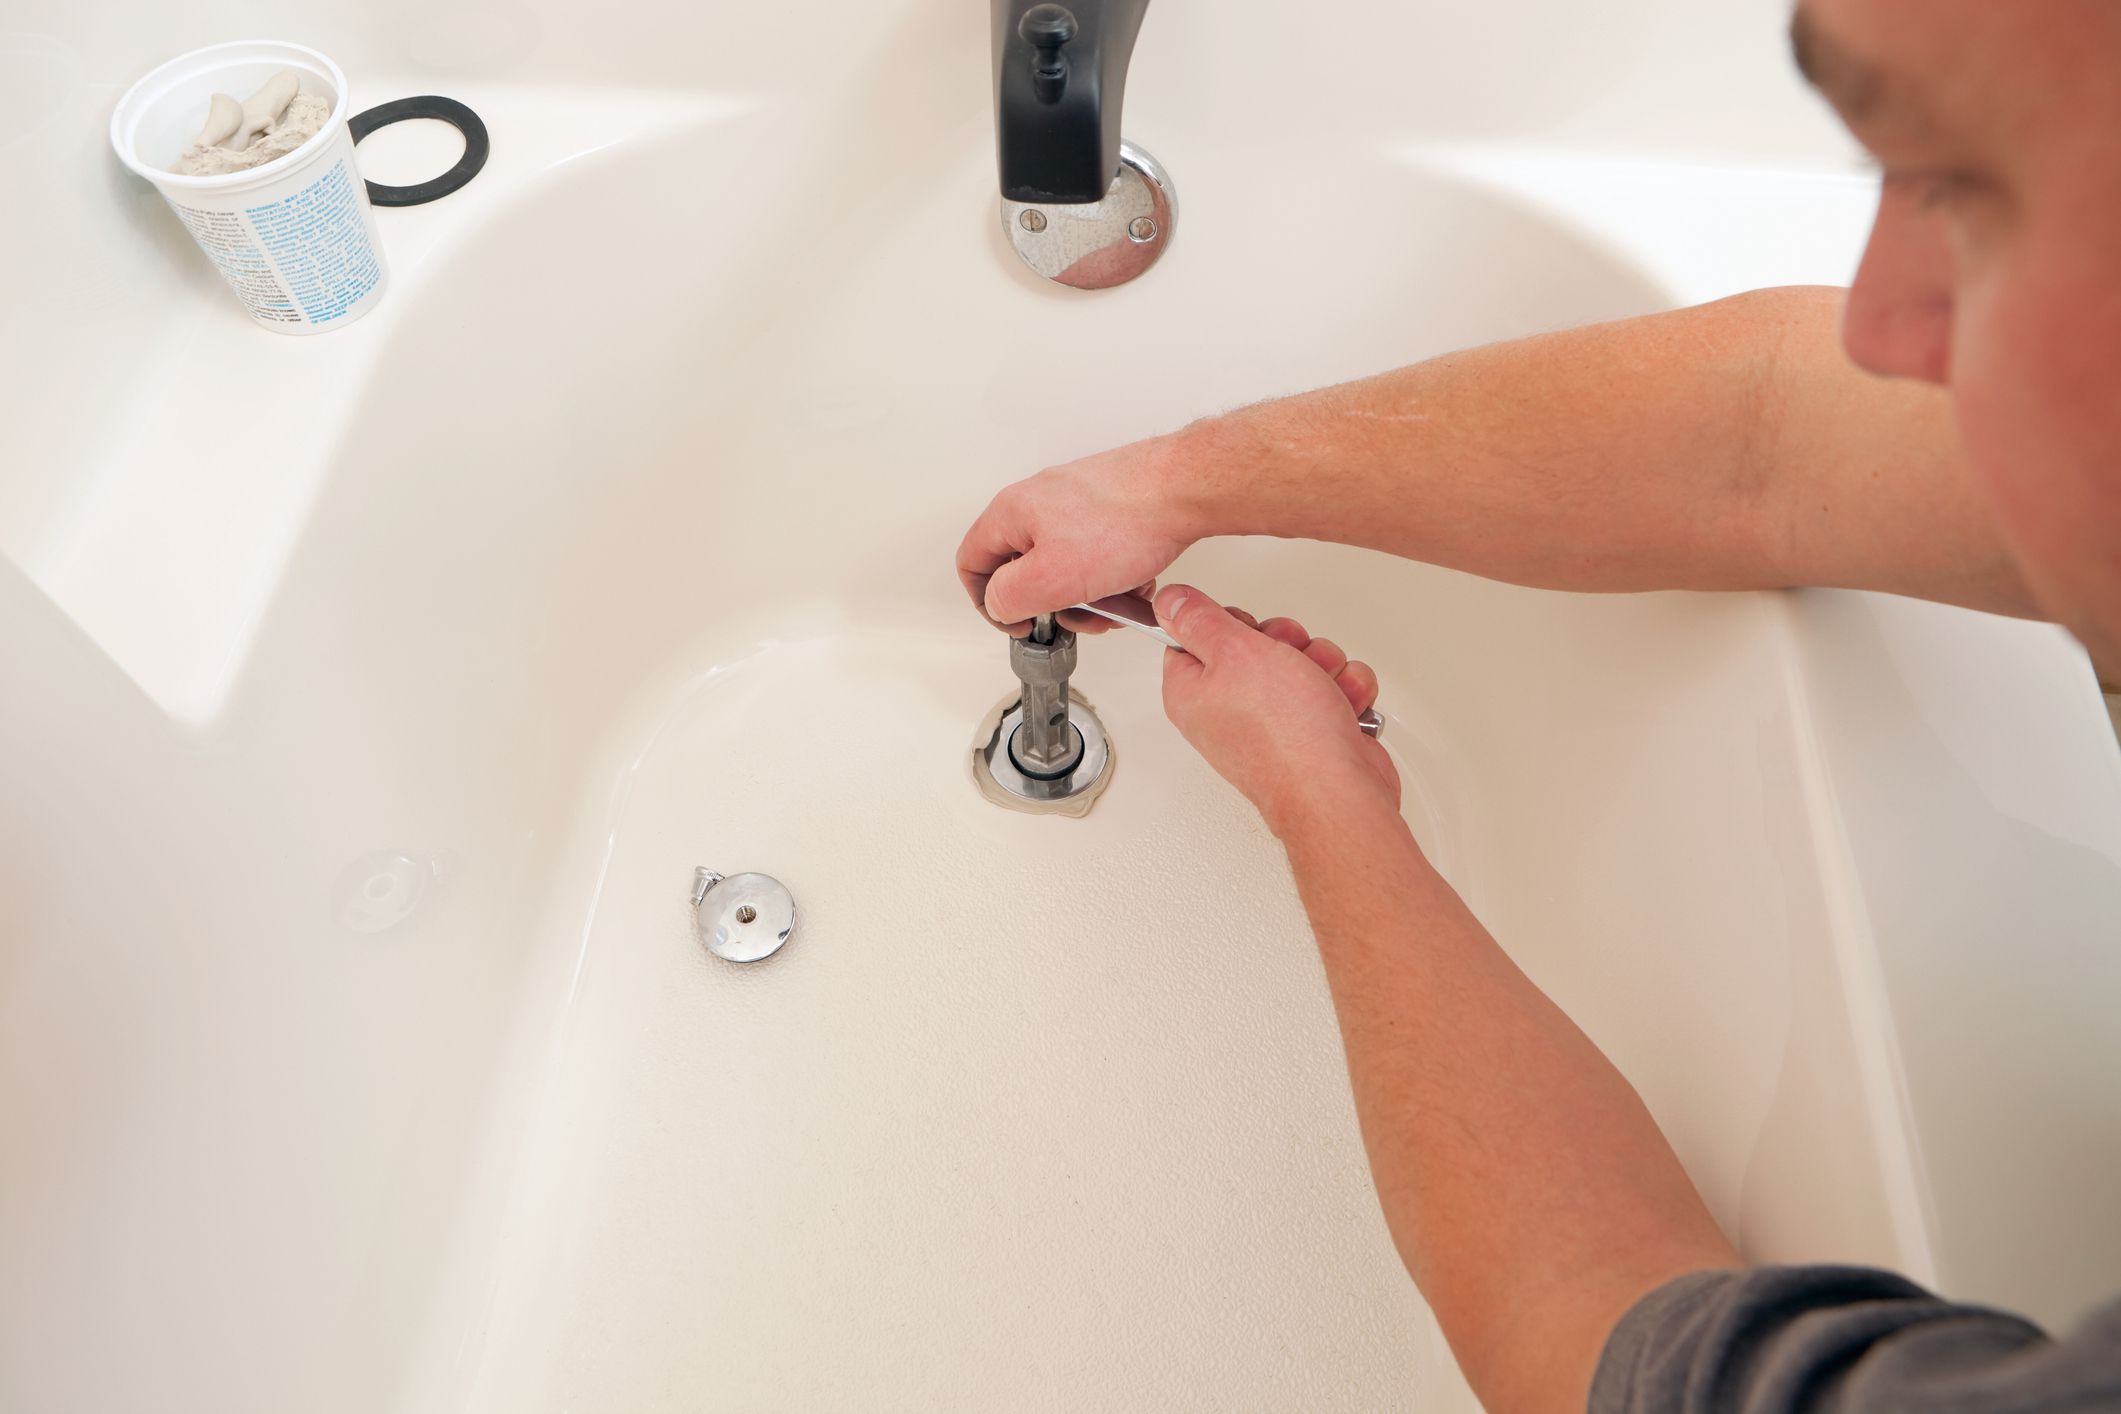
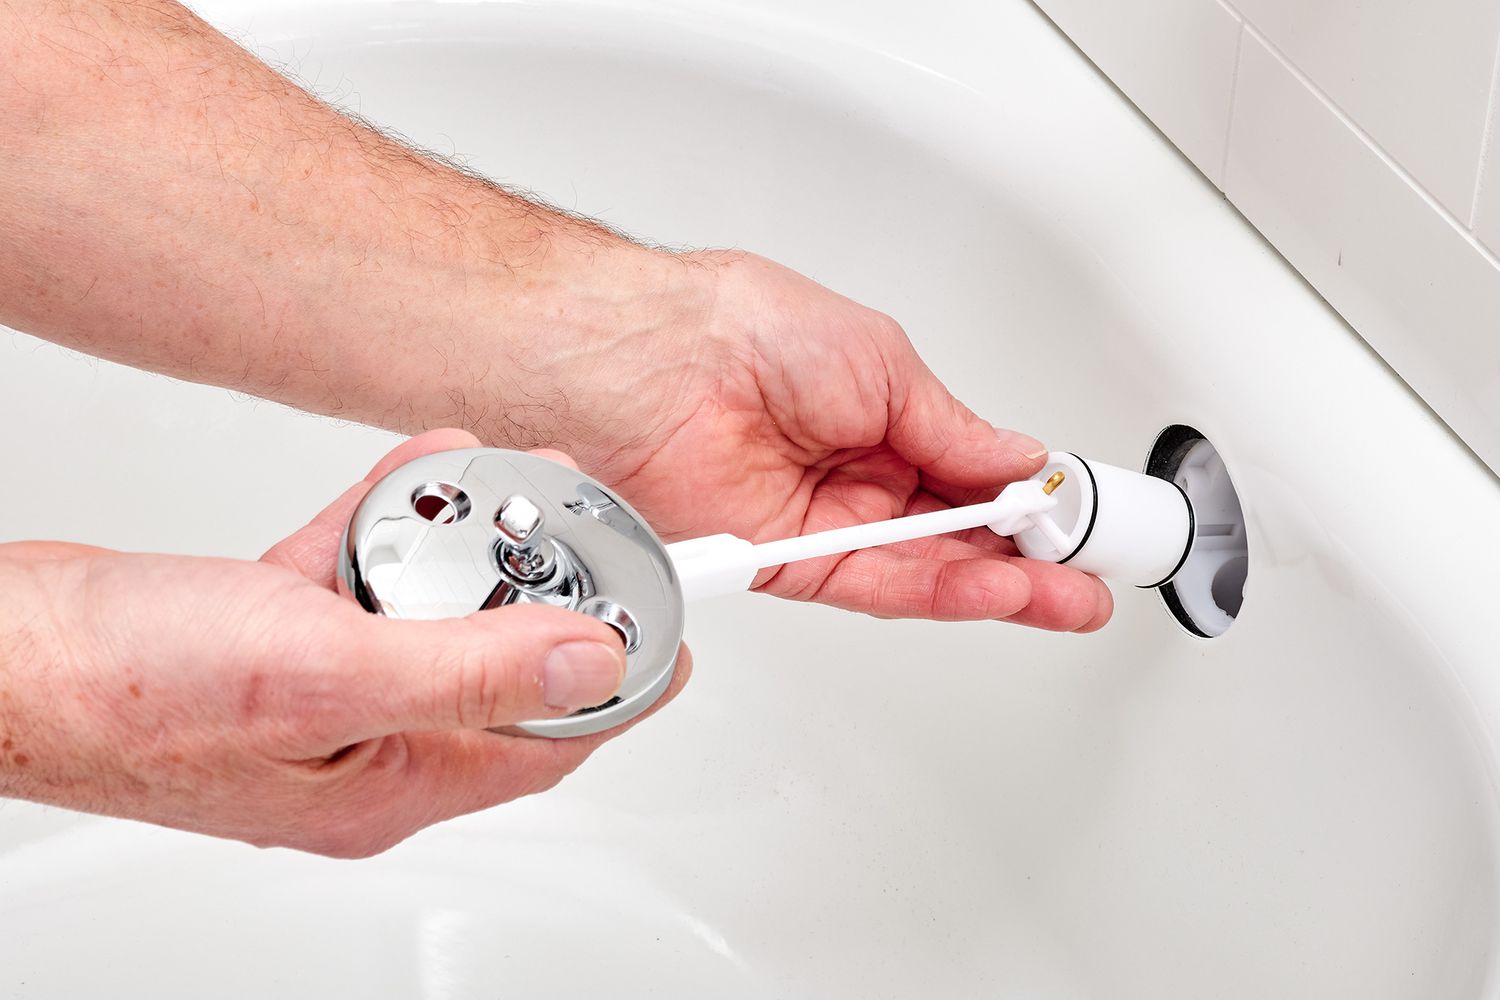
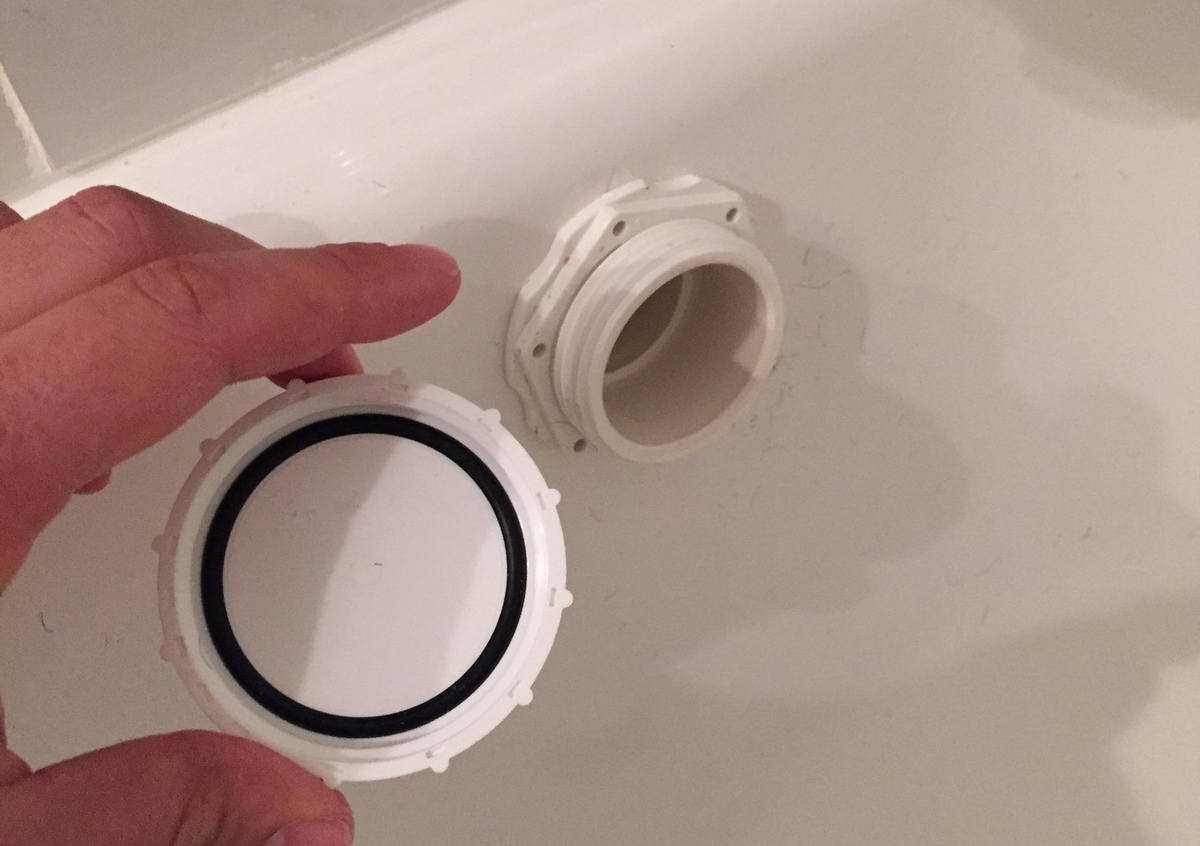
Step 3: Remove the drain cover
Removing the drain cover is a crucial step in gaining access to the interior of the drain and addressing the toy obstruction. The drain cover, typically located over the drain opening, serves as a protective barrier and prevents large debris from entering the drain pipe. Here's a detailed guide on how to safely and effectively remove the drain cover:
-
Locate the drain cover: Depending on the design of your bathtub, the drain cover may be situated directly over the drain opening or slightly offset. It is often circular or square in shape and can be identified by its perforated or slotted surface. Use a flashlight to illuminate the area if the cover is not clearly visible.
-
Use an adjustable wrench: In many cases, the drain cover is secured in place by a central screw or a few screws along the perimeter. Use an adjustable wrench to loosen and remove these screws. Turn the wrench counterclockwise to loosen the screws, ensuring a firm grip to prevent slippage.
-
Inspect the condition of the drain cover: As you remove the screws, take note of the condition of the drain cover. Look for signs of corrosion, damage, or excessive buildup of grime and debris. If the cover appears to be deteriorating, it may be a good opportunity to clean or replace it to maintain optimal drainage performance.
-
Lift the drain cover: Once the screws are removed, carefully lift the drain cover from the drain opening. It may be sealed in place by a gasket or plumber's putty, so exercise caution to avoid damaging the surrounding surfaces. If the cover seems stuck, gently pry it loose using a flathead screwdriver or a putty knife.
-
Inspect the drain opening: With the drain cover removed, take a moment to inspect the drain opening and the exposed portion of the drain pipe. Look for any visible obstructions, including the toy or accumulated debris. Use a pair of long-handled tweezers or needle-nose pliers to remove any accessible debris, taking care not to push it further into the drain.
By following these steps, you can successfully remove the drain cover and gain access to the interior of the drain, setting the stage for the subsequent methods of addressing the toy obstruction. With the drain cover removed, you are one step closer to freeing your bathtub drain from the clutches of the trapped toy.
Step 4: Use a plunger
When it comes to dislodging a toy from your bathtub drain, a plunger can be a highly effective tool in creating the necessary pressure to push or pull the obstruction free. Here's a detailed guide on how to use a plunger to address the toy obstruction in your bathtub drain:
-
Select the appropriate plunger: There are two common types of plungers – the standard cup plunger and the flange plunger. The standard cup plunger is suitable for flat surfaces such as sinks, while the flange plunger, with its additional flange or sleeve, is designed for use on drains, making it the ideal choice for bathtub drain obstructions.
-
Create a strong seal: Ensure that the plunger's rubber cup or flange completely covers the drain opening. For better suction, apply a thin layer of petroleum jelly around the rim of the plunger to improve the seal. The effectiveness of the plunger relies on creating a tight seal to generate the necessary pressure.
-
Apply vigorous plunging: With the plunger in position, push down firmly and then pull up with force, maintaining the seal over the drain opening. Repeat this plunging motion vigorously for about 15 to 20 seconds, aiming to dislodge the toy obstruction from its position within the drain. The alternating pressure created by the plunging action can help break the seal around the toy and dislodge it from the drain pipe.
-
Observe the drainage: After plunging, observe the drainage to see if the water begins to flow more freely. If the water starts to drain without backing up, it indicates that the plunger has been successful in dislodging the toy from the drain. If the water continues to drain slowly or remains stagnant, it may be an indication that the toy is still lodged within the drain and further measures are required.
-
Repeat the process if necessary: If the initial plunging attempt does not yield the desired results, repeat the process several times to maximize the effectiveness of the plunger. Persistence and consistent pressure application can often lead to the successful removal of the toy obstruction from the bathtub drain.
By following these steps and utilizing a plunger effectively, you can significantly increase the chances of freeing your bathtub drain from the grip of a stubborn toy obstruction. If the plunger proves to be ineffective, there are additional methods and tools that can be employed to address the clog and restore proper drainage to your bathtub.
Use a plunger to create suction and try to dislodge the toy. If that doesn’t work, use a drain snake to grab and pull out the toy. Always be cautious and consider calling a professional if needed.
Read more: How To Get Toy Out Of Toilet
Step 5: Use a drain snake
When traditional methods such as plunging have proven ineffective in dislodging a toy from your bathtub drain, a drain snake, also known as a plumbing snake or auger, can be a highly effective tool for addressing the obstruction. This flexible and versatile tool is designed to navigate through the drain, hook onto the obstruction, and pull it out, making it particularly useful for reaching and retrieving toys that may be lodged deeper within the drain pipe.
Here's a detailed guide on how to use a drain snake to address the toy obstruction in your bathtub drain:
-
Select the appropriate drain snake: When choosing a drain snake, opt for a model specifically designed for household drains, ensuring that it is of a suitable length to reach the obstruction within your bathtub drain. A drain snake with a flexible, coiled wire and a handle for maneuvering is ideal for this task.
-
Prepare the drain snake: Extend the coil of the drain snake and ensure that the handle is securely attached. If the drain snake features a crank or handle for rotating the coil, ensure that it is functioning smoothly and is ready for use.
-
Insert the drain snake into the drain: Carefully guide the tip of the drain snake into the drain opening, feeding it into the drain pipe while maintaining a firm grip on the handle. As you navigate the drain snake through the pipe, be mindful of any resistance or obstacles encountered along the way, which may indicate that the toy obstruction has been reached.
-
Engage with the obstruction: Once the drain snake has reached the obstruction, gently maneuver it to engage with the toy. The goal is to hook onto the toy with the coil of the drain snake, allowing you to pull it out of the drain. Exercise patience and precision as you work to dislodge the toy from its position within the drain.
-
Retrieve the toy: With the drain snake securely engaged with the toy, carefully withdraw the drain snake from the drain, bringing the toy along with it. Exercise caution to avoid pushing the toy further into the drain or causing damage to the drain pipe during the retrieval process.
-
Inspect the drain: After retrieving the toy using the drain snake, take a moment to inspect the drain opening and the interior of the drain pipe. Look for any residual debris or obstructions that may have contributed to the clog and remove them using a pair of long-handled tweezers or needle-nose pliers.
By following these steps and using a drain snake effectively, you can significantly increase the likelihood of freeing your bathtub drain from the grip of a stubborn toy obstruction. If the drain snake proves successful in retrieving the toy, proceed to test the drainage to ensure that the obstruction has been fully resolved. If the toy remains lodged within the drain despite using a drain snake, there are additional methods and tools that can be employed to address the clog and restore proper drainage to your bathtub.
Step 6: Use a chemical drain cleaner
When traditional methods such as plunging and using a drain snake have not effectively dislodged the toy from your bathtub drain, a chemical drain cleaner can be a valuable asset in breaking down organic materials and debris that may be contributing to the clog. It is important to note that chemical drain cleaners should be used with caution and in accordance with the manufacturer's instructions to ensure safety and effectiveness.
Here's a detailed guide on how to use a chemical drain cleaner to address the toy obstruction in your bathtub drain:
-
Select the appropriate chemical drain cleaner: When choosing a chemical drain cleaner, opt for a product specifically formulated for bathtub drains and suitable for addressing organic clogs such as soap scum, hair, and other debris. Look for a cleaner that is safe for use with the materials in your plumbing system and follow any specific recommendations for use with plastic or metal pipes.
-
Read and follow the manufacturer's instructions: Before using the chemical drain cleaner, carefully read the manufacturer's instructions provided on the product packaging. Pay close attention to the recommended dosage, application method, and safety precautions. It is essential to adhere to the instructions to ensure the safe and effective use of the chemical drain cleaner.
-
Prepare the drain cleaner for application: Put on a pair of rubber gloves to protect your hands from coming into direct contact with the chemical cleaner. Ensure that the area around the drain is well-ventilated to minimize exposure to fumes. If necessary, use a funnel to pour the recommended amount of the chemical drain cleaner directly into the drain opening, allowing it to flow into the drain pipe.
-
Allow the chemical drain cleaner to work: Once the chemical drain cleaner has been applied, allow it to work on breaking down the clog within the drain. Follow the recommended dwell time provided by the manufacturer, which typically ranges from 15 minutes to several hours, depending on the product. During this time, avoid using the bathtub to prevent dilution or interference with the cleaner's effectiveness.
-
Flush the drain with water: After the recommended dwell time has elapsed, flush the drain thoroughly with hot water to help rinse away the dissolved debris and the remnants of the chemical drain cleaner. Turn on the bathtub faucet and allow hot water to flow into the drain for several minutes, ensuring that the water drains freely without backing up.
By following these steps and using a chemical drain cleaner in accordance with the manufacturer's instructions, you can effectively address the toy obstruction in your bathtub drain. If the chemical drain cleaner proves successful in breaking down the clog, proceed to test the drainage to ensure that the obstruction has been fully resolved. If the toy remains lodged within the drain despite using a chemical drain cleaner, there are additional methods and tools that can be employed to address the clog and restore proper drainage to your bathtub.
Step 7: Test the drain
After employing various methods and tools to address the toy obstruction in your bathtub drain, it is essential to thoroughly test the drainage to ensure that the obstruction has been successfully resolved. Testing the drain serves as the final confirmation that the toy has been dislodged, and the flow of water has been restored to its optimal state.
To test the drain, start by running hot water from the bathtub faucet and observing the rate at which the water flows down the drain. If the water drains freely without backing up or pooling around the drain opening, it indicates that the toy obstruction has been effectively removed, and the drain is functioning as intended. Additionally, observe the speed at which the water drains, ensuring that it flows steadily and does not exhibit any signs of slow drainage or blockage.
As the hot water runs, listen for any unusual gurgling or bubbling sounds emanating from the drain, as these may indicate residual air pockets or partial obstructions within the drain pipe. The absence of such sounds and the smooth, uninterrupted flow of water are positive indicators that the toy obstruction has been successfully addressed.
In addition to observing the drainage during the hot water test, consider filling the bathtub with a moderate amount of water and then releasing it to simulate the drainage of a larger volume of water. This test allows you to assess the drain's capacity to handle increased water flow and ensures that the removal of the toy obstruction has not compromised the drain's functionality.
If the drainage tests yield positive results, indicating that the toy obstruction has been effectively removed and the drain is functioning optimally, you can proceed with confidence, knowing that your efforts have been successful in restoring proper drainage to your bathtub. However, if the drainage tests reveal any lingering issues such as slow drainage, gurgling sounds, or water backup, it may be necessary to reevaluate the situation and consider additional measures to address any remaining obstructions within the drain.
By thoroughly testing the drain following the removal of the toy obstruction, you can verify the success of your efforts and ensure that your bathtub drain is free from the clutches of the stubborn toy. This final step provides the reassurance that your bathtub is once again fully functional, allowing you to resume your daily routines without the inconvenience of a clogged drain.
Conclusion
In conclusion, addressing a toy obstruction in your bathtub drain requires a systematic approach, the right tools, and a willingness to tackle the issue with confidence. By following the step-by-step process outlined in this guide, you can effectively dislodge the toy from the drain and restore proper drainage to your bathtub.
The initial assessment of the situation sets the stage for the subsequent actions, allowing you to understand the nature of the clog and the factors that will influence your approach. Gathering the necessary tools, including a plunger, drain snake, chemical drain cleaner, adjustable wrench, bucket, rubber gloves, and flashlight, ensures that you are well-prepared to tackle the task with precision and efficiency.
Removing the drain cover provides access to the interior of the drain, allowing you to inspect the drain opening and identify the location of the toy obstruction. Using a plunger and a drain snake enables you to apply varying levels of pressure and maneuverability to dislodge and retrieve the toy from the drain, while a chemical drain cleaner can effectively break down organic materials and debris contributing to the clog.
Thoroughly testing the drain serves as the final confirmation that the toy obstruction has been successfully removed, ensuring that the drain is functioning optimally and free from any lingering issues.
By successfully addressing the toy obstruction in your bathtub drain, you can enjoy the peace of mind that comes with a fully functional and efficient drainage system. Whether it's a rubber duck, a small action figure, or any other toy causing the obstruction, the methods and tools outlined in this guide empower you to take control of the situation and resolve it with confidence.
Remember, if at any point you feel uncertain or encounter challenges beyond your expertise, seeking professional assistance is always a viable option. With the knowledge and insights gained from this guide, you are well-equipped to tackle the common household dilemma of a toy obstruction in your bathtub drain and restore the comfort and convenience of a fully functional bathroom.
Frequently Asked Questions about How To Get Toy Out Of Bathtub Drain
Was this page helpful?
At Storables.com, we guarantee accurate and reliable information. Our content, validated by Expert Board Contributors, is crafted following stringent Editorial Policies. We're committed to providing you with well-researched, expert-backed insights for all your informational needs.
0 thoughts on “How To Get Toy Out Of Bathtub Drain”