Home>Furniture & Design>Bathroom Accessories>How To Put A Door In A Bathtub

Bathroom Accessories
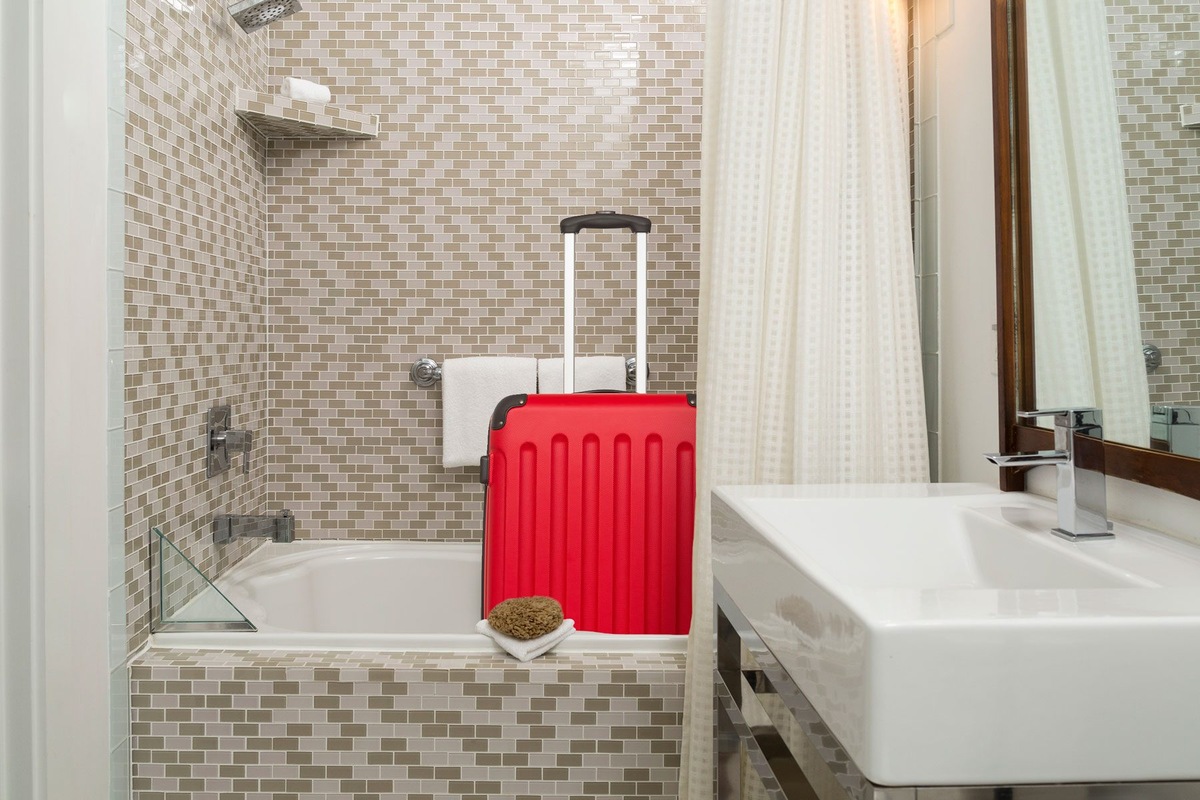
How To Put A Door In A Bathtub
Published: February 19, 2024
Learn how to install a door in your bathtub for easy access and safety. Find the best bathroom accessories for a functional and stylish upgrade.
(Many of the links in this article redirect to a specific reviewed product. Your purchase of these products through affiliate links helps to generate commission for Storables.com, at no extra cost. Learn more)
Introduction
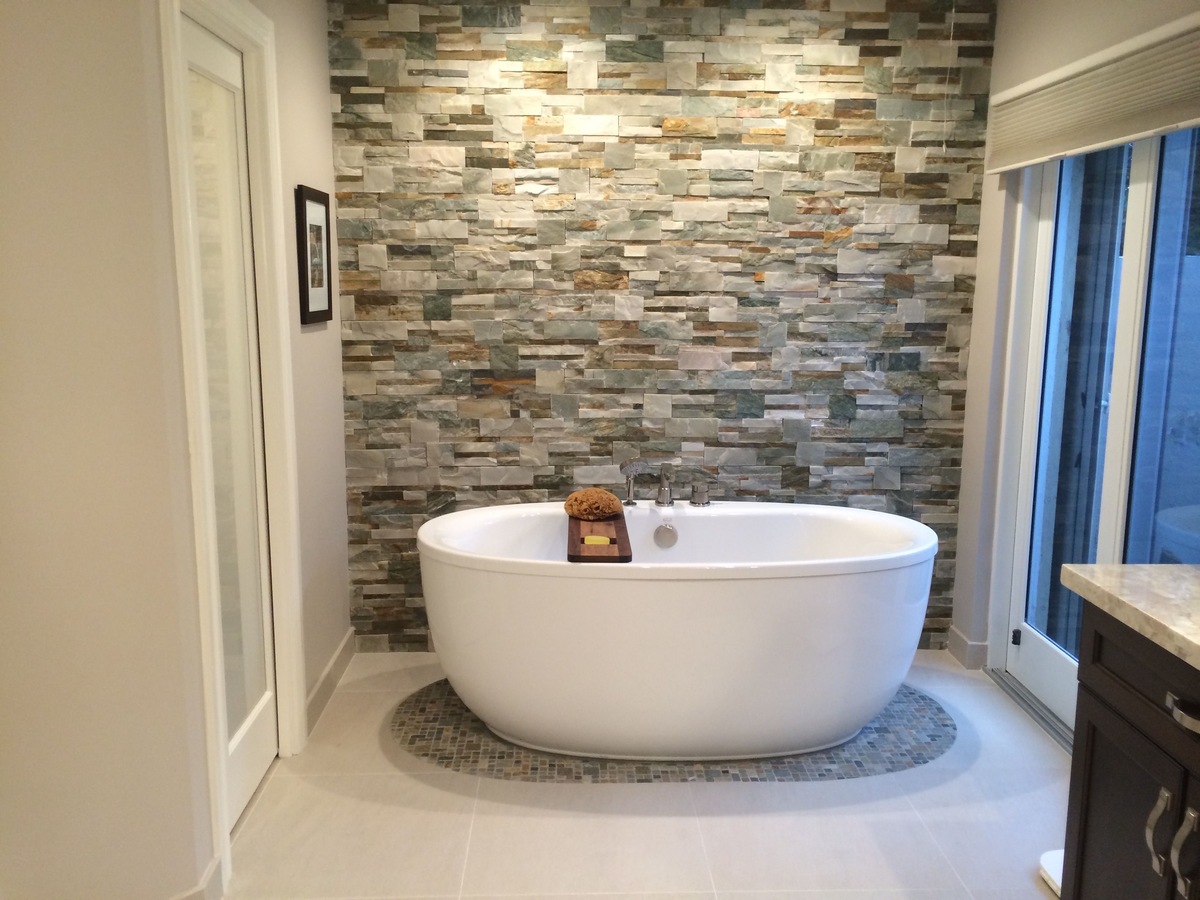
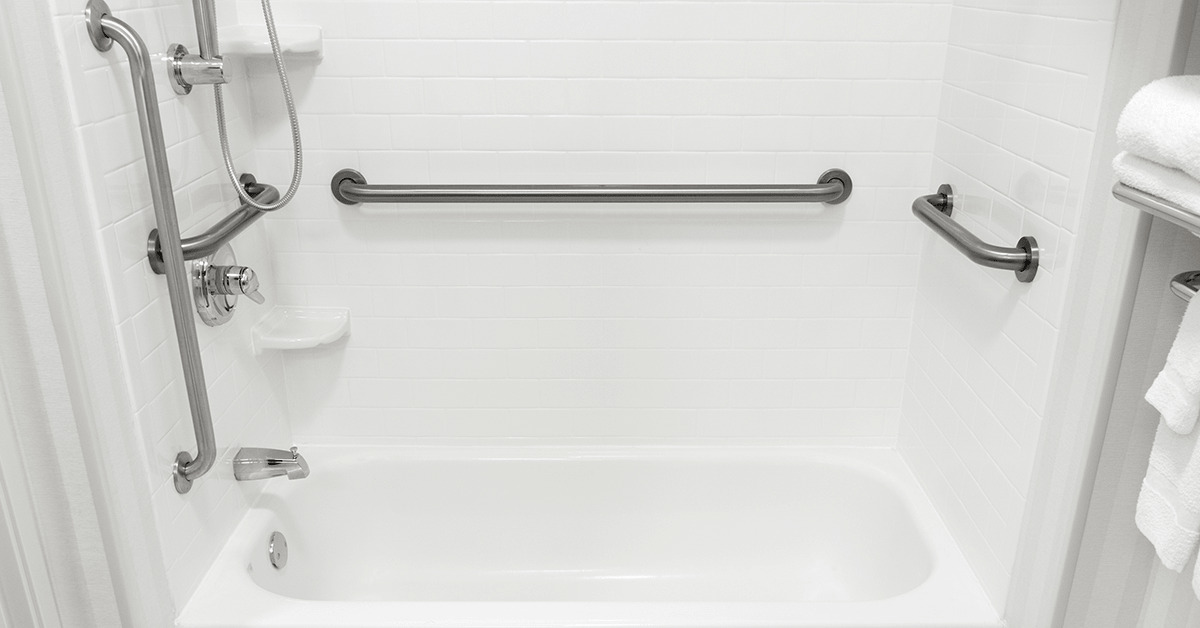
When it comes to bathroom renovations, adding a door to a bathtub can significantly enhance both the functionality and aesthetic appeal of the space. Whether you're looking to upgrade your bathroom for personal enjoyment or preparing it for potential resale, installing a bathtub door is a practical and stylish choice. This comprehensive guide will walk you through the step-by-step process of adding a door to your bathtub, providing you with the knowledge and confidence to tackle this project with ease.
By following these instructions, you can transform your bathtub area into a more accessible and visually appealing part of your bathroom. With the right tools, materials, and a clear understanding of the process, you can successfully complete this project and enjoy the benefits of a more functional and attractive bathing space.
Now, let's dive into the detailed steps for adding a door to your bathtub, ensuring that you have all the information and guidance needed to achieve a successful outcome. Whether you're a seasoned DIY enthusiast or a novice looking to expand your home improvement skills, this guide will equip you with the essential knowledge to complete this project with confidence and precision.
Key Takeaways:
- Transform your bathtub area into a stylish and functional space by following simple steps to install a bathtub door. Enjoy a more accessible and visually appealing bathing experience with confidence and precision.
- Elevate your bathroom with a newly installed bathtub door, adding both practical and aesthetic value to your space. Enjoy a more enclosed and convenient bathing experience, showcasing your home improvement skills with pride.
Read more: Why Put A Bathtub In The Shower
Step 1: Measure and Mark
Before diving into the installation process, it's crucial to start by measuring and marking the precise location for the bathtub door. This initial step sets the foundation for a successful installation and ensures that the door fits seamlessly into the designated space. Here's a detailed breakdown of the essential tasks involved in this crucial phase:
-
Measure the Opening: Begin by measuring the width and height of the bathtub area where the door will be installed. Use a reliable tape measure to obtain accurate dimensions, taking into account any irregularities in the walls or surrounding surfaces.
-
Mark the Cut Lines: Once the measurements are obtained, use a pencil or masking tape to mark the cut lines on the walls surrounding the bathtub. These lines will serve as a guide for cutting out the opening where the door frame will be installed.
-
Consider Clearances: When marking the cut lines, it's important to consider clearances for the door swing. Ensure that there is sufficient space for the door to open and close without any obstructions, taking into account the layout of the bathroom and the positioning of other fixtures.
-
Double-Check Measurements: Before proceeding to the next phase, double-check the accuracy of the measurements and cut lines. Precision is key at this stage to avoid any errors that could impact the overall installation process.
By meticulously measuring and marking the designated area for the bathtub door, you establish a solid starting point for the subsequent steps. This careful attention to detail sets the stage for a smooth and successful installation, laying the groundwork for a visually appealing and functional addition to your bathroom space.
Step 2: Cut the Opening
With the precise measurements and cut lines in place, the next crucial step in installing a bathtub door is cutting the opening where the door frame will be positioned. This phase requires careful attention to detail and the use of appropriate tools to ensure a clean and accurate cut. Here's a detailed breakdown of the essential tasks involved in this critical phase:
-
Prepare the Work Area: Before commencing the cutting process, it's essential to prepare the work area by removing any obstructions and ensuring that the surrounding space is clear. This includes relocating any bathroom accessories or items that may impede the cutting process.
-
Select the Right Tools: The choice of tools for cutting the opening is pivotal to the success of this phase. Depending on the material of the walls surrounding the bathtub, you may need a reciprocating saw, jigsaw, or other suitable cutting tools. It's crucial to use tools that are designed for the specific material to achieve clean and precise cuts.
-
Wear Safety Gear: Prior to cutting, ensure that you are equipped with appropriate safety gear, including goggles, gloves, and a dust mask. This precautionary measure is essential to protect yourself from potential hazards such as dust, debris, and sharp edges during the cutting process.
-
Follow the Marked Lines: Using the marked cut lines as a guide, carefully begin cutting out the opening for the bathtub door. Exercise patience and precision to achieve straight and accurate cuts, ensuring that the dimensions align with the measurements obtained in the previous step.
-
Check for Smooth Edges: Once the cutting is complete, inspect the edges of the opening to ensure that they are smooth and free from any jagged or uneven sections. If necessary, use sandpaper or a file to smoothen the edges, creating a clean and uniform surface for the installation of the door frame.
By meticulously following these steps and exercising precision during the cutting process, you set the stage for a seamless installation of the bathtub door. This phase lays the groundwork for the subsequent steps, ensuring that the opening is prepared to accommodate the door frame with precision and accuracy.
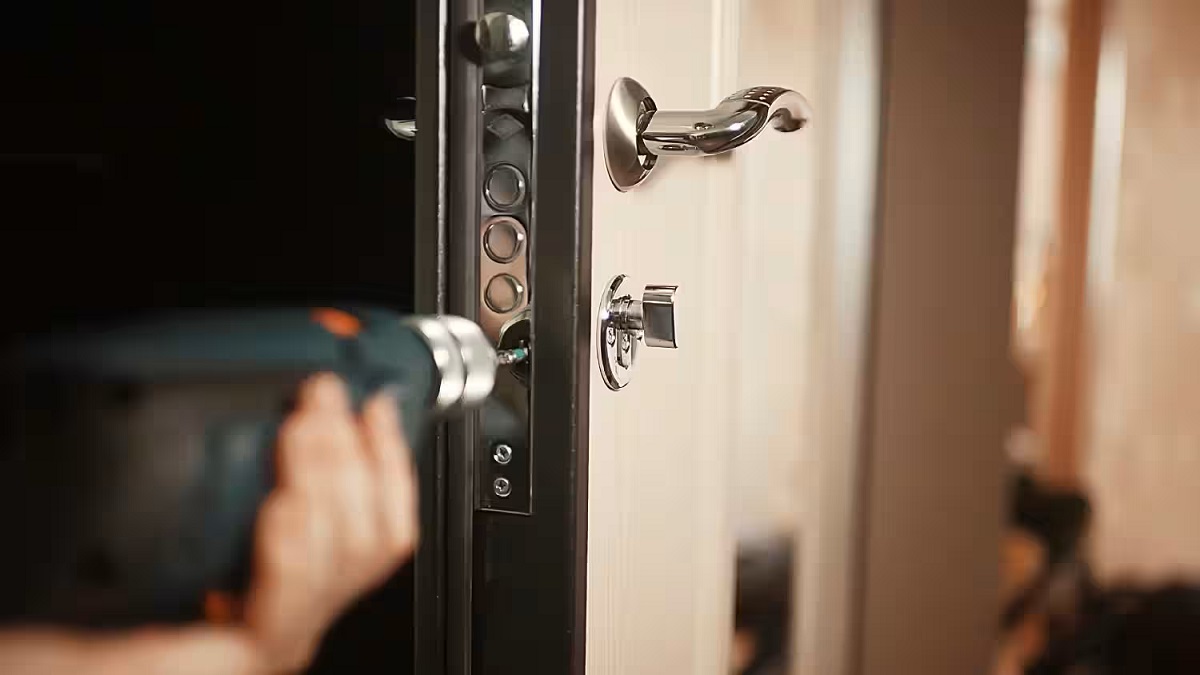
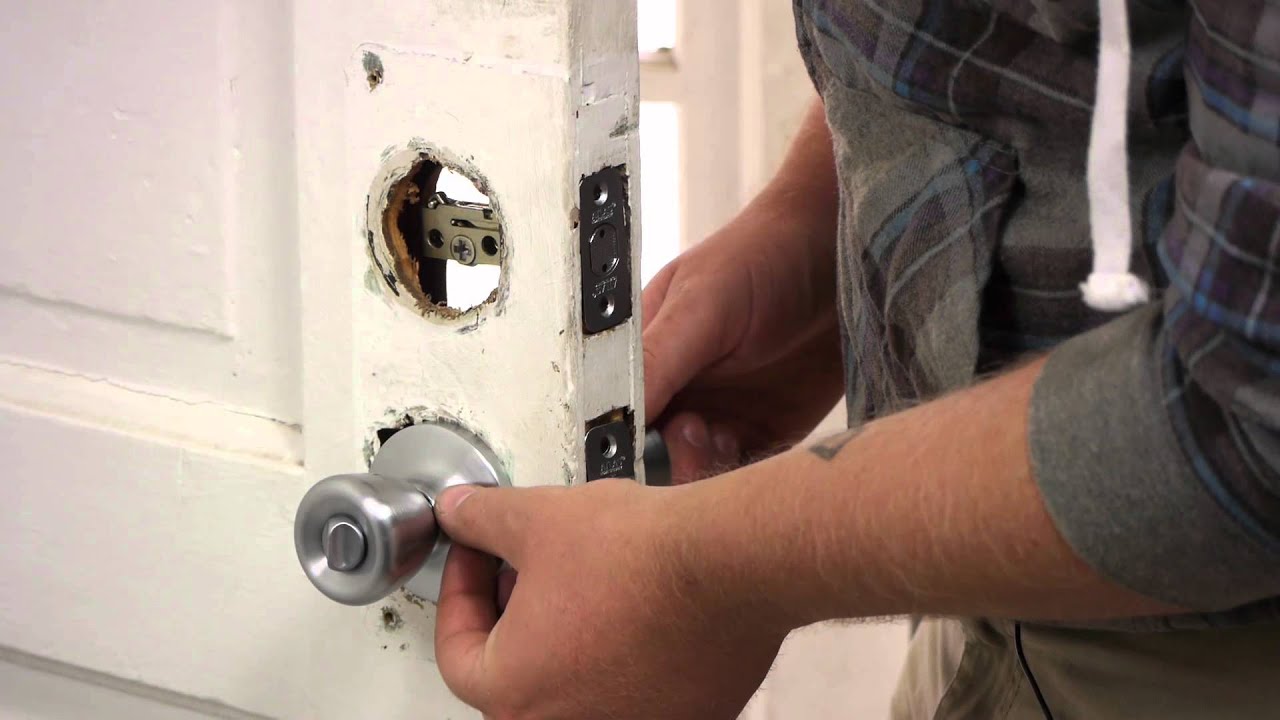
Step 3: Install the Door Frame
Installing the door frame is a pivotal phase in the process of adding a door to a bathtub, as it sets the foundation for securely mounting the door and ensuring a seamless integration with the surrounding space. This step involves precise measurements, careful alignment, and the use of appropriate tools to achieve a sturdy and aesthetically pleasing installation. Here's a detailed breakdown of the essential tasks involved in this critical phase:
-
Select the Door Frame: Begin by selecting a high-quality door frame that is specifically designed for bathtub installations. Consider factors such as the material, finish, and design of the frame to ensure that it complements the overall aesthetic of your bathroom while offering durability and functionality.
-
Position the Frame: Place the door frame into the prepared opening, ensuring that it fits snugly and aligns with the surrounding walls. Use a level to check the vertical and horizontal alignment, making any necessary adjustments to ensure that the frame is perfectly positioned.
-
Secure the Frame: Once the frame is aligned, use appropriate fasteners such as screws or anchors to securely attach it to the surrounding walls. Ensure that the frame is firmly anchored in place, providing a stable base for the subsequent installation of the door.
-
Check for Stability: After securing the frame, test its stability by gently applying pressure to ensure that it is firmly in place. Any signs of wobbling or instability should be addressed immediately to prevent issues during the installation of the door.
-
Seal the Edges: To enhance the waterproofing and structural integrity of the installation, apply a bead of waterproof sealant along the edges where the frame meets the walls. This step helps prevent water seepage and reinforces the bond between the frame and the surrounding surfaces.
-
Verify Alignment: Double-check the alignment and stability of the installed frame, ensuring that it meets the necessary standards for a secure and visually appealing installation. Address any discrepancies or issues before proceeding to the next phase of the installation process.
By meticulously following these steps and paying close attention to the alignment and stability of the door frame, you establish a solid foundation for the successful integration of the bathtub door into your bathroom space. This phase sets the stage for the final steps of attaching the door and completing the installation, ensuring that the door frame provides a secure and visually appealing enclosure for your bathtub area.
When putting a door in a bathtub, make sure to measure the space accurately and choose a door that fits properly. It’s also important to seal the edges to prevent water leakage.
Step 4: Attach the Door
With the door frame securely in place, the next crucial step in the installation process is attaching the door to complete the enclosure of the bathtub area. This phase requires precision, attention to detail, and the use of appropriate tools to ensure a seamless integration of the door with the frame. Here's a detailed breakdown of the essential tasks involved in this critical phase:
-
Select the Door: Begin by selecting a high-quality door specifically designed for bathtub enclosures. Consider factors such as the material, transparency, and opening mechanism to ensure that it aligns with your preferences and the overall aesthetic of your bathroom.
-
Position the Door: Carefully place the door into the installed frame, ensuring that it aligns perfectly and operates smoothly within the designated space. Check the vertical and horizontal alignment to ensure that the door is level and centered within the frame.
-
Secure the Hinges: If the door features hinges, carefully attach them to the frame using the provided hardware. Ensure that the hinges are securely fastened, allowing the door to open and close smoothly without any obstructions or misalignments.
-
Test the Operation: Once the door is attached, test its operation by opening and closing it multiple times. Verify that it moves smoothly and securely within the frame, without any signs of sticking or misalignment.
-
Install the Handles or Knobs: If the door includes handles or knobs, proceed to install them according to the manufacturer's instructions. Ensure that the handles are positioned ergonomically and provide a comfortable grip for effortless operation of the door.
-
Apply Waterproof Sealant: To reinforce the waterproofing of the enclosure, apply a bead of waterproof sealant along the edges where the door meets the frame. This additional layer of protection helps prevent water seepage and enhances the durability of the installation.
-
Check for Proper Alignment: Double-check the alignment and operation of the attached door, ensuring that it meets the necessary standards for a secure and functional enclosure. Make any necessary adjustments to ensure that the door operates smoothly and aligns perfectly within the frame.
By meticulously following these steps and ensuring the precise attachment of the door, you complete the enclosure of the bathtub area, providing a functional and visually appealing addition to your bathroom space. This phase marks the final steps of the installation process, bringing the project to fruition and allowing you to enjoy the benefits of a well-integrated bathtub door.
Read more: How Much Bleach To Put In Bathtub
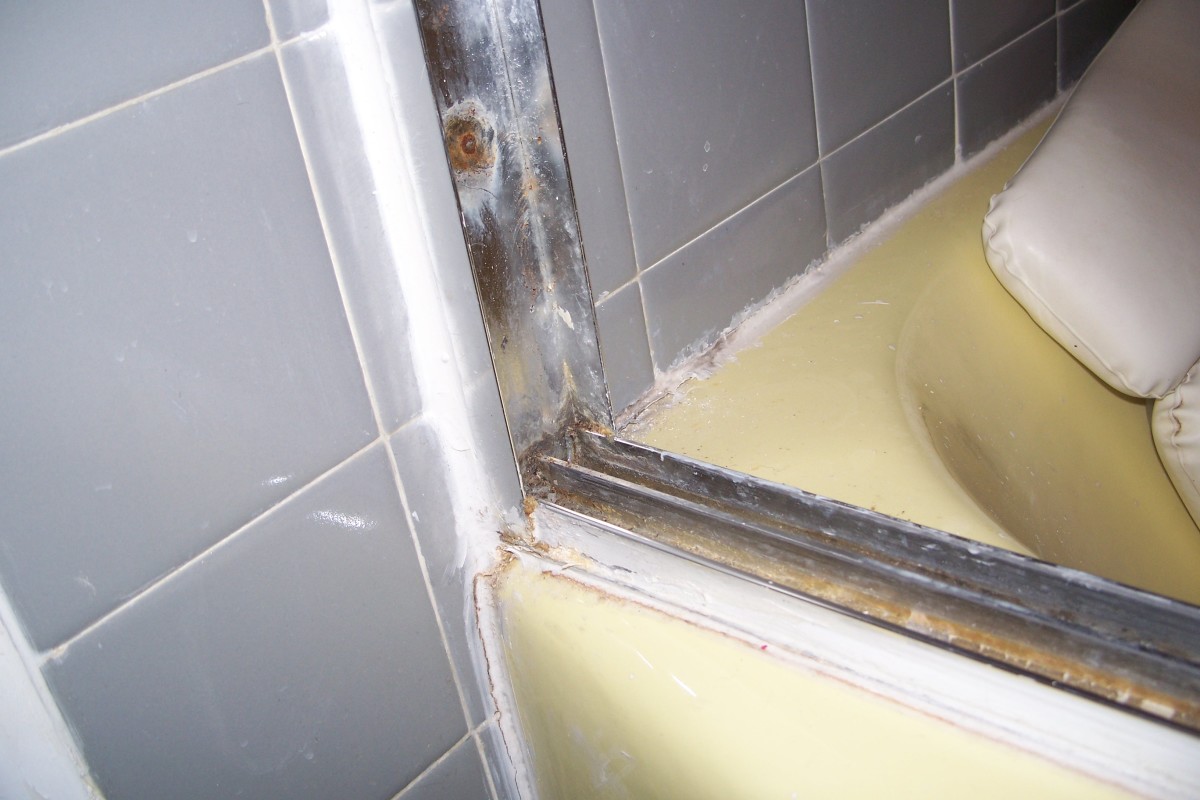
Step 5: Seal and Finish
The final step in installing a bathtub door involves sealing and finishing the enclosure to ensure optimal functionality, durability, and visual appeal. This phase focuses on enhancing the waterproofing of the installation, addressing any remaining gaps or seams, and adding finishing touches to create a polished and cohesive look. Here's a detailed breakdown of the essential tasks involved in this critical phase:
-
Apply Waterproof Sealant: Begin by applying a generous bead of waterproof sealant along the edges where the door frame meets the walls and the door meets the frame. This crucial step reinforces the waterproofing of the enclosure, preventing water seepage and minimizing the risk of moisture-related issues such as mold or mildew.
-
Check for Gaps: Inspect the entire perimeter of the door frame and the edges of the door to identify any remaining gaps or areas that require additional sealing. Address any gaps by applying sealant to ensure a tight and secure enclosure that effectively contains water during showering or bathing.
-
Smooth Sealant Application: Use a caulking tool or a damp cloth to smooth out the applied sealant, creating a neat and uniform finish along the edges of the door frame and the surrounding walls. This step not only enhances the effectiveness of the sealant but also contributes to the overall aesthetic appeal of the installation.
-
Clean and Polish: Once the sealant is applied and smoothed, clean any excess residue or smudges to achieve a clean and polished look. Wipe down the surfaces surrounding the bathtub door, ensuring that the area is free from any debris or sealant remnants that could detract from the visual appeal of the installation.
-
Inspect for Quality: Thoroughly inspect the sealed edges and the overall appearance of the bathtub door enclosure, ensuring that the sealant application is uniform, effective, and visually pleasing. Address any imperfections or inconsistencies to achieve a high-quality finish that enhances the overall aesthetic of your bathroom space.
By meticulously following these steps and paying close attention to the sealing and finishing process, you elevate the functionality and visual appeal of the bathtub door installation. This final phase ensures that the enclosure is effectively sealed, durable, and aesthetically pleasing, providing a seamless integration into your bathroom space and enhancing the overall bathing experience.
Conclusion
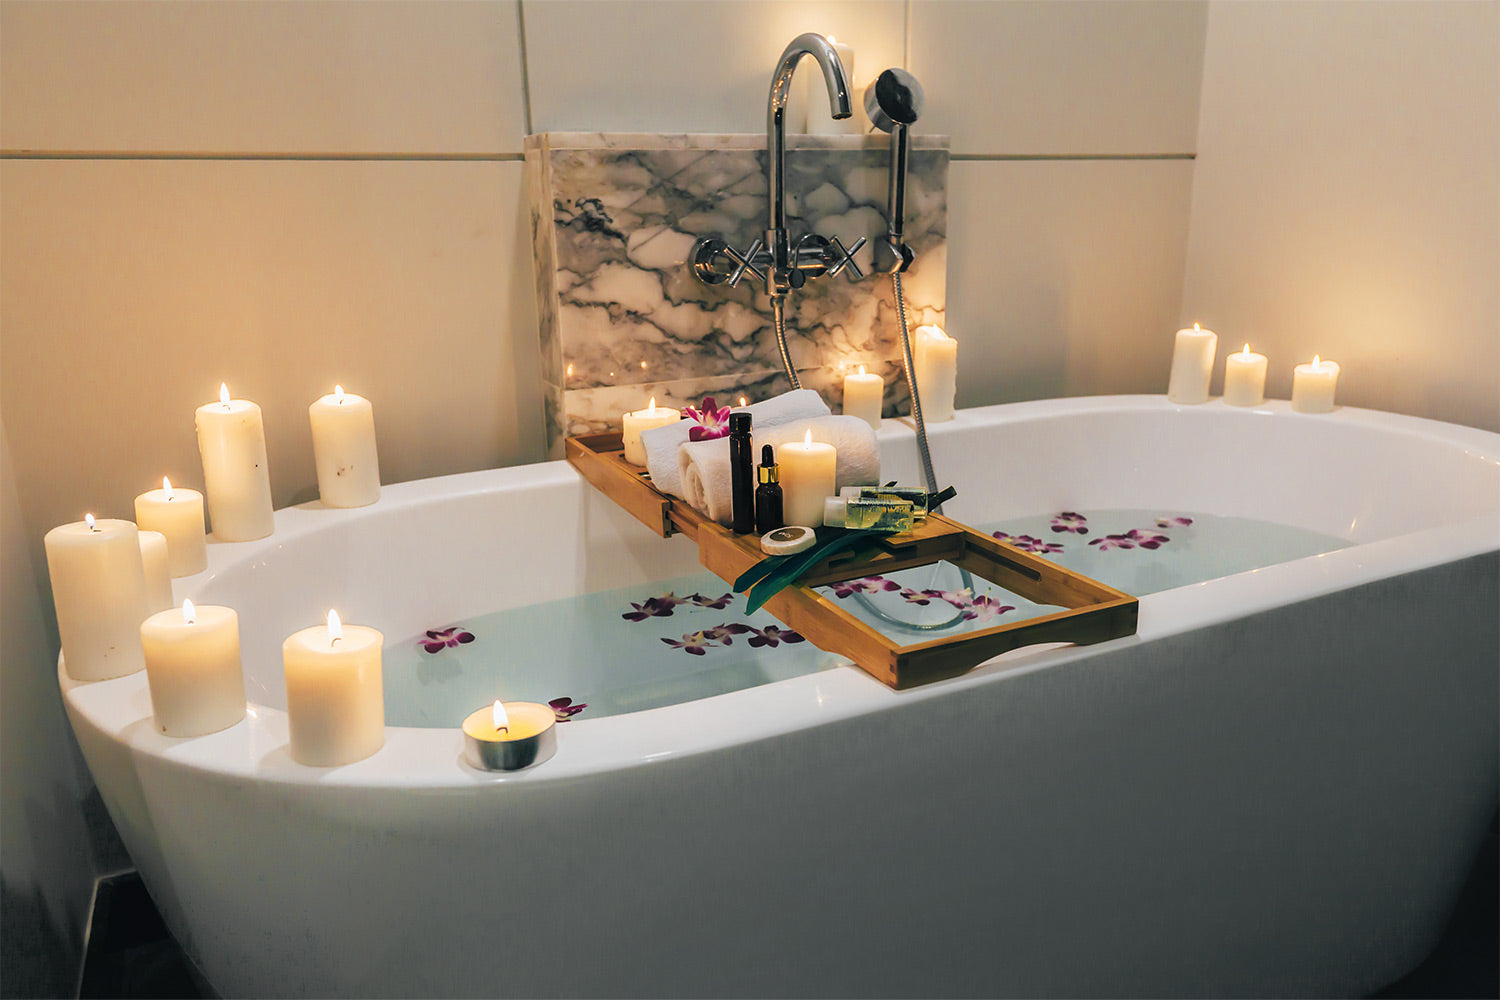
Congratulations on successfully completing the installation of a bathtub door! By following the comprehensive steps outlined in this guide, you have transformed your bathtub area into a more accessible, visually appealing, and functional space within your bathroom. The meticulous attention to detail, precision in measurements, and careful execution of each phase have culminated in the successful integration of the bathtub door, enhancing the overall aesthetic and practicality of your bathing environment.
As you admire the newly installed bathtub door, take pride in the craftsmanship and dedication that have contributed to this significant improvement in your bathroom. The addition of a door to your bathtub not only elevates the visual appeal of the space but also enhances its functionality, providing a more enclosed and convenient bathing experience. Whether you embarked on this project for personal enjoyment or as part of a broader home improvement endeavor, the results speak volumes about your commitment to creating a comfortable and stylish living environment.
The installation of a bathtub door represents a noteworthy achievement, showcasing your ability to tackle home improvement projects with confidence and skill. As you revel in the completed installation, take a moment to appreciate the transformative impact it has had on your bathroom. The seamless integration of the door frame, the precise attachment of the door, and the meticulous sealing and finishing work have collectively contributed to a cohesive and visually striking enclosure for your bathtub.
Moving forward, the newly installed bathtub door will serve as a focal point of your bathroom, offering both practical benefits and aesthetic appeal. The enclosed bathing space provides a sense of privacy and containment, allowing for a more relaxing and enjoyable bathing experience. Additionally, the waterproof sealant applied during the final phase ensures that the enclosure is well-protected against water seepage, contributing to the long-term durability and maintenance of the installation.
As you reflect on the journey of installing a bathtub door, remember the skills and knowledge gained throughout the process. Your ability to measure and mark with precision, cut the opening with care, install the door frame securely, and attach the door with finesse demonstrates a commendable level of proficiency in home improvement. These skills will undoubtedly serve you well in future projects and endeavors, empowering you to continue enhancing your living spaces with confidence and creativity.
In conclusion, the successful installation of a bathtub door represents a significant accomplishment, adding both practical and aesthetic value to your bathroom. Embrace the sense of achievement that comes with completing this project, and take pride in the positive impact it has made on your living environment. With the newfound elegance and functionality of your bathtub area, you can look forward to enjoying a more refined and comfortable bathing experience for years to come.
Frequently Asked Questions about How To Put A Door In A Bathtub
Was this page helpful?
At Storables.com, we guarantee accurate and reliable information. Our content, validated by Expert Board Contributors, is crafted following stringent Editorial Policies. We're committed to providing you with well-researched, expert-backed insights for all your informational needs.
0 thoughts on “How To Put A Door In A Bathtub”