Articles
How To Put Glass In A Cabinet Door
Modified: October 19, 2024
Learn how to enhance your interior design by adding glass to your cabinet doors. Discover step-by-step instructions for a stylish and modern update.
(Many of the links in this article redirect to a specific reviewed product. Your purchase of these products through affiliate links helps to generate commission for Storables.com, at no extra cost. Learn more)
Introduction
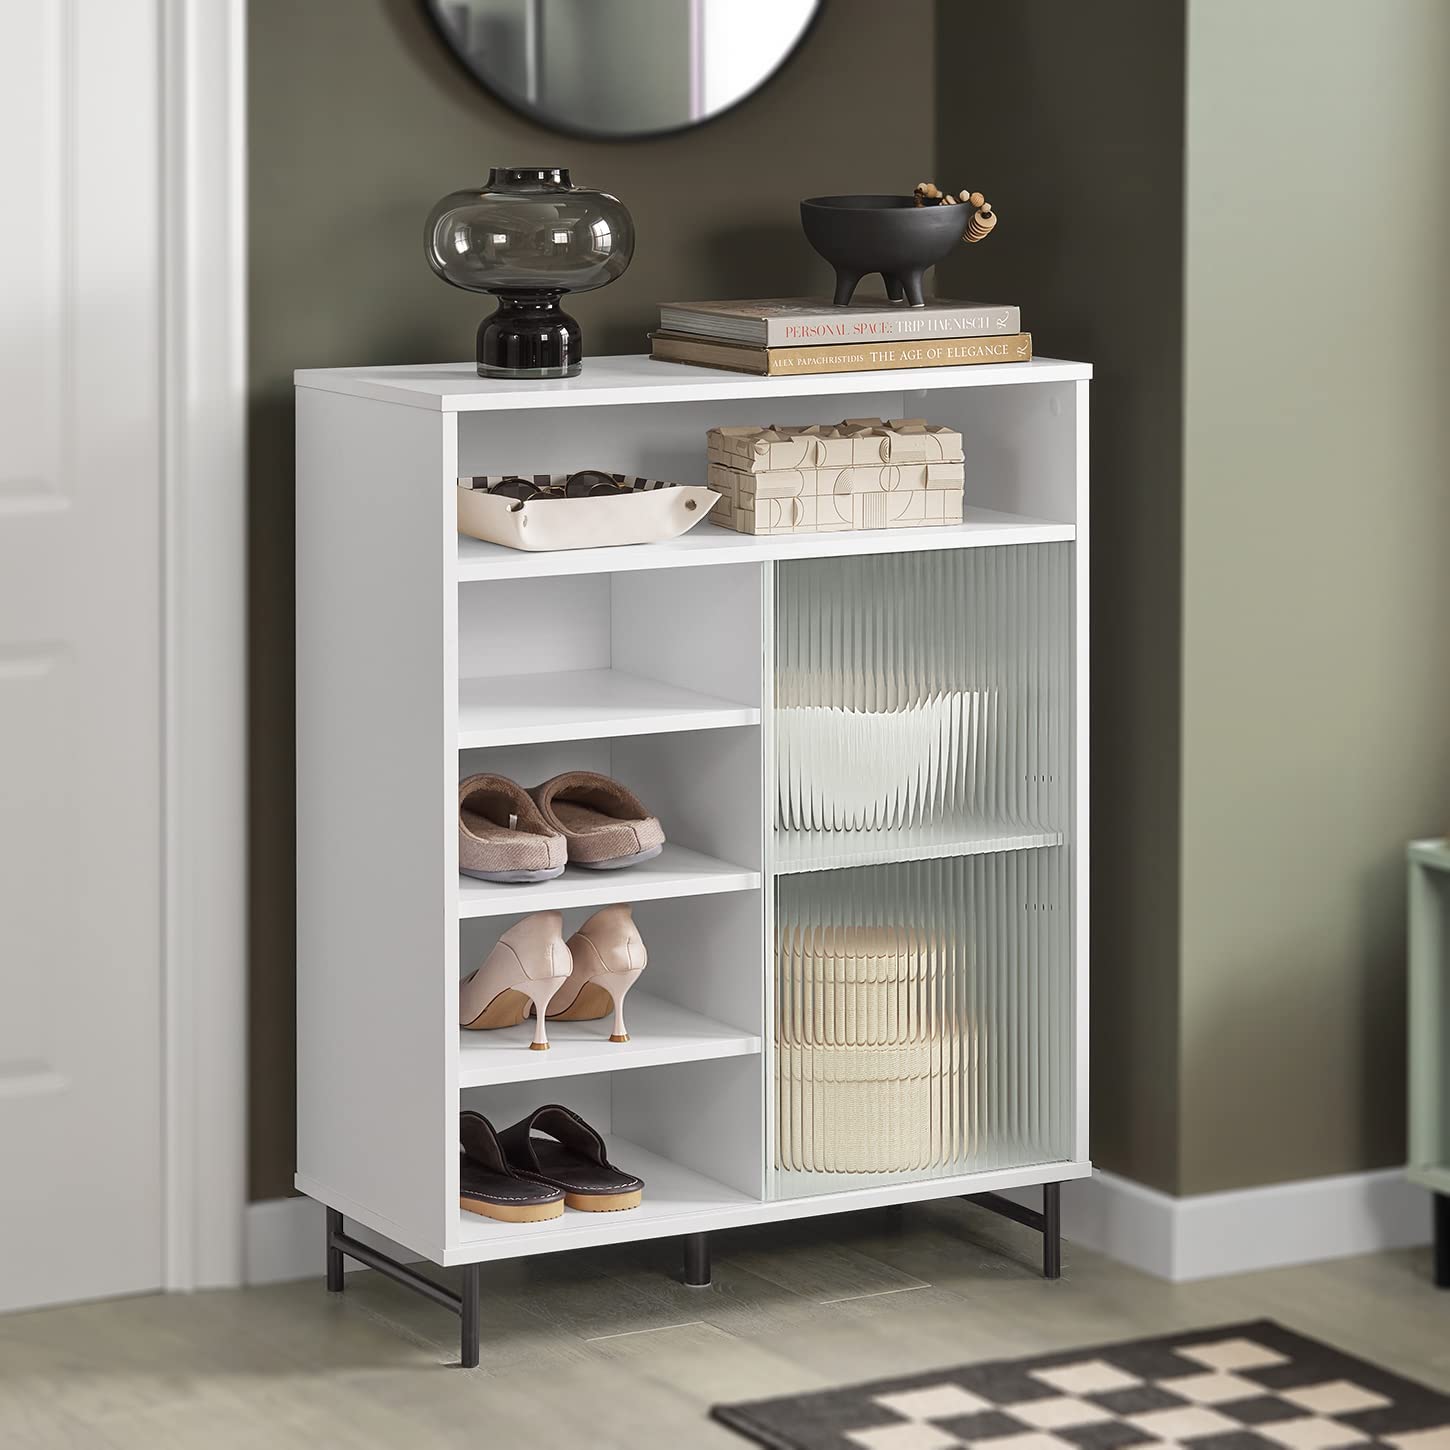
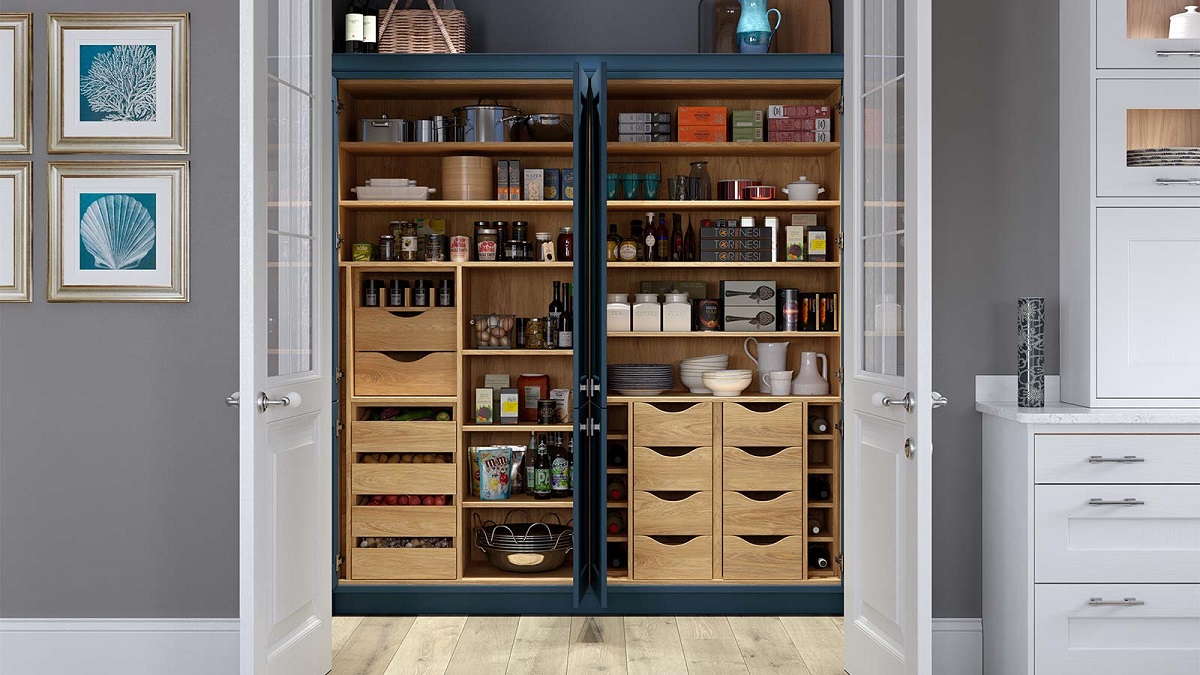
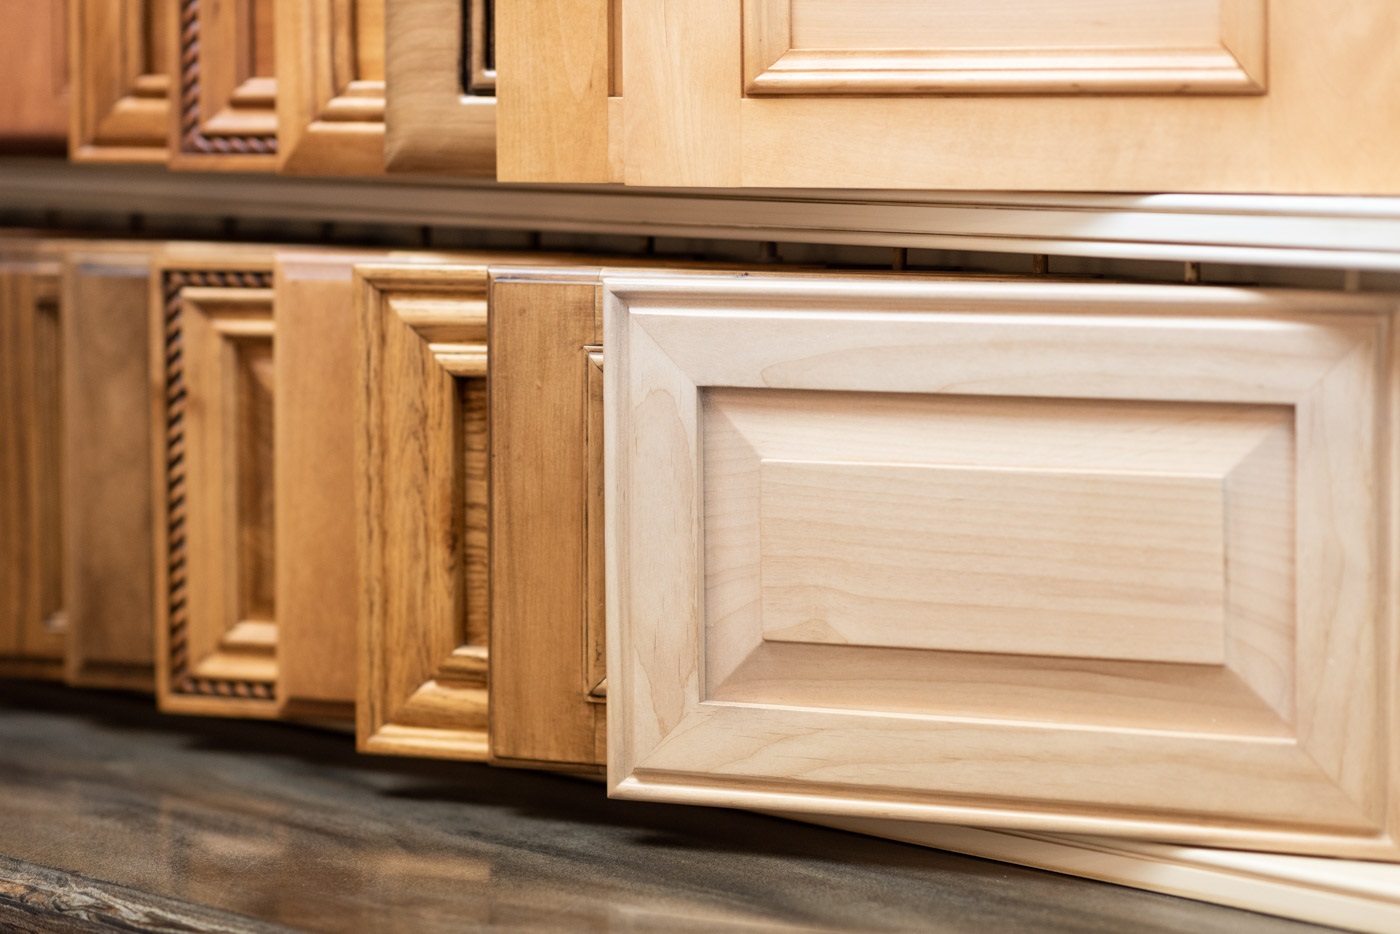
Welcome to our comprehensive guide on how to put glass in a cabinet door. Upgrading your cabinets with glass doors not only adds a touch of elegance to your space but also allows you to showcase your collection of dishes, glassware, or decorative items. While it may sound like a daunting task, with the right tools and step-by-step instructions, you can easily tackle this DIY project and transform your cabinets.
In this article, we will walk you through the necessary tools and materials you will need, as well as the step-by-step process to successfully install glass in your cabinet doors. So let’s get started and bring a fresh new look to your kitchen or any other area in your home.
Key Takeaways:
- Upgrade your cabinets with glass doors to showcase your collection and add elegance to your space. Follow the step-by-step guide for a DIY transformation.
- Ensure safety, precision, and attention to detail when installing glass in cabinet doors for a stunning and functional upgrade to your living space.
Read more: How To Put Glass In Cabinet Doors
Tools and Materials Needed
Before you begin the process of installing glass in your cabinet doors, make sure you have the following tools and materials on hand:
- Gloves
- Safety goggles
- Tape measure
- Glass cutter
- Putty knife
- Caulk gun
- Clear silicone adhesive
- Screwdriver
- Clamps
- Painter’s tape
- Drop cloth or newspaper
- Soft cloth or rag
- Replacement glass panels (measurements specific to your cabinet doors)
Having these tools and materials readily available will ensure a smooth and efficient installation process.
Step 1: Removing the Old Glass
The first step in putting glass in a cabinet door is to remove the old glass, if there is any. Follow these instructions:
- Put on your gloves and safety goggles to protect yourself from any potential injuries.
- Carefully examine the cabinet door to determine how the glass is held in place. It could be secured with screws, clips, or adhesive.
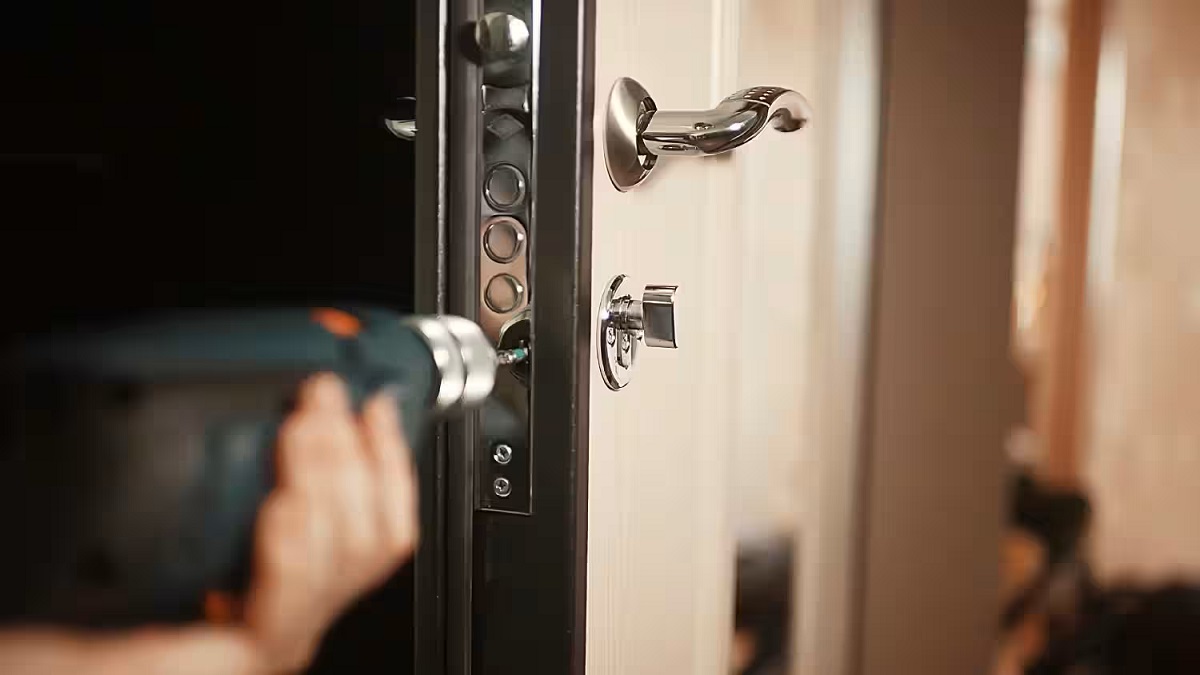
- If the glass is held in place with screws, use a screwdriver to remove them. Be sure to keep the screws in a safe place for later use.
- If the glass is held in place with clips or adhesive, use a putty knife to gently pry the glass away from the door frame. Start at one corner and work your way around the edges, taking care not to damage the door or the glass.
- Once the glass is completely detached from the door, set it aside in a safe location or dispose of it properly.
By following these steps, you can safely remove the old glass from your cabinet door, making way for the new glass insert.
Step 2: Preparing the Cabinet Door
With the old glass removed, it’s time to prepare the cabinet door for the new glass. Follow these steps:
- Lay a drop cloth or newspaper on a flat surface to protect the cabinet door from any potential damage during the preparation process.
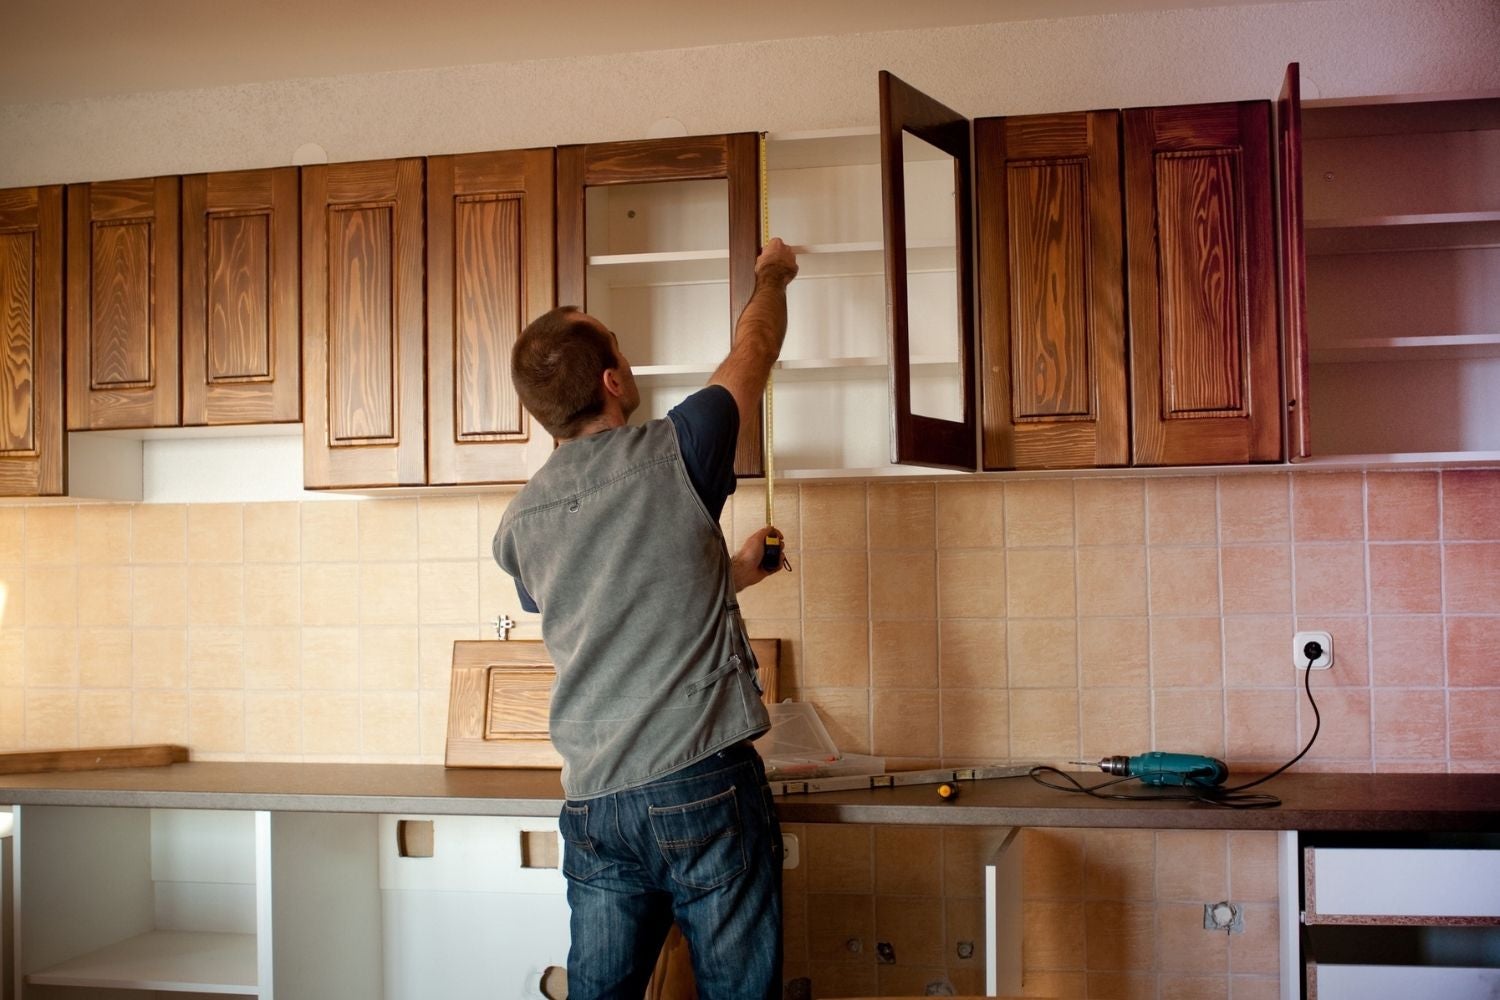
- Using a tape measure, carefully measure the dimensions of the opening where the glass will be inserted. Take accurate measurements to ensure a proper fit.
- If necessary, sand down any rough edges or splinters on the cabinet door. This will help create a smooth surface for the new glass.
- Wipe down the cabinet door with a soft cloth or rag to remove any dust, debris, or residue. A clean surface will ensure a strong bond between the glass and the door.
- Apply painter’s tape along the edges of the cabinet door. This will help protect the surface from any accidental adhesive spills during the glass installation process.
By properly preparing the cabinet door, you will ensure that the new glass fits securely and looks flawless once installed.
Step 3: Measuring and Cutting the Glass
Accurate measurements are crucial when it comes to installing glass in a cabinet door. Follow these steps to measure and cut the glass:
- Carefully measure the dimensions of the opening on the cabinet door. Use a tape measure and take note of both the width and height.
- Transfer the measurements to the replacement glass panel. Mark the dimensions using a grease pencil or a marker specifically designed for glass.
- Using a glass cutter, score along the marked lines. Apply even pressure and make a smooth, continuous motion along the entire length of the cut.
- Once the glass is scored, carefully snap it along the scored line. Hold the glass firmly at each end and apply gentle pressure to break it cleanly.
- If there are any rough edges or sharp corners on the cut glass, use a sanding block or file to smooth them out. This will ensure a safe and polished finish.
Remember, precision is key when measuring and cutting the glass. Take your time and double-check your measurements to ensure a perfect fit for the cabinet door.
When putting glass in a cabinet door, use a silicone adhesive to secure the glass in place. Make sure to measure and cut the glass to fit the door before applying the adhesive.
Read more: How To Hold Glass In Cabinet Door
Step 4: Applying Adhesive
Once you have the glass cut to the correct size, it’s time to apply adhesive to secure it in place. Follow these steps to properly apply the adhesive:
- Remove the painter’s tape from the edges of the cabinet door, taking care not to disturb the measurements.
- Insert a tube of clear silicone adhesive into a caulk gun, following the manufacturer’s instructions.
- Apply a thin, even bead of adhesive along the edges of the cabinet door opening. Make sure to leave a small gap between the adhesive and the inner edge of the door to allow for expansion and contraction.
- For larger glass panels, consider applying additional dots or lines of adhesive in the center of the door for added support.
- Once the adhesive is applied, quickly but carefully place the cut glass onto the adhesive, aligning it with the edges of the opening. Press firmly to ensure good adhesion.
It’s important to work efficiently when applying the adhesive to prevent it from drying before the glass is positioned. Be cautious not to smudge or leave fingerprints on the glass during this step.
With the adhesive applied and the glass in place, you can now move on to securing the glass in the cabinet door.
Step 5: Placing the Glass in the Cabinet Door
Now that you have applied the adhesive, it’s time to carefully place the glass into the cabinet door. Follow these steps:
- Make sure the glass is properly aligned with the edges of the cabinet door opening.
- Gently guide the glass into the opening, taking care not to disturb the adhesive or apply excessive pressure.
- Ensure that the glass is centered and level within the door. You can use a tape measure or a spirit level to double-check the alignment.
- If the glass appears to be slightly larger than the opening, you can gently press on the edges of the glass to compress the adhesive and create a snug fit.
- Be cautious not to apply too much pressure, as it may cause the glass to crack or the adhesive to squeeze out excessively.
By following these steps, you will properly place the glass in the cabinet door, ensuring a secure and visually appealing installation.
Step 6: Securing the Glass
After placing the glass in the cabinet door, it’s important to properly secure it to ensure it remains in place. Follow these steps:
- Place clamps along the edges of the cabinet door to hold the glass firmly in position. Ensure that the clamps are not overly tight, as excessive pressure can crack the glass.
- Check the alignment of the glass once again to ensure it remains centered and level. Make any necessary adjustments before proceeding.
- Allow the adhesive to cure and set as per the manufacturer’s instructions. This usually takes around 24 hours, but check the adhesive packaging for specific guidelines.
- Once the adhesive has fully cured, carefully remove the clamps from the edges of the cabinet door.
- Inspect the glass for any signs of movement or instability. If necessary, apply additional adhesive along the edges to reinforce the bond.
By securing the glass properly, you can ensure that it remains stable and in place for years to come, providing both functionality and aesthetic appeal to your cabinet doors.
Step 7: Cleaning and Finishing Touches
With the glass securely in place, it’s time to give your newly installed cabinet door a final clean and add some finishing touches. Follow these steps:
- Using a soft cloth or rag, carefully wipe away any excess adhesive that may have squeezed out from the edges during the installation process.
- Inspect the glass for any smudges, fingerprints, or streaks. Clean the glass using a glass cleaner or a mixture of vinegar and water to ensure a crystal-clear finish.
- Remove any remaining painter’s tape from the edges of the cabinet door, taking care not to damage the glass or the door surface.
- Double-check the alignment and overall appearance of the cabinet door. Make any necessary adjustments or touch-ups to ensure a polished and professional look.
- Finally, stand back and admire your newly installed glass cabinet door. Take a moment to appreciate the enhanced aesthetics and functionality it brings to your living space.
By cleaning the glass and adding these finishing touches, you’ll create a beautiful and inviting cabinet door that will be the envy of your friends and family.
Read more: How To Make A Glass Cabinet Door
Conclusion
Congratulations! You have successfully learned how to put glass in a cabinet door. By following the step-by-step instructions and using the right tools and materials, you have transformed your cabinet doors into stylish and functional pieces that will elevate the overall look of your space.
Remember, safety is paramount throughout the process. Always wear protective gear such as gloves and safety goggles when handling glass and using tools.
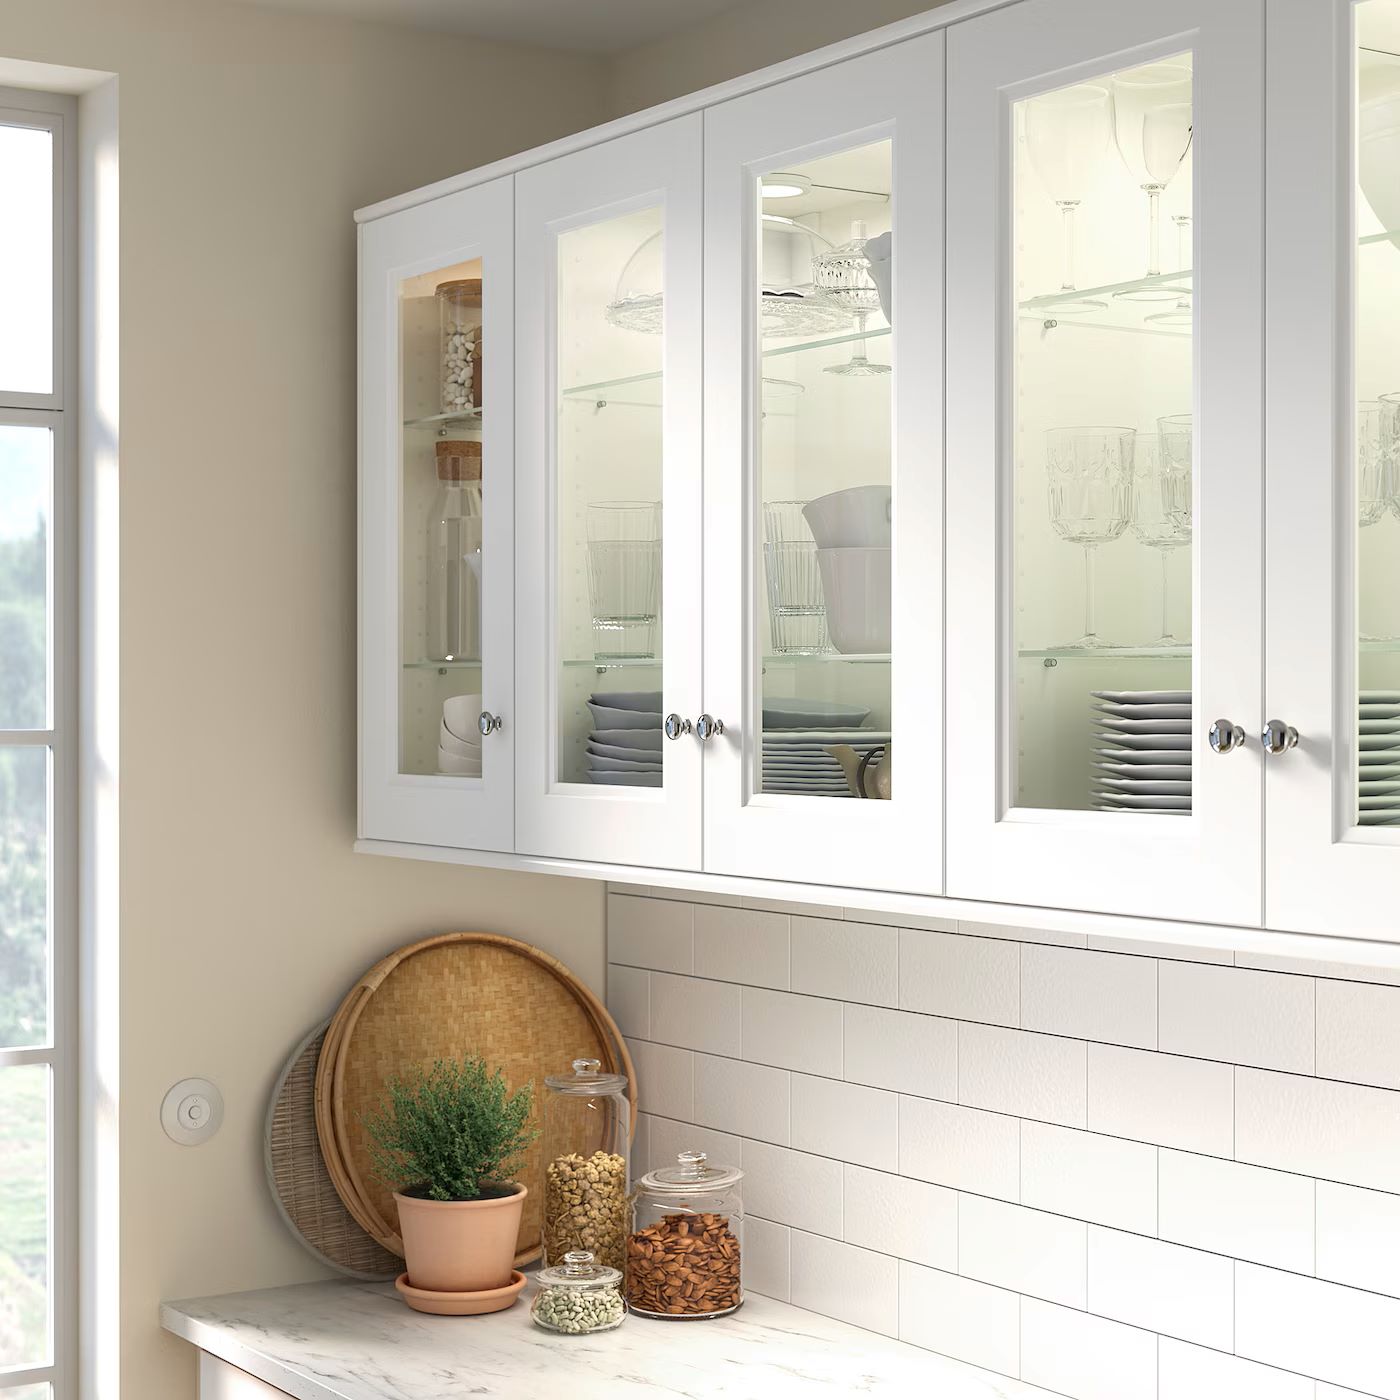
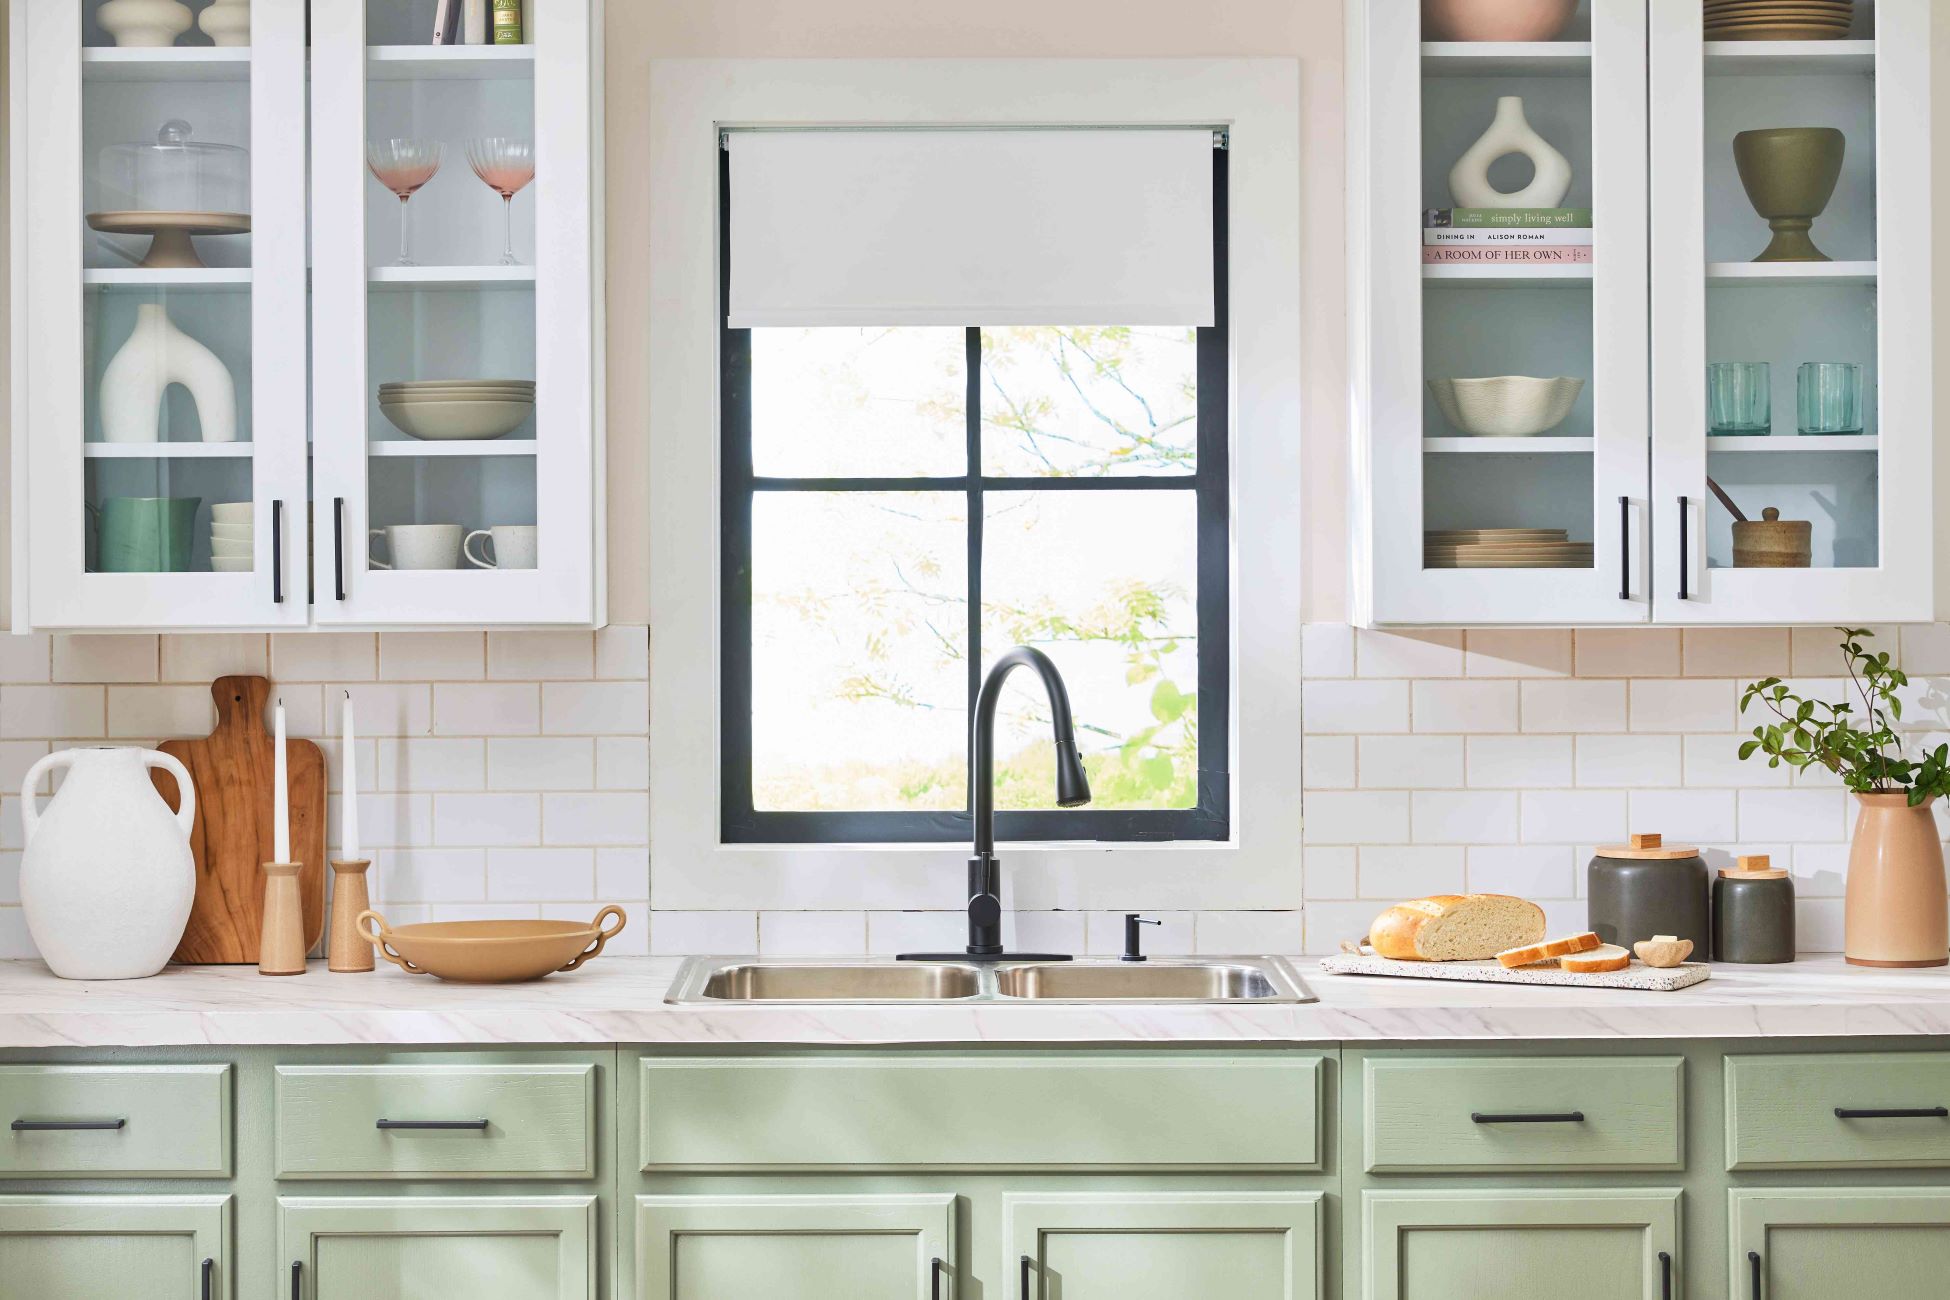
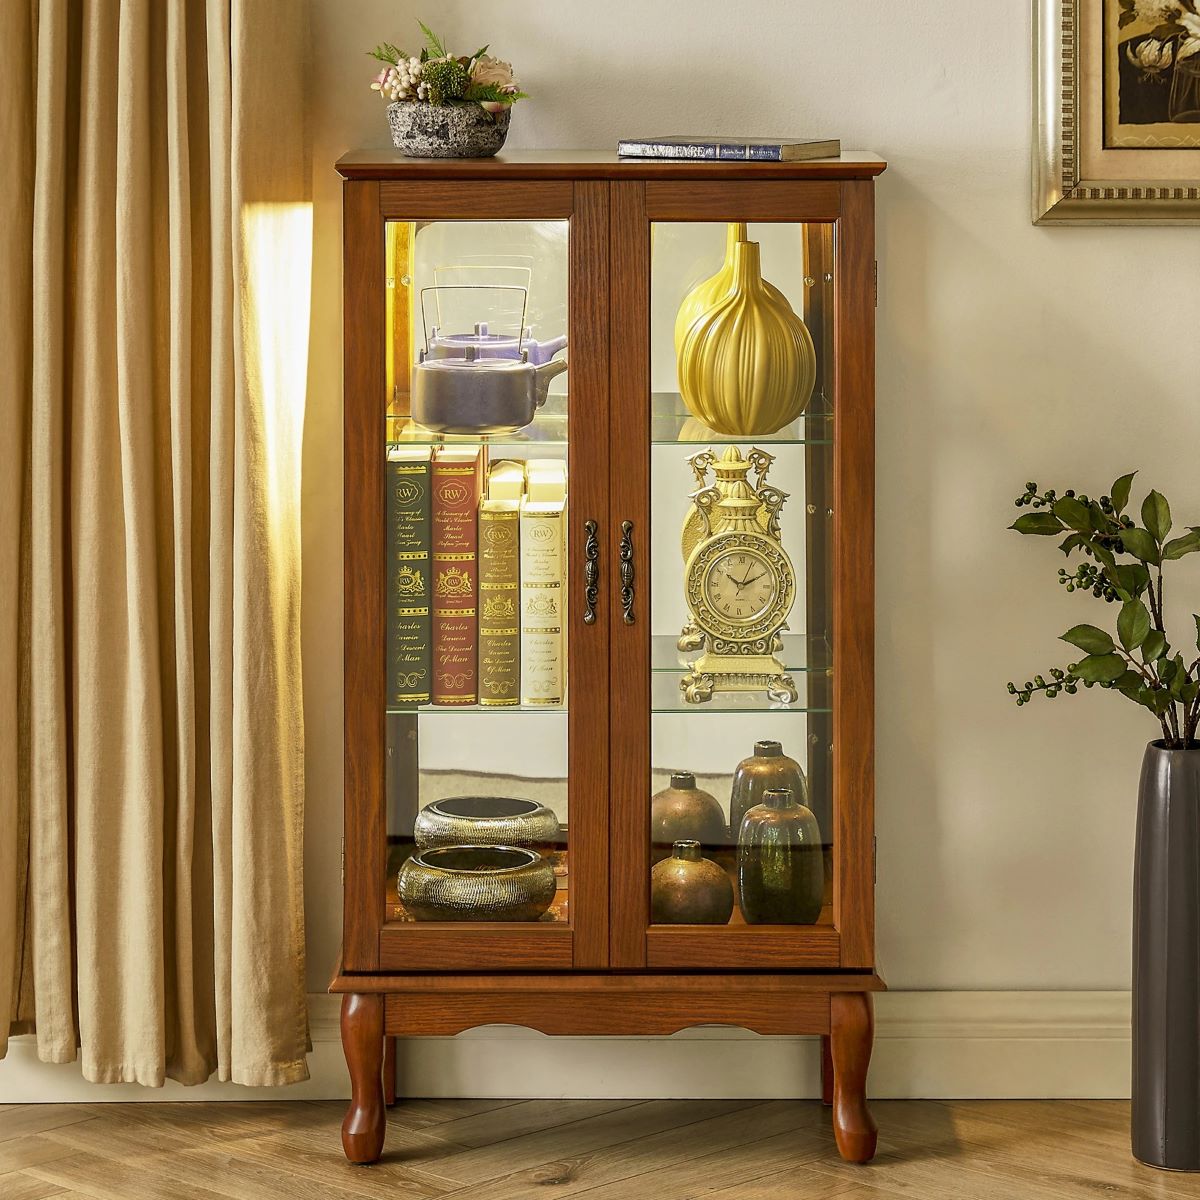
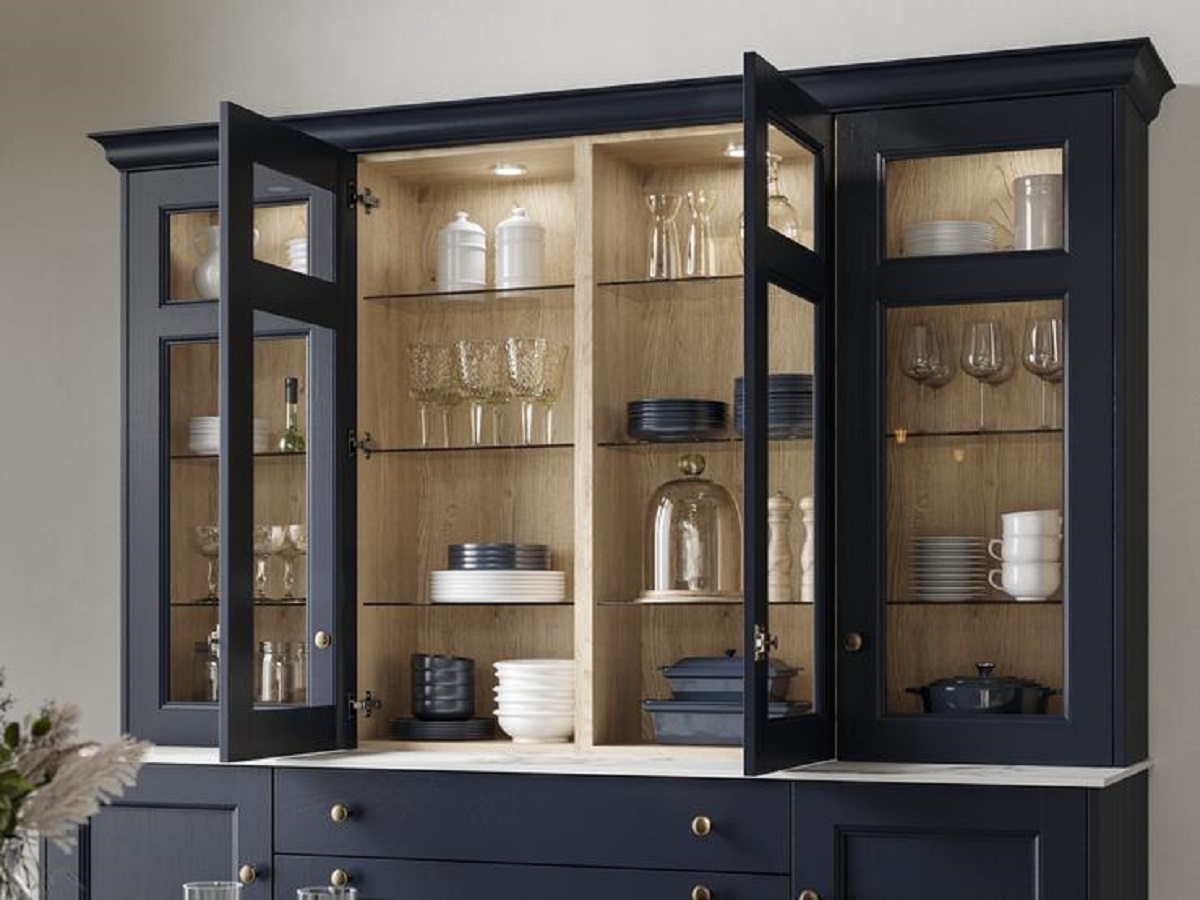
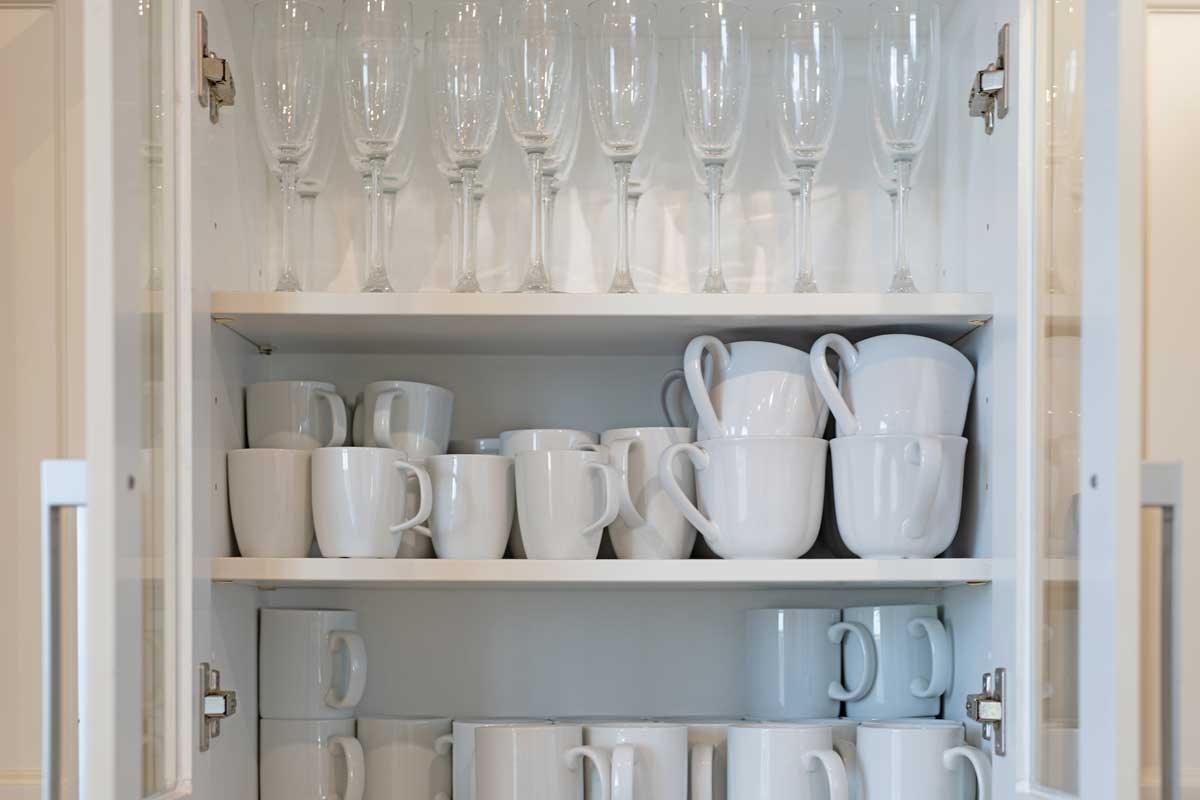
Whether you choose to showcase your collection of dishes, glassware, or decorative items, the addition of glass inserts in your cabinet doors offers a beautiful way to display and enhance the visual appeal of your kitchen or any other area in your home.
Keep in mind that proper measurement and precision are crucial for a successful installation. Take your time, follow the instructions carefully, and measure accurately to ensure the perfect fit for your glass inserts.
With a little patience and attention to detail, you can create a stunning transformation in your living space. Enjoy the beauty and functionality of your newly installed glass cabinet doors!
Frequently Asked Questions about How To Put Glass In A Cabinet Door
Was this page helpful?
At Storables.com, we guarantee accurate and reliable information. Our content, validated by Expert Board Contributors, is crafted following stringent Editorial Policies. We're committed to providing you with well-researched, expert-backed insights for all your informational needs.


0 thoughts on “How To Put Glass In A Cabinet Door”