Home>Furniture & Design>Bathroom Accessories>How To Replace A Bathtub Spout Shower Diverter
Bathroom Accessories
How To Replace A Bathtub Spout Shower Diverter
Modified: August 28, 2024
Learn how to replace a bathtub spout shower diverter easily with our step-by-step guide. Find the best bathroom accessories for your needs.
(Many of the links in this article redirect to a specific reviewed product. Your purchase of these products through affiliate links helps to generate commission for Storables.com, at no extra cost. Learn more)
Introduction
Replacing a bathtub spout shower diverter can be a straightforward and rewarding DIY project that enhances the functionality and aesthetics of your bathroom. Over time, bathtub spouts can become worn, corroded, or simply outdated, leading to issues with water flow and overall appearance. By taking on this task, you can revitalize your bathing space and ensure a smooth transition between filling the tub and diverting water to the showerhead.
Whether you're a seasoned DIY enthusiast or a novice looking to expand your home improvement skills, this guide will walk you through the process of replacing a bathtub spout shower diverter with clear, step-by-step instructions. With the right tools, materials, and a bit of patience, you can successfully complete this project and enjoy the satisfaction of a job well done.
In the following sections, we will cover the essential steps for replacing a bathtub spout shower diverter, from gathering the necessary tools and materials to testing the new installation. By following these instructions, you can ensure a seamless transition from the old spout to the new one, allowing you to enjoy a rejuvenated bathing experience.
So, roll up your sleeves, gather your tools, and let's dive into the process of replacing your bathtub spout shower diverter. With a little effort and attention to detail, you can transform your bathroom and take pride in knowing that you've tackled this home improvement project with confidence. Let's get started!
Key Takeaways:
- Upgrade your bathroom by replacing the old bathtub spout with a new one to enhance functionality and aesthetics. Follow the steps to confidently tackle this rewarding DIY project and enjoy a revitalized bathing experience.
- Gather the necessary tools and materials, remove the old spout, install the new one, and thoroughly test its functionality to ensure a seamless transition between filling the tub and diverting water to the showerhead.
Read more: Bathtub Spout Leaking When Shower Is On
Step 1: Gather necessary tools and materials
Before embarking on the task of replacing a bathtub spout shower diverter, it's essential to gather the necessary tools and materials to ensure a smooth and efficient process. Here's a comprehensive list of items you'll need for this project:
Tools:
- Adjustable Wrench: This versatile tool will be essential for loosening and tightening various components during the installation process.
- Pipe Wrench: A pipe wrench is crucial for securely gripping and turning the pipe fittings without causing damage.
- Plumber's Tape: Also known as Teflon tape, this thin, white tape is used to seal pipe threads, preventing leaks in the plumbing connections.
- Screwdriver: Depending on the type of fasteners used, a flathead or Phillips screwdriver may be required for removing the old spout and installing the new one.
- Utility Knife: A sharp utility knife will come in handy for cutting and removing any old caulking or sealant around the existing spout.
- Tubing Cutter: If you need to trim or adjust the length of the pipe, a tubing cutter will enable precise and clean cuts.
Materials:
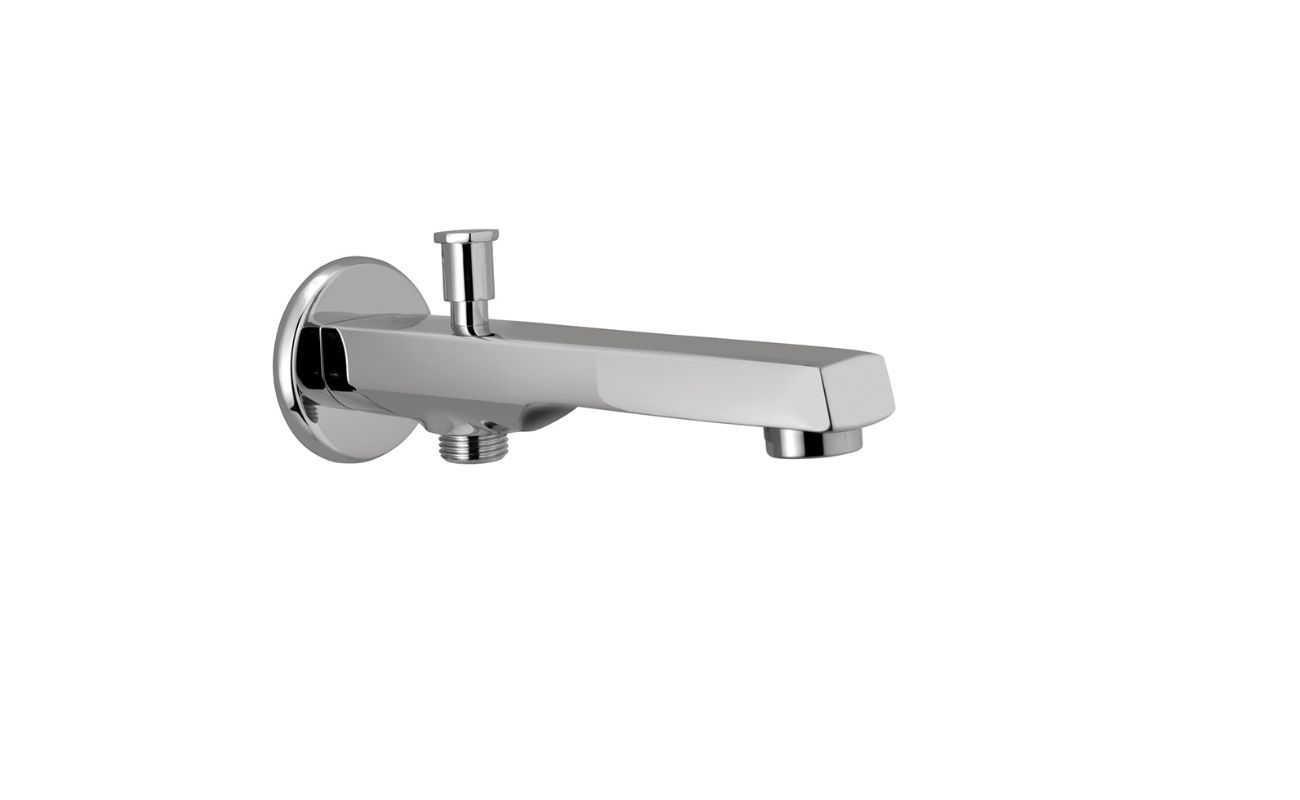
- New Bathtub Spout Shower Diverter: Select a high-quality bathtub spout shower diverter that matches the existing plumbing and complements the overall design of your bathroom.
- Plumber's Putty or Caulk: Depending on the type of spout and the surrounding wall material, you may need plumber's putty or caulk to create a watertight seal around the new spout.
- Replacement Pipe Fittings: If the existing pipe fittings are damaged or incompatible with the new spout, you may need to purchase suitable replacements to ensure a proper fit.
- Safety Glasses and Gloves: It's important to prioritize safety during any plumbing project. Wear protective glasses and gloves to shield your eyes and hands from debris and sharp edges.
By gathering these tools and materials before starting the project, you'll be well-prepared to tackle each step of the bathtub spout shower diverter replacement with confidence and precision. With everything in hand, you can proceed to the next phase of removing the old spout and preparing for the installation of the new one.
Step 2: Remove the old bathtub spout
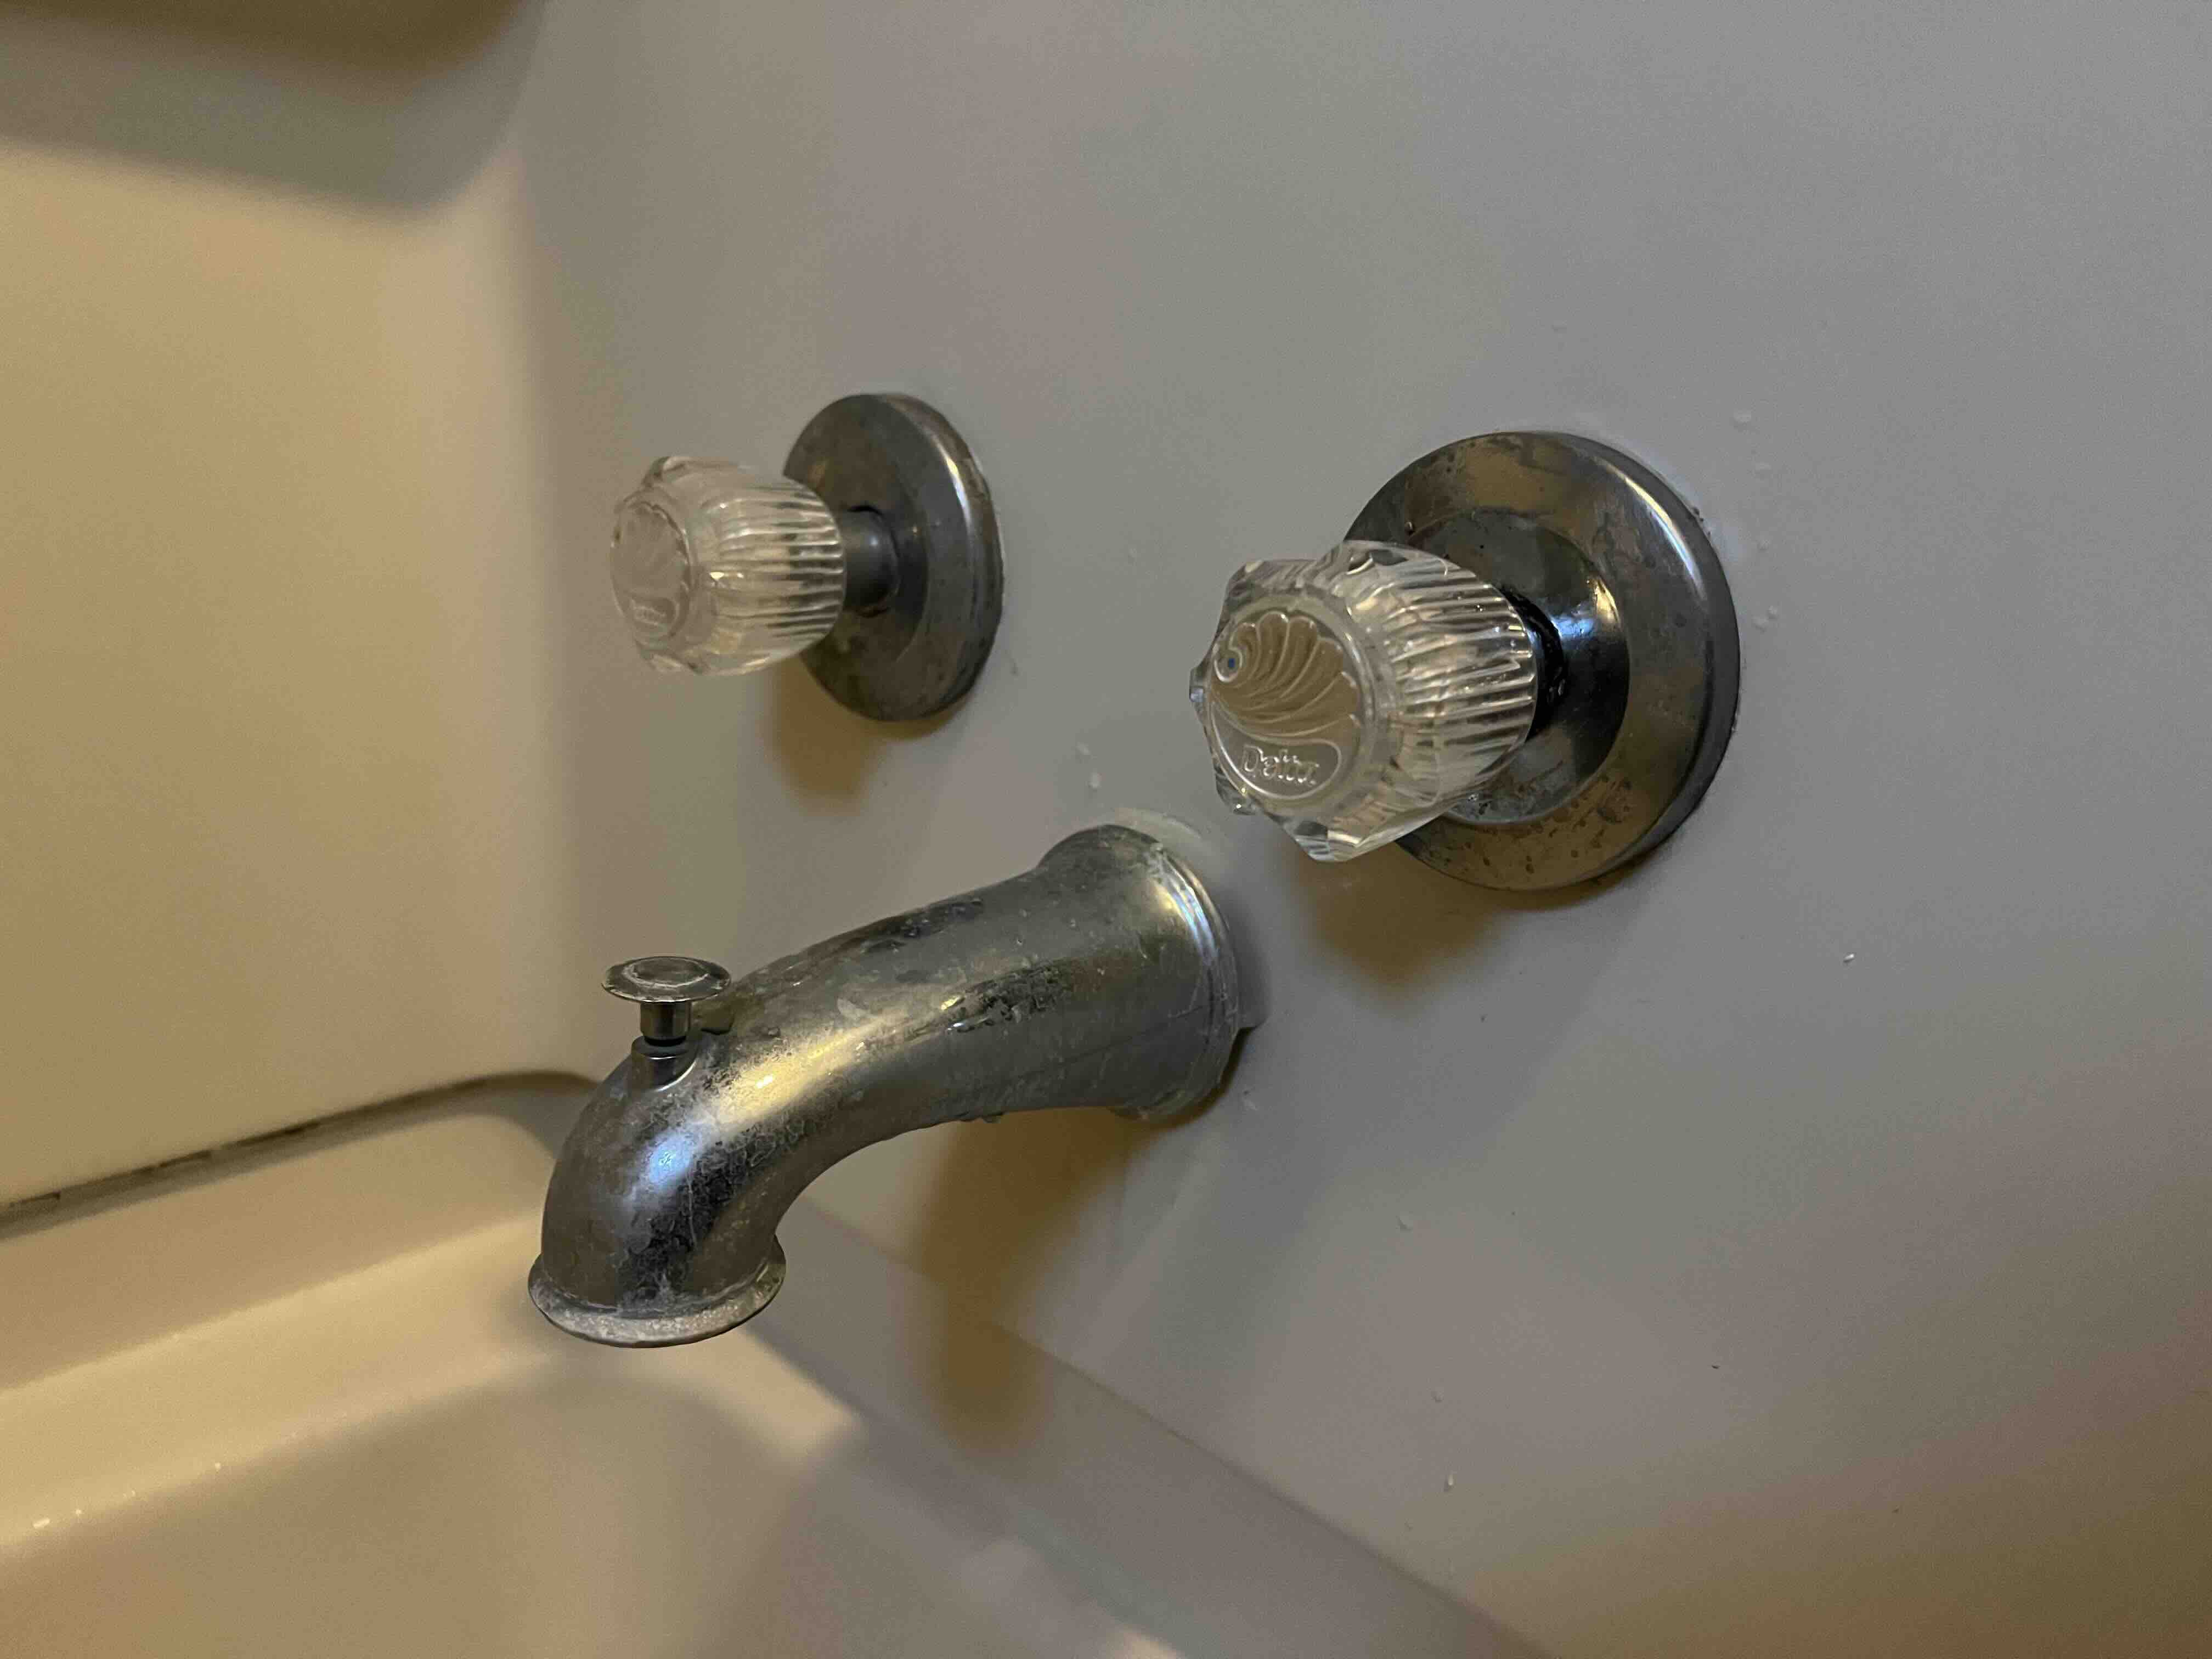
Removing the old bathtub spout is a crucial step in the process of replacing the bathtub spout shower diverter. Before beginning this task, it's important to turn off the water supply to the bathtub to prevent any accidental leaks or water flow during the removal process. Once the water supply is shut off, you can proceed with the following steps to remove the old bathtub spout:
-
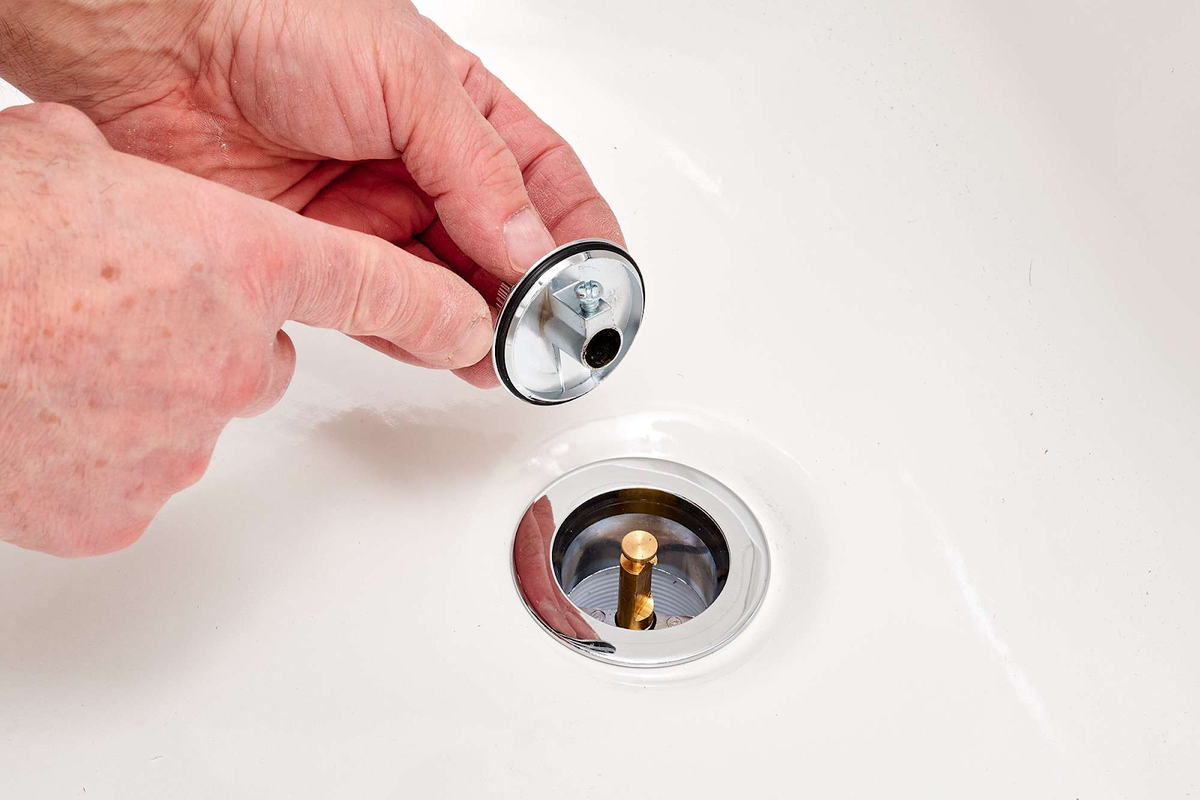
Locate the Set Screw: Many bathtub spouts are secured in place with a set screw located near the base of the spout. Using a screwdriver, carefully locate and remove the set screw to release the spout from the pipe.
-
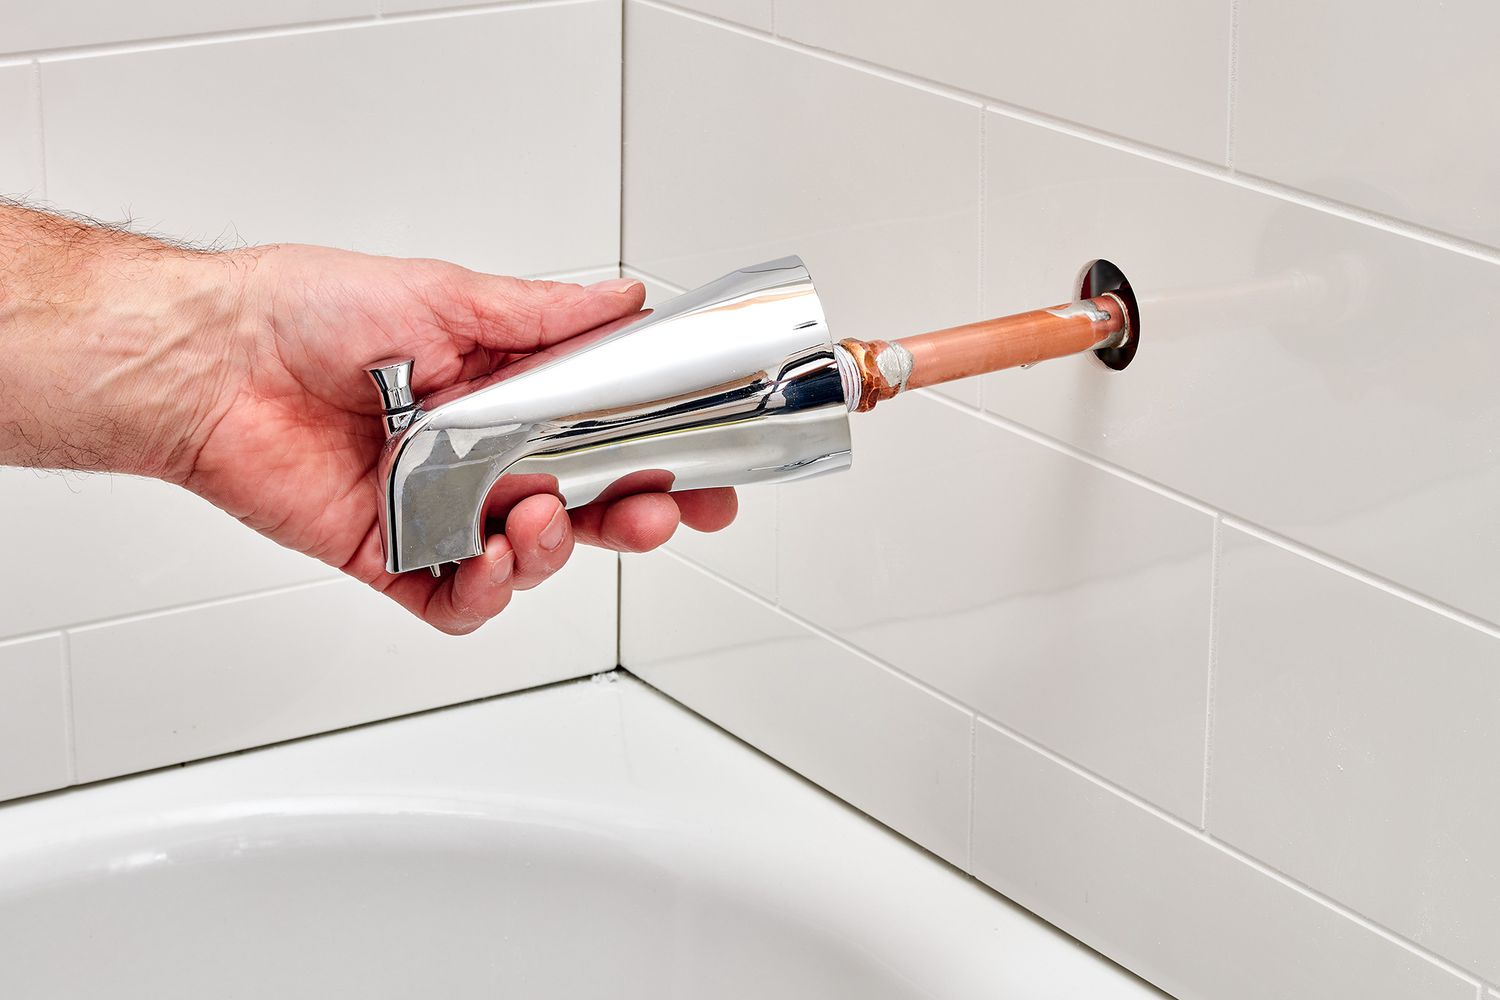
Twist and Unscrew: With the set screw removed, you can begin twisting and unscrewing the old spout in a counterclockwise direction. Depending on the type of spout, it may be threaded onto the pipe or secured with a locking mechanism. Use an adjustable wrench or pipe wrench to carefully loosen and remove the old spout from the pipe.
-
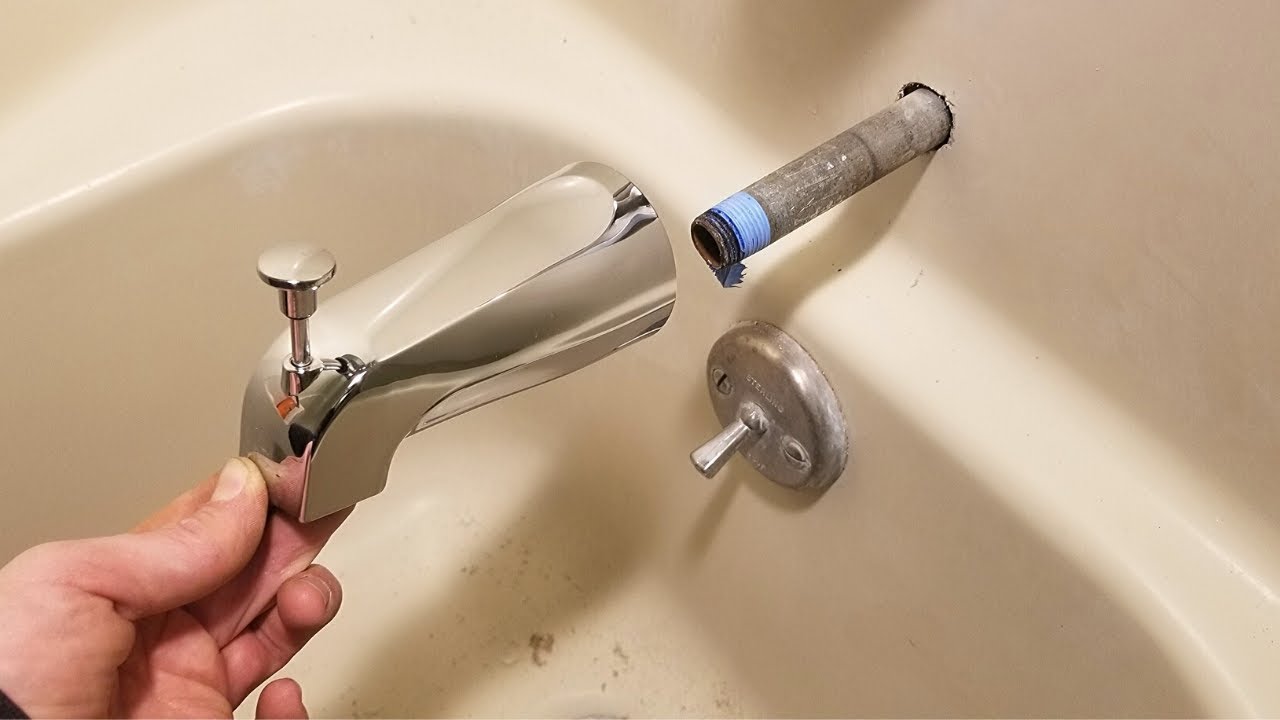
Inspect the Pipe Fittings: Once the old spout is removed, take a moment to inspect the pipe fittings and surrounding area for any signs of damage, corrosion, or buildup. If necessary, clean the pipe threads and fittings to ensure a smooth and secure connection for the new spout.
-
Remove Residual Caulk or Sealant: In some cases, the old spout may have been sealed with caulk or plumber's putty. Use a utility knife or putty knife to carefully remove any residual caulk or sealant from the wall surface and pipe threads. This will prepare the area for the installation of the new bathtub spout shower diverter.
By following these steps, you can effectively remove the old bathtub spout and prepare the plumbing for the installation of the new spout. With the old spout removed and the area cleaned and inspected, you're now ready to move on to the next phase of the project: installing the new bathtub spout shower diverter.
Read more: How To Replace A Bathtub Shower
Step 3: Install the new bathtub spout
With the old bathtub spout successfully removed and the plumbing fittings inspected and cleaned, you are now ready to install the new bathtub spout shower diverter. This phase of the project involves securing the new spout onto the pipe, ensuring a proper fit, and creating a watertight seal to prevent leaks. Follow these detailed steps to install the new bathtub spout with precision and confidence:
-
Prepare the Pipe Threads: Before installing the new spout, it's essential to prepare the pipe threads to ensure a secure and leak-free connection. Apply plumber's tape (Teflon tape) to the threads of the pipe in a clockwise direction. This will help create a tight seal when the new spout is attached.
-
Position the New Spout: Carefully position the new bathtub spout shower diverter over the end of the pipe, aligning it with the wall surface. If the spout is threaded, begin by hand-tightening it onto the pipe in a clockwise direction. Use an adjustable wrench or pipe wrench to further tighten the spout, ensuring a snug fit without over-tightening.
-
Create a Watertight Seal: Depending on the type of spout and the surrounding wall material, you may need to create a watertight seal to prevent leaks. If the spout requires a sealant, apply plumber's putty or silicone caulk to the base of the spout before securing it in place. This will help seal any gaps between the spout and the wall, enhancing the overall integrity of the installation.
-
Check for Proper Alignment: Once the new spout is securely in place, visually inspect it to ensure proper alignment with the bathtub and surrounding fixtures. The spout should be level and centered, enhancing both its functionality and aesthetic appeal within the bathroom space.
-
Test the Diverter Function: With the new spout installed, turn on the water supply to the bathtub and test the diverter function. Verify that the water flow can be smoothly transitioned between filling the tub and diverting water to the showerhead. This step ensures that the new spout is fully operational and effectively serves its intended purpose.
By following these detailed steps, you can successfully install the new bathtub spout shower diverter, completing the essential phase of the replacement process. With the new spout securely in place and functioning as intended, you're one step closer to enjoying an upgraded and rejuvenated bathing experience in your newly improved bathroom.
When replacing a bathtub spout shower diverter, make sure to turn off the water supply to the bathtub before starting. Use a pipe wrench to unscrew the old spout and apply plumber’s tape to the threads of the new spout before installing.
Step 4: Test the new bathtub spout
After successfully installing the new bathtub spout shower diverter, it's crucial to perform a thorough test to ensure that the functionality and performance meet expectations. Testing the new spout allows you to verify its proper operation, water flow control, and the seamless transition between filling the tub and diverting water to the showerhead. By conducting this test, you can identify any potential issues and make any necessary adjustments before completing the project.
Here's a detailed guide on how to effectively test the new bathtub spout:
-
Turn on the Water: Begin by turning on the water supply to the bathtub. Allow the water to flow through the spout and observe the water flow pattern. Check for any leaks or unusual sounds that may indicate a problem with the installation.
-
Activate the Diverter: With the water running, activate the diverter to redirect the water flow from the spout to the showerhead. Observe the transition and ensure that the diverter functions smoothly without any obstructions or resistance. Verify that the water flow is effectively diverted to the showerhead without any leaks or splashing.
-
Check for Leaks: While the water is flowing, carefully inspect the area around the new spout, including the connection points and the wall surface. Look for any signs of leaks, drips, or moisture accumulation. Even a small leak can indicate an improper seal or a faulty installation, so it's essential to address any leaks promptly.
-
Assess Water Pressure: Evaluate the water pressure both when filling the tub and diverting water to the showerhead. The water flow should be consistent and robust, indicating a proper connection and functionality of the new spout. If you notice any significant fluctuations in water pressure or irregular flow patterns, further investigation may be necessary.
-
Test Repeatedly: Perform the diverter test multiple times to ensure the consistent and reliable operation of the new bathtub spout. By testing the diverter function repeatedly, you can confirm its durability and effectiveness over multiple usage cycles.
-
Make Adjustments if Necessary: If you encounter any issues during the testing phase, such as leaks, inadequate water flow, or diverter malfunctions, take the necessary steps to address these concerns. This may involve tightening connections, reapplying sealant, or adjusting the spout to achieve optimal performance.
By meticulously testing the new bathtub spout shower diverter, you can validate its functionality and address any potential issues before completing the installation. This thorough testing process ensures that the new spout meets the highest standards of performance and reliability, allowing you to enjoy a seamlessly integrated and fully functional bathing experience in your revitalized bathroom.
Conclusion
In conclusion, replacing a bathtub spout shower diverter is a gratifying endeavor that not only enhances the functionality of your bathroom but also provides a sense of accomplishment as you transform and rejuvenate your bathing space. By following the comprehensive steps outlined in this guide, you have successfully navigated the process of replacing the old bathtub spout with a new, efficient, and visually appealing spout shower diverter.
Throughout this project, you've demonstrated the ability to gather the necessary tools and materials, remove the old spout with precision, install the new spout securely, and thoroughly test its functionality. Your attention to detail and commitment to quality ensure that the new bathtub spout shower diverter seamlessly integrates into your bathroom, offering reliable water flow control and a seamless transition between filling the tub and diverting water to the showerhead.
As you reflect on the completion of this DIY project, take pride in the fact that you've not only improved the aesthetics of your bathroom but also gained valuable experience in plumbing and home improvement. The satisfaction of successfully replacing the bathtub spout shower diverter serves as a testament to your ability to tackle practical tasks and enhance your living space with confidence.
Moving forward, you can look forward to enjoying the benefits of your newly installed bathtub spout shower diverter, knowing that you've contributed to the overall functionality and visual appeal of your bathroom. Whether you're indulging in a relaxing soak in the tub or refreshing yourself with an invigorating shower, the seamless operation of the new spout will elevate your bathing experience and add a touch of elegance to your daily routine.
As you continue to explore DIY projects and home improvement endeavors, the knowledge and skills gained from replacing the bathtub spout shower diverter will serve as a foundation for future undertakings. Your ability to navigate plumbing tasks with confidence and precision positions you as a capable and resourceful homeowner, ready to take on new challenges and enhance your living environment.
With the completion of this project, you've not only upgraded your bathroom but also empowered yourself with the confidence and expertise to tackle future home improvement projects. Embrace the sense of accomplishment that comes with a job well done, and let the revitalized ambiance of your bathroom serve as a testament to your dedication to creating a comfortable and functional living space.
Congratulations on successfully replacing your bathtub spout shower diverter, and may your newly improved bathroom bring joy and satisfaction for years to come.
Frequently Asked Questions about How To Replace A Bathtub Spout Shower Diverter
Was this page helpful?
At Storables.com, we guarantee accurate and reliable information. Our content, validated by Expert Board Contributors, is crafted following stringent Editorial Policies. We're committed to providing you with well-researched, expert-backed insights for all your informational needs.


0 thoughts on “How To Replace A Bathtub Spout Shower Diverter”