Home>Furniture & Design>Bathroom Accessories>How To Remove Bathtub Sliding Doors
Bathroom Accessories
How To Remove Bathtub Sliding Doors
Modified: October 18, 2024
Learn how to remove bathtub sliding doors and upgrade your bathroom with new accessories. Get step-by-step instructions and tips for a smooth renovation.
(Many of the links in this article redirect to a specific reviewed product. Your purchase of these products through affiliate links helps to generate commission for Storables.com, at no extra cost. Learn more)
Introduction
Removing bathtub sliding doors can be a transformative and practical home improvement project. Whether you're looking to update the aesthetics of your bathroom or simply seeking easier access to your bathtub, this process can make a significant difference. By replacing sliding doors with a shower curtain rod or alternative door option, you can create a more open and inviting space while enhancing functionality.
In this comprehensive guide, we will walk you through the step-by-step process of removing bathtub sliding doors and preparing the area for a new door solution. With the right tools, a bit of patience, and attention to detail, you can successfully complete this project and achieve the desired results.
By following these instructions, you'll not only gain a better understanding of the removal process but also learn how to properly clean and prepare the bathtub area for the next steps. Whether you're a seasoned DIY enthusiast or a novice looking to take on a new home improvement challenge, this guide will equip you with the knowledge and confidence to tackle the task at hand.
So, roll up your sleeves, gather your tools, and let's dive into the process of removing bathtub sliding doors. With a clear plan and the right approach, you'll soon be on your way to creating a more functional and visually appealing bathroom space.
Key Takeaways:
- Say goodbye to bathtub sliding doors and hello to a more open and inviting bathroom space! Follow our guide to remove the doors, clean the area, and choose a new door solution that suits your style and needs.
- Transform your bathroom with a shower curtain rod or alternative door option. By removing the sliding doors and preparing the area, you can create a personalized bathing space that reflects your unique style and enhances your daily routine.
Read more: How To Remove Sliding Glass Door
Step 1: Gather the necessary tools and materials
Before embarking on the process of removing bathtub sliding doors, it's essential to gather the required tools and materials to ensure a smooth and efficient workflow. Here's a comprehensive list of items you'll need for this project:
Tools:
- Screwdriver: A Phillips or flat-head screwdriver, depending on the type of screws used to secure the sliding doors and tracks.
- Utility Knife: To carefully cut through any caulking or adhesive securing the doors and tracks to the bathtub and surrounding walls.
- Pliers: Useful for gripping and removing screws, especially if they are tightly secured.
- Putty Knife: Ideal for gently prying and removing the tracks and any residual adhesive or caulking.
- Safety Glasses and Gloves: To protect your eyes and hands during the removal process.
Materials:
- Drop Cloth or Tarp: To protect the bathroom floor from debris and potential damage during the removal.
- Cleaning Solution: A mild cleaning solution or vinegar and water mixture for cleaning the bathtub and surrounding area after the doors are removed.
- Rag or Sponge: For applying the cleaning solution and wiping down the bathtub and walls.
- Caulk or Sealant: Optional, but may be needed if you plan to fill any gaps or holes left by the removed tracks.
- Shower Curtain Rod or Alternative Door Option: Depending on your preference, prepare the new door solution that will replace the sliding doors.
By ensuring that you have all the necessary tools and materials at your disposal, you'll be well-equipped to proceed with the subsequent steps of removing the bathtub sliding doors. This proactive approach will help streamline the process and minimize any potential disruptions, allowing you to focus on the task at hand and achieve optimal results.
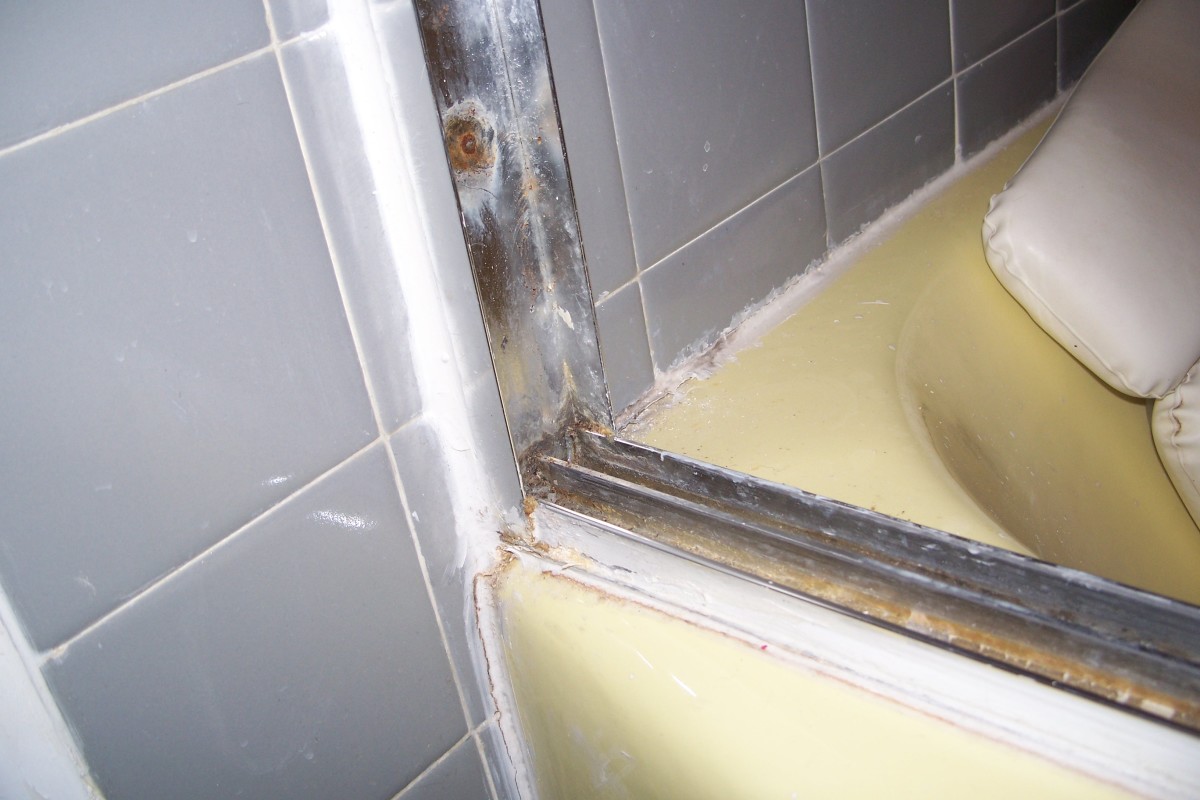
Step 2: Remove the screws and tracks
Once you have gathered the necessary tools and materials, it's time to begin the process of removing the screws and tracks that secure the bathtub sliding doors in place. This step requires careful attention to detail and a methodical approach to ensure a successful removal process.
-
Start with the Screws: Using a screwdriver appropriate for the type of screws (Phillips or flat-head), carefully locate and remove the screws that secure the sliding doors to the bathtub frame and surrounding walls. It's important to keep track of the screws and set them aside in a safe place, as they will be needed if you plan to reinstall the doors or tracks in the future.
-
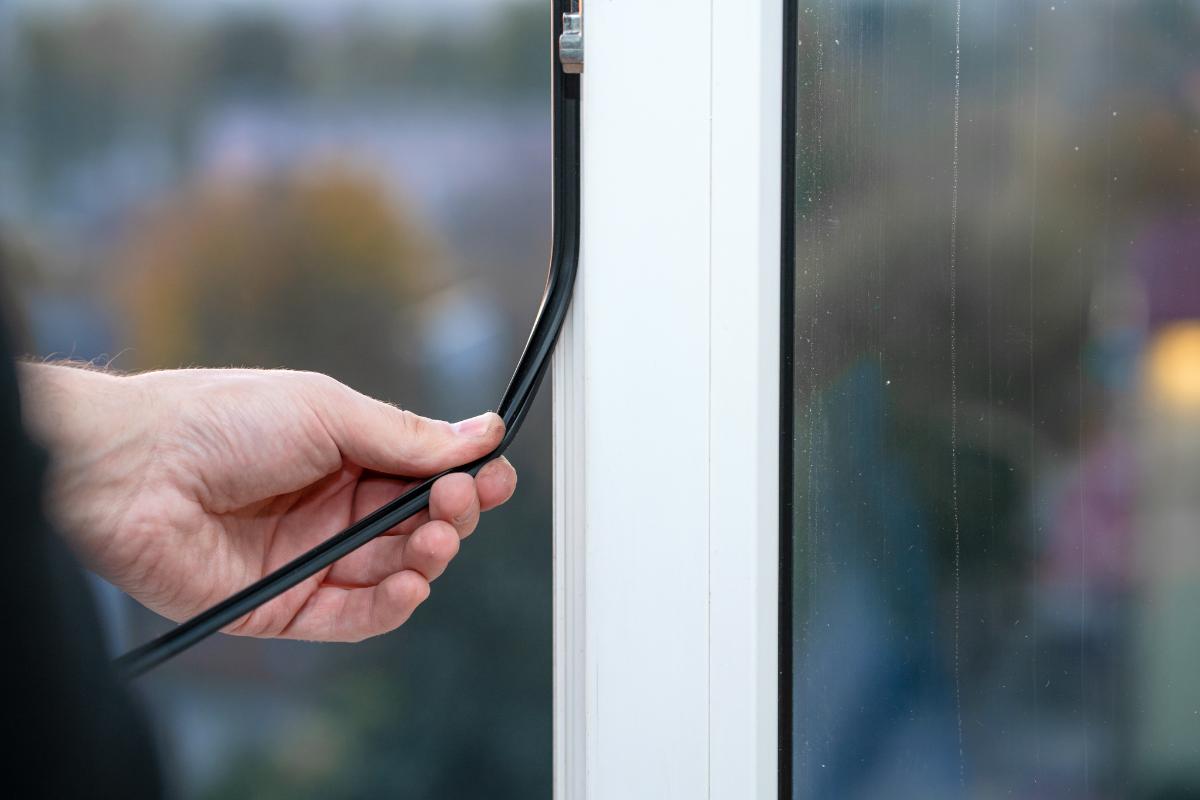
Remove the Tracks: After the screws have been removed, focus on detaching the tracks that guide the sliding doors. Depending on the design, the tracks may be secured with screws or adhesive caulk. Use a utility knife to carefully cut through any caulking or adhesive, allowing you to gently pry the tracks away from the bathtub and walls. If there are stubborn areas, a putty knife can be used to carefully loosen and remove the tracks without causing damage to the surrounding surfaces.
-
Inspect for Residual Screws and Caulking: Once the tracks are removed, inspect the bathtub frame and walls for any residual screws or caulking that may have been hidden beneath the tracks. Use pliers to carefully extract any remaining screws, and a putty knife to remove any excess caulking. This thorough inspection ensures that the surfaces are clean and ready for the next steps in the removal process.
By methodically removing the screws and tracks, you'll pave the way for the subsequent steps of lifting and removing the sliding doors, as well as preparing the bathtub area for the installation of a new door solution. This meticulous approach sets the stage for a seamless transition from the removal process to the next phase of the project.
Step 3: Lift and remove the sliding doors
With the screws and tracks successfully removed, the next crucial step in the process of removing bathtub sliding doors is to lift and remove the doors from their position. This step requires careful handling to ensure the safe extraction of the doors without causing any damage to the surrounding area.
-
Lift the Doors: Begin by carefully lifting the sliding doors upwards, ensuring that they are free from any remaining tracks or obstructions. It's essential to maintain a steady grip and lift the doors evenly to prevent any sudden shifts or tilting that could lead to accidents or damage.
-
Enlist Assistance if Needed: Depending on the size and weight of the sliding doors, it may be beneficial to have an additional pair of hands to assist with the lifting and removal process. This extra support can help distribute the weight and ensure a smoother extraction of the doors from their position.
-
Set Aside the Doors Safely: Once the doors are lifted free from the bathtub area, carefully place them in a safe and designated area. It's important to handle the doors with care to avoid any accidental impacts or scratches. If the doors are made of glass, take extra precautions to prevent breakage during handling and storage.
-
Clear the Path: After the doors have been removed, take a moment to clear the bathtub area of any debris or remnants from the removal process. This ensures a clean and unobstructed workspace for the subsequent steps of cleaning and preparing the area for the installation of a new door solution.
By following these steps, you can effectively lift and remove the sliding doors from the bathtub area, setting the stage for the next phase of the project. This careful and methodical approach ensures that the doors are safely extracted, and the surrounding space is ready for the next steps in the transformation of your bathroom.
This step marks a significant milestone in the removal process, bringing you one step closer to achieving your desired outcome. With the sliding doors successfully removed, you're now ready to move on to the crucial task of cleaning and preparing the bathtub area for the installation of a new door solution.
Step 4: Clean and prepare the bathtub area
With the bathtub sliding doors successfully removed, it's time to shift focus to cleaning and preparing the bathtub area for the next phase of the project. This step is essential for ensuring that the space is ready to accommodate a new door solution, whether it be a shower curtain rod or an alternative door option. By following these detailed instructions, you can effectively transform the bathtub area and create a clean, welcoming environment in your bathroom.
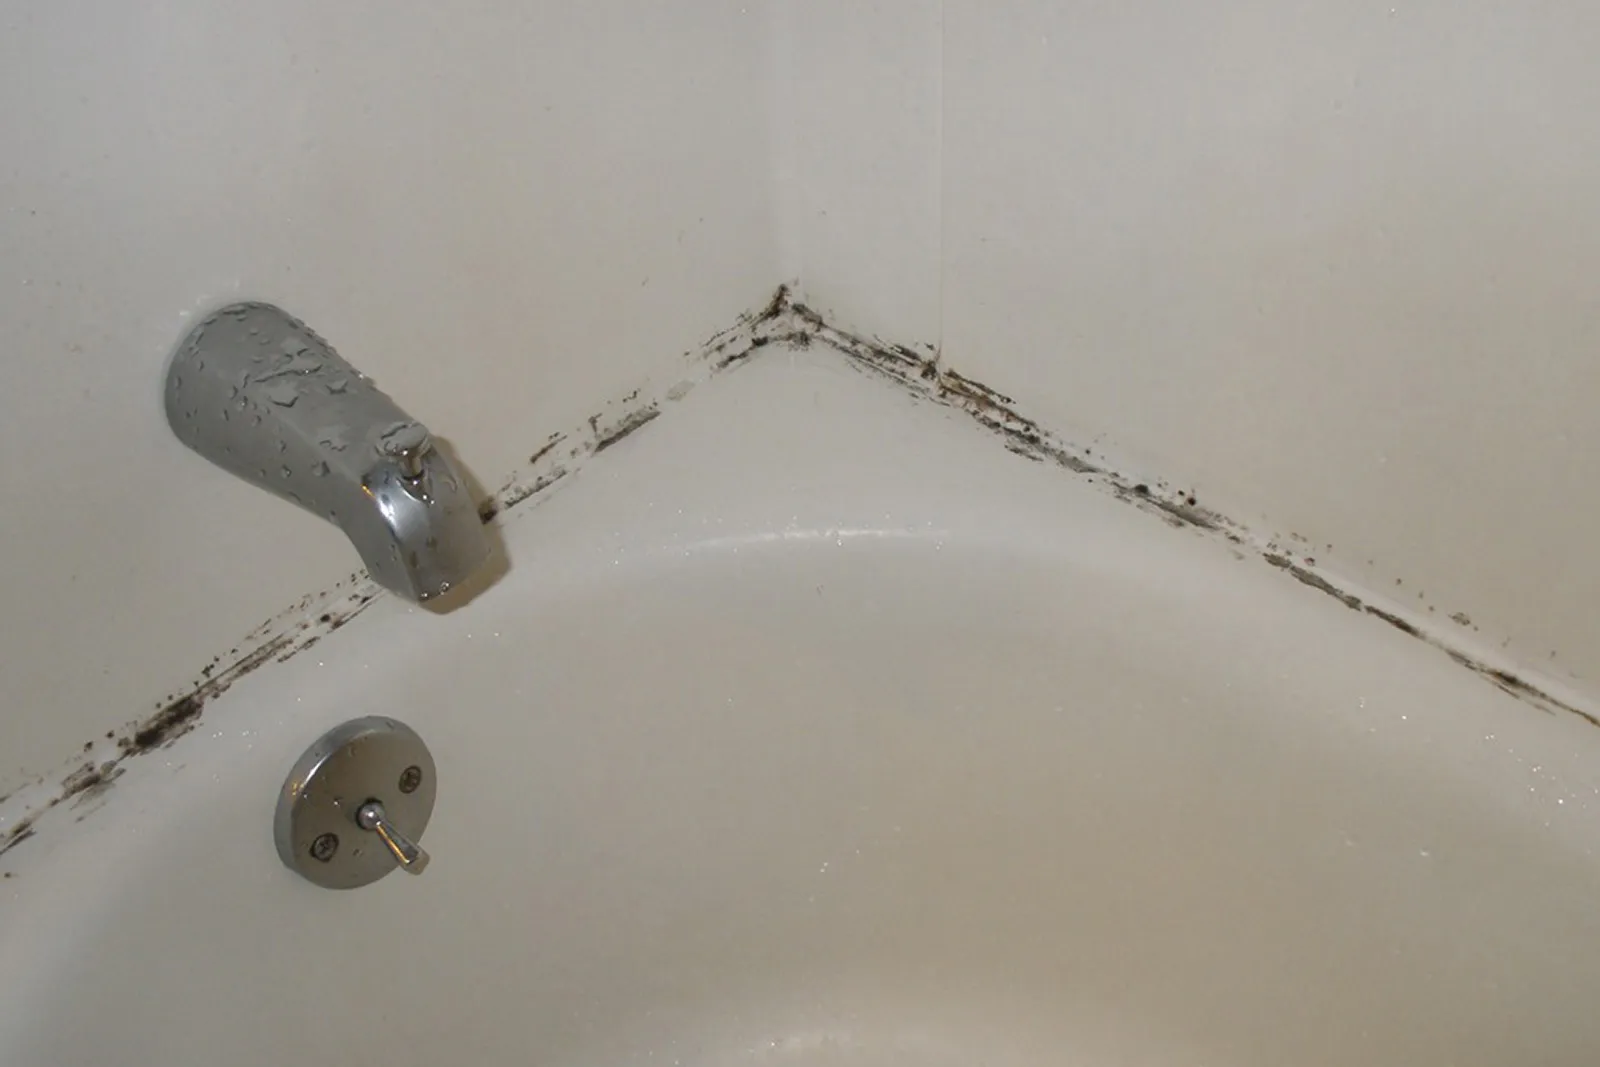
Cleaning the Bathtub and Surrounding Walls
Begin by thoroughly cleaning the bathtub and surrounding walls to remove any accumulated grime, soap scum, or residue left behind by the sliding doors and tracks. Using a mild cleaning solution or a mixture of vinegar and water, apply the cleaning solution generously to the surfaces and use a rag or sponge to scrub away any buildup. Pay close attention to the areas where the tracks were previously installed, ensuring that all traces of dirt and debris are effectively removed.
Removing Residual Adhesive or Caulking
Inspect the bathtub and walls for any residual adhesive or caulking that may have been left behind during the removal of the sliding doors and tracks. Use a putty knife to gently scrape away any remaining adhesive, taking care not to damage the surfaces. If necessary, a commercial adhesive remover can be used to dissolve stubborn residue, allowing for thorough cleaning and preparation of the area.
Read more: How To Weatherstrip A Sliding Glass Door
Drying and Inspecting the Surfaces
After cleaning the bathtub and surrounding walls, thoroughly dry the surfaces to ensure that they are free from moisture. This step is crucial for preparing the area for the installation of a new door solution, as it creates an optimal environment for adhesion and stability. Once the surfaces are dry, take a moment to inspect the bathtub area, ensuring that it is free from any remaining debris or residue that could interfere with the next steps of the project.
Optional Caulking or Sealant Application
Depending on your preference and the condition of the bathtub area, you may choose to apply a fresh bead of caulk or sealant to fill any gaps or holes left by the removed tracks. This optional step can help create a seamless and finished look, providing added protection against water intrusion and enhancing the overall aesthetics of the bathtub area.
By meticulously cleaning and preparing the bathtub area, you set the stage for the successful installation of a new door solution. This step not only ensures a clean and inviting space but also lays the foundation for a seamless transition to the final phase of the project. With the bathtub area now cleaned and prepared, you're ready to proceed with the installation of a shower curtain rod or alternative door option, bringing your vision for a transformed bathroom one step closer to reality.
Step 5: Install a shower curtain rod or alternative door option
With the bathtub area cleaned and prepared, it's time to explore the options for replacing the removed sliding doors with a new door solution. Whether you prefer the versatility of a shower curtain or the sleek functionality of an alternative door option, this step offers the opportunity to customize your bathroom space to suit your preferences and practical needs.
Installing a Shower Curtain Rod
If you opt for a shower curtain as the replacement for the sliding doors, installing a shower curtain rod is a straightforward and versatile choice. Follow these steps to seamlessly integrate a shower curtain into your bathroom:
-
Select the Right Shower Curtain Rod: Choose a shower curtain rod that complements the design and dimensions of your bathtub area. Whether you prefer a tension rod for easy installation or a wall-mounted rod for added stability, ensure that it fits securely and allows the curtain to cover the entire opening.
-
Positioning and Installation: Determine the ideal placement for the shower curtain rod, ensuring that it provides adequate coverage and privacy while allowing for easy access to the bathtub. If using a tension rod, simply adjust the length to fit snugly within the space. For wall-mounted rods, use a level to ensure proper alignment before securely attaching the rod brackets to the walls.
-
Hang the Shower Curtain: Once the rod is in place, hang the shower curtain, ensuring that it extends to the desired length and effectively covers the bathtub opening. Consider using a water-resistant and easy-to-maintain curtain that complements the overall aesthetic of your bathroom.
Read more: How To Pick A Sliding Door Lock
Exploring Alternative Door Options
Alternatively, you may choose to explore alternative door options, such as pivot doors, bi-fold doors, or frameless glass doors, to replace the sliding doors. Each option offers unique benefits and design possibilities, allowing you to customize the functionality and visual appeal of your bathroom space.
-
Research and Selection: Research different door options to identify the style and functionality that best aligns with your preferences. Consider factors such as space constraints, ease of maintenance, and aesthetic compatibility with your bathroom decor.
-
Professional Installation or DIY Approach: Depending on the complexity of the chosen door option, you may opt for professional installation to ensure precision and structural integrity. Alternatively, if you're confident in your DIY skills, carefully follow the manufacturer's instructions for the installation process, ensuring a secure and seamless fit.
-
Enhancing Accessibility and Aesthetics: Whether you choose a pivot door for its space-saving design, a bi-fold door for its versatility, or a frameless glass door for its modern elegance, the installation of an alternative door option can significantly enhance the accessibility and aesthetics of your bathroom.
By carefully considering your preferences and practical needs, you can select and install a shower curtain rod or alternative door option that elevates the functionality and visual appeal of your bathroom. This final step marks the culmination of the removal and replacement process, allowing you to enjoy a transformed and personalized bathing space tailored to your unique style and requirements.
Conclusion
In conclusion, the process of removing bathtub sliding doors and replacing them with a new door solution offers a transformative opportunity to enhance the functionality and aesthetics of your bathroom. By following the step-by-step guide outlined in this comprehensive article, you have gained valuable insights into the meticulous process of removing the sliding doors, cleaning and preparing the bathtub area, and installing a new door solution. This journey has equipped you with the knowledge and confidence to undertake a significant home improvement project with a clear vision of the desired outcome.
As you reflect on the completion of this project, it's important to acknowledge the impact of your efforts in creating a more open, accessible, and visually appealing bathing space. The removal of the sliding doors not only opens up the area, but it also allows for greater flexibility in customizing the door solution to suit your preferences and practical needs. Whether you have opted for a sleek shower curtain rod or explored alternative door options, the result is a bathroom space that reflects your unique style and enhances your daily bathing experience.
Furthermore, the meticulous attention to detail in cleaning and preparing the bathtub area sets the stage for a seamless transition to the installation of the new door solution. By ensuring that the surfaces are free from debris and residue, you have created an optimal environment for the successful integration of the chosen door option, whether it be a shower curtain for versatility or an alternative door for a tailored aesthetic.
As you admire the newly transformed bathtub area, take pride in the dedication and care you have invested in this project. Your commitment to creating a space that aligns with your vision and practical requirements is a testament to your proactive approach to home improvement. The removal of the sliding doors and the installation of a new door solution mark a significant milestone in elevating the functionality and visual appeal of your bathroom, creating a space that resonates with your personal style and enhances the overall ambiance of your home.
In essence, the journey of removing bathtub sliding doors and embracing a new door solution is a testament to your creativity, resourcefulness, and commitment to enhancing your living environment. As you enjoy the fruits of your labor, take pride in the transformation you have achieved and the positive impact it has on your daily life. Your bathroom is now a reflection of your unique preferences and practical needs, tailored to provide a welcoming and functional space for relaxation and rejuvenation.
Frequently Asked Questions about How To Remove Bathtub Sliding Doors
Was this page helpful?
At Storables.com, we guarantee accurate and reliable information. Our content, validated by Expert Board Contributors, is crafted following stringent Editorial Policies. We're committed to providing you with well-researched, expert-backed insights for all your informational needs.


0 thoughts on “How To Remove Bathtub Sliding Doors”