Home>Furniture & Design>Bathroom Accessories>How To Remove Rusted Toilet Seat Bolt
Bathroom Accessories
How To Remove Rusted Toilet Seat Bolt
Modified: August 30, 2024
Learn how to easily remove rusted toilet seat bolts with our step-by-step guide. Keep your bathroom accessories in top condition with our helpful tips.
(Many of the links in this article redirect to a specific reviewed product. Your purchase of these products through affiliate links helps to generate commission for Storables.com, at no extra cost. Learn more)
Introduction
Dealing with a rusted toilet seat bolt can be a frustrating and challenging task. Over time, the metal components of the toilet seat bolts can succumb to corrosion due to exposure to moisture and other environmental factors. As a result, these bolts can become stubbornly stuck, making it difficult to remove the toilet seat for replacement or maintenance.
However, with the right tools, techniques, and a bit of patience, you can effectively tackle this common household issue. In this comprehensive guide, we will walk you through the step-by-step process of removing rusted toilet seat bolts and installing a new toilet seat. By following these instructions, you can restore the functionality and aesthetics of your bathroom without the need for professional assistance.
Whether you're a seasoned DIY enthusiast or a novice homeowner looking to tackle a simple home improvement project, this guide will equip you with the knowledge and confidence to address the problem of rusted toilet seat bolts. So, gather your tools and let's dive into the process of rejuvenating your bathroom by conquering those stubborn, rusted bolts.
Key Takeaways:
- Say goodbye to stubborn rusted toilet seat bolts by using penetrating lubricant and gentle maneuvering with a wrench. Install a new toilet seat for a fresh bathroom look and feel.
- Transform your bathroom with DIY skills! Remove rusted toilet seat bolts with patience and the right tools. Install a new toilet seat for a functional and stylish upgrade.
Read more: How To Remove Stripped Toilet Seat Bolt
Step 1: Gather the necessary tools
Before embarking on the task of removing rusted toilet seat bolts, it's essential to gather the appropriate tools and supplies. Having the right equipment at your disposal will streamline the process and increase the likelihood of a successful outcome. Here's a comprehensive list of the necessary tools and materials you'll need:
-
Penetrating Lubricant: A high-quality penetrating lubricant, such as WD-40 or PB Blaster, is crucial for loosening the rusted bolts. The lubricant will penetrate the corroded threads, making it easier to remove the bolts without causing damage.
-
Adjustable Wrench or Locking Pliers: An adjustable wrench or locking pliers will provide the necessary grip and torque to loosen the rusted bolts. Ensure that the wrench or pliers are appropriately sized to fit the bolt heads without slipping.
-
Safety Gloves: It's important to protect your hands during the process, especially when dealing with rusty metal components. Durable work gloves will shield your skin from sharp edges and potential injury.
-
Safety Glasses: Rust and debris can dislodge during the bolt removal process, posing a risk to your eyes. Wearing safety glasses will safeguard your vision from any unexpected particles.
-
Replacement Toilet Seat: If the primary objective is to replace the existing toilet seat, ensure that you have the new seat on hand. This will allow for a seamless transition once the rusted bolts have been successfully removed.
-
Rag or Paper Towels: Having a rag or paper towels handy will enable you to wipe away excess lubricant and clean the area around the toilet seat bolts.
By assembling these essential tools and materials, you'll be well-prepared to tackle the challenge of removing rusted toilet seat bolts. With the necessary equipment at your disposal, you can proceed to the next steps with confidence, knowing that you have everything required to effectively address the issue at hand.
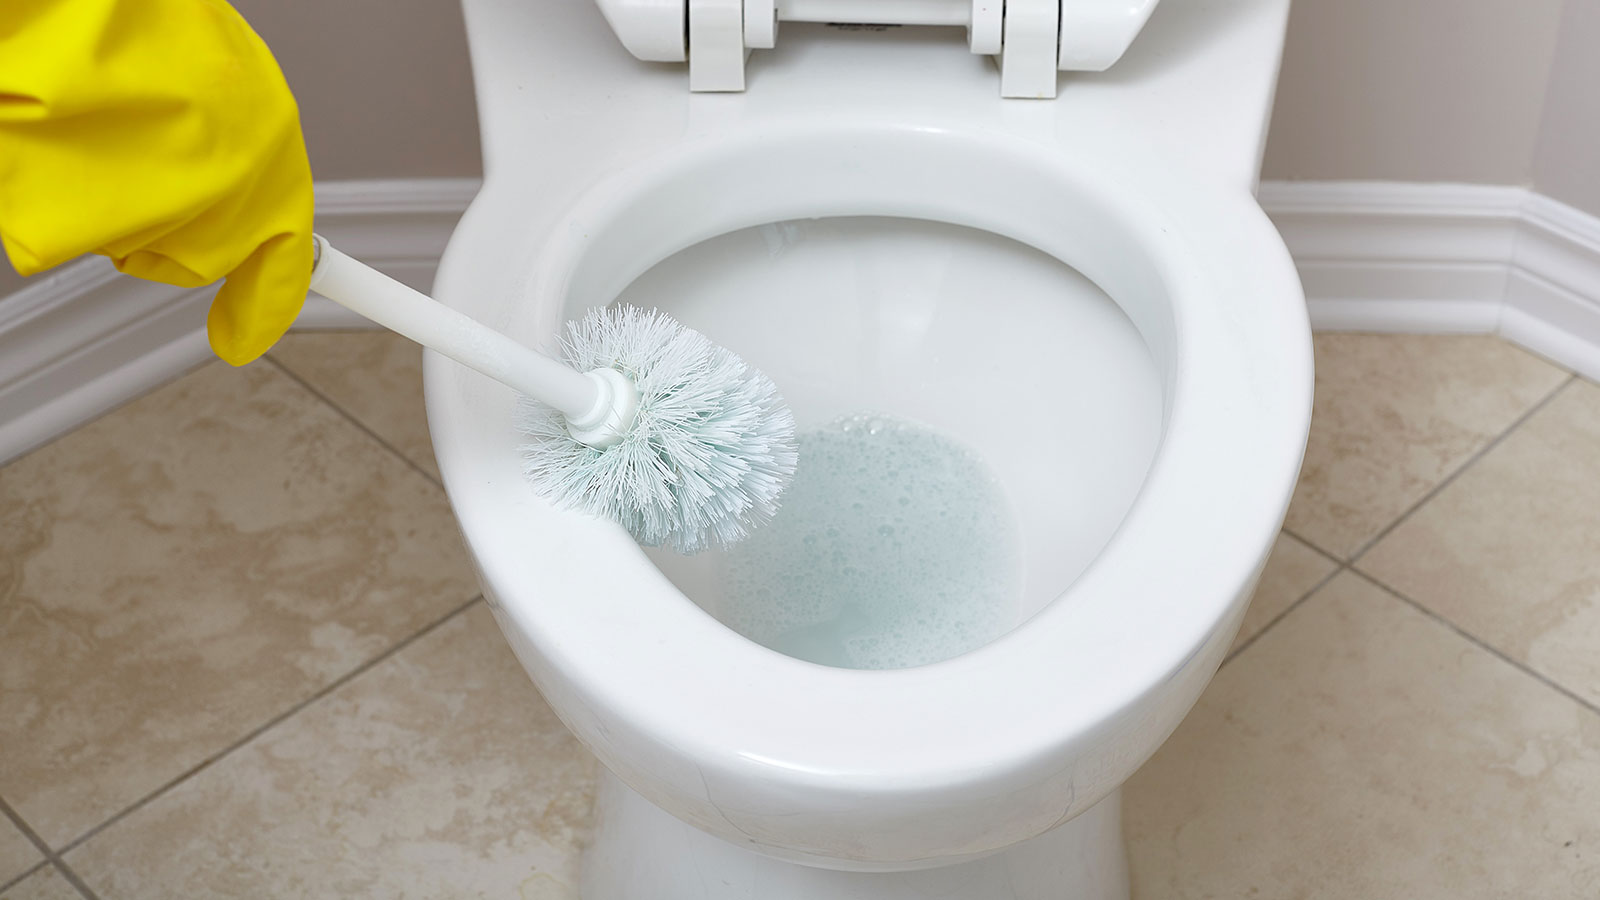
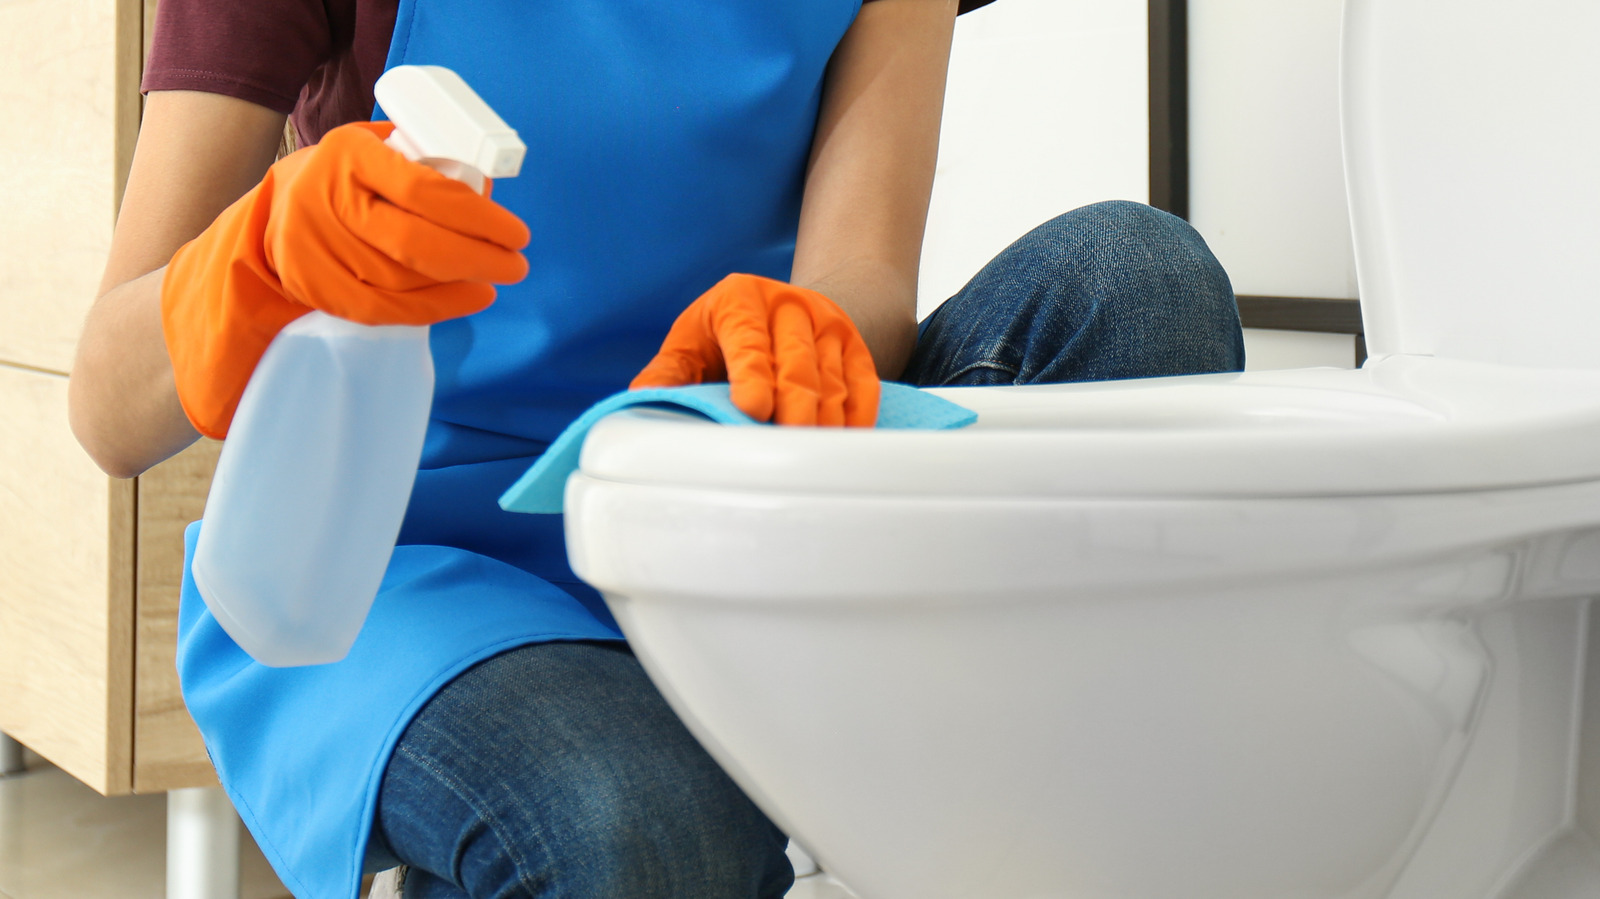
Step 2: Apply lubricant to the rusted bolts
Once you have gathered the necessary tools, the next crucial step in addressing rusted toilet seat bolts is to apply a high-quality penetrating lubricant to the affected area. The lubricant plays a pivotal role in breaking down the corrosion and facilitating the loosening of the stubborn bolts. Here's a detailed breakdown of the process:
-
Preparation: Before applying the lubricant, it's advisable to clean the area around the rusted bolts using a rag or paper towels. Removing any surface debris or grime will ensure that the lubricant can effectively penetrate the corroded threads.
-
Spray Application: With the area cleaned, carefully apply the penetrating lubricant directly onto the rusted bolts. Ensure that the entire bolt, including the threads and the surrounding hardware, is thoroughly coated with the lubricant. The penetrating properties of the solution will seep into the microscopic crevices of the rust, gradually loosening its grip on the bolts.
-
Allowing Penetration: After applying the lubricant, it's essential to allow sufficient time for it to penetrate the rusted bolts. Depending on the severity of the corrosion, it's recommended to let the lubricant sit for at least 15-30 minutes. This dwell time allows the solution to work its way into the rust, effectively weakening its bond with the metal components.
-
Reapplication, if Necessary: In cases where the rust is particularly stubborn, or if the bolts have been severely corroded, you may need to reapply the lubricant multiple times. This iterative approach ensures that the penetrating solution continues to work its magic, gradually breaking down the corrosion and enhancing the bolts' maneuverability.
By diligently applying a high-quality penetrating lubricant and allowing it to work its way into the rusted toilet seat bolts, you set the stage for the subsequent steps in the removal process. The lubricant serves as a potent ally in the battle against corrosion, significantly increasing the likelihood of successfully loosening the rusted bolts without causing damage to the surrounding hardware. With this critical step completed, you're ready to proceed to the next phase of addressing the rusted toilet seat bolts and restoring the functionality of your bathroom with confidence.
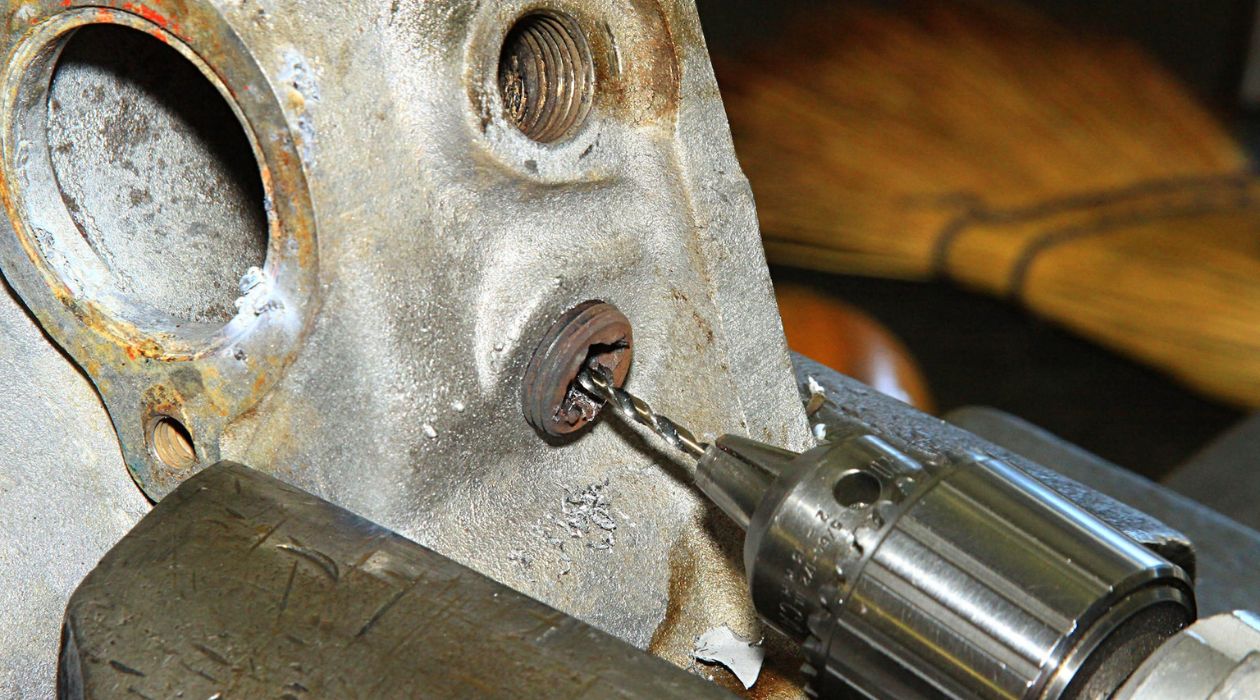
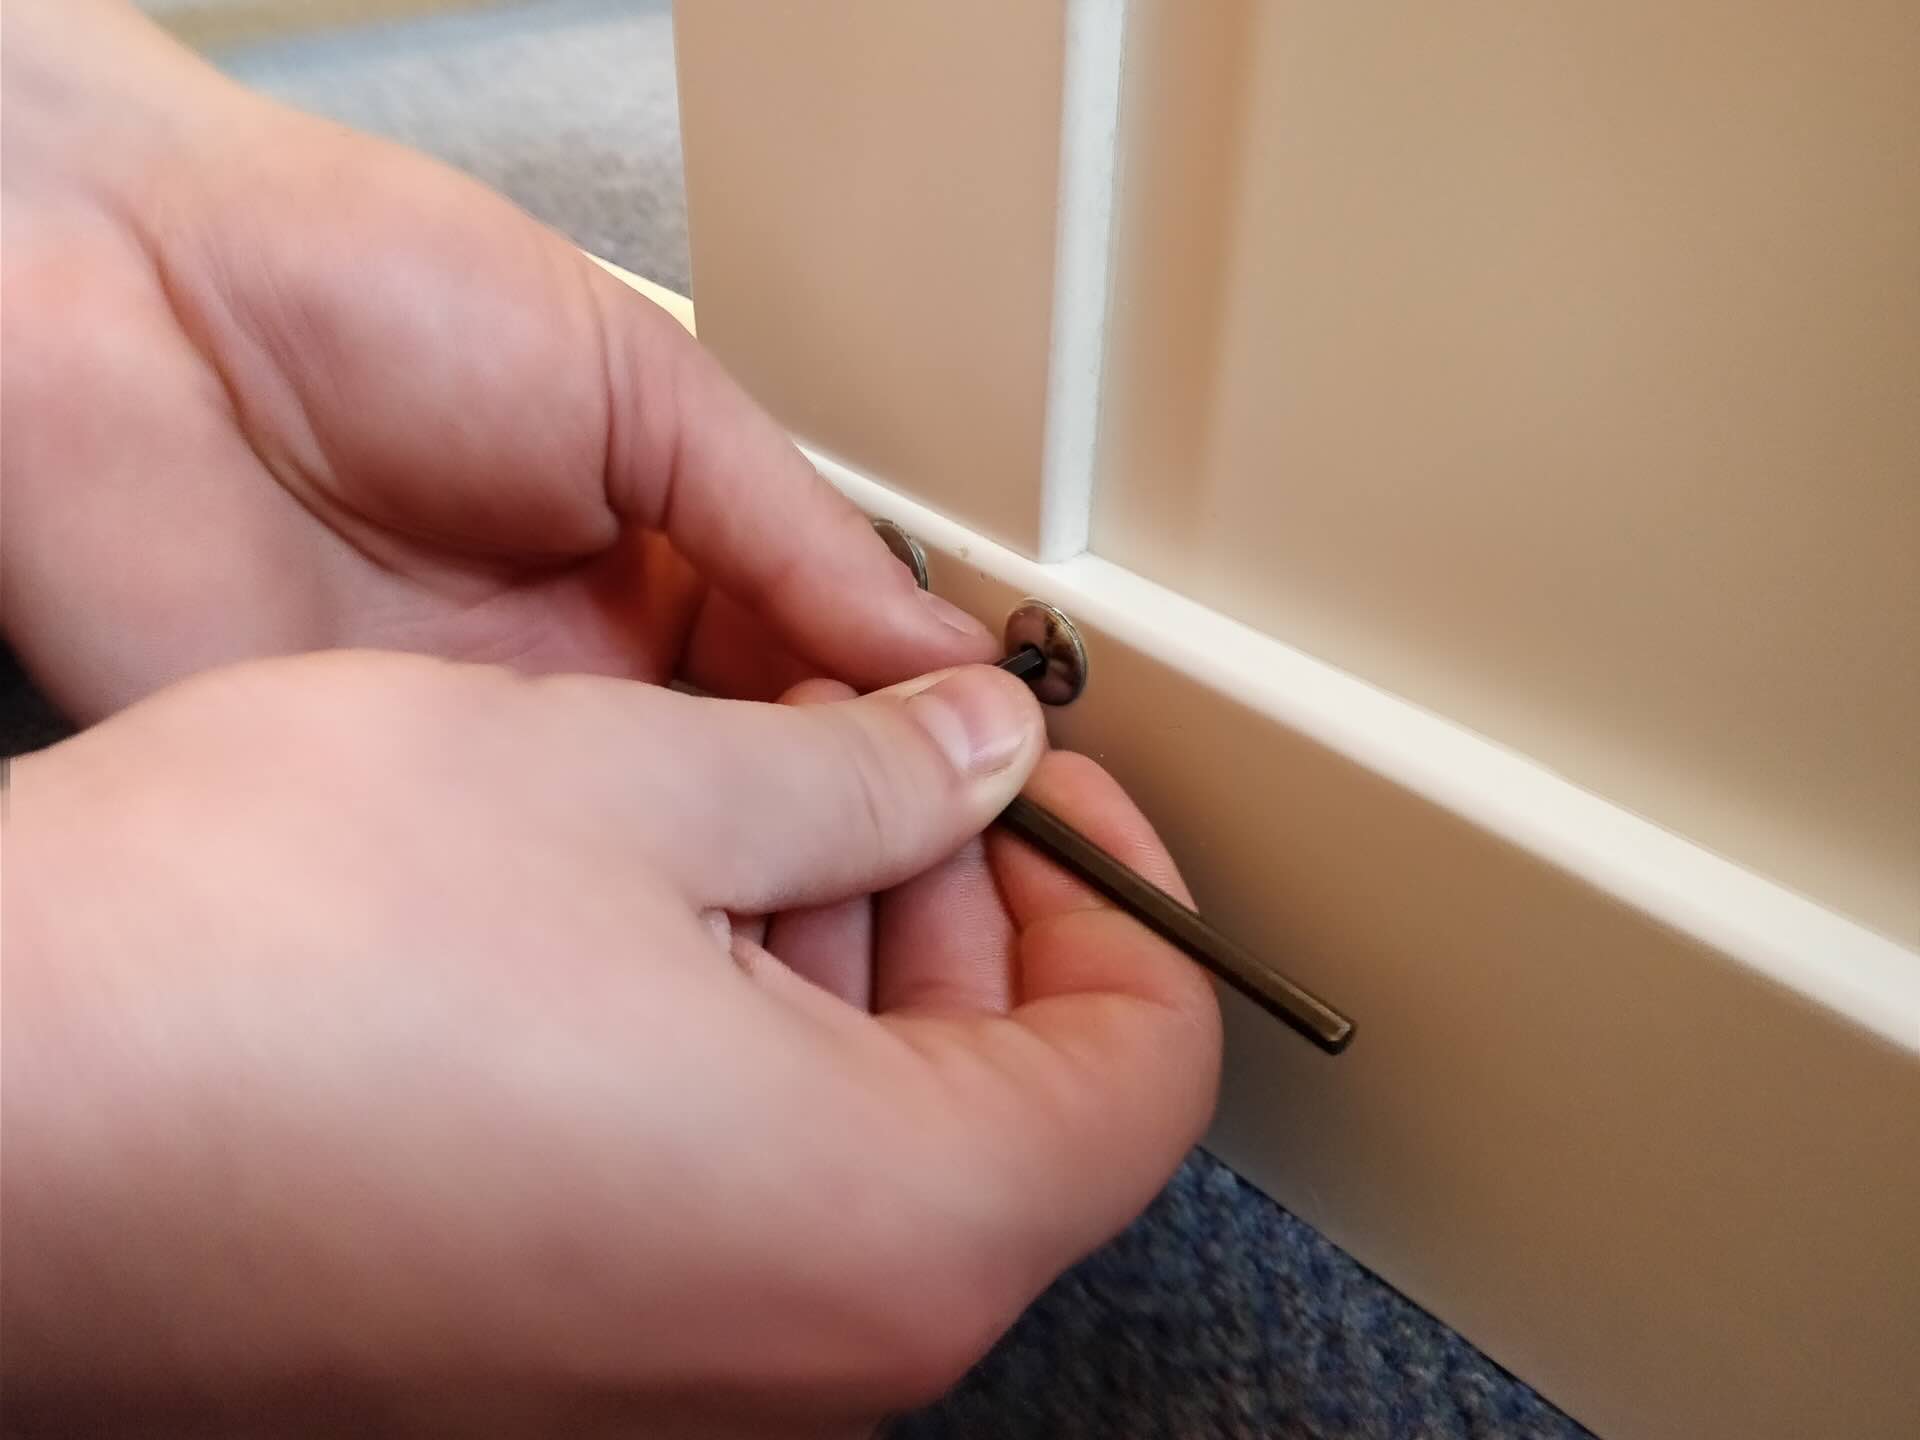
Step 3: Use a wrench or pliers to loosen the bolts
With the rusted toilet seat bolts adequately coated with penetrating lubricant, the next pivotal step involves utilizing an adjustable wrench or locking pliers to apply controlled torque and gradually loosen the stubborn bolts. This phase of the process requires precision, patience, and a methodical approach to ensure the successful extraction of the corroded hardware. Here's a detailed breakdown of the procedure:
-
Secure Grip: Begin by selecting an appropriately sized adjustable wrench or locking pliers that can firmly grasp the heads of the rusted bolts. It's crucial to ensure a secure grip to prevent slippage and potential damage to the bolt heads. Position the wrench or pliers in a manner that allows for optimal leverage and control during the loosening process.
-
Initial Tension: With the wrench or pliers in place, apply gentle but firm pressure in a counterclockwise direction to initiate the loosening of the rusted bolts. It's important to start with moderate force to gauge the resistance and gradually increase the tension as needed. The penetrating lubricant applied in the previous step will work in tandem with the applied pressure, further weakening the grip of the corrosion on the bolts.
-
Incremental Turns: As you continue to apply torque, be mindful of any signs of movement or give in the bolts. If the bolts remain immovable initially, refrain from excessive force that could lead to breakage. Instead, employ a strategy of incremental turns, alternating between clockwise and counterclockwise motions to coax the bolts into loosening without causing undue stress on the hardware.
-
Patience and Persistence: Removing rusted bolts demands patience and persistence. It's not uncommon for the process to require multiple attempts, especially if the corrosion is extensive. By maintaining a steady and methodical approach, you can gradually overcome the resistance of the rusted bolts, inching closer to their successful extraction.
-
Reapplication of Lubricant: If the bolts exhibit stubborn adherence despite your efforts, consider reapplying the penetrating lubricant to reinforce its efficacy. The additional application of lubricant can further aid in breaking down the remaining corrosion, facilitating the loosening process.
By employing a wrench or pliers with precision and patience, and leveraging the penetrating power of the lubricant, you can effectively navigate the challenge of loosening rusted toilet seat bolts. This meticulous approach minimizes the risk of damaging the surrounding hardware while maximizing the likelihood of a successful outcome. With the rusted bolts gradually yielding to the applied torque, you're poised to advance to the subsequent phase of removing the corroded hardware and ushering in the installation of a new toilet seat.
Use a penetrating oil like WD-40 to loosen the rusted bolts. Let it sit for a few hours or overnight. Then, use a wrench or pliers to carefully remove the bolts.
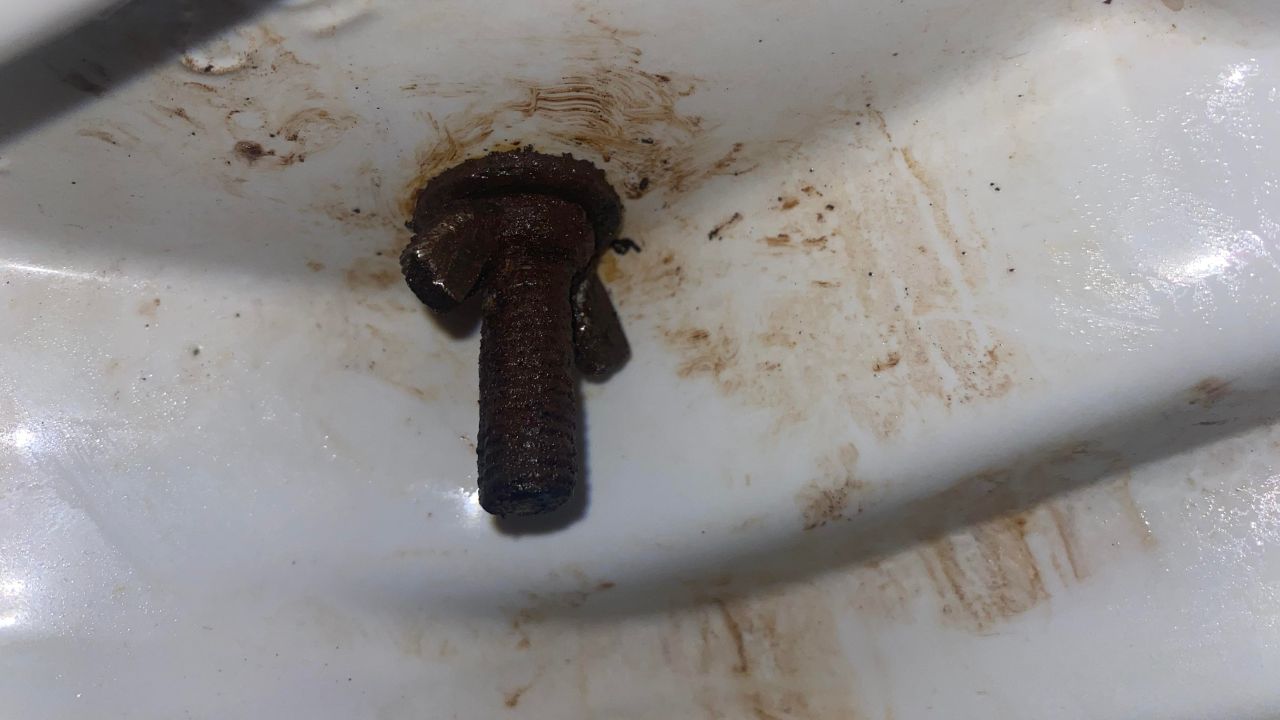
Step 4: Remove the rusted toilet seat bolts
After successfully loosening the rusted toilet seat bolts, the next critical phase involves the actual removal of the corroded hardware. This step demands careful maneuvering and attention to detail to ensure the safe extraction of the bolts without causing damage to the surrounding components. Here's a comprehensive breakdown of the procedure:
-
Gradual Extraction: With the bolts loosened, begin the extraction process by continuing to rotate them in a counterclockwise direction using the wrench or pliers. Exercise caution and apply steady, controlled force to prevent sudden movements that could lead to unintended damage. As you turn the bolts, be attentive to any resistance or unusual feedback, adjusting your approach as necessary to maintain a smooth extraction process.
-
Inspect for Signs of Progress: As you work on removing the rusted bolts, periodically assess the degree of movement and any visible signs of the corrosion releasing its grip. It's not uncommon for the bolts to exhibit gradual progress, requiring patience and attentiveness to subtle changes in their maneuverability. By monitoring the extraction process closely, you can adapt your technique to optimize the removal of the corroded hardware.
-
Addressing Stubborn Bolts: In instances where certain bolts prove to be particularly stubborn, consider reapplying the penetrating lubricant to further weaken the remaining corrosion. The additional application of lubricant can provide the extra nudge needed to coax the resistant bolts into a more cooperative state, facilitating their eventual removal.
-
Gentle Maneuvering: Throughout the extraction process, prioritize gentle maneuvering to minimize the risk of damaging the toilet seat or the surrounding fixtures. Avoid excessive force or abrupt movements that could result in unintended consequences. By maintaining a delicate touch and exercising patience, you can navigate the removal of the rusted bolts with precision and care.
-
Discarding the Old Bolts: Once the rusted bolts have been successfully removed, carefully set them aside for proper disposal. Inspect the area to ensure that no residual debris or rust particles remain, preparing the space for the subsequent installation of the new toilet seat.
By meticulously executing the removal of the rusted toilet seat bolts, you pave the way for the seamless transition to the final phase of the process: installing the new toilet seat. With the corroded hardware safely extracted and the area prepared for the upcoming installation, you're poised to bring a fresh, functional aesthetic to your bathroom, free from the constraints of stubborn, rusted bolts.
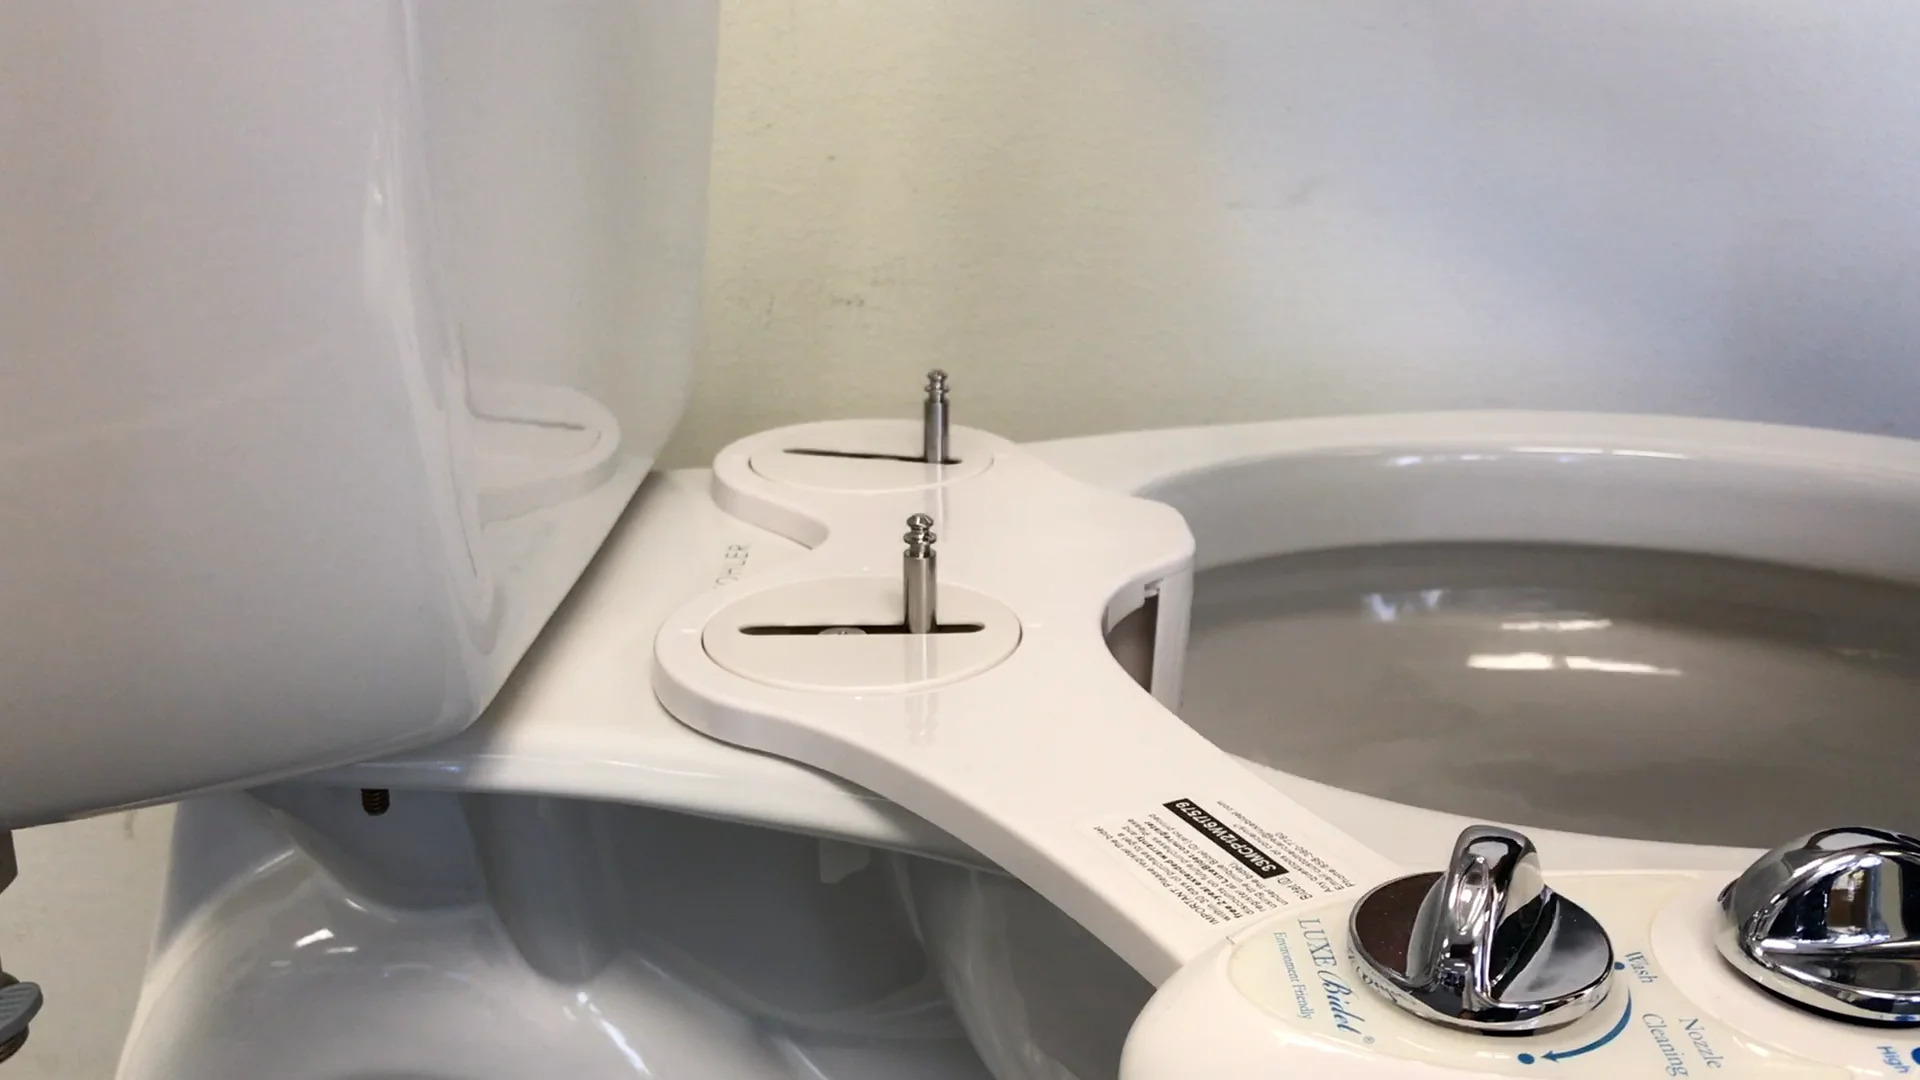
Read more: How To Replace Toilet Seat With Hidden Bolts
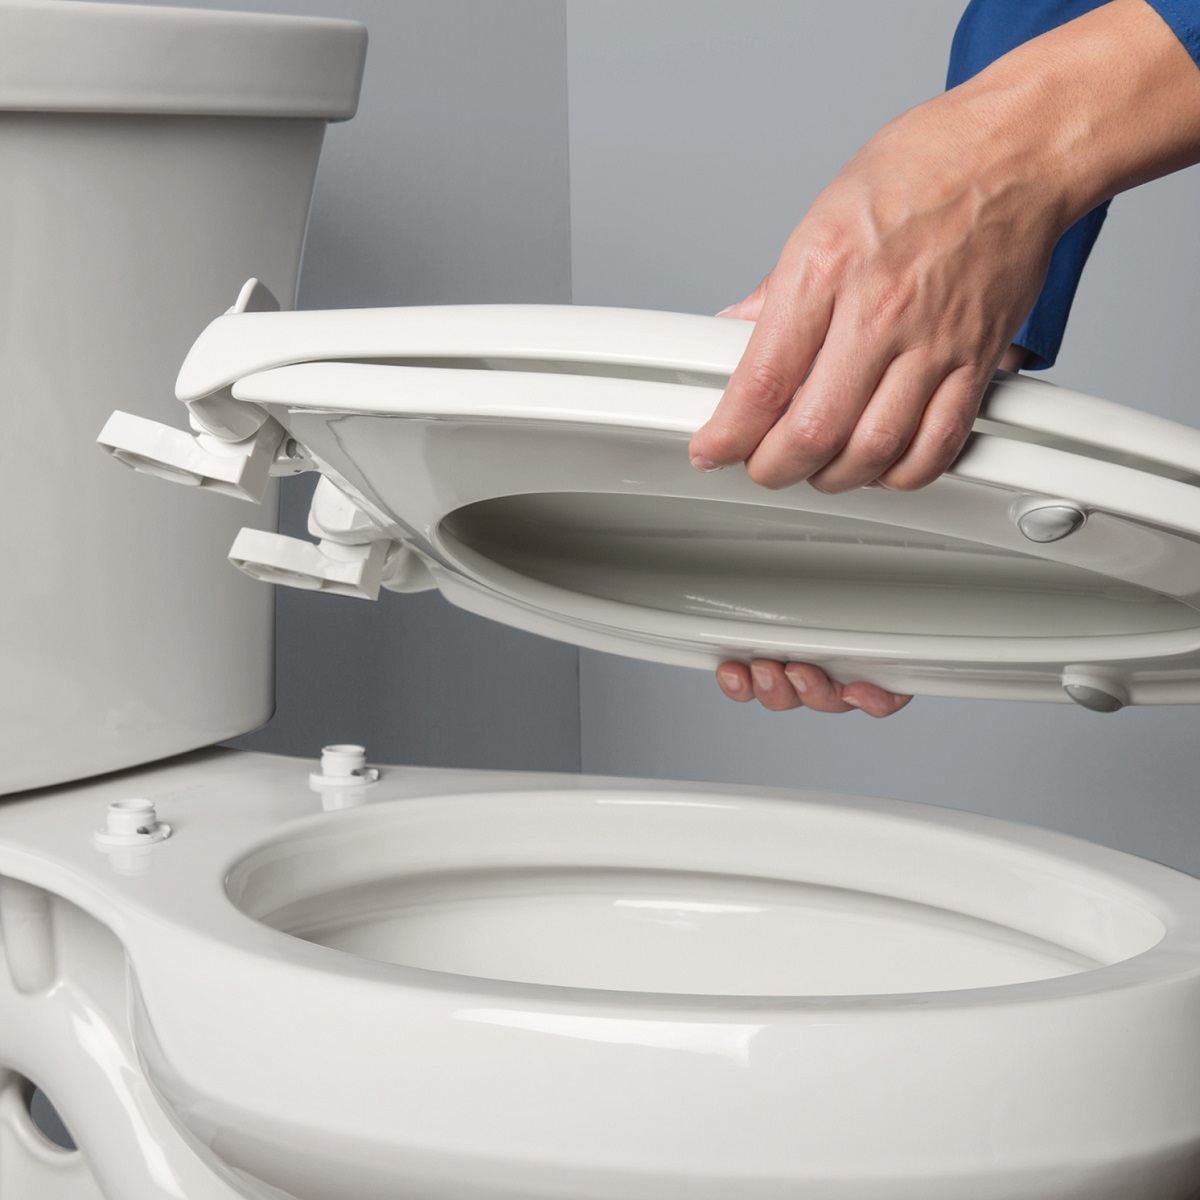
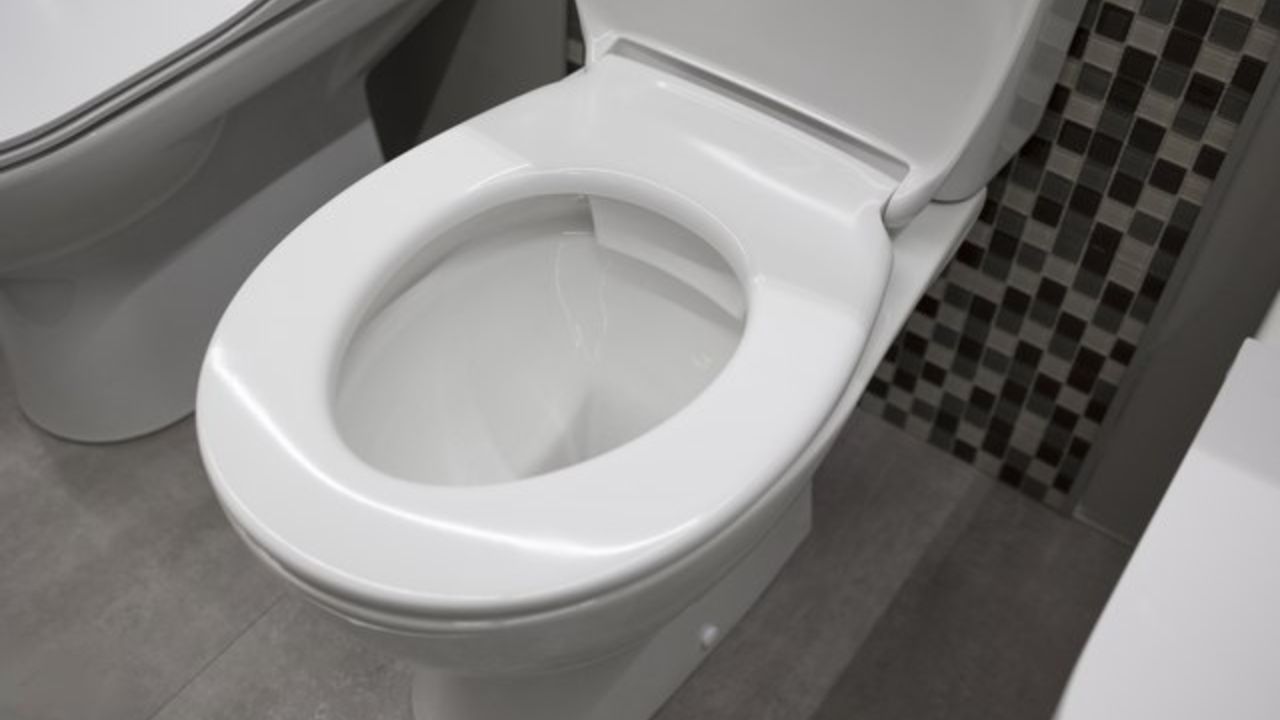
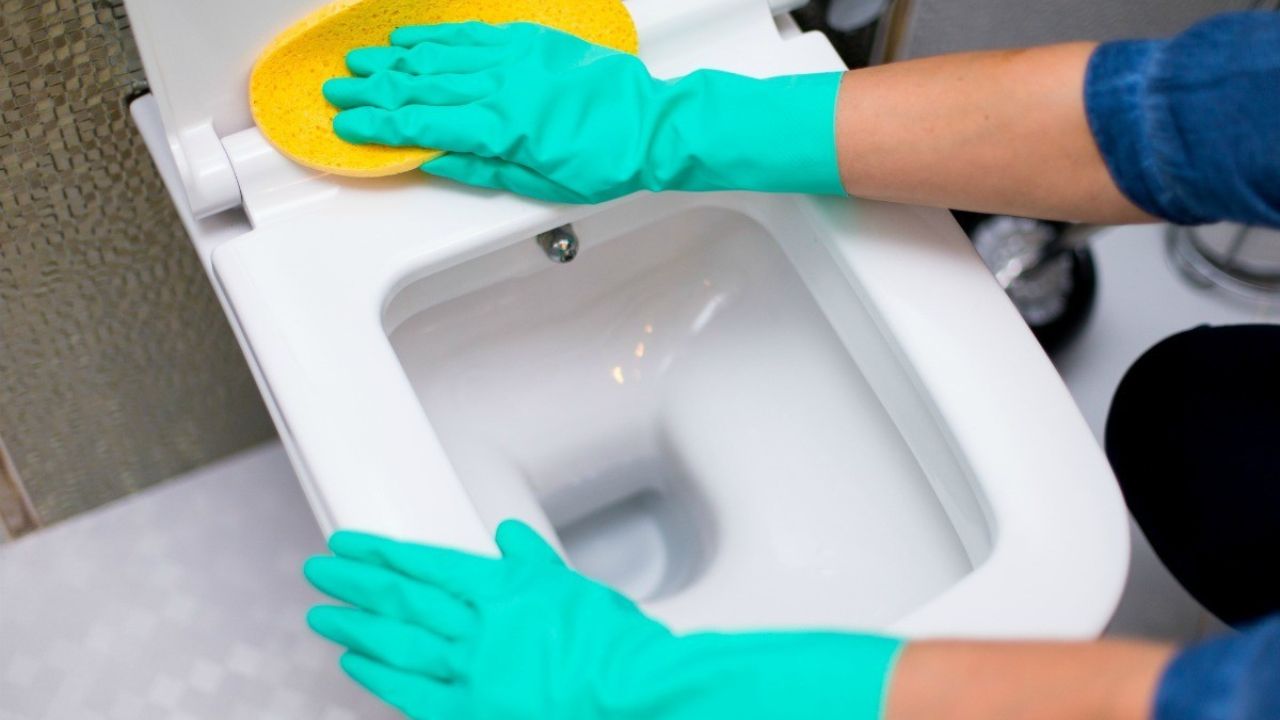
Step 5: Install the new toilet seat
With the rusted toilet seat bolts successfully removed, the final phase of the process involves the installation of a new toilet seat. This transformative step not only addresses the functional necessity of the toilet seat but also presents an opportunity to refresh the aesthetic appeal of your bathroom. Here's a comprehensive guide to seamlessly installing the new toilet seat:
-
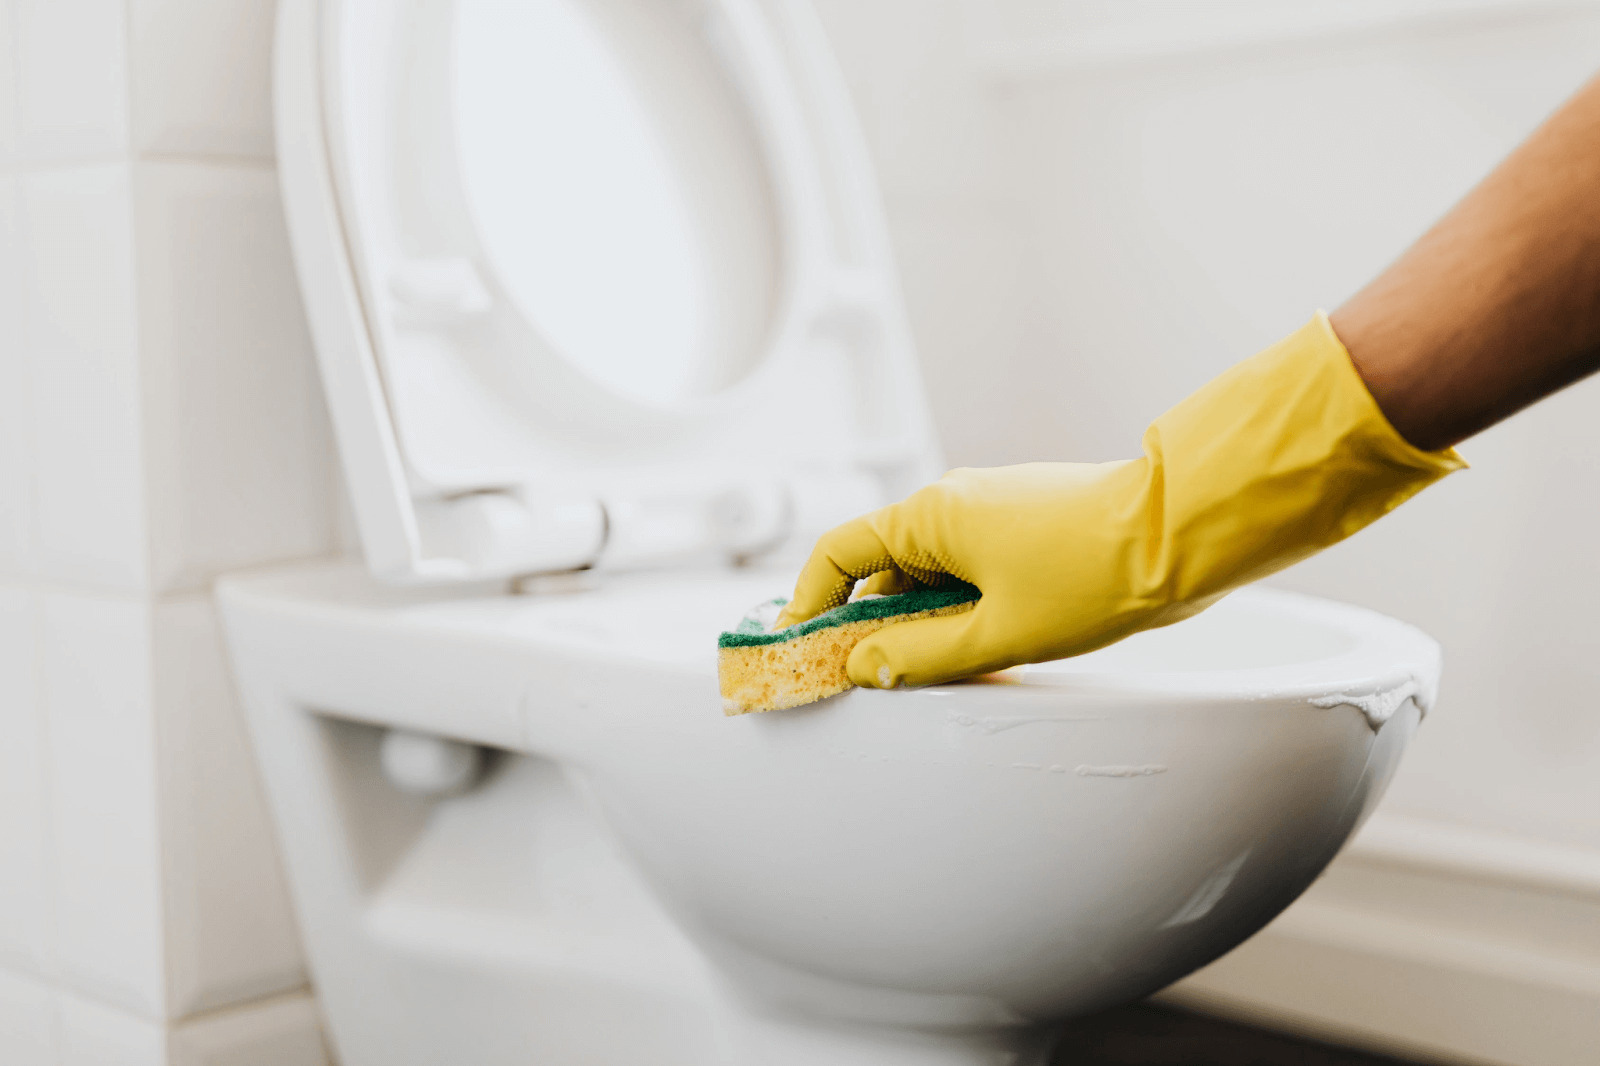
Preparation: Before proceeding with the installation, ensure that the area around the toilet bowl is clean and free of any debris or residual lubricant. Wipe the surface with a damp cloth or disinfectant to create a clean canvas for the new toilet seat.
-
Positioning the New Seat: Carefully position the new toilet seat over the bowl, aligning it with the mounting holes. Ensure that the seat is centered and sits flush against the rim of the bowl, providing a stable and balanced foundation for the installation.
-
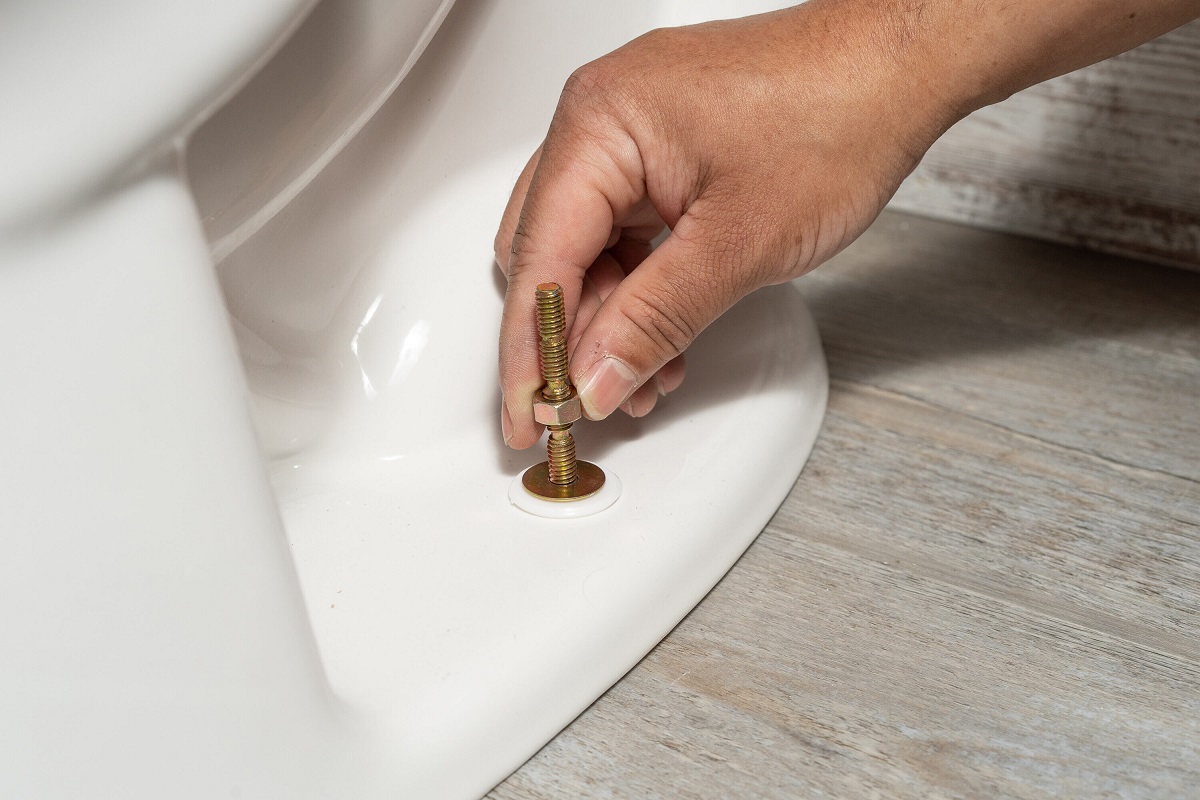
Securing the Bolts: Insert the new bolts through the mounting holes in the toilet seat, ensuring that they align with the corresponding openings on the bowl. The bolts should slide through the seat and extend beneath the bowl, ready to receive the securing nuts.
-
Attaching the Nuts: Beneath the bowl, affix the securing nuts onto the threaded ends of the bolts. Tighten the nuts by hand initially, ensuring that they are snug against the underside of the bowl without excessive force.
-
Final Tightening: Utilize a wrench or pliers to further tighten the securing nuts, ensuring that the new toilet seat is firmly anchored to the bowl. Exercise caution to avoid over-tightening, as this could lead to damage or instability.
-
Adjustment and Alignment: Once the new toilet seat is securely in place, assess its alignment and stability. Ensure that the seat sits level and does not wobble, making any necessary adjustments to achieve optimal positioning.
-
Finishing Touches: With the new toilet seat successfully installed, take a moment to inspect the area for any remaining debris or smudges. Wipe the surface clean and admire the revitalized appearance of your bathroom with the newly installed toilet seat.
By meticulously following these steps, you can seamlessly install a new toilet seat, completing the rejuvenation of your bathroom. The successful installation not only addresses the functional necessity of the toilet seat but also contributes to the overall ambiance of your bathroom, creating a space that is both functional and visually appealing.
Conclusion
In conclusion, the process of removing rusted toilet seat bolts and installing a new toilet seat is a testament to the transformative power of DIY home maintenance. By following the step-by-step guide outlined in this comprehensive tutorial, you have equipped yourself with the knowledge and confidence to address a common household challenge with precision and ingenuity.
The journey began with the gathering of essential tools and materials, setting the stage for a well-prepared approach to tackling the rusted bolts. The application of a high-quality penetrating lubricant emerged as a crucial strategy, harnessing the power of corrosion-fighting properties to weaken the grip of the rust and facilitate the loosening of the stubborn bolts. With patience and persistence, the utilization of a wrench or pliers enabled the gradual extraction of the rusted bolts, marking a significant milestone in the restoration of the toilet seat.
As the corroded hardware yielded to the applied torque, the subsequent removal of the rusted bolts paved the way for the installation of a new toilet seat. This final phase not only addressed the functional necessity of the toilet seat but also presented an opportunity to refresh the aesthetic appeal of the bathroom, ushering in a sense of renewal and revitalization.
By embracing the DIY approach to addressing the challenge of rusted toilet seat bolts, you have not only revitalized a key fixture in your home but also cultivated a sense of empowerment and accomplishment. The successful completion of this home maintenance endeavor underscores the value of resourcefulness, patience, and attention to detail in overcoming common household obstacles.
As you admire the newly installed toilet seat, take pride in the journey you've undertaken – a journey that exemplifies the spirit of self-reliance and the ability to transform challenges into opportunities for growth and enhancement. With the knowledge and skills gained from this experience, you are well-equipped to tackle future home maintenance projects with confidence and proficiency, ensuring that your living space remains a reflection of care, creativity, and functionality.
In the realm of DIY home maintenance, the removal of rusted toilet seat bolts and the installation of a new toilet seat stand as a testament to the transformative potential inherent in every household task. With each challenge overcome, you reaffirm your ability to shape and enhance your living environment, infusing it with a sense of renewal and personal accomplishment.
Frequently Asked Questions about How To Remove Rusted Toilet Seat Bolt
Was this page helpful?
At Storables.com, we guarantee accurate and reliable information. Our content, validated by Expert Board Contributors, is crafted following stringent Editorial Policies. We're committed to providing you with well-researched, expert-backed insights for all your informational needs.

0 thoughts on “How To Remove Rusted Toilet Seat Bolt”