Home>Furniture & Design>Bathroom Accessories>How To Paint Toilet Bowl
Bathroom Accessories
How To Paint Toilet Bowl
Published: February 14, 2024
Learn how to paint your toilet bowl and give your bathroom a fresh look with our step-by-step guide. Find out the best bathroom accessories for the job.
(Many of the links in this article redirect to a specific reviewed product. Your purchase of these products through affiliate links helps to generate commission for Storables.com, at no extra cost. Learn more)
Introduction
Painting a toilet bowl can be a simple yet effective way to revitalize your bathroom and give it a fresh, new look. Whether you're looking to cover up stains, update the color scheme, or simply add a personal touch to your bathroom, painting the toilet bowl can be a cost-effective and creative solution.
Before embarking on this project, it's important to gather the necessary materials and understand the step-by-step process to achieve a professional and long-lasting result. With the right tools and techniques, you can transform your toilet bowl into a stylish focal point that complements your bathroom decor.
In the following steps, we will guide you through the process of painting a toilet bowl, from preparing the surface to applying the final sealant. By following these instructions and taking the time to complete each step with care, you can achieve a beautifully painted toilet bowl that enhances the overall aesthetic of your bathroom.
Let's dive into the details of this DIY project and explore the materials and methods required to transform your toilet bowl into a stunning feature of your bathroom.
Key Takeaways:
- Transform your bathroom with a DIY toilet bowl painting project. Gather materials, prepare the surface, apply primer, paint with epoxy, and seal for a stylish and durable finish.
- Express your creativity by painting and sealing your toilet bowl. Follow the steps, use the right materials, and enjoy a fresh, vibrant, and long-lasting result.
Read more: How To Descale A Toilet Bowl
Step 1: Gather Materials
Before starting the process of painting your toilet bowl, it's essential to gather all the necessary materials to ensure a smooth and successful project. Here's a comprehensive list of items you'll need:
Materials:
-
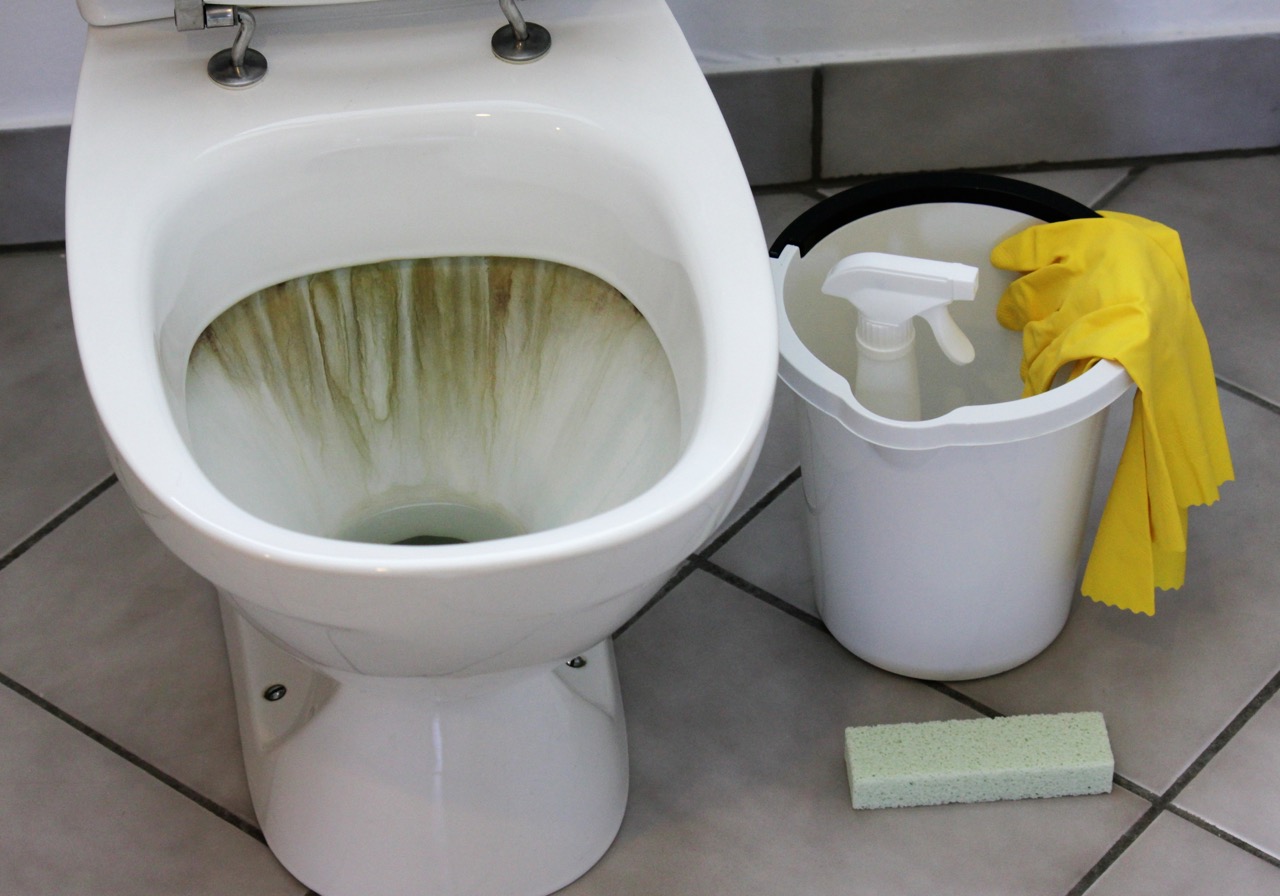
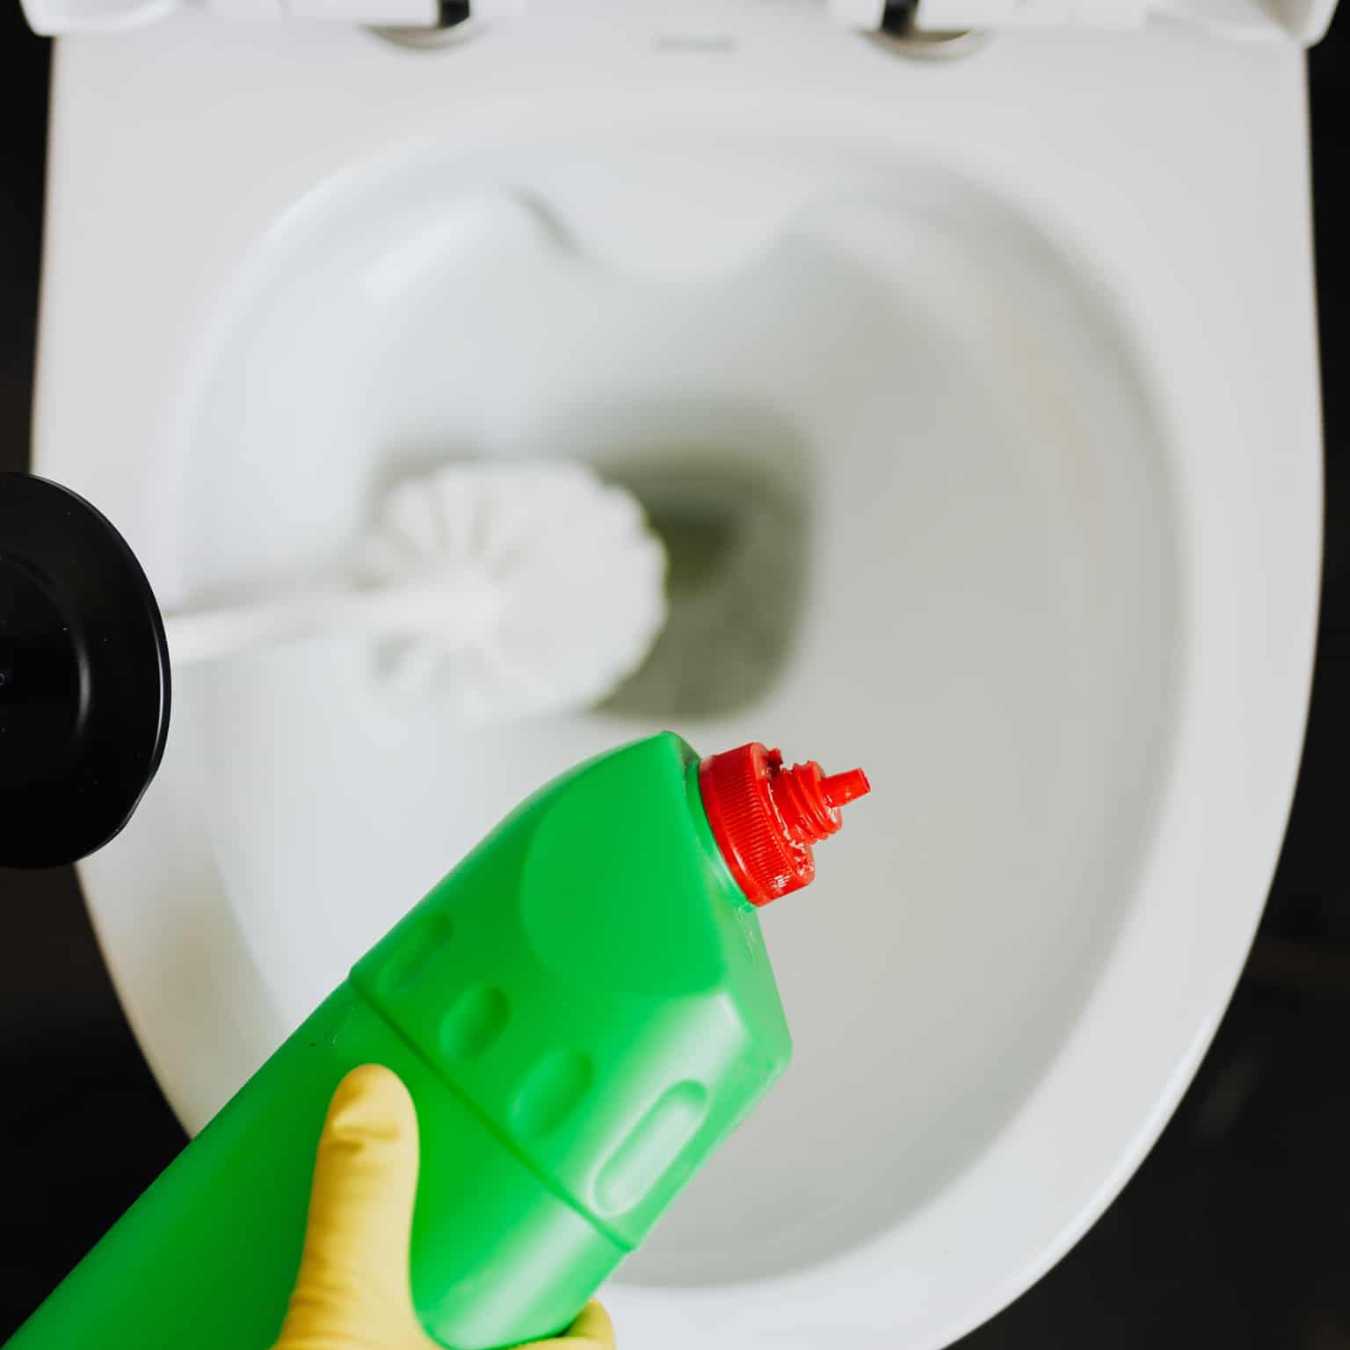
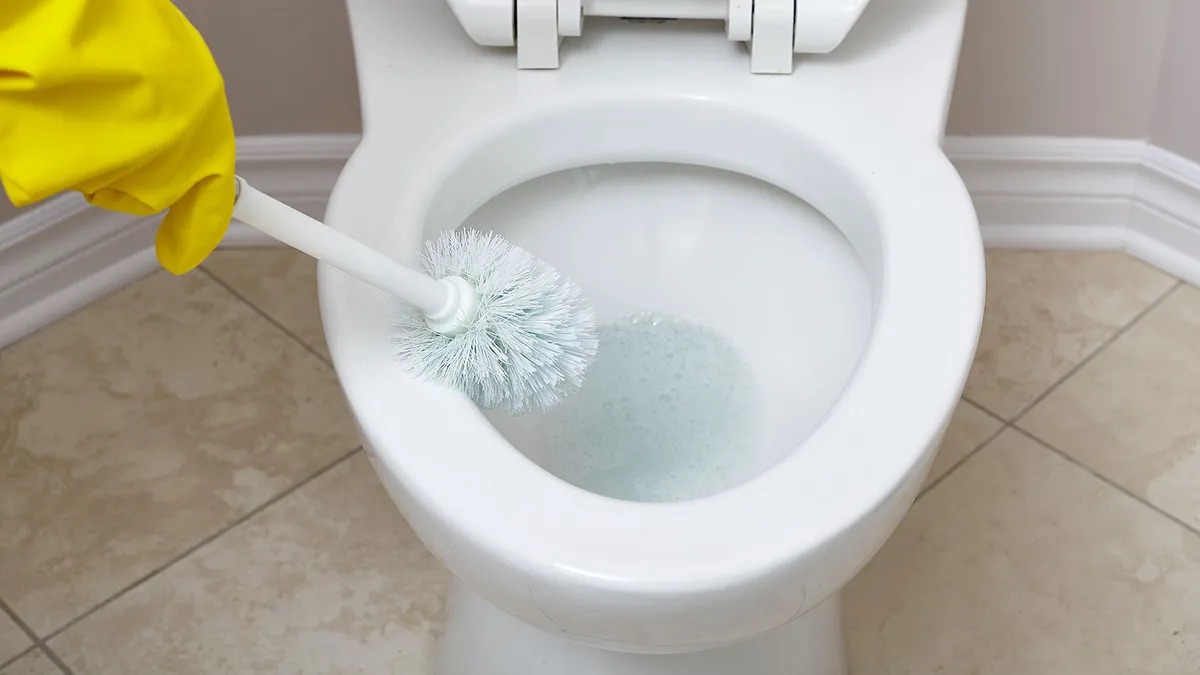
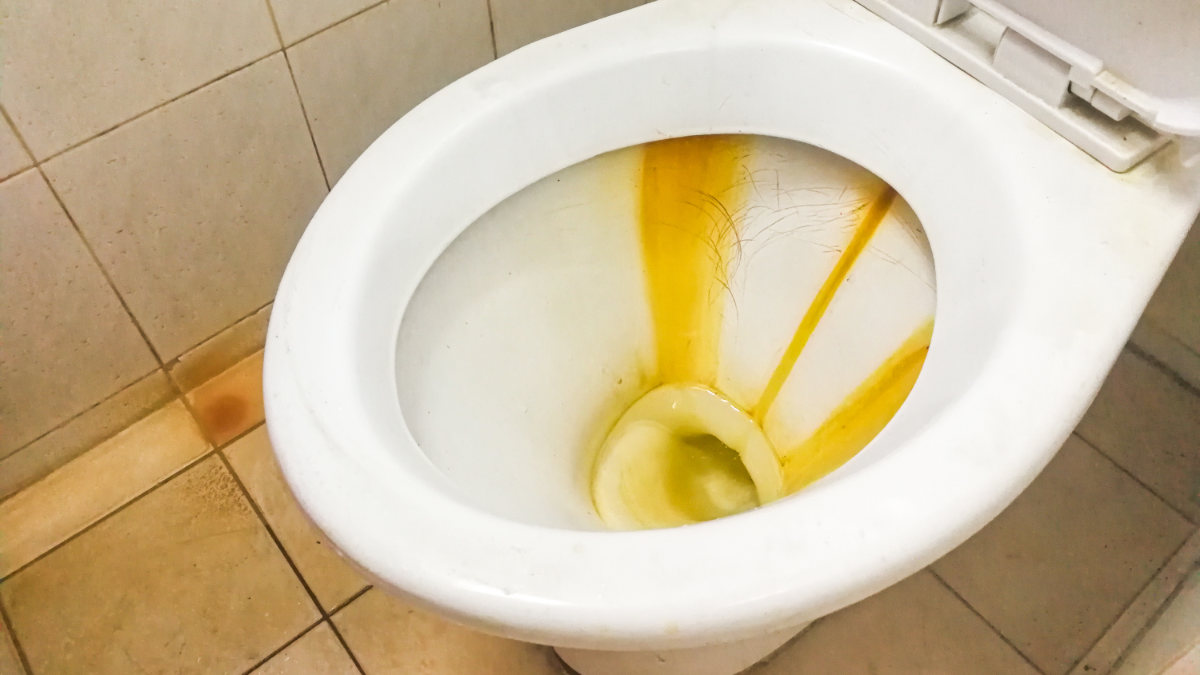
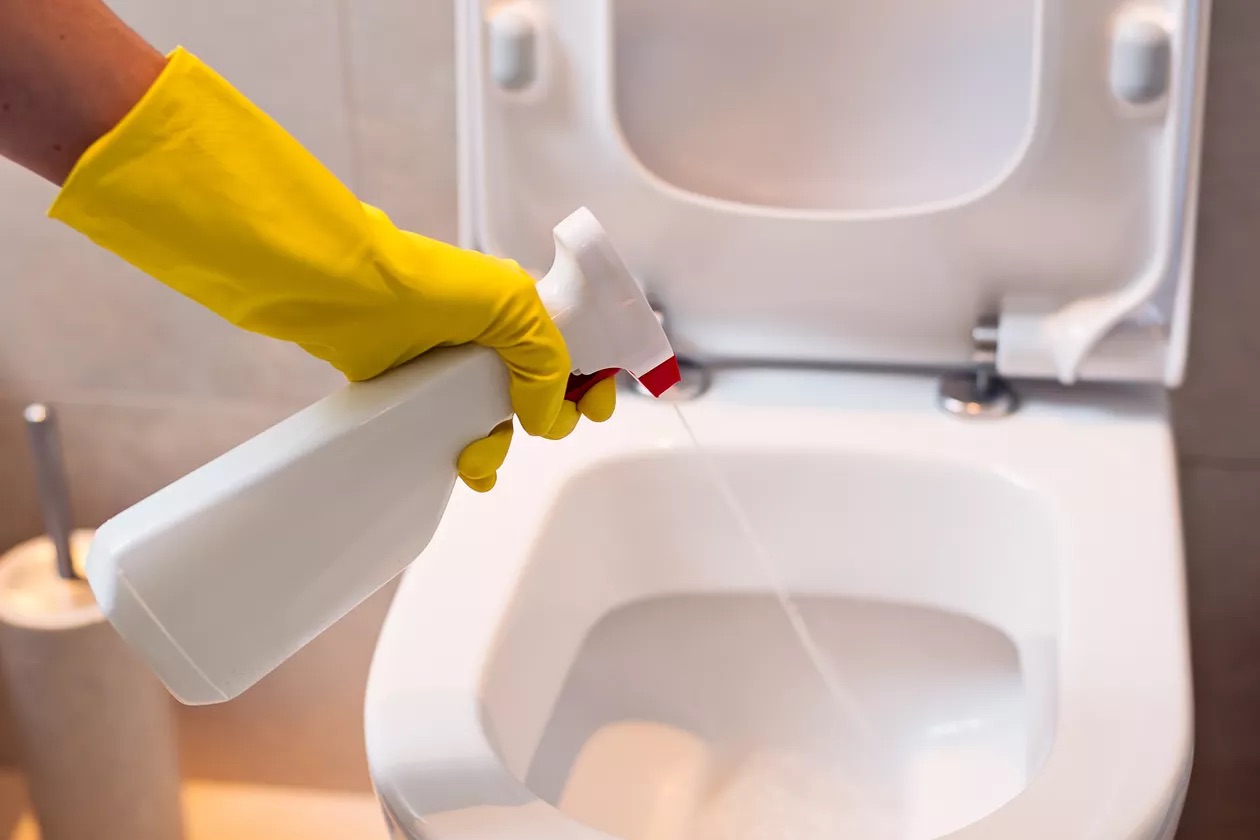
Toilet Bowl Cleaner: Begin by thoroughly cleaning the toilet bowl to remove any dirt, grime, or residue. A specialized toilet bowl cleaner will effectively prepare the surface for painting.
-
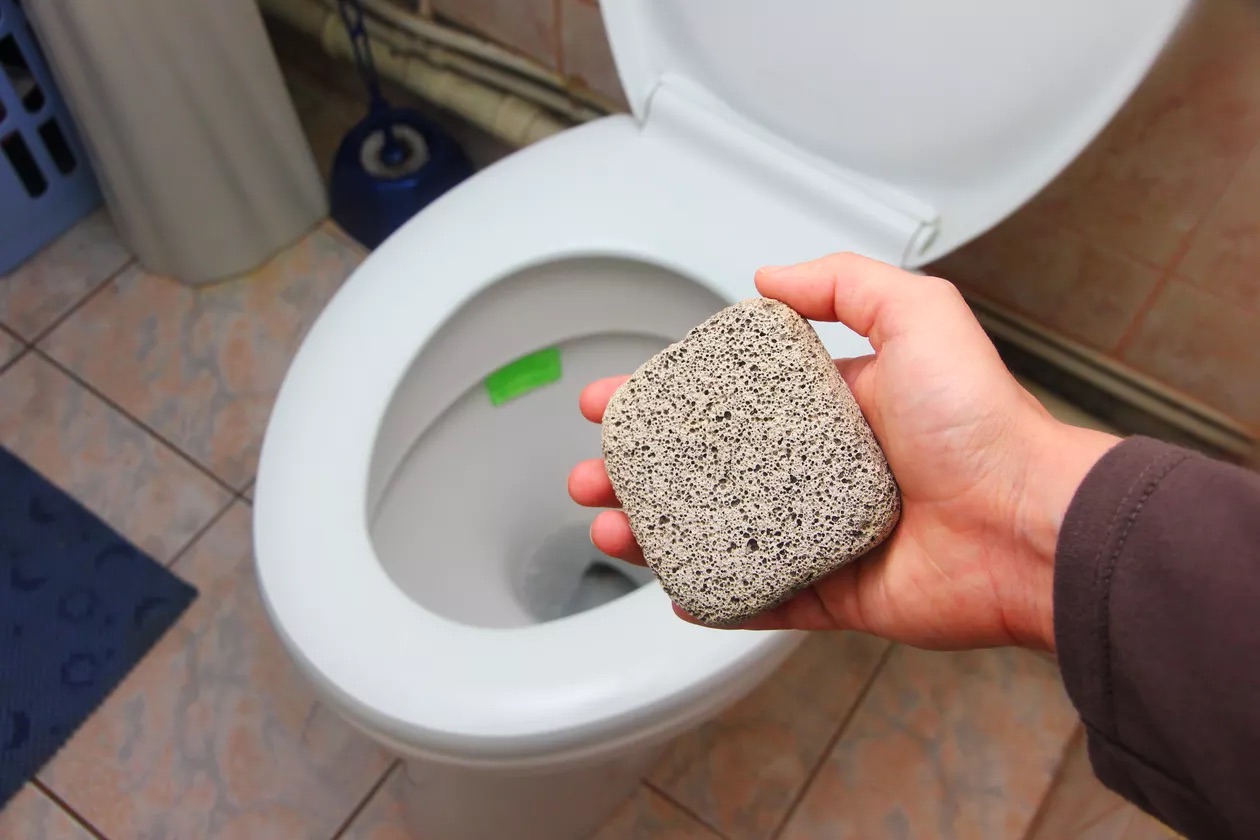
Sandpaper: Use fine-grit sandpaper to lightly sand the entire surface of the toilet bowl. This will create a rough texture, allowing the primer and paint to adhere more effectively.
-
Painter's Tape: To protect the surrounding areas and prevent accidental paint splatters, use painter's tape to cover the toilet tank, floor, and any other fixtures near the toilet.
-
Drop Cloth or Plastic Sheet: Lay down a drop cloth or plastic sheet to protect the floor and surrounding area from paint drips and spills.
-
Primer: Choose a high-quality bonding primer specifically designed for use on porcelain or ceramic surfaces. The primer will create a strong base for the paint to adhere to and ensure a durable finish.
-
Epoxy Paint: Select a durable epoxy paint that is formulated for use on porcelain or ceramic surfaces. Epoxy paint is resistant to water, chemicals, and abrasions, making it an ideal choice for painting a toilet bowl.
-
Paintbrushes: Invest in high-quality synthetic bristle brushes designed for use with epoxy paint. A small brush for detailed work and a larger brush for broader areas will be necessary.
-
Protective Gear: Wear gloves, a mask, and safety goggles to protect yourself from fumes and potential splatters during the painting process.
-
Ventilation: Ensure proper ventilation in the bathroom by opening windows and using a fan to expel fumes and odors during and after painting.
By gathering these materials, you'll be well-prepared to move on to the next steps of the process, which involve preparing the toilet bowl, applying primer, and ultimately painting and sealing the surface. With the right materials and attention to detail, you can achieve professional-looking results and transform your toilet bowl into a stylish focal point in your bathroom.
Step 2: Prepare the Toilet Bowl
Before diving into the painting process, it's crucial to thoroughly prepare the surface of the toilet bowl to ensure proper adhesion and a long-lasting finish. Here's a detailed guide on how to prepare the toilet bowl for painting:
-
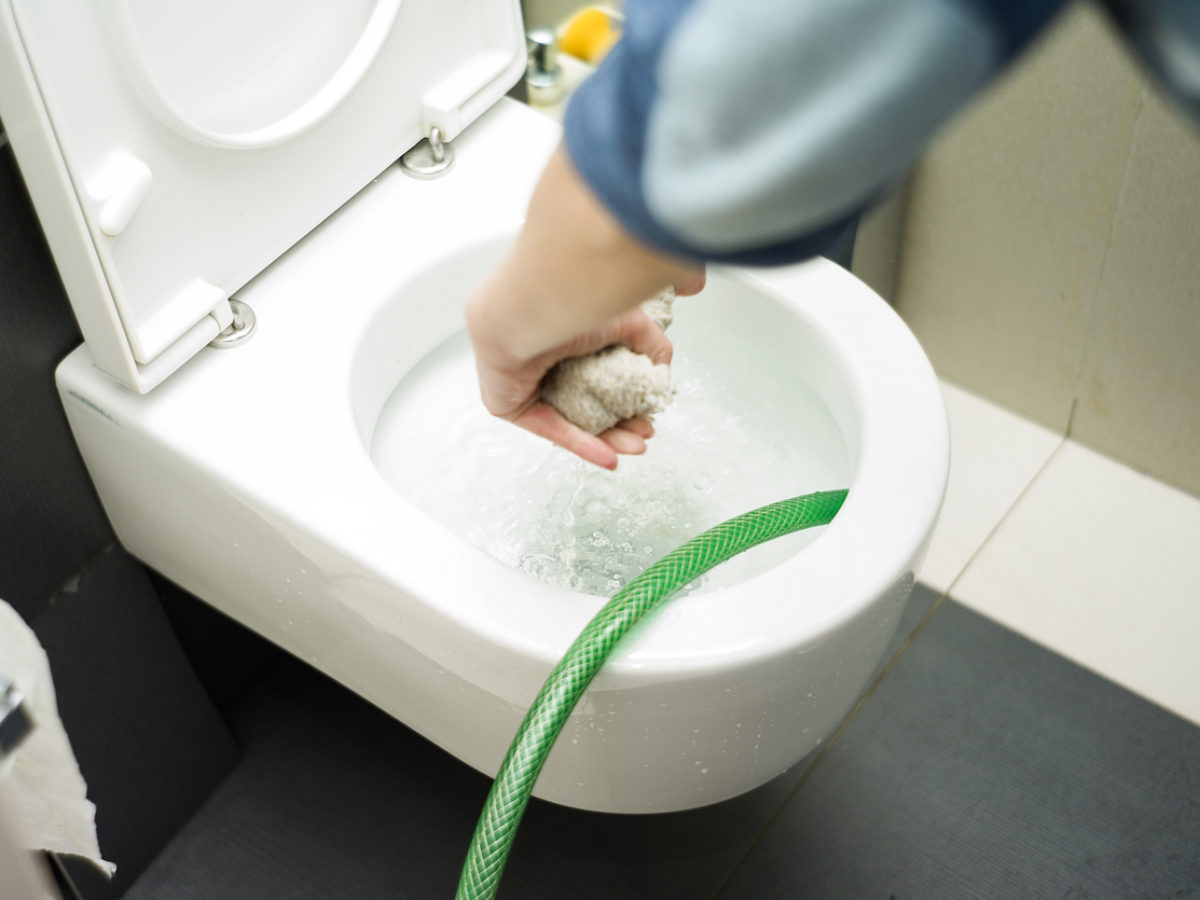
Clean the Surface: Start by cleaning the entire surface of the toilet bowl with a high-quality toilet bowl cleaner. Remove any dirt, grime, or residue to create a clean and smooth base for the paint. Pay close attention to areas around the waterline and any stubborn stains, ensuring that the surface is free of any contaminants that could affect the paint's adhesion.
-
Sand the Surface: Once the toilet bowl is clean and dry, use fine-grit sandpaper to lightly sand the entire surface. This step is essential for creating a slightly rough texture that allows the primer and paint to adhere effectively. Be gentle and thorough, ensuring that the entire surface is evenly sanded to promote optimal adhesion.
-
Remove Excess Dust: After sanding, use a damp cloth to wipe away any dust or debris from the surface of the toilet bowl. It's crucial to remove all traces of dust to achieve a smooth and flawless finish. Take your time with this step to ensure that the surface is completely clean and ready for the next phase of the painting process.
By meticulously following these preparation steps, you'll create an ideal foundation for the primer and paint, setting the stage for a successful and professional-looking outcome. Properly preparing the toilet bowl is a critical aspect of the painting process, and it significantly contributes to the overall durability and aesthetic appeal of the finished result.
With the surface meticulously prepared, you're now ready to move on to the next step: applying the bonding primer. This crucial stage will further enhance the adhesion of the paint and set the stage for achieving a flawless and long-lasting finish on your newly painted toilet bowl.
Step 3: Apply Primer
Applying a high-quality bonding primer is a crucial step in the process of painting a toilet bowl. The primer serves as the foundation for the paint, promoting strong adhesion and ensuring a durable and long-lasting finish. Here's a detailed guide on how to apply primer to the toilet bowl:
-
Select the Right Primer: Choose a bonding primer specifically designed for use on porcelain or ceramic surfaces. It's essential to use a primer that is formulated to adhere effectively to the smooth and non-porous surface of the toilet bowl. Look for a primer that offers excellent adhesion and is compatible with the type of paint you'll be using.
-
Prepare the Primer: Thoroughly stir the primer to ensure that it is well-mixed and ready for application. If the primer has been sitting for an extended period, it's essential to mix it thoroughly to achieve a consistent texture and optimal performance.
-
Apply the Primer: Using a high-quality synthetic bristle brush, carefully apply an even coat of primer to the entire surface of the toilet bowl. Start with the interior of the bowl, working from the top rim down to the waterline and the bottom of the bowl. Ensure that the primer is applied smoothly and evenly, covering the surface with a thin and consistent layer.
-
Allow for Drying Time: After applying the primer, allow it to dry completely according to the manufacturer's instructions. Proper drying time is essential to ensure that the primer forms a strong bond with the surface of the toilet bowl. Adequate ventilation in the bathroom will help expedite the drying process and minimize fumes.
-
Inspect for Coverage: Once the first coat of primer has dried, inspect the toilet bowl to ensure that the surface is uniformly covered. If any areas appear thin or uneven, apply a second coat of primer to achieve consistent coverage and enhance the adhesion of the paint.
By following these steps and taking the time to apply the bonding primer with care and precision, you'll create an ideal foundation for the paint and set the stage for a professional and durable finish. The primer plays a pivotal role in ensuring that the paint adheres effectively to the surface of the toilet bowl, resulting in a beautifully painted and long-lasting transformation. With the primer applied, you're now ready to move on to the next exciting phase: painting the toilet bowl with the chosen epoxy paint.
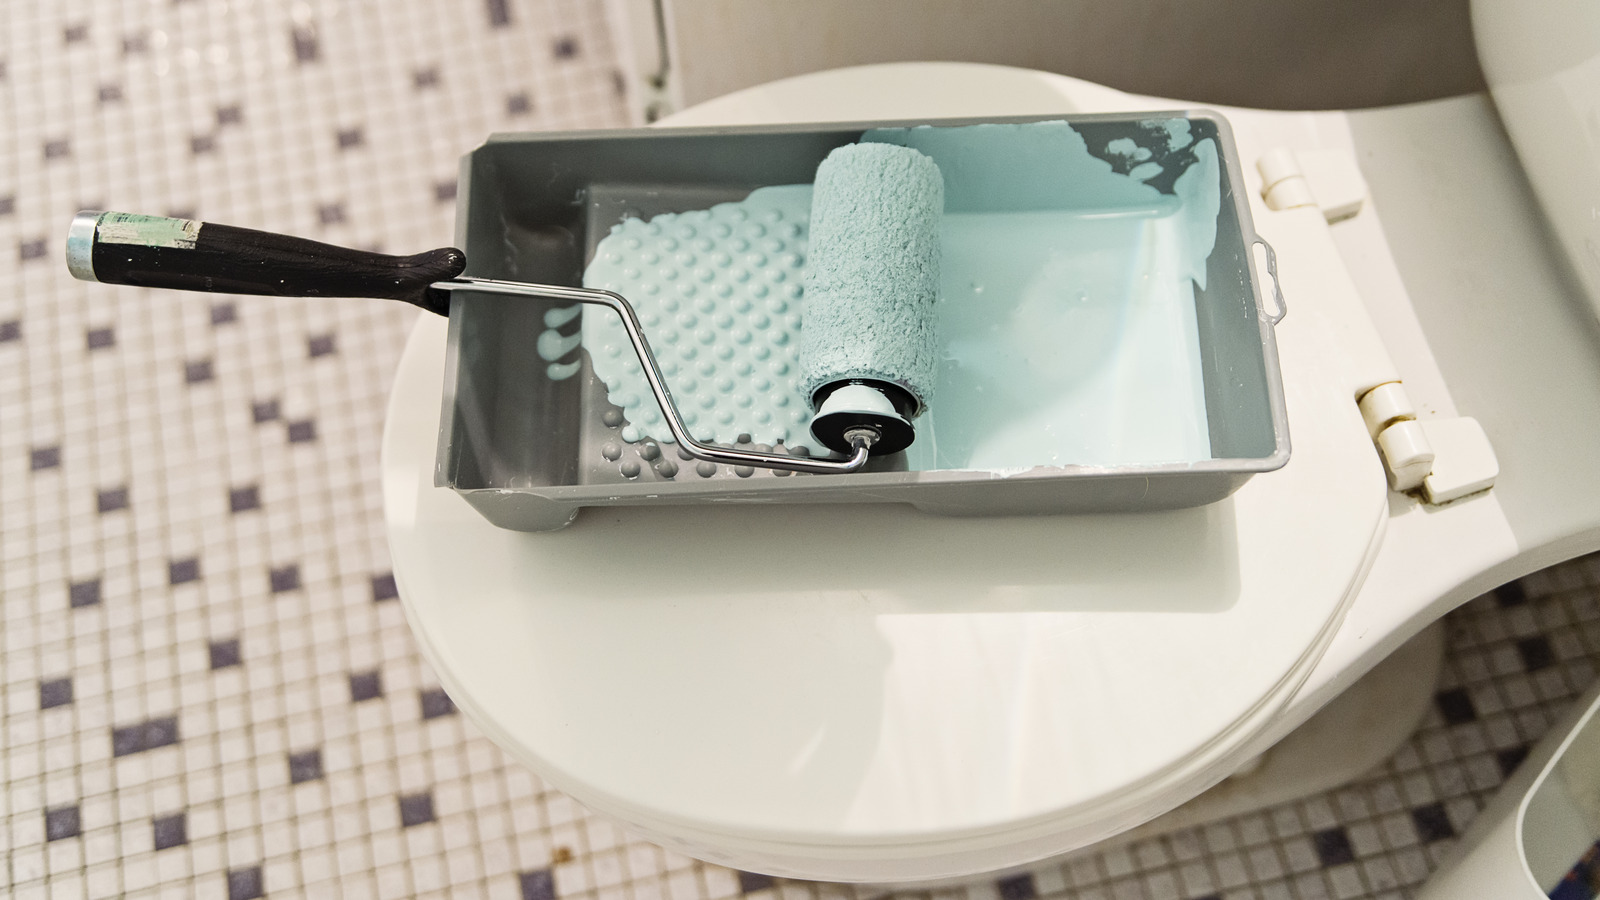
Before painting a toilet bowl, make sure to thoroughly clean and dry the surface. Use a high-quality epoxy or enamel paint designed for porcelain surfaces, and apply it evenly with a brush or roller. Allow the paint to fully cure before using the toilet.
Read more: How To Dispose Of A Toilet Bowl
Step 4: Paint the Toilet Bowl
With the primer successfully applied and dried, it's time to embark on the transformative process of painting the toilet bowl. This step will bring your vision to life as you infuse the surface with the chosen color, creating a fresh and vibrant look for your bathroom. Here's a detailed guide on how to paint the toilet bowl with precision and finesse:
-
Select the Epoxy Paint: Choose a high-quality epoxy paint specifically formulated for use on porcelain or ceramic surfaces. Epoxy paint offers exceptional durability and resistance to water, chemicals, and abrasions, making it an ideal choice for painting a toilet bowl. Select the desired color that complements your bathroom decor and reflects your personal style.
-
Prepare the Paint: Thoroughly stir the epoxy paint to ensure that it is well-mixed and ready for application. Consistent mixing will help achieve an even color and texture, ensuring a uniform finish on the toilet bowl.
-
Apply the Paint: Using a clean and high-quality synthetic bristle brush, carefully apply the epoxy paint to the entire interior surface of the toilet bowl. Begin with the top rim and work your way down to the waterline and the bottom of the bowl. Apply the paint evenly and consistently, ensuring full coverage and a smooth finish. Take your time to avoid drips or streaks, and maintain a steady hand for precise application.
-
Allow for Drying Time: After painting the toilet bowl, allow the epoxy paint to dry thoroughly according to the manufacturer's instructions. Proper drying time is essential to ensure that the paint cures effectively and forms a resilient and long-lasting finish. Adequate ventilation in the bathroom will facilitate the drying process and help dissipate any lingering fumes.
-
Inspect for Quality: Once the first coat of paint has dried, inspect the toilet bowl to ensure that the color is uniform and the coverage is consistent. If necessary, apply a second coat of epoxy paint to achieve the desired depth of color and ensure a flawless finish. Take pride in your attention to detail, as it will contribute to the overall aesthetic and durability of the painted surface.
By following these meticulous steps and approaching the painting process with care and precision, you'll bring your vision to fruition and achieve a beautifully painted toilet bowl that enhances the ambiance of your bathroom. With the paint applied, the final step of sealing the surface will further fortify the finish and ensure its longevity and resilience.
Step 5: Apply Sealant
Applying a sealant is the final crucial step in the process of painting a toilet bowl. The sealant serves as a protective barrier, enhancing the durability and resilience of the painted surface. Here's a detailed guide on how to apply sealant to the newly painted toilet bowl:
-
Select the Right Sealant: Choose a high-quality clear sealant that is specifically designed for use on painted porcelain or ceramic surfaces. Look for a sealant that offers excellent water resistance and durability, as it will provide long-term protection for the painted toilet bowl.
-
Prepare the Sealant: Thoroughly mix the sealant according to the manufacturer's instructions to ensure a consistent texture and optimal performance. Proper mixing will help achieve an even application and enhance the protective properties of the sealant.
-
Apply the Sealant: Using a clean and high-quality brush or foam applicator, carefully apply an even coat of sealant to the entire interior surface of the toilet bowl. Begin with the top rim and work your way down to the waterline and the bottom of the bowl. Ensure that the sealant is applied smoothly and evenly, covering the painted surface with a thin and consistent layer.
-
Allow for Curing Time: After applying the sealant, allow it to cure and dry completely according to the manufacturer's instructions. Proper curing time is essential to ensure that the sealant forms a strong and protective layer over the painted surface. Adequate ventilation in the bathroom will facilitate the curing process and help dissipate any fumes.
-
Inspect for Coverage: Once the sealant has dried, inspect the toilet bowl to ensure that the painted surface is uniformly covered and protected. If necessary, apply a second coat of sealant to enhance the protective barrier and ensure long-term resilience against water, stains, and daily use.
By meticulously following these steps and taking the time to apply the sealant with care and precision, you'll fortify the painted surface and ensure its longevity and resistance to wear and tear. The sealant plays a pivotal role in safeguarding the newly painted toilet bowl, preserving its aesthetic appeal and protecting it from the rigors of daily use.
With the sealant applied, you've completed the transformative process of painting and sealing the toilet bowl, resulting in a beautifully refreshed and durable fixture that enhances the overall ambiance of your bathroom.
Conclusion
In conclusion, painting a toilet bowl can be a rewarding and transformative DIY project that adds a personal touch to your bathroom while revitalizing the overall aesthetic. By following the step-by-step process outlined in this guide and utilizing the right materials and techniques, you can achieve a professional-looking and long-lasting result.
The journey begins with gathering the necessary materials, including a high-quality bonding primer, epoxy paint, and a clear sealant designed for use on porcelain or ceramic surfaces. Thoroughly preparing the toilet bowl by cleaning the surface, sanding it to promote adhesion, and applying the bonding primer sets the stage for a successful painting endeavor.
The application of epoxy paint is a pivotal step that infuses the toilet bowl with the chosen color, creating a fresh and vibrant look that complements your bathroom decor. Taking the time to apply the paint evenly and consistently, allowing for proper drying time, and inspecting the coverage ensures a flawless finish that enhances the overall ambiance of the bathroom.
Finally, applying a clear sealant serves as the ultimate protective measure, fortifying the painted surface and safeguarding it against water, stains, and daily use. The sealant not only enhances the durability of the painted toilet bowl but also preserves its aesthetic appeal, ensuring that your DIY project stands the test of time.
By embarking on the journey of painting a toilet bowl, you have the opportunity to express your creativity, revitalize your bathroom, and take pride in a project that adds a personal touch to your living space. The transformation of a mundane fixture into a stylish focal point is a testament to your attention to detail and commitment to enhancing your home environment.
In the end, a freshly painted and sealed toilet bowl serves as a testament to your DIY prowess and adds a touch of elegance to your bathroom. Embrace the satisfaction of a job well done and revel in the newfound charm and vibrancy that your painted toilet bowl brings to your living space.
Frequently Asked Questions about How To Paint Toilet Bowl
Was this page helpful?
At Storables.com, we guarantee accurate and reliable information. Our content, validated by Expert Board Contributors, is crafted following stringent Editorial Policies. We're committed to providing you with well-researched, expert-backed insights for all your informational needs.
0 thoughts on “How To Paint Toilet Bowl”