Home>Furniture & Design>Bathroom Accessories>How To Replace The Battery On A Sonicare Toothbrush

Bathroom Accessories
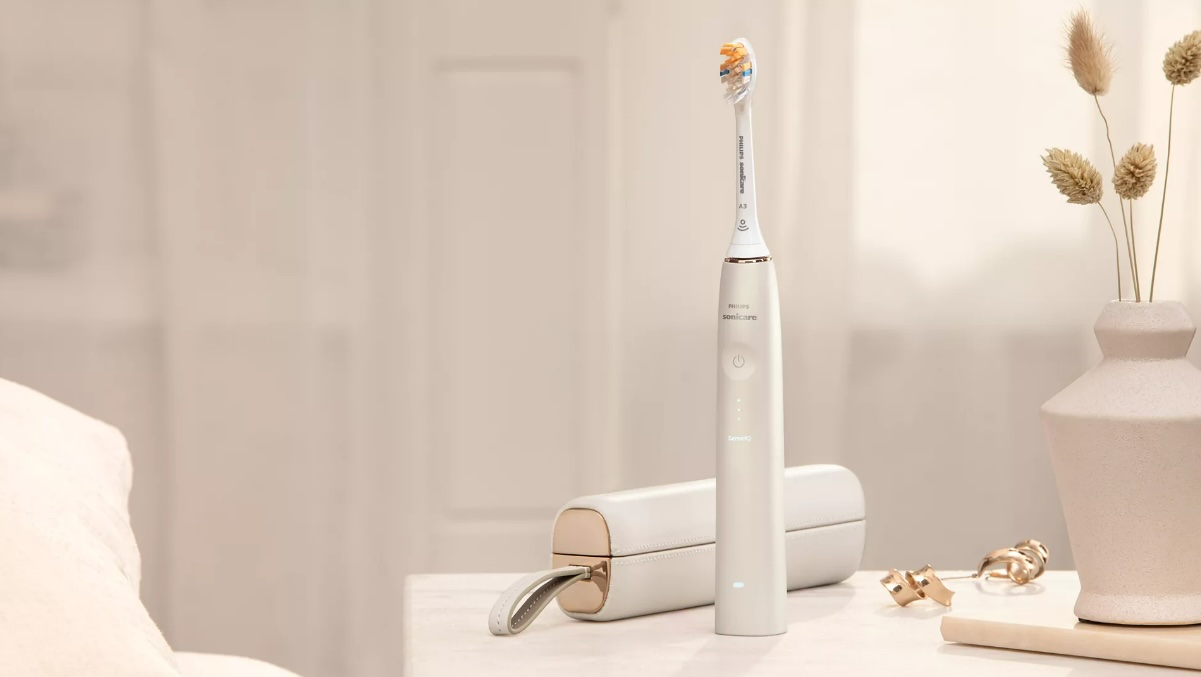
How To Replace The Battery On A Sonicare Toothbrush
Modified: October 18, 2024
Learn how to easily replace the battery on your Sonicare toothbrush with our step-by-step guide. Keep your bathroom accessories in top condition.
(Many of the links in this article redirect to a specific reviewed product. Your purchase of these products through affiliate links helps to generate commission for Storables.com, at no extra cost. Learn more)
Introduction
Replacing the battery on a Sonicare toothbrush is a straightforward process that can breathe new life into your trusty oral care companion. Over time, the battery in your Sonicare toothbrush may lose its ability to hold a charge, leading to diminished performance and shorter usage times between charges. Fortunately, with a few simple tools and a bit of patience, you can swap out the old battery for a new one, restoring your toothbrush to its full potential.
Whether you're a seasoned DIY enthusiast or a first-time tinkerer, this guide will walk you through the step-by-step process of replacing the battery in your Sonicare toothbrush. By following these instructions, you can save money on costly replacements and extend the lifespan of your favorite oral hygiene tool.
As we delve into the intricacies of this process, it's important to approach the task with a calm and methodical mindset. While the prospect of disassembling a sophisticated electronic device may seem daunting, rest assured that with the right guidance, you can successfully complete this battery replacement without a hitch.
So, gather your tools, set aside some time, and get ready to breathe new life into your Sonicare toothbrush. With a bit of patience and a willingness to learn, you'll soon be on your way to enjoying the rejuvenated performance of your freshly powered-up toothbrush. Let's dive into the steps and get your Sonicare toothbrush back to its optimal functionality.
Key Takeaways:
- Replacing the battery in your Sonicare toothbrush is a DIY project that can save you money and extend the life of your toothbrush. With the right tools and patience, you can enjoy a rejuvenated oral care experience.
- By replacing the battery in your Sonicare toothbrush, you’re not only saving money but also contributing to reducing electronic waste. Embrace the satisfaction of DIY maintenance and enjoy the enhanced performance of your toothbrush.
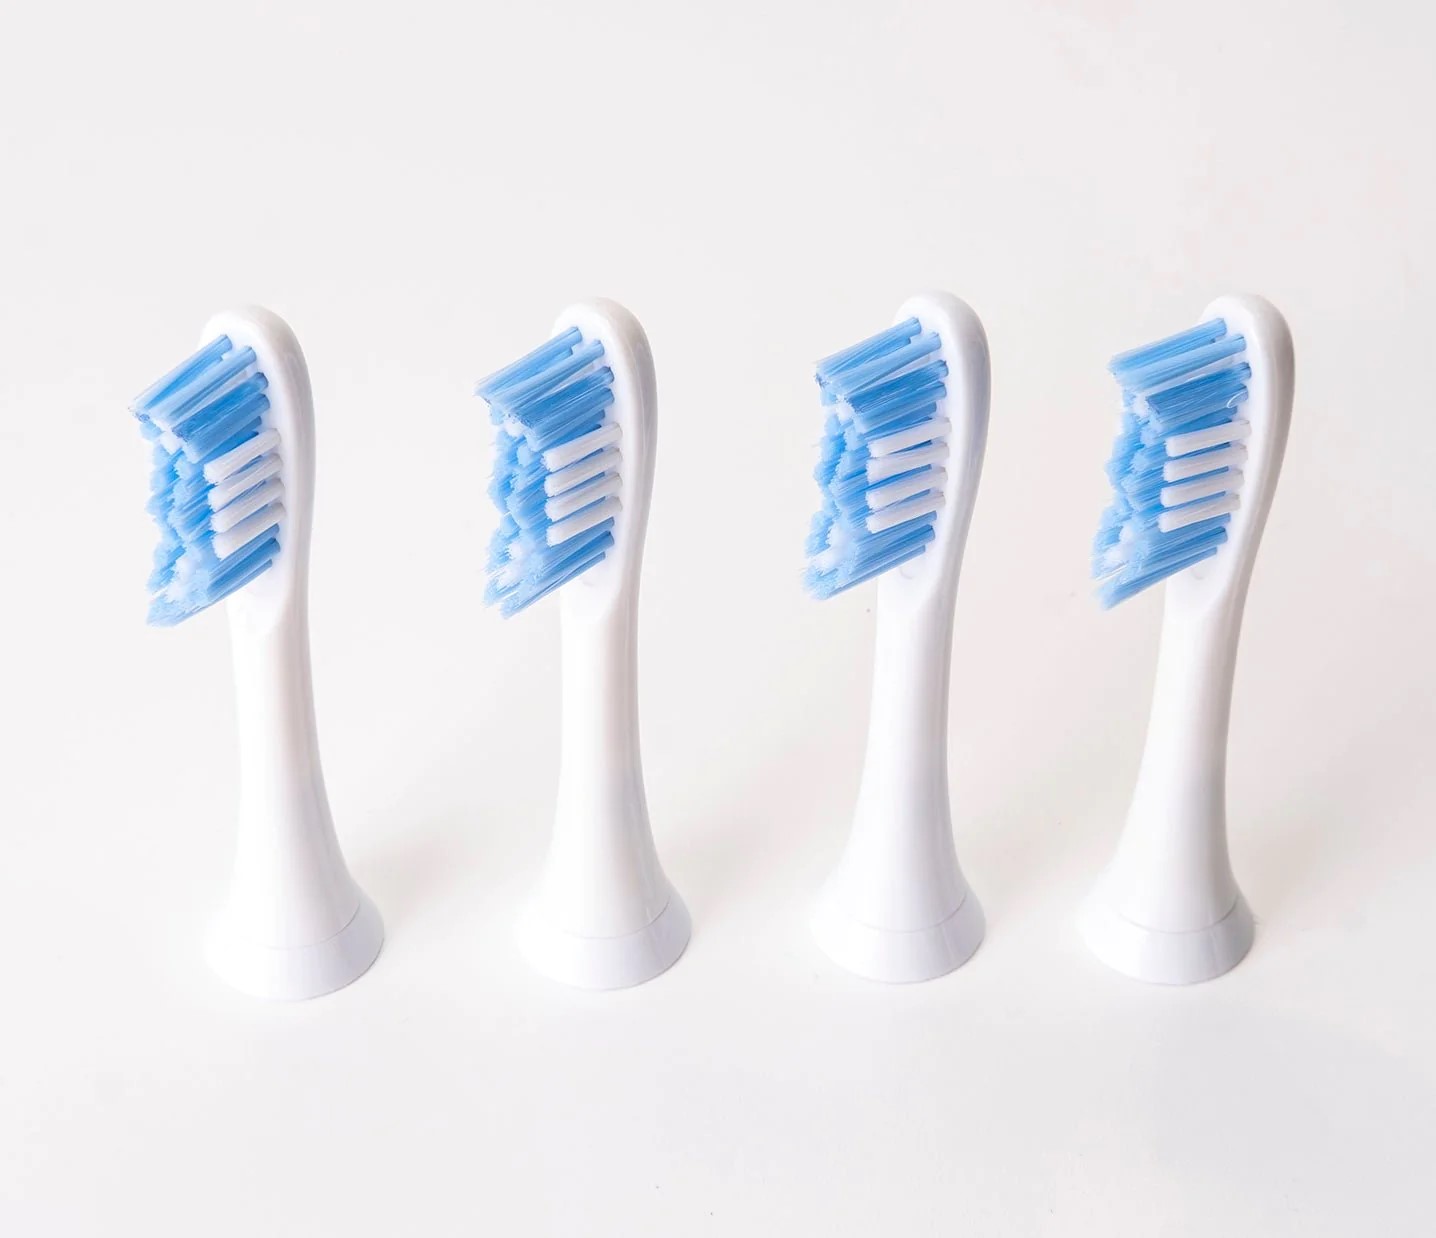
Step 1: Gather the necessary tools
Before embarking on the battery replacement journey for your Sonicare toothbrush, it's essential to gather the appropriate tools and materials to ensure a smooth and efficient process. Here's a comprehensive list of items you'll need:
-
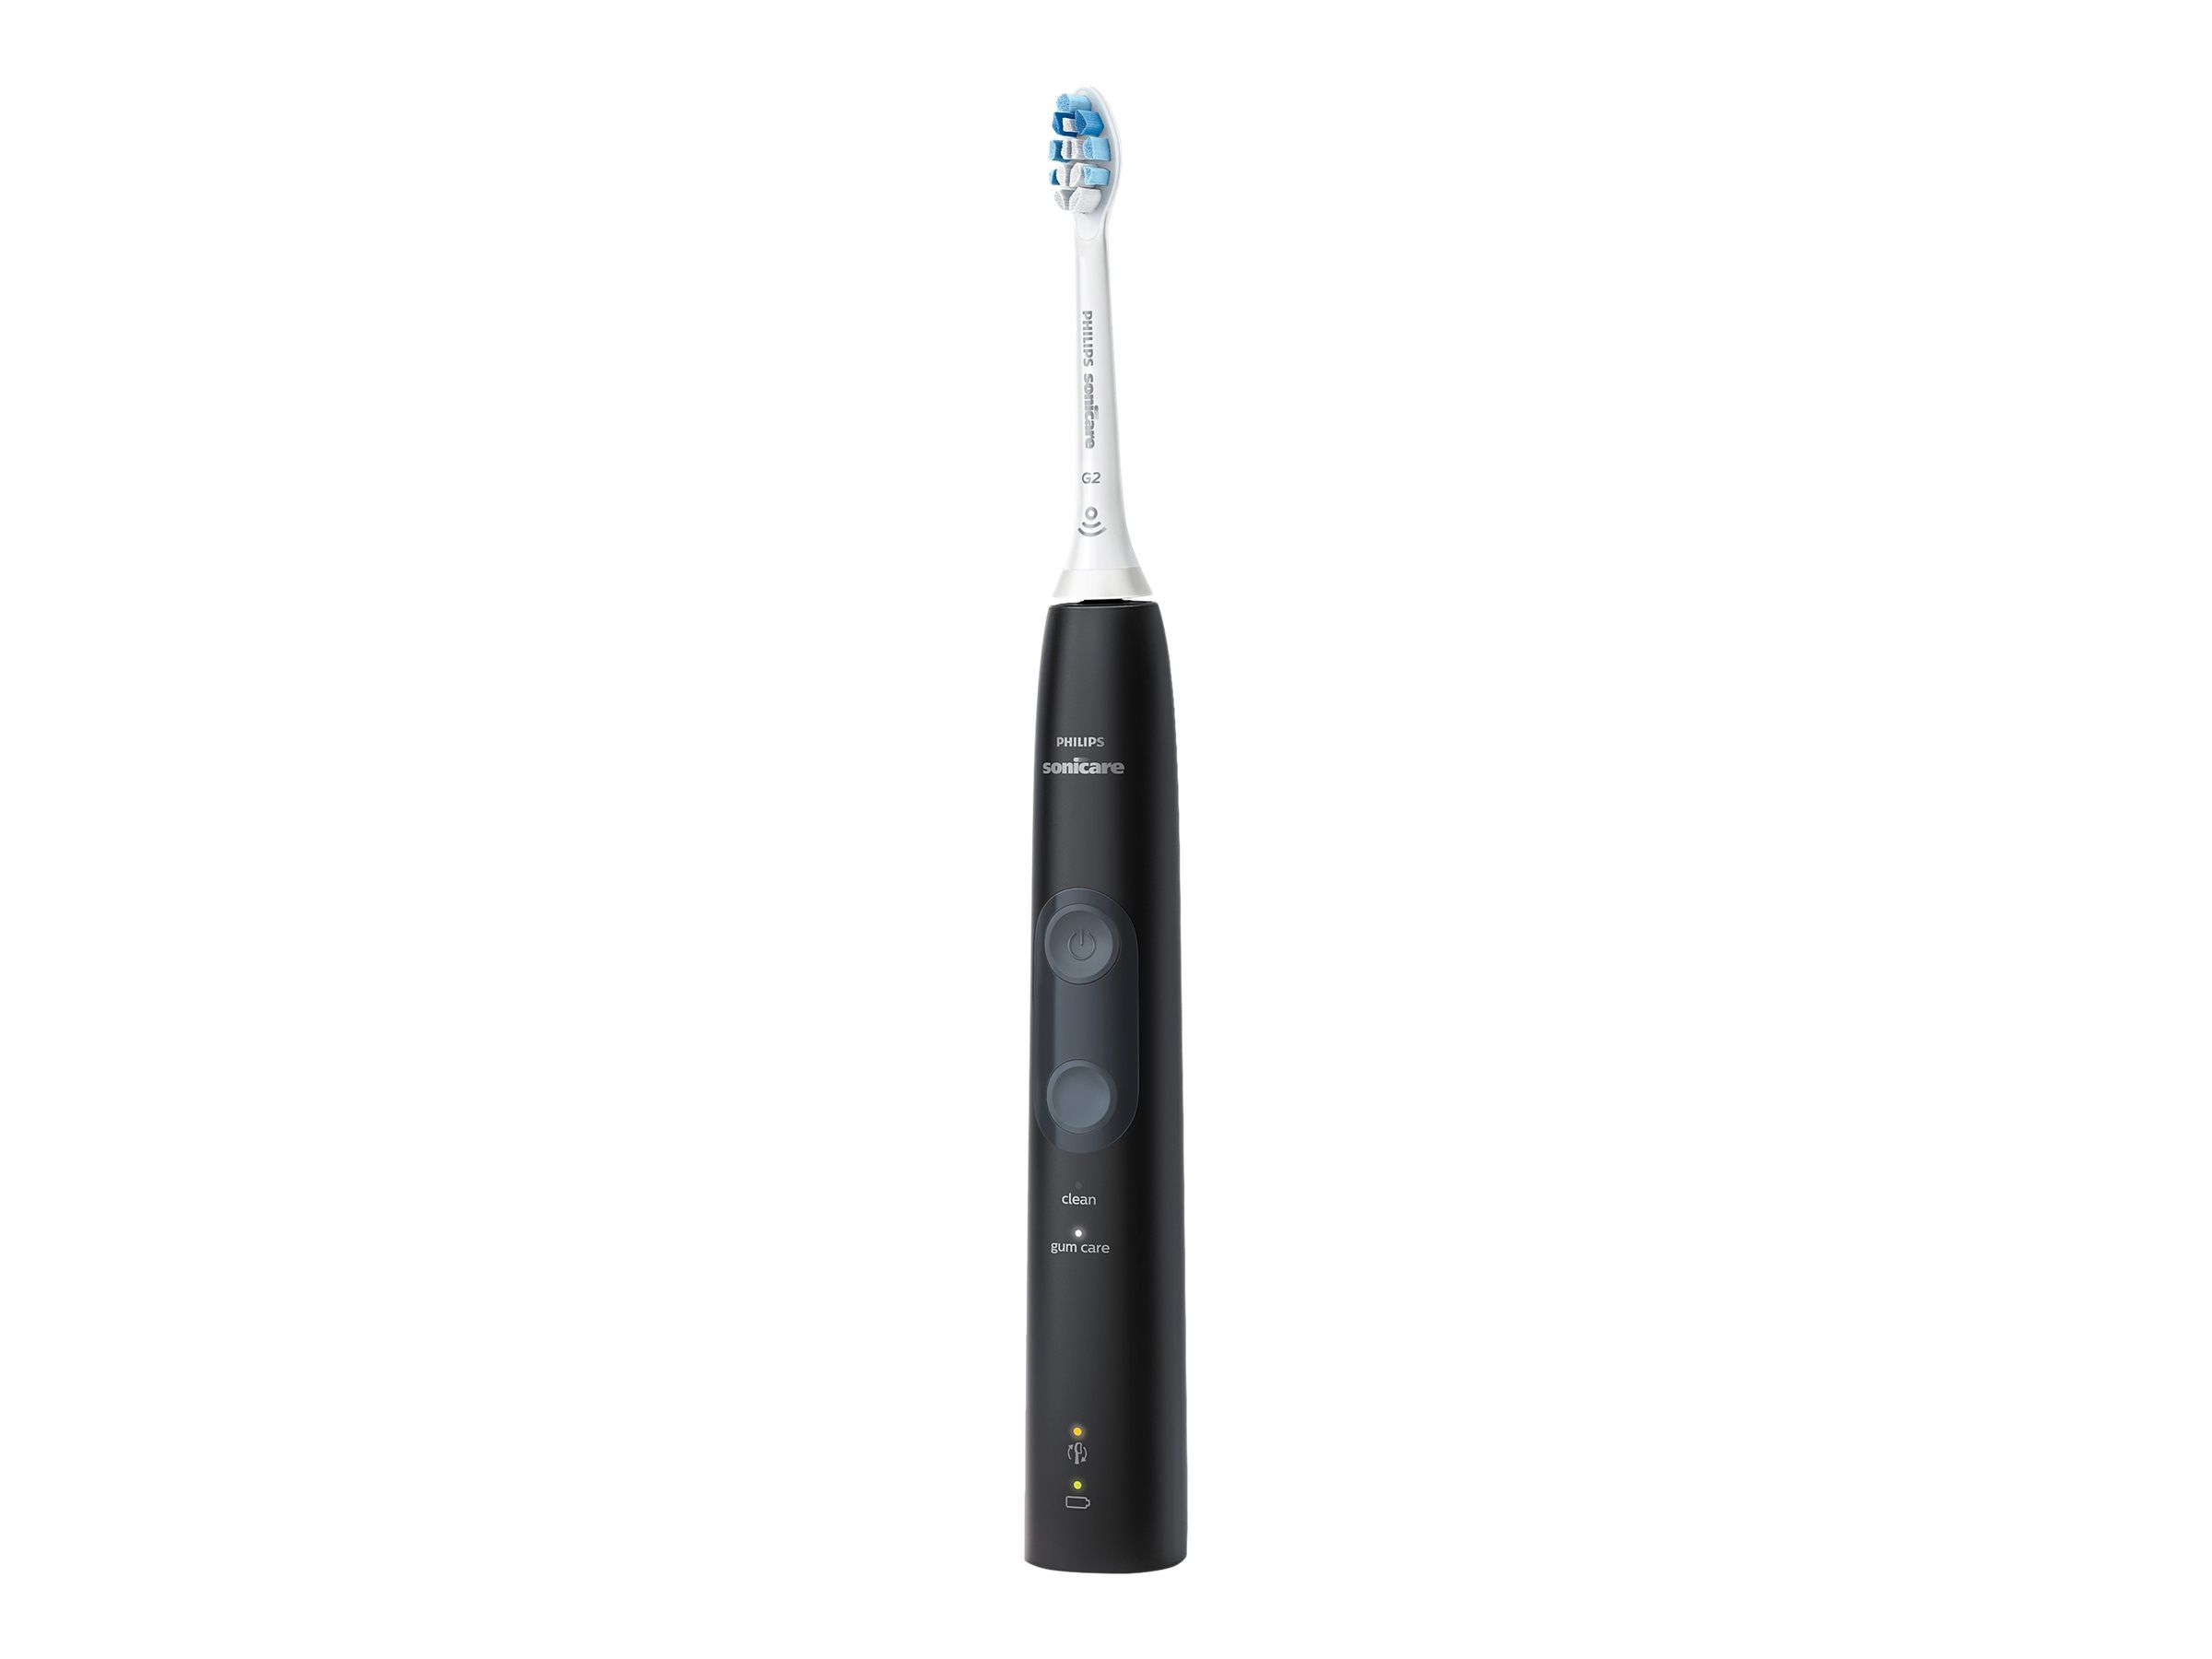
Replacement Battery: The first and most crucial item on your list is the replacement battery. Ensure that you have the correct type and size of battery compatible with your specific Sonicare toothbrush model. It's advisable to purchase a high-quality replacement battery from a reputable supplier to guarantee optimal performance.
-
Screwdriver Set: A precision screwdriver set with various head sizes is indispensable for disassembling the toothbrush. Since Sonicare toothbrushes are intricately designed, having a set of precision screwdrivers will enable you to access the internal components with ease.
-
Safety Glasses: While working with small components and delicate electronics, it's important to prioritize safety. Wearing safety glasses can protect your eyes from any potential debris or small parts that may dislodge during the disassembly process.
-
Work Surface: Prepare a clean and well-lit work surface to lay out the toothbrush components and tools. A flat and stable area will provide a conducive environment for disassembling and reassembling the toothbrush without the risk of losing small parts.
-
Container for Small Parts: As you disassemble the toothbrush, you'll encounter tiny screws and components that need to be kept safe. Having a small container or magnetic tray to store these parts will prevent them from getting misplaced or lost during the process.
-
Cleaning Cloth: A soft, lint-free cleaning cloth can be handy for wiping down the toothbrush components and ensuring that they are free from any dust or debris that may have accumulated over time.
By ensuring that you have all the necessary tools and materials at your disposal, you'll be well-prepared to tackle the subsequent steps with confidence and precision. With these items in hand, you're ready to delve into the disassembly process and breathe new life into your Sonicare toothbrush with a fresh battery.
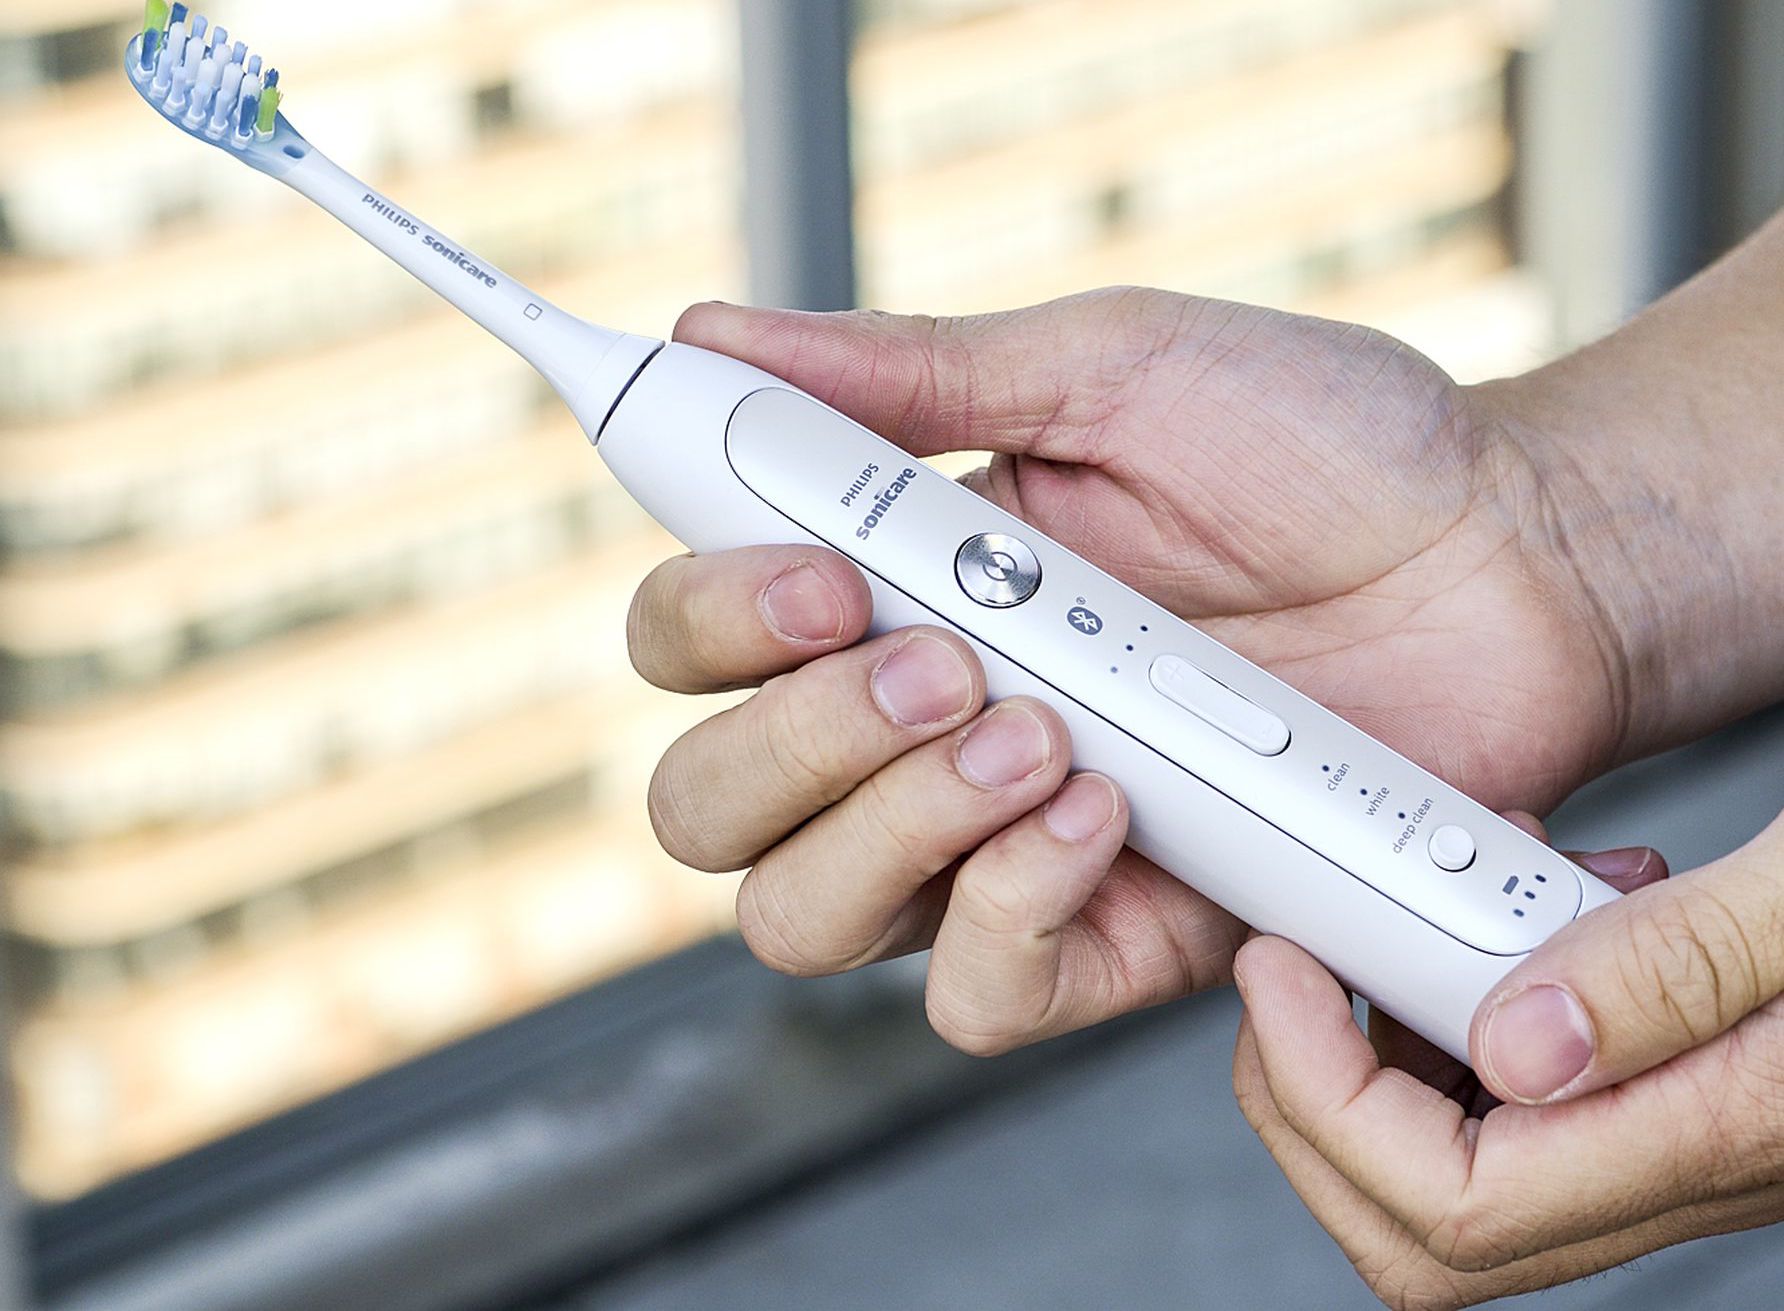
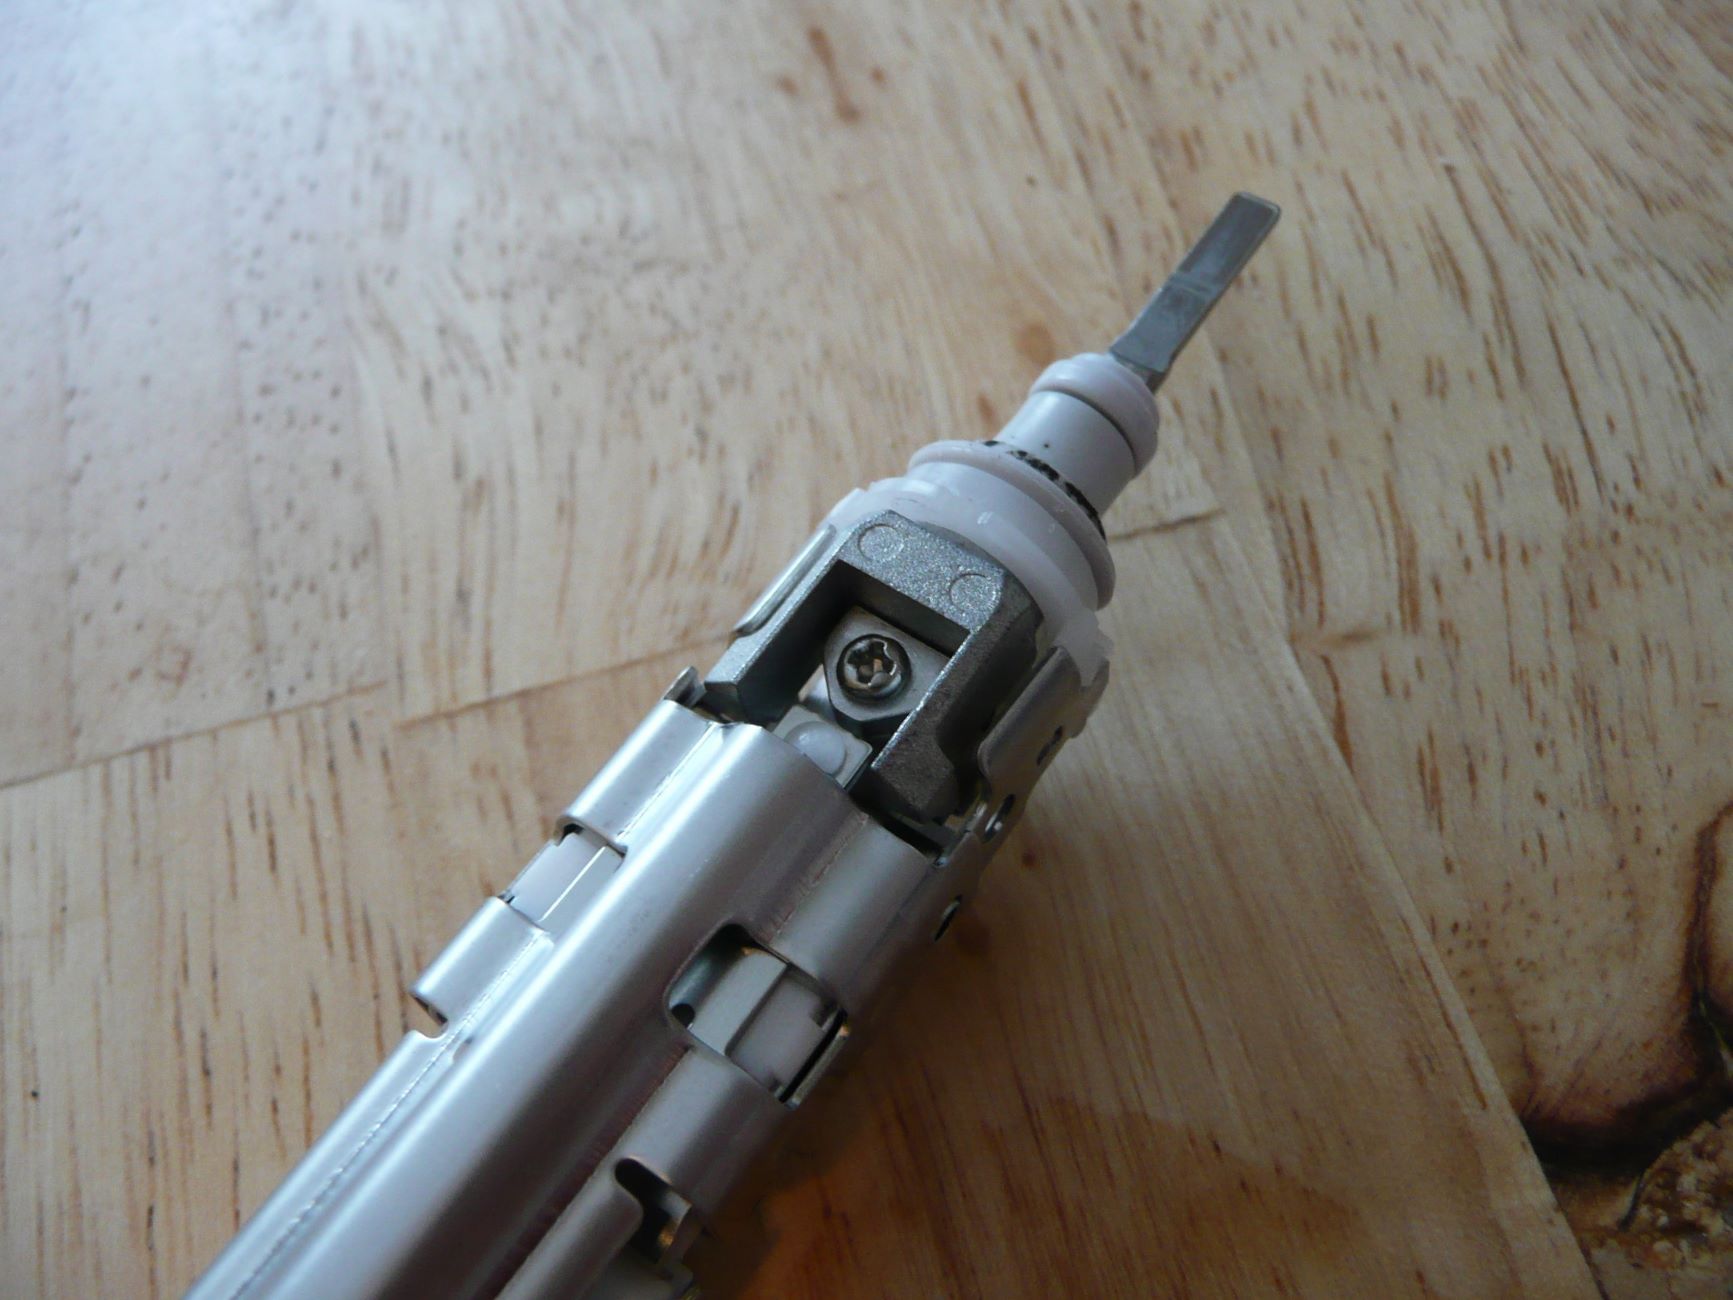
Step 2: Disassemble the toothbrush
To begin the process of replacing the battery in your Sonicare toothbrush, the first step is to carefully disassemble the device to gain access to the internal components. This requires a methodical approach and attention to detail to ensure that the toothbrush is taken apart without causing any damage. Here's a detailed guide on how to disassemble the toothbrush:
-
Prepare the Work Surface: Find a clean, well-lit area to work on and lay down a soft cloth to protect the toothbrush and provide a stable surface for disassembly.
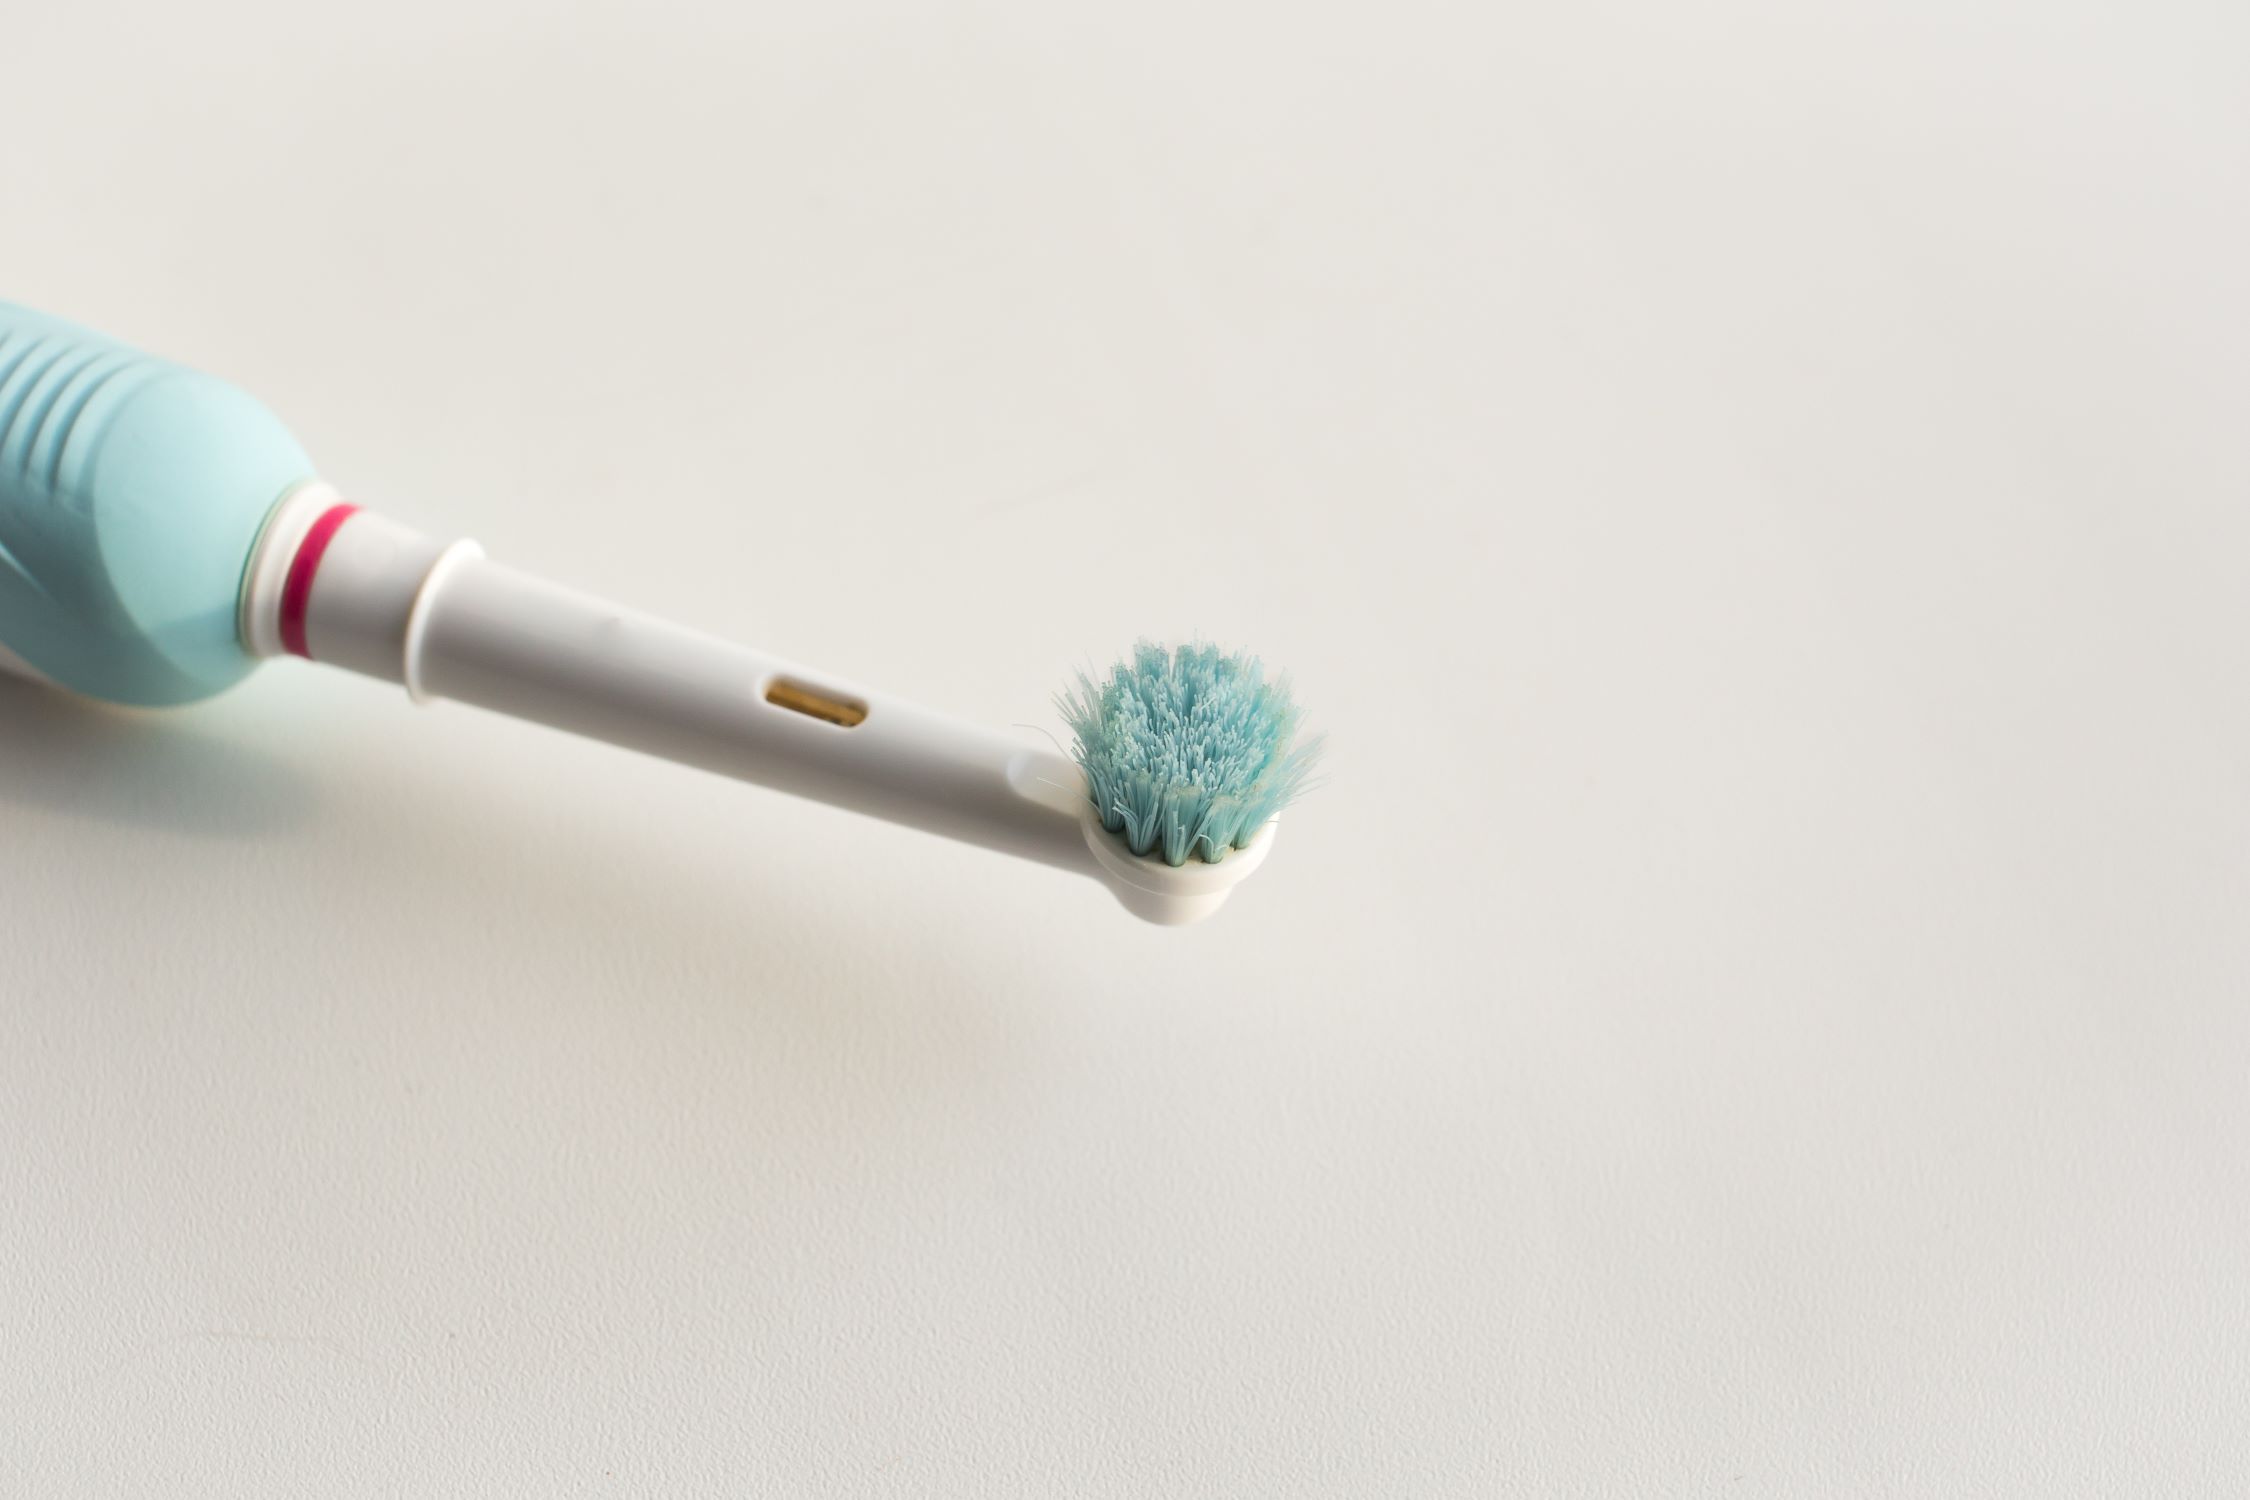
-
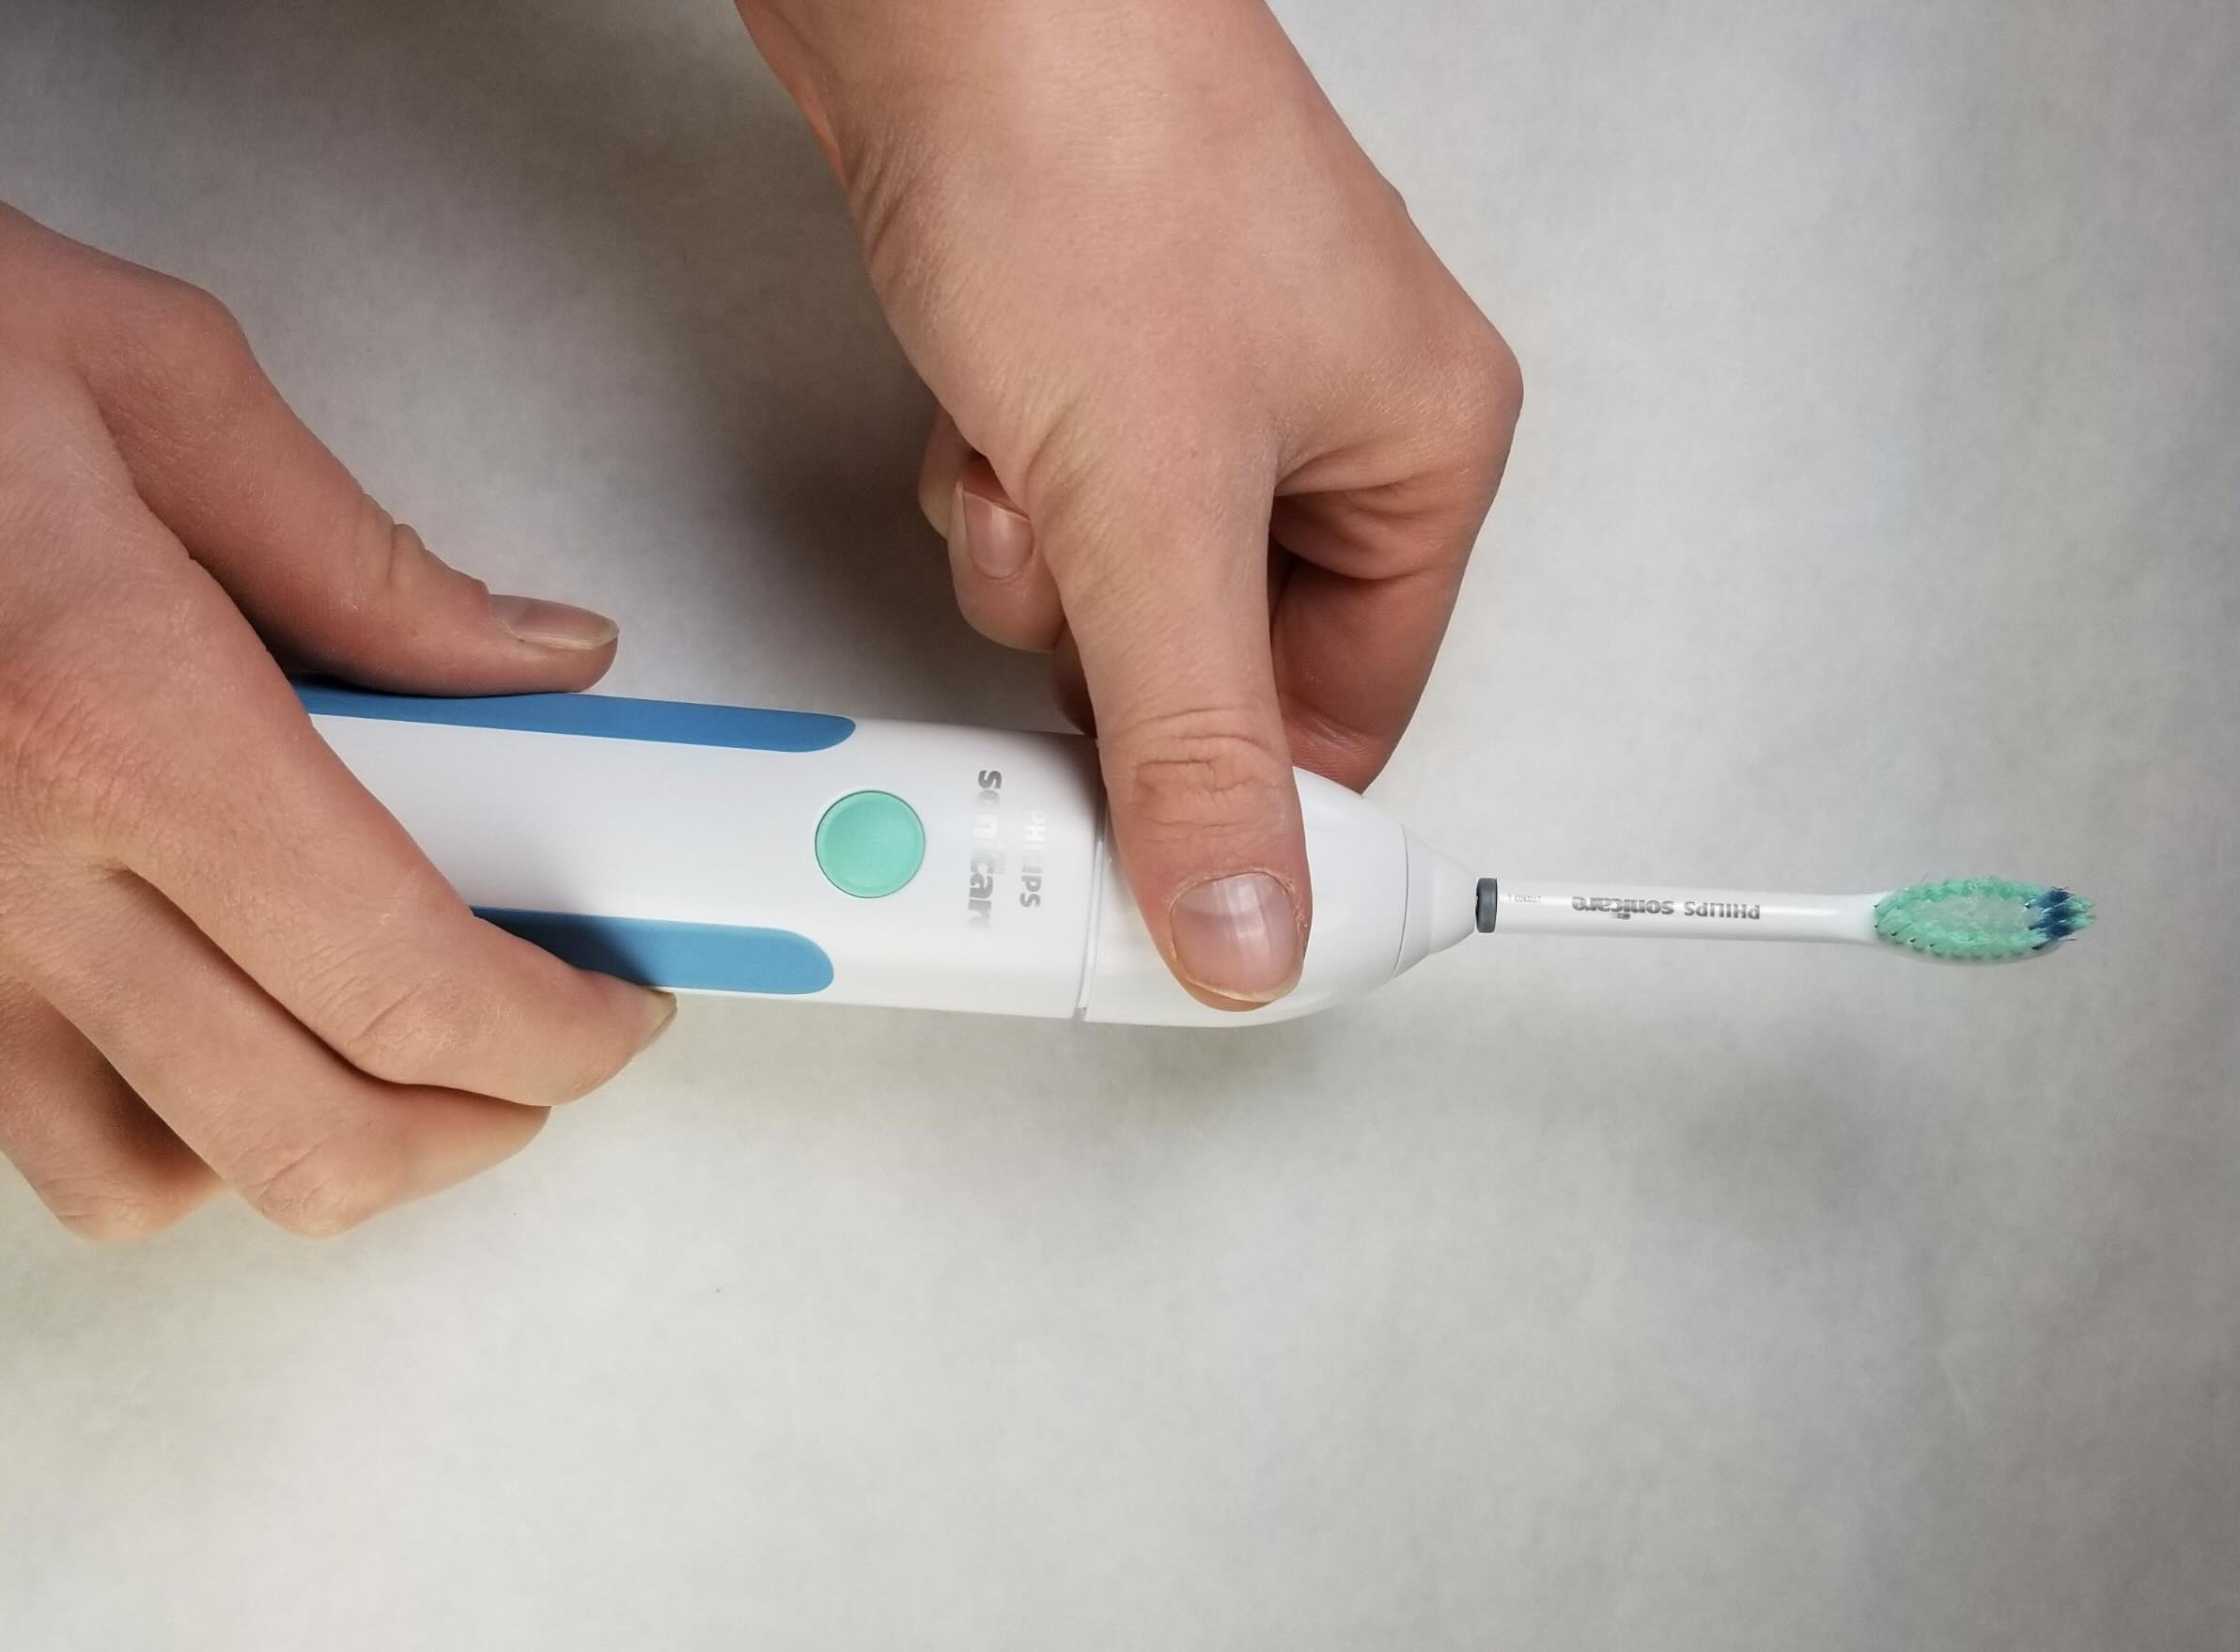
Remove the Brush Head: Start by removing the brush head from the toothbrush handle. This can usually be done by twisting the head counterclockwise until it detaches from the handle.
-
Identify and Remove Screws: Using the appropriate size of the precision screwdriver from your set, locate and remove the screws that hold the toothbrush handle together. These screws are often concealed beneath the rubber grips or labels, so a thorough inspection is necessary.
-
Separate the Housing: Once the screws are removed, gently separate the housing of the toothbrush handle. Take care not to force the components apart, as there may be delicate internal connections that need to be disengaged first.
-
Disconnect Internal Components: As you gain access to the internal components, look for the connections between the battery and the circuit board. Carefully disconnect these connections to ensure that the battery can be safely removed.
-
Handle with Care: Throughout the disassembly process, handle the components with care to avoid causing any damage. Keep track of the screws and small parts, placing them in the designated container to prevent loss.
By following these steps with precision and patience, you can successfully disassemble the Sonicare toothbrush and prepare it for the next phase of the battery replacement process. With the toothbrush now opened up, you're one step closer to rejuvenating its performance with a new battery.
Step 3: Remove the old battery
With the Sonicare toothbrush disassembled, the next critical step in the battery replacement process is removing the old battery. This requires precision and caution to ensure that the old battery is safely extracted without causing damage to the surrounding components. Here's a detailed guide on how to remove the old battery from your Sonicare toothbrush:
-
Locate the Old Battery: Once the toothbrush is disassembled, you'll have a clear view of the old battery. It is typically a small, cylindrical component connected to the circuit board.
-
Disconnect Any Remaining Connections: Before removing the old battery, ensure that any remaining connections to the circuit board are carefully disconnected. This may involve desoldering or unclipping the battery from its housing.
-
Remove the Battery: Using a gentle and steady hand, carefully lift the old battery from its position. Take note of the orientation of the battery and any insulating components that may be present.
-
Dispose of the Old Battery: Properly dispose of the old battery in accordance with local regulations. Many communities have specific guidelines for the disposal of electronic components, including batteries. Be sure to adhere to these guidelines to ensure environmental responsibility.
-
Clean the Battery Compartment: With the old battery removed, take a moment to inspect the battery compartment for any dust or debris. Use a soft, dry cloth to gently clean the area, ensuring that it is free from any contaminants that may affect the performance of the new battery.
By following these steps meticulously, you can safely remove the old battery from your Sonicare toothbrush, paving the way for the installation of a fresh, high-performance replacement. With the old battery out of the way, you're now ready to proceed to the next crucial phase of the battery replacement process: installing the new battery.
To replace the battery on a Sonicare toothbrush, you will need to carefully open the handle, remove the old battery, and solder in a new one of the same type and size. Be sure to handle the battery with care and follow all safety precautions.
Step 4: Install the new battery
With the old battery successfully removed, it's time to usher in a new era of power for your Sonicare toothbrush by installing a fresh, high-performance replacement. The installation process requires precision and attention to detail to ensure that the new battery is seamlessly integrated, setting the stage for enhanced performance and extended usage times. Here's a comprehensive guide on how to install the new battery in your Sonicare toothbrush:
-
Select the Replacement Battery: Before proceeding with the installation, ensure that you have the correct replacement battery that is compatible with your specific Sonicare toothbrush model. It's essential to match the size, voltage, and specifications of the new battery to the original one to guarantee optimal performance.
-
Position the New Battery: Carefully place the new battery in the designated compartment within the toothbrush handle, ensuring that it aligns with the orientation of the previous battery. Take note of any insulating components or protective covers that need to be positioned alongside the new battery to maintain its stability.
-
Reconnect the Battery: If the new battery requires soldering or reconnection to the circuit board, ensure that the process is carried out with precision and care. Follow the manufacturer's guidelines for soldering or connecting the battery to the appropriate terminals, ensuring a secure and reliable connection.
-
Secure the Battery: Once the new battery is in place and properly connected, secure it within the compartment using any retaining clips or fastenings that were present with the original battery. This step is crucial to prevent any movement or dislodging of the new battery during the reassembly and usage of the toothbrush.
-
Test for Stability: Before proceeding with the reassembly of the toothbrush, perform a gentle stability test to ensure that the new battery is securely positioned and does not shift within the compartment. This test can help identify any potential issues before the toothbrush is fully reassembled.
By meticulously following these steps, you can successfully install the new battery in your Sonicare toothbrush, setting the stage for a rejuvenated and long-lasting power source. With the new battery seamlessly integrated, you're now ready to proceed to the final phase of the battery replacement process: reassembling the toothbrush and preparing it for renewed functionality.
Read more: How Much Is A Sonicare Toothbrush
Step 5: Reassemble the toothbrush
With the new battery securely installed, the final phase of the battery replacement process involves reassembling the Sonicare toothbrush to restore it to its fully functional state. This step requires a methodical approach and attention to detail to ensure that the toothbrush is reassembled correctly, with all components fitting snugly together. Here's a detailed guide on how to reassemble the toothbrush after the battery replacement:
-
Position the Components: Begin by carefully positioning the internal components back into the housing of the toothbrush handle. Take note of any specific alignment or orientation requirements for the circuit board and other internal elements.
-
Reconnect Internal Components: As you reassemble the toothbrush, ensure that any disconnected internal components, such as wires or connectors, are securely reattached to their respective terminals. Verify that all connections are snug and properly seated to guarantee the proper functioning of the toothbrush.
-
Align the Housing: Gently align the housing of the toothbrush handle, ensuring that it fits together seamlessly with all components enclosed. Take care to avoid pinching any wires or misaligning the internal elements during this process.
-
Secure the Housing: Once the components are aligned, use the appropriate screws and fastenings to secure the housing of the toothbrush handle. Ensure that the screws are tightened to the manufacturer's recommended torque to prevent any issues with the integrity of the assembly.
-
Reattach the Brush Head: With the toothbrush handle reassembled, reattach the brush head by twisting it clockwise onto the handle until it is securely in place. This step completes the reassembly process, bringing the Sonicare toothbrush back to its original form.
By following these steps meticulously, you can successfully reassemble the Sonicare toothbrush after replacing the battery, ensuring that all components are securely positioned and the device is ready for renewed usage. With the toothbrush fully reassembled, you can look forward to enjoying the rejuvenated performance and extended usage times provided by the new battery.
Conclusion
Congratulations on successfully replacing the battery in your Sonicare toothbrush! By embarking on this DIY journey, you've not only extended the lifespan of your trusty oral care companion but also gained valuable insights into the inner workings of this sophisticated electronic device. As you reflect on the meticulous process of disassembling, removing the old battery, installing the new one, and reassembling the toothbrush, you've demonstrated a commendable blend of patience, precision, and technical acumen.
With the new battery seamlessly integrated into your Sonicare toothbrush, you can look forward to a rejuvenated oral care experience. The enhanced performance and extended usage times provided by the fresh power source will undoubtedly elevate your daily oral hygiene routine, ensuring that your toothbrush continues to deliver optimal results.
As you bask in the satisfaction of a job well done, it's important to acknowledge the cost-effective and environmentally conscious nature of this endeavor. By choosing to replace the battery in your Sonicare toothbrush, you've not only saved money on a potential replacement but also contributed to reducing electronic waste by revitalizing a valuable electronic device.
Furthermore, the skills and knowledge you've acquired throughout this process have empowered you to take charge of maintaining and enhancing the functionality of your electronic devices. This newfound confidence in handling intricate components and conducting precise installations is a testament to your resourcefulness and willingness to explore new horizons in the realm of DIY maintenance.
In the grand scheme of things, the successful replacement of the battery in your Sonicare toothbrush serves as a reminder of the remarkable capabilities within your grasp. As you revel in the rejuvenated performance of your toothbrush, may this experience inspire you to fearlessly tackle new challenges and embrace the rewarding journey of DIY maintenance in various aspects of your life.
So, as you return your newly powered-up Sonicare toothbrush to its rightful place in your oral care routine, take pride in the knowledge that you've not only revitalized a valuable electronic device but also honed your skills as a capable and resourceful individual. Here's to the power of perseverance, the joy of discovery, and the satisfaction of a job well done!
Frequently Asked Questions about How To Replace The Battery On A Sonicare Toothbrush
Was this page helpful?
At Storables.com, we guarantee accurate and reliable information. Our content, validated by Expert Board Contributors, is crafted following stringent Editorial Policies. We're committed to providing you with well-researched, expert-backed insights for all your informational needs.


0 thoughts on “How To Replace The Battery On A Sonicare Toothbrush”