Home>Furniture & Design>Bathroom Accessories>How To Wash A Bath Mat
Bathroom Accessories
How To Wash A Bath Mat
Modified: February 18, 2024
Learn the best way to wash a bath mat and keep your bathroom accessories clean and fresh. Follow these simple steps for effective mat cleaning.
(Many of the links in this article redirect to a specific reviewed product. Your purchase of these products through affiliate links helps to generate commission for Storables.com, at no extra cost. Learn more)
Introduction
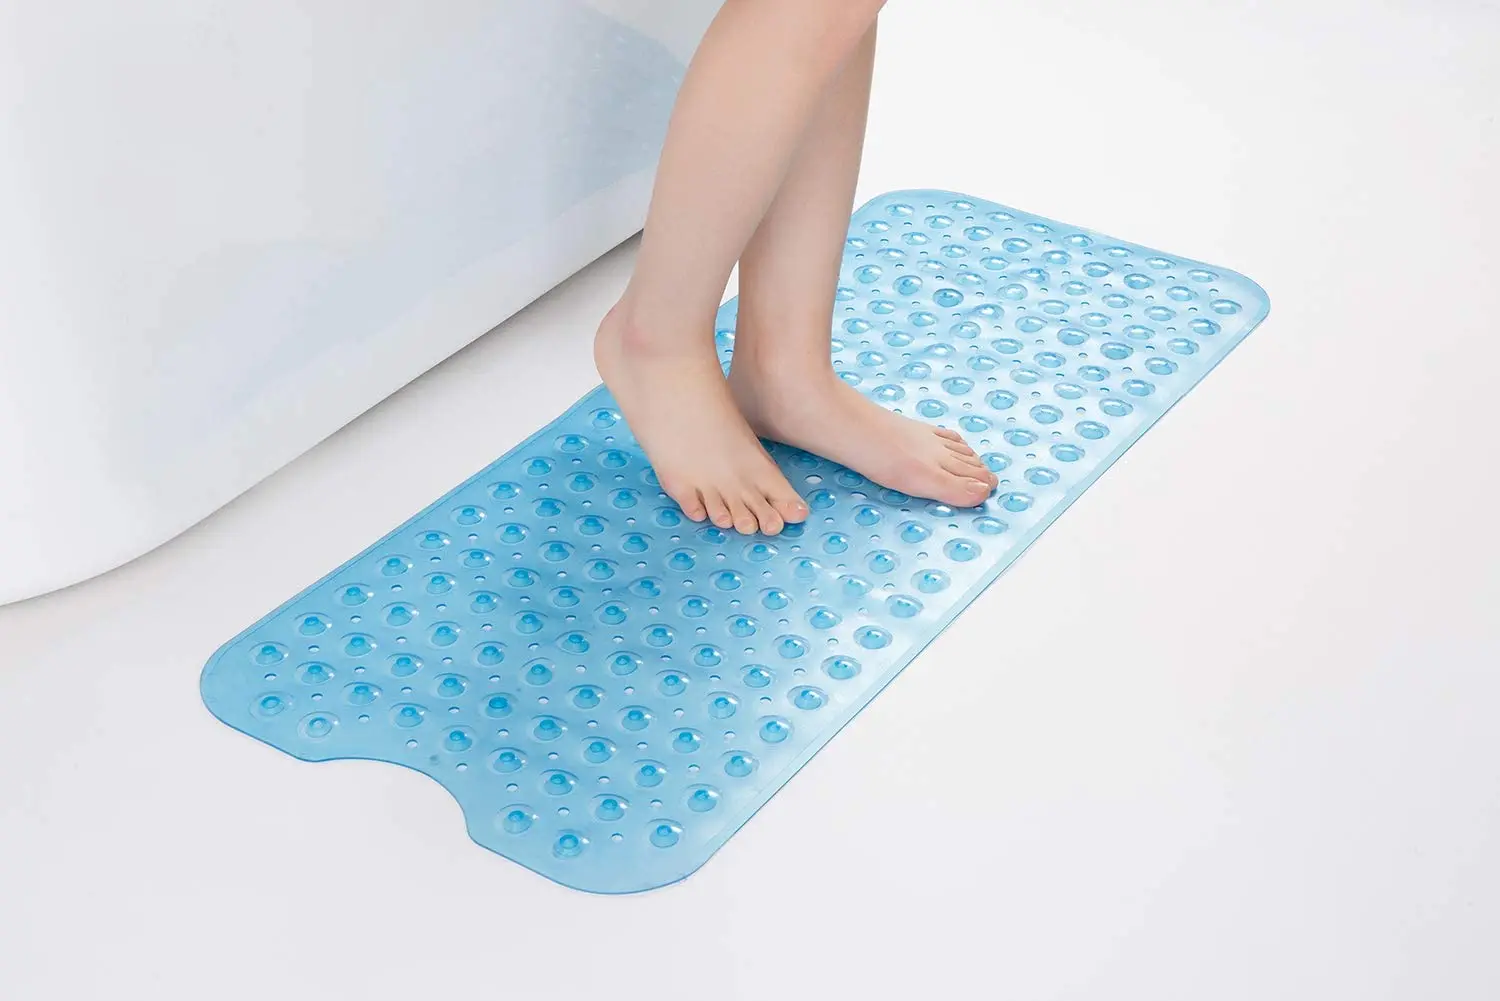
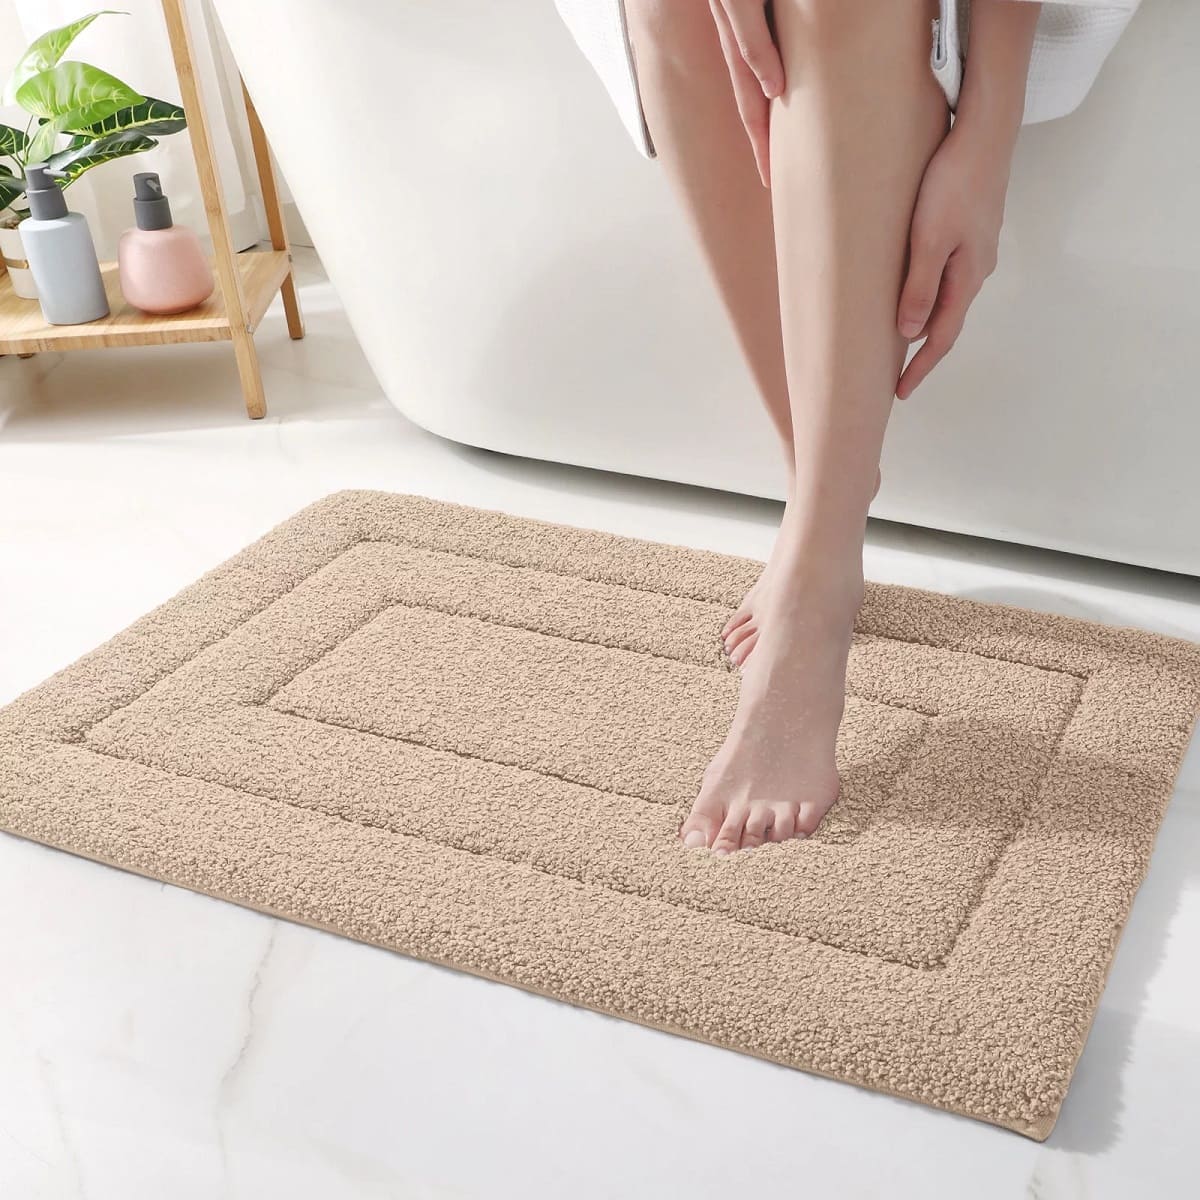
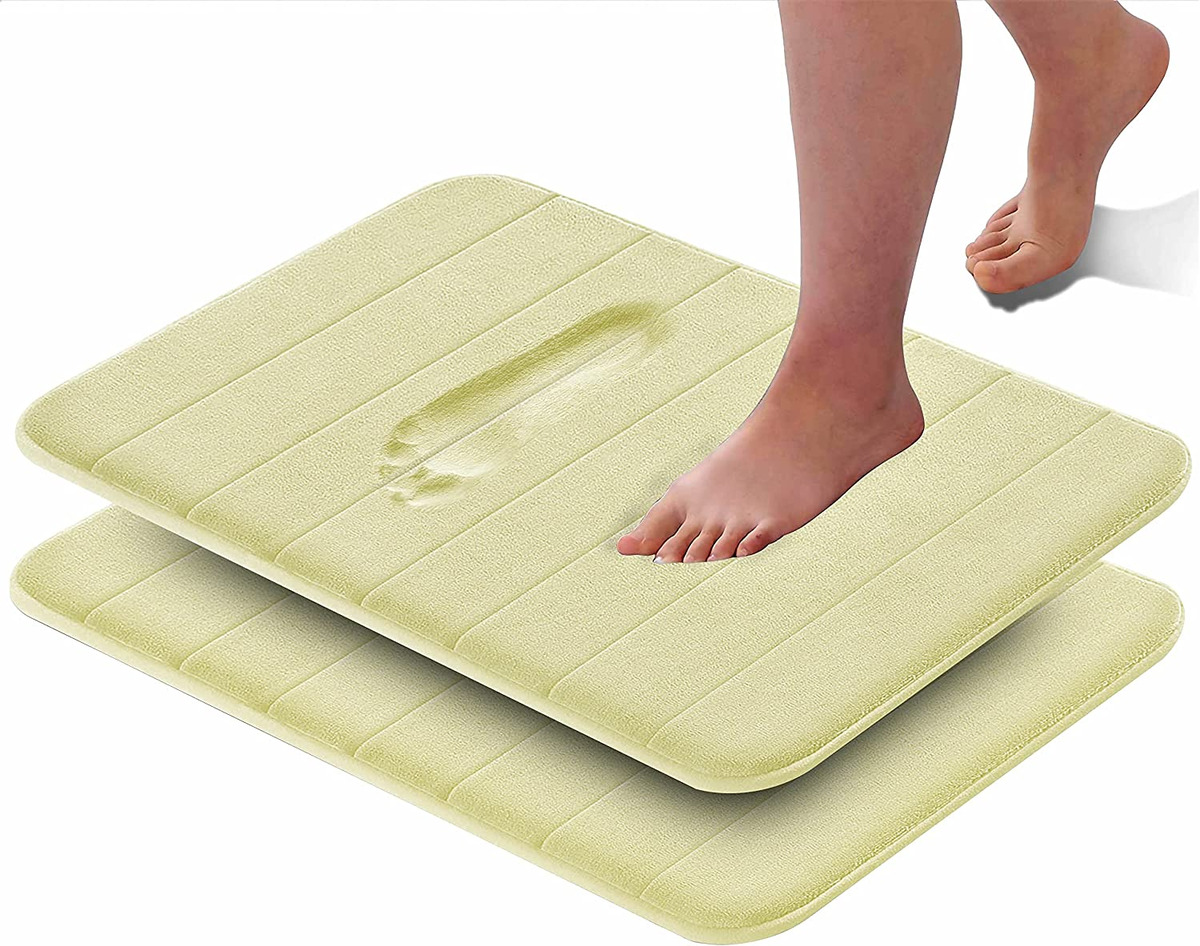
Bath mats are essential bathroom accessories that not only add a decorative touch to the space but also serve a practical purpose. They provide a soft, absorbent surface to step onto after a shower or bath, preventing slips and falls while also protecting the floor from excess moisture. Over time, bath mats can accumulate dirt, grime, and even stubborn stains, making it necessary to clean them regularly to maintain hygiene and prolong their lifespan.
In this comprehensive guide, we will walk you through the step-by-step process of effectively washing a bath mat to keep it clean, fresh, and in top condition. Whether your bath mat is made of plush microfiber, soft cotton, or durable rubber, the cleaning methods and tips provided here are applicable to various types of bath mats, ensuring that you can maintain a clean and inviting bathroom environment.
By following the instructions outlined in this guide, you can ensure that your bath mat remains a functional and aesthetically pleasing addition to your bathroom. So, let's dive into the details of how to properly wash and care for your bath mat, ensuring that it continues to serve its purpose while enhancing the overall appeal of your bathroom space.
Key Takeaways:
- Keep your bath mat clean and fresh by shaking off dirt and pre-treating stains before machine washing. Proper drying methods ensure a hygienic and visually appealing bathroom environment.
- Recognize when it’s time to replace your bath mat due to wear, stubborn stains, mold, or safety concerns. Introduce a new, clean bath mat to maintain a fresh and inviting bathroom space.
Step 1: Shake off the Dirt
Before diving into the washing process, it's essential to start by removing loose dirt, dust, and debris from the bath mat. This initial step helps to prevent the dirt from becoming further embedded during the washing process, ensuring a more effective and thorough cleaning.
To shake off the dirt, take the bath mat outdoors, if possible, and give it a good shake. This action helps dislodge loose particles that may have accumulated on the surface or within the fibers of the mat. By vigorously shaking the mat, you can loosen and release a significant amount of dirt, making the subsequent cleaning process more efficient.
If taking the bath mat outside is not feasible, you can also shake it off in your bathroom or any space with enough room to maneuver. Simply hold one end of the mat firmly and shake it vigorously, allowing the loosened dirt to fall away.
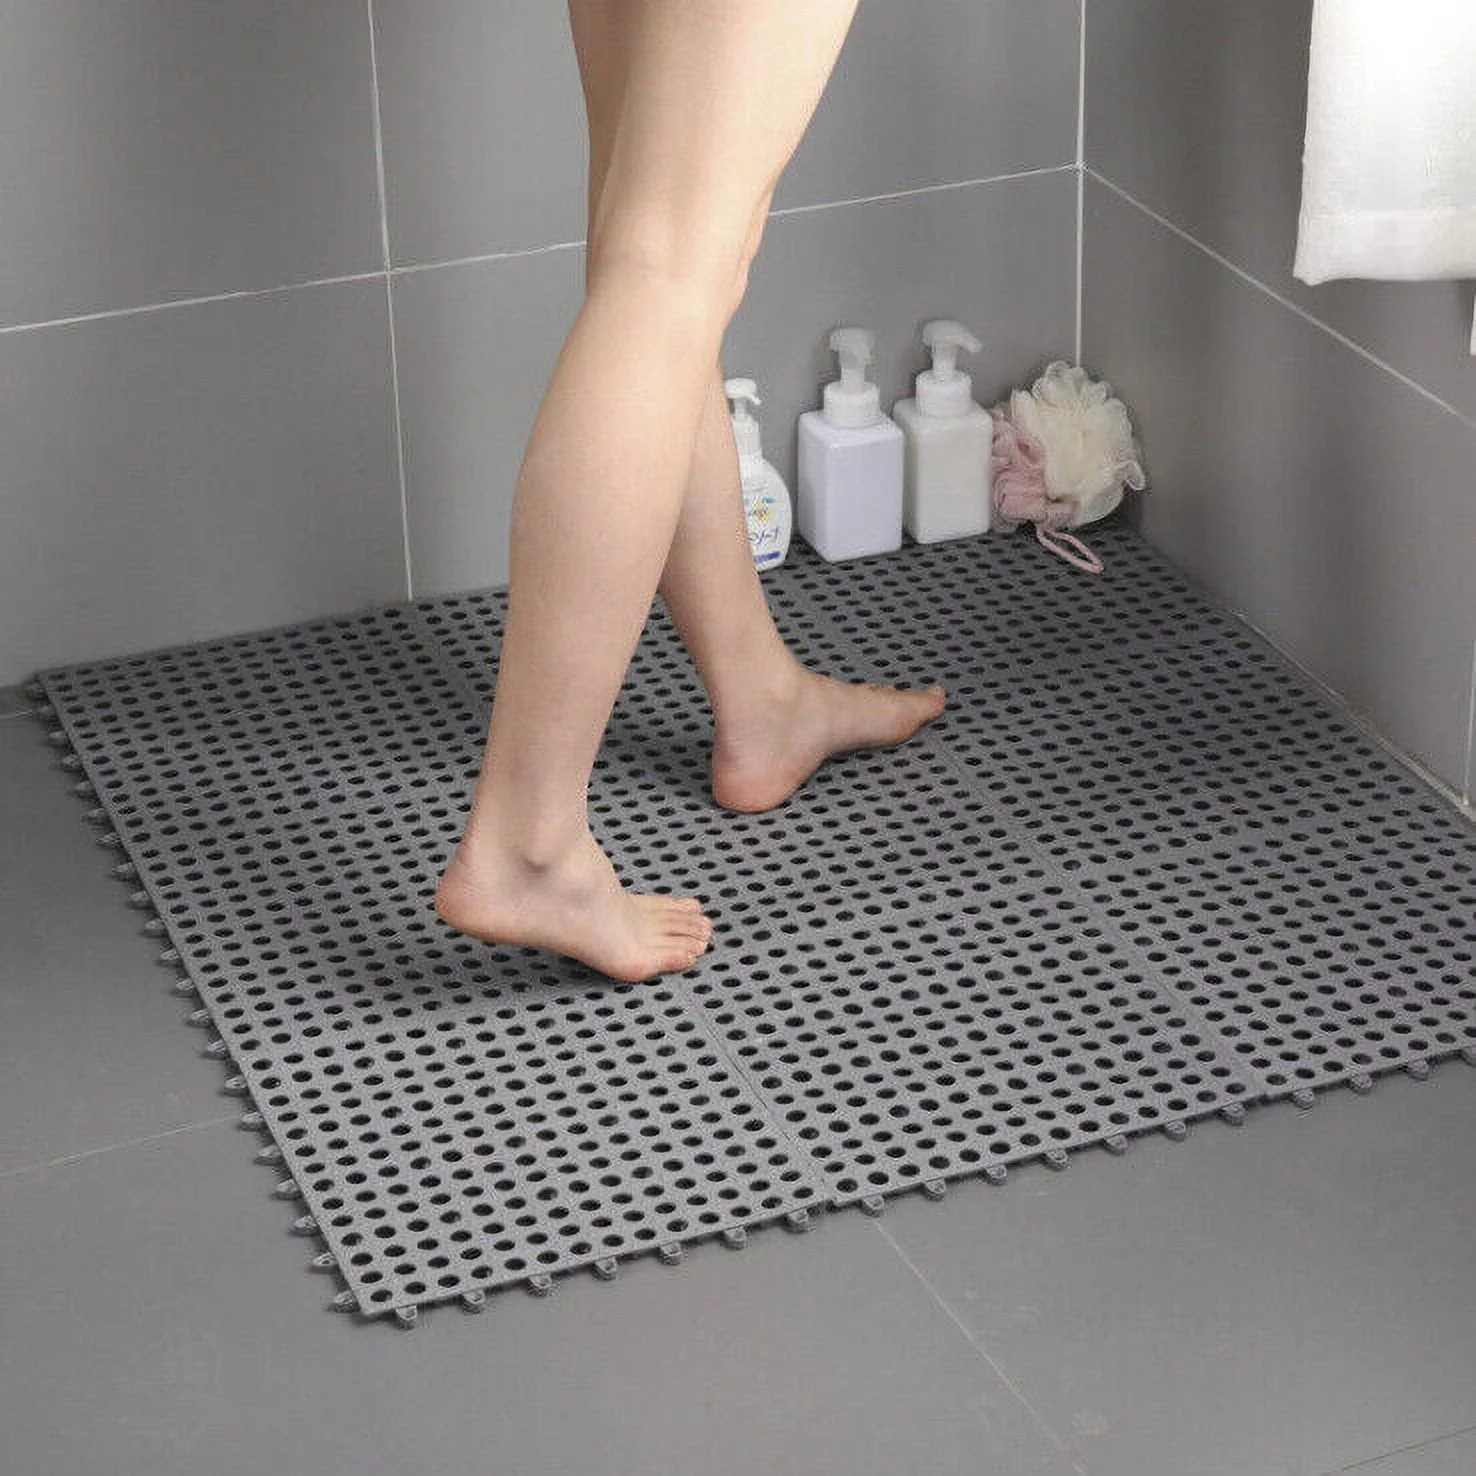
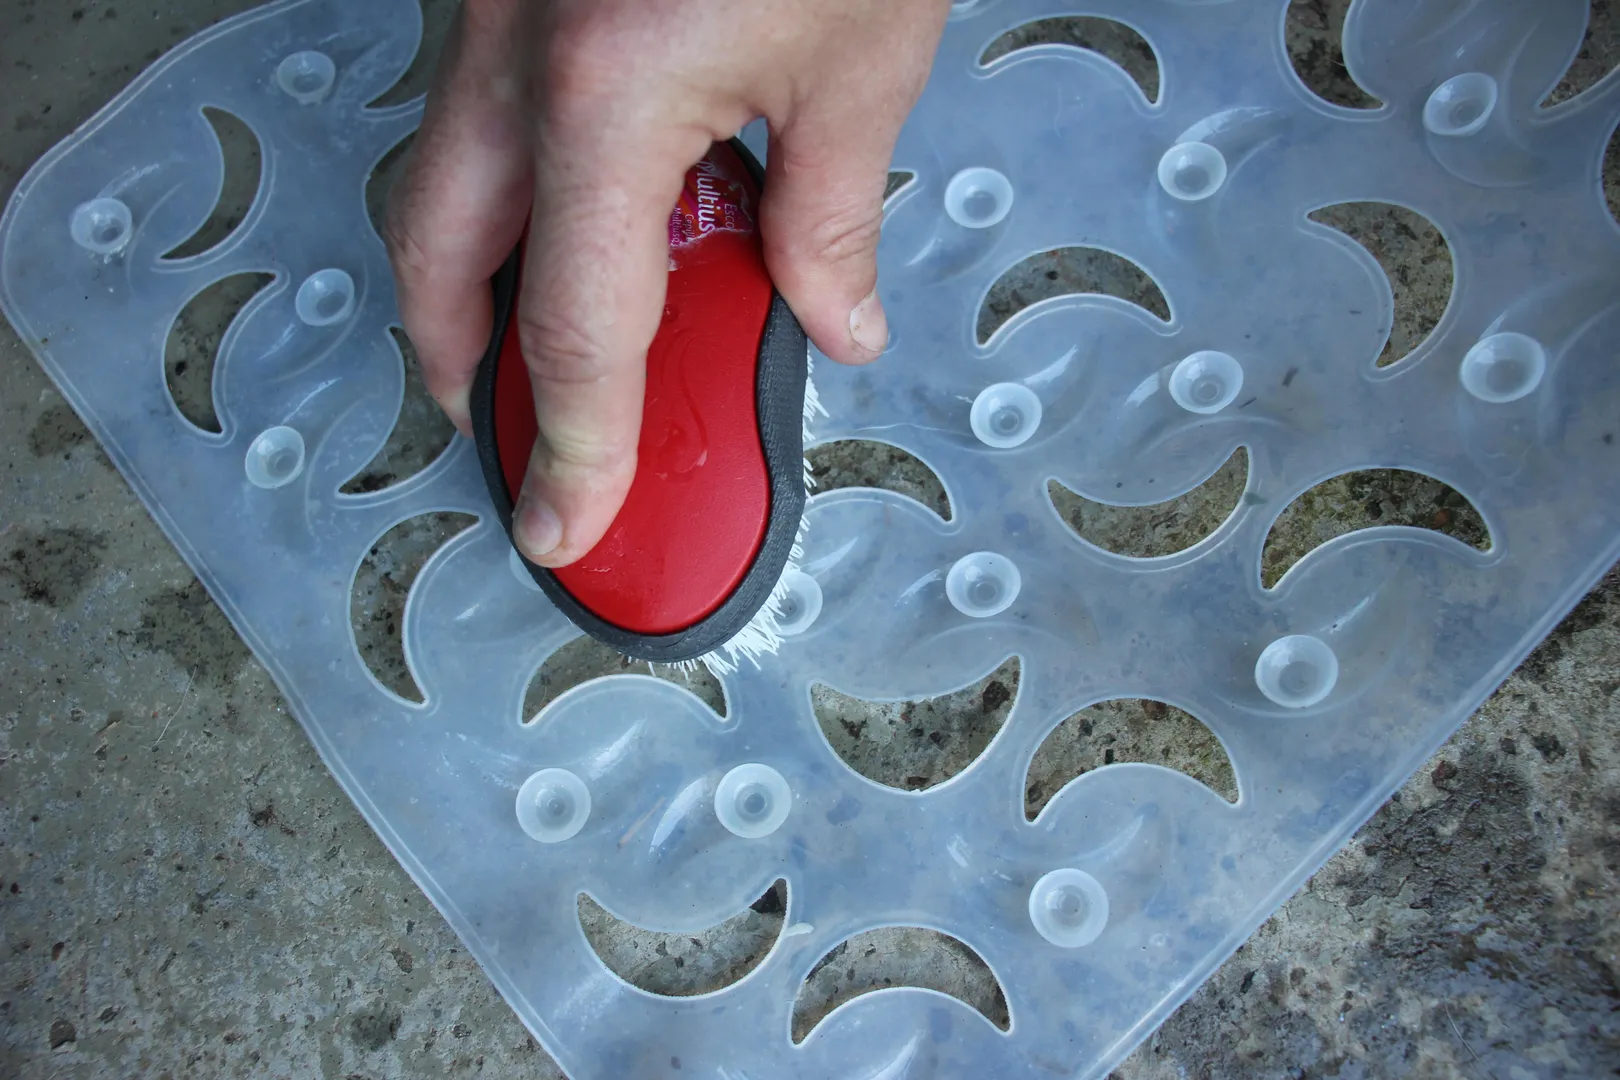
For bath mats with a rubber backing, it's important to pay extra attention to this step, as dirt and debris can easily get trapped between the rubber grips. By shaking the mat vigorously, you can dislodge and remove the trapped particles, ensuring that the washing process can effectively address any remaining stains or grime.
In addition to shaking, you can also use a handheld vacuum cleaner with a brush attachment to gently vacuum the surface of the bath mat. This method is particularly useful for removing finer particles that may not be dislodged through shaking alone. By combining shaking and vacuuming, you can ensure that the bath mat is thoroughly prepped for the subsequent cleaning steps.
By diligently shaking off the dirt and using a vacuum if necessary, you set the stage for a more successful cleaning process, allowing the subsequent steps to target ingrained stains and deeply embedded grime. This proactive approach to pre-cleaning sets the foundation for achieving a fresh, revitalized bath mat that enhances the overall cleanliness and appeal of your bathroom.
Step 2: Pre-treat Stains
When it comes to maintaining the pristine appearance of your bath mat, addressing stubborn stains is a crucial aspect of the cleaning process. Pre-treating stains before washing the bath mat can significantly improve the effectiveness of the cleaning and ensure that the stains are thoroughly removed. Whether dealing with common bathroom stains like toothpaste, makeup, or hair dye, or facing more challenging marks such as mildew or mold, pre-treating stains is a proactive approach to achieving a spotless bath mat.
To pre-treat stains effectively, start by identifying the type of stains present on the bath mat. This initial assessment allows you to choose the most suitable pre-treatment method for each specific stain, ensuring that you address the problem at its source. For organic stains such as food or bodily fluids, enzymatic stain removers are highly effective in breaking down the organic matter and preparing it for removal during the washing process.
For tougher stains like mildew or mold, a solution of white vinegar and water can be used as a pre-treatment. The acidic nature of vinegar helps to kill mold spores and mildew, while also loosening the stains from the fibers of the bath mat. Simply apply the vinegar solution directly to the affected areas and allow it to sit for a few minutes before proceeding to the washing step.
In the case of oil-based stains like lotion or hair products, applying a small amount of dishwashing liquid directly to the stains can help break down the oils and grease, making them easier to remove during washing. Gently massage the dishwashing liquid into the stains and let it sit for a brief period to allow the detergent to penetrate the fibers.
For colored stains such as cosmetics or beverages, it's important to use a color-safe stain remover to avoid fading or discoloration of the bath mat. Apply the color-safe stain remover according to the product instructions, ensuring that it is evenly distributed over the stained areas.
By taking the time to pre-treat stains based on their specific nature, you set the stage for a more successful cleaning outcome. This proactive approach not only ensures that the stains are effectively targeted but also minimizes the risk of discoloration or damage to the bath mat during the washing process. With the stains pre-treated and ready for the next step, you can proceed with confidence, knowing that your bath mat is on its way to being revitalized and refreshed.
To wash a bath mat, simply machine wash it in warm water with a mild detergent. Avoid using bleach or fabric softener. Hang it to air dry or tumble dry on low heat.
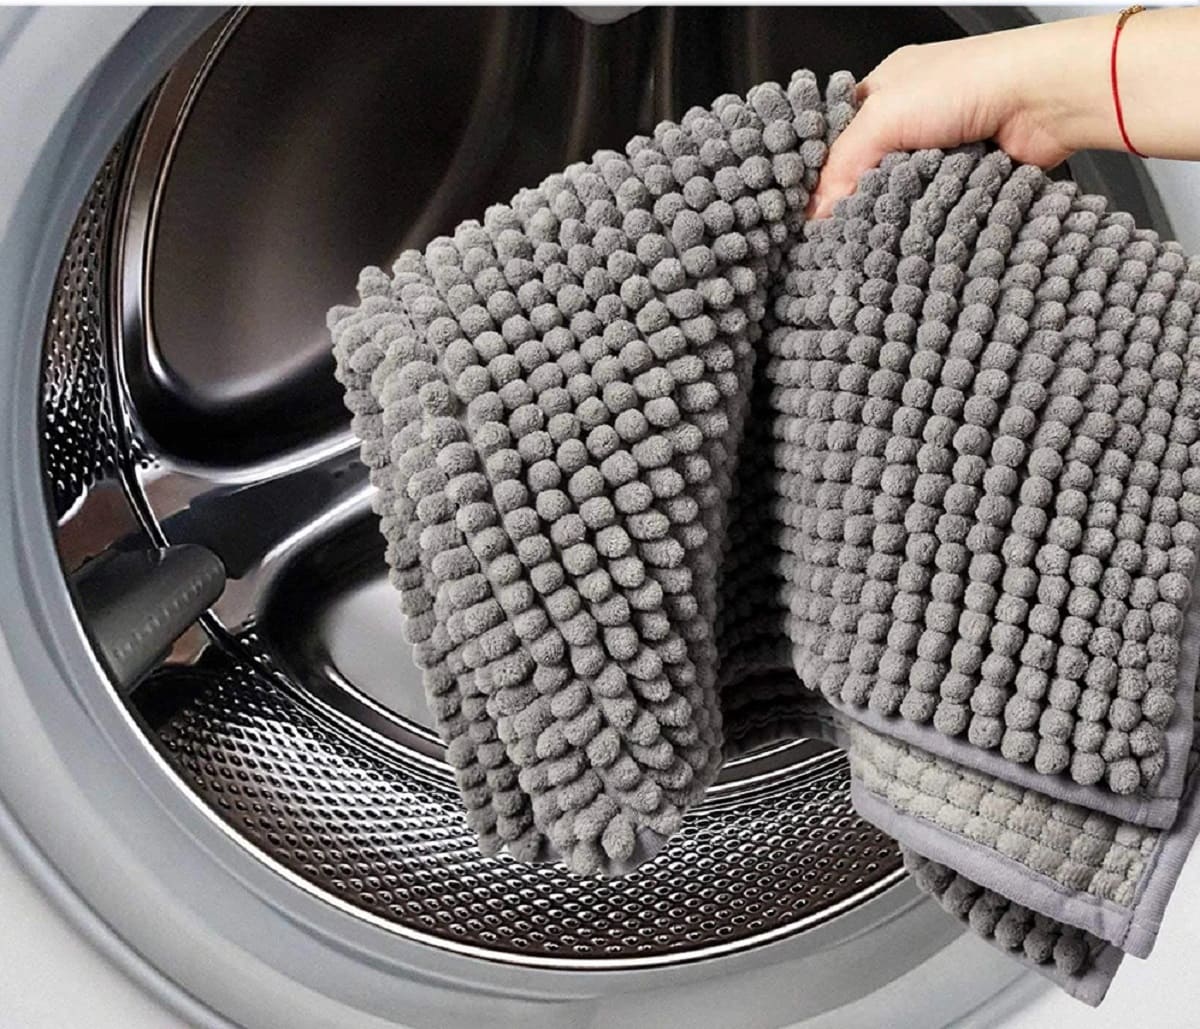
Step 3: Machine Wash
After pre-treating the stains and ensuring that the loose dirt has been shaken off, the next crucial step in the bath mat cleaning process is machine washing. This step is essential for thoroughly cleansing the bath mat and removing any remaining dirt, stains, and odors that may have accumulated over time. Machine washing offers a convenient and effective way to achieve a deep clean, rejuvenating the bath mat and restoring its freshness.
To begin the machine washing process, it's important to refer to the care label attached to the bath mat. Care labels provide valuable information regarding the recommended washing instructions, including water temperature, detergent type, and any specific precautions to be observed. By following the care label guidelines, you can ensure that the bath mat is treated with the appropriate methods, minimizing the risk of damage during the washing process.
When loading the bath mat into the washing machine, it's advisable to wash it separately from other items to prevent potential damage or color transfer. If the bath mat is particularly large or bulky, consider washing it on a gentle or delicate cycle to minimize agitation and reduce the risk of deformation. Additionally, using a mild detergent that is suitable for the bath mat's material is crucial for achieving a thorough yet gentle clean.
Selecting the appropriate water temperature is also a key consideration when machine washing a bath mat. For most bath mats, a warm water setting is sufficient to effectively remove dirt and stains without subjecting the mat to extreme temperatures. However, for bath mats made of delicate materials or those with specific care instructions, using cold water may be recommended to prevent shrinkage or damage.
During the washing cycle, it's beneficial to add an extra rinse to ensure that all detergent and residues are thoroughly removed from the bath mat. This additional rinse helps to prevent detergent buildup, which can lead to a dull or stiff texture in the bath mat. By allowing the machine to complete the full washing and rinsing process, you can ensure that the bath mat emerges clean, fresh, and free from any lingering detergent residues.
Once the machine washing cycle is complete, carefully remove the bath mat from the washing machine and inspect it for any remaining stains or areas that may require further attention. If stubborn stains persist, consider spot-treating them with a targeted stain remover before proceeding to the drying phase. By addressing any lingering stains at this stage, you can maximize the effectiveness of the machine washing process and ensure that the bath mat emerges in optimal condition.
By following these machine washing guidelines and taking into account the specific care instructions for your bath mat, you can achieve a thorough and effective clean that revitalizes the appearance and functionality of the bath mat. With the machine washing step completed, the bath mat is now ready to undergo the final phase of the cleaning process: drying.
Step 4: Dry the Bath Mat
After the machine washing cycle is complete, the next crucial step in the bath mat cleaning process is ensuring thorough and effective drying. Proper drying not only eliminates excess moisture from the bath mat but also prevents the development of musty odors and the growth of mold or mildew. By following the appropriate drying methods, you can preserve the integrity of the bath mat while ensuring that it remains fresh, clean, and ready for use in your bathroom.
The most straightforward and commonly used method for drying a bath mat is to hang it outdoors in a well-ventilated area. If weather conditions permit, hanging the bath mat on a clothesline or sturdy railing allows for efficient air circulation, facilitating the natural evaporation of moisture from the fibers. This approach not only accelerates the drying process but also imparts a fresh, outdoor scent to the bath mat, enhancing its overall appeal.
In situations where outdoor drying is not feasible, such as during inclement weather or in urban environments, indoor drying methods can be employed. Placing the bath mat on a drying rack or over a shower rod allows for adequate air exposure, promoting efficient drying while preventing moisture from accumulating on the bathroom floor. It's essential to position the bath mat in a well-ventilated area to facilitate air circulation and expedite the drying process.
For bath mats with a rubber backing, it's important to ensure that the backing is thoroughly dried to prevent the retention of moisture, which can lead to mold or mildew growth. To achieve this, consider flipping the bath mat periodically during the drying process to expose both the front and back surfaces to air, ensuring comprehensive drying and preventing any residual dampness.
In instances where time is of the essence, using a fan or dehumidifier can expedite the drying process by enhancing air circulation and reducing humidity levels. Positioning a fan near the bath mat or running a dehumidifier in the drying area can significantly shorten the drying time, allowing you to return the bath mat to its designated space in the bathroom promptly.
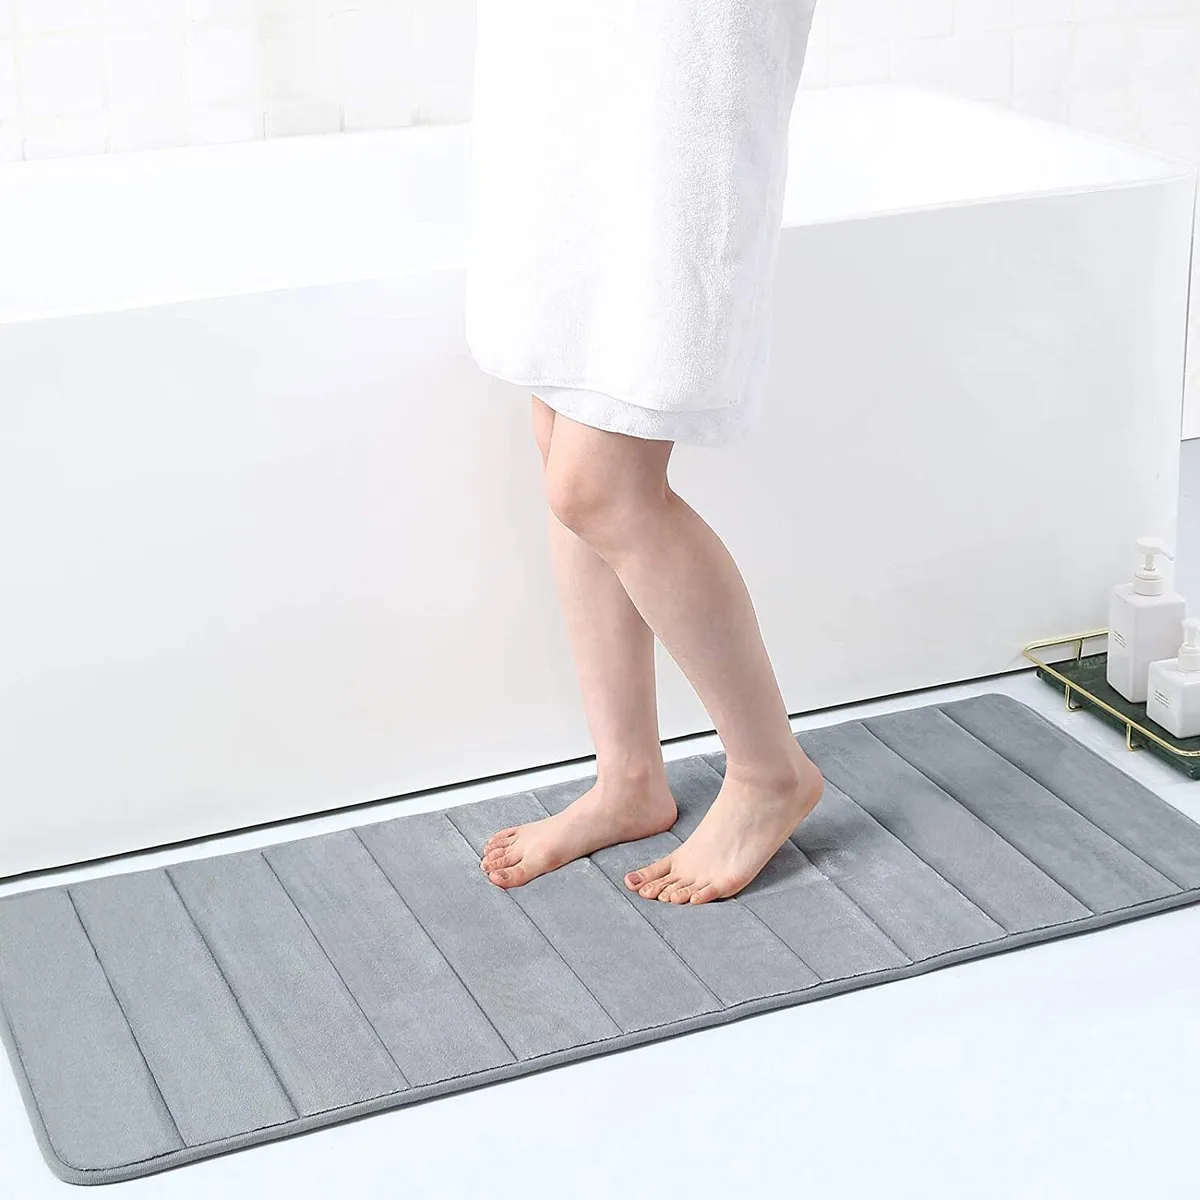
By diligently following these drying methods and ensuring that the bath mat is thoroughly dried, you can maintain its cleanliness, prolong its lifespan, and uphold a hygienic environment in your bathroom. With the bath mat now clean, dry, and revitalized, it is ready to be returned to its place in the bathroom, where it can continue to provide a soft, welcoming surface for your post-shower or bath routines.
Step 5: Replacing the Bath Mat
Over time, bath mats experience wear and tear due to regular use, exposure to moisture, and the accumulation of dirt and stains. Despite diligent cleaning and maintenance, there comes a point when a bath mat reaches the end of its functional lifespan. Recognizing the signs that indicate the need for replacing the bath mat is essential for maintaining a hygienic and visually appealing bathroom environment.
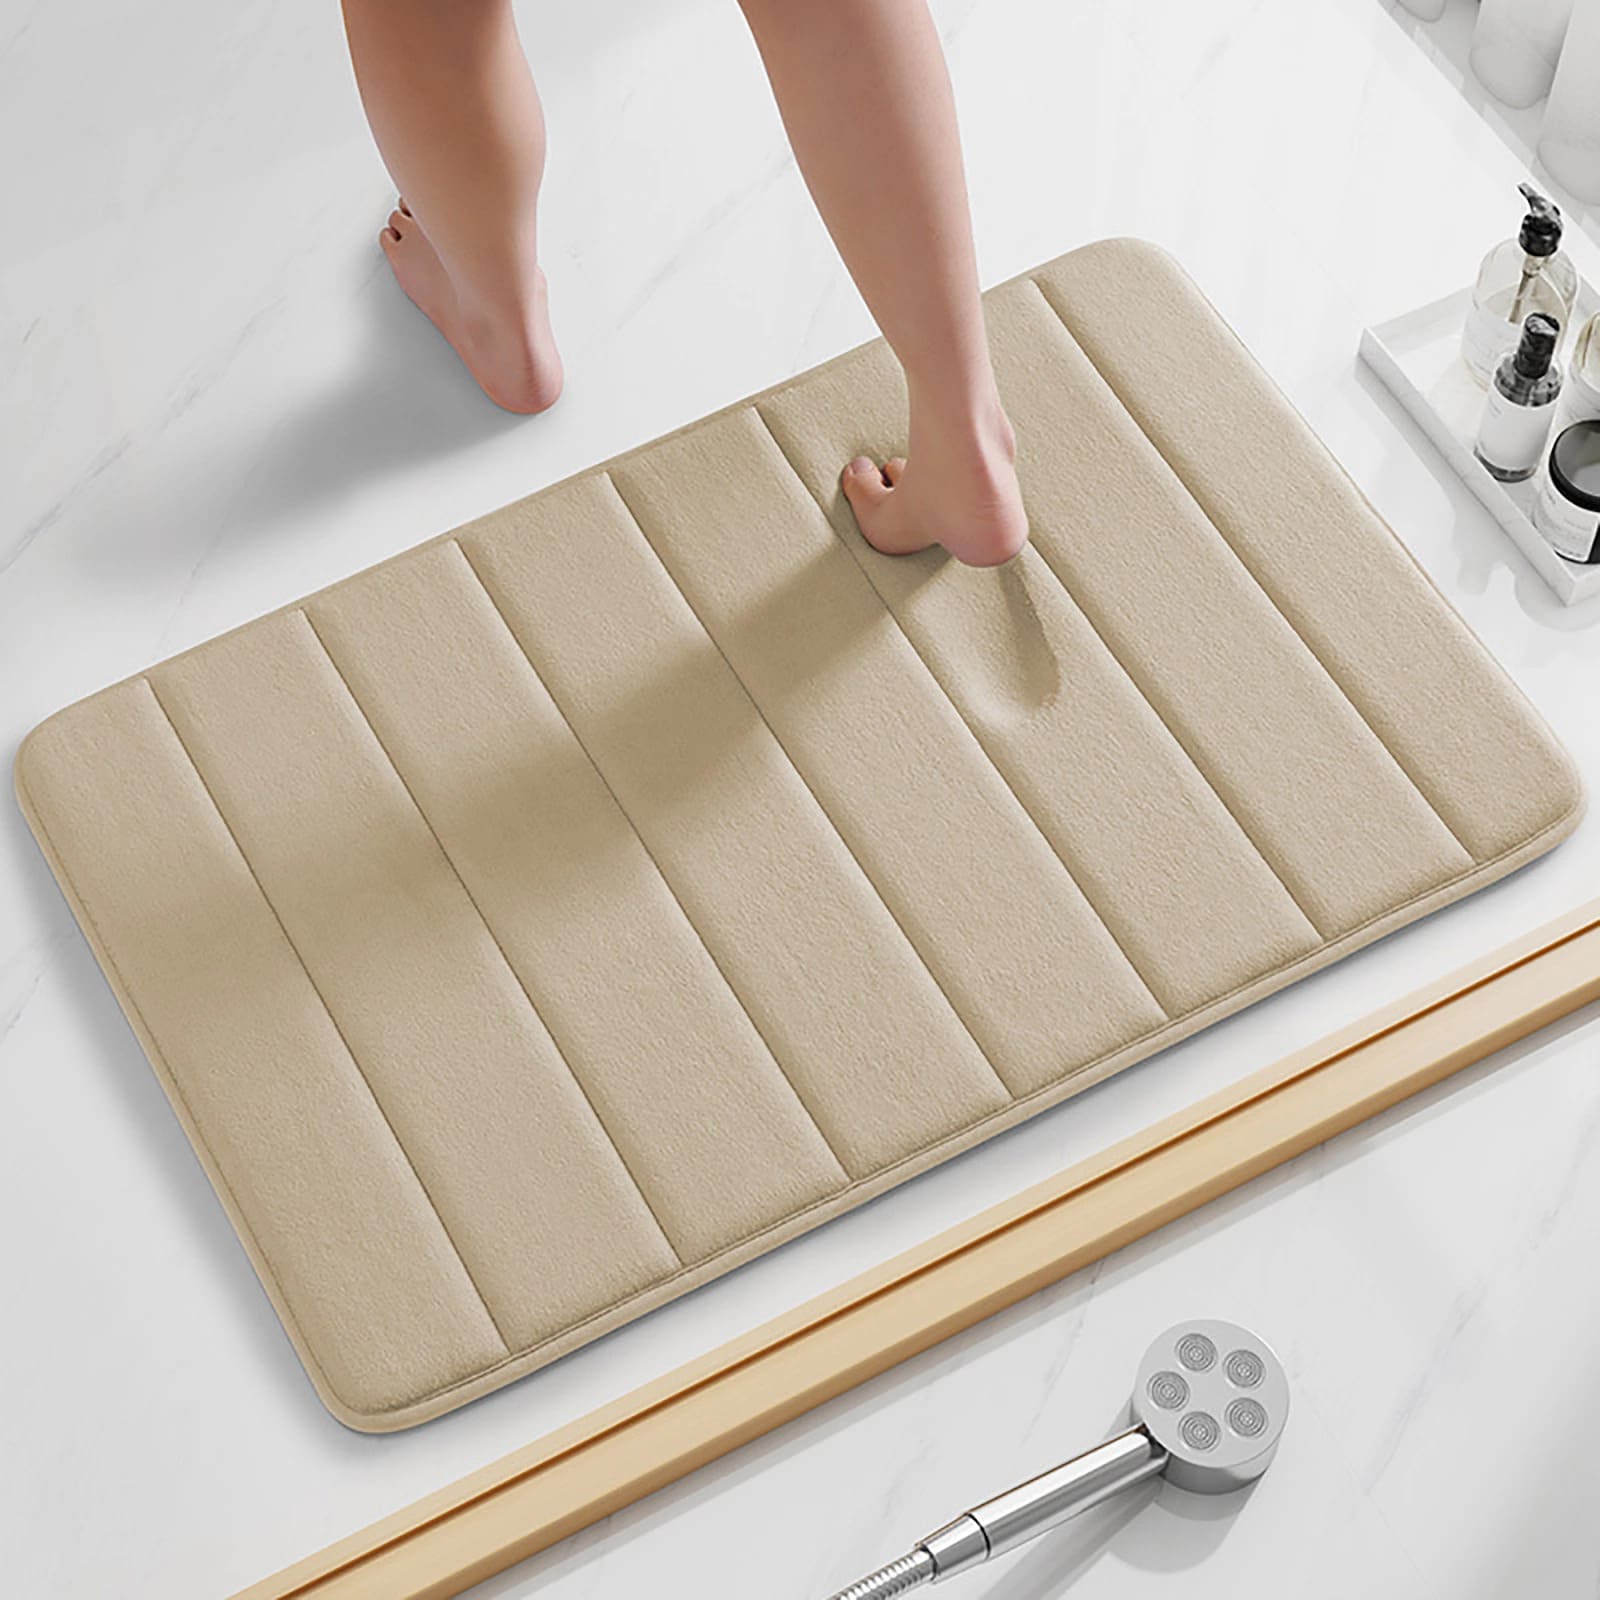
One of the primary indicators that it may be time to replace the bath mat is visible wear and deterioration. This can manifest as fraying edges, faded colors, or a flattened, less cushioned texture. As the fibers of the bath mat degrade over time, its ability to provide adequate absorbency and slip resistance diminishes, compromising its functionality and safety.
Additionally, persistent stains that cannot be effectively removed, despite thorough cleaning and treatment, may signal the need for a new bath mat. Stubborn stains that have become deeply embedded in the fibers or backing of the mat can detract from its overall cleanliness and aesthetic appeal, making replacement a practical solution to restore the visual freshness of the bathroom.
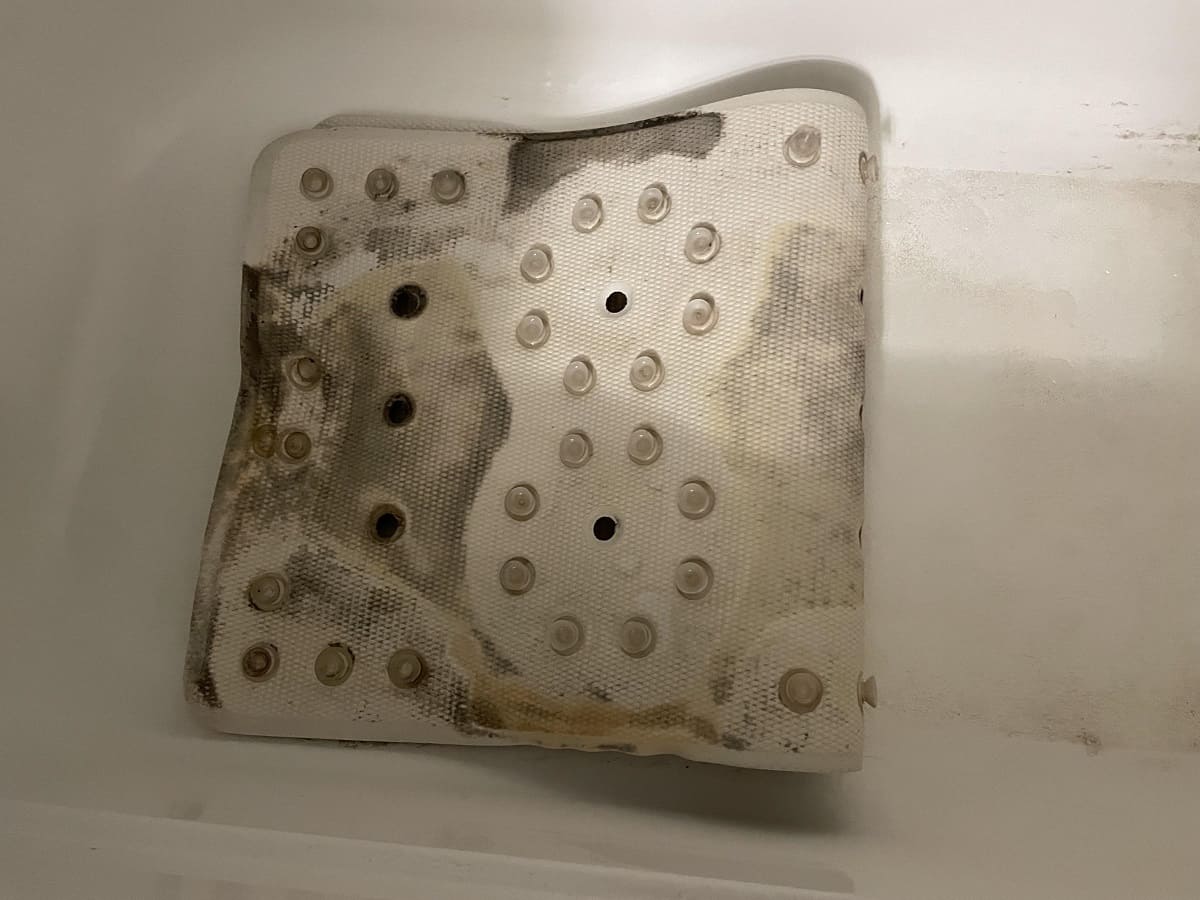
Furthermore, the presence of mold or mildew that persists despite diligent cleaning efforts can indicate that the bath mat has reached the end of its usable lifespan. Mold and mildew pose health risks and can compromise the hygiene of the bathroom environment. If these issues persist despite thorough cleaning and drying, it may be time to retire the old bath mat and introduce a new, mold-free replacement.
When considering the replacement of a bath mat, it's important to assess the overall condition and functionality of the mat. If the backing has deteriorated to the point where it no longer provides adequate grip on the bathroom floor, posing a slipping hazard, replacing the bath mat becomes a safety priority.
In addition to functional considerations, the aesthetic appeal of the bath mat plays a significant role in the decision to replace it. A worn, discolored, or visibly aged bath mat can detract from the overall visual appeal of the bathroom. By introducing a new bath mat, you can rejuvenate the space, infusing it with a fresh, clean look that enhances the ambiance of the bathroom.
By recognizing the signs that indicate the need for replacing the bath mat and proactively introducing a new, clean, and functional replacement, you can ensure that your bathroom maintains a hygienic, safe, and visually pleasing environment. Whether opting for a plush, luxurious bath mat or a durable, easy-to-clean option, selecting a new bath mat that meets your functional and aesthetic preferences allows you to continue enjoying the benefits of this essential bathroom accessory.
Frequently Asked Questions about How To Wash A Bath Mat
Was this page helpful?
At Storables.com, we guarantee accurate and reliable information. Our content, validated by Expert Board Contributors, is crafted following stringent Editorial Policies. We're committed to providing you with well-researched, expert-backed insights for all your informational needs.

0 thoughts on “How To Wash A Bath Mat”