Home>Furniture & Design>Bathroom Accessories>How To Dry A Bath Mat
Bathroom Accessories
How To Dry A Bath Mat
Modified: August 17, 2024
Learn the best methods for drying a bath mat and keeping your bathroom accessories clean and fresh. Discover tips for quick and effective drying to maintain a hygienic environment.
(Many of the links in this article redirect to a specific reviewed product. Your purchase of these products through affiliate links helps to generate commission for Storables.com, at no extra cost. Learn more)
Introduction
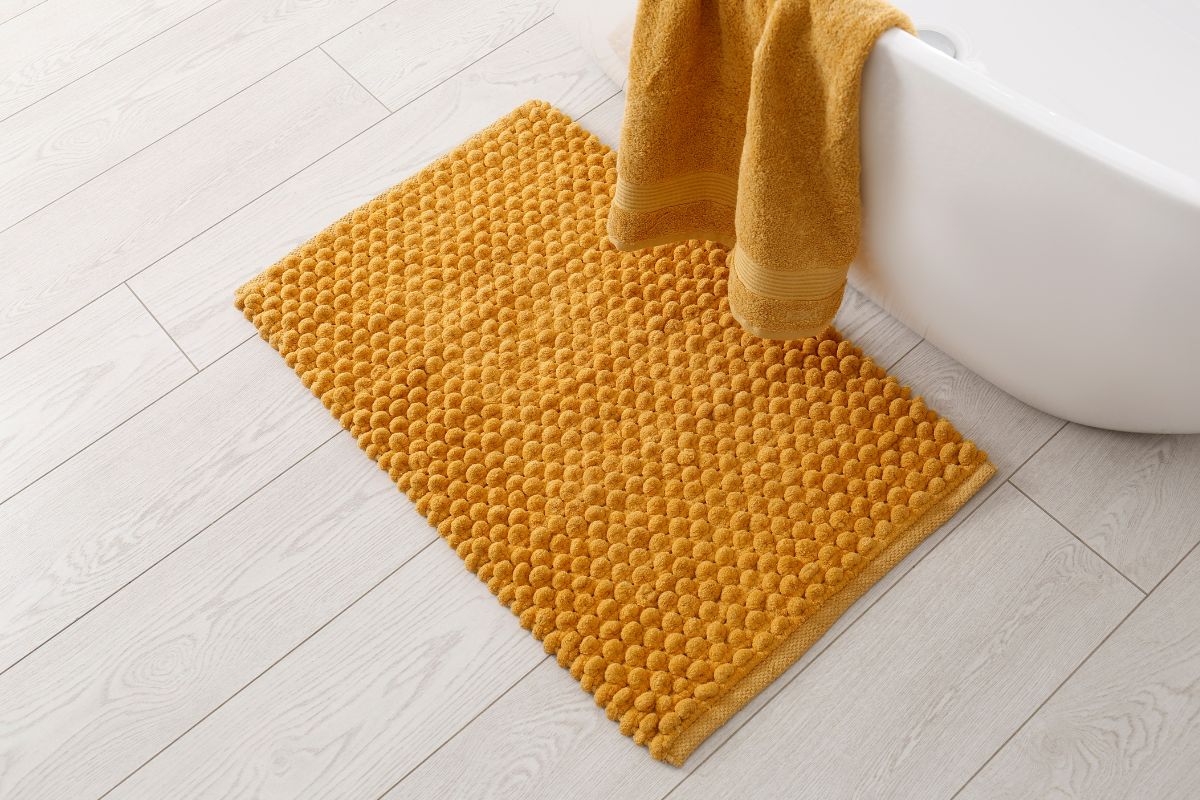
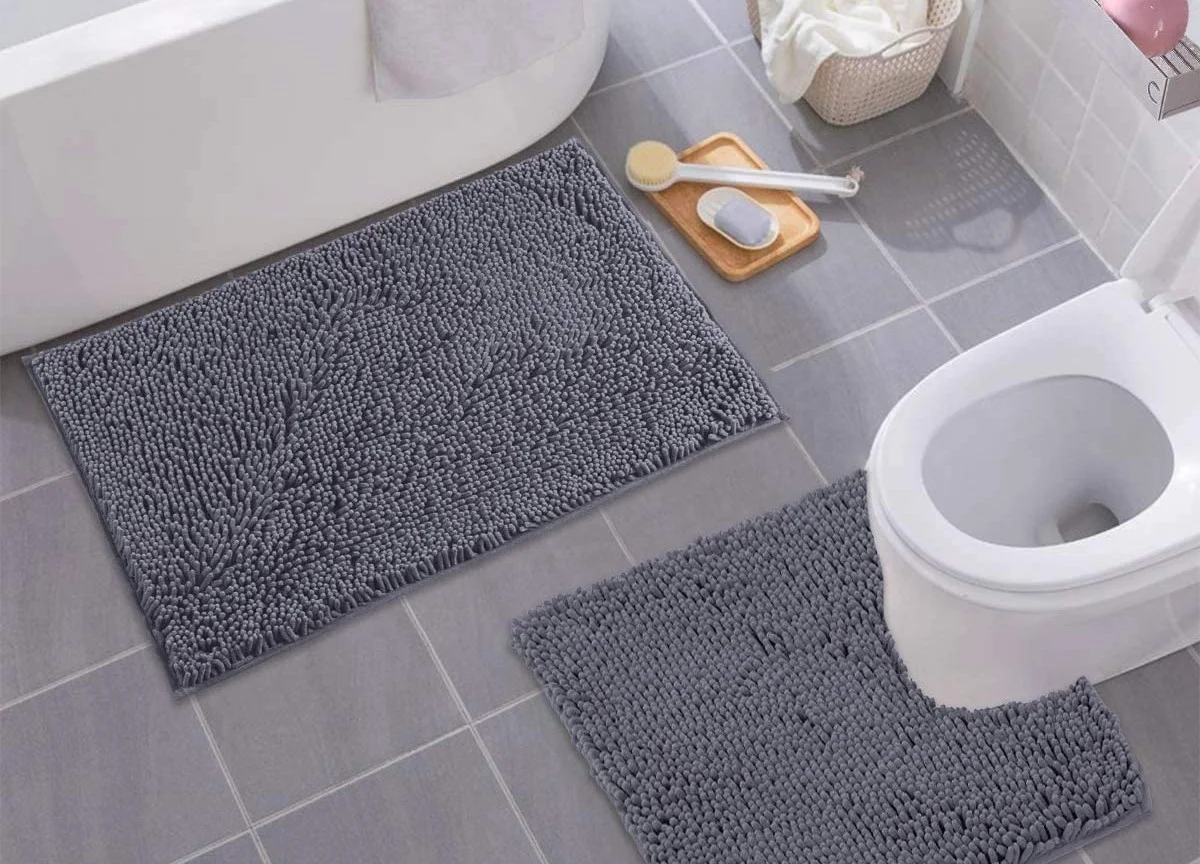
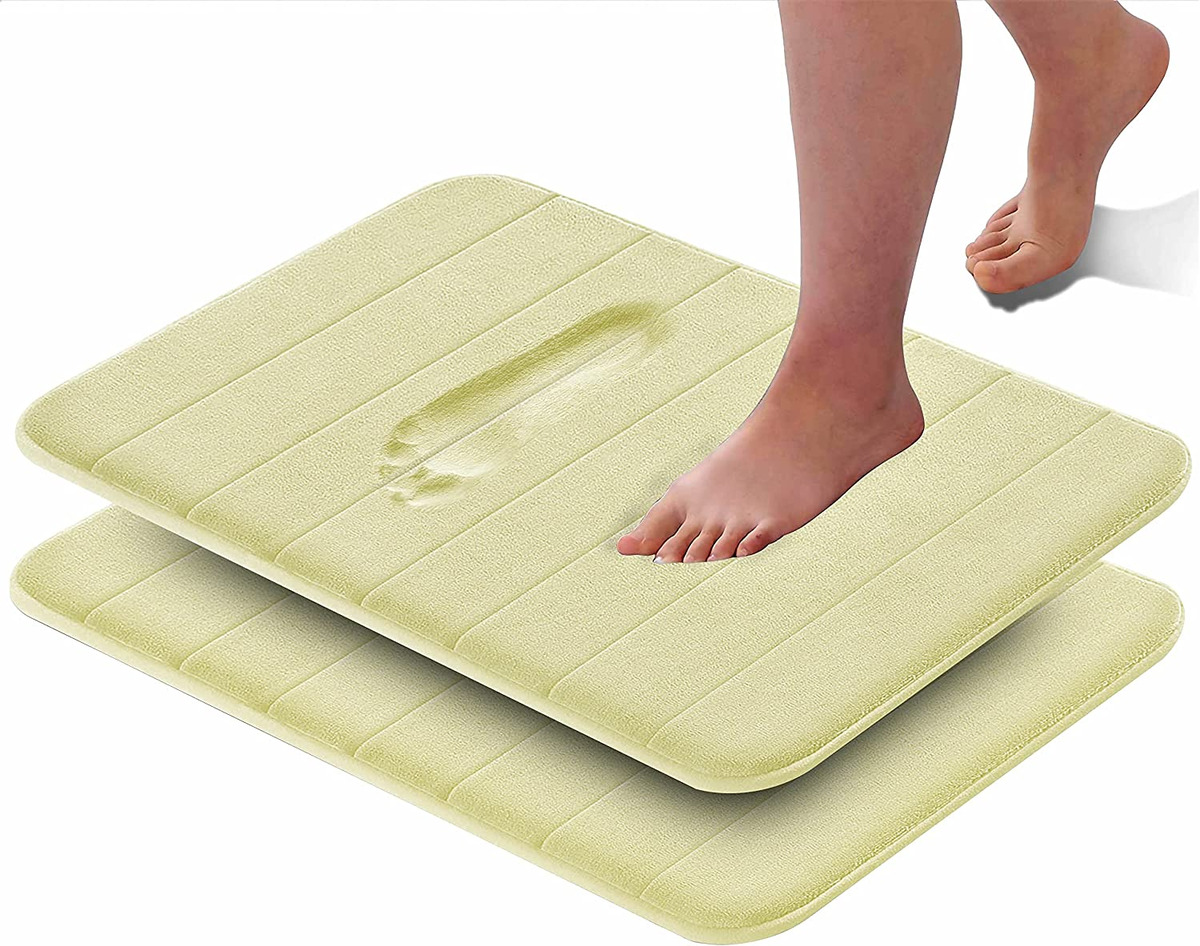
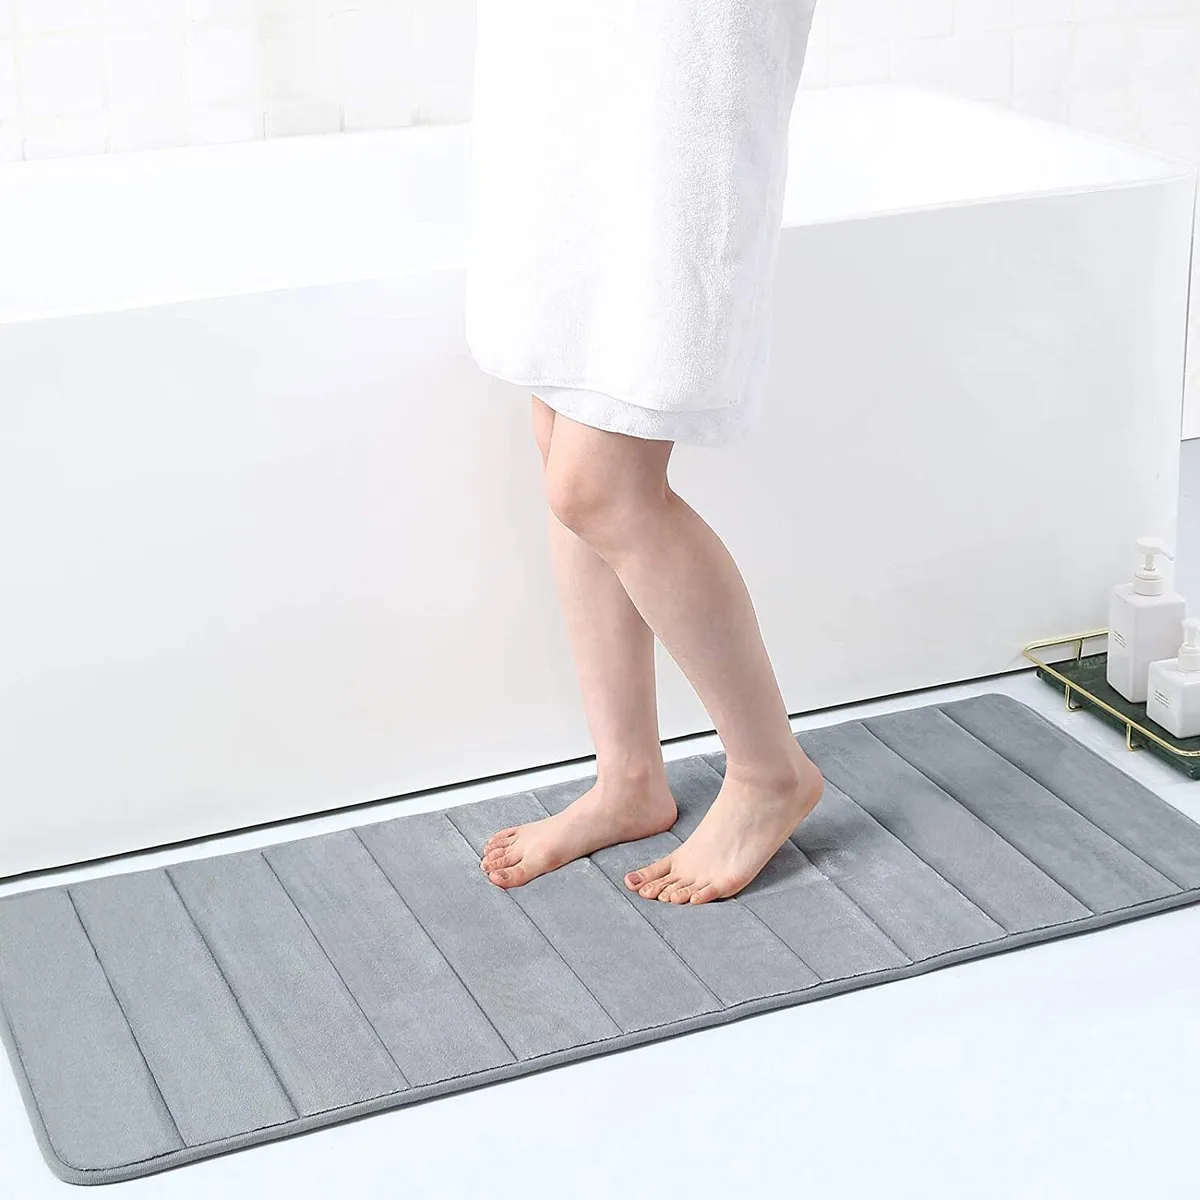
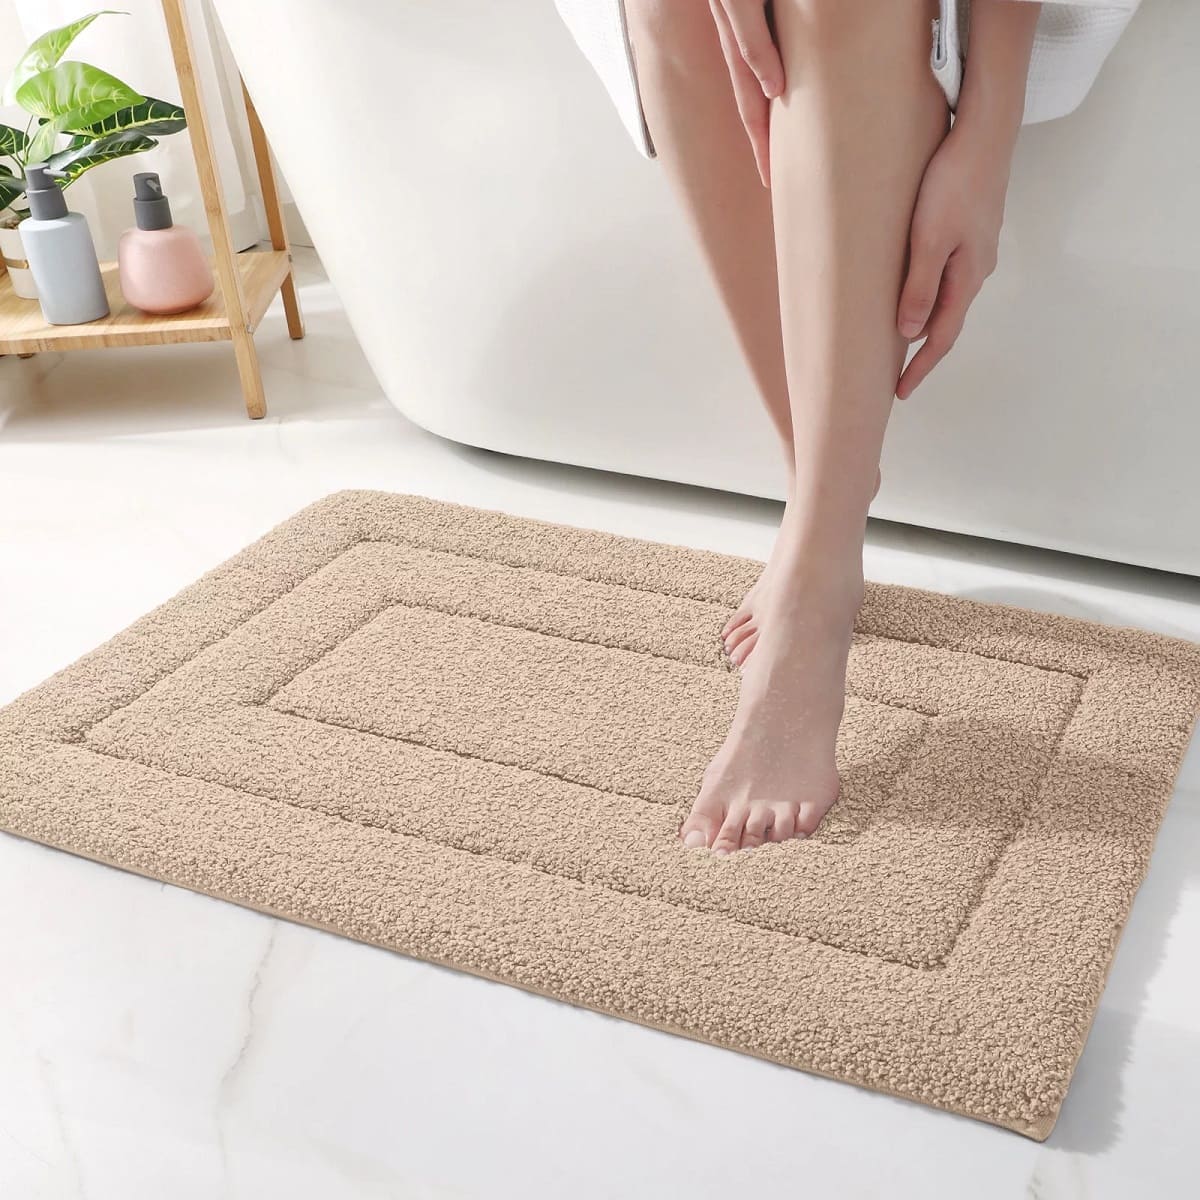
Drying a bath mat may seem like a simple task, but it's essential to do it properly to maintain its quality and extend its lifespan. A bath mat that is not dried correctly can develop a musty odor, harbor bacteria, and become a breeding ground for mold and mildew. By following the right drying techniques, you can ensure that your bath mat remains fresh, clean, and in optimal condition for a long time.
In this comprehensive guide, we will walk you through the step-by-step process of effectively drying a bath mat. Whether you have a plush, memory foam, or rubber bath mat, the methods outlined here will help you achieve thorough and efficient drying, preserving the comfort and functionality of your bath mat.
Properly drying your bath mat is not only about maintaining its hygiene and appearance but also about ensuring safety. A wet bath mat can be slippery and pose a hazard in the bathroom, especially for children and the elderly. By following the techniques outlined in this guide, you can minimize the risk of accidents and create a safer environment in your bathroom.
So, let's dive into the details of how to effectively dry a bath mat, ensuring that it remains clean, fresh, and safe for everyday use. Whether you've just washed your bath mat or it's damp from regular use, these methods will help you achieve optimal drying results, keeping your bath mat in top condition.
Key Takeaways:
- Shake off excess water from your bath mat by taking it outside or to a well-ventilated area, and vigorously shaking it to remove as much water as possible. This helps prevent musty odors and keeps your mat fresh and clean.
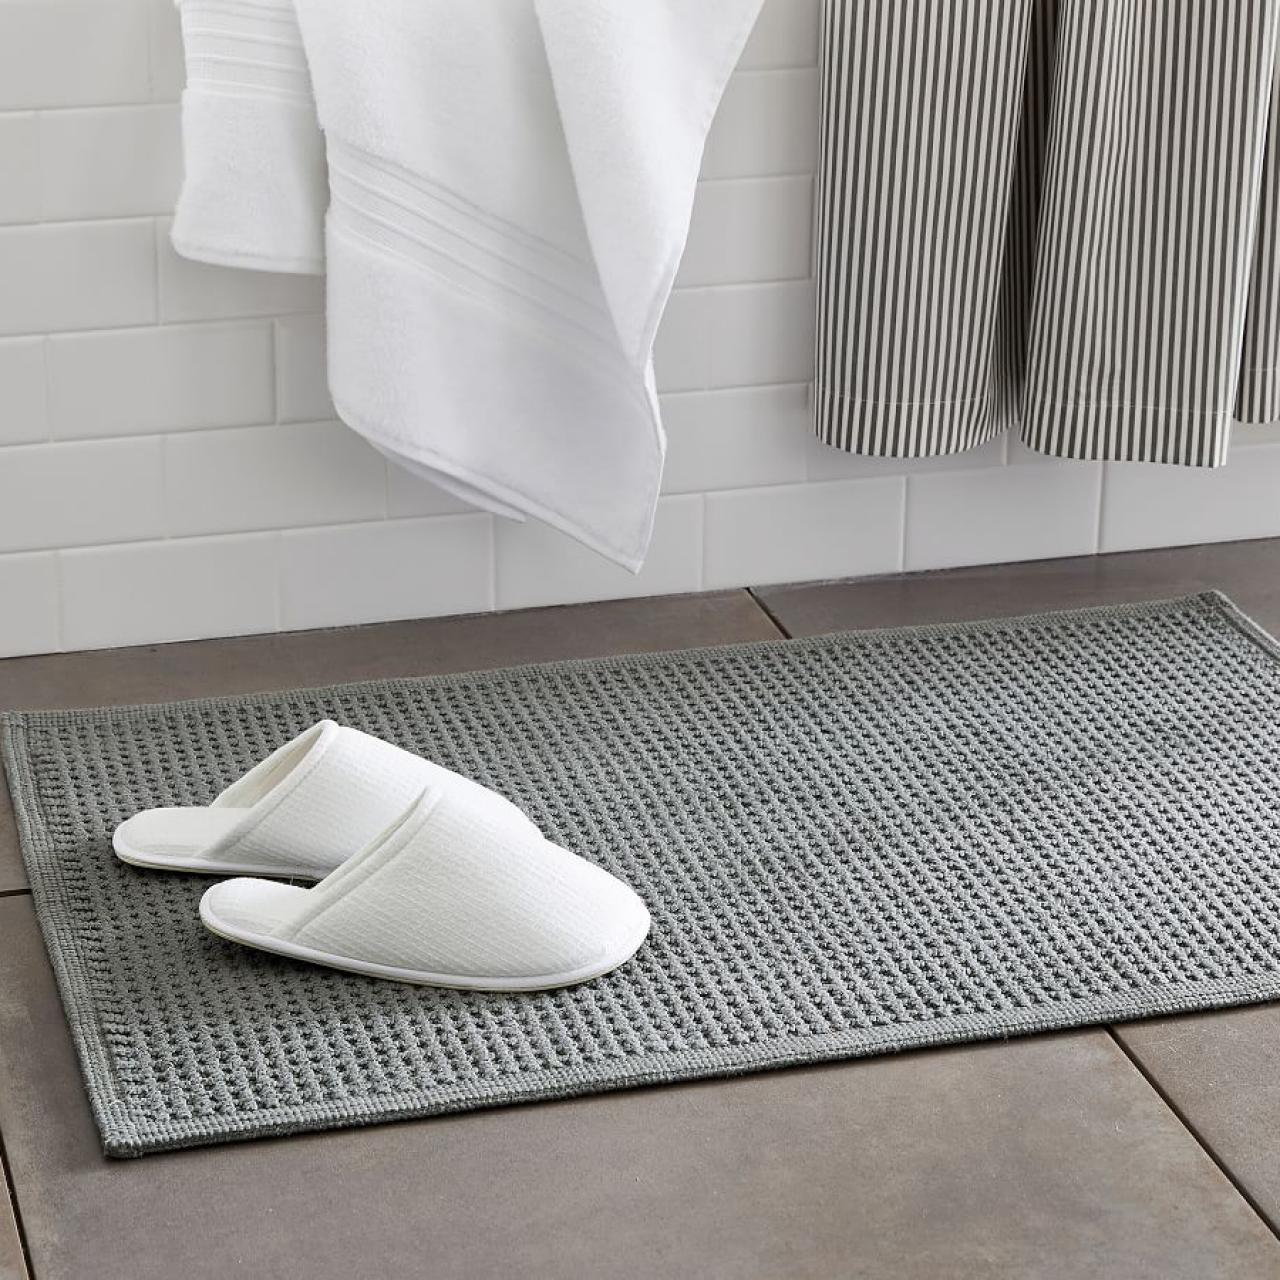
- Hang your bath mat to air dry in a well-ventilated area, avoiding direct sunlight. Using a towel to absorb remaining moisture and laying the mat flat to finish drying ensures it’s completely dry and ready for use, maintaining its quality and functionality.
Read more: How To Clean A Rubber Bath Mat
Step 1: Shake off excess water
Shaking off excess water is the first and crucial step in the process of drying a bath mat. Whether your bath mat has just been washed or is damp from regular use, removing excess water is essential to expedite the drying process and prevent moisture from lingering within the fibers. Here's how to effectively shake off the excess water from your bath mat:
-
Take the Bath Mat Out of the Bathroom: Start by carefully removing the bath mat from the bathroom floor. It's important to handle the mat gently to avoid splashing water around and to prevent any additional moisture from seeping into the floor.
-
Go Outside or to a Well-Ventilated Area: If possible, take the bath mat outside to shake it. If going outside is not an option, choose a well-ventilated area such as a balcony or a spacious room with good air circulation. This step is crucial to prevent the accumulation of moisture in an enclosed space.
-
Hold the Bath Mat Firmly: Grasp the bath mat firmly with both hands, ensuring that you have a secure grip on the entire mat. This will allow you to control the movement and prevent the mat from slipping out of your hands during the shaking process.
-
Shake Vigorously: With a firm grip on the bath mat, shake it vigorously in an up-and-down motion. The goal is to dislodge as much water as possible from the fibers. You may also shake the mat from side to side to ensure that all areas are thoroughly shaken.
-
Repeat if Necessary: Depending on the material and thickness of the bath mat, you may need to repeat the shaking process a few times to ensure that the majority of the excess water is removed. Pay attention to areas that may retain more moisture, such as the corners and edges.
By effectively shaking off the excess water from your bath mat, you set the stage for the subsequent drying steps, allowing air and towels to efficiently absorb the remaining moisture. This initial step significantly reduces the overall drying time and helps maintain the quality and cleanliness of your bath mat.
Remember, the goal is to shake off as much water as possible before proceeding to the next drying steps. This proactive approach sets the foundation for thorough and effective drying, ensuring that your bath mat remains fresh, clean, and free from excess moisture.
Step 2: Hang the bath mat to air dry
After shaking off the excess water from the bath mat, the next crucial step is to hang it to air dry. This method allows for optimal air circulation around the mat, facilitating the evaporation of remaining moisture and ensuring thorough drying. Here's a detailed guide on how to effectively hang your bath mat for air drying:
-
Choose a Well-Ventilated Area: Select a location with good air circulation to hang the bath mat. Ideally, an outdoor clothesline or a sturdy indoor drying rack would be suitable. If using an indoor space, ensure that there is ample room around the mat for air to circulate freely.
-
Avoid Direct Sunlight: While sunlight can aid in drying, direct exposure to intense sunlight for prolonged periods may cause fading or damage to certain types of bath mats, especially those made of delicate materials. Therefore, it's best to choose a shaded or partially shaded area for hanging the mat.
-
Use Sturdy Clips or Clothespins: If using a clothesline, secure the bath mat in place with sturdy clips or clothespins. Ensure that the clips are strong enough to hold the weight of the mat without causing damage to the fabric. For indoor drying racks, gently drape the mat over the bars to allow for even air circulation.
-
Hang the Mat Evenly: When hanging the bath mat, ensure that it is spread out evenly to promote uniform drying. Smooth out any wrinkles or folds to prevent moisture from being trapped in creases, which could prolong the drying process.
-
Check Periodically: Periodically check the bath mat while it's air drying to assess its progress. Depending on the material and thickness of the mat, it may take several hours for thorough drying. If the weather permits, you can rotate the mat to ensure that all sides receive adequate airflow.
By hanging the bath mat to air dry, you allow natural air circulation to effectively evaporate the remaining moisture, resulting in a fresh and thoroughly dried bath mat. This method is gentle on the fabric and helps maintain the integrity of the mat, ensuring that it remains in optimal condition for future use.
After washing, hang the bath mat to air dry in a well-ventilated area. Avoid direct sunlight to prevent color fading. If using a dryer, use a low heat setting to prevent damage to the mat.
Step 3: Use a towel to absorb remaining moisture
After hanging the bath mat for air drying, the next step involves using a towel to absorb any remaining moisture, ensuring thorough drying and preventing the possibility of musty odors or mildew. This method is particularly effective for bath mats with thicker or more absorbent materials, as it provides an additional level of moisture removal. Here's a detailed guide on how to use a towel to absorb the remaining moisture from your bath mat:
-
Select a Dry, Absorbent Towel: Choose a clean, dry towel with high absorbency. Opt for a towel that is large enough to cover the surface area of the bath mat effectively.
-
Place the Towel Over the Bath Mat: Lay the towel flat on a stable surface, such as a clean floor or a large, flat drying rack. Gently place the bath mat on top of the towel, ensuring that it lies flat and makes full contact with the towel's surface.
-
Press Down Gently: Using your hands or body weight, press down gently on the bath mat to encourage the transfer of moisture from the mat to the towel. Apply even pressure across the entire surface of the mat, focusing on areas that may still feel damp.
-
Rotate the Towel if Necessary: If the first side of the towel becomes saturated with moisture, carefully flip the bath mat over and repeat the process on the other side. This ensures that both sides of the mat have the opportunity to transfer moisture to the towel effectively.
-
Check for Dampness: After pressing down on the bath mat with the towel, lift the mat to assess the level of dampness. If the towel appears visibly damp or if the mat still feels wet to the touch, repeat the pressing process with a fresh, dry section of the towel.
-
Allow for Air Drying: Once you've used the towel to absorb as much moisture as possible from the bath mat, allow both the mat and the towel to air dry in a well-ventilated area. This final step ensures that any residual moisture is evaporated, leaving the bath mat thoroughly dry and ready for use.
By using a towel to absorb the remaining moisture from your bath mat, you enhance the overall drying process, leaving the mat fresh, clean, and free from excess moisture. This method complements the air drying process, providing an extra level of assurance that your bath mat is thoroughly dried and ready to be placed back in your bathroom, maintaining its quality and functionality.
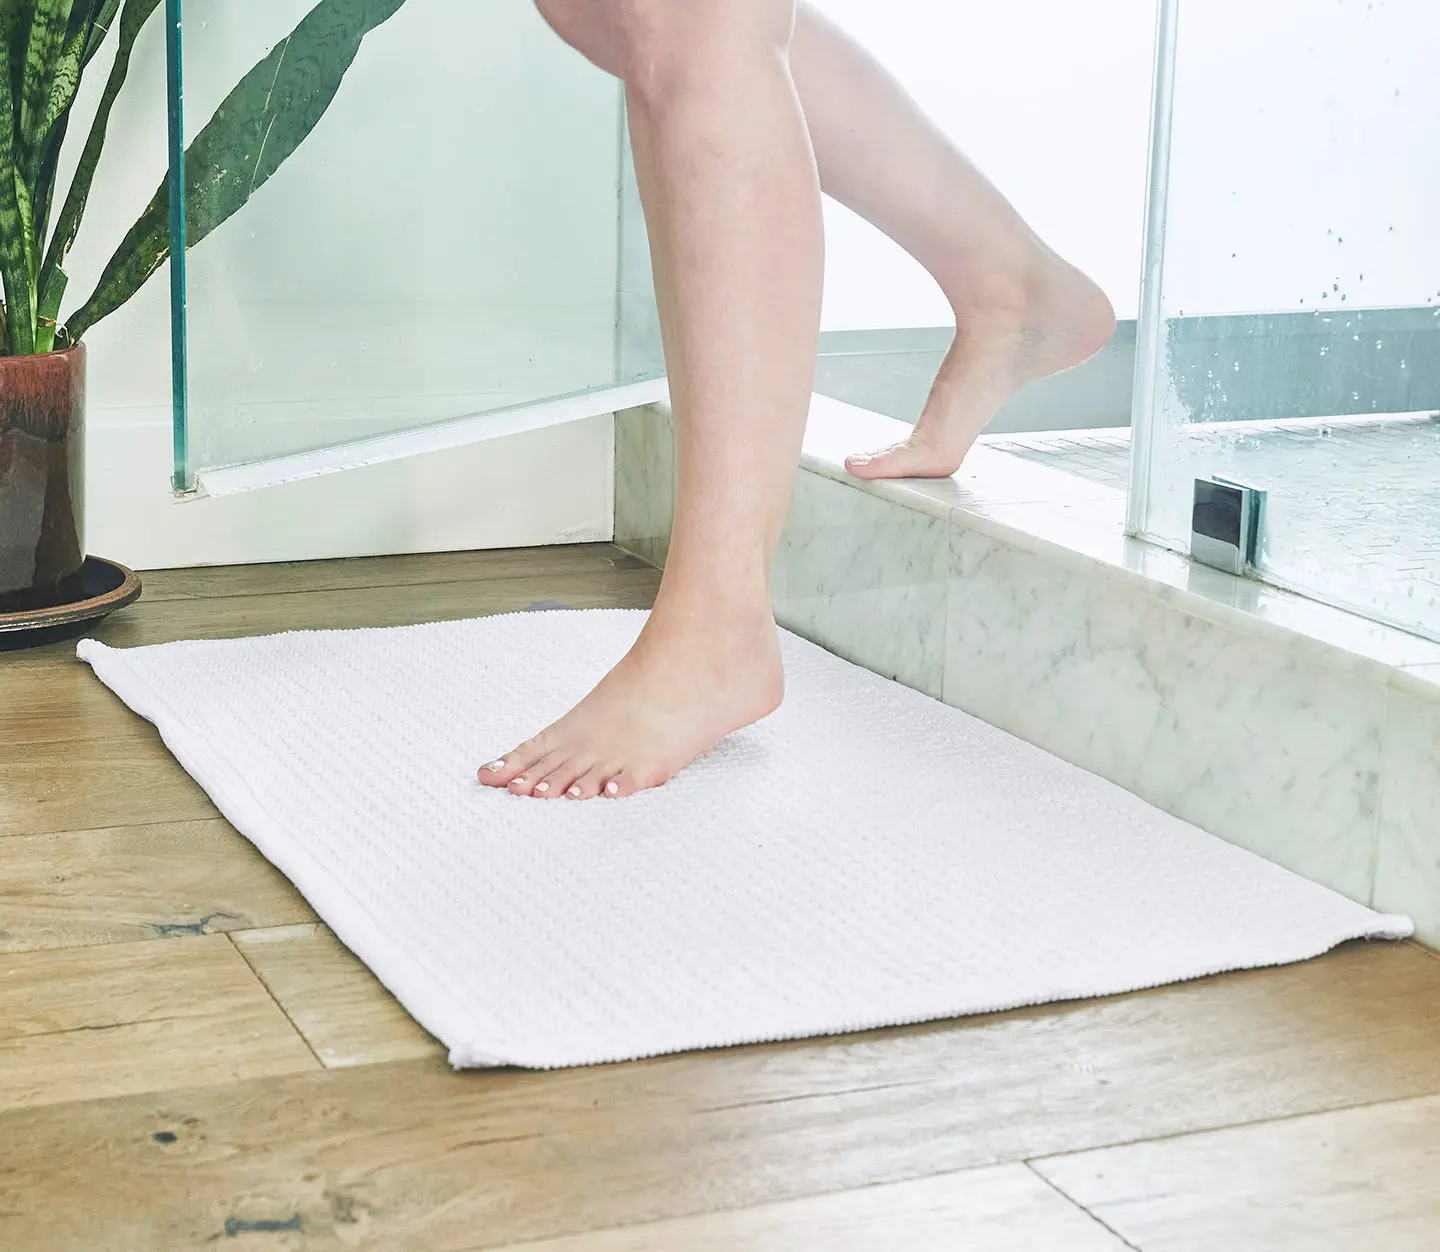
Step 4: Lay the bath mat flat to finish drying
After utilizing the methods of shaking off excess water, hanging the bath mat to air dry, and using a towel to absorb remaining moisture, the final step in the comprehensive process of drying a bath mat involves laying it flat to finish the drying process. This step is essential for ensuring that the bath mat is completely dry, free from residual moisture, and ready for immediate use in your bathroom.
Here's a detailed guide on how to lay the bath mat flat to finish drying:
-
Choose a Clean, Flat Surface: Select a clean, flat surface such as a large drying rack, a clean floor, or a spacious countertop to lay the bath mat. It's important to ensure that the surface is free from any moisture or debris that could potentially transfer to the mat.
-
Smooth Out Any Wrinkles: Before placing the bath mat on the flat surface, carefully smooth out any wrinkles or folds that may have formed during the previous drying steps. This ensures that the mat lies flat and allows for uniform airflow around its entire surface.
-
Position the Bath Mat Evenly: Place the bath mat flat on the chosen surface, ensuring that it is positioned evenly without any bunching or overlapping. This step is crucial for promoting consistent drying and preventing any areas from retaining moisture.
-
Allow Sufficient Air Circulation: Once the bath mat is laid flat, ensure that there is ample space around it to allow for unrestricted air circulation. This promotes efficient evaporation of any remaining moisture and facilitates thorough drying.
-
Check for Dampness: Periodically check the bath mat to assess its dryness. Depending on the material and thickness of the mat, it may take some time to complete the drying process. If any areas still feel damp, gently pat them with a dry towel to absorb the remaining moisture.
-
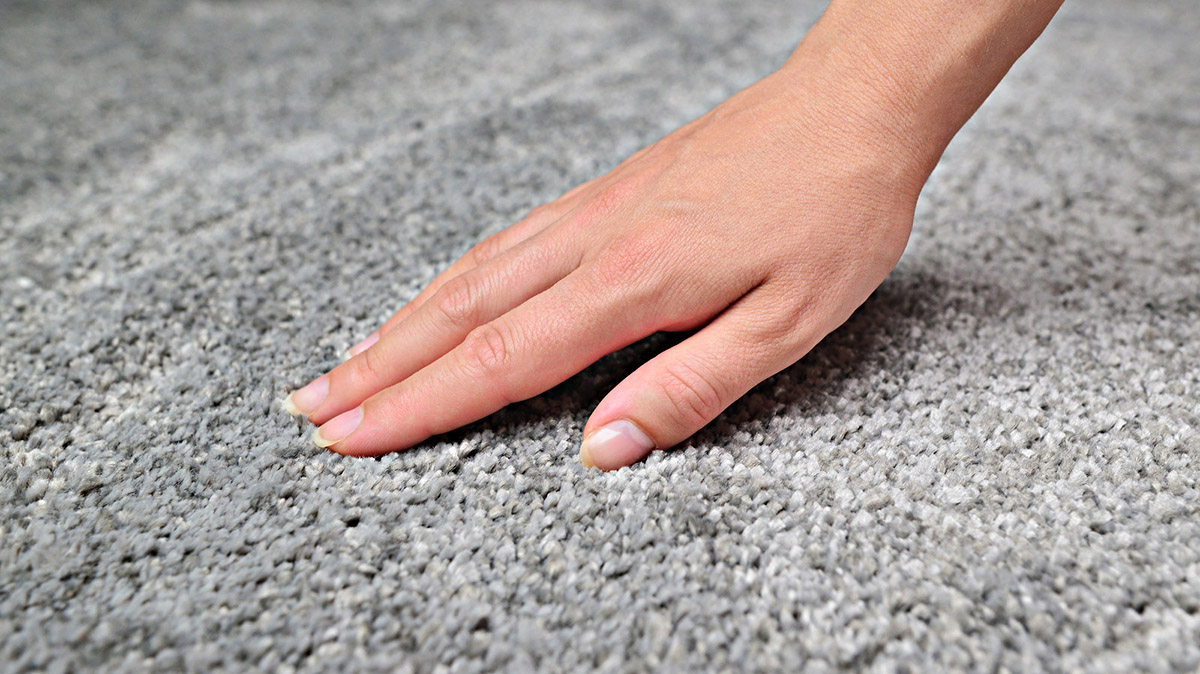
Ensure Complete Dryness: Before returning the bath mat to its usual place in the bathroom, ensure that it is completely dry to the touch. Running your hand over the surface of the mat will help you detect any residual moisture, allowing you to confirm that it is ready for immediate use.
By laying the bath mat flat to finish drying, you complete the comprehensive process of effectively drying the mat, ensuring that it is fresh, clean, and free from excess moisture. This final step sets the stage for returning the bath mat to your bathroom, where it can continue to provide comfort, safety, and functionality for your everyday use.
Read more: How To Clean Loofah Bath Mat
Conclusion
Properly drying a bath mat is a crucial aspect of maintaining its hygiene, durability, and safety. By following the step-by-step techniques outlined in this comprehensive guide, you can ensure that your bath mat remains fresh, clean, and in optimal condition for long-term use.
The process begins with shaking off excess water, a fundamental step that sets the stage for efficient drying. By carefully removing the bath mat from the bathroom and vigorously shaking it in a well-ventilated area, you can effectively dislodge the majority of the excess water, expediting the subsequent drying steps.
Hanging the bath mat to air dry allows for natural air circulation, facilitating the evaporation of remaining moisture. Choosing a well-ventilated area and avoiding direct sunlight are essential considerations during this step. By ensuring that the mat is evenly spread out and periodically checking its progress, you can achieve thorough and gentle drying without compromising the integrity of the fabric.
Using a towel to absorb any remaining moisture provides an additional level of assurance that the bath mat is thoroughly dried. This method is particularly beneficial for thicker or more absorbent mats, as it aids in the removal of residual moisture, preventing the development of musty odors and maintaining the mat's freshness.
Finally, laying the bath mat flat to finish drying completes the comprehensive process, ensuring that it is completely dry, free from residual moisture, and ready for immediate use. By choosing a clean, flat surface and allowing sufficient air circulation, you can confirm that the mat is in optimal condition before returning it to your bathroom.
By incorporating these drying techniques into your regular bath mat maintenance routine, you can extend the lifespan of your mat, minimize the risk of mold and mildew, and create a safer environment in your bathroom. Whether you have a plush, memory foam, or rubber bath mat, the methods outlined in this guide are designed to preserve the comfort, functionality, and cleanliness of your bath mat for the long term.
Remember, a properly dried bath mat not only enhances the aesthetics of your bathroom but also contributes to a healthier and safer living environment. By investing a little time and effort in the drying process, you can enjoy the benefits of a fresh, clean, and thoroughly dried bath mat every day.
Frequently Asked Questions about How To Dry A Bath Mat
Was this page helpful?
At Storables.com, we guarantee accurate and reliable information. Our content, validated by Expert Board Contributors, is crafted following stringent Editorial Policies. We're committed to providing you with well-researched, expert-backed insights for all your informational needs.

0 thoughts on “How To Dry A Bath Mat”