Home>Furniture & Design>Bathroom Accessories>How To Clean A Diatomaceous Earth Bath Mat

Bathroom Accessories
How To Clean A Diatomaceous Earth Bath Mat
Modified: August 20, 2024
Learn how to effectively clean and maintain your diatomaceous earth bath mat for a fresh and hygienic bathroom. Discover the best tips and tricks for bathroom accessories care.
(Many of the links in this article redirect to a specific reviewed product. Your purchase of these products through affiliate links helps to generate commission for Storables.com, at no extra cost. Learn more)
Introduction
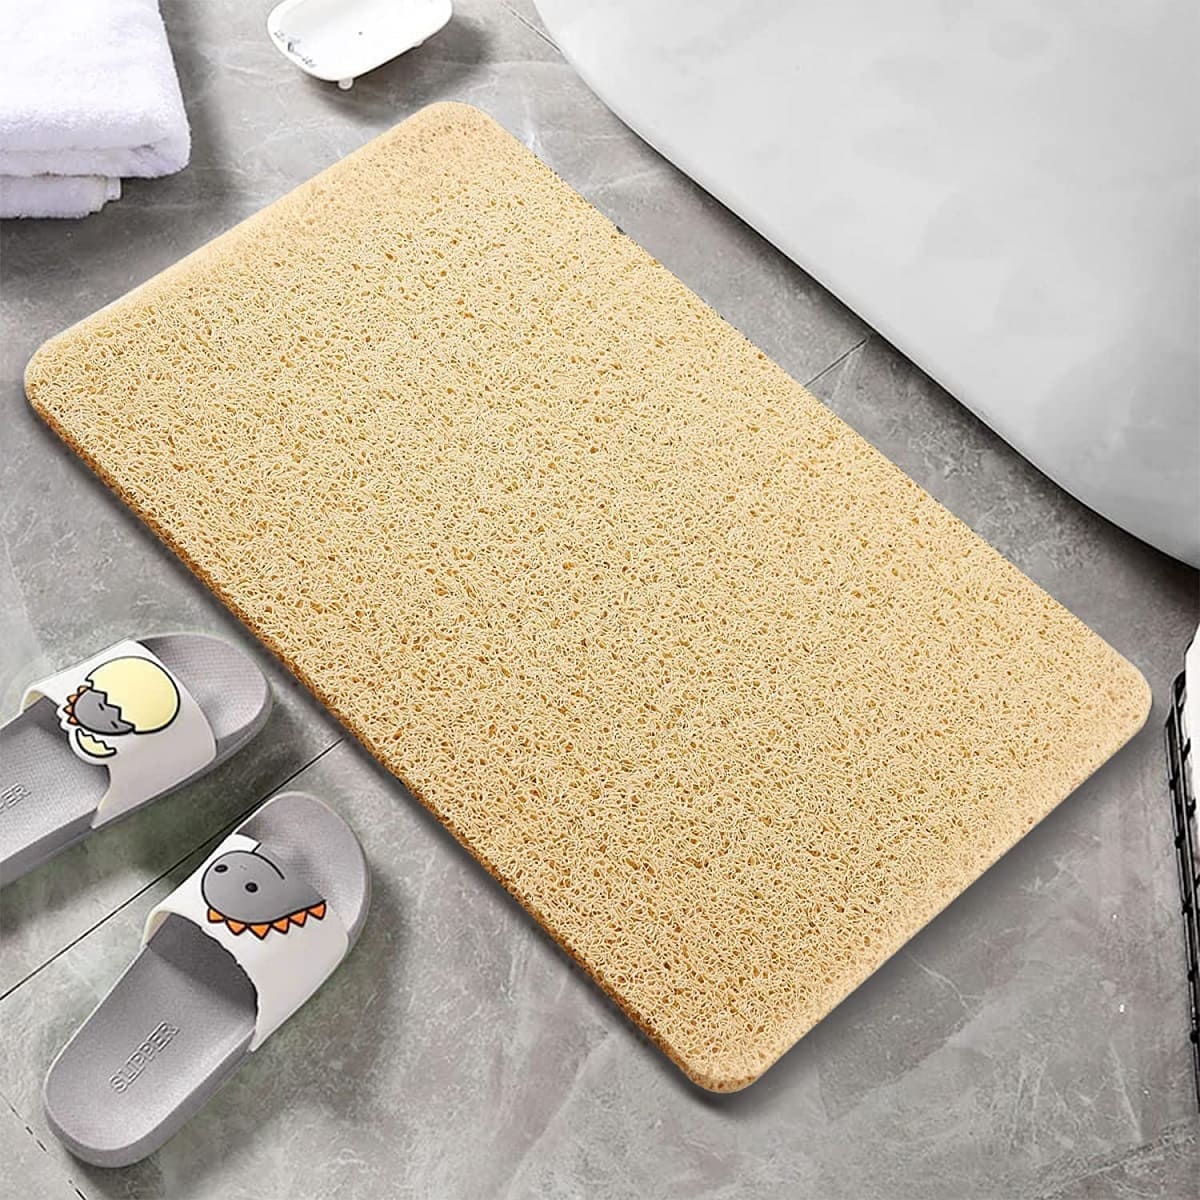
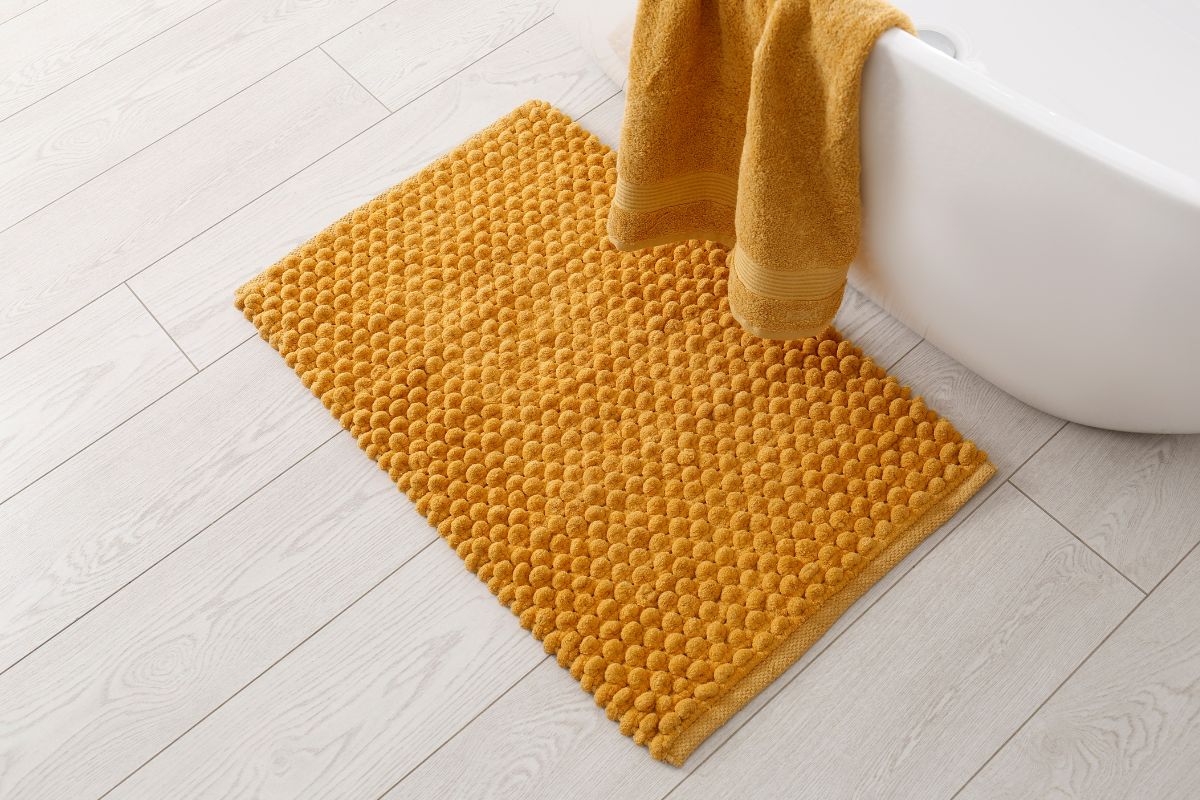
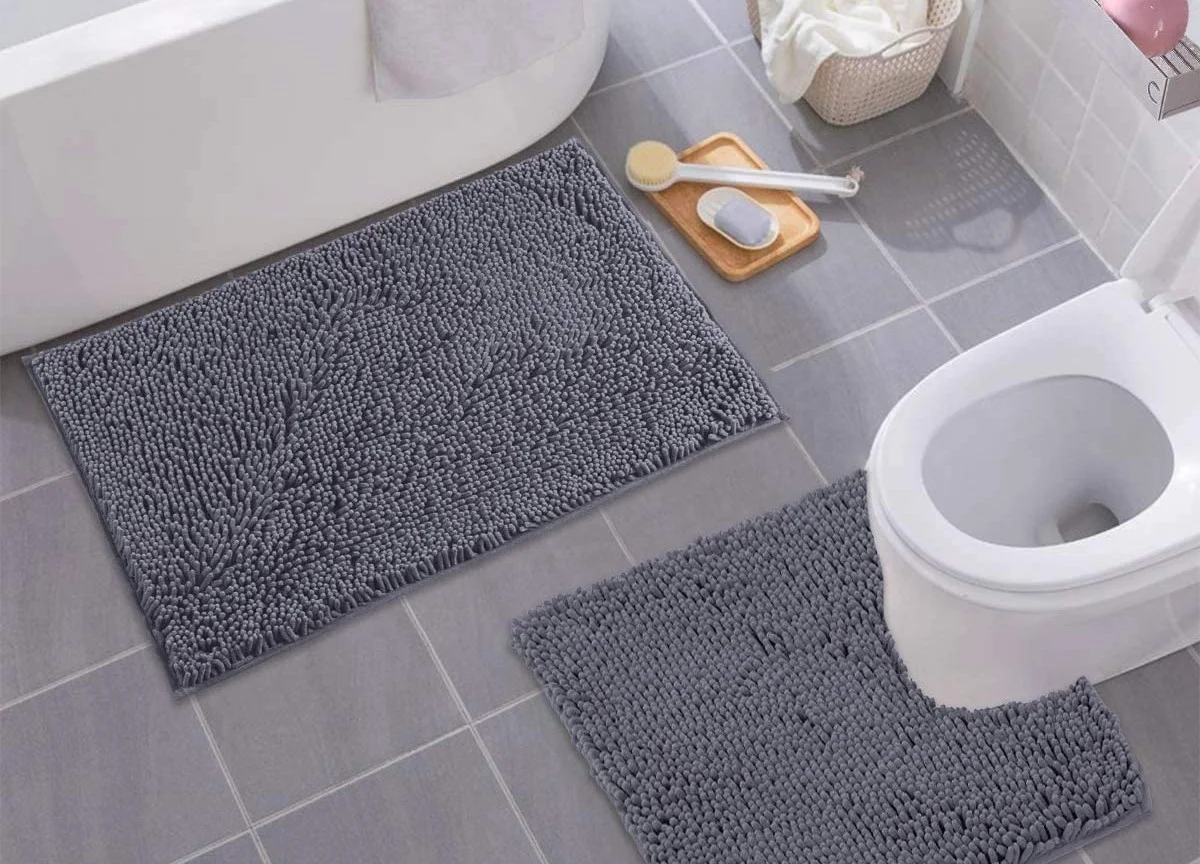
Diatomaceous earth bath mats have gained popularity for their natural and eco-friendly properties. Made from the fossilized remains of diatoms, these mats offer exceptional water absorption and anti-slip features, making them a valuable addition to any bathroom. However, to maintain their effectiveness and longevity, regular cleaning is essential. In this article, we will guide you through the step-by-step process of cleaning a diatomaceous earth bath mat, ensuring that it remains a functional and aesthetically pleasing bathroom accessory.
Cleaning a diatomaceous earth bath mat is a simple yet crucial task that contributes to a hygienic and visually appealing bathroom environment. By following the recommended cleaning methods, you can effectively remove dirt, moisture, and impurities that accumulate on the mat's surface over time. This not only preserves its functionality but also prolongs its lifespan, allowing you to continue enjoying the benefits of this natural and sustainable bathroom accessory.
Whether you have recently purchased a diatomaceous earth bath mat or have been using one for some time, understanding the proper cleaning techniques is essential for maintaining its performance and appearance. With the right approach, you can ensure that your bath mat remains free from mold, mildew, and odors, promoting a clean and inviting atmosphere in your bathroom. So, let's delve into the step-by-step process of cleaning a diatomaceous earth bath mat, empowering you to uphold the hygiene and allure of this unique bathroom essential.
Key Takeaways:
- Keep your diatomaceous earth bath mat clean and functional by shaking it out, vacuuming, washing with water, and thorough drying. Regularly reapply diatomaceous earth powder to maintain its absorbency and anti-slip properties.
- Cleaning your diatomaceous earth bath mat is easy and essential for a hygienic bathroom. Shake, vacuum, wash, dry, and reapply powder to keep it clean, safe, and visually appealing.
Read more: How To Store Diatomaceous Earth
Step 1: Shake Out the Mat
Shaking out the diatomaceous earth bath mat is the initial and fundamental step in the cleaning process. This simple yet effective method helps to dislodge loose debris, dust, and particles that have accumulated on the surface of the mat. To begin, take the mat outside to an open area, such as a balcony or patio, to prevent the dislodged particles from spreading inside the house. Once outside, hold the mat firmly and give it a vigorous shake to release the trapped dirt and dust. This action allows the diatomaceous earth particles within the mat to loosen and disperse, facilitating the removal of surface impurities.
As you shake the mat, you may notice a cloud of fine particles being released. This is a natural occurrence and indicates that the cleaning process is effectively removing the accumulated debris. It is important to continue shaking the mat until you no longer see a significant amount of dust being expelled. This ensures that the majority of loose particles are dislodged, preparing the mat for the subsequent cleaning steps.
Shaking out the mat is particularly beneficial for removing hair, lint, and other lightweight debris that may have settled on the surface. By performing this action regularly, you can prevent these particles from embedding themselves deeper into the mat, simplifying the overall cleaning process. Additionally, shaking out the mat helps to maintain its optimal absorbency and anti-slip properties, ensuring that it continues to function effectively in the bathroom environment.
In summary, shaking out the diatomaceous earth bath mat is a crucial first step in the cleaning process. By dislodging loose debris and particles, this method sets the foundation for the subsequent cleaning steps, ultimately contributing to the maintenance of a clean, hygienic, and visually appealing bath mat.
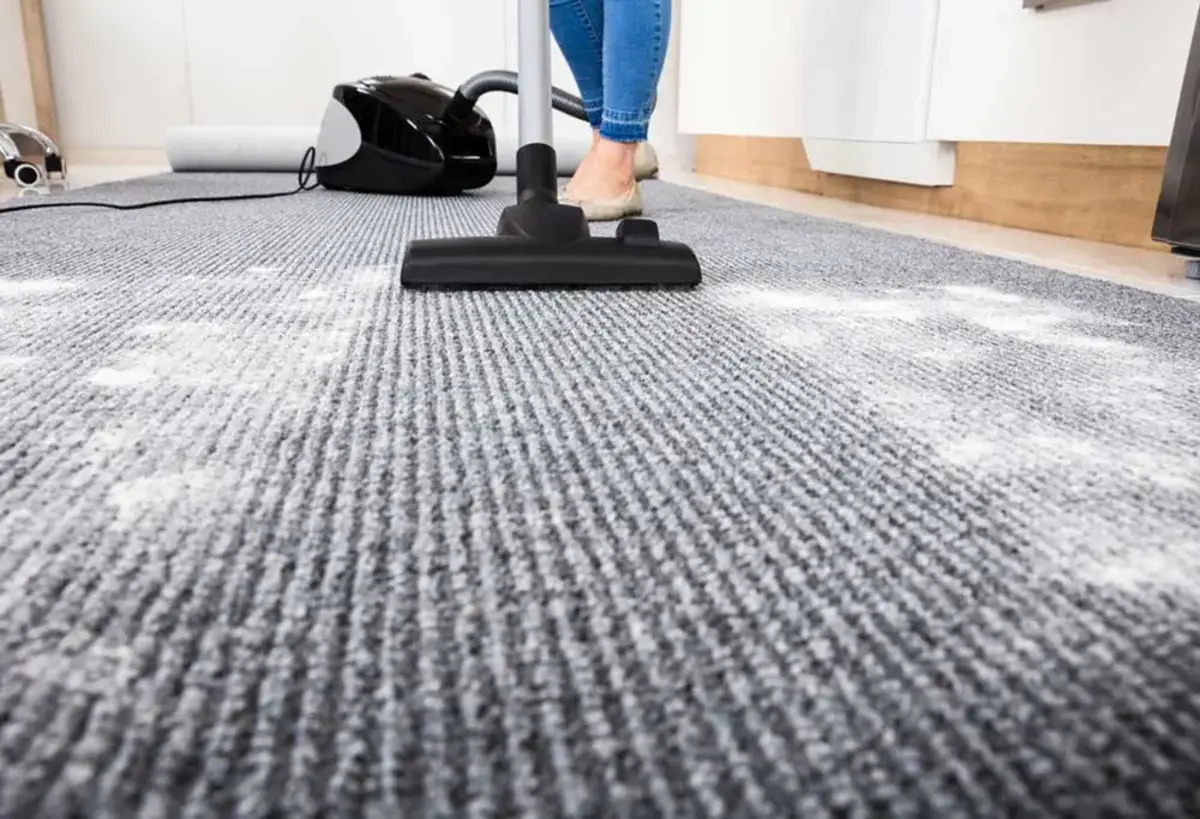
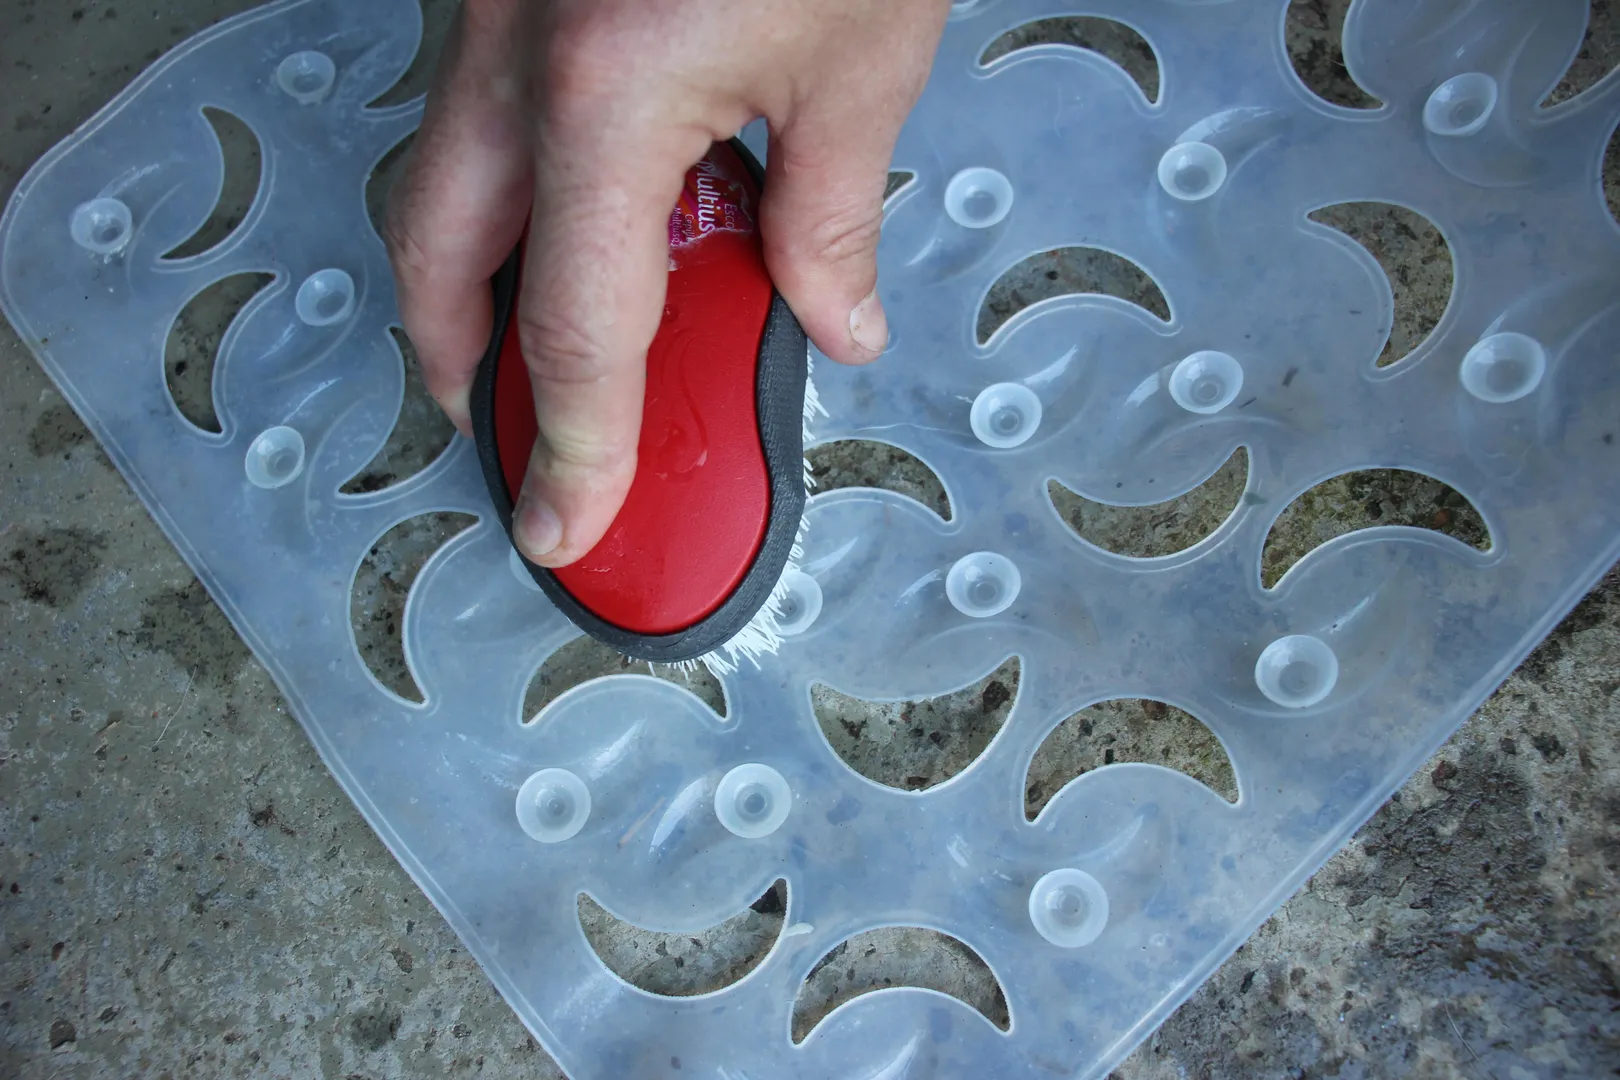
Step 2: Vacuum the Mat
After shaking out the diatomaceous earth bath mat to remove loose debris, the next step involves using a vacuum cleaner to further eliminate embedded dirt and particles. Vacuuming the mat is a crucial process that targets the finer impurities, ensuring a thorough cleaning and revitalizing the mat's appearance and functionality.
To begin, select a handheld vacuum cleaner or a vacuum with a brush attachment. These tools are ideal for effectively capturing the finer particles that may have settled within the porous surface of the diatomaceous earth mat. Gently run the vacuum over the entire surface of the mat, paying close attention to areas where moisture and residue are commonly found, such as near the shower or bathtub.
The vacuum's suction power efficiently draws out dust, hair, and other small particles that may have escaped during the shaking process. As you move the vacuum across the mat, you may notice the visible removal of finer debris, indicating the effectiveness of this cleaning method. It is important to cover the entire surface of the mat, including the edges and corners, to ensure comprehensive cleaning.
Additionally, focusing on high-traffic areas where the mat experiences frequent use is essential for maintaining its cleanliness and absorbency. By thoroughly vacuuming these areas, you can prevent the accumulation of dirt and moisture, preserving the mat's anti-slip properties and overall functionality.
Regular vacuuming of the diatomaceous earth bath mat is recommended to prevent the buildup of impurities and maintain its optimal performance. This practice not only contributes to a cleaner and more hygienic bathroom environment but also extends the lifespan of the mat, allowing you to continue enjoying its benefits for an extended period.
In summary, vacuuming the diatomaceous earth bath mat is a vital step in the cleaning process, targeting embedded dirt and finer particles to ensure a thorough and effective cleaning. By incorporating this method into your regular cleaning routine, you can uphold the hygiene and visual appeal of the mat, enhancing the overall bathroom experience.
To clean a diatomaceous earth bath mat, simply rinse it with water and scrub gently with a soft brush. Let it air dry completely before using it again. Avoid using harsh chemicals or abrasive cleaners.
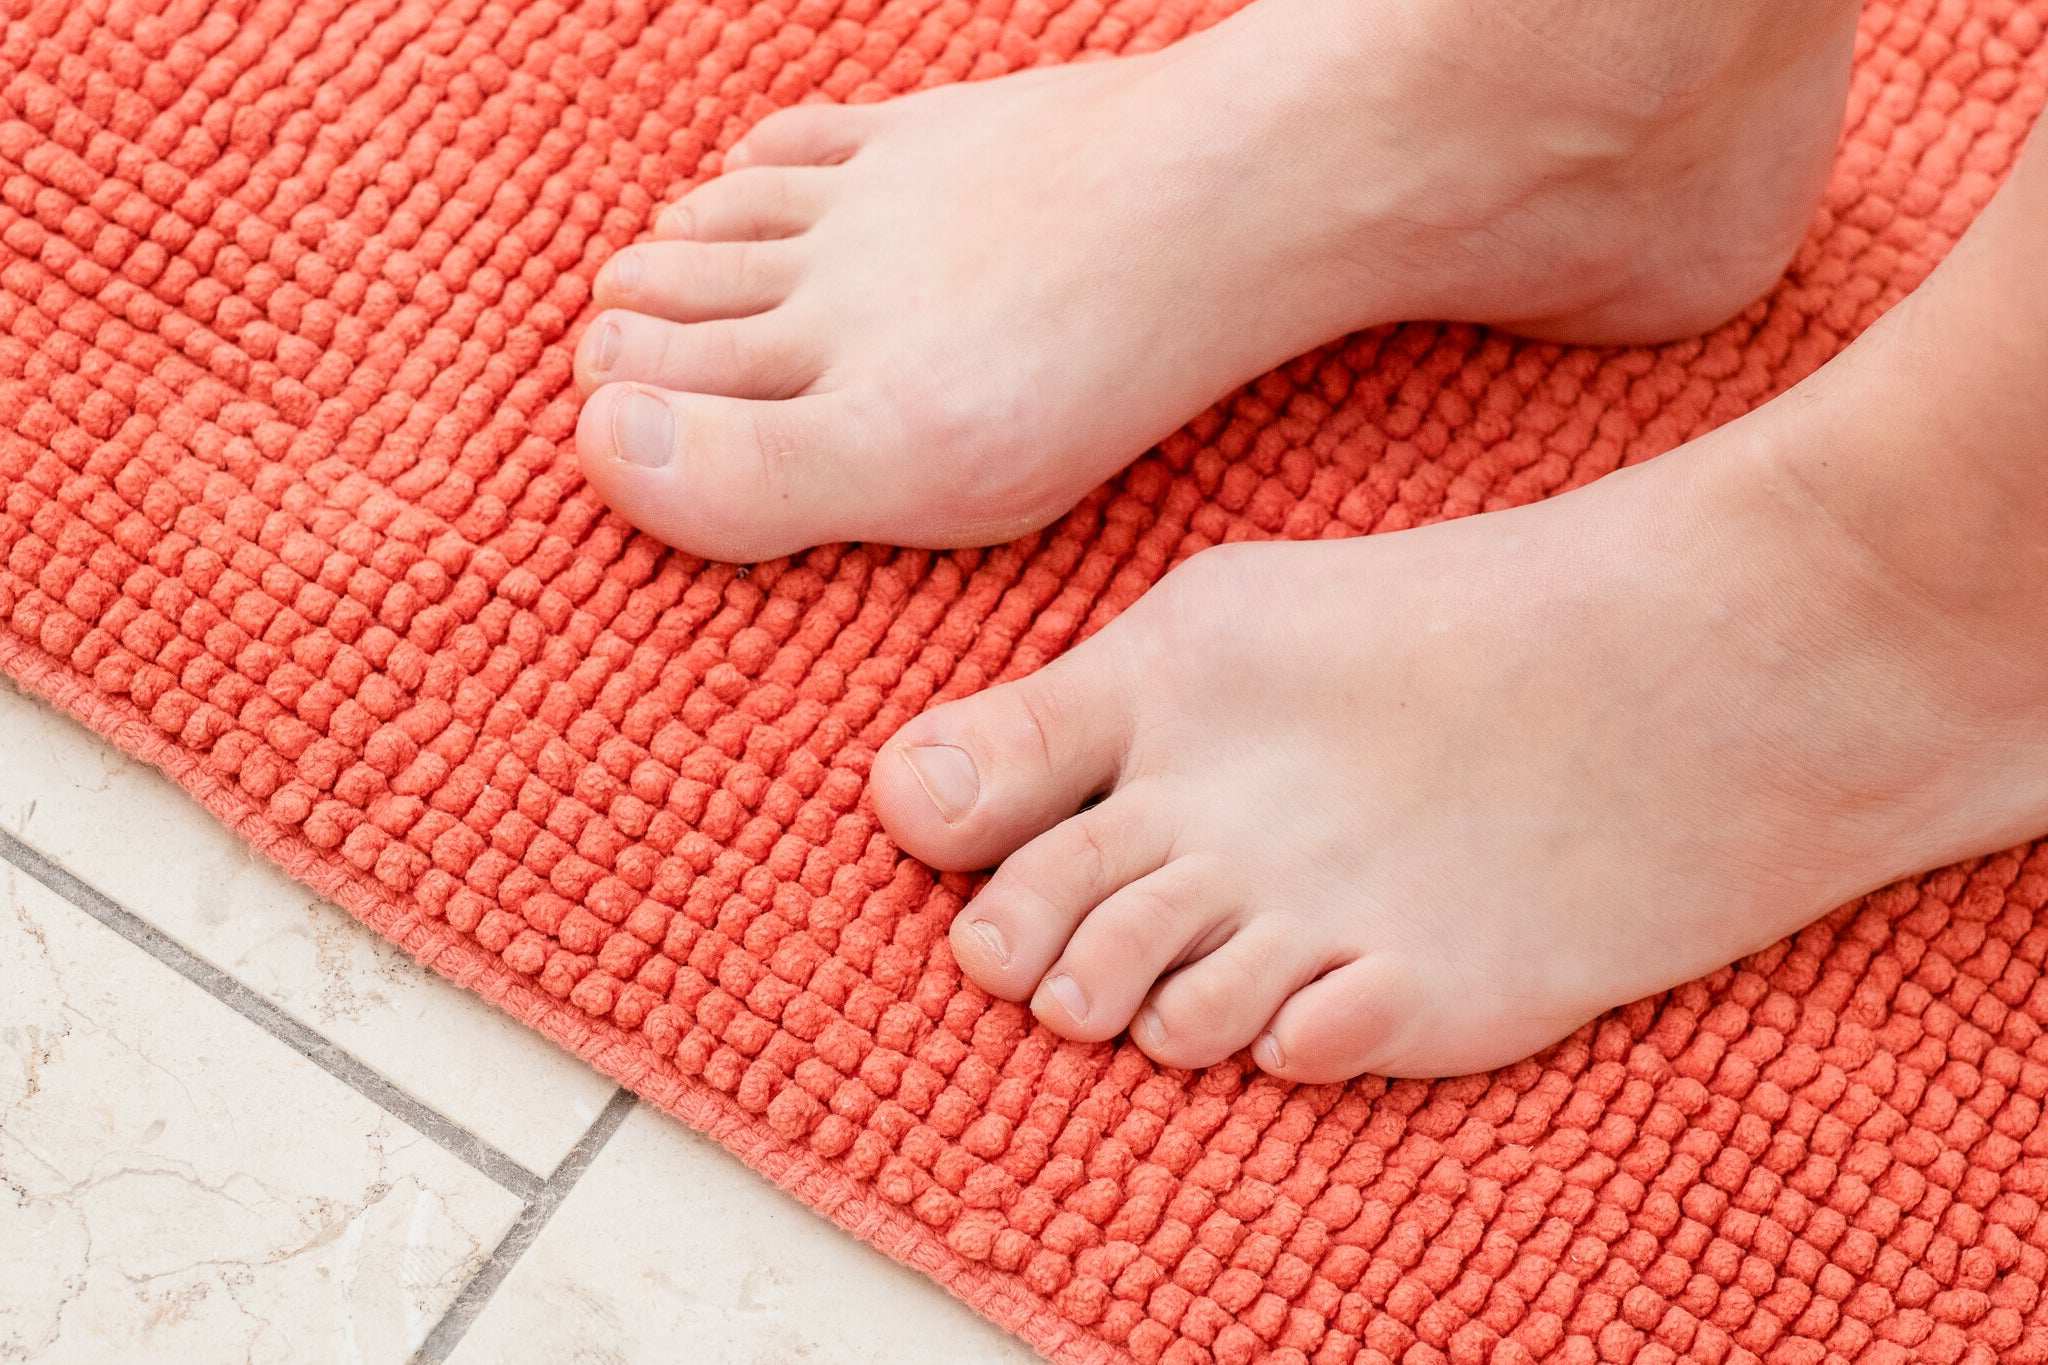
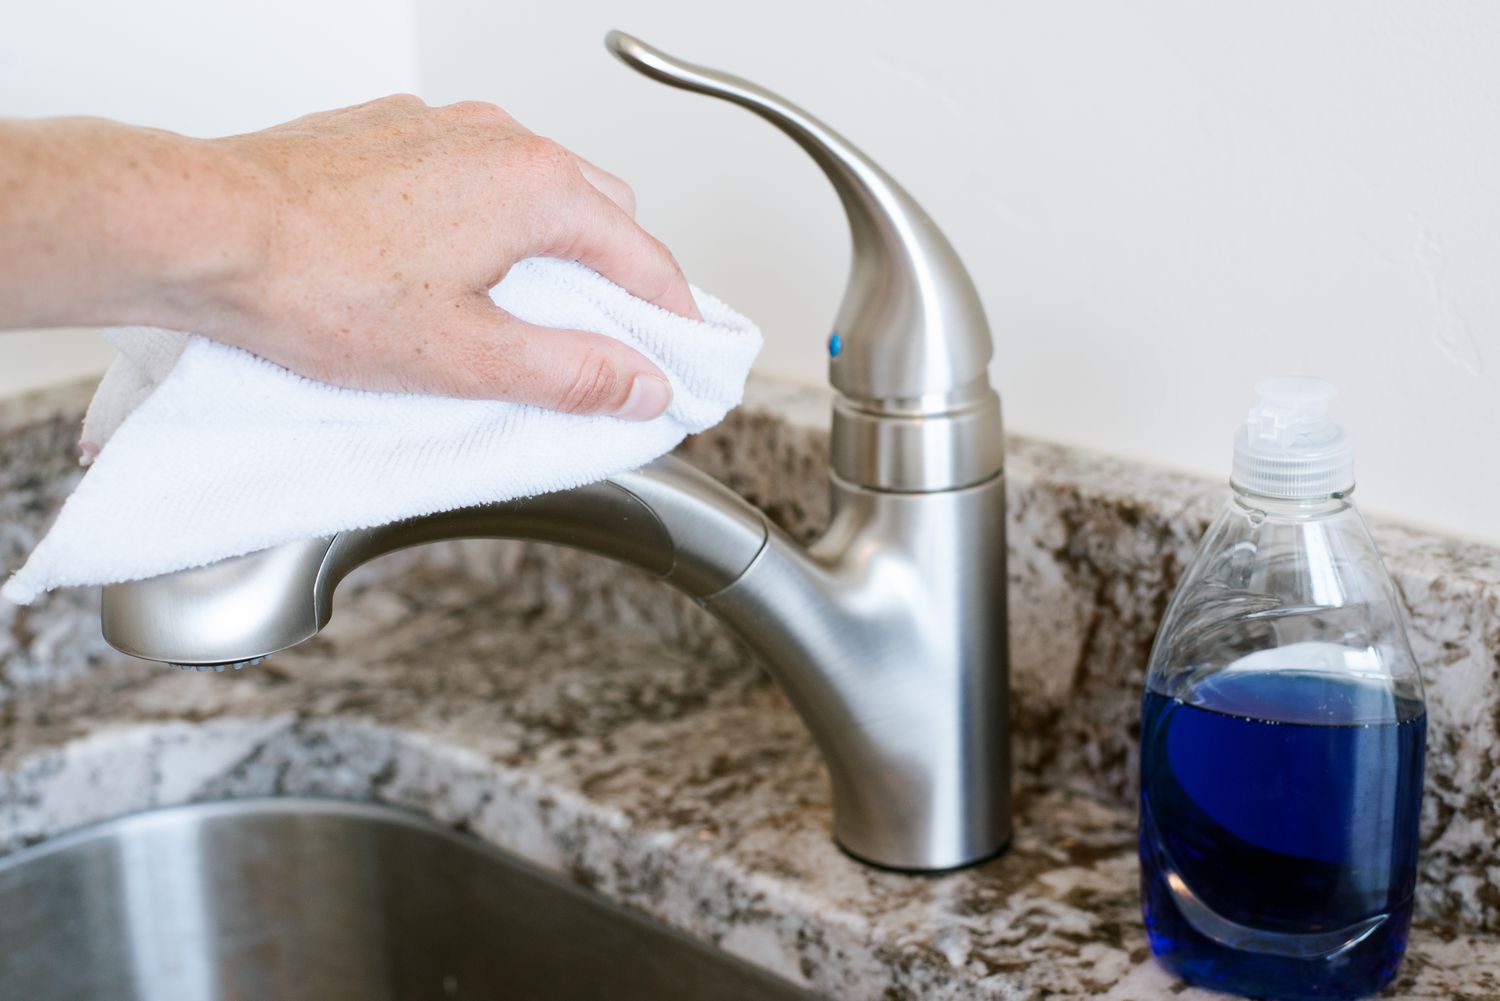
Step 3: Wash the Mat with Water
Washing the diatomaceous earth bath mat with water is a pivotal step in the cleaning process, as it effectively removes residual impurities and revitalizes the mat's absorbency and anti-slip properties. This method ensures a comprehensive cleaning, targeting any remaining dirt, stains, or odors that may have persisted after shaking and vacuuming the mat.
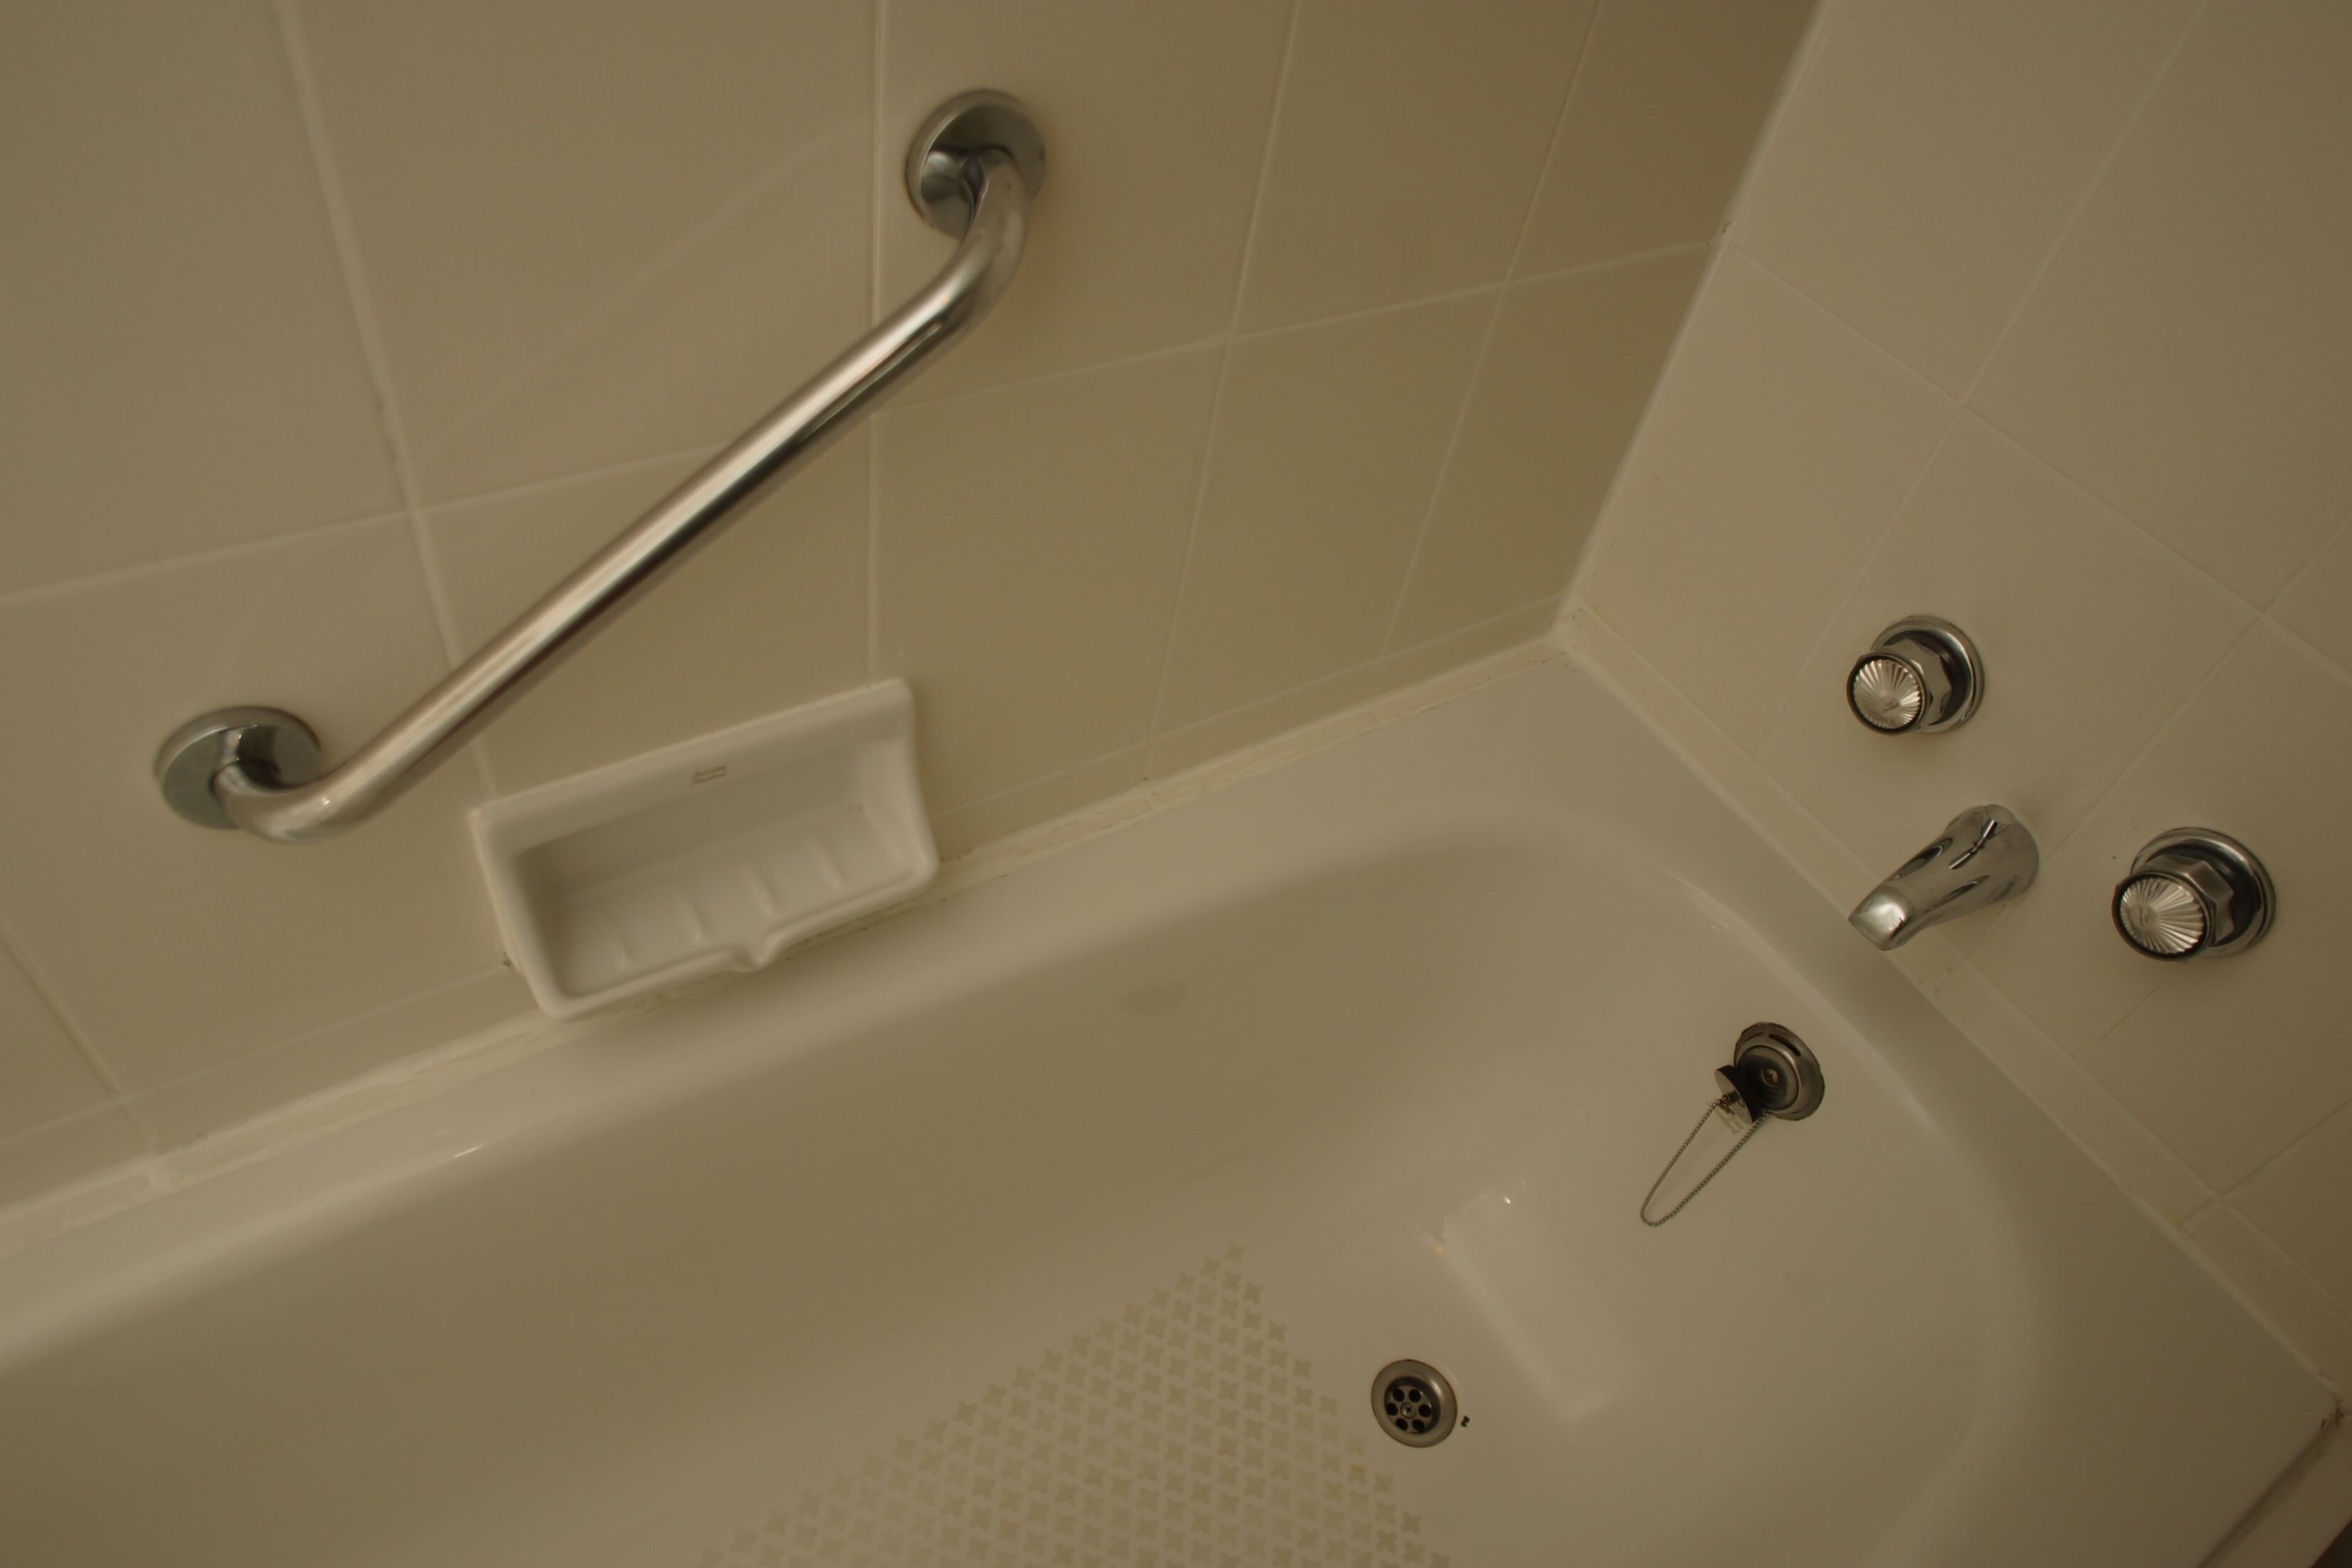
To initiate the washing process, place the mat in a bathtub or large sink, ensuring that it lies flat and is fully submerged in water. Using lukewarm water is recommended, as it effectively loosens and removes surface impurities without causing damage to the mat's structure. Avoid using hot water, as it may compromise the integrity of the diatomaceous earth particles within the mat.
Once the mat is submerged, gently agitate it by hand, allowing the water to penetrate the porous surface and dislodge any remaining debris. If the mat exhibits stubborn stains or discoloration, a mild, non-abrasive cleanser specifically formulated for delicate surfaces can be applied at this stage. Carefully follow the manufacturer's instructions when selecting a suitable cleanser to avoid damaging the mat.
After agitating the mat and, if necessary, applying a gentle cleanser, thoroughly rinse it with clean water to remove any soapy residue or cleanser remnants. It is essential to ensure that all traces of cleanser are completely eliminated, as they can compromise the mat's absorbency and leave behind a sticky or slippery residue.
Once the mat has been rinsed, gently press out excess water without wringing or twisting the mat, as this can damage its structure. A gentle pressing motion helps to expel the water while retaining the mat's original shape and integrity. Following this, allow the mat to air dry completely in a well-ventilated area, preferably outdoors or in a space with ample airflow.
The washing process effectively eliminates accumulated dirt, moisture, and impurities, rejuvenating the mat and restoring its functionality. By incorporating this method into your regular cleaning routine, you can uphold the hygiene and visual appeal of the diatomaceous earth bath mat, ensuring that it continues to enhance the bathroom environment with its natural and eco-friendly properties.
In summary, washing the diatomaceous earth bath mat with water is a crucial step that contributes to its cleanliness, functionality, and longevity. By following the recommended washing techniques, you can effectively remove residual impurities and maintain the mat's optimal performance, promoting a clean and inviting atmosphere in your bathroom.
Step 4: Dry the Mat
After washing the diatomaceous earth bath mat with water, the next essential step is to ensure thorough drying. Proper drying is crucial for preserving the mat's integrity, preventing mold and mildew growth, and restoring its optimal functionality. By following the recommended drying techniques, you can effectively maintain the mat's cleanliness and prolong its lifespan, contributing to a hygienic and visually appealing bathroom environment.
Once the mat has been rinsed, gently press out excess water without wringing or twisting the mat, as this can damage its structure. A gentle pressing motion helps to expel the water while retaining the mat's original shape and integrity. Following this, allow the mat to air dry completely in a well-ventilated area, preferably outdoors or in a space with ample airflow.
When selecting a drying location, it is important to choose a well-ventilated area with sufficient airflow and sunlight exposure. Placing the mat in direct sunlight can expedite the drying process and help eliminate any residual moisture, preventing the development of mold or mildew. Additionally, the natural antibacterial properties of sunlight can further enhance the mat's cleanliness and hygiene.
During the drying process, periodically check the mat to assess its moisture level and ensure that it is drying uniformly. If the mat is drying outdoors, be mindful of weather conditions and avoid leaving it out during rain or high humidity, as this can prolong the drying time and compromise its cleanliness.
It is important to allow the mat to dry completely before returning it to the bathroom. This ensures that any remaining moisture is eliminated, preventing the accumulation of mold, mildew, or unpleasant odors. Once the mat is thoroughly dry, gently shake it to fluff up the diatomaceous earth particles and restore its original texture and absorbency.
By prioritizing thorough drying, you can effectively maintain the cleanliness and functionality of the diatomaceous earth bath mat, promoting a hygienic and visually appealing bathroom environment. Incorporating proper drying techniques into your regular cleaning routine ensures that the mat continues to enhance the bathroom with its natural and eco-friendly properties, providing a comfortable and inviting space for daily use.
In summary, thorough drying is a critical step in the cleaning process, contributing to the maintenance of the diatomaceous earth bath mat's cleanliness, functionality, and longevity. By following the recommended drying techniques and prioritizing proper drying, you can uphold the hygiene and visual appeal of the mat, ensuring a clean and inviting atmosphere in your bathroom.
Read more: How To Clean A Rubber Bath Mat
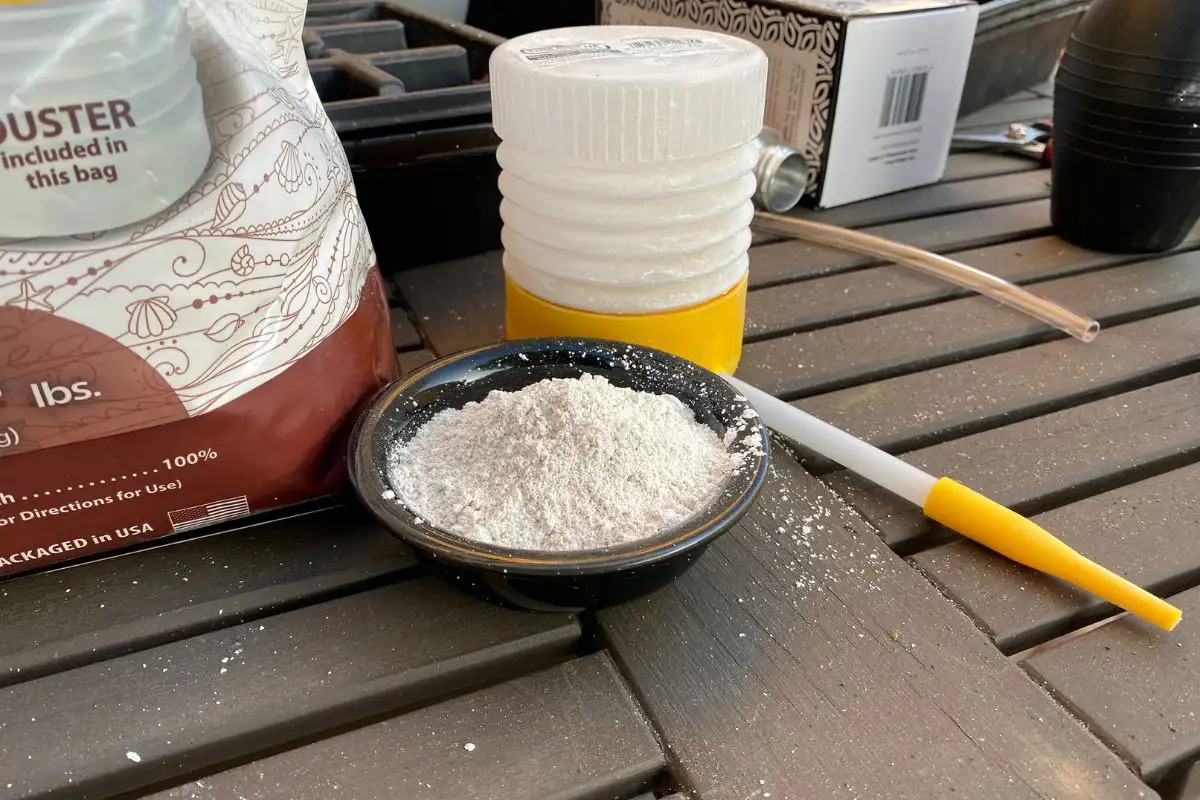
Step 5: Reapply Diatomaceous Earth Powder
Reapplying diatomaceous earth powder is the final and essential step in maintaining the effectiveness and longevity of your diatomaceous earth bath mat. This natural and eco-friendly powder plays a significant role in enhancing the mat's absorbency, anti-slip properties, and overall functionality. By following the recommended reapplication process, you can ensure that your bath mat continues to provide a clean, safe, and visually appealing surface in your bathroom.
To begin the reapplication process, ensure that the diatomaceous earth bath mat is completely dry after the washing and drying steps. It is crucial to apply the powder to a dry surface to maximize its absorption and effectiveness. Once the mat is dry, evenly sprinkle a thin layer of diatomaceous earth powder across its entire surface. Use a gentle, sweeping motion to distribute the powder, ensuring that it reaches all areas of the mat, including the edges and corners.
After applying the powder, gently press it into the mat's surface using a soft-bristled brush or a clean, dry cloth. This pressing action helps the diatomaceous earth particles adhere to the mat, enhancing their ability to absorb moisture and maintain a non-slip surface. Additionally, pressing the powder into the mat promotes even distribution, ensuring consistent functionality across the entire surface.
It is important to avoid overloading the mat with diatomaceous earth powder, as an excessive amount may lead to a gritty or uneven texture. A thin, uniform layer of powder is sufficient to maintain the mat's absorbency and anti-slip properties without compromising its comfort and visual appeal. By applying the powder in moderation, you can optimize its effectiveness while preserving the mat's overall aesthetic and functionality.
Regular reapplication of diatomaceous earth powder is recommended to uphold the mat's performance and cleanliness. Depending on usage and environmental factors, such as humidity levels, consider reapplying the powder every few weeks to maintain optimal functionality. By incorporating this practice into your regular cleaning routine, you can ensure that your diatomaceous earth bath mat continues to provide a clean, safe, and visually appealing surface, enhancing the overall bathroom experience.
In summary, reapplying diatomaceous earth powder is a crucial step in maintaining the effectiveness and longevity of your bath mat. By following the recommended reapplication process and prioritizing regular maintenance, you can uphold the mat's absorbency, anti-slip properties, and overall functionality, ensuring a clean, safe, and visually appealing surface in your bathroom.
Frequently Asked Questions about How To Clean A Diatomaceous Earth Bath Mat
Was this page helpful?
At Storables.com, we guarantee accurate and reliable information. Our content, validated by Expert Board Contributors, is crafted following stringent Editorial Policies. We're committed to providing you with well-researched, expert-backed insights for all your informational needs.
0 thoughts on “How To Clean A Diatomaceous Earth Bath Mat”