Home>Furniture & Design>Bedroom Furniture>How To Clean A Memory Foam Kitchen Rug
Bedroom Furniture
How To Clean A Memory Foam Kitchen Rug
Modified: August 17, 2024
Learn the best way to clean a memory foam kitchen rug for a fresh and hygienic bedroom furniture. Follow these easy steps for effective cleaning.
(Many of the links in this article redirect to a specific reviewed product. Your purchase of these products through affiliate links helps to generate commission for Storables.com, at no extra cost. Learn more)
Introduction
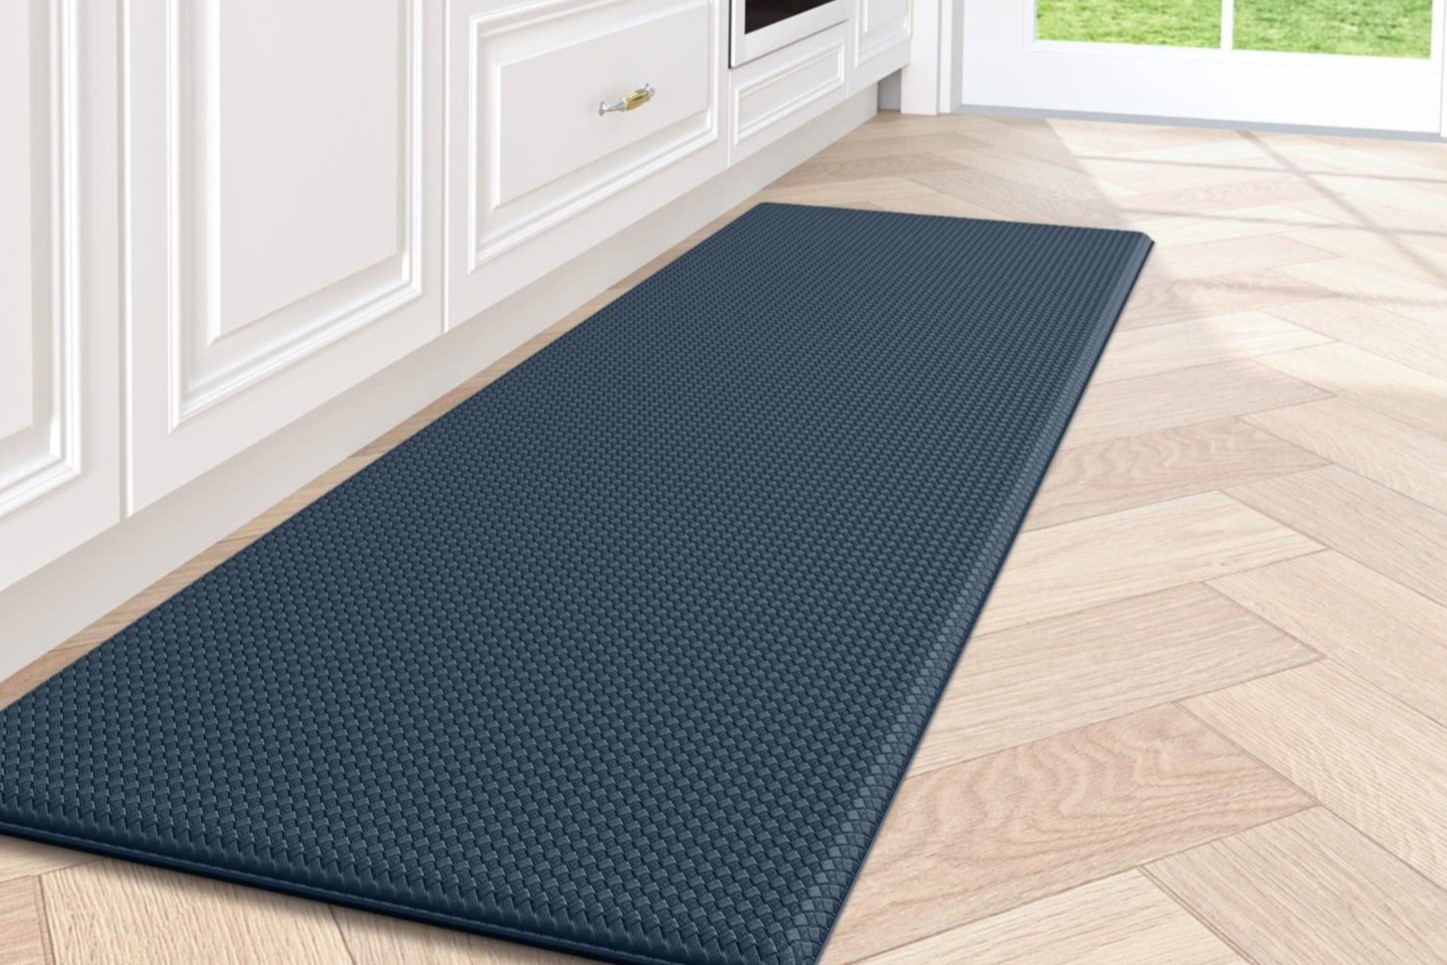
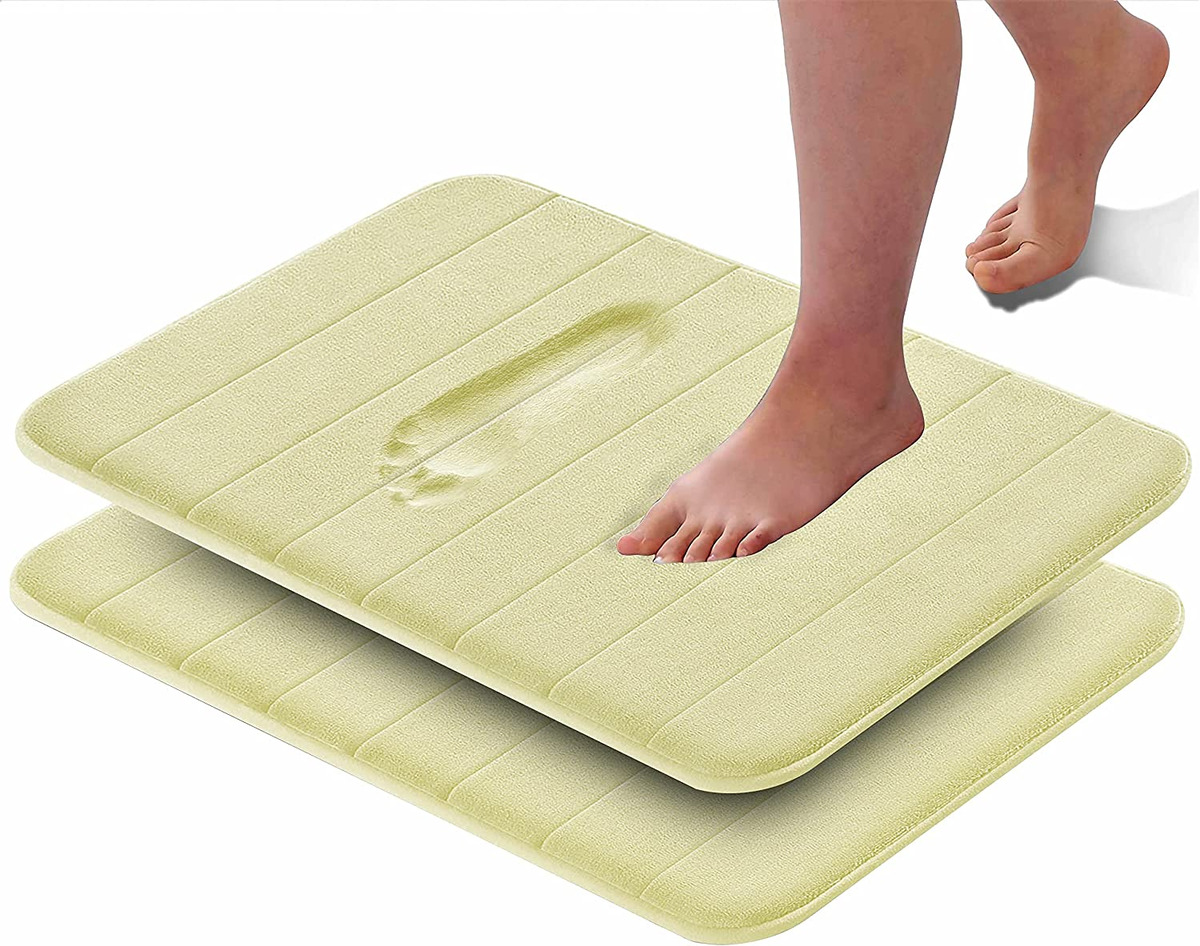
Welcome to the heart of your home – the kitchen. It’s a place where culinary magic happens, where delicious aromas waft through the air, and where cherished memories are created. Given the high traffic and constant activity in the kitchen, it’s no surprise that the area rug in this space can accumulate quite a bit of dirt, spills, and stains. If you have a memory foam kitchen rug, you know how comfortable and stylish it can be, but you also understand the challenge of keeping it clean and fresh.
In this guide, we will walk you through the process of effectively cleaning your memory foam kitchen rug, ensuring that it remains a beautiful and functional addition to your kitchen decor. With the right materials and a few simple steps, you can revitalize your rug and maintain a clean, inviting kitchen space. Let’s dive into the details and discover how to keep your memory foam kitchen rug looking its best!
Key Takeaways:
- Keep your memory foam kitchen rug clean and fresh by shaking it out, spot cleaning stains, using mild detergent, rinsing, and vacuuming. Regular maintenance ensures a beautiful and inviting kitchen space.
- Utilize mild detergent, white vinegar, and baking soda to effectively clean your memory foam kitchen rug. Thoroughly rinse and dry the rug to maintain its appearance and functionality.
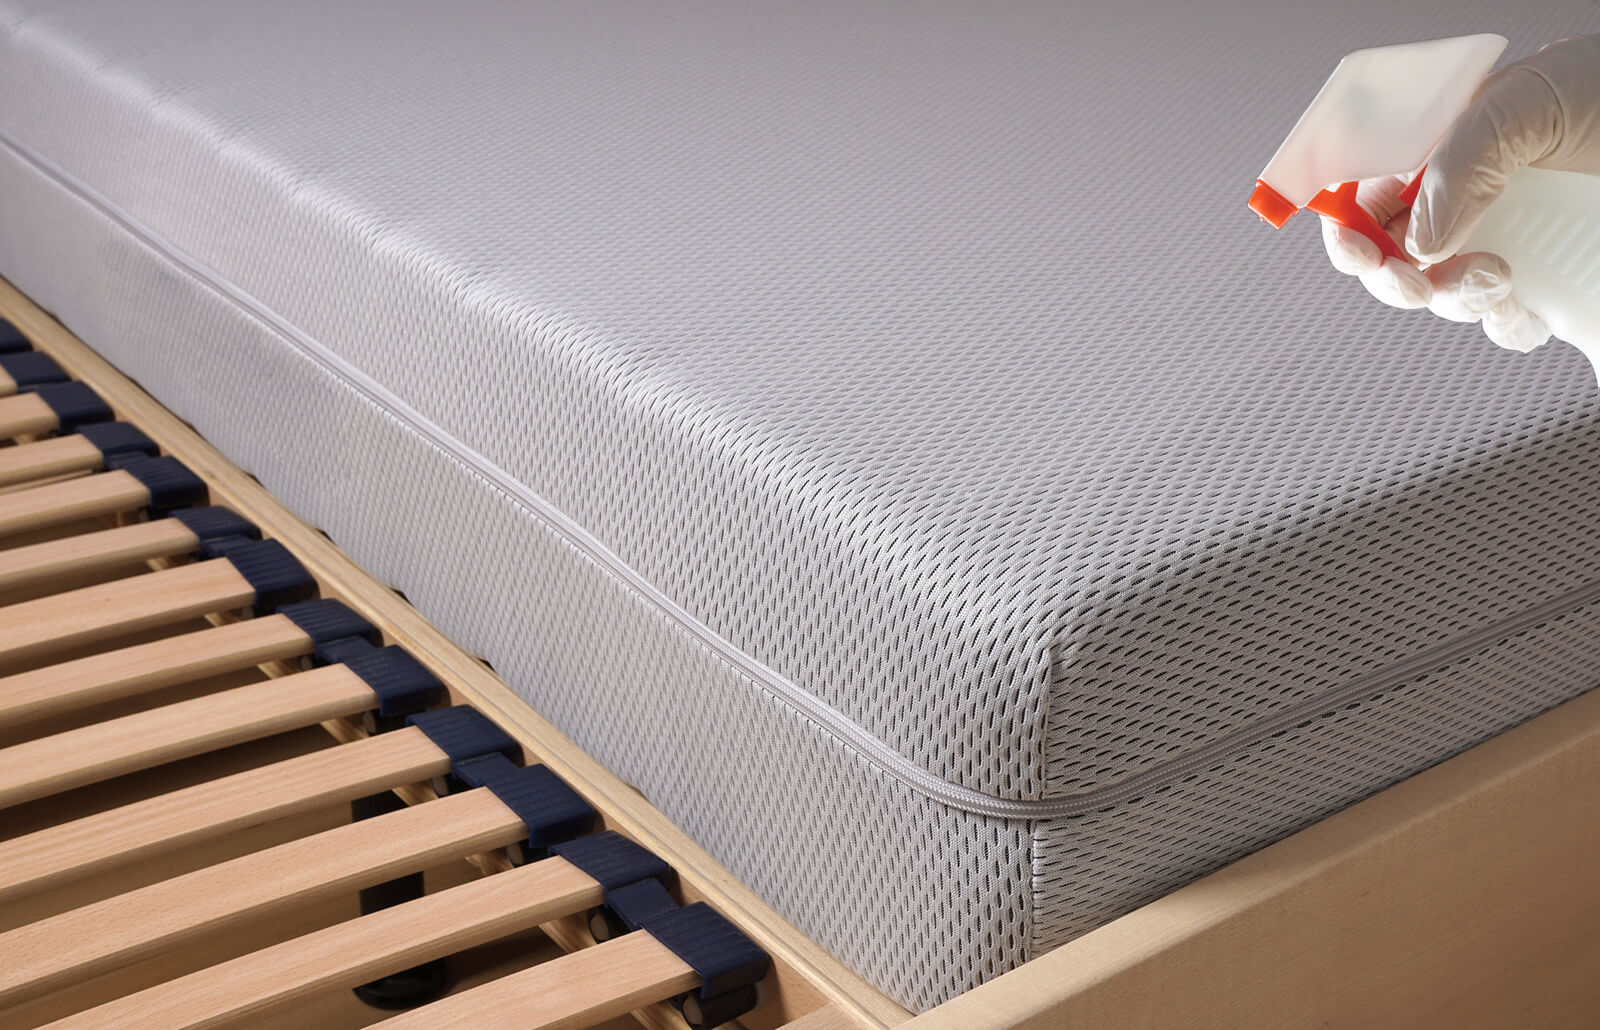
Read more: How To Clean A Memory Foam Mattress
Materials Needed
Before embarking on the cleaning process, gather the following materials to ensure a thorough and effective cleaning session:
- Mild detergent or dish soap
- White vinegar
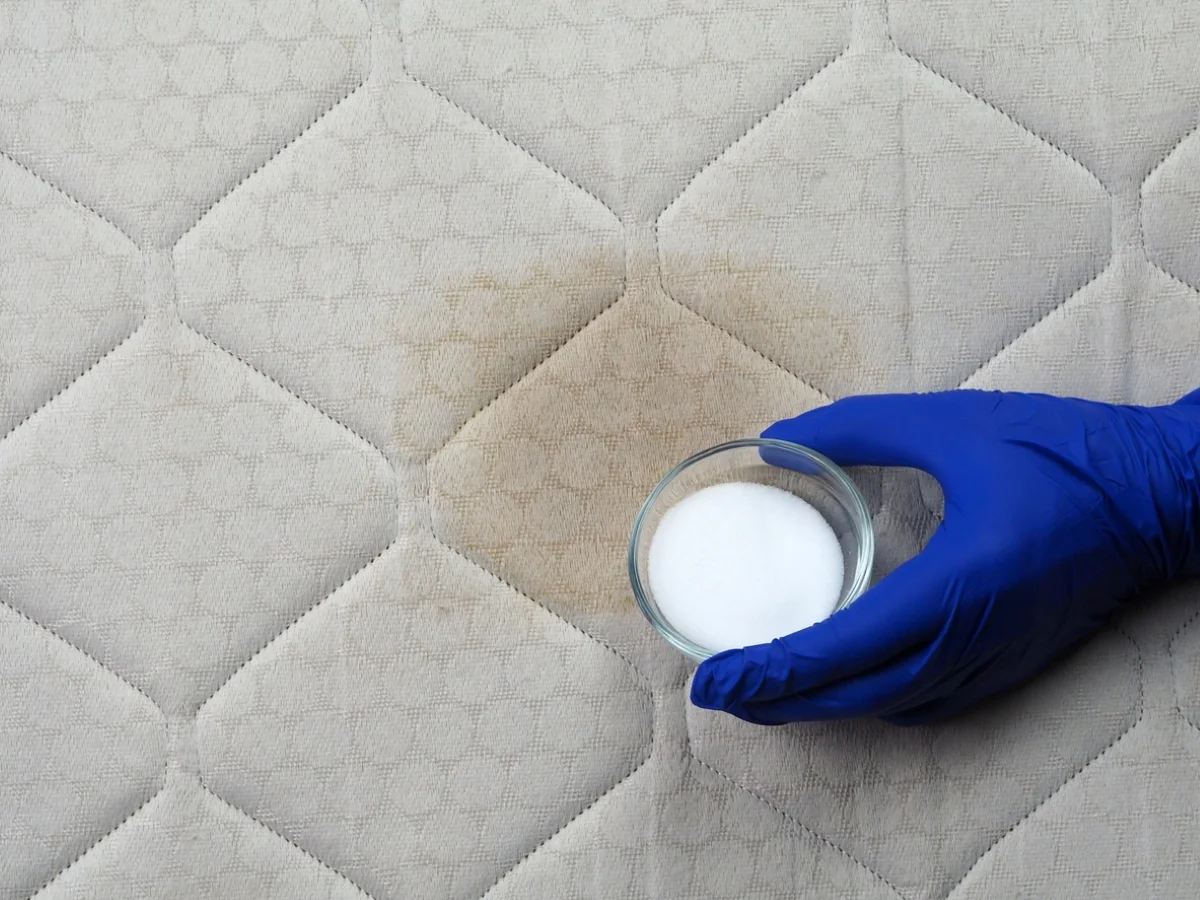
- Baking soda
- Clean, dry cloths
- Bucket or basin
- Soft-bristled brush or sponge
- Vacuum cleaner with upholstery attachment
- Fresh, clean water
- Fan or open space for drying
These materials will provide you with the necessary tools to tackle stains, odors, and general dirt accumulation on your memory foam kitchen rug. With these items at your disposal, you can proceed with confidence, knowing that you have everything needed to restore your rug to its pristine condition.
Step 1: Shake Out the Rug
Begin the cleaning process by taking your memory foam kitchen rug outdoors, if possible. Find a suitable outdoor space where you can easily shake out the rug to dislodge loose dirt, debris, and crumbs. This step is essential for removing surface-level particles that may have accumulated from daily foot traffic and kitchen activities.
Once you have the rug outside, gently shake it to loosen and release the trapped dirt. You can also use a soft-bristled brush to lightly brush the surface of the rug, helping to dislodge any stubborn particles. This initial action will significantly reduce the amount of dirt and debris that needs to be addressed during the subsequent cleaning steps.
If taking the rug outside is not feasible, you can perform this step indoors over a large, open area. It’s important to ensure that the space is well-ventilated to prevent the dispersed dirt from settling back onto the rug.
By shaking out the rug, you are laying the groundwork for a more effective and thorough cleaning process. This simple yet crucial step sets the stage for addressing deeper stains and odors, allowing you to proceed with the next cleaning steps with greater ease and efficiency.
Step 2: Spot Clean Stains
After shaking out the rug, it’s time to focus on any visible stains or spills that have marred the surface. Identify the areas of the rug that require spot cleaning and proceed with targeted treatment to address these blemishes.
For food or beverage stains, begin by blotting the affected area with a clean, dry cloth to absorb as much of the spill as possible. Avoid rubbing the stain, as this can spread it further into the fibers of the rug. Once you’ve blotted away the excess liquid, prepare a solution of mild detergent or dish soap and water. Dip a soft-bristled brush or sponge into the solution and gently work it into the stained area, using circular motions to lift the residue from the fibers.
If the stain persists, you can create a paste using baking soda and water, applying it to the affected area and allowing it to sit for a few minutes before gently scrubbing and then blotting the area with a clean, damp cloth. Baking soda is renowned for its natural stain-lifting properties and can be particularly effective for stubborn or set-in stains on memory foam rugs.
In the case of odorous stains, such as those from pet accidents or food spills, white vinegar can be a powerful ally. Mix a solution of equal parts white vinegar and water, and apply it to the affected area. Allow the solution to sit for a few minutes before blotting the area with a clean, dry cloth. The acidic nature of vinegar helps neutralize odors while also serving as a gentle yet effective cleaning agent.
By addressing stains promptly and with the appropriate cleaning solutions, you can prevent them from setting into the rug and becoming more challenging to remove. This proactive approach to spot cleaning ensures that your memory foam kitchen rug remains free from unsightly blemishes, contributing to a fresh and inviting kitchen environment.
To clean a memory foam kitchen rug, start by vacuuming to remove loose dirt and debris. Then, spot clean any stains with a mixture of mild detergent and water. Gently blot the area with a clean cloth and allow it to air dry completely before using the rug again.
Step 3: Use a Mild Detergent
With spot cleaning completed, it’s time to give your memory foam kitchen rug a more comprehensive cleaning using a mild detergent. Fill a bucket or basin with lukewarm water and add a small amount of mild detergent or dish soap. Swirl the water gently to create suds, ensuring that the detergent is thoroughly mixed into the water.
Submerge the entire rug into the soapy water, allowing it to soak for a few minutes. Use a soft-bristled brush or sponge to gently agitate the surface of the rug, working the soapy water into the fibers. This gentle scrubbing action helps to dislodge embedded dirt and grime, lifting it to the surface for easier removal.
After thoroughly scrubbing the rug, drain the soapy water from the basin and refill it with clean, fresh water. Submerge the rug once again, this time to rinse away the soap and residual dirt. Continue to agitate the rug gently, ensuring that all traces of detergent are removed.
Once the rug has been rinsed, carefully lift it out of the water, supporting its weight to prevent stretching or damage to the memory foam. Squeeze out any excess water from the rug, taking care not to wring or twist the foam, as this can compromise its structure. Instead, press down on the rug to encourage water drainage.
By utilizing a mild detergent and gentle scrubbing action, you can effectively cleanse your memory foam kitchen rug, removing accumulated dirt and grime that may have dulled its appearance. This step sets the stage for the final cleaning and drying processes, ensuring that your rug emerges revitalized and ready to enhance your kitchen space once more.
Read more: How To Clean Memory Foam Sandals
Step 4: Rinse and Dry
After the rug has been treated with a mild detergent, it’s crucial to thoroughly rinse and dry it to complete the cleaning process. Proper rinsing ensures that all traces of soap and dirt are removed, while effective drying prevents moisture from becoming trapped within the memory foam, which could lead to unpleasant odors and potential damage.
Begin by rinsing the rug with clean, fresh water to eliminate any remaining detergent. You can do this by gently pouring water over the rug or using a spray attachment if cleaning the rug outdoors. Continue rinsing until the water runs clear, indicating that the rug is free from soap residue.
Once the rug has been thoroughly rinsed, it’s time to focus on the drying process. Depending on the size of the rug and the weather conditions, you can choose to air-dry it outdoors or lay it flat indoors in a well-ventilated area. If outdoor drying is feasible, find a clean, dry surface where the rug can be laid out, ensuring that it receives ample airflow and sunlight, which can help expedite the drying process and provide natural disinfection.
If indoor drying is the preferred option, lay the rug flat in an open area, preferably near a source of natural light and airflow. To enhance the drying process, you can use a fan to circulate air over the rug, expediting the evaporation of moisture from the foam and fabric.
Throughout the drying process, periodically check the rug’s moisture level and adjust its position to promote even drying. It’s essential to allow the rug to dry completely before returning it to your kitchen, as residual moisture can lead to mold and mildew growth, compromising the rug’s integrity and cleanliness.
By thoroughly rinsing and properly drying your memory foam kitchen rug, you complete the cleaning process, ensuring that it emerges fresh, clean, and ready to adorn your kitchen floor once again. This attention to detail and care will help maintain the rug’s appearance and functionality, allowing you to enjoy its comfort and aesthetic appeal for years to come.
Step 5: Vacuum the Rug
Once your memory foam kitchen rug has been thoroughly cleaned and dried, the final step involves vacuuming to remove any remaining surface debris and to fluff up the fibers, restoring the rug’s plush appearance and texture.
Prepare your vacuum cleaner with an upholstery attachment or a brush specifically designed for delicate surfaces. These attachments are gentler and less likely to cause damage to the memory foam and fabric of the rug. If your vacuum cleaner has adjustable suction settings, ensure that it’s set to a lower or medium level to prevent the rug from being pulled or stretched during the vacuuming process.
Begin by gently running the vacuum over the entire surface of the rug, using smooth, overlapping strokes to effectively lift dirt, dust, and pet hair. Pay particular attention to high-traffic areas and any remaining spots or stains, using the vacuum’s attachment to target these areas with precision.
In addition to removing surface debris, vacuuming the rug helps to fluff up the memory foam and restore its original loft and cushioning. The gentle suction action of the vacuum encourages the fibers to regain their resilience, ensuring that the rug maintains its softness and comfort underfoot.
As you vacuum, take the time to inspect the rug for any lingering stains or areas that may require additional attention. If you notice any spots that have not been fully addressed, you can repeat the spot cleaning process or use a gentle upholstery cleaner specifically formulated for memory foam surfaces.
By completing the final step of vacuuming, you put the finishing touch on the cleaning process, leaving your memory foam kitchen rug refreshed, clean, and inviting. This step not only enhances the rug’s appearance but also contributes to a healthier and more hygienic kitchen environment, ensuring that your rug continues to be a delightful and functional addition to your culinary space.
Conclusion
Congratulations! You’ve successfully navigated the process of cleaning your memory foam kitchen rug, revitalizing its appearance and ensuring that it remains a cherished element of your kitchen decor. By following the steps outlined in this guide and employing the recommended materials and techniques, you have restored your rug to its pristine condition, ready to enhance your kitchen space once again.
Remember that regular maintenance and prompt attention to spills and stains are key to preserving the beauty and functionality of your memory foam rug. By incorporating these cleaning practices into your routine, you can extend the lifespan of the rug and continue to enjoy its comfort and aesthetic appeal for years to come.
As you reintroduce your freshly cleaned memory foam kitchen rug to your culinary haven, take a moment to appreciate the care and effort you’ve invested in maintaining this essential piece of your kitchen decor. The clean, inviting surface beneath your feet serves as a testament to your dedication to creating a welcoming and hygienic environment for yourself and your loved ones.
With your memory foam kitchen rug now looking its best, you can savor the moments spent in your kitchen, whether you’re preparing a delicious meal, enjoying a leisurely cup of coffee, or simply relishing the warmth and comfort of this heartwarming space. Your clean and rejuvenated rug sets the stage for countless more culinary adventures and cherished memories to unfold in the heart of your home.
Thank you for entrusting us with the guidance to clean your memory foam kitchen rug. We hope this process has empowered you to maintain a clean and inviting kitchen environment, where every step is cushioned in comfort and style, courtesy of your beautifully refreshed memory foam rug.
Frequently Asked Questions about How To Clean A Memory Foam Kitchen Rug
Was this page helpful?
At Storables.com, we guarantee accurate and reliable information. Our content, validated by Expert Board Contributors, is crafted following stringent Editorial Policies. We're committed to providing you with well-researched, expert-backed insights for all your informational needs.


0 thoughts on “How To Clean A Memory Foam Kitchen Rug”