Home>Furniture & Design>Interior Design Trends>How To Adjust Sliding Glass Doors

Interior Design Trends
How To Adjust Sliding Glass Doors
Modified: October 18, 2024
Learn how to adjust sliding glass doors to keep up with the latest interior design trends. Our expert tips will help you maintain functionality and style.
(Many of the links in this article redirect to a specific reviewed product. Your purchase of these products through affiliate links helps to generate commission for Storables.com, at no extra cost. Learn more)
Introduction
Sliding glass doors are a popular feature in many homes, offering a seamless transition between indoor and outdoor spaces while allowing natural light to flood the interior. However, over time, these doors may experience issues such as sticking, misalignment, or difficulty in opening and closing. Fortunately, with a few simple adjustments, you can restore the smooth functionality of your sliding glass doors and prolong their lifespan.
In this comprehensive guide, we will walk you through the step-by-step process of adjusting sliding glass doors to address common issues and ensure optimal performance. Whether you are dealing with a stubborn door that refuses to glide effortlessly or a lock that no longer aligns properly, this guide will equip you with the knowledge and techniques needed to tackle these challenges effectively.
By following the instructions outlined in this article, you can save time and money by avoiding the need for professional repairs or replacements. With the right tools and a systematic approach, you can regain the convenience and aesthetic appeal that sliding glass doors are meant to provide.
So, roll up your sleeves and get ready to take on the task of adjusting your sliding glass doors. With a little effort and attention to detail, you can restore smooth, seamless operation to these essential features of your home. Let's dive into the process and empower you to tackle this project with confidence and skill.
Key Takeaways:
- Keep sliding glass doors in top shape by cleaning tracks, adjusting rollers, and lubricating components. Regular maintenance saves time and money while ensuring smooth, seamless operation.
- With the right tools and techniques, anyone can tackle sliding glass door adjustments. Enjoy the natural light and seamless transition between indoor and outdoor spaces with confidence and skill.
Read more: How To Adjust Sliding Door Lock
Tools and Materials Needed
Before embarking on the task of adjusting your sliding glass doors, it's essential to gather the necessary tools and materials to ensure a smooth and efficient process. Here's a comprehensive list of items you'll need to have on hand:
Tools:
- Screwdriver Set: A set of screwdrivers, including both flathead and Phillips head varieties, will enable you to remove and adjust screws as needed.
- Adjustable Wrench: This versatile tool will come in handy for tightening or loosening nuts and bolts during the adjustment process.
- Vacuum Cleaner: Having a vacuum cleaner nearby will allow you to thoroughly clean the door tracks and remove any debris that may be hindering smooth movement.
- Cleaning Supplies: Gather a mild detergent, a sponge or soft cloth, and a bucket of warm water to clean the door tracks and frame.
- Lubricant: Choose a silicone-based lubricant specifically designed for door and window mechanisms to ensure smooth operation after adjustments.
Materials:
- Safety Gloves: It's important to protect your hands while working with glass and metal components. A pair of sturdy safety gloves will provide the necessary protection.
- Safety Goggles: To shield your eyes from dust, debris, and potential splinters, wear safety goggles throughout the adjustment process.
- Rags or Towels: Keep a few clean rags or towels handy to wipe away excess lubricant and ensure a tidy workspace.
- Replacement Parts (if necessary): Depending on the condition of your sliding glass doors, you may need replacement rollers, tracks, or other components. Assess the condition of the doors beforehand and have replacement parts ready if needed.
By ensuring that you have all the required tools and materials at your disposal, you can streamline the adjustment process and address any issues with your sliding glass doors effectively. With these essentials in place, you'll be well-prepared to tackle each step of the adjustment process with confidence and precision.
Step 1: Clean and Inspect the Tracks
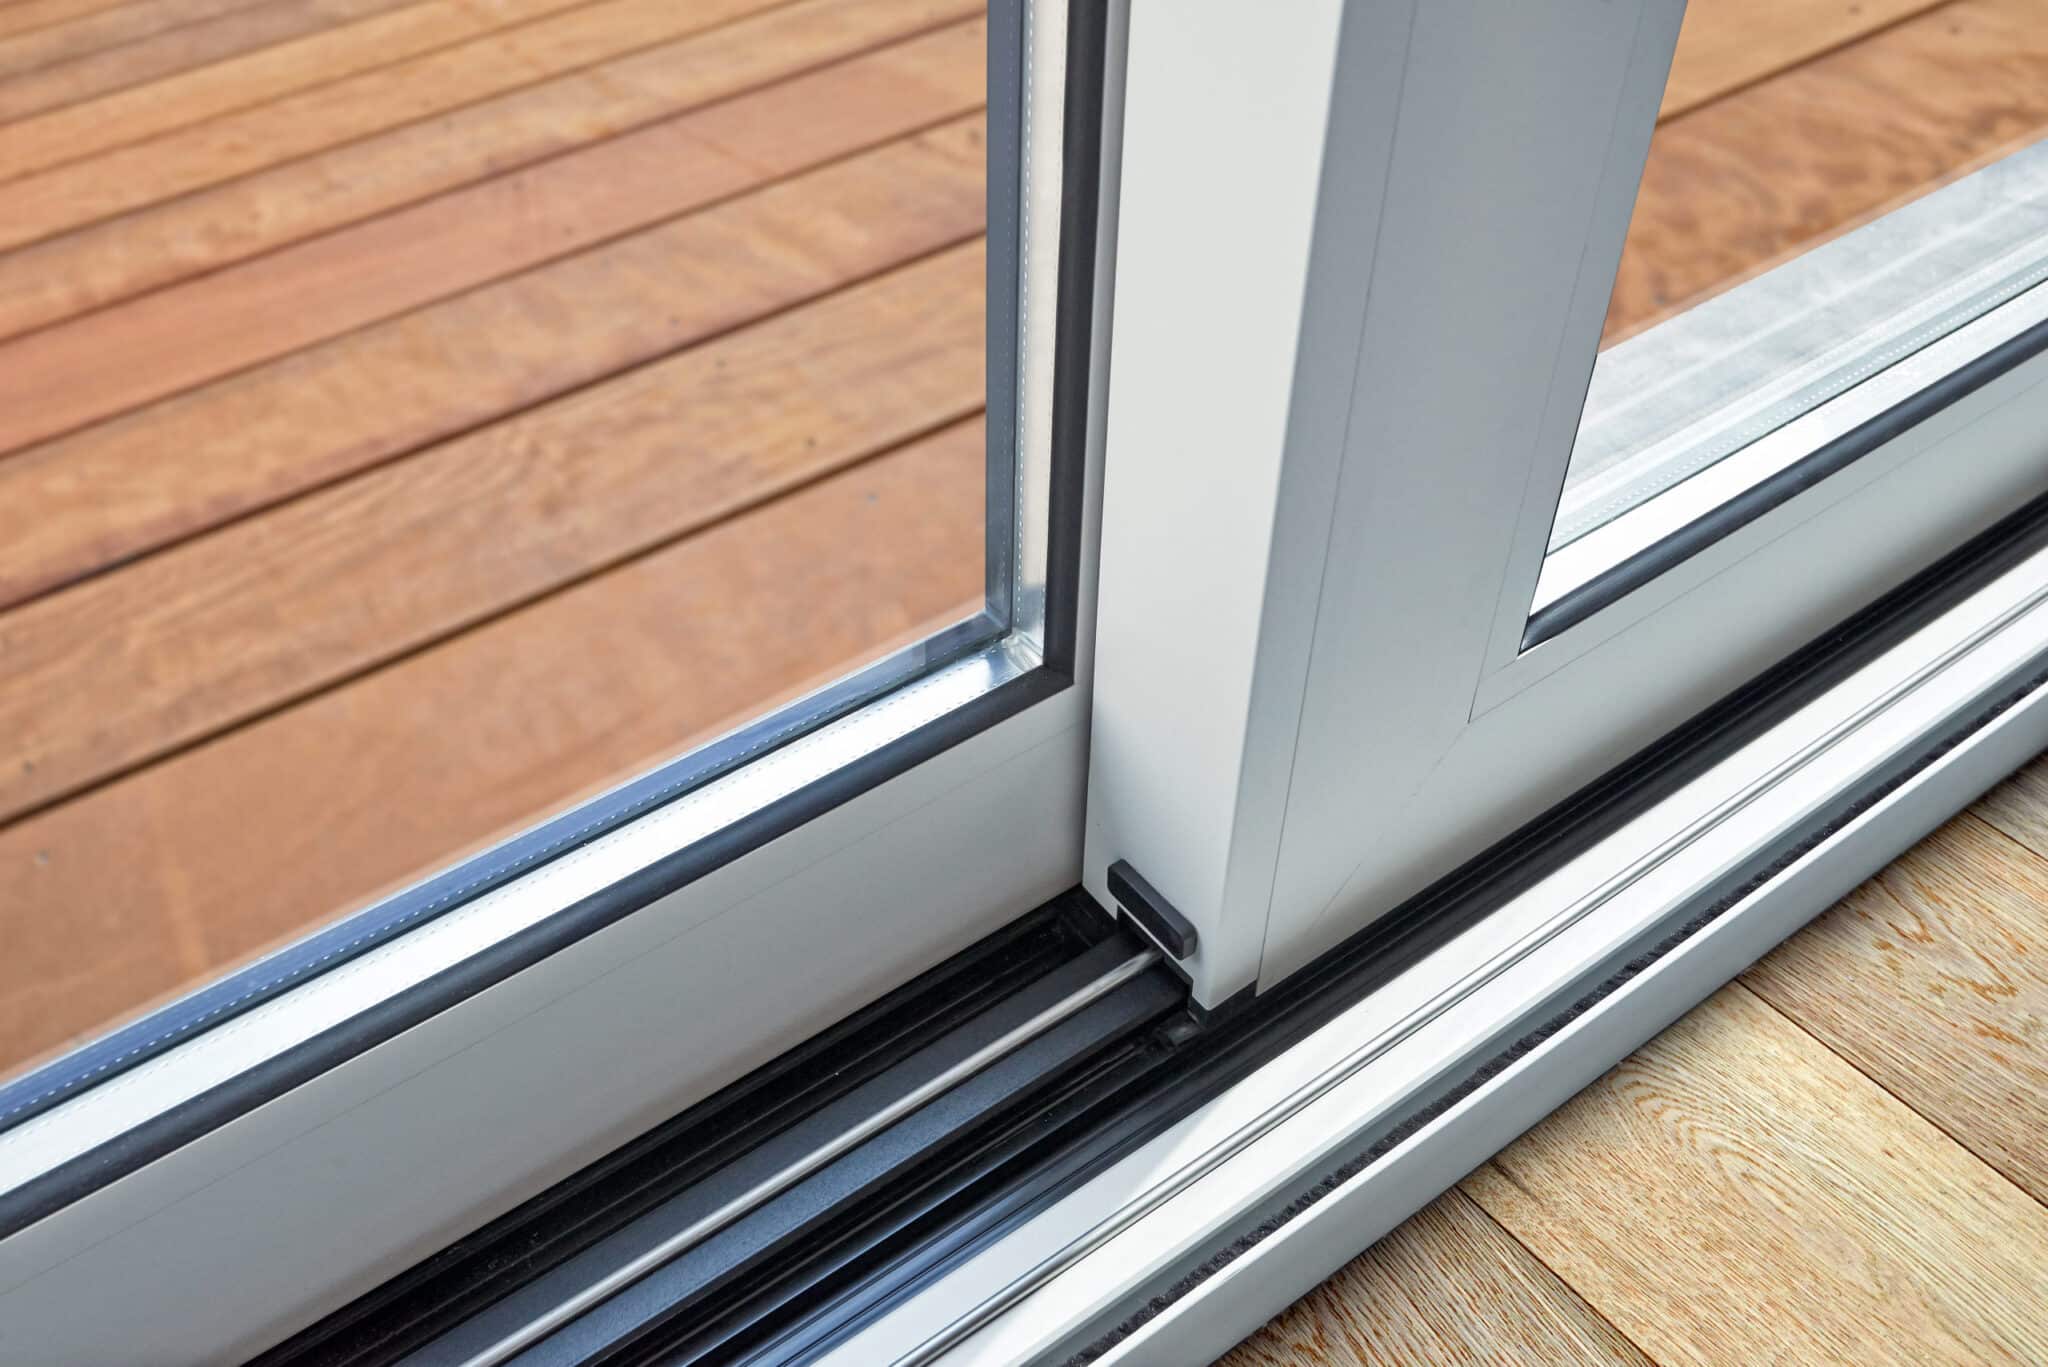
The first step in adjusting sliding glass doors is to thoroughly clean and inspect the tracks. Over time, dirt, dust, and debris can accumulate in the tracks, hindering the smooth movement of the doors. To begin, use a vacuum cleaner with a narrow attachment to remove any loose particles and debris from the tracks. Pay close attention to the corners and crevices where dirt tends to accumulate.
Once the loose debris has been removed, prepare a solution of mild detergent and warm water. Dip a sponge or soft cloth into the solution and carefully clean the tracks, ensuring that all dirt and grime are effectively removed. Take extra care to clean the lower track, as this area is particularly prone to buildup and can impede the movement of the door.
After cleaning, thoroughly dry the tracks with a clean towel to prevent any moisture from affecting the door's operation. With the tracks now clean, it's time to inspect them for any signs of damage or wear. Look for dents, bends, or obstructions that may be causing the doors to stick or operate unevenly.
If you notice any significant damage to the tracks, it may be necessary to replace them to ensure optimal door performance. Additionally, check the alignment of the tracks to ensure that they are straight and parallel. Misaligned tracks can lead to issues with door movement and should be addressed before proceeding with further adjustments.
By taking the time to clean and inspect the tracks, you are laying the foundation for a successful adjustment process. Clearing away debris and identifying any track-related issues will set the stage for the subsequent steps, allowing you to address any underlying issues that may be affecting the smooth operation of your sliding glass doors.
Read more: How To Adjust An Andersen Sliding Patio Door
Step 2: Adjust the Rollers
Once the tracks are clean and free from debris, the next crucial step in adjusting sliding glass doors is to focus on the rollers. The rollers play a pivotal role in facilitating smooth and effortless movement of the doors along the tracks. Over time, these rollers may become misaligned or worn, leading to issues such as sticking, uneven movement, or difficulty in opening and closing the doors. By adjusting the rollers, you can restore proper alignment and functionality to your sliding glass doors.
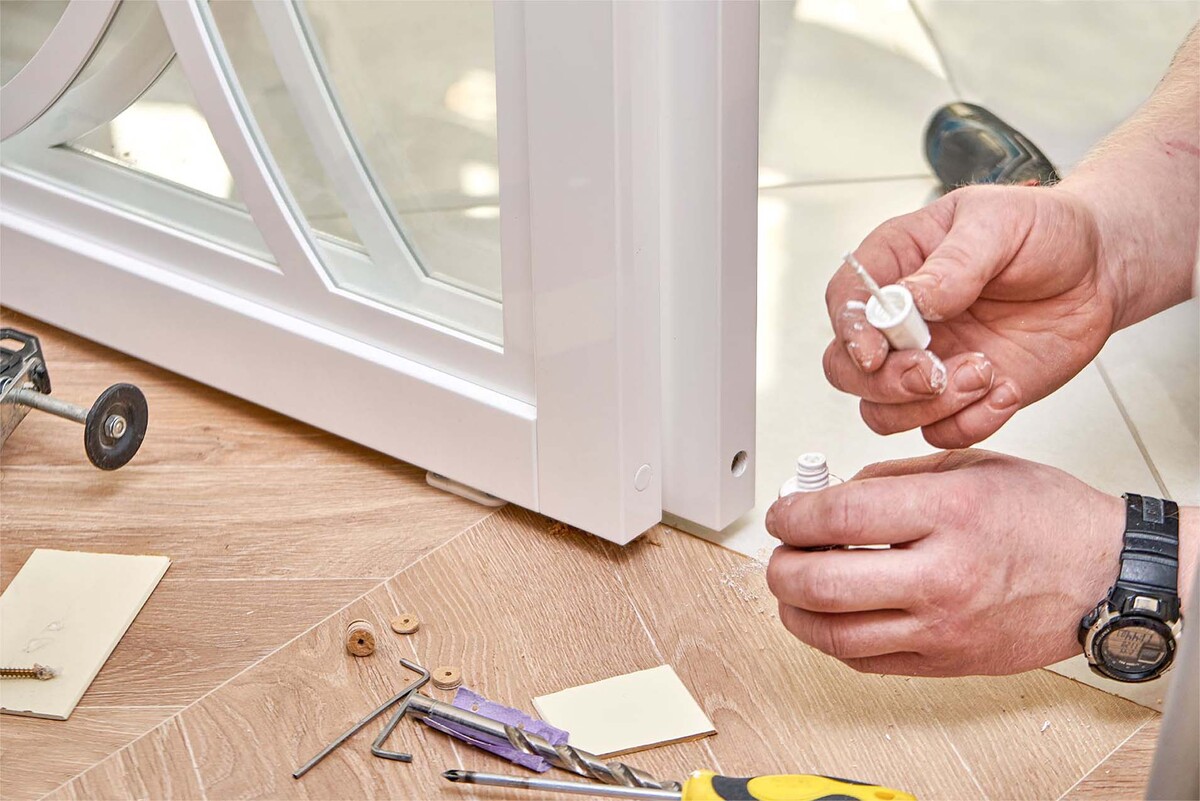
To begin the roller adjustment process, locate the adjustment screws or slots on the door panel. These are typically found at the bottom or sides of the door and are used to raise or lower the rollers. Using a screwdriver, carefully turn the adjustment screws in small increments, either clockwise or counterclockwise, depending on the specific type of rollers in your doors. This will allow you to fine-tune the height of the rollers and adjust them to the optimal position.
As you make adjustments, periodically test the door's movement to assess the impact of the changes. Ideally, the door should glide smoothly along the tracks without any resistance or dragging. If you notice that the door still exhibits sticking or uneven movement, continue making small adjustments to the rollers until the desired smoothness is achieved.
It's important to ensure that both rollers are adjusted evenly to maintain proper alignment and balance. This will prevent the door from tilting or becoming misaligned, which can lead to further issues down the line. Take the time to carefully observe the movement of the door and make precise adjustments to achieve uniformity in roller height and door alignment.
In some cases, the rollers may be worn or damaged beyond adjustment, requiring replacement. If you notice signs of excessive wear, such as flat spots or significant damage to the rollers, it may be necessary to install new rollers to restore optimal functionality to the doors. Be sure to select replacement rollers that are compatible with your specific door model and track system to ensure a proper fit and smooth operation.
By focusing on the adjustment of the rollers, you are addressing a key component that directly impacts the smooth movement and alignment of your sliding glass doors. With careful adjustments and attention to detail, you can effectively restore the functionality of the rollers and ensure that your doors operate seamlessly along the tracks.
Remember, patience and precision are key when adjusting the rollers, as small, incremental changes can make a significant difference in the overall performance of your sliding glass doors. With the rollers properly adjusted, you are one step closer to enjoying the effortless operation and aesthetic appeal that these doors are designed to provide.
Step 3: Lubricate the Tracks
After cleaning and inspecting the tracks and adjusting the rollers, the next crucial step in optimizing the performance of sliding glass doors is to lubricate the tracks. Proper lubrication is essential for ensuring smooth and effortless movement of the doors along the tracks, reducing friction and minimizing wear on the components. By following the steps outlined below, you can effectively lubricate the tracks and enhance the overall functionality of your sliding glass doors.
Select the Right Lubricant
Before applying lubricant to the tracks, it's important to choose the right type of lubricant for this specific application. Silicone-based lubricants are highly recommended for sliding glass door tracks, as they offer excellent lubrication properties without attracting dust and debris. Avoid using oil-based lubricants, as they can create a sticky residue and attract dirt, ultimately hindering the smooth operation of the doors.
Apply the Lubricant
Begin the lubrication process by applying a small amount of silicone-based lubricant along the entire length of the tracks. Use a precision applicator or a clean, lint-free cloth to ensure that the lubricant is evenly distributed and reaches all areas of the tracks. Pay particular attention to the areas where the rollers make contact with the tracks, as these points experience the most friction during door movement.
Test the Door Movement
After applying the lubricant, gently slide the doors back and forth along the tracks to distribute the lubricant evenly and allow it to penetrate the moving parts. You should notice a significant improvement in the smoothness of the door movement, with reduced resistance and a quieter operation. If the doors still exhibit any sticking or uneven movement, consider applying a bit more lubricant to the affected areas and continue testing the door's movement until the desired smoothness is achieved.
Wipe Away Excess Lubricant
Once the lubricant has been distributed and the door movement is smooth, use a clean, dry cloth to wipe away any excess lubricant from the tracks. This will help prevent the accumulation of dirt and debris, ensuring that the tracks remain clean and free from obstructions. By maintaining clean, lubricated tracks, you can prolong the lifespan of the door components and enjoy consistent, trouble-free operation.
By following these steps to lubricate the tracks of your sliding glass doors, you can effectively minimize friction, reduce wear on the components, and ensure that the doors operate smoothly and quietly. Proper lubrication is a key factor in maintaining the functionality and longevity of sliding glass doors, and by incorporating this essential step into your maintenance routine, you can preserve the performance and aesthetic appeal of these integral features in your home.
Step 4: Check and Adjust the Lock
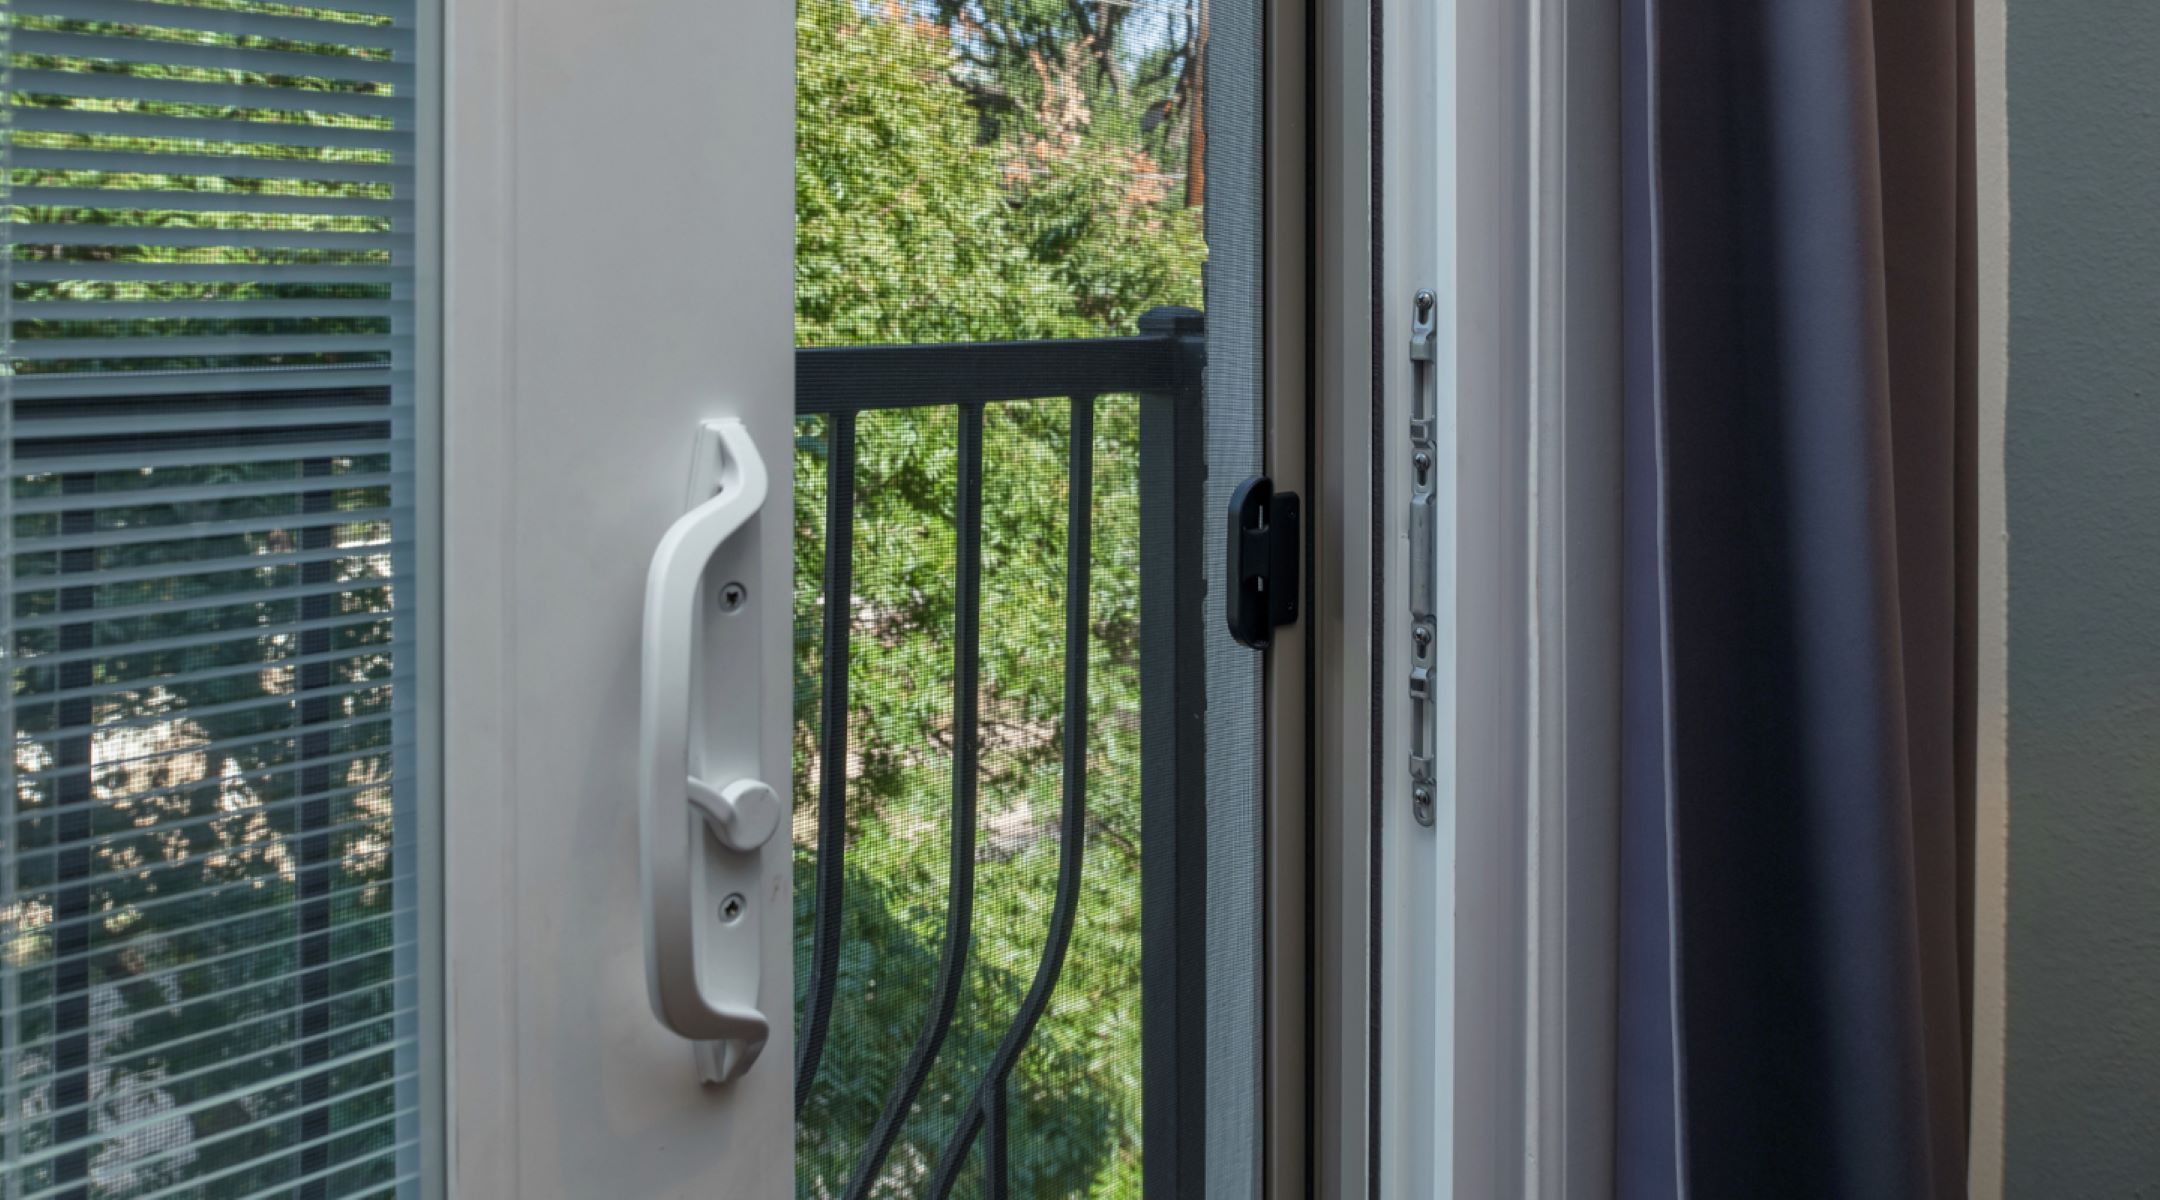
The security and functionality of sliding glass doors are heavily reliant on the proper operation of the locking mechanism. Over time, the door lock may become misaligned or experience wear, leading to issues such as difficulty in latching, unlocking, or securing the door. In this step, we will focus on checking and adjusting the lock to ensure that it functions smoothly and provides the necessary security for your home.
Inspect the Lock Components
Begin by closely examining the lock components, including the latch, strike plate, and locking mechanism. Look for any signs of misalignment, damage, or obstruction that may be impeding the proper operation of the lock. Ensure that the latch aligns correctly with the strike plate and that there are no visible signs of wear or deformation on the locking components.
Read more: How Long Is A Sliding Glass Door
Tighten or Adjust the Strike Plate
If the lock is not latching securely or is difficult to engage, the strike plate may require adjustment. Using a screwdriver, loosen the screws securing the strike plate to the door frame. Gently reposition the strike plate to ensure that it aligns perfectly with the latch when the door is closed. Once aligned, tighten the screws to secure the strike plate in its new position. This simple adjustment can often resolve issues with the lock not latching properly, providing a secure closure for the door.
Lubricate the Lock Mechanism
Apply a small amount of graphite-based or silicone-based lubricant to the lock mechanism to ensure smooth operation. Focus on the areas where the moving parts of the lock come into contact with the door frame and strike plate. By lubricating the lock mechanism, you can reduce friction and ensure that the lock engages and disengages effortlessly, enhancing both security and convenience.
Test the Lock Functionality
After making any necessary adjustments and lubricating the lock mechanism, test the functionality of the lock by engaging and disengaging it several times. Ensure that the lock latches securely and that the key or thumb turn operates smoothly without any resistance. If the lock still exhibits issues such as sticking or difficulty in locking, consider repeating the adjustment and lubrication process until the desired functionality is achieved.
By checking and adjusting the lock of your sliding glass doors, you can enhance both the security and usability of these essential features. A properly functioning lock provides peace of mind and ensures that your sliding glass doors offer the security and convenience you expect. With attention to detail and the right adjustments, you can optimize the performance of the lock and enjoy seamless operation for years to come.
Step 5: Test the Door Movement
With the preceding steps completed, it's time to put the adjustments to the test by evaluating the movement of the sliding glass doors. Testing the door movement is a critical phase in the adjustment process, as it allows you to assess the effectiveness of the preceding adjustments and ensure that the doors operate smoothly and effortlessly along the tracks.
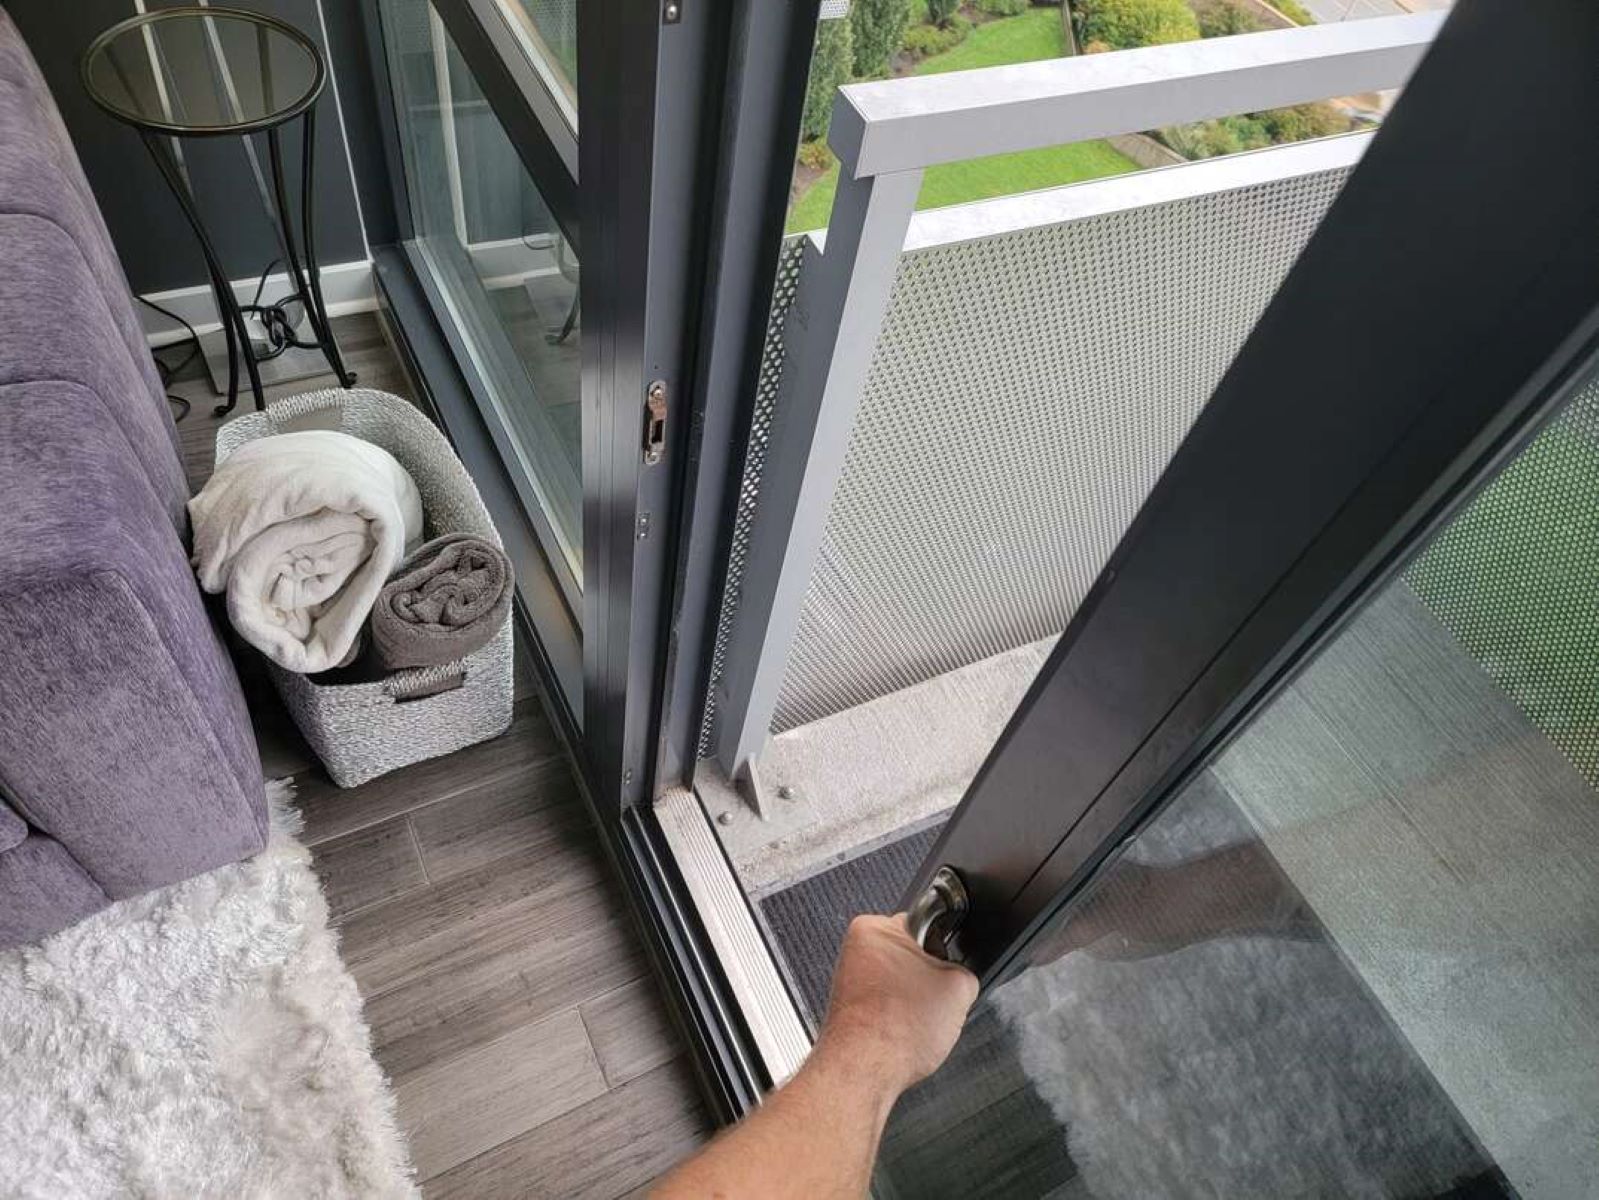
Begin by gently sliding the doors back and forth along the tracks, taking note of the level of resistance and the overall smoothness of the movement. Ideally, the doors should glide along the tracks with minimal effort, exhibiting a consistent and fluid motion. Pay close attention to any areas where the doors may have previously exhibited sticking, dragging, or uneven movement.
As you test the door movement, listen for any unusual sounds that may indicate friction or misalignment. Smooth, quiet operation is a sign that the adjustments have been successful in optimizing the functionality of the doors. If you notice any lingering issues such as sticking or resistance, it may be necessary to revisit specific adjustments, such as the roller height or track lubrication, to further fine-tune the door movement.
In addition to testing the basic sliding motion of the doors, take the time to evaluate their alignment and balance. The doors should sit evenly within the frame and maintain a consistent gap along the top and sides. Misaligned doors can lead to ongoing issues with movement and may require further adjustments to ensure proper alignment.
It's also important to test the doors at various points along the tracks, as issues with movement may be localized to specific areas. By assessing the door movement comprehensively, you can identify any remaining challenges and address them effectively, ensuring that the doors operate seamlessly from end to end.
Finally, consider testing the locking mechanism to ensure that it engages smoothly and securely. A well-adjusted lock should latch effortlessly, providing both security and ease of use. By testing the door movement and the locking functionality, you can confirm that the adjustments have resulted in optimal performance and that your sliding glass doors are ready to provide years of trouble-free operation.
By thoroughly testing the door movement, you can verify the success of the adjustment process and address any remaining issues that may impact the functionality of your sliding glass doors. With careful observation and attention to detail, you can ensure that the doors operate smoothly and seamlessly, providing the convenience and aesthetic appeal that they are designed to deliver.
Read more: How To Childproof A Sliding Glass Door
Conclusion
In conclusion, the process of adjusting sliding glass doors is a manageable and rewarding endeavor that can significantly enhance the functionality and longevity of these essential features in your home. By following the step-by-step guide outlined in this article, you have gained the knowledge and techniques needed to address common issues such as sticking, misalignment, and lock functionality, empowering you to restore the smooth operation and aesthetic appeal of your sliding glass doors.
Through meticulous cleaning and inspection of the tracks, you have laid the groundwork for successful adjustments, ensuring that debris and damage do not impede the movement of the doors. By focusing on the adjustment of the rollers, you have fine-tuned the height and alignment of these critical components, enabling the doors to glide effortlessly along the tracks. Additionally, by lubricating the tracks and optimizing the lock mechanism, you have minimized friction and enhanced both the security and usability of the doors.
As you conclude the adjustment process, it is essential to test the door movement comprehensively, evaluating the smoothness, alignment, and locking functionality to confirm the success of the adjustments. By doing so, you can identify any remaining challenges and address them effectively, ensuring that your sliding glass doors are ready to provide years of trouble-free operation.
By taking on the task of adjusting your sliding glass doors, you have not only saved time and money by avoiding the need for professional repairs or replacements but also gained a sense of accomplishment and mastery over an important aspect of home maintenance. With the right tools, materials, and a systematic approach, you have successfully revitalized the functionality and aesthetic appeal of your sliding glass doors, allowing you to enjoy the seamless transition between indoor and outdoor spaces while basking in the natural light that these doors bring into your home.
As you stand back and admire the smooth, effortless movement of your sliding glass doors, you can take pride in the knowledge that you have successfully tackled a common household maintenance task with skill and confidence. By incorporating the insights and techniques from this guide into your maintenance routine, you can ensure that your sliding glass doors continue to provide convenience, security, and visual appeal for years to come.
Frequently Asked Questions about How To Adjust Sliding Glass Doors
Was this page helpful?
At Storables.com, we guarantee accurate and reliable information. Our content, validated by Expert Board Contributors, is crafted following stringent Editorial Policies. We're committed to providing you with well-researched, expert-backed insights for all your informational needs.






0 thoughts on “How To Adjust Sliding Glass Doors”