Home>Furniture & Design>Interior Design Trends>How To Weatherstrip A Sliding Glass Door
Interior Design Trends
How To Weatherstrip A Sliding Glass Door
Modified: August 27, 2024
Learn how to weatherstrip a sliding glass door and keep up with the latest interior design trends. Improve energy efficiency and style in your home.
(Many of the links in this article redirect to a specific reviewed product. Your purchase of these products through affiliate links helps to generate commission for Storables.com, at no extra cost. Learn more)
Introduction
Weatherstripping a sliding glass door is an essential maintenance task that can significantly improve energy efficiency and indoor comfort. Over time, the original weatherstripping on a sliding glass door may wear out, leading to drafts, energy loss, and potential water damage. By replacing the weatherstripping, you can create a tighter seal, preventing air and moisture infiltration while reducing energy costs.
In this comprehensive guide, we will walk you through the step-by-step process of weatherstripping a sliding glass door. Whether you are a seasoned DIY enthusiast or a first-time homeowner, this tutorial will equip you with the knowledge and skills to tackle this project with confidence. By following these instructions, you can enhance the functionality of your sliding glass door and create a more comfortable living environment for you and your family.
Let's dive into the details of gathering the necessary materials and preparing the sliding glass door for the weatherstripping installation. With the right tools and a systematic approach, you can transform your sliding glass door into a more energy-efficient and weather-resistant feature of your home.
Key Takeaways:
- Proper weatherstripping of a sliding glass door can save energy and improve comfort by preventing air and moisture infiltration. It’s a DIY project that enhances home efficiency and sustainability.
- By cleaning, measuring, and applying weatherstripping, you can make your sliding glass door more energy-efficient and durable. Regular maintenance ensures long-term benefits for your home.
Step 1: Gather the necessary materials
Before embarking on the process of weatherstripping a sliding glass door, it's crucial to gather all the essential materials and tools. Having the right supplies at hand will streamline the project and ensure a smooth and efficient installation. Here's a detailed list of the materials you will need:
Materials:
-
Weatherstripping: Choose a high-quality weatherstripping material suitable for the specific dimensions of your sliding glass door. Options include foam, vinyl, or felt weatherstripping, each offering unique benefits in terms of durability and insulation.
-
Measuring Tape: A reliable measuring tape is indispensable for accurately determining the dimensions of the door frame and the required length of weatherstripping.
-
Scissors or Utility Knife: These tools will be used to cut the weatherstripping to the precise lengths needed for the door frame.
-
Cleaning Solution: Prepare a mild cleaning solution, such as a mixture of water and mild detergent, to thoroughly clean the door frame before applying the new weatherstripping.
-
Cloth or Sponge: Use a soft cloth or sponge to apply the cleaning solution and remove any dirt, dust, or debris from the door frame.
-
Rubbing Alcohol: This will help ensure that the door frame is completely free of any residual grease, grime, or adhesive from the old weatherstripping.
-
Gloves: Protect your hands with a pair of gloves, especially when handling cleaning solutions and adhesives during the installation process.
-
Safety Glasses: It's important to prioritize safety, so wearing protective eyewear is recommended, particularly when using sharp tools or working in overhead positions.
-
Adhesive: Depending on the type of weatherstripping chosen, you may need adhesive to secure the weatherstripping in place. Ensure that the adhesive is suitable for the material of the weatherstripping and the door frame.
-
Rag or Towel: Keep a rag or towel handy to wipe away excess adhesive and ensure a clean, professional finish.
By gathering these materials in advance, you will be well-prepared to proceed with the subsequent steps of cleaning the sliding glass door and measuring and applying the weatherstripping. With the right tools at your disposal, you can approach the project with confidence and precision, ultimately enhancing the energy efficiency and functionality of your sliding glass door.
Step 2: Clean the sliding glass door
Cleaning the sliding glass door is a crucial preparatory step before installing new weatherstripping. Over time, dirt, dust, and grime can accumulate on the door frame, hindering the effectiveness of the weatherstripping and compromising the overall seal. By thoroughly cleaning the surface, you can ensure optimal adhesion and a secure fit for the new weatherstripping.
To begin the cleaning process, prepare a mild cleaning solution by mixing water with a small amount of gentle detergent. This solution is effective in removing surface dirt and debris without causing damage to the door frame. Using a soft cloth or sponge, apply the cleaning solution to the entire surface of the door frame, paying close attention to the areas where the old weatherstripping was previously installed.
After applying the cleaning solution, thoroughly rinse the door frame with clean water to remove any residual soap or dirt. Once the surface is clean, use a dry cloth to wipe away excess moisture and allow the door frame to air dry completely. It's important to ensure that no moisture or residue remains on the surface before proceeding with the weatherstripping installation.
In addition to the mild cleaning solution, rubbing alcohol can be used to further prepare the door frame for the new weatherstripping. Apply rubbing alcohol to a clean cloth and use it to wipe down the entire surface of the door frame. This step helps to remove any remaining grease, grime, or adhesive residue from the previous weatherstripping, promoting better adhesion for the new weatherstripping.
Throughout the cleaning process, it's essential to prioritize safety by wearing protective gloves and safety glasses. This is especially important when working with cleaning solutions and rubbing alcohol to prevent skin irritation and protect your eyes from potential splashes.
By meticulously cleaning the sliding glass door, you create an optimal foundation for the new weatherstripping, ensuring a secure and long-lasting seal. With the door frame thoroughly cleaned and free of any debris or residue, you are now ready to proceed with the next steps of measuring and applying the weatherstripping, bringing you closer to a more energy-efficient and weather-resistant sliding glass door.
Step 3: Measure and cut the weatherstripping
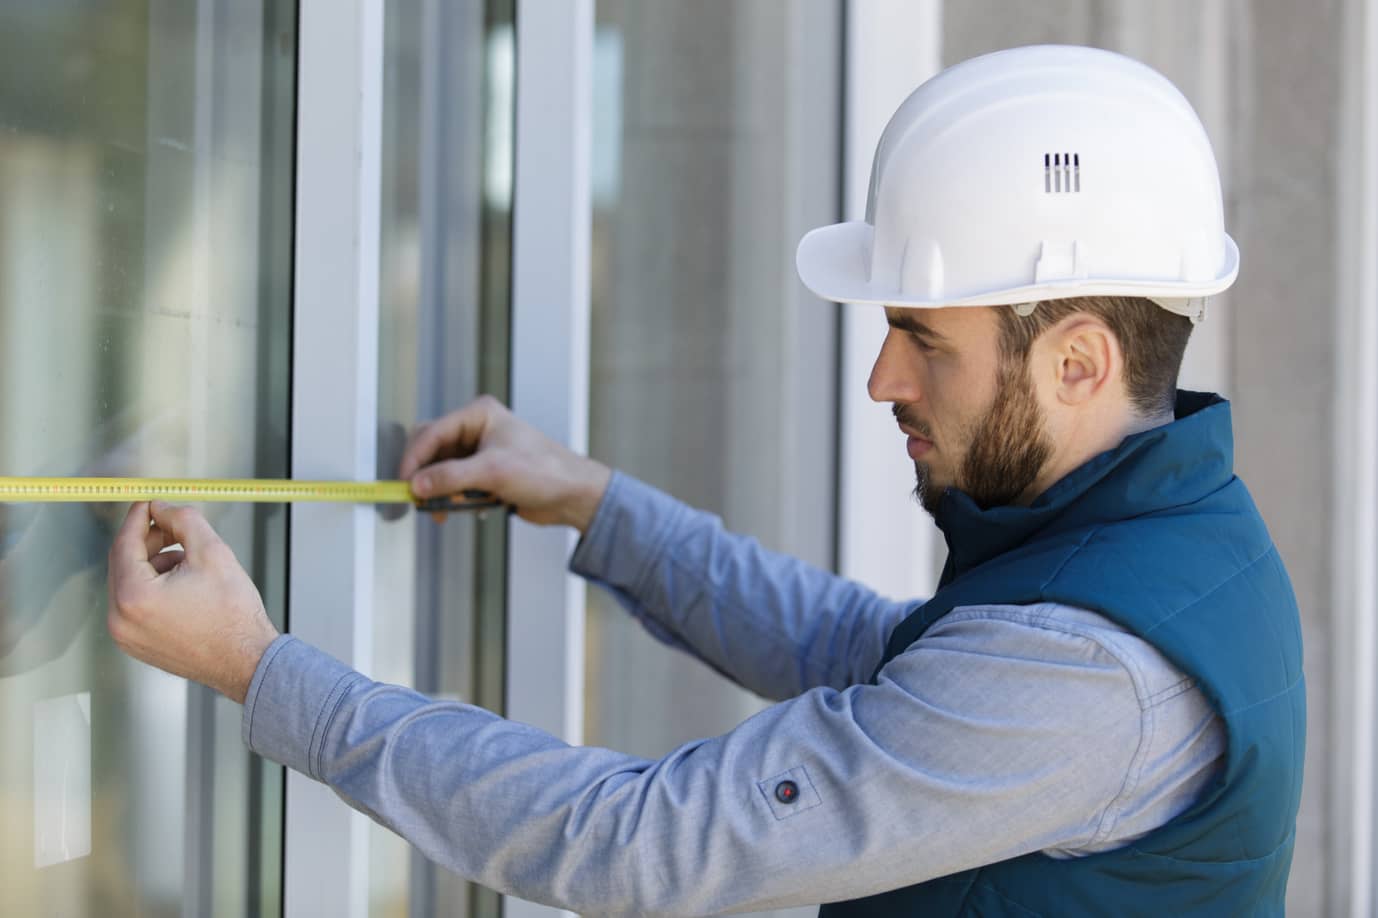
Accurate measurement and precise cutting of the weatherstripping are essential to ensure a proper fit and effective sealing of the sliding glass door. By carefully measuring the dimensions of the door frame and cutting the weatherstripping to the correct lengths, you can optimize the performance of the weatherstripping and enhance the overall energy efficiency of the door.
To begin, use a reliable measuring tape to measure the perimeter of the door frame, taking into account both the vertical and horizontal dimensions. It's important to measure each side of the frame separately to accommodate any variations in length. Record the measurements accurately, ensuring that the weatherstripping will align seamlessly with the entire perimeter of the door frame.
Once the measurements are obtained, transfer the dimensions to the weatherstripping material, marking the appropriate cutting points with a pencil or marker. Depending on the type of weatherstripping chosen, such as foam, vinyl, or felt, use scissors or a utility knife to make precise cuts along the marked lines. Take care to cut the weatherstripping with straight, clean lines to facilitate a snug and uniform fit along the door frame.
In some cases, the weatherstripping may require mitered cuts at the corners to ensure a seamless connection and optimal sealing. When encountering corners or angles in the door frame, carefully measure and cut the weatherstripping at a 45-degree angle to create a precise joint. This meticulous approach will promote a tight seal at the corners, preventing air and moisture infiltration.
As you cut the weatherstripping to the measured lengths, double-check the accuracy of each piece before proceeding to the installation phase. Ensuring that the weatherstripping aligns perfectly with the dimensions of the door frame is crucial to achieving a consistent and effective seal along the entire perimeter.
By meticulously measuring and cutting the weatherstripping, you set the stage for a successful installation that will enhance the energy efficiency and weather resistance of your sliding glass door. With the weatherstripping tailored to fit the specific dimensions of the door frame, you are now ready to proceed to the next step of applying the weatherstripping, bringing you closer to a more comfortable and energy-efficient living environment.
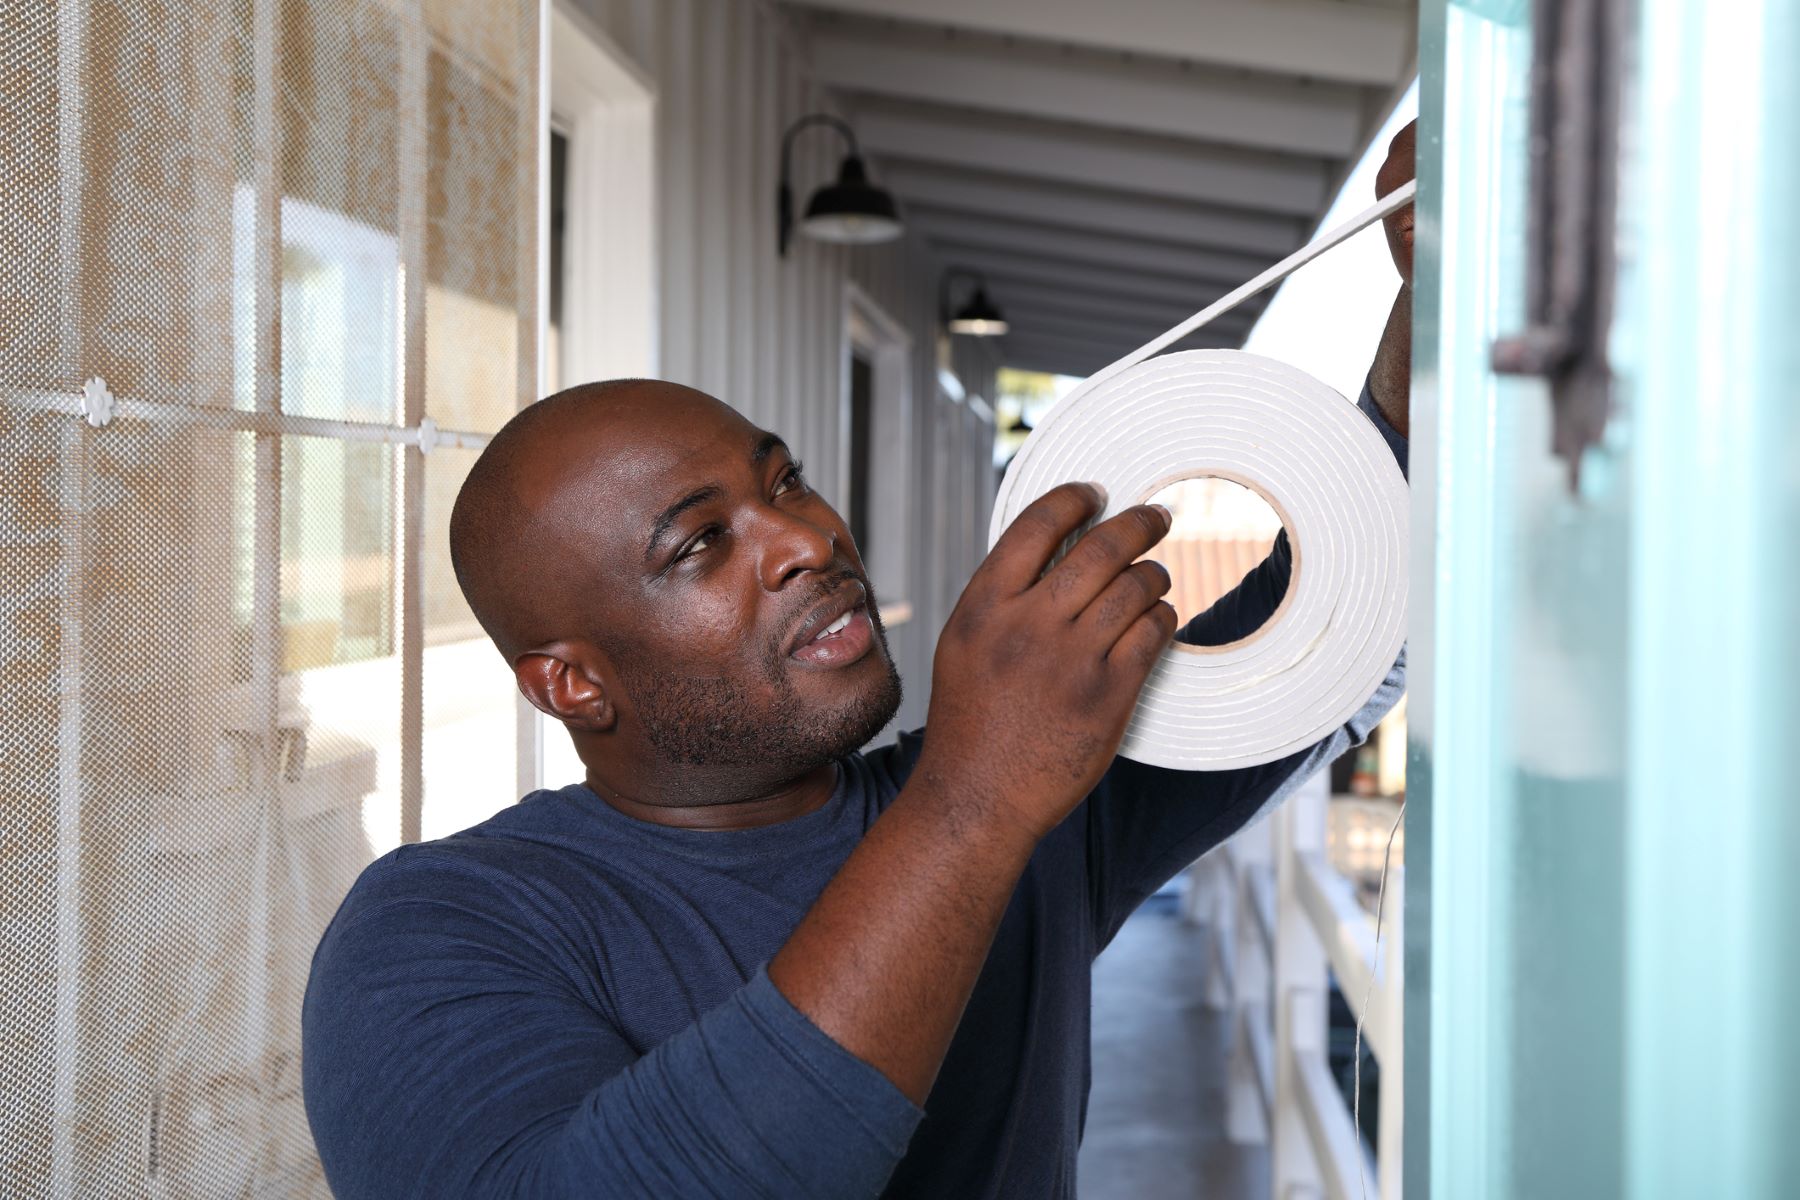
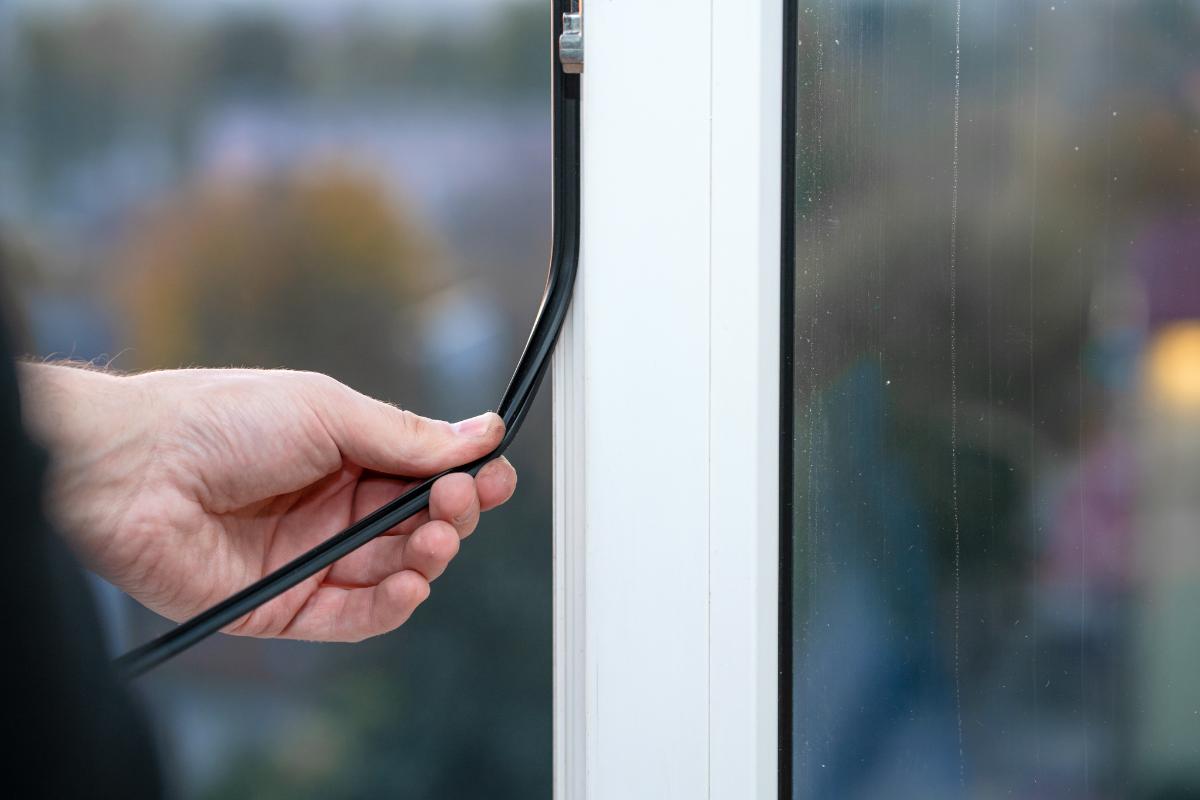
Apply self-adhesive weatherstripping to the top and bottom of the door frame to create a tight seal. Make sure to clean the surface before applying the weatherstripping for better adhesion.
Read more: How To Remove Sliding Glass Door
Step 4: Apply the weatherstripping to the door frame
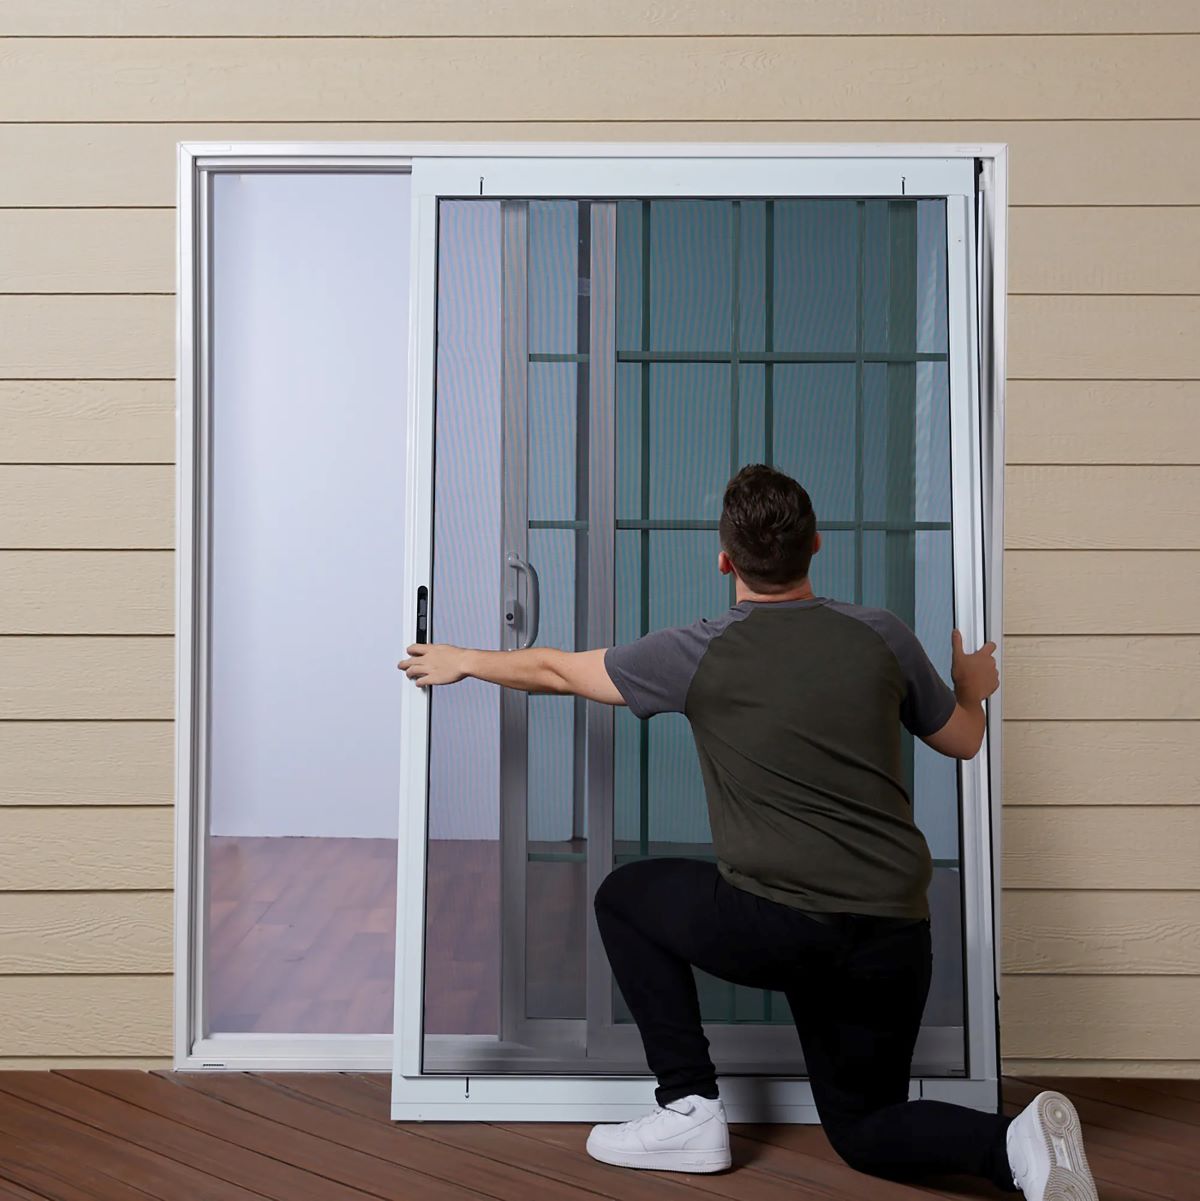
With the weatherstripping accurately measured and cut to fit the dimensions of the door frame, it's time to proceed with the crucial step of applying the weatherstripping. This process involves carefully positioning and securing the weatherstripping along the perimeter of the door frame to create a tight seal that effectively prevents air and moisture infiltration.
Begin by starting at the top of the door frame and aligning the weatherstripping along the horizontal edge. Depending on the type of weatherstripping chosen, it may feature a self-adhesive backing or require the application of adhesive to ensure a secure attachment. If adhesive is needed, carefully apply it to the back of the weatherstripping, following the manufacturer's guidelines for the specific type of adhesive used.
As you position the weatherstripping along the door frame, press it firmly into place to promote optimal adhesion and a snug fit. Take care to maintain a consistent alignment and ensure that the weatherstripping sits flush against the surface of the door frame. This meticulous approach will help create a uniform seal that effectively blocks drafts and enhances energy efficiency.
Continue applying the weatherstripping along the vertical edges of the door frame, working methodically to secure the weatherstripping in place. If the door frame features corners or angles, carefully miter the weatherstripping to create precise joints that maintain the integrity of the seal. Pay close attention to any gaps or irregularities, making adjustments as needed to ensure a seamless and effective seal around the entire perimeter of the door.
Once the weatherstripping is securely in place, use a rag or towel to wipe away any excess adhesive and ensure a clean, professional finish. Press down on the weatherstripping to reinforce the adhesion and confirm that it forms a tight seal against the door frame. This final step helps to optimize the performance of the weatherstripping and enhance its ability to resist air and moisture infiltration.
By meticulously applying the weatherstripping to the door frame, you create a durable and effective seal that enhances the energy efficiency and weather resistance of your sliding glass door. With the weatherstripping securely in place, you are now ready to proceed to the final step of testing the door and making any necessary adjustments, bringing you closer to a more comfortable and energy-efficient living environment.
Step 5: Test the door and make adjustments if necessary
After applying the weatherstripping to the door frame, it's crucial to thoroughly test the sliding glass door to ensure that the seal is secure and effective. By conducting a comprehensive evaluation and making any necessary adjustments, you can guarantee that the door operates smoothly while maintaining optimal energy efficiency and weather resistance.
To begin the testing process, carefully open and close the sliding glass door multiple times, paying close attention to any resistance or irregularities in movement. As you operate the door, observe the interaction between the weatherstripping and the door frame, noting any areas where the seal may be compromised or where adjustments are required.
Listen for any unusual sounds or air leaks as the door is opened and closed, as these indicators can reveal potential gaps or inadequacies in the weatherstripping seal. Additionally, run your hand along the perimeter of the door to feel for any drafts or air infiltration, particularly in areas where the weatherstripping meets the frame.
If any issues are identified during the testing phase, such as gaps, air leaks, or difficulty in operation, it's essential to address them promptly to optimize the performance of the weatherstripping. Depending on the specific observations made during testing, consider the following potential adjustments:
-
Repositioning the Weatherstripping: If certain areas of the door frame exhibit gaps or inadequate sealing, carefully reposition the weatherstripping to ensure a tighter fit. Pay close attention to the alignment and adhesion of the weatherstripping, making adjustments as needed to create a consistent and effective seal.
-
Adding Additional Weatherstripping: In cases where gaps or air leaks persist, consider adding supplementary weatherstripping to reinforce the seal. Select weatherstripping of the appropriate type and size to fill any gaps and enhance the overall integrity of the seal along the door frame.
-
Trimming Excess Weatherstripping: If the weatherstripping appears to impede the smooth operation of the door or causes unnecessary friction, consider trimming any excess material to facilitate unobstructed movement. Use scissors or a utility knife to carefully trim the weatherstripping, ensuring that it remains aligned with the door frame.
-
Applying Lubrication: To promote smoother operation of the sliding glass door, apply a suitable lubricant to the tracks and rollers, addressing any friction or resistance encountered during testing. This step can enhance the functionality of the door while complementing the effectiveness of the weatherstripping.
By systematically testing the sliding glass door and making precise adjustments as needed, you can optimize the performance of the weatherstripping and ensure a secure and efficient seal. This meticulous approach enhances the energy efficiency of the door and minimizes air and moisture infiltration, ultimately contributing to a more comfortable and sustainable living environment.
Conclusion
In conclusion, weatherstripping a sliding glass door is a valuable investment that can significantly enhance the energy efficiency and weather resistance of your home. By following the step-by-step process outlined in this guide, you have gained the knowledge and skills necessary to tackle this essential maintenance task with confidence and precision.
Throughout the weatherstripping process, from gathering the necessary materials to testing the door and making adjustments, you have taken proactive steps to create a tighter seal that effectively prevents air and moisture infiltration. By meticulously measuring, cutting, and applying the weatherstripping, you have optimized the performance of your sliding glass door, contributing to a more comfortable and sustainable living environment.
The benefits of weatherstripping extend beyond energy efficiency, as a well-sealed sliding glass door also offers enhanced indoor comfort and noise reduction. Additionally, by minimizing air and moisture infiltration, weatherstripping helps protect your home from potential water damage and prolongs the lifespan of the door and surrounding structures.
As you reflect on the completion of the weatherstripping process, take pride in the proactive measures you have taken to improve the functionality of your sliding glass door. The attention to detail and precision demonstrated throughout the installation process will yield long-term benefits, including reduced energy costs and a more sustainable home environment.
Moving forward, continue to prioritize regular maintenance and inspections to ensure that the weatherstripping remains in optimal condition. By monitoring the integrity of the seal and addressing any signs of wear or damage promptly, you can prolong the effectiveness of the weatherstripping and maintain the energy efficiency of your sliding glass door for years to come.
In essence, weatherstripping a sliding glass door is a practical and impactful home improvement project that aligns with your commitment to sustainability and comfort. By implementing the techniques and best practices outlined in this guide, you have not only enhanced the performance of your sliding glass door but also contributed to a more energy-efficient and resilient home environment.
Frequently Asked Questions about How To Weatherstrip A Sliding Glass Door
Was this page helpful?
At Storables.com, we guarantee accurate and reliable information. Our content, validated by Expert Board Contributors, is crafted following stringent Editorial Policies. We're committed to providing you with well-researched, expert-backed insights for all your informational needs.


0 thoughts on “How To Weatherstrip A Sliding Glass Door”