Home>Furniture & Design>Interior Design Trends>How To Level A Sliding Glass Door
Interior Design Trends
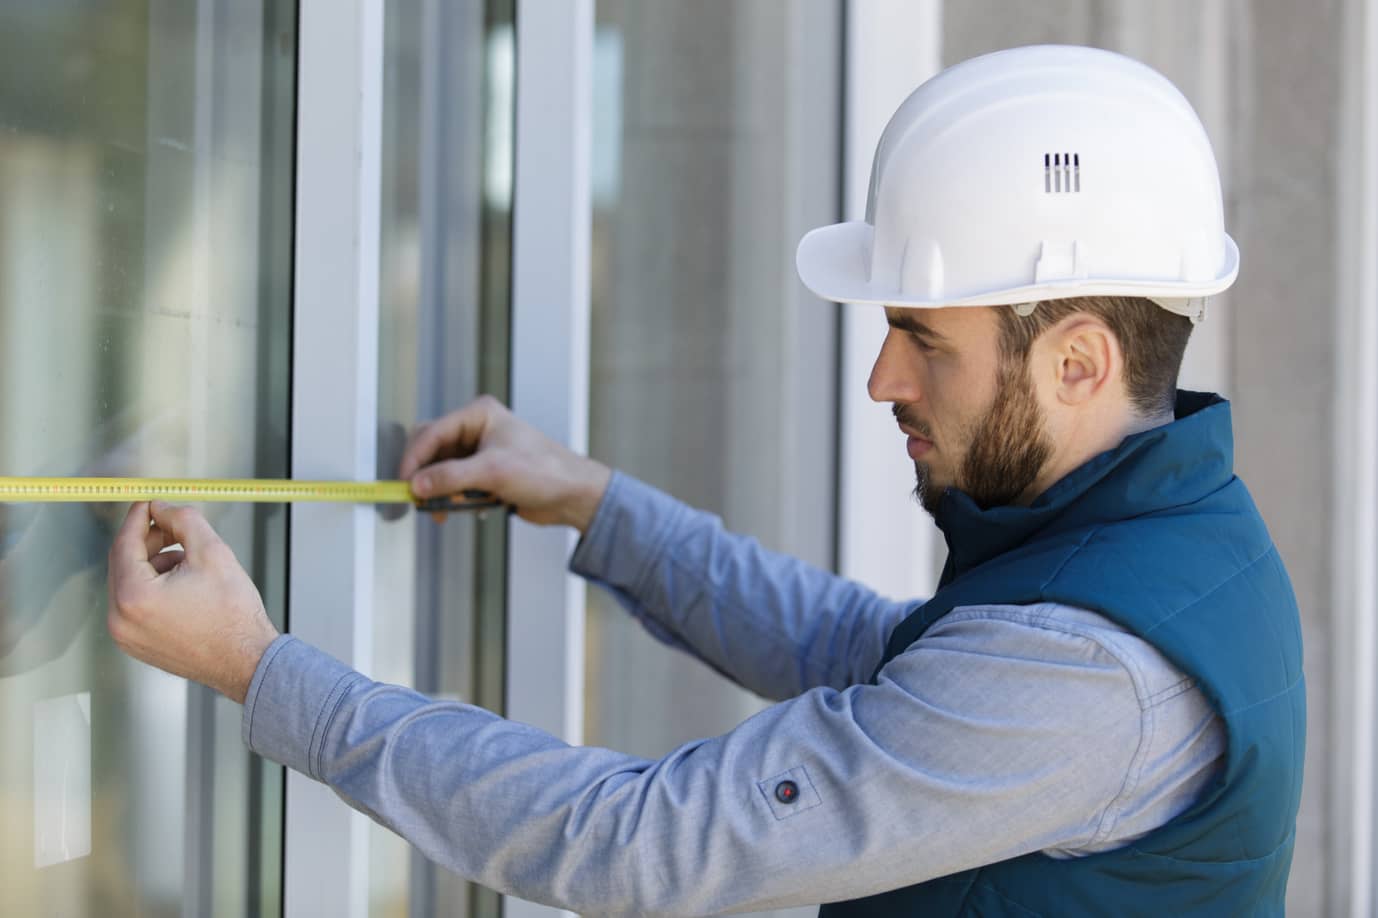
How To Level A Sliding Glass Door
Published: February 7, 2024
Learn how to level a sliding glass door with our expert interior design tips. Keep up with the latest interior design trends and make your home stylish and functional.
(Many of the links in this article redirect to a specific reviewed product. Your purchase of these products through affiliate links helps to generate commission for Storables.com, at no extra cost. Learn more)
Introduction
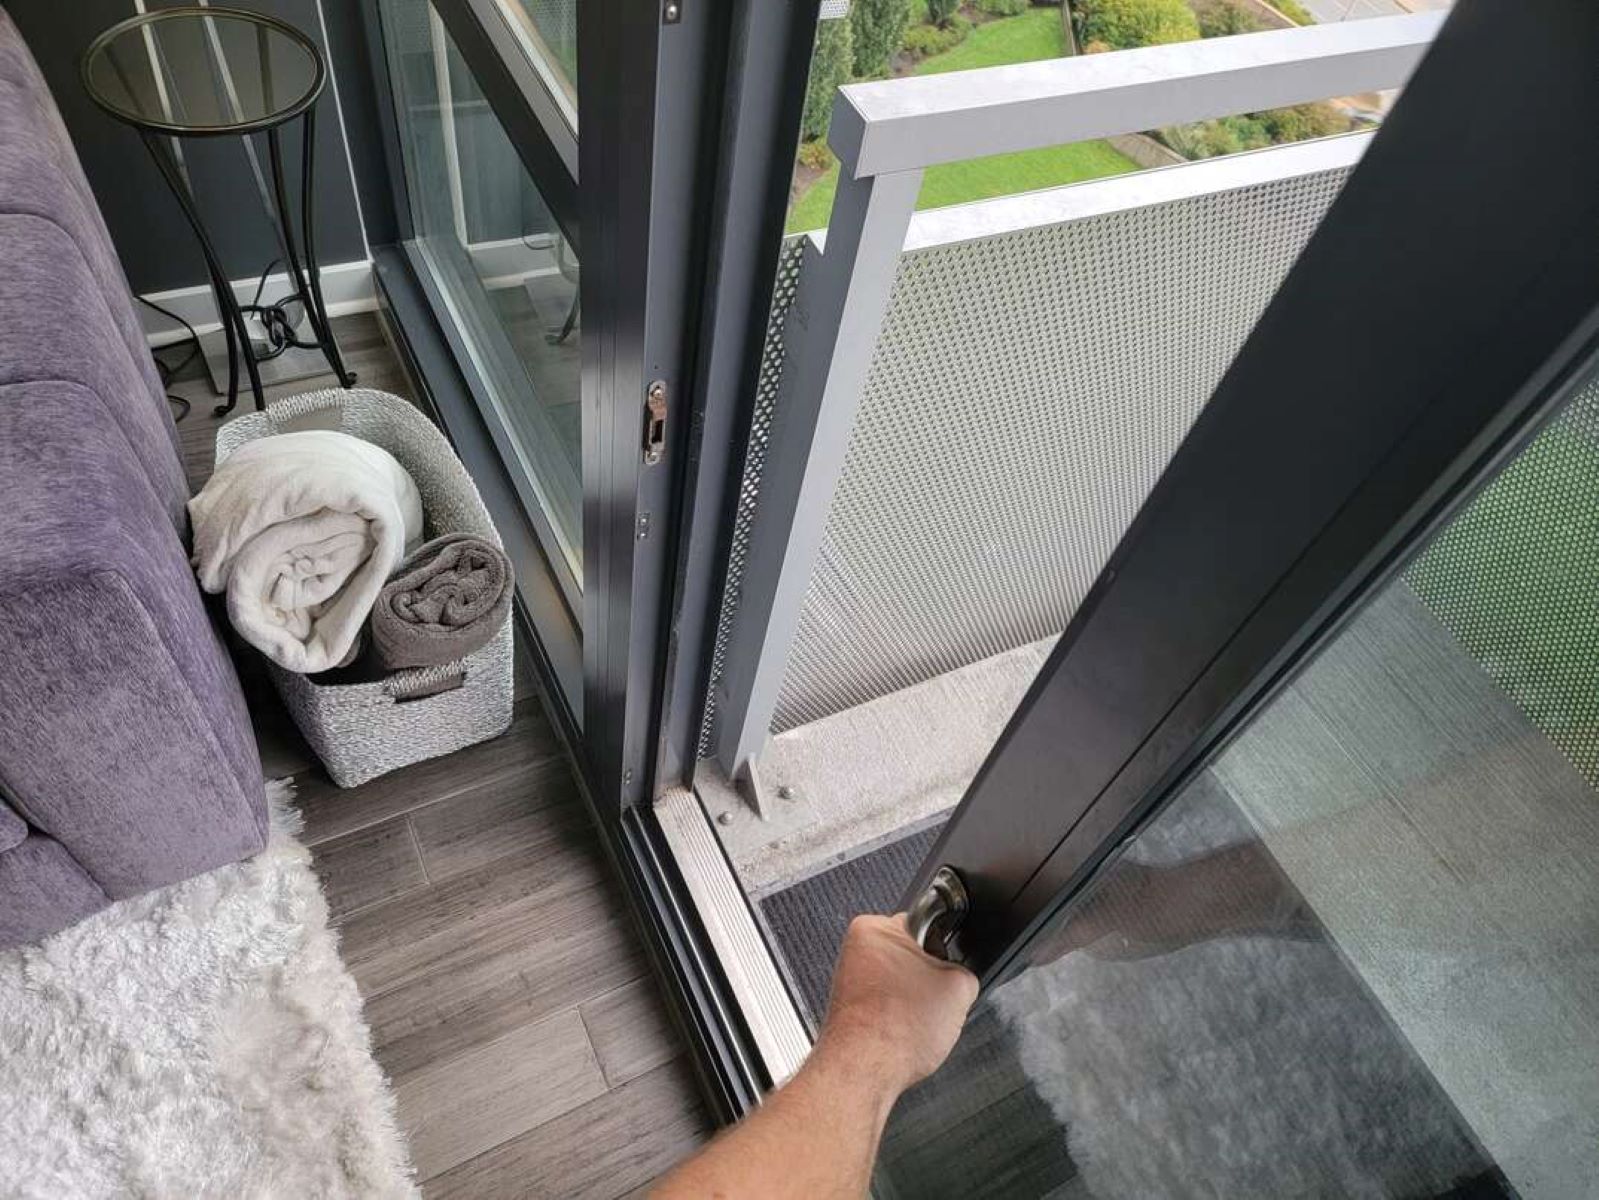
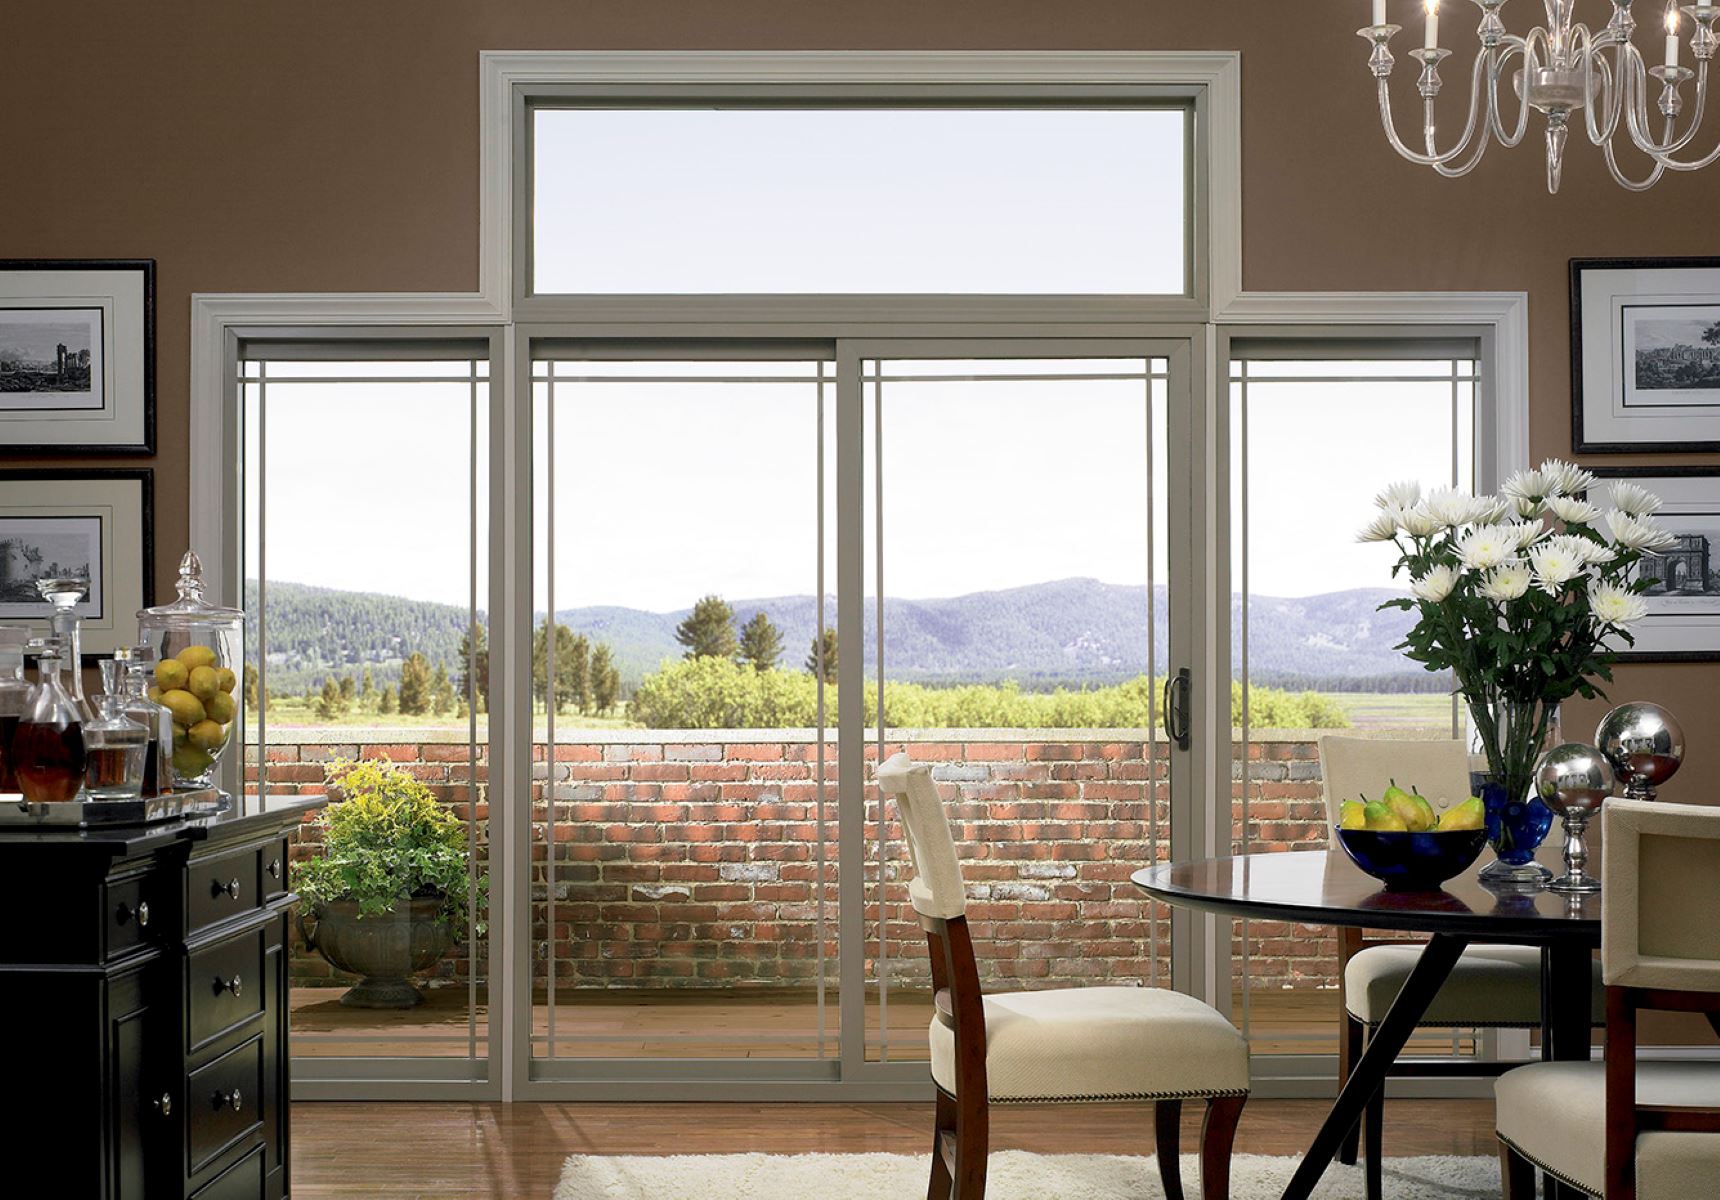
A sliding glass door is a popular feature in many homes, offering a seamless transition between indoor and outdoor spaces while allowing natural light to flood the interior. However, over time, these doors may become misaligned, making them difficult to open and close. This misalignment can be caused by various factors, including settling of the house, wear and tear on the door components, or improper installation. Fortunately, with a few simple adjustments, you can restore the smooth functionality of your sliding glass door.
In this guide, we will walk you through the process of leveling a sliding glass door, providing step-by-step instructions to help you tackle this task with confidence. By following these guidelines, you can ensure that your sliding glass door operates effortlessly, enhancing the overall functionality and aesthetic appeal of your living space.
Whether you are a seasoned DIY enthusiast or a homeowner looking to address a specific issue with your sliding glass door, this comprehensive tutorial will equip you with the knowledge and techniques needed to achieve a perfectly aligned and smoothly operating door. With the right tools and a systematic approach, you can effectively address the misalignment of your sliding glass door and enjoy the benefits of a seamlessly functioning and visually appealing entryway.
Now, let's gather the necessary tools and materials and dive into the step-by-step process of leveling your sliding glass door to restore its optimal performance.
Key Takeaways:
- Don’t let a misaligned sliding glass door ruin your indoor-outdoor experience. With the right tools and careful adjustments, you can restore smooth functionality and enhance your living space.
- Prepare, adjust, test, and fine-tune – the key steps to leveling a sliding glass door. Take your time, be patient, and enjoy a seamlessly operating entryway.
Tools and Materials Needed
To successfully level a sliding glass door, you will need a few essential tools and materials to facilitate the adjustment process. Here's a comprehensive list of what you'll need:
Tools:
- Screwdriver Set: A set of screwdrivers, including both flathead and Phillips head varieties, will be essential for accessing and adjusting the door's components.
- Adjustable Wrench: This tool will come in handy for making precise adjustments to the door's rollers and tracks.
- Vacuum Cleaner: It's important to have a vacuum cleaner on hand to remove any debris or dirt from the door's tracks and surrounding area before making adjustments.
- Level: A carpenter's level will help you ensure that the door is perfectly aligned during the adjustment process.
- Safety Glasses and Gloves: It's crucial to prioritize safety when working with tools. Safety glasses and gloves will protect your eyes and hands from potential hazards.
Materials:
- Lubricant: A silicone-based lubricant or a similar product will be useful for lubricating the door's rollers and tracks, facilitating smoother operation.
- Cleaning Solution: A mild cleaning solution and a soft cloth will be necessary for cleaning the door's tracks and removing any accumulated dirt or grime.
- Shims: These thin, wedge-shaped pieces of material can be used to provide additional support and stability during the leveling process.
- Replacement Parts (if needed): Depending on the condition of your sliding glass door, you may need to have replacement rollers, tracks, or other components on hand for more extensive repairs.
By ensuring that you have these tools and materials readily available, you'll be well-prepared to tackle the task of leveling your sliding glass door effectively and efficiently. With the right equipment at your disposal, you can proceed with confidence, knowing that you have everything you need to address any misalignment issues and restore your door to optimal functionality.
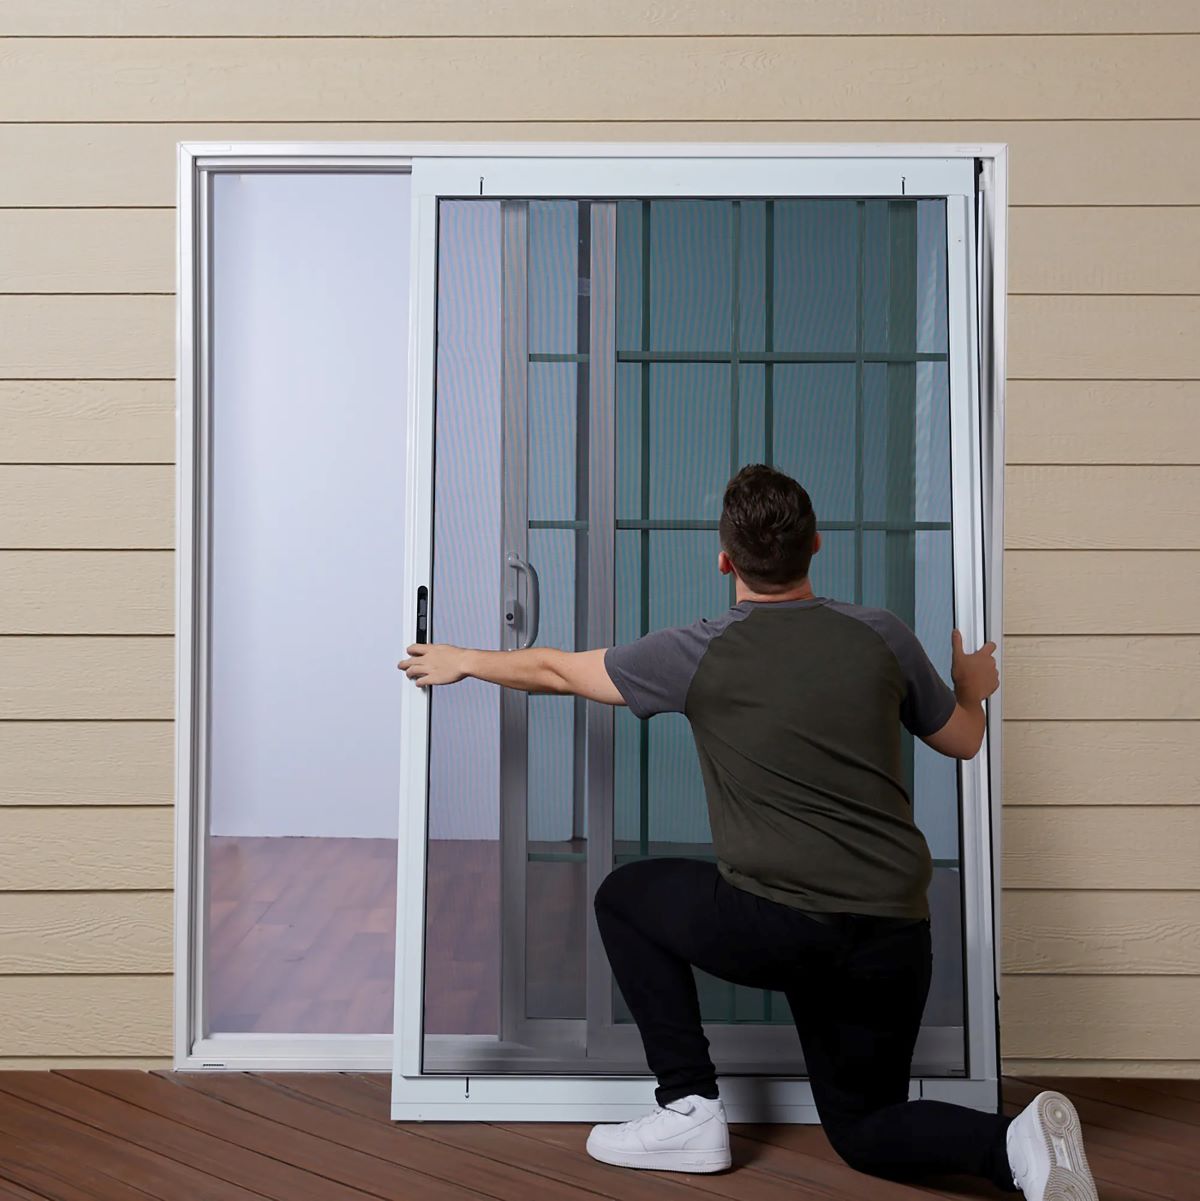
Step 1: Prepare the Area
Before embarking on the process of leveling your sliding glass door, it's crucial to prepare the surrounding area to ensure a smooth and efficient adjustment process. Proper preparation will not only facilitate easier access to the door's components but also contribute to a safer and more effective working environment. Here's a detailed guide on how to prepare the area for leveling your sliding glass door:
Read more: How To Remove Sliding Glass Door
Clear the Surrounding Space
Begin by clearing the immediate area around the sliding glass door. Remove any furniture, decor, or obstacles that may obstruct your access to the door. Creating a clear and unobstructed workspace will allow you to maneuver around the door more easily and perform the necessary adjustments without hindrance.
Clean the Tracks and Surrounding Area
Next, thoroughly clean the tracks and the area surrounding the sliding glass door. Use a mild cleaning solution and a soft cloth to remove any accumulated dirt, debris, or grime from the tracks. Additionally, vacuum the tracks to ensure that they are free from any loose particles or obstructions. Clean tracks will facilitate smoother movement and provide a clear view of the door's components, allowing for more accurate adjustments.
Inspect for Damage or Wear
Take this opportunity to inspect the door's tracks, rollers, and other components for any signs of damage or wear. Look for dents, bends, or excessive wear on the tracks, as well as any visible damage to the rollers or their housing. Identifying any existing issues at this stage will help you determine if any replacement parts are needed and allow you to address potential concerns before proceeding with the leveling process.
Gather the Necessary Tools and Materials
Ensure that you have all the required tools and materials readily available before beginning the leveling process. Double-check that you have your screwdriver set, adjustable wrench, vacuum cleaner, level, safety glasses, gloves, lubricant, cleaning solution, shims, and any potential replacement parts on hand. Having everything prepared and within reach will streamline the leveling process and minimize interruptions.
By meticulously preparing the area and gathering the essential tools and materials, you'll set the stage for a successful sliding glass door leveling endeavor. This proactive approach will help you address any potential obstacles or issues upfront, allowing you to focus on the precise adjustments needed to restore your door to optimal functionality.
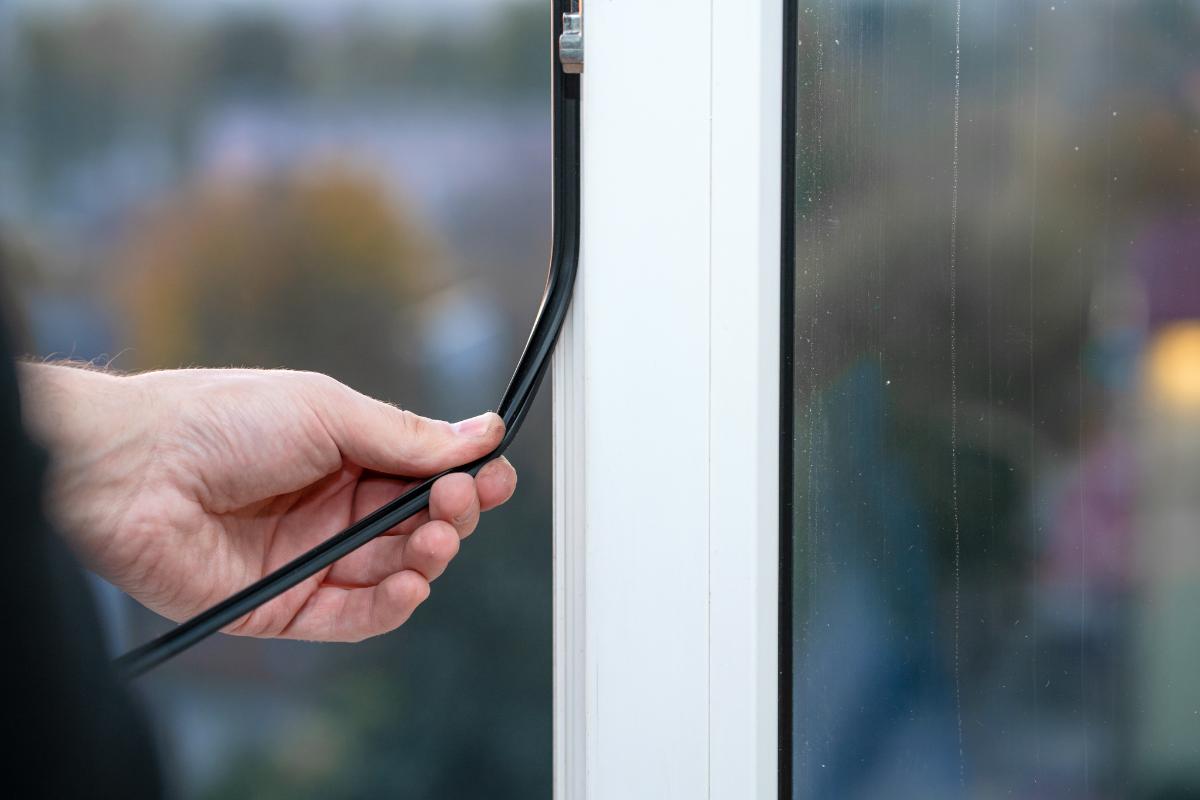
Read more: How To Weatherstrip A Sliding Glass Door
Step 2: Adjust the Rollers
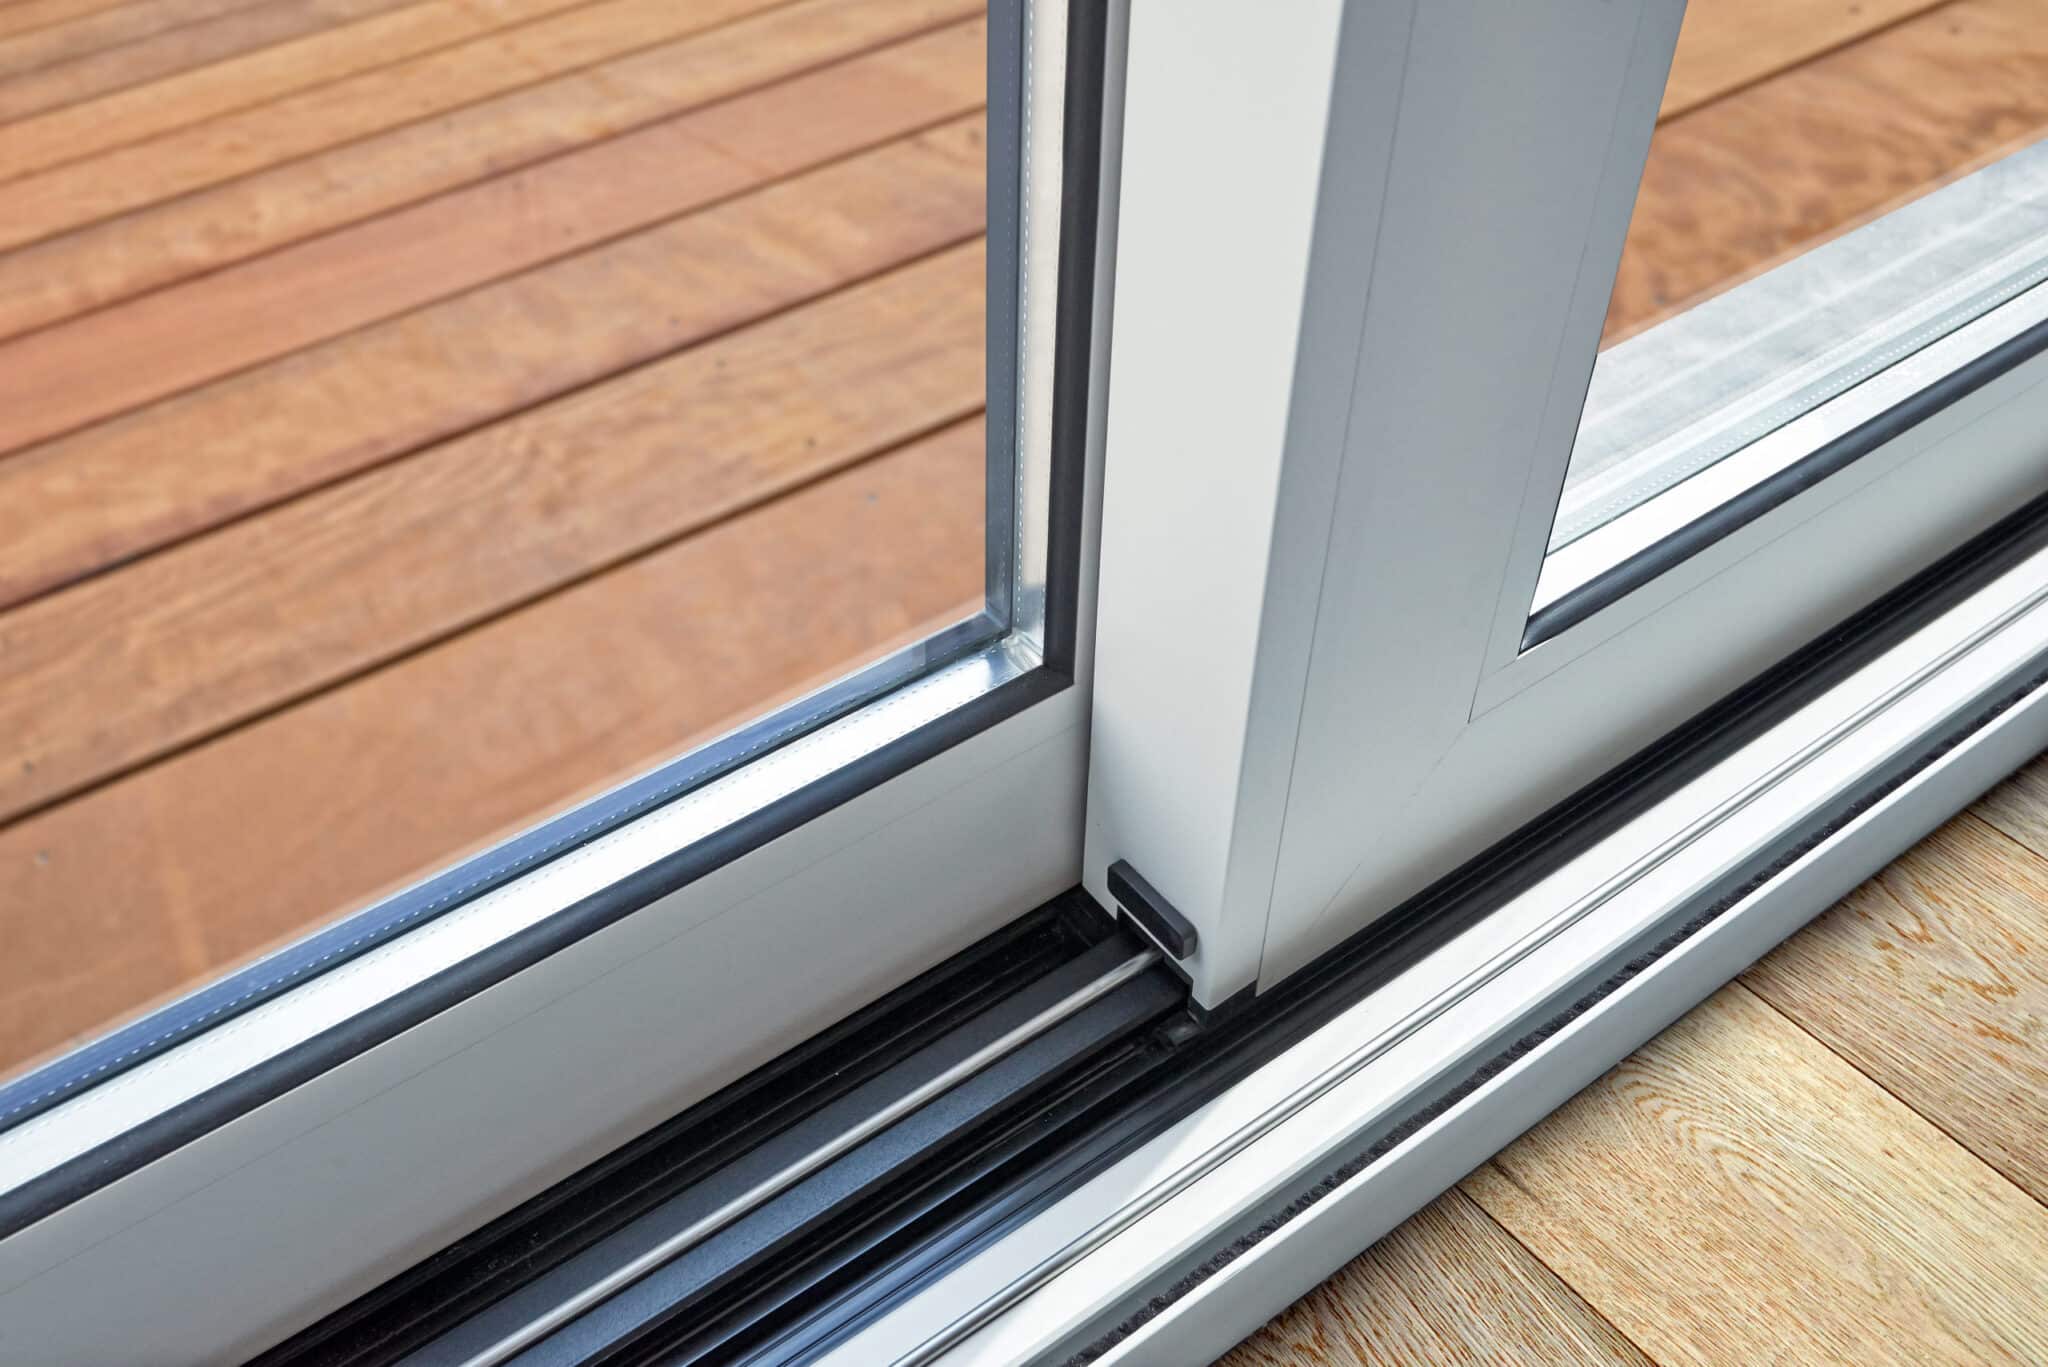
Adjusting the rollers is a critical step in the process of leveling a sliding glass door. The rollers, located at the bottom of the door, are responsible for facilitating smooth movement along the tracks. Over time, these rollers may become misaligned or worn, leading to issues such as difficulty in opening or closing the door, uneven gaps, or dragging along the tracks. By making precise adjustments to the rollers, you can effectively address these issues and restore the door's optimal functionality.
1. Locate the Adjustment Screws
Begin by identifying the adjustment screws located at the bottom of the door. These screws are typically situated at the sides of the door, near the bottom corners. Using a flashlight can be helpful in illuminating the area and providing a clear view of the adjustment screws.
2. Make Incremental Adjustments
Using a screwdriver from your set, carefully turn the adjustment screws in small increments. It's essential to make gradual adjustments to avoid over-tightening or misaligning the rollers. Turning the screws clockwise will typically raise the door, while turning them counterclockwise will lower the door. Keep in mind that the specific adjustment method may vary based on the door's design, so refer to the manufacturer's guidelines if available.
3. Check for Smooth Movement
After making adjustments to the rollers, test the door to assess its movement. Slide the door open and closed to determine if the adjustments have effectively addressed any issues with sticking, dragging, or uneven movement. Pay attention to the door's alignment and ensure that it moves smoothly along the tracks without any resistance.
Read more: How Long Is A Sliding Glass Door
4. Fine-Tune the Alignment
If the door still exhibits misalignment or uneven movement after the initial adjustments, continue fine-tuning the roller adjustments. By making incremental changes and testing the door's movement repeatedly, you can achieve precise alignment and ensure that the door operates seamlessly.
5. Lubricate the Rollers and Tracks
Once you have achieved the desired alignment, apply a silicone-based lubricant to the rollers and tracks. This lubrication will enhance the door's smooth operation and reduce friction, contributing to a quieter and more effortless sliding motion.
By following these steps to adjust the rollers, you can effectively address misalignment issues and restore the smooth functionality of your sliding glass door. This meticulous approach to roller adjustments will help you achieve precise alignment and ensure that the door operates seamlessly, enhancing the overall functionality and aesthetic appeal of your living space.
Step 3: Test the Door
After making adjustments to the rollers and fine-tuning the alignment of your sliding glass door, it's crucial to thoroughly test the door to evaluate its functionality and ensure that the leveling process has been successful. Testing the door will allow you to assess its movement, alignment, and overall performance, providing valuable insights into the effectiveness of the adjustments made. Here's a detailed guide on how to test your sliding glass door after the leveling process:
1. Open and Close the Door
Begin by gently opening and closing the sliding glass door multiple times to gauge its smoothness and ease of movement. Pay close attention to any resistance, dragging, or unevenness in the door's motion. A properly leveled door should glide effortlessly along the tracks without any obstructions or hesitations.
Read more: How To Childproof A Sliding Glass Door
2. Check for Even Gaps
While the door is in the closed position, inspect the gaps between the door and the frame on both sides. Ideally, these gaps should be uniform and consistent from top to bottom, indicating that the door is properly aligned. If you notice any irregularities or variations in the gaps, it may indicate that further adjustments are needed to achieve optimal alignment.
3. Assess the Locking Mechanism
Test the locking mechanism of the sliding glass door to ensure that it engages smoothly and securely. The door should lock without requiring excessive force, and the locking mechanism should align seamlessly with the corresponding components on the frame. If you encounter any difficulties in locking the door or notice misalignments in the locking mechanism, it may indicate that additional adjustments are necessary.
4. Verify Stability and Smooth Operation
As you continue to test the door, verify its stability and smooth operation. The door should remain steady and stable during opening and closing, without any wobbling or instability. Additionally, listen for any unusual sounds or friction that may indicate areas of concern. A well-leveled sliding glass door should operate quietly and effortlessly, contributing to a pleasant and seamless user experience.
5. Make Further Adjustments if Necessary
If you identify any issues or inconsistencies during the testing process, be prepared to make further adjustments as needed. Refer back to the roller adjustment process and fine-tune the door's alignment to address any remaining issues. It's important to prioritize precision and thoroughness during the testing phase, as this will ultimately contribute to the long-term functionality and performance of your sliding glass door.
By meticulously testing the door after the leveling process, you can gain valuable insights into its functionality and alignment, allowing you to make informed decisions regarding any additional adjustments that may be required. This comprehensive testing approach will help you achieve a perfectly aligned and smoothly operating sliding glass door, enhancing the overall functionality and aesthetic appeal of your living space.
Read more: How To Lube A Sliding Glass Door
Step 4: Fine-Tune the Adjustment
After making initial adjustments to the rollers and testing the sliding glass door, you may find that fine-tuning is necessary to achieve optimal alignment and smooth operation. Fine-tuning the adjustment process involves making incremental changes to the door's components, ensuring that every aspect of the door's movement and alignment is precisely calibrated. This meticulous approach will allow you to address any remaining issues and achieve a perfectly leveled and seamlessly operating sliding glass door.
To begin the fine-tuning process, carefully assess the door's movement and alignment, paying close attention to any lingering issues such as uneven gaps, resistance during opening or closing, or subtle misalignments. By observing the door's behavior and identifying specific areas that require further attention, you can effectively target the adjustments needed to achieve the desired results.
When fine-tuning the adjustment, it's essential to make small, precise changes to the roller screws, ensuring that each adjustment is methodical and deliberate. By turning the adjustment screws in incremental increments, you can observe the impact of each change on the door's alignment and movement, allowing for a more controlled and accurate leveling process.
As you make these incremental adjustments, continue to test the door's movement and functionality, assessing the impact of each fine-tuning maneuver. Slide the door open and closed multiple times, observing any improvements in smoothness and alignment. Additionally, pay close attention to the gaps between the door and the frame, verifying that they are consistent and uniform throughout the door's movement.
Throughout the fine-tuning process, maintain a patient and attentive approach, prioritizing precision and thoroughness. By carefully evaluating the door's behavior and making calculated adjustments, you can gradually refine its alignment and operation, ultimately achieving the desired level of functionality and aesthetic appeal.
Once you have completed the fine-tuning process, retest the door to verify the effectiveness of the adjustments. Assess its movement, stability, and alignment, ensuring that it operates seamlessly and exhibits uniform gaps and smooth motion. By taking a meticulous and systematic approach to fine-tuning the adjustment, you can achieve a perfectly leveled sliding glass door, enhancing the overall functionality and visual appeal of your living space.
Conclusion
In conclusion, leveling a sliding glass door is a task that requires attention to detail, patience, and a systematic approach. By following the step-by-step process outlined in this guide, homeowners and DIY enthusiasts can effectively address misalignment issues and restore the optimal functionality of their sliding glass doors.
The preparation phase, which involves clearing the surrounding space, cleaning the tracks, and inspecting for damage or wear, sets the stage for a successful leveling endeavor. By meticulously preparing the area and gathering the necessary tools and materials, individuals can streamline the process and address potential obstacles proactively.
Adjusting the rollers is a critical step in the leveling process, as it directly impacts the door's movement and alignment. Making incremental adjustments, testing the door's movement, and lubricating the rollers and tracks contribute to achieving precise alignment and ensuring smooth operation.
Thoroughly testing the door after the leveling process is essential for evaluating its functionality and identifying any remaining issues. By assessing the door's movement, gaps, locking mechanism, stability, and smooth operation, individuals can gain valuable insights and make informed decisions regarding further adjustments.
Fine-tuning the adjustment process allows for targeted and precise calibration of the door's components, addressing any lingering issues and achieving optimal alignment. By making small, deliberate changes and observing the impact of each adjustment, individuals can gradually refine the door's operation and ensure seamless functionality.
Ultimately, the comprehensive approach to leveling a sliding glass door outlined in this guide empowers homeowners to address misalignment issues effectively, restoring the door to its optimal functionality and enhancing the overall aesthetic appeal of their living spaces. With the right tools, meticulous attention to detail, and a commitment to precision, individuals can achieve a perfectly leveled and smoothly operating sliding glass door, contributing to a seamless indoor-outdoor transition and a more enjoyable living environment.
Frequently Asked Questions about How To Level A Sliding Glass Door
Was this page helpful?
At Storables.com, we guarantee accurate and reliable information. Our content, validated by Expert Board Contributors, is crafted following stringent Editorial Policies. We're committed to providing you with well-researched, expert-backed insights for all your informational needs.


0 thoughts on “How To Level A Sliding Glass Door”