Home>Furniture & Design>Interior Design Trends>How To Frame A Sliding Glass Door
Interior Design Trends
How To Frame A Sliding Glass Door
Published: February 5, 2024
Learn how to frame a sliding glass door to enhance your interior design. Discover the latest trends in interior design for sliding glass doors.
(Many of the links in this article redirect to a specific reviewed product. Your purchase of these products through affiliate links helps to generate commission for Storables.com, at no extra cost. Learn more)
Introduction
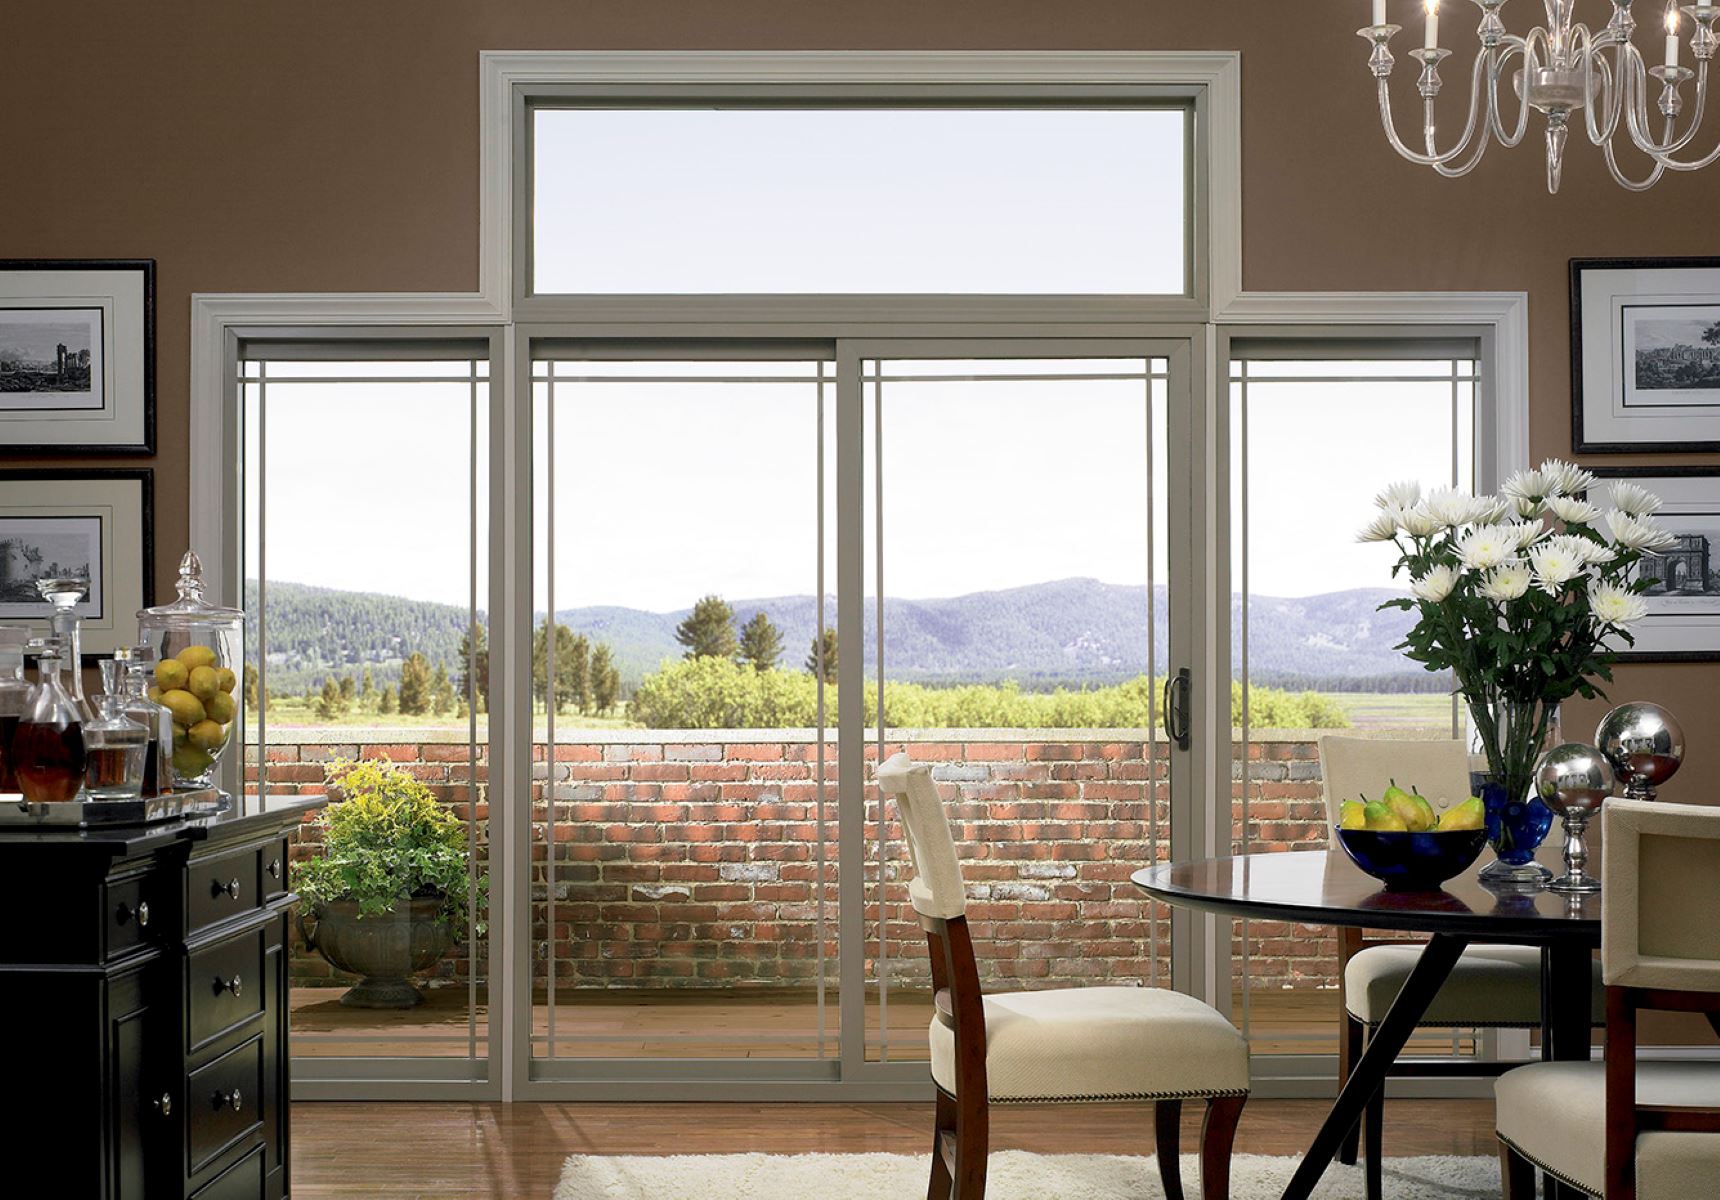
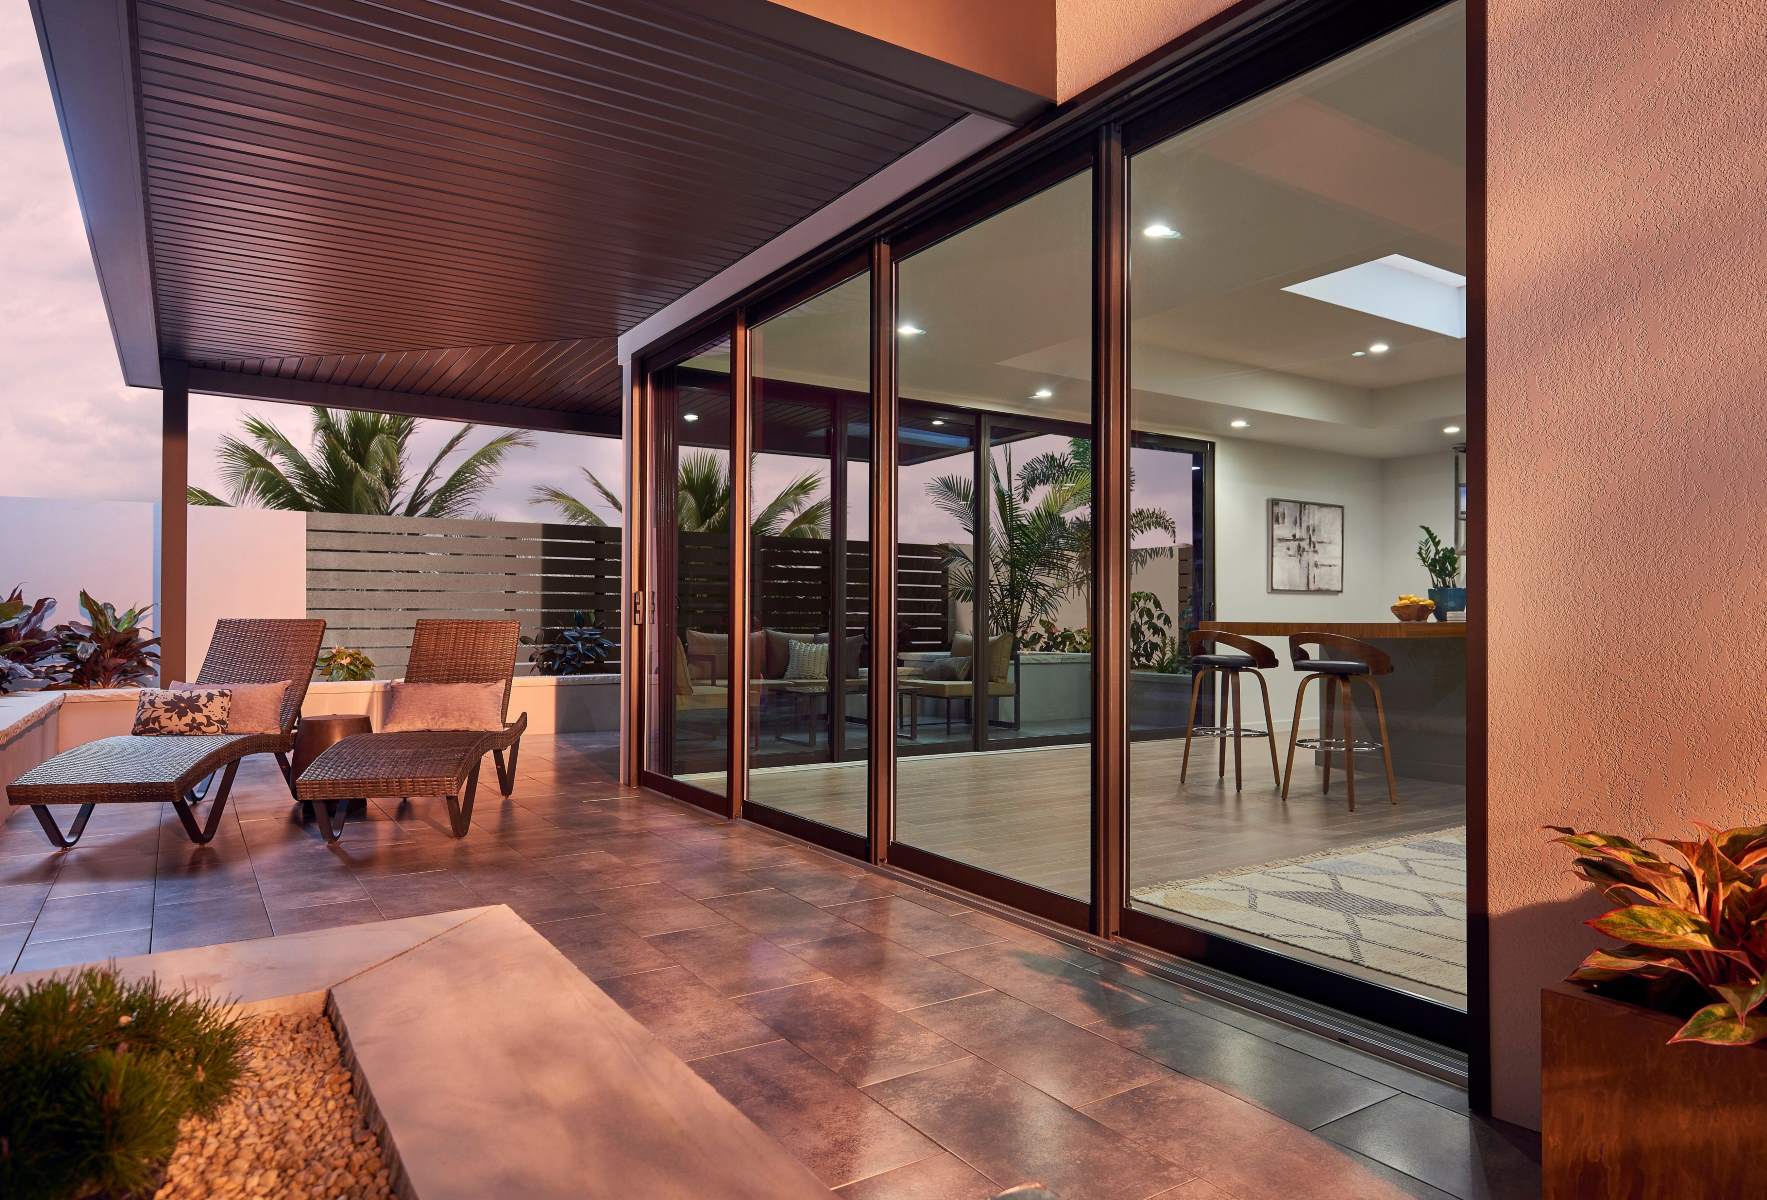
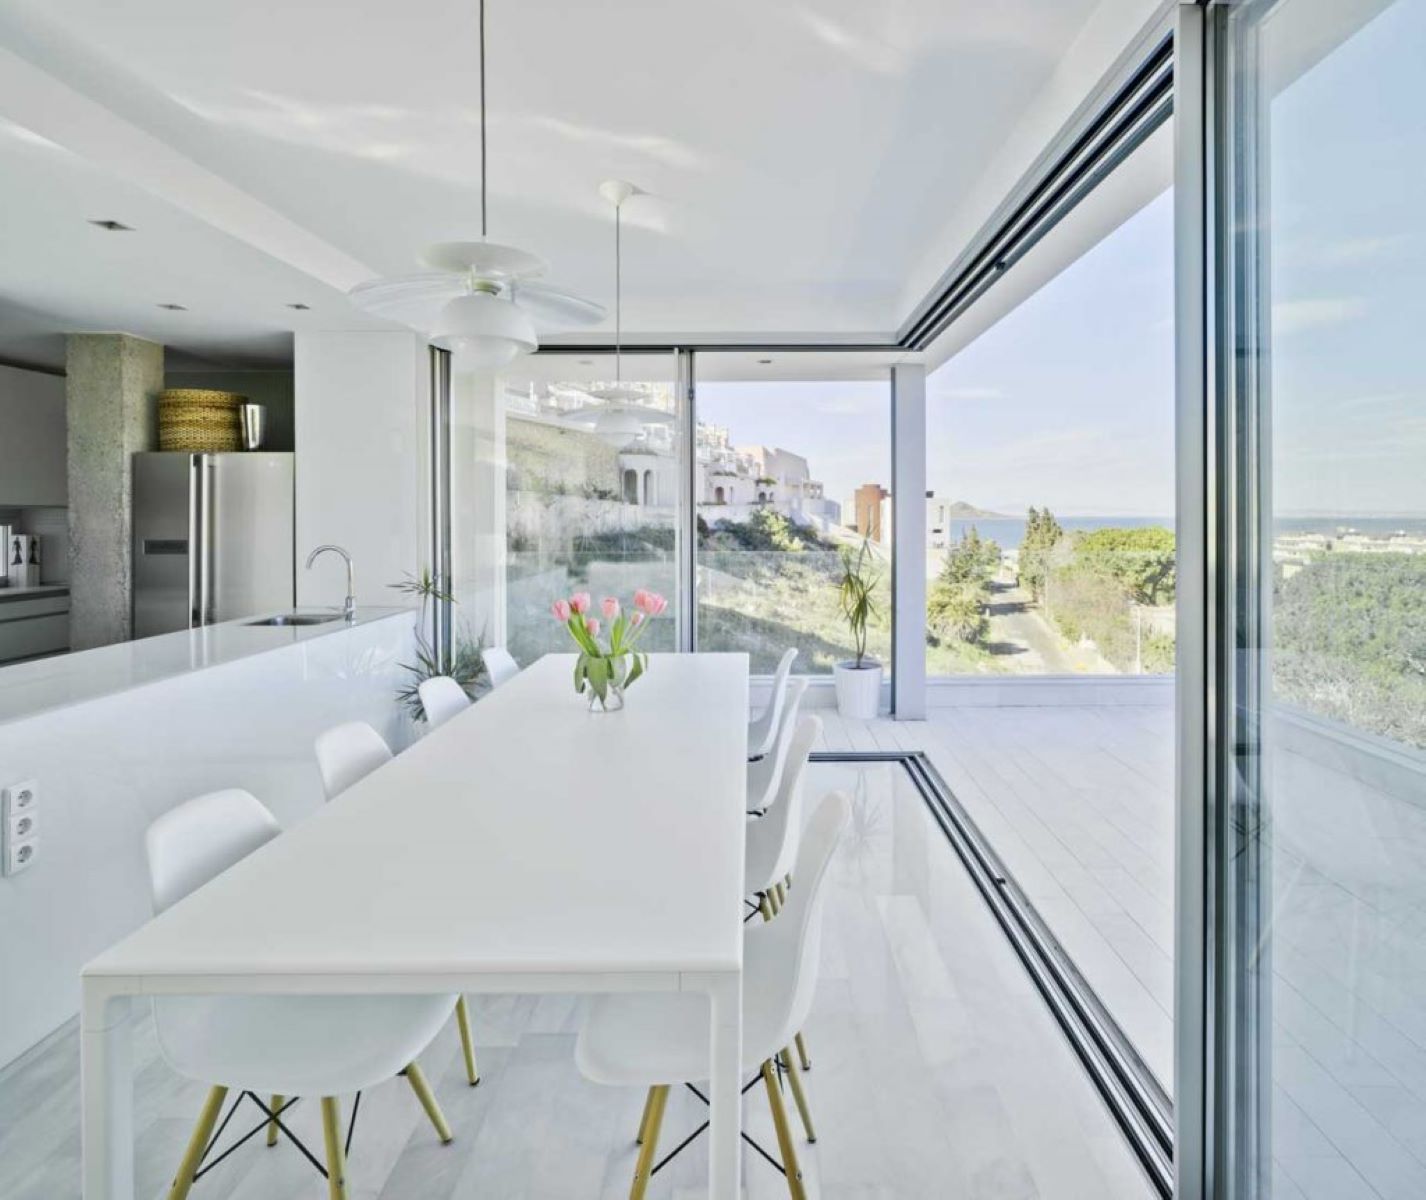
When it comes to enhancing the aesthetics and functionality of a living space, few elements can rival the impact of a well-designed sliding glass door. These versatile features seamlessly blend indoor and outdoor spaces, allowing natural light to flood into the interior while providing a captivating view of the surrounding landscape. Whether you're renovating an existing property or embarking on a new construction project, the installation of a sliding glass door can significantly elevate the overall ambiance of a room.
The process of framing a sliding glass door is a crucial step in ensuring its stability, functionality, and visual appeal. By following a systematic approach and utilizing the right tools and materials, you can create a secure and visually striking frame that complements the architectural style of the space. From precise measurements to the seamless integration of the door panels, each step in the framing process plays a pivotal role in the overall performance and aesthetics of the sliding glass door.
In this comprehensive guide, we will walk you through the essential steps required to frame a sliding glass door effectively. From gathering the necessary tools and materials to the final testing of the door's functionality, each stage is vital in achieving a successful and visually pleasing installation. Whether you're a seasoned DIY enthusiast or a homeowner looking to gain insights into the framing process, this guide will equip you with the knowledge and confidence to undertake this rewarding project.
So, roll up your sleeves, gather your tools, and let's delve into the intricacies of framing a sliding glass door. By the end of this guide, you'll be well-prepared to embark on this transformative journey and witness the seamless integration of indoor and outdoor spaces through the installation of a beautifully framed sliding glass door.
Key Takeaways:
- Framing a sliding glass door involves gathering tools, measuring the opening, installing the bottom track, inserting the door panels, securing the frame, and testing the door for smooth operation and security.
- A well-framed sliding glass door enhances a room’s aesthetics, allows natural light in, and provides a captivating view. It also fosters a seamless connection with the outdoors, enriching the living space.
Step 1: Gather necessary tools and materials
Before embarking on the process of framing a sliding glass door, it is essential to gather the necessary tools and materials to ensure a smooth and efficient installation. Having the right equipment at your disposal will not only streamline the framing process but also contribute to the overall quality and durability of the finished product.
Tools:
- Measuring Tape: Accurate measurements are crucial for a precise and secure fit, making a reliable measuring tape an indispensable tool.
- Level: Ensuring that the door frame is perfectly aligned is essential for its functionality and visual appeal. A level will help achieve this crucial aspect of the installation.
- Screwdriver and Screws: These tools are essential for securing the door frame and components in place.
- Drill: A drill will be necessary for creating holes for screws and other fasteners during the installation process.
- Safety Gear: Safety goggles, gloves, and appropriate footwear are essential for personal protection during the installation.
Materials:
- Door Frame Kit: Depending on the specific requirements of the sliding glass door, a door frame kit may be necessary. This kit typically includes the essential components for framing the door, such as tracks, jambs, and hardware.
- Shims: These thin, wedge-shaped pieces of wood or plastic are used to ensure that the door frame is level and plumb during installation.
- Screws and Fasteners: High-quality screws and fasteners are essential for securing the door frame and components in place, ensuring stability and longevity.
- Sealant: A weather-resistant sealant will help prevent water infiltration and enhance the overall energy efficiency of the door.
- Insulation: Proper insulation around the door frame is crucial for maintaining a comfortable indoor environment and preventing energy loss.
By ensuring that you have the necessary tools and materials at your disposal, you can approach the framing process with confidence and precision. This proactive approach will contribute to a successful and visually appealing installation, setting the stage for the next steps in framing the sliding glass door.
Step 2: Measure and mark the opening
Accurate measurements are the cornerstone of a successful sliding glass door installation. Before diving into the framing process, it's crucial to meticulously measure and mark the opening where the door will be installed. This step sets the foundation for a seamless and secure fit, ensuring that the door operates smoothly and complements the surrounding architecture.
To begin, gather your measuring tape and ensure it is in optimal working condition. Start by measuring the width of the opening at the top, middle, and bottom. It's important to record the smallest measurement to accommodate any irregularities in the opening. Next, measure the height of the opening on both sides and the center, once again noting the smallest measurement. These precise measurements will guide the selection of the appropriately sized door frame kit and ensure a snug fit during installation.
After obtaining accurate measurements, mark the opening accordingly using a pencil or marker. Clearly indicate the top, bottom, and sides of the opening to provide a visual guide for the subsequent steps in the framing process. Additionally, use a level to confirm that the markings are straight and aligned, ensuring that the door frame will be installed in a perfectly vertical and horizontal position.
It's important to approach this step with patience and attention to detail, as even minor discrepancies in measurements and markings can lead to complications during the installation. By meticulously measuring and marking the opening, you are laying the groundwork for a successful framing process, setting the stage for the next crucial steps in installing the sliding glass door.
With the opening accurately measured and marked, you are now ready to progress to the next stage of the framing process, where the installation of the bottom track will further solidify the foundation for the sliding glass door.
Read more: How To Remove Sliding Glass Door
Step 3: Install the bottom track
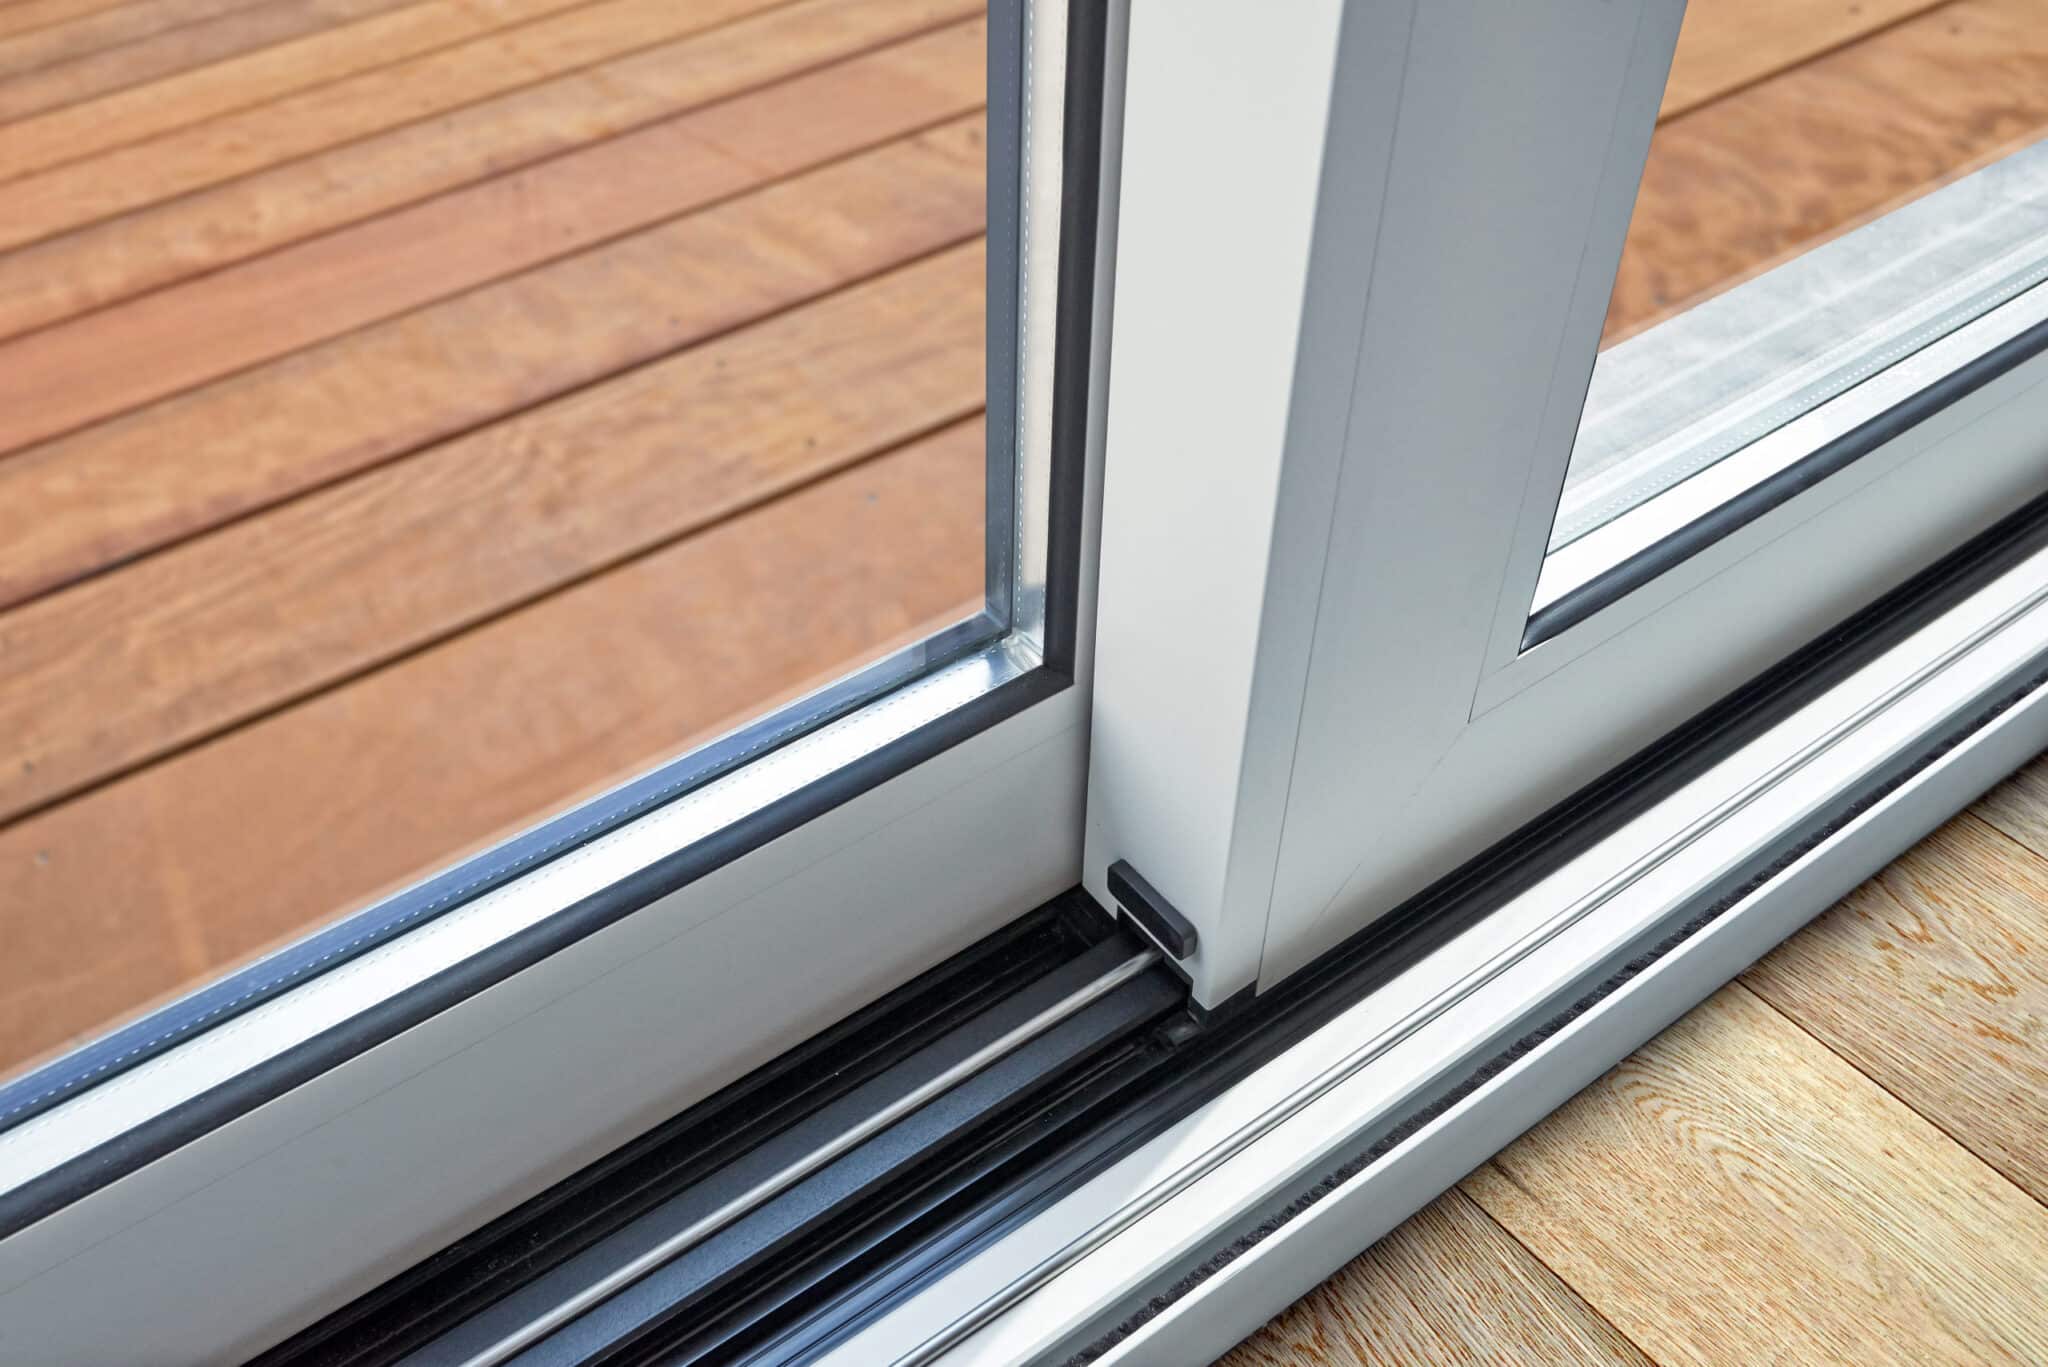
With the opening accurately measured and marked, the next pivotal step in framing a sliding glass door is the installation of the bottom track. The bottom track serves as the foundation for the door panels, providing stability and guiding their smooth operation. This crucial component not only supports the weight of the door but also ensures proper alignment and functionality.
To begin the installation process, carefully position the bottom track within the marked opening, ensuring that it aligns precisely with the markings indicating the bottom of the frame. Use a level to confirm that the track is perfectly horizontal, as any misalignment at this stage can lead to operational issues and aesthetic discrepancies.
Once the bottom track is positioned correctly, secure it in place using the appropriate fasteners, such as screws or nails. It's essential to follow the manufacturer's guidelines and recommendations for the specific type of bottom track being installed, ensuring a secure and durable attachment to the floor or subfloor.
After securing the bottom track, perform a thorough inspection to verify its stability and alignment. Ensure that the track is free from any obstructions or debris that could impede the smooth movement of the door panels. Additionally, confirm that the track is level and securely anchored, as these factors are integral to the overall performance and longevity of the sliding glass door.
With the bottom track successfully installed, you have established a solid foundation for the subsequent steps in the framing process. The secure positioning of the bottom track sets the stage for the seamless insertion of the sliding glass door panels, bringing you one step closer to the completion of this transformative installation.
The installation of the bottom track is a critical milestone in framing a sliding glass door, laying the groundwork for the secure and functional integration of the door panels. With this foundational element in place, the framing process progresses to the next stage, where the insertion of the sliding glass door panels will further shape the visual and operational aspects of the installation.
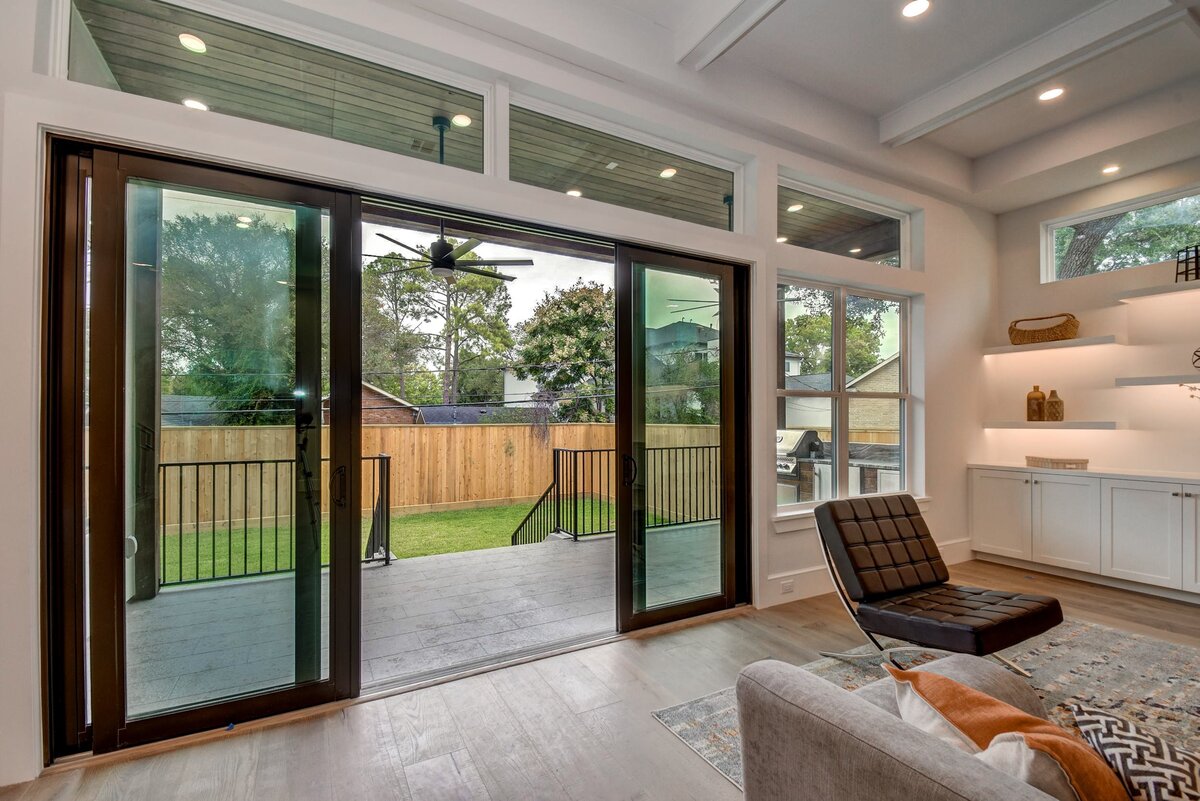
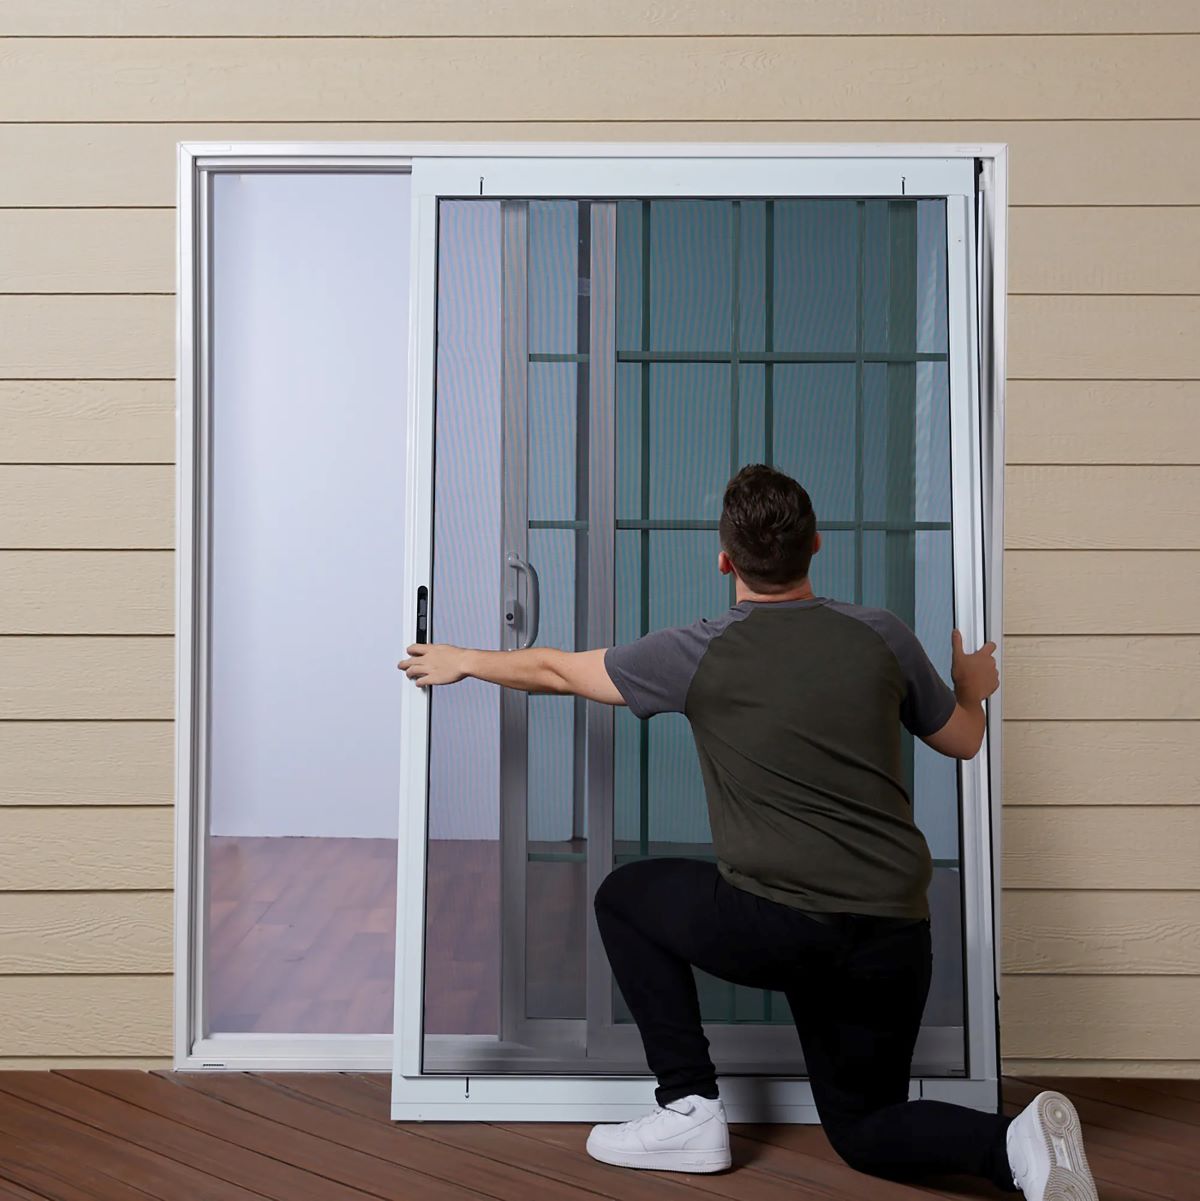
Step 4: Insert the sliding glass door panels
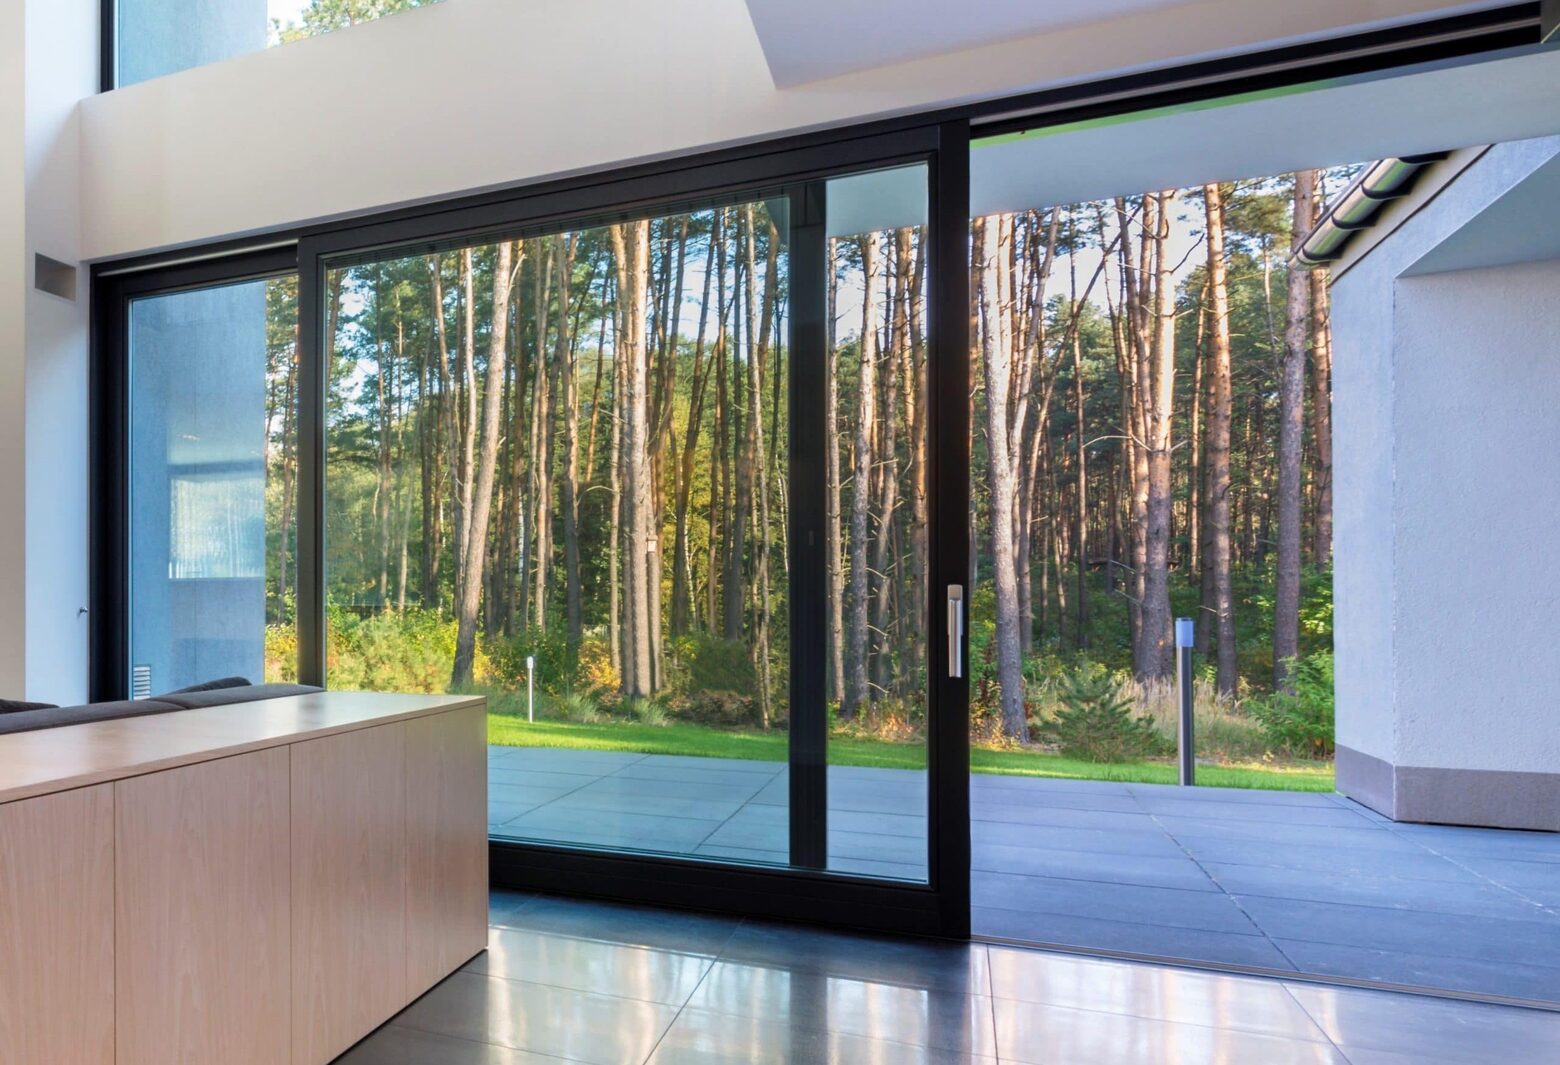
With the bottom track securely in place, the next pivotal stage in framing a sliding glass door involves the precise insertion of the door panels. This step is instrumental in bringing the door to life, as the panels not only contribute to the visual appeal of the installation but also play a crucial role in facilitating seamless access between indoor and outdoor spaces.
To begin, carefully position the first sliding glass door panel within the bottom track, ensuring that it aligns with the designated opening. It's essential to handle the panels with care, as they are typically made of glass and require gentle maneuvering to prevent damage or misalignment. Once the first panel is positioned within the track, gently guide it along the track's length to confirm smooth and unhindered movement.
Following the insertion of the first panel, proceed to carefully place the second panel within the bottom track, ensuring that it seamlessly aligns with the first panel. Pay close attention to the alignment and positioning of the panels, as any discrepancies at this stage can impact the overall functionality and visual cohesiveness of the sliding glass door.
As the panels are positioned within the bottom track, take a moment to test their movement and alignment. Gently slide the panels back and forth to ensure that they operate smoothly and without obstruction. This step is crucial for identifying any potential issues related to alignment or track compatibility, allowing for timely adjustments before proceeding further.
Once the sliding glass door panels are successfully inserted and confirmed to operate smoothly within the bottom track, the next phase of the framing process involves securing the door frame to ensure stability and longevity. This pivotal step will further solidify the integration of the door panels, setting the stage for the finalization of the framing process.
The precise insertion of the sliding glass door panels marks a significant milestone in the framing process, bringing the visual and functional aspects of the installation to fruition. With the panels seamlessly integrated within the bottom track, the framing process progresses to the subsequent stage, where the secure attachment of the door frame will further enhance the overall stability and performance of the sliding glass door.
When framing a sliding glass door, make sure to use pressure-treated lumber to prevent rot and decay. Additionally, use shims to ensure the door is level and plumb for smooth operation.
Step 5: Secure the door frame
With the sliding glass door panels seamlessly integrated within the bottom track, the next critical step in framing a sliding glass door involves securing the door frame to ensure stability, durability, and long-term performance. The secure attachment of the door frame not only reinforces the structural integrity of the installation but also contributes to the overall aesthetic cohesiveness of the space.
To commence this pivotal stage, carefully position the door frame within the marked opening, ensuring that it aligns precisely with the designated markings. Utilize shims to adjust and fine-tune the positioning of the frame, guaranteeing that it is level, plumb, and perfectly aligned with the surrounding architecture. The meticulous alignment of the door frame is essential for its seamless integration and operational functionality.
Once the door frame is positioned with precision, proceed to secure it in place using high-quality screws and fasteners. It's imperative to follow the manufacturer's guidelines and recommendations for the specific type of door frame being installed, ensuring a robust and reliable attachment to the surrounding structure. Pay close attention to evenly distribute the fasteners along the frame, reinforcing its stability and resistance to external forces.
After securing the door frame, conduct a thorough inspection to verify its alignment, stability, and overall integrity. Confirm that the frame is free from any signs of movement or instability, as these factors are crucial for the long-term performance and functionality of the sliding glass door. Additionally, ensure that the frame is securely anchored to the surrounding structure, providing a solid foundation for the door's operation and visual appeal.
As the door frame is securely attached and aligned, take a moment to test the functionality of the sliding glass door. Gently slide the door panels back and forth to ensure smooth and unhindered movement within the frame. This step allows for the identification of any potential issues related to alignment or attachment, enabling timely adjustments to optimize the door's performance.
The secure attachment of the door frame marks a significant milestone in the framing process, solidifying the structural integrity and visual cohesiveness of the sliding glass door installation. With the frame securely in place, the framing process progresses to the subsequent stage, where the final testing of the sliding glass door will validate its seamless integration and operational functionality.
The secure attachment of the door frame is a pivotal phase in framing a sliding glass door, laying the groundwork for its long-term stability and performance. With this foundational element in place, the framing process advances to the final stage, where the testing of the sliding glass door will validate its seamless integration and operational functionality.
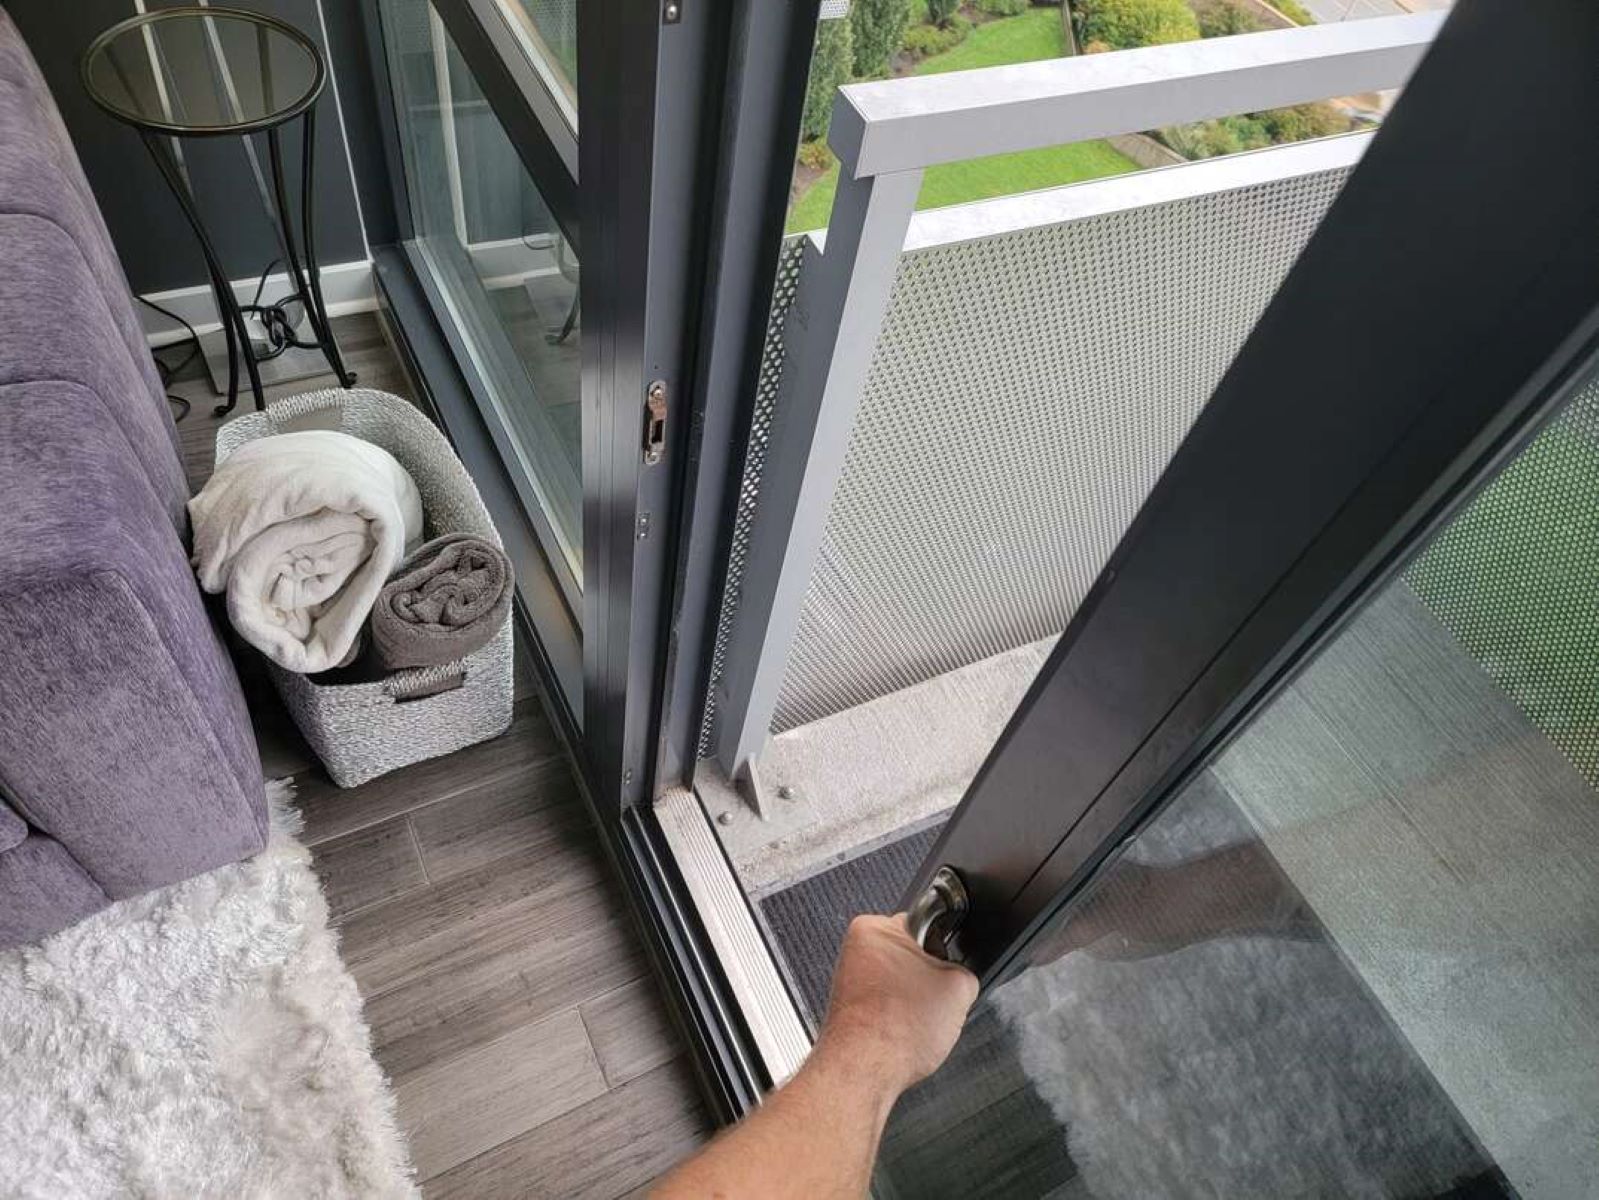
Step 6: Test the sliding glass door
With the door frame securely attached and aligned, the final and crucial step in framing a sliding glass door is to conduct comprehensive testing to validate its seamless integration and operational functionality. This pivotal stage serves as the ultimate assessment of the installation, ensuring that the door operates smoothly, securely, and in accordance with the intended design and functionality.
To commence the testing process, gently maneuver the sliding glass door panels along the track, allowing them to glide back and forth with ease. Pay close attention to the smoothness of the movement and the absence of any obstructions or resistance. This initial test provides valuable insights into the alignment and functionality of the door, allowing for immediate adjustments if any issues are identified.
As the door panels are tested for smooth operation, assess their ability to create a secure seal when closed. Confirm that the panels align seamlessly with the door frame, effectively preventing drafts, moisture infiltration, and energy loss. This step is instrumental in evaluating the door's energy efficiency and its capacity to maintain a comfortable indoor environment.
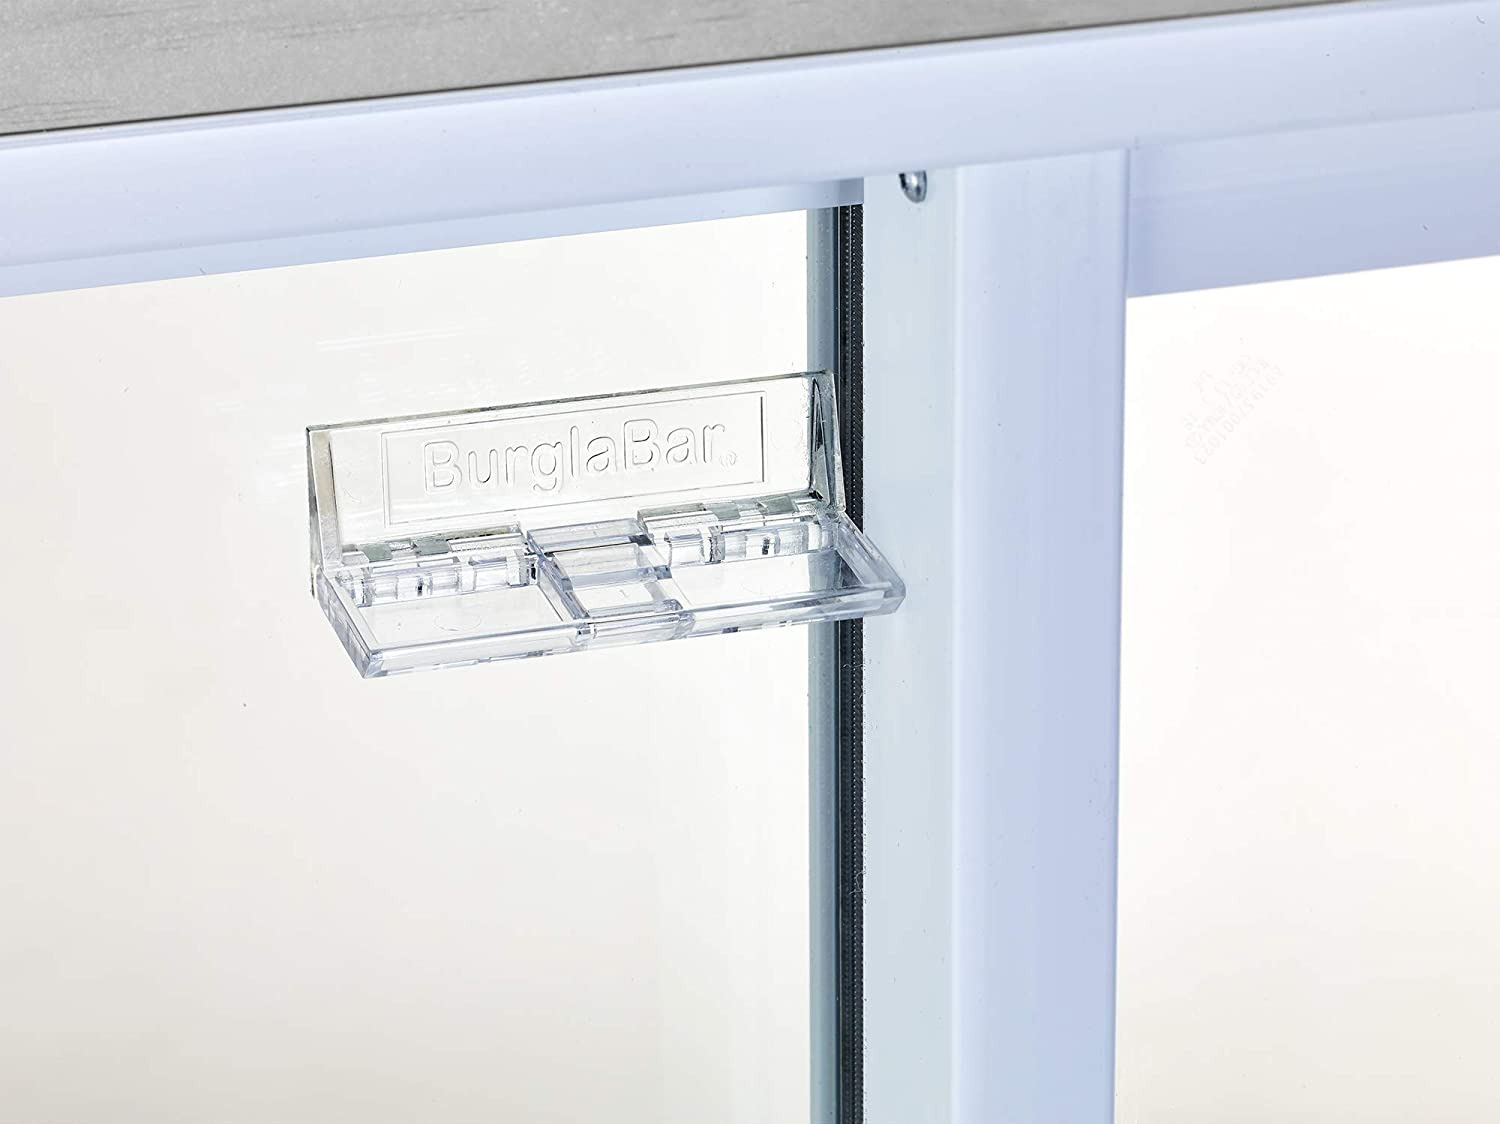
In addition to assessing the operational aspects of the sliding glass door, it's essential to verify the security features, such as locks and latches. Test the locking mechanism to ensure that it functions reliably, providing peace of mind regarding the safety and protection of the indoor space.
Furthermore, evaluate the door's resistance to external elements by conducting a thorough inspection for any signs of air leakage, water infiltration, or structural instability. This comprehensive assessment will validate the door's ability to withstand varying environmental conditions and maintain its performance over time.
As the testing process unfolds, take note of any observations or areas that require attention. Addressing minor adjustments or fine-tuning during this stage can significantly enhance the overall functionality and longevity of the sliding glass door, ensuring a satisfying and enduring installation.
By meticulously testing the sliding glass door, you are not only validating its seamless integration and operational functionality but also affirming the success of the framing process. This comprehensive assessment serves as the final assurance of a well-executed installation, setting the stage for the door to become a captivating and functional element within the living space.
With the successful completion of the testing phase, the installation of the sliding glass door reaches its culmination, marking the transformation of the space through the seamless integration of indoor and outdoor elements. This transformative journey, from gathering tools and materials to meticulous testing, culminates in the realization of a visually striking and functionally efficient sliding glass door, enhancing the ambiance and livability of the surrounding environment.
Read more: How To Weatherstrip A Sliding Glass Door
Conclusion
In conclusion, the process of framing a sliding glass door encompasses a series of meticulously orchestrated steps, each playing a pivotal role in the creation of a visually striking, functionally efficient, and enduring installation. From the initial gathering of tools and materials to the final testing of the door's seamless operation, every stage contributes to the overall success and impact of the framing process.
The journey begins with the meticulous measurement and marking of the opening, setting the stage for the precise integration of the door components. The installation of the bottom track serves as the foundational element, providing stability and guidance for the subsequent insertion of the sliding glass door panels. As the panels seamlessly glide within the track, the secure attachment of the door frame further reinforces the structural integrity and visual cohesiveness of the installation.
The culmination of this transformative process lies in the comprehensive testing of the sliding glass door, where its seamless integration and operational functionality are validated. This final assessment ensures that the door operates smoothly, creates a secure seal, and withstands external elements, affirming the success of the framing process.
Through the seamless integration of indoor and outdoor spaces, the installation of a well-framed sliding glass door not only enhances the visual appeal of a room but also facilitates the influx of natural light and captivating views. The transformative impact of a sliding glass door extends beyond its aesthetic contribution, as it fosters a seamless connection with the surrounding environment, enriching the livability and ambiance of the space.
As homeowners and DIY enthusiasts embark on the journey of framing a sliding glass door, this comprehensive guide equips them with the knowledge, confidence, and insights necessary to undertake this rewarding project. By following a systematic approach, gathering the essential tools and materials, and meticulously executing each step, individuals can bring to life a visually striking and functionally efficient sliding glass door installation.
In essence, the framing of a sliding glass door represents the convergence of precision, craftsmanship, and vision, culminating in the seamless integration of indoor and outdoor elements. This transformative process not only enhances the architectural and visual appeal of a space but also fosters a deeper connection with the surrounding environment, enriching the overall experience of the living environment.
Frequently Asked Questions about How To Frame A Sliding Glass Door
Was this page helpful?
At Storables.com, we guarantee accurate and reliable information. Our content, validated by Expert Board Contributors, is crafted following stringent Editorial Policies. We're committed to providing you with well-researched, expert-backed insights for all your informational needs.


0 thoughts on “How To Frame A Sliding Glass Door”