Home>Furniture & Design>Interior Design Trends>How To Remove Sliding Glass Door
Interior Design Trends
How To Remove Sliding Glass Door
Modified: October 19, 2024
Learn how to remove a sliding glass door and stay updated with the latest interior design trends. Find expert tips and advice for your home renovation projects.
(Many of the links in this article redirect to a specific reviewed product. Your purchase of these products through affiliate links helps to generate commission for Storables.com, at no extra cost. Learn more)
Introduction
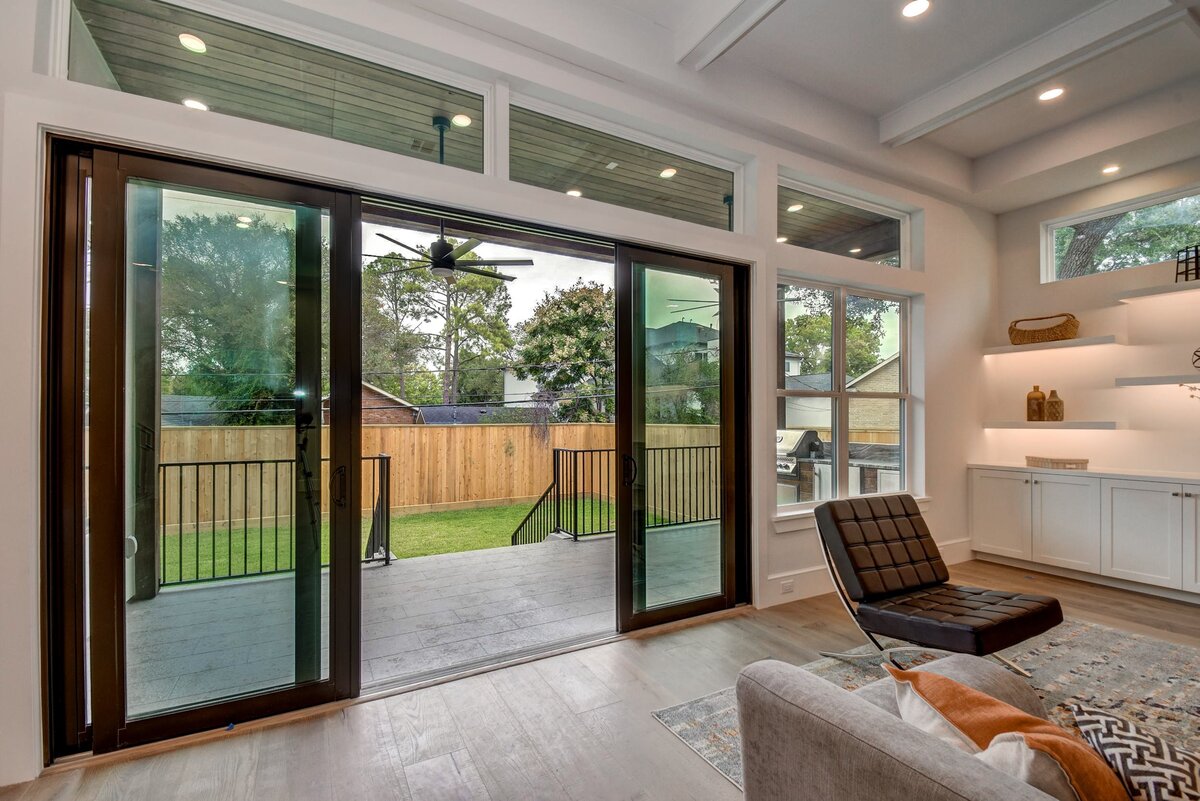
Removing a sliding glass door may seem like a daunting task, but with the right tools and a methodical approach, it can be a manageable project. Whether you're upgrading to a new door or need to perform maintenance, understanding the step-by-step process is crucial for a successful outcome.
In this comprehensive guide, we will walk you through the process of removing a sliding glass door, providing clear instructions and valuable tips to ensure a smooth and efficient removal. By following these steps, you can confidently tackle this project and achieve the desired results.
Let's dive into the essential tools and materials needed for this task.
Key Takeaways:
- Removing a sliding glass door requires gathering essential tools, safely detaching panels, and meticulously preparing the frame. With patience and precision, the installation of a new door can enhance the entryway’s functionality and aesthetics.
- By following a systematic approach and understanding each step, anyone can successfully remove and replace a sliding glass door. From gathering tools to installing the new door, this process contributes to the overall energy efficiency and weather resistance of the space.
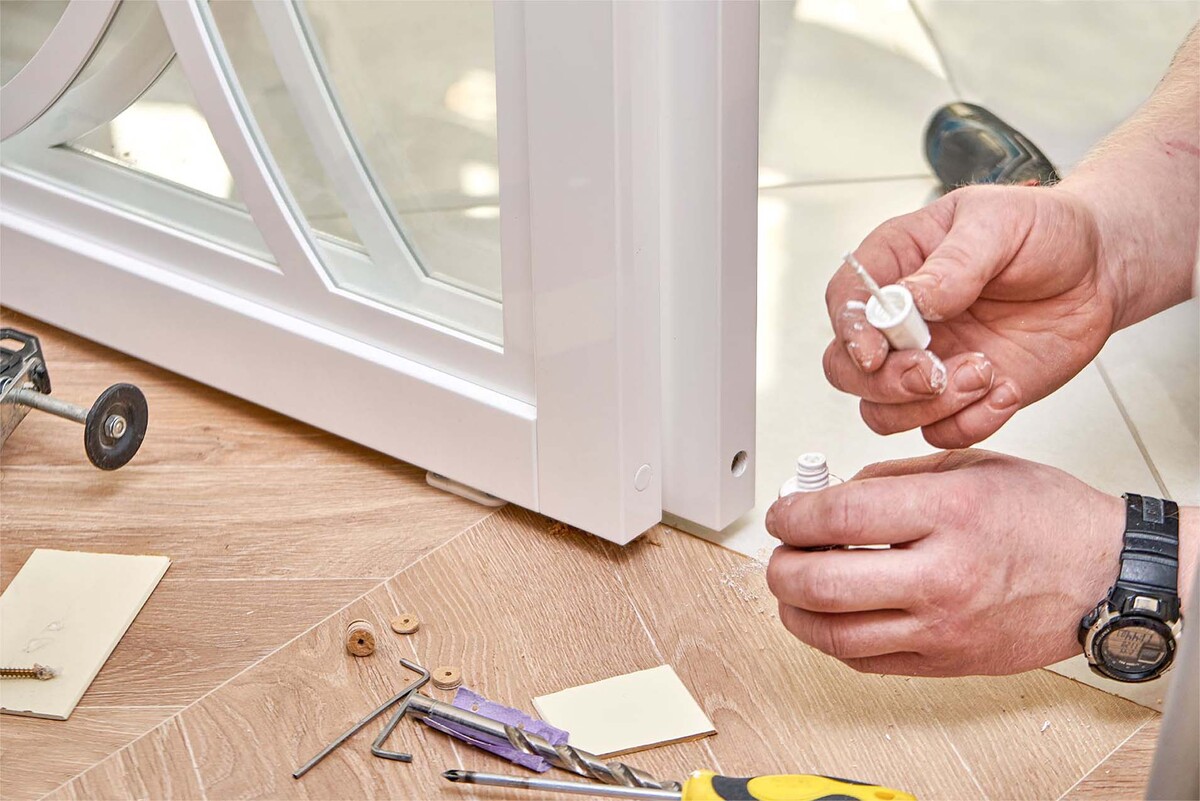
Step 1: Gather the necessary tools and materials
Before embarking on the process of removing a sliding glass door, it's crucial to gather all the essential tools and materials to ensure a smooth and efficient operation. Here's a comprehensive list of what you'll need:
Tools:
- Screwdriver Set: A set of screwdrivers, including both flathead and Phillips head, will be essential for removing screws and hardware.
- Pry Bar: A sturdy pry bar will aid in gently dislodging the door frame and panels without causing damage.
- Utility Knife: This tool will come in handy for cutting through any caulking or sealant around the door frame.
- Hammer: A hammer will be useful for tapping and nudging components during the removal process.
- Putty Knife: Use a putty knife to carefully remove old sealant and adhesive from the frame.
- Safety Glasses and Gloves: It's important to prioritize safety, so be sure to wear protective glasses and gloves throughout the process.
Materials:
- Newspaper or Drop Cloth: Lay down a protective covering to catch any debris or glass shards that may fall during the removal.
- Sealant and Caulk: Depending on the condition of the door frame, you may need to reseal the area after the removal.
- Replacement Hardware: If you're planning to reinstall the door or replace any components, ensure you have the necessary hardware on hand.
- Cleaning Supplies: Have a supply of cleaning materials ready to tidy up the area after the door has been removed.
By gathering these tools and materials in advance, you'll be well-prepared to tackle the task of removing the sliding glass door. With everything at your disposal, you can proceed to the next steps with confidence, knowing that you have the necessary resources to complete the project effectively.
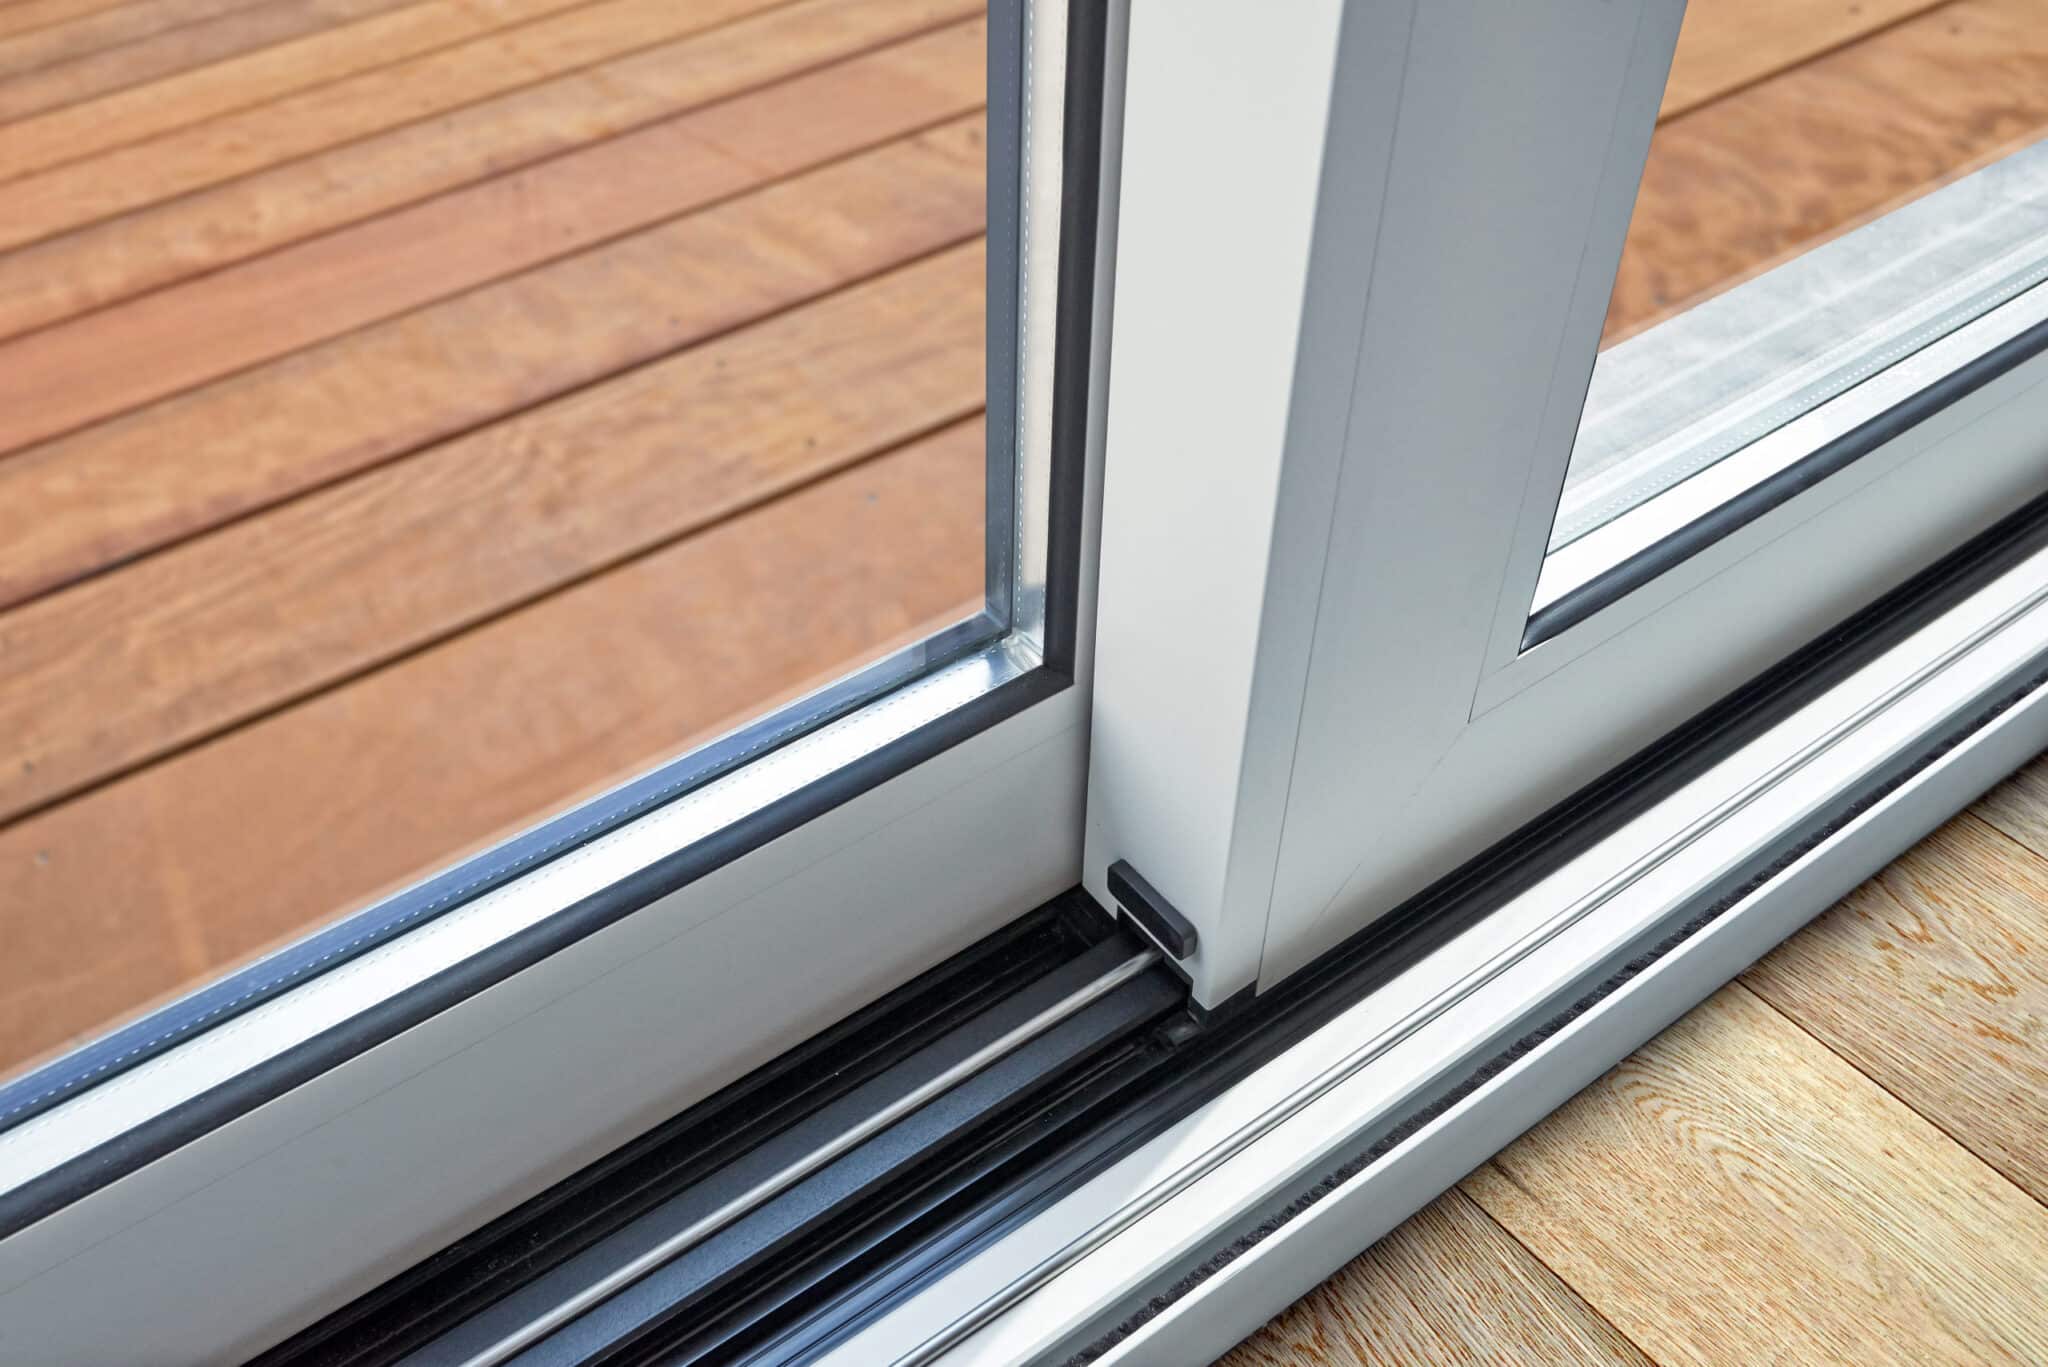
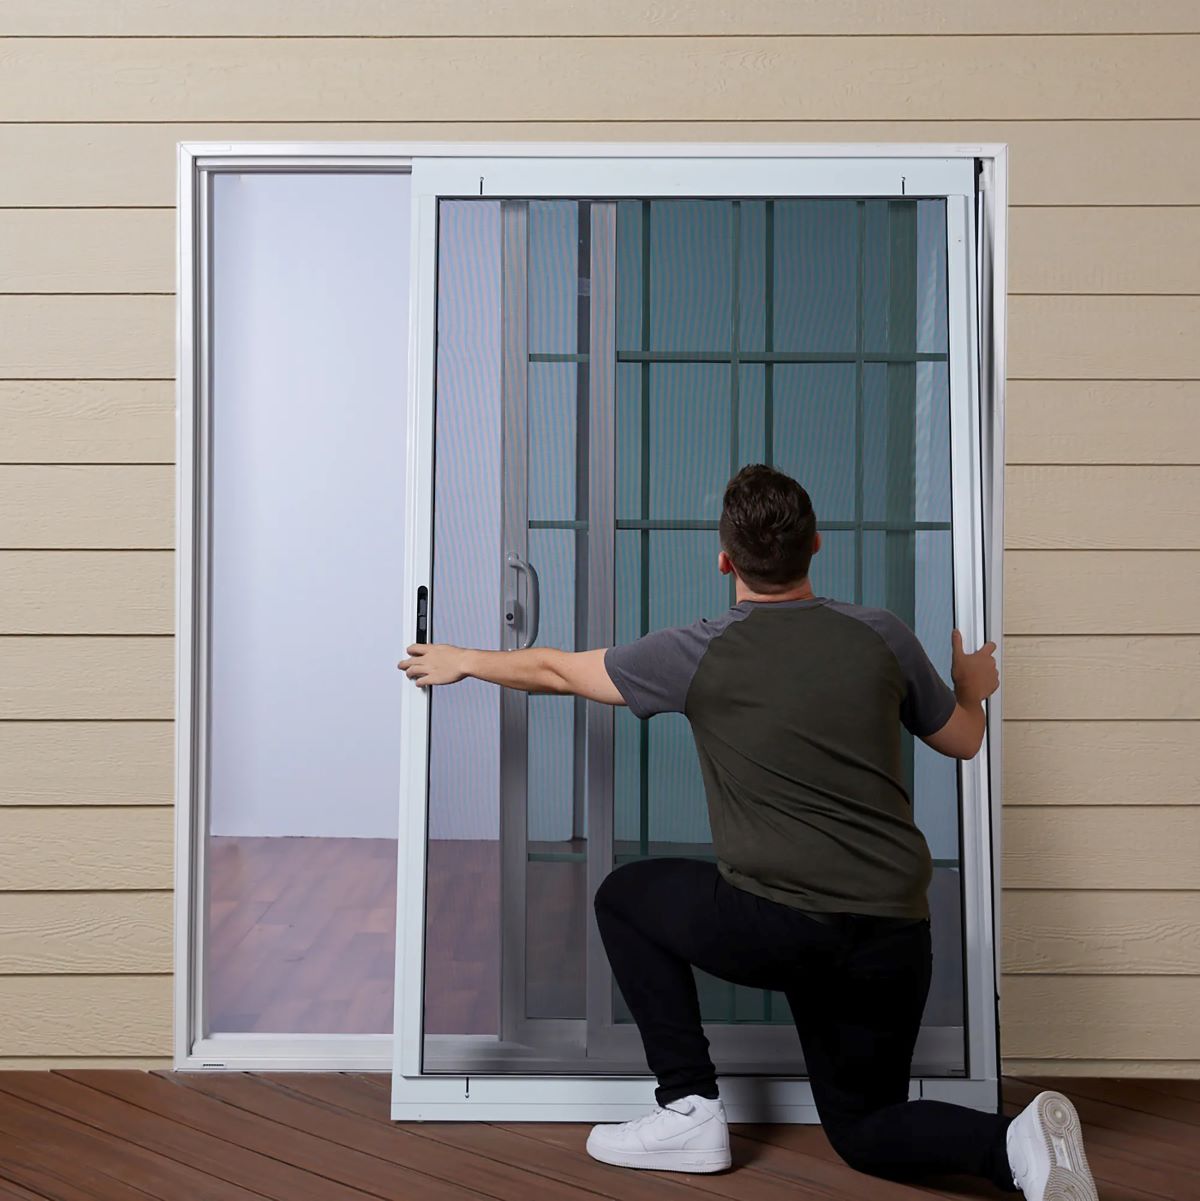
Step 2: Remove the sliding door panel
Removing the sliding door panel is a critical step in the process of replacing or maintaining a sliding glass door. This part of the door is designed to be removable for maintenance and replacement purposes. Here's a detailed guide on how to remove the sliding door panel effectively:
-
Lift the Door: Start by lifting the sliding door panel to disengage it from the track. Depending on the design, you may need to lift and tilt the door to release it from the bottom track. It's essential to use caution and ensure that the door is adequately supported to prevent any accidents or damage.
-
Remove the Stopper: Some sliding doors have a stopper mechanism that prevents the door from being lifted out of the track. Locate and remove the stopper according to the manufacturer's instructions. This step may involve unscrewing or releasing the stopper to allow for the door's removal.
-
Assess the Rollers: Before attempting to remove the door, inspect the rollers at the bottom of the panel. If the rollers are damaged or obstructed, it may impede the smooth removal of the door. If necessary, adjust or repair the rollers to ensure they are in optimal condition for the removal process.
-
Gently Slide the Door: Once the stopper is removed and the rollers are in good condition, gently slide the door towards the center of the frame. Be mindful of the door's weight and ensure that it remains stable during this maneuver. If the door is heavy, it's advisable to seek assistance to prevent strain or accidents.
-
Lift and Angle the Door: With the door partially inside the frame, carefully lift and angle it to disengage it from the bottom track. This step requires precision and control to avoid damaging the door or the surrounding structure. It's crucial to maintain a steady grip and lift the door evenly to prevent it from binding or tilting.
-
Secure and Store the Door: Once the sliding door panel is removed, place it in a safe and secure location to prevent any damage. Consider using padded supports or blankets to protect the door during storage. Additionally, ensure that the area where the door was located is clear and safe for the next steps in the removal process.
By following these detailed steps, you can effectively remove the sliding door panel without encountering unnecessary challenges. This careful approach ensures that the door is removed safely and sets the stage for the subsequent phases of the sliding glass door removal process.
Read more: How To Weatherstrip A Sliding Glass Door
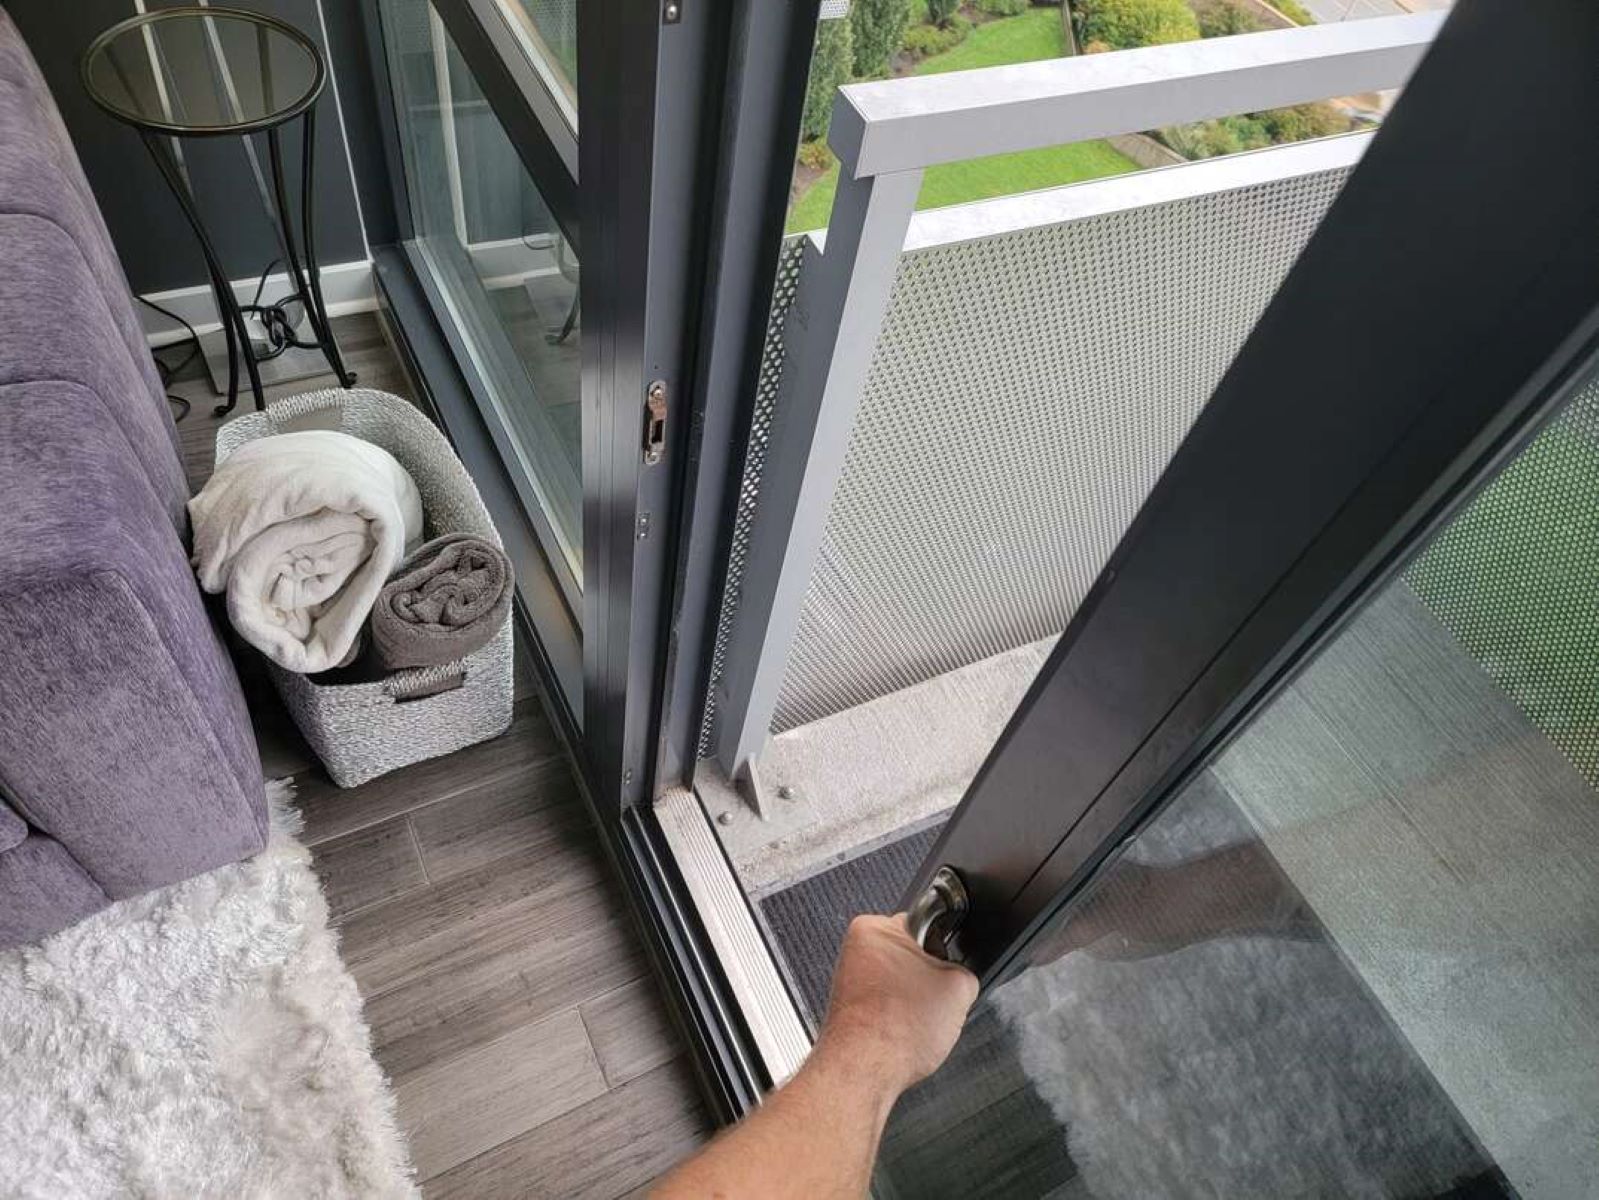
Step 3: Remove the stationary panel
Removing the stationary panel of a sliding glass door is a crucial step in the overall process of door removal. While the stationary panel is designed to remain fixed in place, it can be detached for maintenance, replacement, or renovation purposes. Here's a detailed guide on how to effectively remove the stationary panel:
-
Assess the Stationary Panel: Before initiating the removal process, carefully examine the stationary panel to identify any screws, brackets, or securing mechanisms that may be holding it in place. Some stationary panels are secured with screws or clips, while others may feature a snap-in design. Understanding the specific method of attachment is essential for a smooth removal process.
-
Unscrew or Release Fasteners: If the stationary panel is secured with screws or fasteners, use the appropriate tools to carefully unscrew and remove them. It's important to keep track of the removed hardware to ensure that it can be reinstalled if needed. For snap-in panels, gently pry and release the panel from its secured position, taking care not to force or damage the surrounding frame.
-
Lift and Maneuver the Panel: Once the securing mechanisms are disengaged, carefully lift and maneuver the stationary panel to detach it from the frame. Depending on the design, the panel may need to be lifted vertically or tilted slightly to release it from the track. It's crucial to approach this step with caution and ensure that the panel is handled gently to prevent any damage.
-
Check for Sealant or Adhesive: In some cases, the stationary panel may have been sealed or adhered to the frame for added stability. Use a utility knife or putty knife to carefully cut through any sealant or adhesive that may be securing the panel in place. Exercise patience and precision to avoid causing damage to the frame or the panel during this process.
-
Secure and Store the Panel: Once the stationary panel is successfully removed, place it in a secure and protected area to prevent any accidental damage. Consider using padded supports or blankets to cushion the panel during storage. Additionally, ensure that the area where the panel was located is clear and safe for the subsequent steps in the door removal process.
By following these detailed steps, you can effectively remove the stationary panel of a sliding glass door with confidence and precision. This meticulous approach ensures that the panel is detached safely, setting the stage for the next phases of the door removal process.
Step 4: Clean and prepare the door frame
After successfully removing the sliding and stationary panels of the glass door, the next crucial step involves cleaning and preparing the door frame for any subsequent actions, such as installing a new door or performing maintenance. This phase is essential for ensuring a smooth transition and optimal conditions for the next steps in the process.
Cleaning the Door Frame
Begin by thoroughly cleaning the door frame to remove any accumulated dirt, debris, and residual sealant or adhesive. Use a combination of a mild detergent, water, and a soft-bristled brush or sponge to gently scrub the frame, paying close attention to the corners and crevices. Additionally, consider using a vacuum cleaner with a brush attachment to remove any loose particles and dust from the frame and surrounding areas.
Once the initial cleaning is complete, rinse the door frame with clean water to remove any soapy residue, and then dry it thoroughly with a clean, lint-free cloth. This meticulous cleaning process ensures that the door frame is free from any obstructions or contaminants that could hinder the installation of a new door or compromise the structural integrity of the frame.
Inspecting and Repairing the Frame
With the door frame clean and free from debris, take the opportunity to inspect it for any signs of damage, wear, or deterioration. Check for areas of rot, warping, or water damage, especially along the bottom portion of the frame where moisture accumulation is common. If any structural issues are identified, it's crucial to address them promptly to prevent further damage and ensure the stability of the new door installation.
Repair any damaged or compromised areas of the door frame using appropriate materials and techniques. This may involve applying wood filler to minor cracks or holes, replacing sections of damaged wood, or reinforcing weakened areas with additional support. By addressing these issues during the preparation phase, you can create a solid and secure foundation for the new door, enhancing its longevity and performance.
Read more: How Long Is A Sliding Glass Door
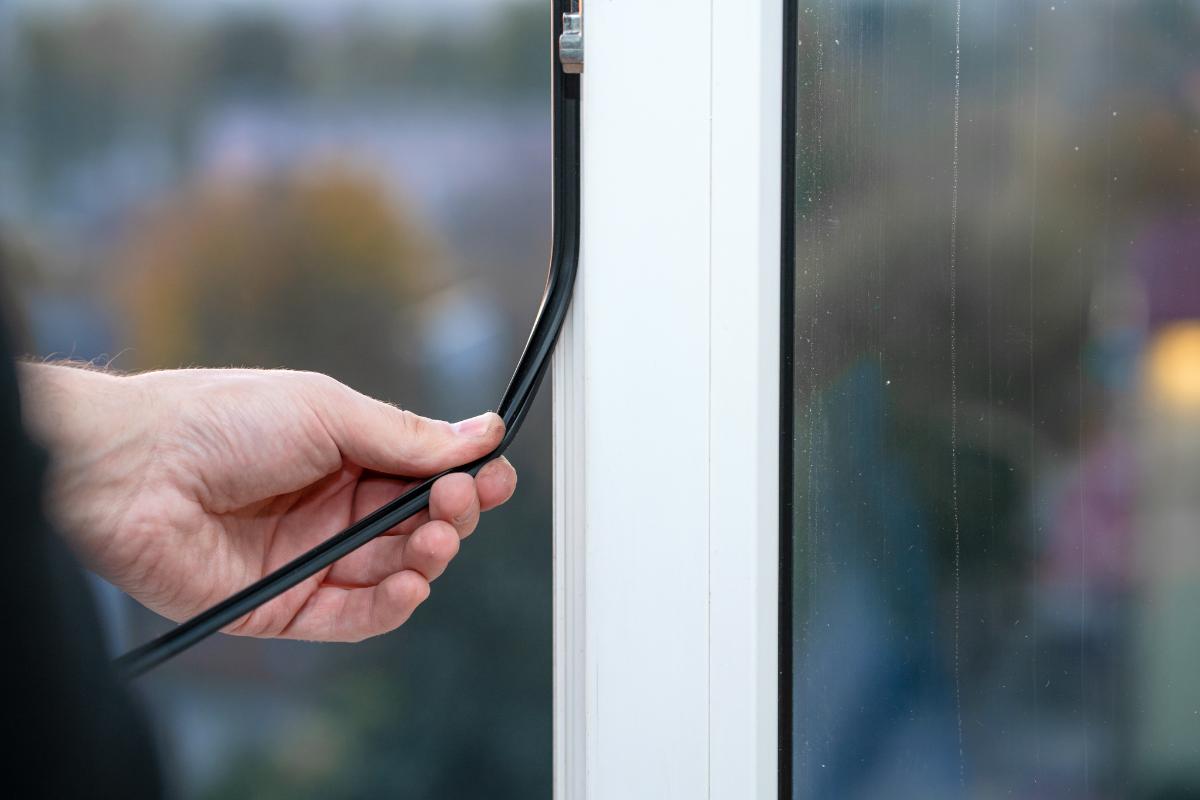
Applying Sealant and Caulk
Once the door frame is clean and any necessary repairs have been completed, consider applying a fresh layer of sealant and caulk to enhance the frame's weather resistance and insulation properties. Use a high-quality exterior sealant to seal gaps and joints around the frame, providing an effective barrier against moisture infiltration and air leakage. Additionally, apply caulk along the edges of the frame to create a tight seal between the frame and the surrounding structure, further enhancing the door's energy efficiency and weatherproofing.
By meticulously cleaning, inspecting, and preparing the door frame, you can create an optimal environment for the installation of a new sliding glass door or ensure that the existing frame is in top condition for continued use. This thorough preparation sets the stage for a successful and durable door replacement or maintenance project, allowing you to proceed with confidence and achieve long-lasting results.
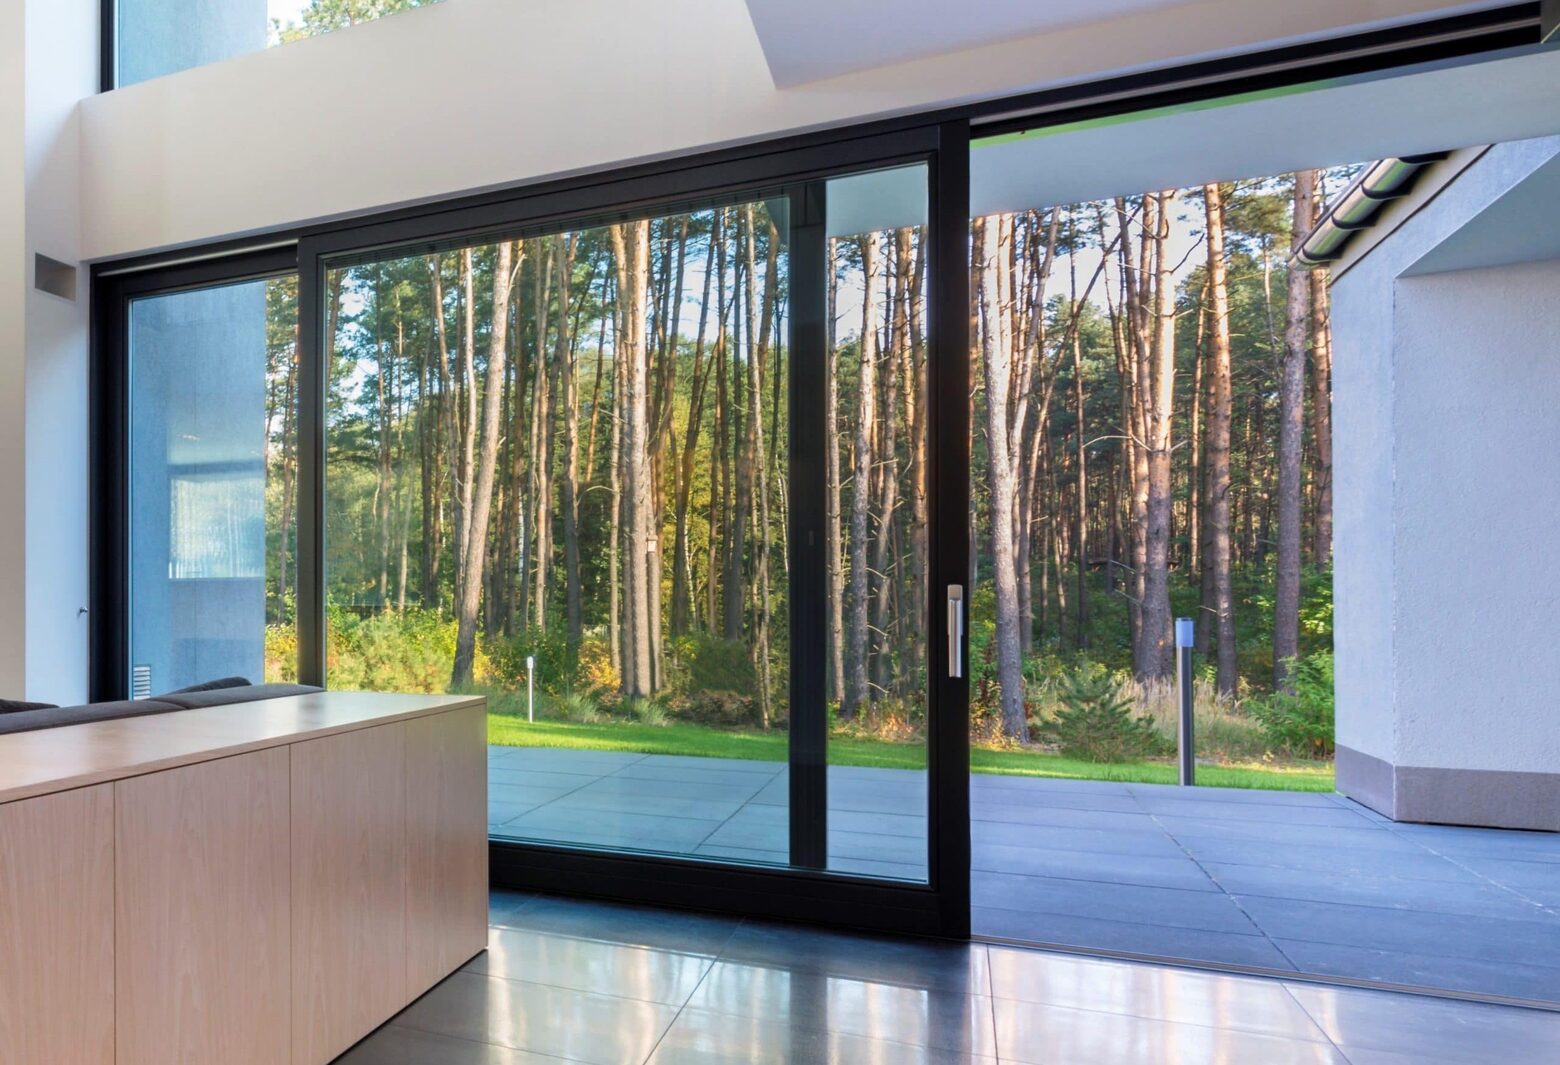
Step 5: Install the new sliding glass door
Installing a new sliding glass door is the culmination of the removal process, marking the transition to a fresh and updated entryway. This phase requires precision, attention to detail, and a methodical approach to ensure a seamless installation. Here's a comprehensive guide on how to install the new sliding glass door effectively:
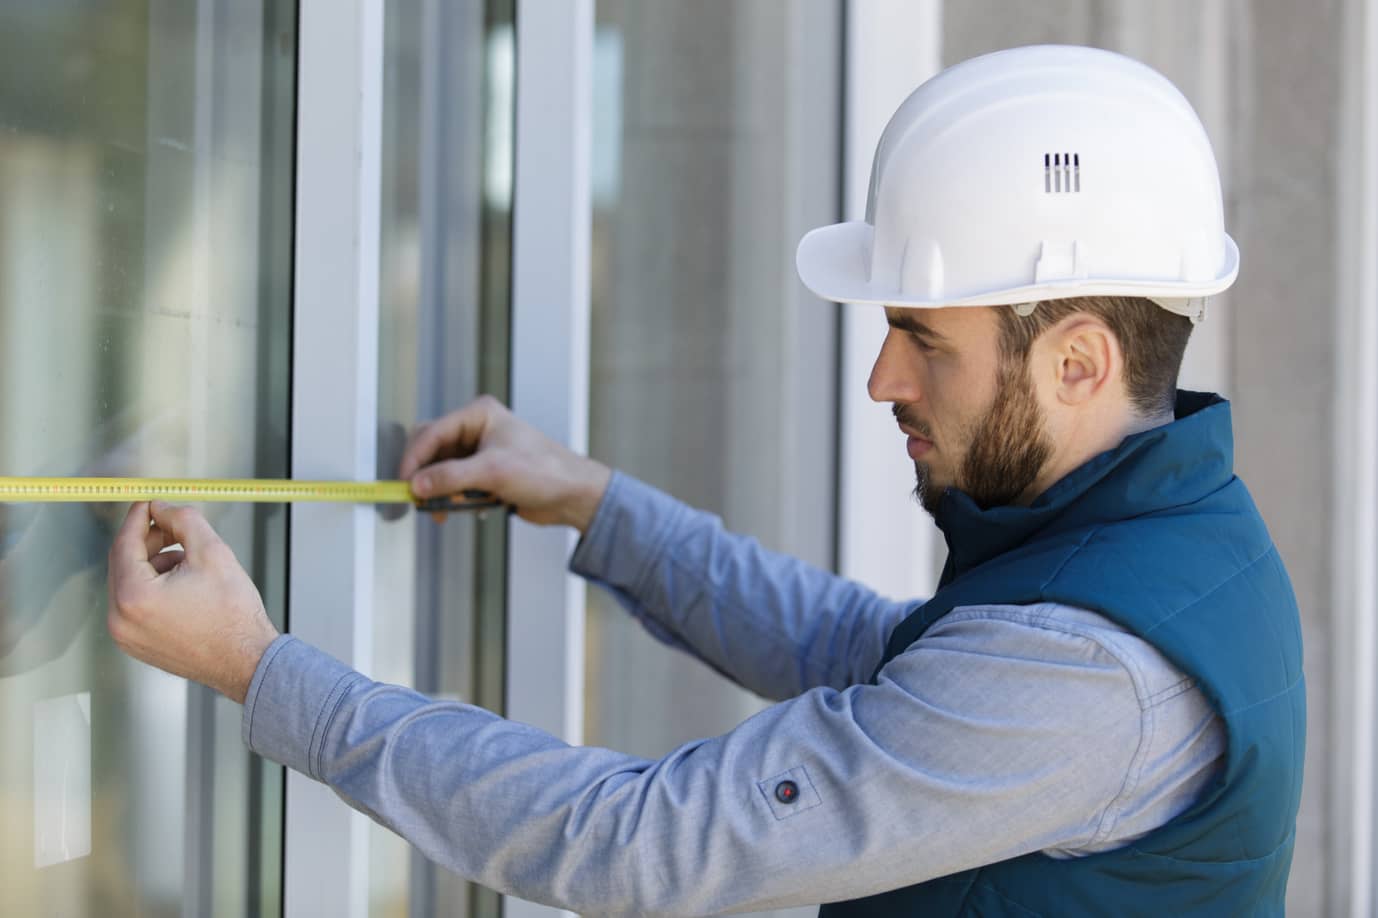
Measure and Prepare the Opening
Begin by carefully measuring the dimensions of the door opening to ensure that the new door fits perfectly. Take precise measurements of the width, height, and depth of the opening, accounting for any variations in the frame or surrounding structure. Once the measurements are confirmed, prepare the opening by cleaning and leveling the area to create a stable and even surface for the new door installation.
Position the New Door
Carefully position the new sliding glass door at the opening, ensuring that it aligns perfectly with the frame and tracks. Enlist the assistance of others to support the door and prevent any mishaps during the positioning process. Verify that the door is centered within the opening and that it operates smoothly along the tracks without any obstructions or misalignments.
Read more: How To Childproof A Sliding Glass Door
Secure the Door in Place
Once the door is properly positioned, secure it in place using the appropriate hardware and fasteners. Follow the manufacturer's guidelines for installing the door, ensuring that it is anchored securely to the frame and surrounding structure. Use a level to confirm that the door is plumb and level, making any necessary adjustments to achieve a perfect fit.
Test the Operation
After securing the door, test its operation by sliding it open and closed multiple times to ensure smooth and effortless movement. Verify that the door glides along the tracks without binding or sticking, indicating that it is properly installed and aligned. Make any minor adjustments as needed to optimize the door's functionality and performance.
Apply Sealant and Insulation
Once the door is securely in place and its operation is confirmed, apply a bead of high-quality sealant and insulation around the perimeter of the frame. This step helps create a weatherproof seal, preventing air leakage and moisture infiltration. Pay close attention to the corners and edges, ensuring that the entire frame is effectively sealed for optimal energy efficiency and weather resistance.
Complete the Finishing Touches
To complete the installation, add any finishing touches such as trim, molding, or additional weatherproofing elements to enhance the door's appearance and functionality. Double-check all the hardware and fasteners to ensure they are tightened and secure, providing a final layer of reinforcement for the newly installed sliding glass door.
By following these detailed steps, you can successfully install a new sliding glass door with precision and confidence, transforming the entryway and enhancing the overall aesthetic and functionality of the space. This meticulous approach ensures that the new door is seamlessly integrated into the existing structure, providing long-lasting performance and visual appeal.
Read more: How To Lube A Sliding Glass Door
Conclusion
In conclusion, the process of removing a sliding glass door involves a series of systematic steps that require careful attention to detail and precision. By following the outlined guide, you can confidently tackle this project and achieve successful results. From gathering the necessary tools and materials to installing the new sliding glass door, each step is essential in ensuring a smooth and efficient removal process.
The initial step of gathering the essential tools and materials sets the foundation for a well-prepared and organized approach. By having the right equipment at your disposal, you can navigate the removal process with confidence and address any challenges that may arise.
The subsequent steps of removing the sliding door panel and the stationary panel require patience and precision. Safely detaching these components sets the stage for the thorough cleaning and preparation of the door frame. This critical phase involves meticulous cleaning, inspecting for damage, and applying sealant and caulk to ensure the frame is in optimal condition for the installation of the new door.
Finally, the installation of the new sliding glass door marks the culmination of the removal process. This phase demands careful measurement, positioning, securing, and testing to ensure that the new door fits perfectly and operates smoothly. The application of sealant and insulation, along with the completion of finishing touches, adds the final layer of protection and aesthetic appeal to the newly installed door.
By following these comprehensive steps, you can successfully remove a sliding glass door and replace it with a new one, or prepare the frame for maintenance or renovation. This process not only enhances the functionality and aesthetics of the entryway but also contributes to the overall energy efficiency and weather resistance of the space.
In essence, the removal of a sliding glass door is a manageable project that, when approached with the right knowledge and methodical execution, can yield rewarding outcomes. Whether you're upgrading to a new door or performing maintenance, understanding the step-by-step process is crucial for a successful outcome. With the insights provided in this guide, you are well-equipped to embark on this endeavor and achieve a seamless and efficient removal of a sliding glass door.
Frequently Asked Questions about How To Remove Sliding Glass Door
Was this page helpful?
At Storables.com, we guarantee accurate and reliable information. Our content, validated by Expert Board Contributors, is crafted following stringent Editorial Policies. We're committed to providing you with well-researched, expert-backed insights for all your informational needs.


0 thoughts on “How To Remove Sliding Glass Door”