Home>Furniture & Design>Interior Design Trends>How To Clean Up Glass Shards
Interior Design Trends
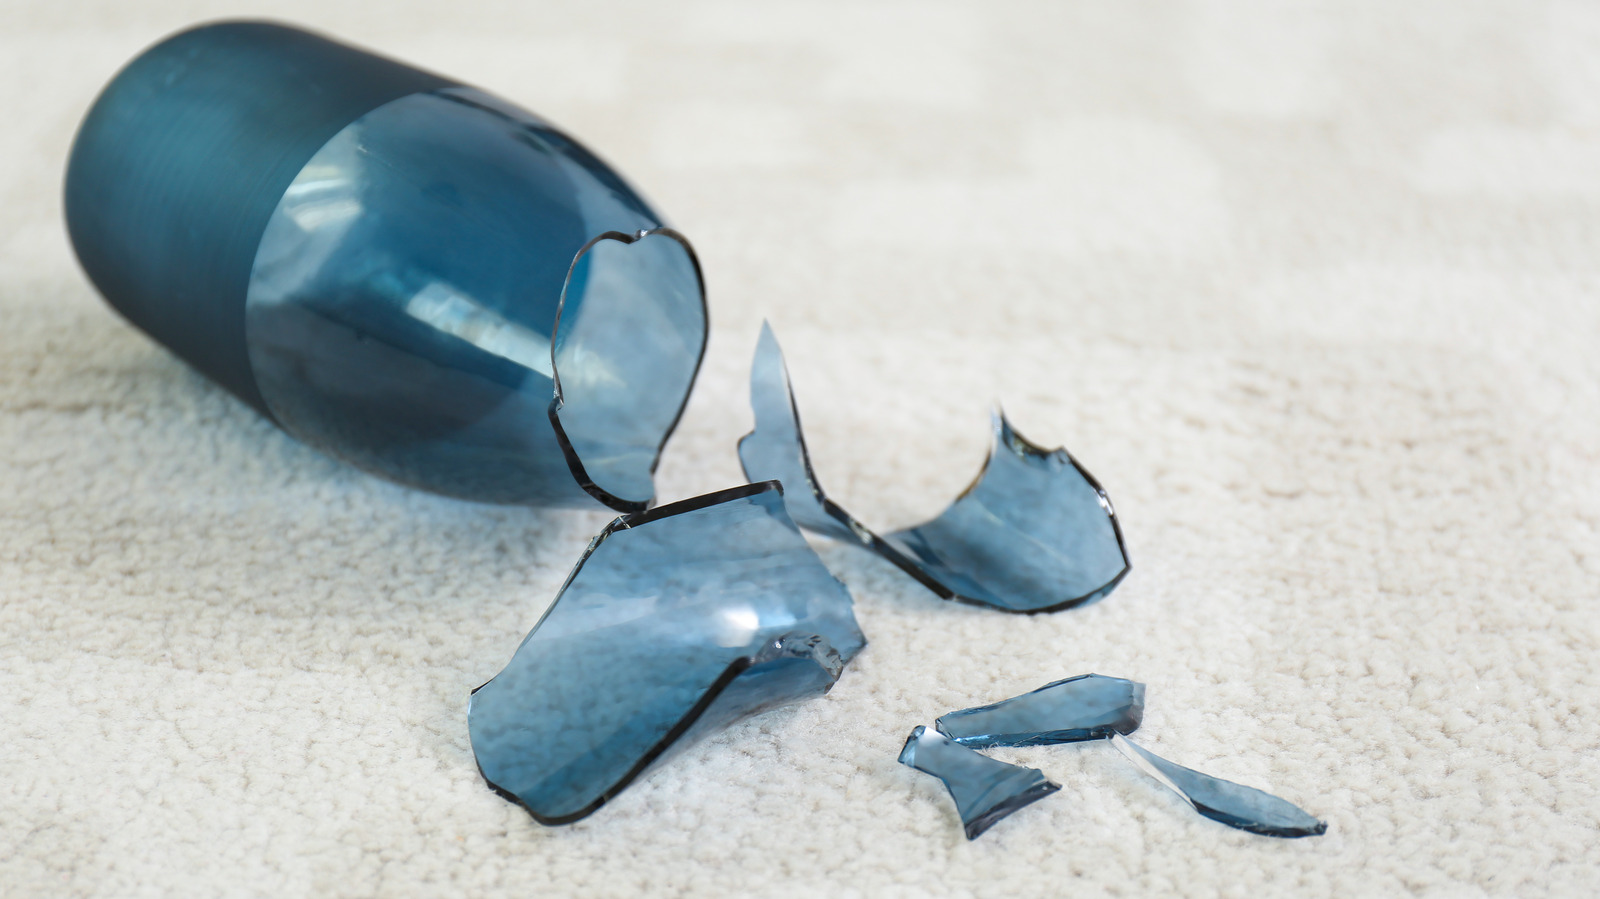
How To Clean Up Glass Shards
Modified: August 28, 2024
Learn how to safely clean up glass shards in your home with our expert tips. Keep up with the latest interior design trends while maintaining a safe and stylish living space.
(Many of the links in this article redirect to a specific reviewed product. Your purchase of these products through affiliate links helps to generate commission for Storables.com, at no extra cost. Learn more)
Safety Precautions
When dealing with glass shards, safety should be your top priority. Broken glass can cause serious injuries if not handled properly. Before you begin the cleanup process, it's crucial to take the necessary precautions to protect yourself and others from potential harm.
-
Protective Gear: Start by equipping yourself with the appropriate protective gear. Wear sturdy gloves to shield your hands from sharp edges and potential cuts. Additionally, consider wearing closed-toe shoes to prevent glass shards from piercing through your footwear.
-
Secure the Area: Before you start picking up the glass, ensure that the area is clear of any bystanders, especially children and pets. Create a safe zone to prevent anyone from accidentally stepping on or coming into contact with the glass shards.
-
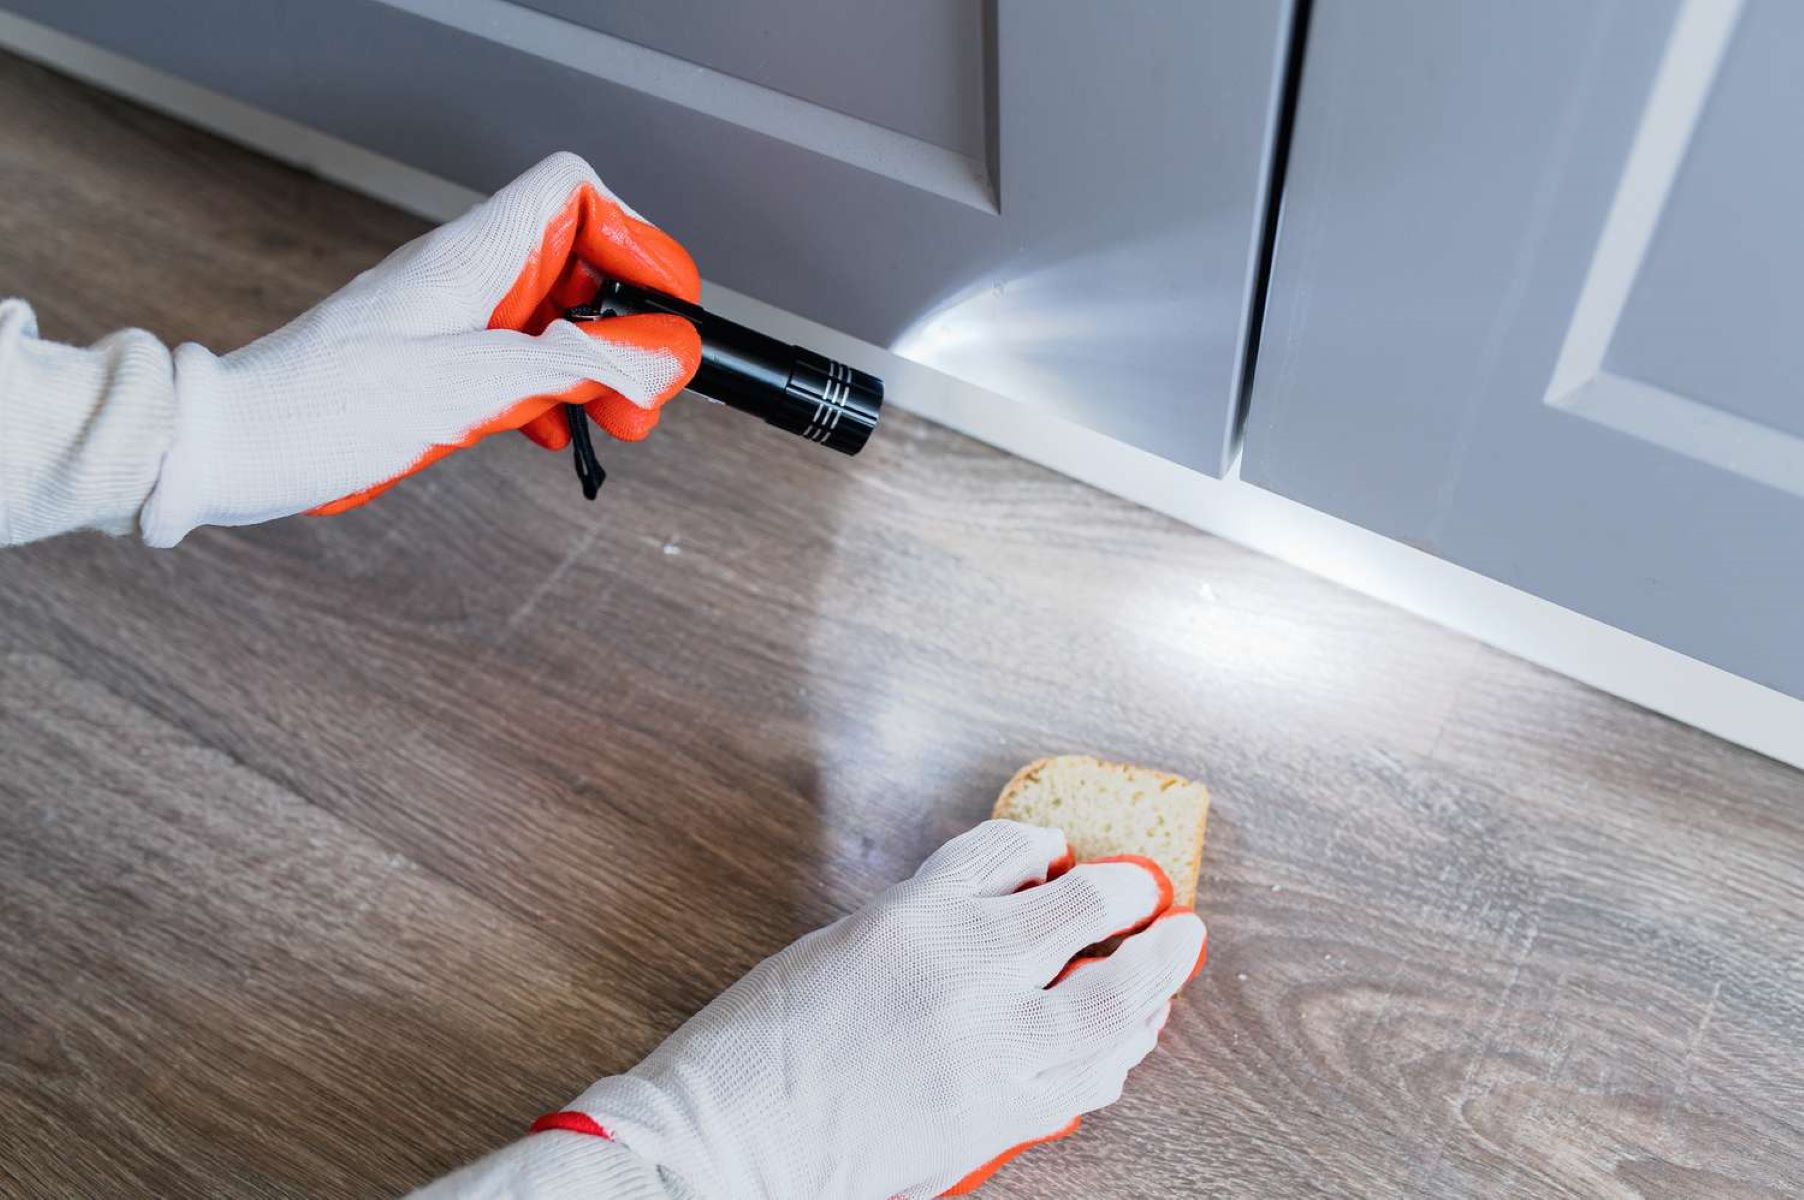
Visibility: Adequate lighting is essential for identifying and safely removing glass fragments. If the area is dimly lit, use a flashlight to illuminate the space and make it easier to spot even the tiniest pieces of glass.
-
Handling Large Pieces: Exercise caution when handling large glass fragments. Avoid picking them up with your bare hands, as they may have sharp edges that can cause injuries. Instead, use a broom and dustpan or tongs to carefully gather and dispose of the larger pieces.
-
Disposal: Proper disposal of broken glass is crucial to prevent accidents. Use a sturdy container, such as a cardboard box or a plastic container, to collect the glass shards. Seal the container securely and label it as "Broken Glass" to alert others of its contents.
By adhering to these safety precautions, you can minimize the risk of injuries and ensure a safe and effective cleanup process. Remember, taking the time to prioritize safety is essential when dealing with broken glass.
Key Takeaways:
- Safety is key when cleaning up glass shards. Use protective gear, secure the area, and handle large pieces with caution to prevent injuries and ensure a safe cleanup process.
- Gather the right supplies for cleaning up glass shards. Protective gloves, sturdy shoes, broom and dustpan, tongs, flashlight, tape or bread, and a vacuum cleaner are essential for a thorough and safe cleanup.
Read more: How To Clean Up Shattered Glass
Gathering the Necessary Supplies
Before embarking on the task of cleaning up glass shards, it's essential to gather the necessary supplies to ensure a thorough and safe cleanup process. Having the right tools at your disposal can significantly streamline the task and minimize the risk of accidents. Here's a comprehensive list of supplies you'll need to effectively tackle the cleanup:
-
Protective Gloves: Sturdy gloves are a fundamental requirement when dealing with broken glass. Opt for thick, cut-resistant gloves that provide ample protection against sharp edges and potential cuts. These gloves act as a barrier between your hands and the glass shards, safeguarding you from injuries during the cleanup process.
-
Sturdy Shoes: Closed-toe shoes are crucial for protecting your feet from glass fragments. Choose footwear with durable soles to prevent any glass shards from piercing through the shoes. By wearing sturdy shoes, you create an additional layer of protection against accidental injuries.
-
Broom and Dustpan: A sturdy broom and dustpan are indispensable for gathering larger glass pieces. Look for a broom with stiff bristles that can effectively sweep up the glass shards without scattering them further. The dustpan should have a rubber edge to ensure efficient collection of the shards.
-
Tongs or Forceps: These tools are invaluable for safely picking up smaller glass fragments. Tongs or forceps allow you to grasp and remove tiny pieces of glass without risking direct contact with your hands. Opt for tools with a firm grip to ensure precise handling of the shards.
-
Flashlight: Adequate lighting is essential for identifying and removing glass shards, especially in dimly lit areas. A reliable flashlight will help illuminate the space, making it easier to spot even the smallest pieces of glass that might otherwise go unnoticed.
-
Tape or Bread: Surprisingly, tape or a slice of bread can be effective for picking up tiny glass shards that are difficult to spot or handle. The adhesive nature of tape and the soft texture of bread can safely lift small fragments from surfaces.
-
Vacuum Cleaner: A vacuum cleaner with a hose attachment is essential for thoroughly cleaning the area after the larger pieces of glass have been collected. Ensure that the vacuum has a strong suction power and a filter capable of trapping tiny glass particles.
By assembling these essential supplies, you'll be well-equipped to tackle the cleanup process with confidence and efficiency. Each item plays a crucial role in ensuring a thorough and safe cleanup, allowing you to effectively remove glass shards while minimizing the risk of injuries.
Removing Large Pieces
When it comes to cleaning up glass shards, the process of removing large pieces requires careful attention and the right tools to ensure a safe and thorough cleanup. Handling sizable glass fragments demands caution to prevent injuries and effectively clear the area of potential hazards.
To begin, equip yourself with sturdy gloves and closed-toe shoes to protect your hands and feet from sharp edges. Once you are properly attired, carefully survey the area to identify the larger glass pieces. Using a broom and dustpan, gently sweep the shards into a central location for easier collection. It's crucial to avoid applying excessive force during this step, as it may cause the glass to splinter further.
Next, cautiously lift the larger glass fragments using the dustpan or tongs, ensuring a secure grip to prevent any accidental drops. As you handle the pieces, maintain a steady and controlled approach to minimize the risk of scattering the shards. It's important to exercise patience and precision during this process, as rushing to collect the pieces may lead to oversight and potential safety hazards.
Once the larger glass pieces have been carefully gathered, transfer them into a sturdy container designated for broken glass disposal. Seal the container securely and label it appropriately to alert others of its contents. Properly disposing of the larger glass fragments is essential to prevent accidents and ensure a safe cleanup environment.
By following these steps and exercising caution, you can effectively remove the larger glass pieces while prioritizing safety. Remember, taking the time to handle the large shards with care is crucial for a successful cleanup and minimizing the risk of injuries.
This approach ensures that the cleanup process is conducted efficiently and safely, allowing you to effectively address the larger glass fragments without compromising on precautionary measures.
Vacuuming the Area
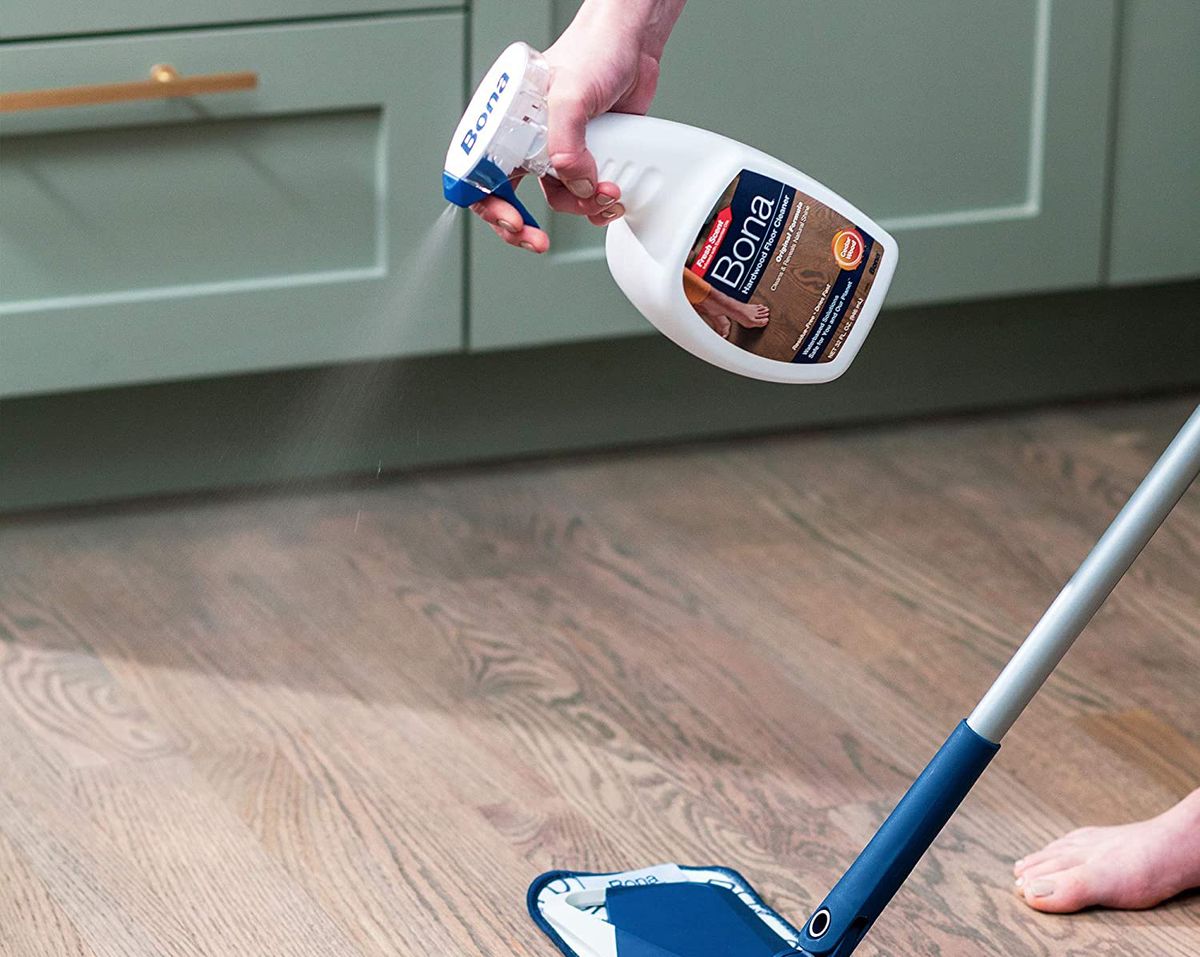
After the larger glass pieces have been carefully collected and disposed of, the next crucial step in the cleanup process is vacuuming the area to ensure the thorough removal of tiny glass particles and debris. Vacuuming plays a pivotal role in achieving a pristine and safe environment, free from any remnants of the broken glass.
To commence the vacuuming process, ensure that the vacuum cleaner is equipped with a hose attachment to facilitate precise and targeted suction. It's imperative to use a vacuum with a strong suction power and a filter capable of trapping minuscule glass particles effectively. This ensures that even the smallest glass shards are efficiently captured, preventing any potential hazards.
Before initiating the vacuuming, carefully inspect the area to identify any residual glass fragments that may have been overlooked during the initial cleanup. Pay close attention to corners, crevices, and areas with textured surfaces, as glass particles can easily become lodged in these spaces. Once the inspection is complete, begin the vacuuming process, systematically covering the entire area to ensure comprehensive cleaning.
When vacuuming, maintain a slow and steady pace to allow the suction to effectively capture any remaining glass shards and debris. Pay particular attention to areas where the glass was initially broken, as well as the surrounding vicinity, to ensure that no remnants are left behind. It's essential to approach the task with meticulous attention to detail, as thorough vacuuming is crucial for a complete cleanup.
In addition to the primary vacuuming, consider making multiple passes over the area to ensure that all traces of glass shards and debris are effectively removed. This methodical approach minimizes the risk of oversight and guarantees a meticulous cleanup, leaving the space entirely free from any potential hazards.
Once the vacuuming process is complete, carefully inspect the area once again to verify that all glass particles and debris have been successfully removed. This final inspection provides an opportunity to address any overlooked areas and ensures that the cleanup is thorough and comprehensive.
By diligently vacuuming the area and adopting a meticulous approach, you can effectively eliminate any remaining glass particles and debris, thereby creating a safe and pristine environment. This meticulous attention to detail is essential for ensuring that the space is entirely free from any remnants of the broken glass, promoting safety and peace of mind for all occupants.
Use a damp paper towel to pick up large shards, then use a piece of bread to pick up tiny pieces. Finish by using a vacuum to clean up any remaining fragments. Be careful and wear gloves to avoid injury.
Using Tape or Bread to Pick Up Small Shards
When it comes to dealing with small glass shards that are challenging to spot and handle, unconventional yet effective methods such as using tape or bread can be remarkably useful. These simple yet ingenious techniques offer a practical and safe approach to picking up tiny glass fragments, ensuring a thorough cleanup without the risk of direct contact.
Read more: How To Clean Up Broken Glass
Tape Method
Utilizing tape to pick up small glass shards is a clever and efficient strategy. The adhesive nature of tape allows it to effectively lift tiny particles from various surfaces, making it an invaluable tool for addressing hard-to-spot fragments. To employ this method, simply press a piece of strong adhesive tape onto the areas where small glass shards are suspected to be present. Gently lift the tape, and you'll find that the glass particles adhere to the sticky surface, effectively removing them from the area. Repeat this process as needed to ensure that all small shards are successfully lifted from the surfaces.
Bread Technique
Surprisingly, bread can also serve as an effective tool for picking up small glass shards. The soft and pliable texture of bread makes it adept at capturing tiny particles without causing damage to the surfaces. To utilize this method, gently press a slice of bread onto the areas where small glass fragments are located. The bread will naturally adhere to the shards, effectively picking them up from the surface. This approach is particularly useful for addressing hard-to-reach areas and textured surfaces where traditional cleaning methods may prove less effective.
Both the tape and bread methods offer a safe and practical means of addressing small glass shards, providing an alternative to conventional cleaning tools. These techniques are particularly beneficial for handling tiny fragments that may be challenging to spot or pick up using traditional cleaning methods. By incorporating these innovative approaches into the cleanup process, you can ensure a thorough and meticulous removal of small glass particles, promoting a safe and hazard-free environment.
Incorporating these unconventional yet effective methods into the cleanup process demonstrates a resourceful and adaptable approach to addressing the challenges posed by small glass shards. By leveraging the adhesive properties of tape and the pliable nature of bread, you can effectively address the presence of small glass fragments, ensuring a comprehensive cleanup without compromising safety.
Wiping Down Surfaces
After the initial cleanup and removal of glass shards, the final step in the comprehensive cleanup process involves wiping down surfaces to ensure that any residual glass particles and debris are effectively eliminated. This crucial step is essential for achieving a pristine and safe environment, free from any remnants of the broken glass.
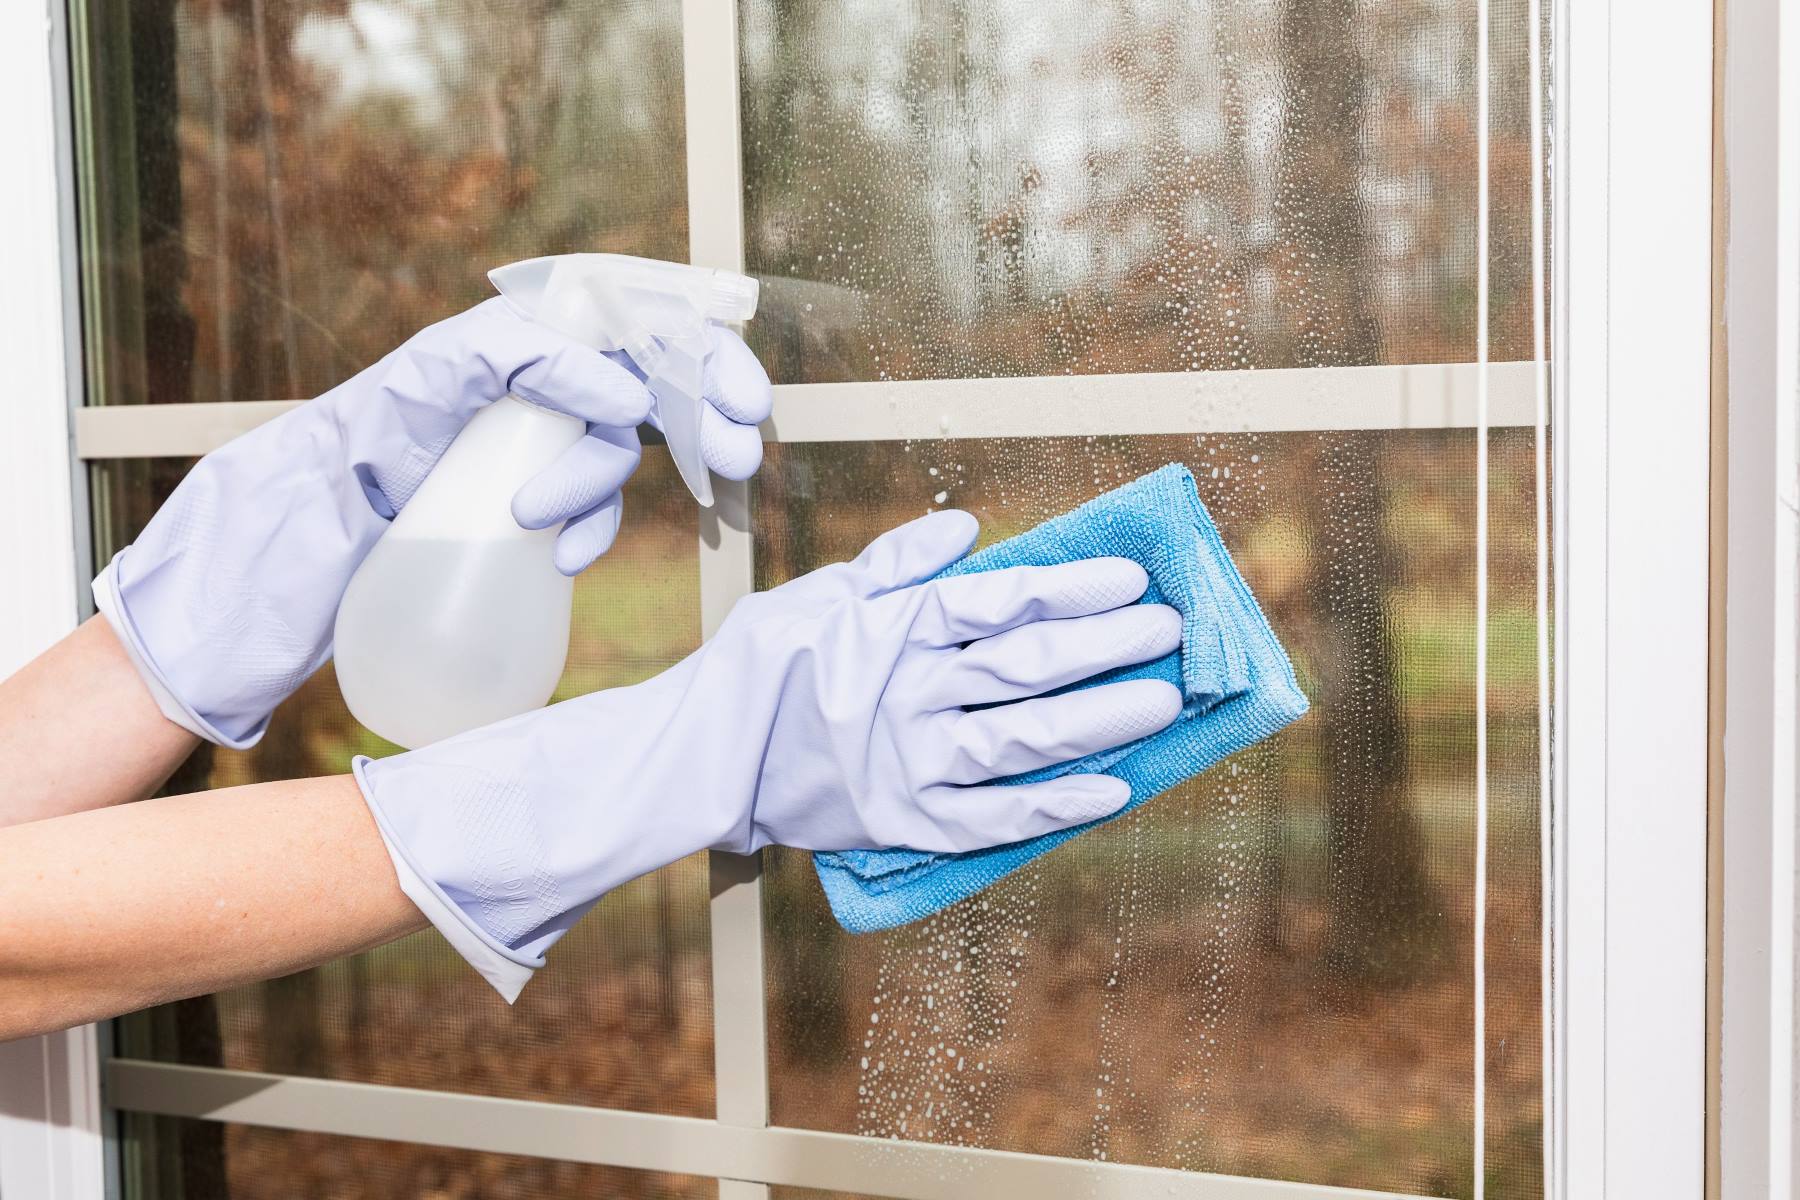
To begin the process of wiping down surfaces, it's important to equip yourself with a damp microfiber cloth or disposable cleaning wipes. These tools are ideal for gently wiping surfaces, as they effectively capture tiny particles without leaving behind lint or residue. Additionally, using a damp cloth helps to attract and trap any remaining glass shards and debris, ensuring thorough cleaning.
Carefully inspect the entire area, paying close attention to surfaces such as countertops, floors, and furniture where glass particles may have settled. Begin by systematically wiping down each surface, ensuring that the cloth makes direct contact with the areas where the glass was initially present. By adopting a methodical approach, you can effectively capture any remaining particles and debris, leaving the surfaces impeccably clean.
When wiping down surfaces, it's crucial to exercise patience and attention to detail. Take the time to thoroughly cover each area, including edges, corners, and crevices, to ensure that no remnants of glass shards are overlooked. By approaching the task with meticulous care, you can guarantee a comprehensive cleaning process that leaves no room for potential hazards.
In addition to wiping down visible surfaces, consider addressing areas that may have been indirectly affected by the presence of glass shards. This includes objects, decor, and items in the vicinity of the broken glass. By extending the cleaning process to encompass these elements, you can ensure that the entire space is free from any residual particles, promoting a safe and pristine environment.
Once the surfaces have been meticulously wiped down, conduct a final inspection to verify that all traces of glass particles and debris have been successfully removed. This thorough assessment provides an opportunity to address any overlooked areas and ensures that the cleanup is comprehensive and effective.
By diligently wiping down surfaces and adopting a meticulous approach, you can effectively eliminate any remaining glass particles and debris, thereby creating a safe and pristine environment. This meticulous attention to detail is essential for ensuring that the space is entirely free from any remnants of the broken glass, promoting safety and peace of mind for all occupants.
Frequently Asked Questions about How To Clean Up Glass Shards
Was this page helpful?
At Storables.com, we guarantee accurate and reliable information. Our content, validated by Expert Board Contributors, is crafted following stringent Editorial Policies. We're committed to providing you with well-researched, expert-backed insights for all your informational needs.


0 thoughts on “How To Clean Up Glass Shards”