Home>Renovation & DIY>Tools & Equipment>How To Clean Up A Spackle Dust

Tools & Equipment
How To Clean Up A Spackle Dust
Modified: January 9, 2024
Learn the best tools and equipment to effectively clean up spackle dust. Follow these expert tips for a quick and efficient cleanup process.
(Many of the links in this article redirect to a specific reviewed product. Your purchase of these products through affiliate links helps to generate commission for Storables.com, at no extra cost. Learn more)
Introduction
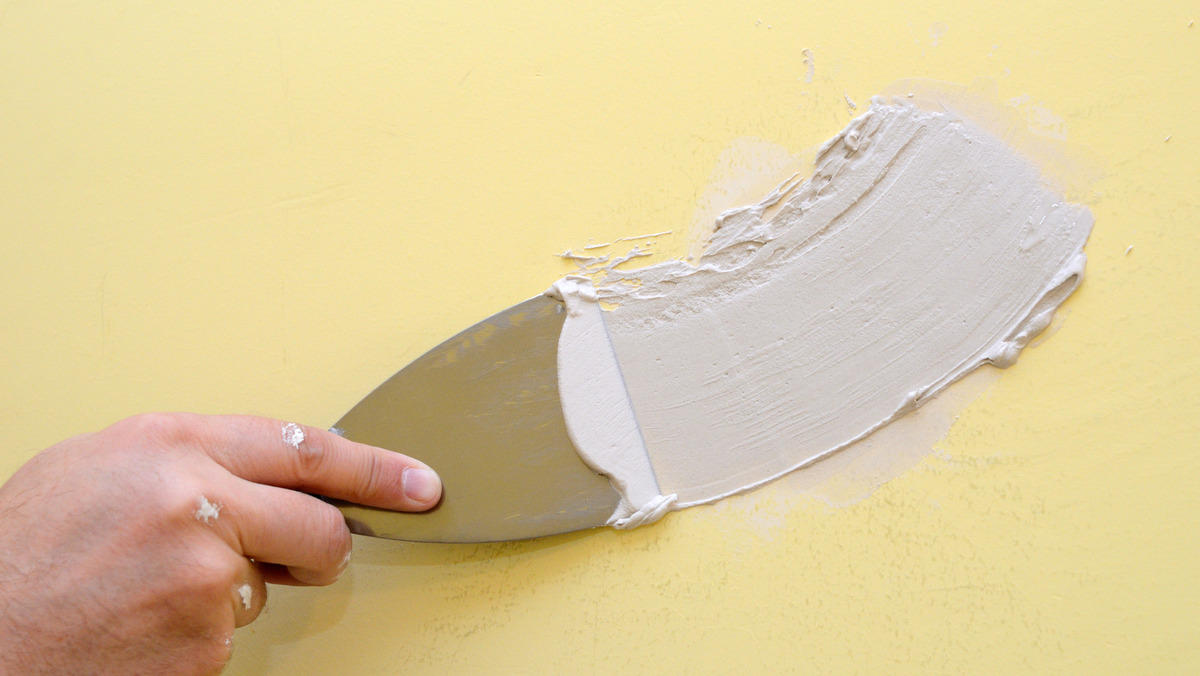
After completing a spackling project, it’s not uncommon to find a fine layer of spackle dust coating the surrounding area. This powdery residue can be quite challenging to clean up, but with the right approach, you can restore the space to its former cleanliness. In this comprehensive guide, we’ll walk through the step-by-step process of effectively cleaning up spackle dust, ensuring that your surfaces are spotless and free of any remnants from your recent home improvement project.
By following these simple yet effective techniques, you can bid farewell to the pesky spackle dust and enjoy the pristine results of your hard work. Let’s dive into the process of transforming a dusty aftermath into a polished and dust-free environment.
Key Takeaways:
- Say goodbye to spackle dust by gathering the right tools and preparing the area for a thorough cleanup. Follow a step-by-step process to remove dust and add finishing touches for a polished result.
- Transform a dusty aftermath into a spotless space by methodically removing spackle dust, addressing residual traces, and adding final touches. Patience and attention to detail are key to achieving satisfying results.
Read more: How To Clean Spackle Off Tools
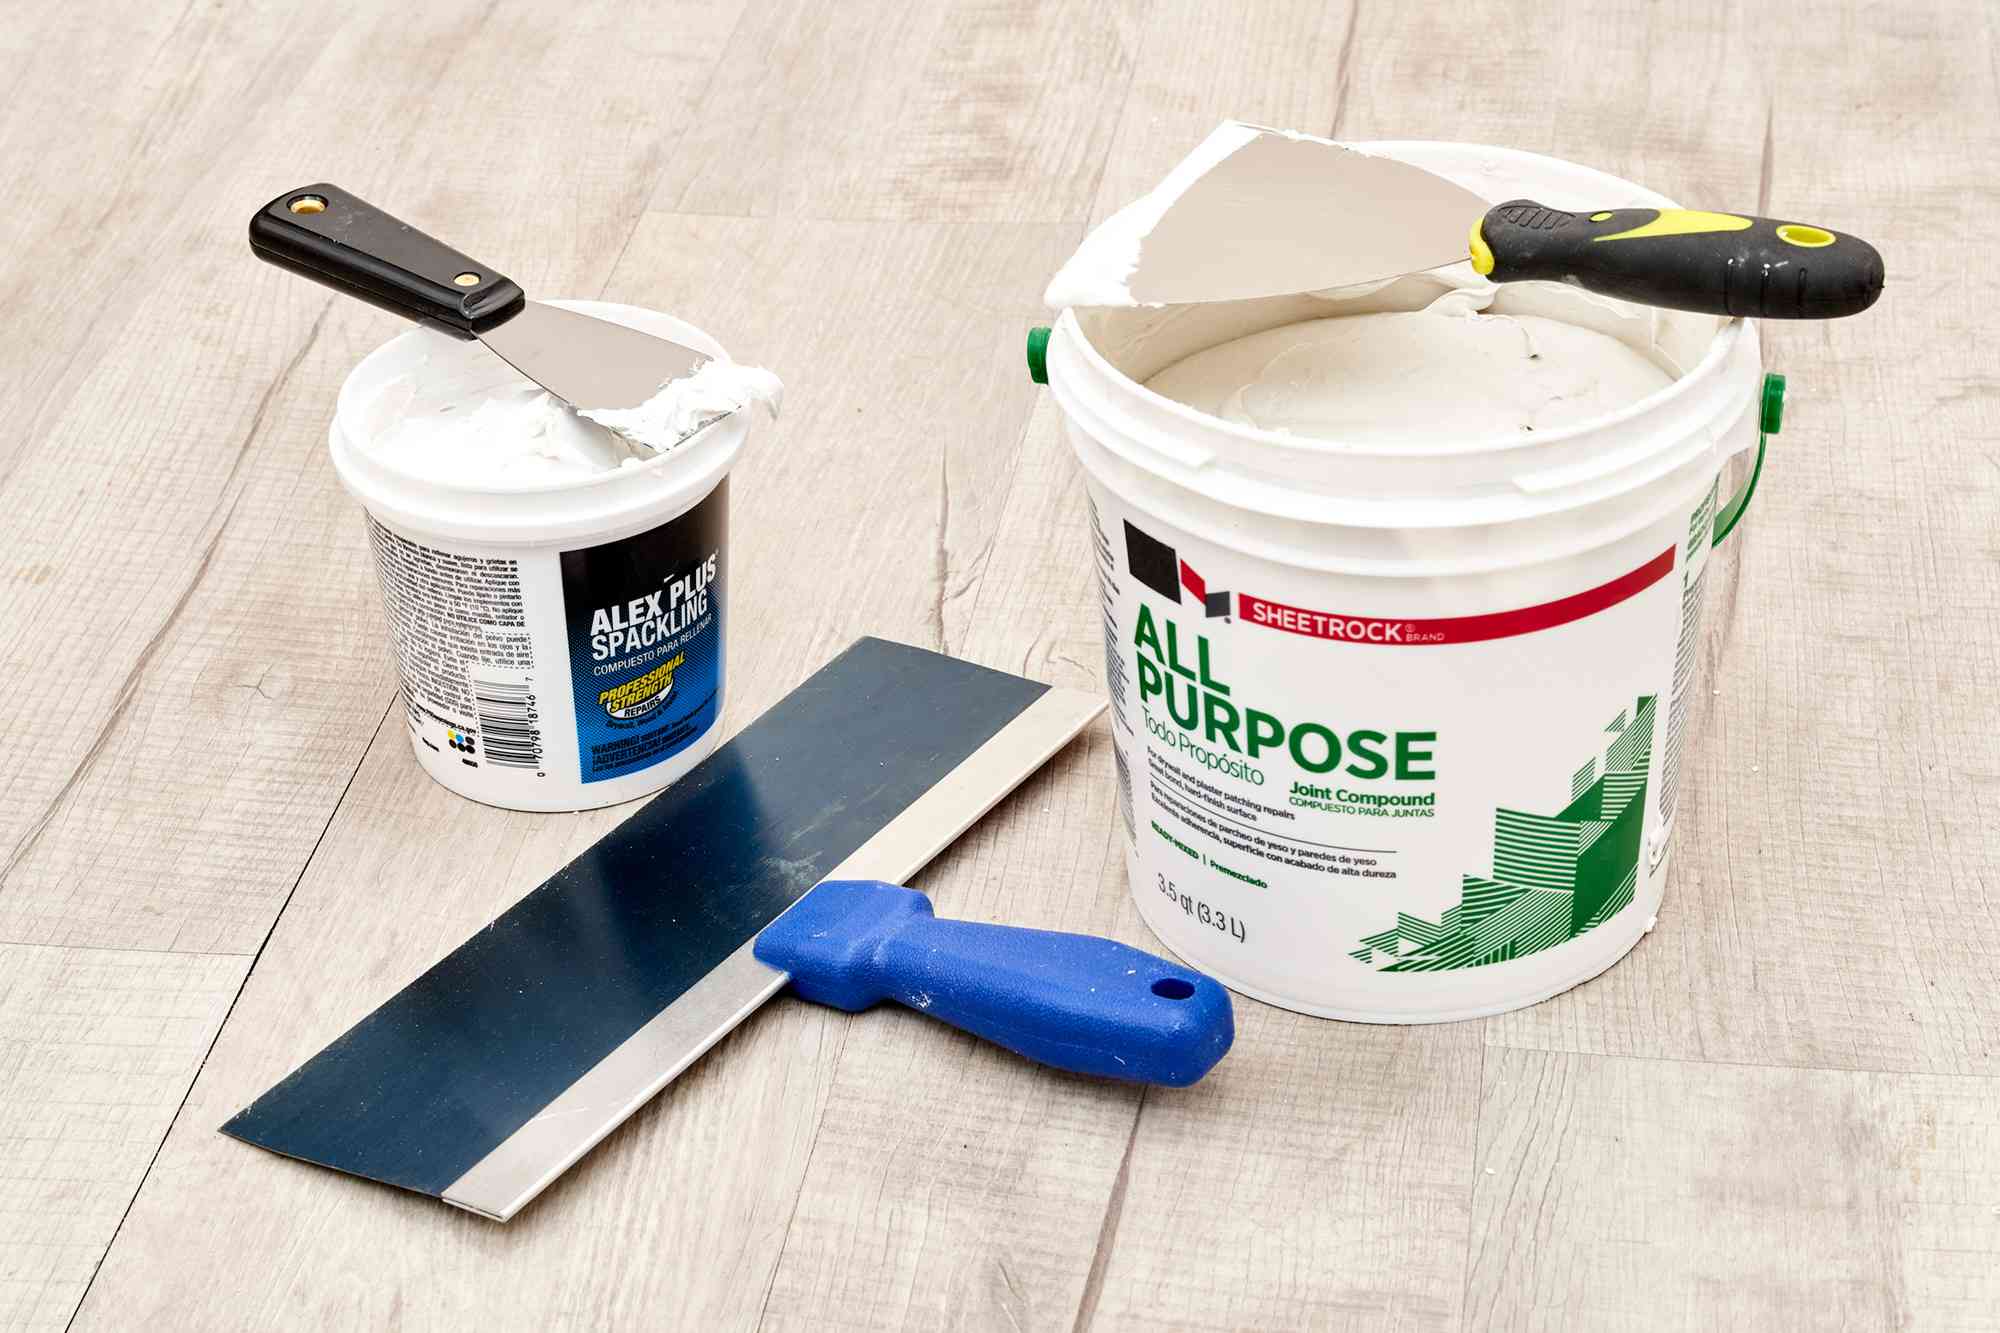
Step 1: Gathering Supplies
Before embarking on the task of cleaning up spackle dust, it’s essential to gather the necessary supplies to streamline the process and achieve optimal results. Here’s a list of items you’ll need:
- Cleaning Cloths: Soft, lint-free cloths are ideal for wiping down surfaces without leaving behind additional residue.
- Vacuum Cleaner: A vacuum with a brush attachment can effectively remove spackle dust from floors, walls, and other surfaces.
- Broom and Dustpan: For larger particles of spackle dust, a broom and dustpan provide a quick and efficient cleanup solution.
- Microfiber Duster: This tool is excellent for capturing fine particles of dust on walls, ceilings, and other hard-to-reach areas.
- All-Purpose Cleaner: A gentle, non-abrasive cleaner is essential for wiping down surfaces after removing the spackle dust.
- Protective Gear: Depending on the extent of the spackle dust, protective gear such as a dust mask and gloves may be necessary to ensure your safety during the cleanup process.
By assembling these supplies beforehand, you’ll be well-equipped to tackle the task of cleaning up spackle dust efficiently and effectively. With the right tools at your disposal, you can proceed with confidence, knowing that you have everything you need to achieve a thorough cleanup.
Step 2: Preparing the Area
Before diving into the actual cleaning process, it’s crucial to prepare the area to facilitate a smooth and organized cleanup operation. Here’s how to prepare the space for spackle dust removal:
- Clear the Area: Remove any furniture, decorations, or items that may obstruct the cleaning process. Clearing the space will allow for unrestricted access and thorough cleaning.
- Ventilate the Room: Open windows and doors to promote air circulation. Proper ventilation can help disperse airborne dust particles and prevent them from resettling on surfaces.
- Protect Sensitive Items: If there are sensitive items in the vicinity, such as electronics or delicate furnishings, consider covering them with a cloth or plastic sheet to shield them from dust and cleaning products.
- Secure the Work Area: If the spackling project is part of a larger renovation, ensure that the work area is cordoned off or clearly marked to prevent accidental disturbances and to contain the dust within the designated space.
By taking these preparatory steps, you can create an environment that is conducive to efficient and thorough spackle dust removal. A well-prepared area sets the stage for a successful cleanup, minimizing potential obstacles and maximizing the effectiveness of the cleaning process.
Step 3: Removing the Spackle Dust
With the area prepared and the necessary supplies at hand, it’s time to tackle the task of removing the spackle dust. This step-by-step process will guide you through the effective removal of spackle dust from various surfaces:
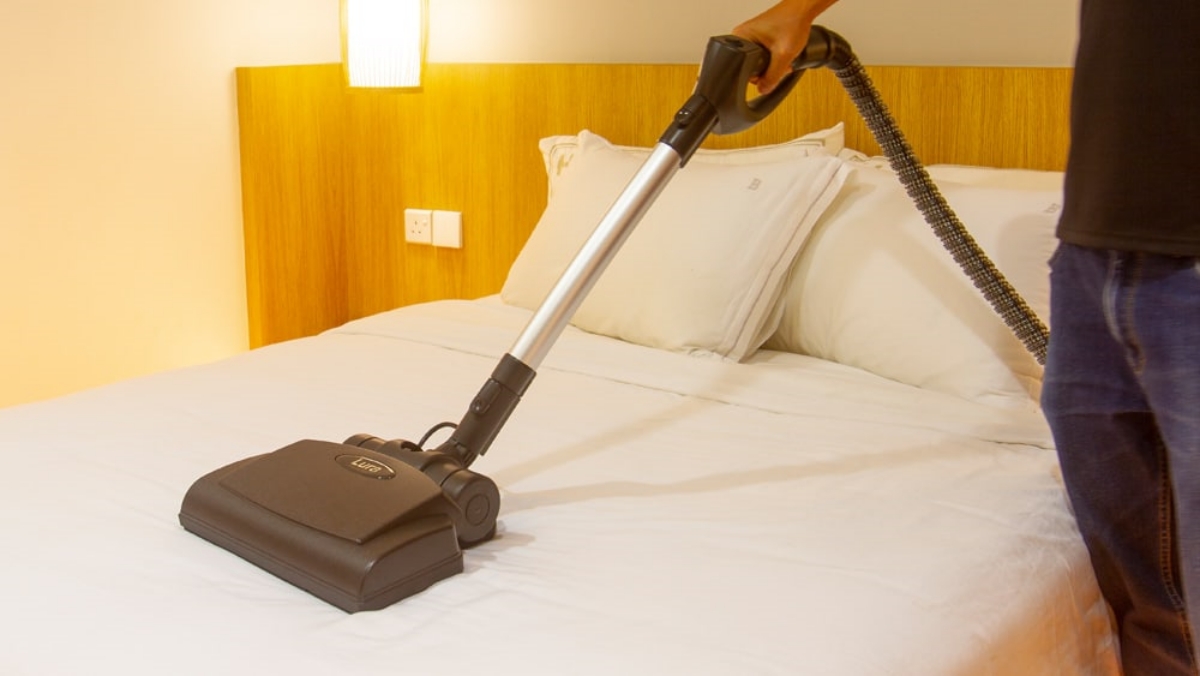
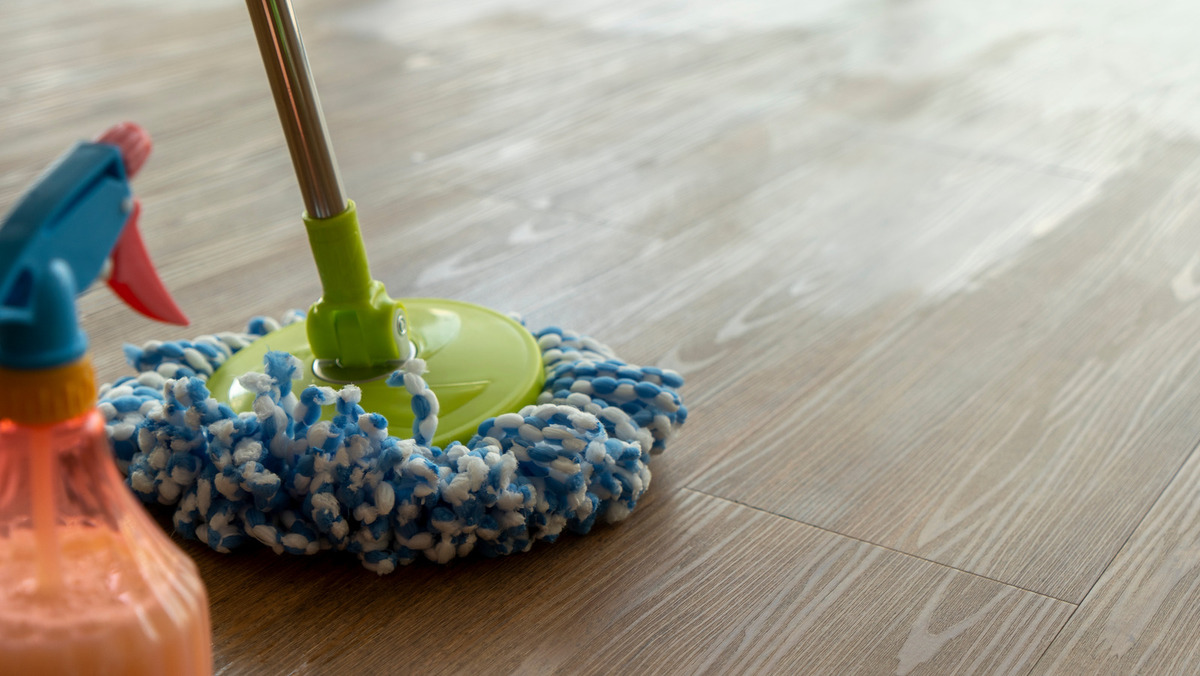
- Vacuuming: Begin by using a vacuum cleaner with a brush attachment to gently remove spackle dust from floors, carpets, and upholstery. Work methodically across the surfaces, ensuring thorough coverage.
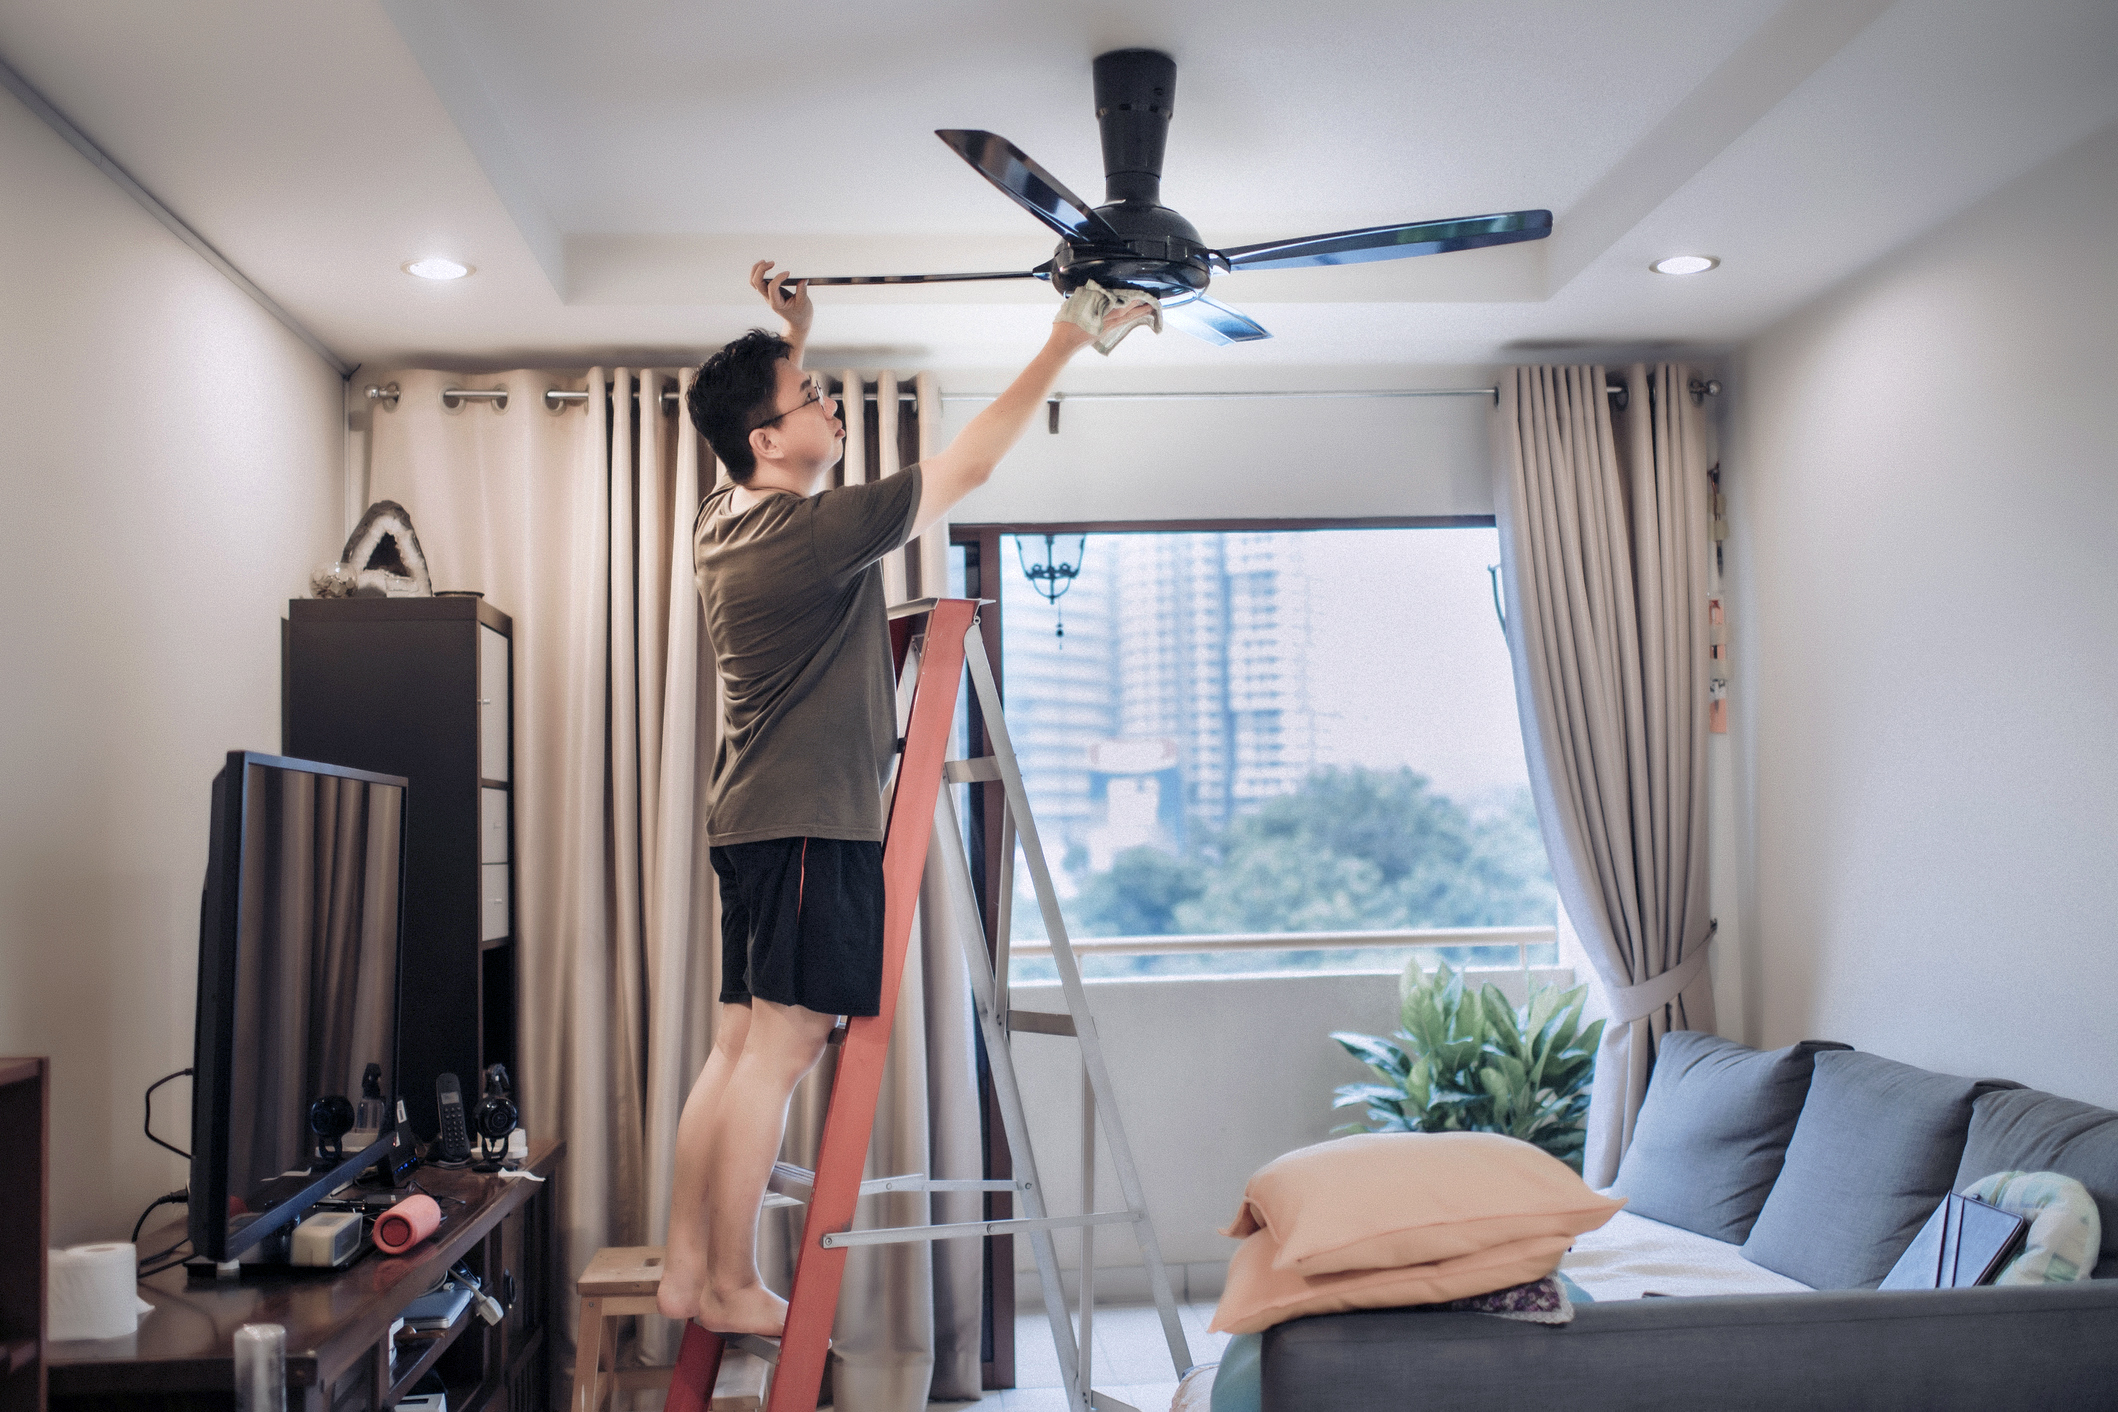
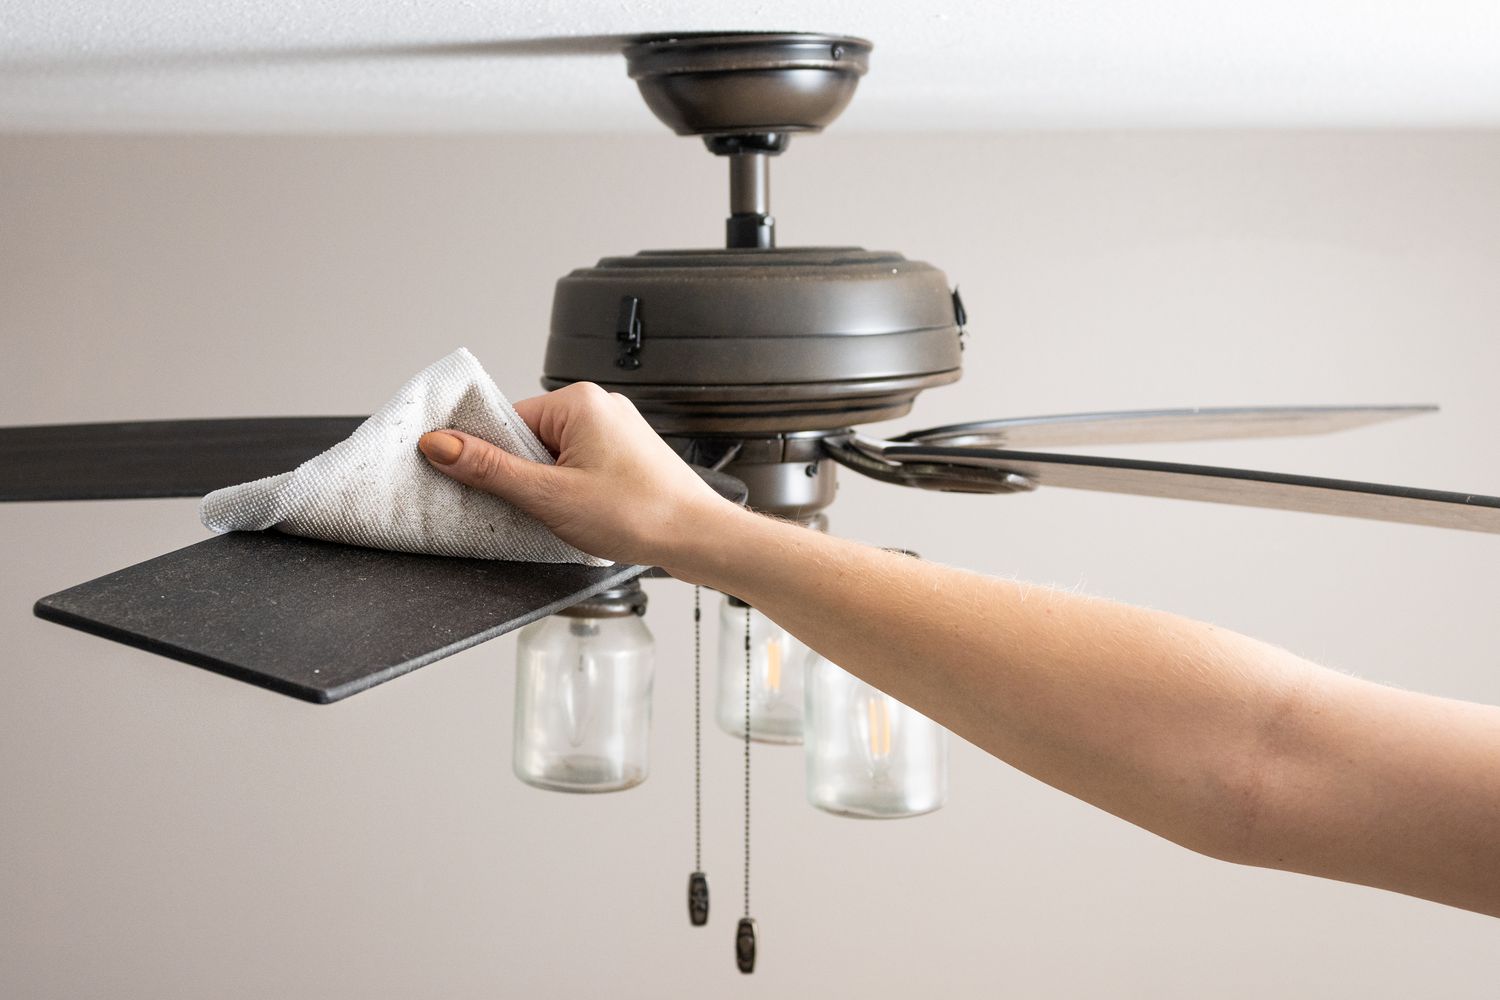
- Dusting Walls and Ceilings: Employ a microfiber duster or a soft cloth to gently remove spackle dust from walls and ceilings. Start from the top and work your way down to capture any airborne particles and prevent them from resettling.
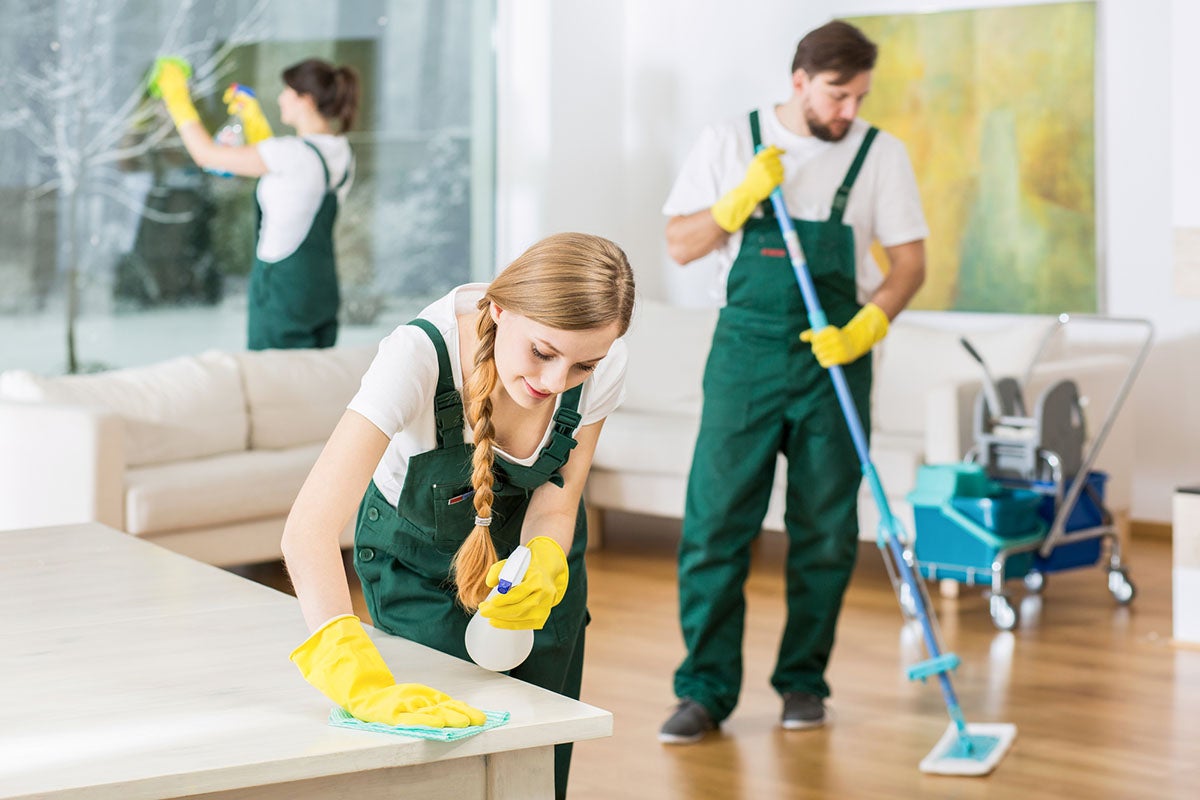
- Wiping Down Surfaces: Use a soft, lint-free cloth lightly dampened with water or a mild all-purpose cleaner to wipe down countertops, furniture, and other hard surfaces. This will help capture any remaining dust and leave the surfaces clean and polished.
- Detail Cleaning: Pay attention to intricate details and crevices where spackle dust may have accumulated. Utilize smaller cleaning tools, such as cotton swabs or soft brushes, to address hard-to-reach areas and ensure a comprehensive cleanup.
By following these steps, you can systematically remove spackle dust from various surfaces, leaving your space noticeably cleaner and free of the fine powdery residue. This meticulous approach ensures that no area is overlooked, resulting in a thorough and satisfying cleanup process.
To clean up spackle dust, use a damp cloth or sponge to wipe down surfaces. Vacuum the area with a brush attachment to remove any remaining dust. Repeat as needed until the area is clean.
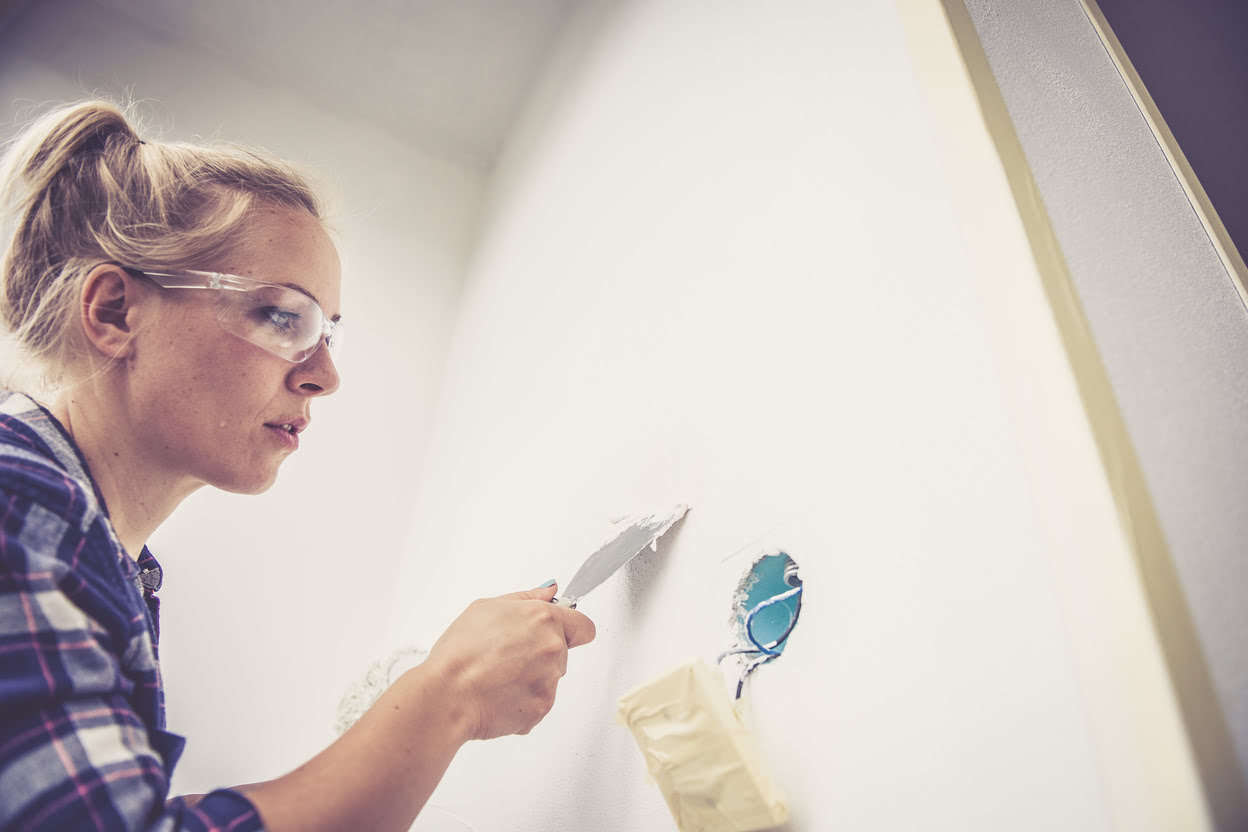
Step 4: Cleaning Up the Residue
Once the spackle dust has been removed, it’s essential to address any residual traces and ensure that the surfaces are thoroughly cleaned and restored. Here’s how to effectively clean up the residue left behind by the spackle dust:
- Inspecting Surfaces: Carefully inspect the cleaned surfaces for any remaining residue or streaks. This visual assessment will help identify areas that may require additional attention.
- Spot Cleaning: If any residue is detected, use a gentle all-purpose cleaner and a clean cloth to spot-clean the affected areas. Gently wipe the surfaces to lift any remaining traces of spackle dust or cleaning residue.
- Drying Surfaces: After spot cleaning, ensure that the surfaces are thoroughly dried to prevent streaking or water marks. Use a dry cloth to remove any excess moisture and leave the surfaces clean and pristine.
- Final Inspection: Conduct a final inspection to verify that all residue has been effectively removed. This meticulous review will ensure that the cleanup process is comprehensive and that the surfaces are restored to their original condition.
By addressing the residual traces of spackle dust and conducting a thorough inspection, you can achieve a polished and immaculate finish, free of any lingering residue. This meticulous approach ensures that the cleanup process is complete and that the surfaces are ready for the finishing touches.
Read more: How To Clean Dust Without A Duster
Step 5: Finishing Touches
With the spackle dust effectively removed and any residual traces cleaned up, it’s time to add the finishing touches to complete the cleanup process. These final steps will elevate the overall cleanliness of the space and add a polished touch to the environment:
- Polishing Surfaces: Use a clean, dry cloth to gently polish surfaces such as countertops, furniture, and fixtures. This step adds a final gleam to the cleaned areas, enhancing their appearance.
- Replacing Items: Return any furniture, decorations, or items that were temporarily removed to their original positions. Ensure that the space is organized and restored to its pre-cleanup arrangement.
- Enhancing Fragrance: Consider using air fresheners or diffusers to add a pleasant fragrance to the freshly cleaned space. This simple touch can enhance the overall ambiance and leave a lasting impression.
- Final Inspection: Conduct a final inspection of the entire area to ensure that all surfaces are clean, free of dust, and visually appealing. This comprehensive review will confirm that the cleanup process has been successfully completed.
By adding these finishing touches, you can elevate the cleanliness and visual appeal of the space, creating a welcoming and rejuvenated environment. These final steps contribute to a sense of accomplishment and satisfaction, signaling the successful completion of the spackle dust cleanup process.
Conclusion
Cleaning up spackle dust may initially seem like a daunting task, but with the right approach and attention to detail, it can be a manageable and rewarding endeavor. By following the step-by-step process outlined in this guide, you can effectively transform a space from being coated in fine spackle dust to being spotless and refreshed.
From gathering the necessary supplies to adding the finishing touches, each step plays a crucial role in achieving a thorough and satisfying cleanup. By preparing the area, methodically removing the spackle dust, and addressing any residual traces, you can restore the space to its original cleanliness, ready to be enjoyed and admired.
Remember that patience and thoroughness are key to achieving the best results. Taking the time to inspect surfaces, address any remaining residue, and add the final touches will ensure that the cleanup process is comprehensive and the results are visually appealing.
By mastering the art of cleaning up spackle dust, you can maintain a pristine environment and showcase the results of your home improvement projects with pride. With each successful cleanup, you’ll gain confidence and proficiency in managing the aftermath of spackling endeavors, ultimately enhancing the overall experience of home maintenance and renovation.
Armed with the knowledge and techniques shared in this guide, you’re well-equipped to conquer the challenge of spackle dust cleanup, turning it into a rewarding and fulfilling task that contributes to the overall cleanliness and allure of your living spaces.
Frequently Asked Questions about How To Clean Up A Spackle Dust
Was this page helpful?
At Storables.com, we guarantee accurate and reliable information. Our content, validated by Expert Board Contributors, is crafted following stringent Editorial Policies. We're committed to providing you with well-researched, expert-backed insights for all your informational needs.


0 thoughts on “How To Clean Up A Spackle Dust”