Home>Furniture & Design>Interior Design Trends>How To Seal Sliding Glass Door
Interior Design Trends
How To Seal Sliding Glass Door
Published: February 3, 2024
Learn how to seal your sliding glass door to improve energy efficiency and keep your home stylish with the latest interior design trends. Discover expert tips and techniques for a seamless and functional solution.
(Many of the links in this article redirect to a specific reviewed product. Your purchase of these products through affiliate links helps to generate commission for Storables.com, at no extra cost. Learn more)
Introduction
Sealing a sliding glass door is a crucial step in maintaining a comfortable and energy-efficient home. A well-sealed door not only prevents drafts and moisture from entering your living space but also helps in reducing energy costs. Whether you're preparing for the upcoming winter or simply aiming to enhance the overall insulation of your home, taking the time to properly seal your sliding glass door can yield significant benefits.
In this comprehensive guide, we will walk you through the essential steps to effectively seal your sliding glass door. From cleaning the door to applying weatherstripping, installing a door sweep, using caulk to seal gaps, and considering the addition of insulating window film, each step is designed to enhance the door's insulation and weatherproofing capabilities.
By following these steps, you can create a more comfortable and energy-efficient living environment while also prolonging the lifespan of your sliding glass door. Let's dive into the details of each step to ensure that you have all the necessary information and guidance to successfully seal your sliding glass door.
Key Takeaways:
- Keep your sliding glass door clean and well-maintained to ensure a smooth operation and prepare it for effective sealing. A clean door is the foundation for successful weatherproofing and insulation.
- Enhance the insulation and energy efficiency of your sliding glass door by applying weatherstripping, installing a door sweep, using caulk to seal gaps, and considering the addition of insulating window film. These steps create a comfortable and well-sealed living space.
Read more: How To Seal Gap Between Sliding Glass Doors
Step 1: Clean the Sliding Glass Door
Properly cleaning the sliding glass door is the crucial first step in the process of sealing it effectively. Over time, dirt, dust, and grime can accumulate on the door's surface and in its tracks, hindering the proper functioning of the door and compromising its ability to form a tight seal. Here's how to clean the sliding glass door thoroughly:
-
Remove Debris: Start by removing any loose dirt, leaves, or debris from the door's tracks and frame. Use a vacuum cleaner with a narrow attachment to effectively remove accumulated debris from the tracks, ensuring that the door can slide smoothly and form a tight seal.
-
Clean the Glass: Next, focus on cleaning the glass surfaces of the door. Use a gentle glass cleaner or a solution of water and mild dish soap to remove dirt, fingerprints, and other marks from the glass. A microfiber cloth or a squeegee can be used to wipe the glass clean, leaving it streak-free and sparkling.
-
Address Mold and Mildew: If you notice any mold or mildew growth on the door's frame or in the tracks, it's essential to address this issue before proceeding with the sealing process. A solution of equal parts water and vinegar can be used to remove mold and mildew, followed by a thorough rinse and drying to prevent regrowth.
-
Inspect and Lubricate the Tracks: After cleaning, inspect the door's tracks for any signs of damage or wear. Additionally, apply a silicone-based lubricant to the tracks to ensure smooth and effortless sliding motion. This step is crucial for maintaining the door's functionality and preventing premature wear and tear.
By thoroughly cleaning the sliding glass door, you not only prepare the surface for the subsequent sealing steps but also ensure that the door operates smoothly and efficiently. This sets the stage for the application of weatherstripping, door sweeps, and other sealing materials, allowing for a more effective and long-lasting seal.
Cleaning the sliding glass door is a simple yet essential task that forms the foundation for successful door sealing. By investing time and effort in this initial step, you can optimize the effectiveness of the subsequent sealing measures, ultimately enhancing the insulation and weatherproofing of your home.
Step 2: Apply Weatherstripping
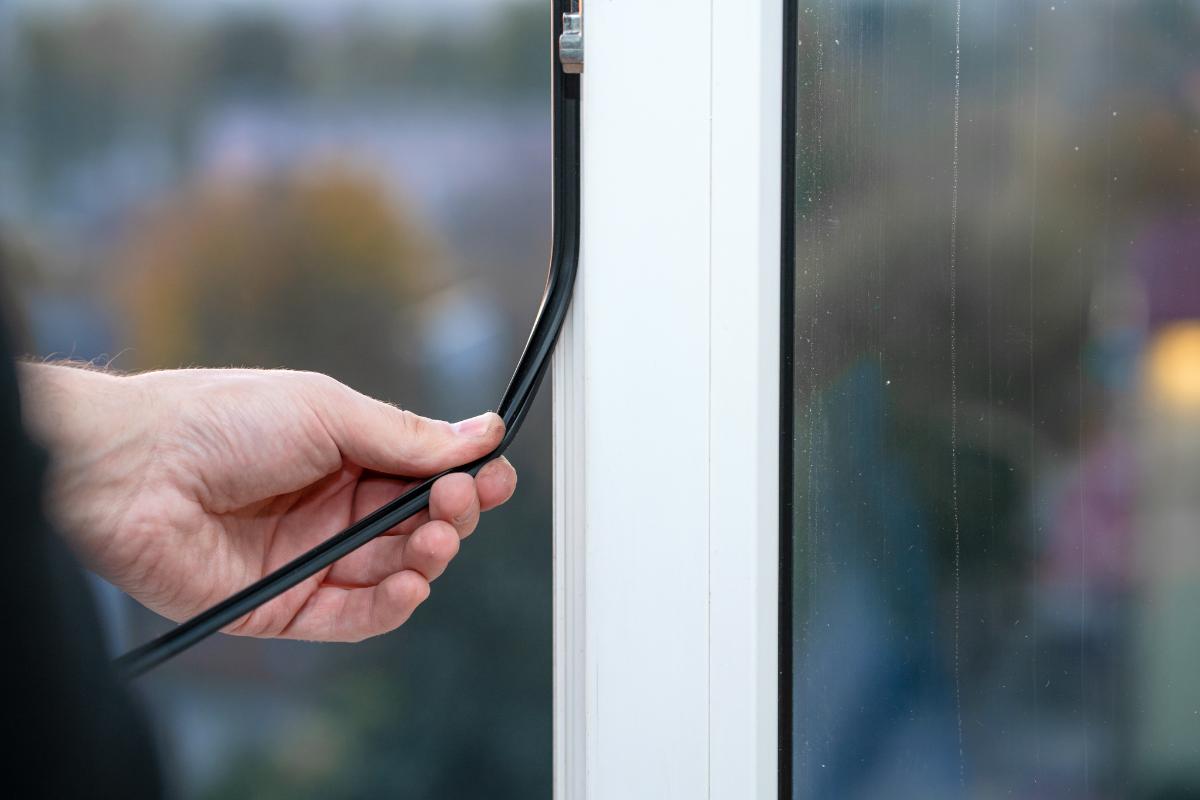
Applying weatherstripping to your sliding glass door is a highly effective method for enhancing its insulation and sealing out drafts, moisture, and external elements. Weatherstripping serves as a barrier, preventing air and water infiltration while helping to maintain a consistent indoor temperature. Here's a detailed look at the process of applying weatherstripping to your sliding glass door:
-
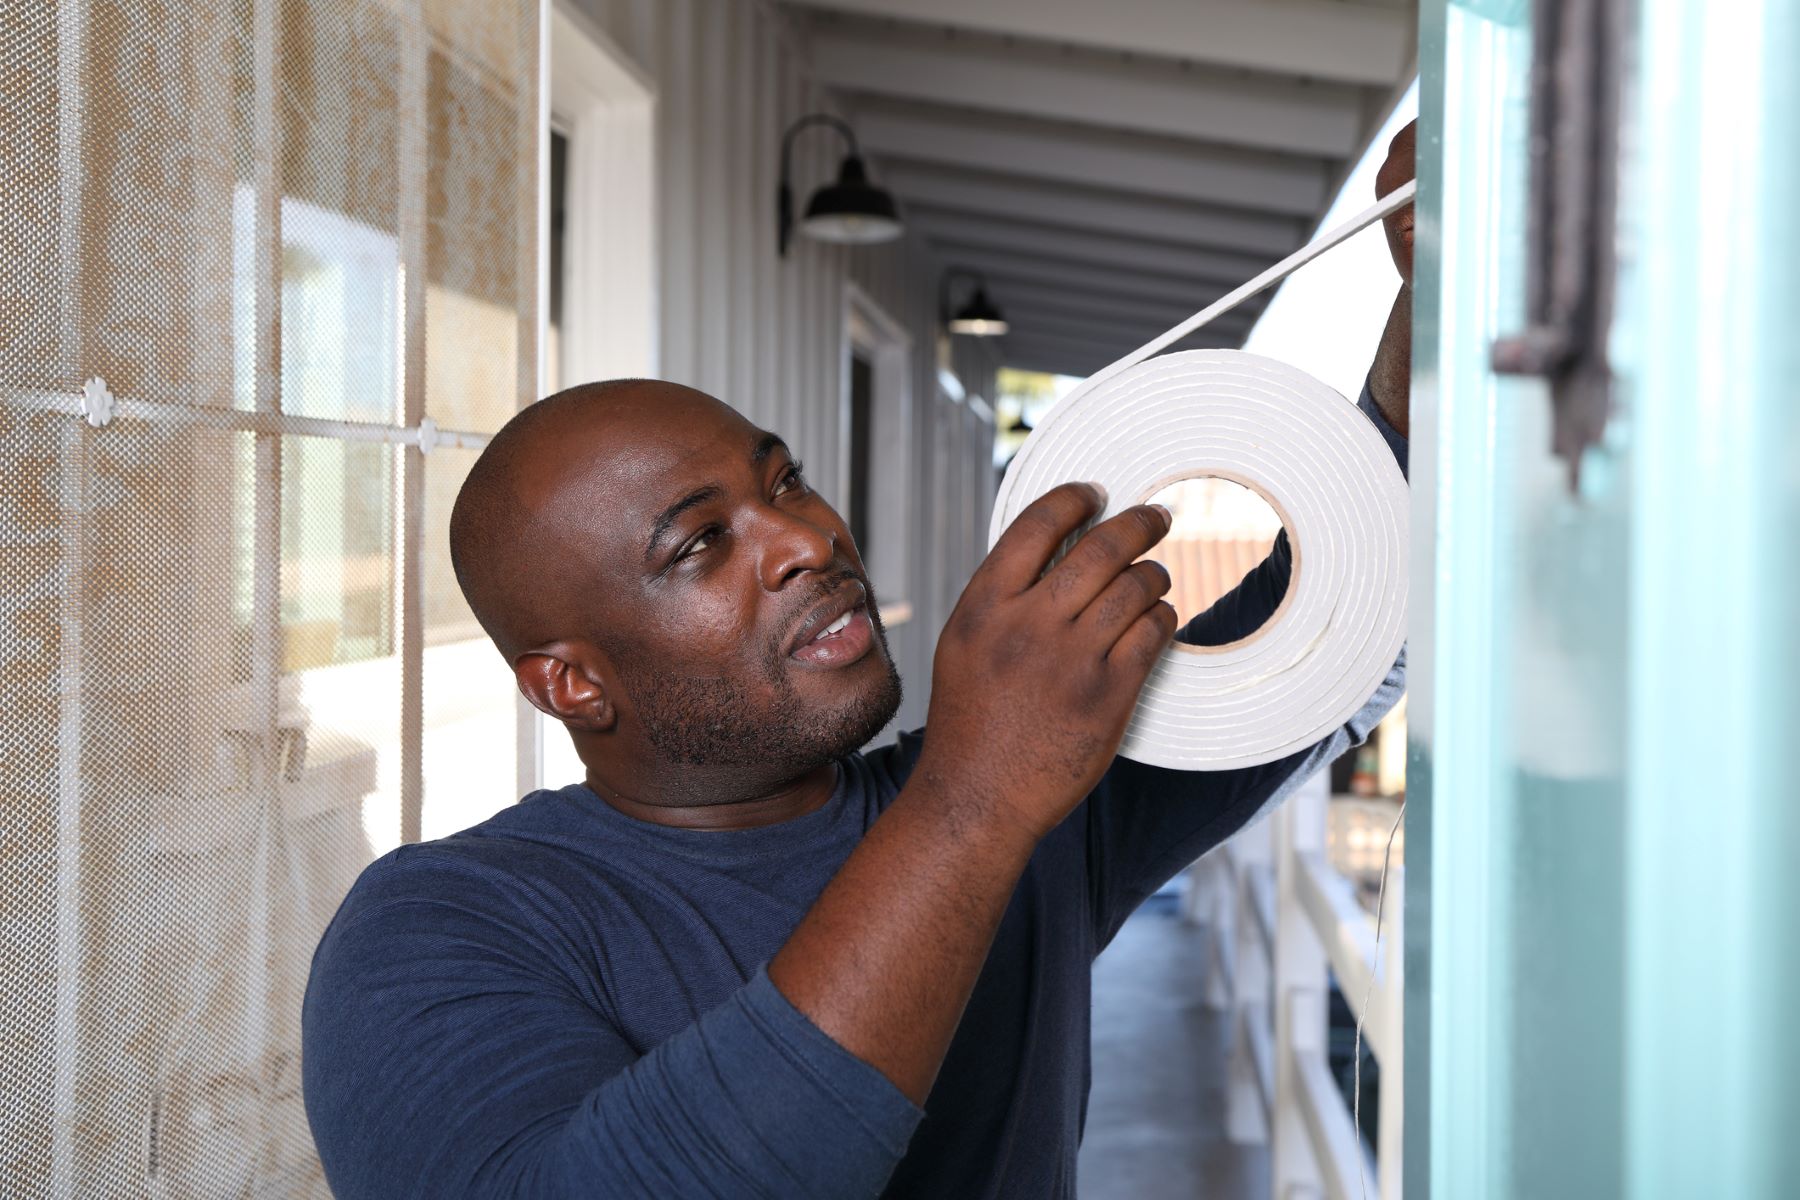
Select the Right Weatherstripping Material: Weatherstripping is available in various materials, including foam, rubber, vinyl, and felt. Choose a weatherstripping material that is durable, flexible, and suitable for the specific dimensions and design of your sliding glass door. Adhesive-backed foam weatherstripping is a popular choice for its ease of installation and effectiveness in sealing gaps.
-
Measure and Cut the Weatherstripping: Begin by measuring the dimensions of the areas where the weatherstripping will be applied, such as the door frame and the edges of the sliding panels. Use a sharp utility knife or scissors to cut the weatherstripping to the appropriate lengths, ensuring a precise fit along the door's perimeter.
-
Clean and Prepare the Application Surface: Before applying the weatherstripping, ensure that the surface is clean and free of dust, debris, and any residual adhesive from previous weatherstripping. Use a mild solvent or rubbing alcohol to clean the surface thoroughly, allowing for optimal adhesion of the new weatherstripping.
-
Apply the Weatherstripping: Carefully peel off the backing from the adhesive side of the weatherstripping and press it firmly onto the designated areas of the door frame and sliding panels. Ensure that the weatherstripping forms a continuous and snug seal, effectively closing any gaps and preventing air and water infiltration.
-
Test the Seal: After applying the weatherstripping, perform a simple test to ensure that the seal is effective. Close the sliding glass door and check for any visible gaps or areas where the weatherstripping may not be fully engaged. Make any necessary adjustments to ensure a tight and uniform seal along the entire perimeter of the door.
By applying weatherstripping to your sliding glass door, you can significantly improve its insulation and energy efficiency. This simple yet impactful sealing method helps to create a more comfortable indoor environment while reducing energy costs associated with heating and cooling. Additionally, weatherstripping contributes to the overall longevity and performance of your sliding glass door, making it a valuable investment in home maintenance and energy conservation.
Step 3: Install a Door Sweep
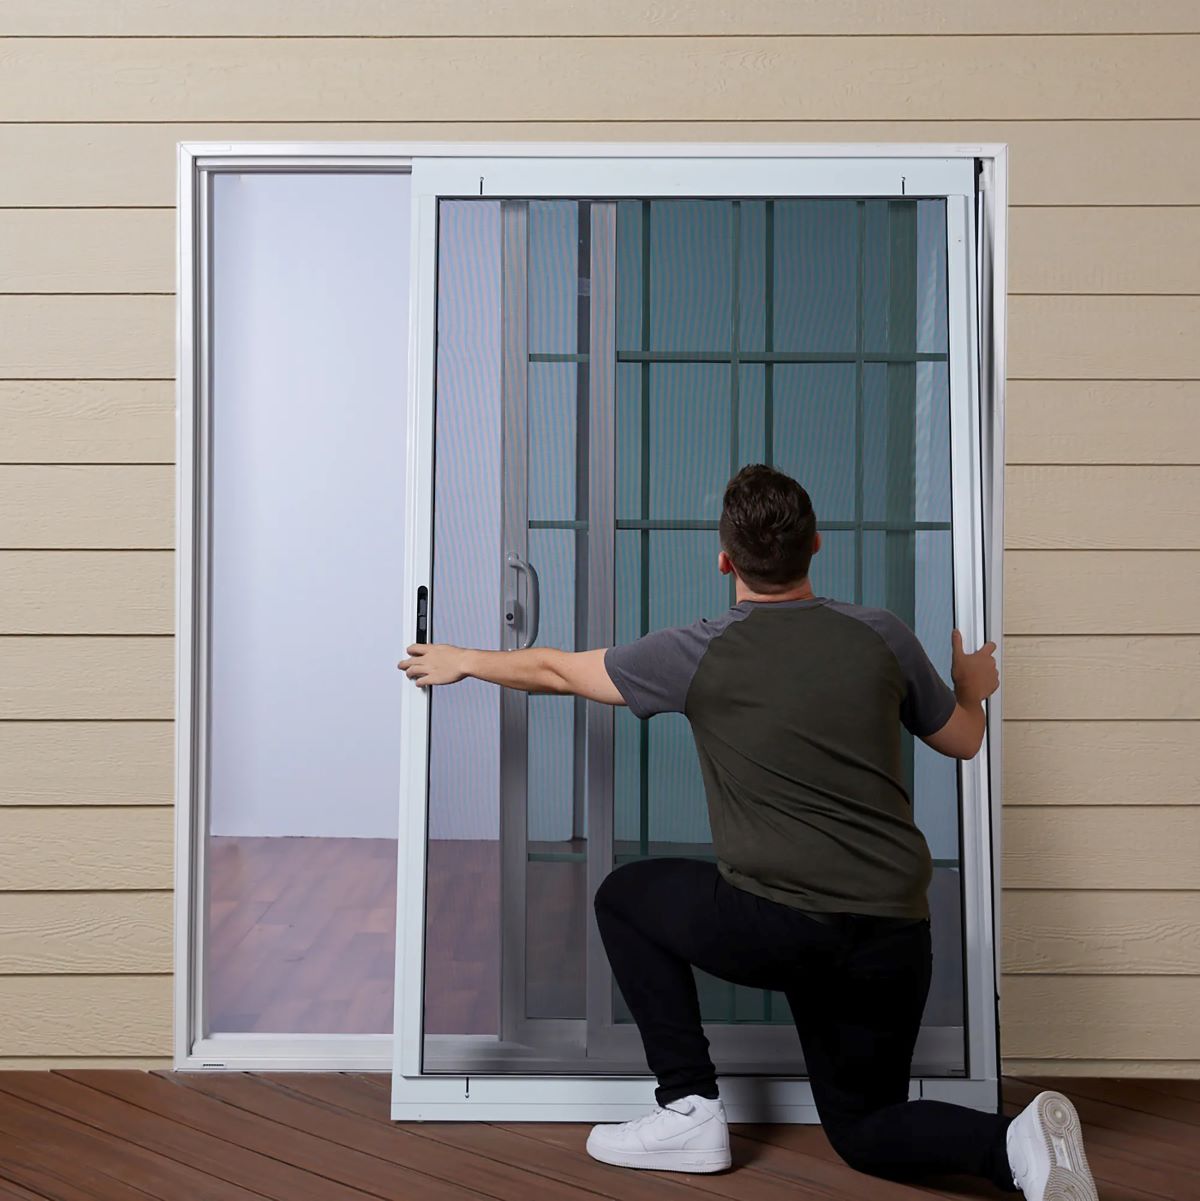
Installing a door sweep is a highly effective and relatively simple method to further enhance the insulation and weatherproofing of your sliding glass door. A door sweep, also known as a door bottom seal, is designed to seal the gap between the bottom of the door and the threshold, preventing drafts, dust, insects, and moisture from entering your home. This essential addition helps to maintain a comfortable indoor environment while reducing energy costs and enhancing the overall efficiency of your sliding glass door.
Here's a detailed guide on how to install a door sweep on your sliding glass door:
-
Select the Right Door Sweep: When choosing a door sweep, consider the material, size, and design that best suits your sliding glass door. Door sweeps are available in various materials, including rubber, vinyl, and aluminum, each offering different levels of durability and weather resistance. Additionally, select a door sweep that matches the width and thickness of your door to ensure a proper fit.
-
Measure and Trim the Door Sweep: Begin by measuring the width of the sliding glass door to determine the appropriate length for the door sweep. Most door sweeps can be trimmed to fit using a hacksaw or a utility knife. Ensure that the door sweep aligns with the entire width of the door, allowing for a seamless and effective seal.
-
Prepare the Door Surface: Thoroughly clean the bottom edge of the sliding glass door to remove any dirt, debris, or residual adhesive from previous door sweeps. A clean and smooth surface will promote optimal adhesion and ensure a secure attachment of the new door sweep.
-
Attach the Door Sweep: Position the door sweep along the bottom edge of the door, ensuring that it aligns evenly and covers the entire width. Use screws or the provided fasteners to secure the door sweep in place, ensuring a tight and secure fit. Some door sweeps feature adhesive backing for easy installation, providing a strong and lasting bond with the door surface.
-
Test the Seal: Once the door sweep is securely installed, close the sliding glass door and check for any gaps or areas where the sweep may not be fully engaged. Adjust the position or tightness of the door sweep as needed to ensure a uniform and effective seal along the entire width of the door.
By installing a door sweep on your sliding glass door, you can further enhance its insulation and energy efficiency while minimizing drafts and external elements from entering your home. This simple yet impactful addition contributes to a more comfortable and well-sealed living space, ultimately improving the overall performance and longevity of your sliding glass door.
Apply a silicone-based sealant around the edges of the sliding glass door to create a tight seal and prevent drafts or leaks. Make sure to clean and dry the area before applying the sealant for best results.
Step 4: Use Caulk to Seal Gaps
Using caulk to seal gaps around the sliding glass door is a crucial step in fortifying its insulation and preventing air and moisture infiltration. Over time, small gaps and cracks may develop between the door frame and the surrounding structure, compromising the door's ability to form a tight seal. By applying caulk to these areas, you can effectively seal the gaps, enhance the door's weatherproofing capabilities, and contribute to a more energy-efficient and comfortable indoor environment.
Here's a detailed guide on how to use caulk to seal gaps around your sliding glass door:
-
Select the Right Caulk: Choose a high-quality caulk that is specifically designed for exterior use and is suitable for the materials surrounding your sliding glass door. Silicone-based or siliconized acrylic caulk is often recommended for its durability, flexibility, and weather resistance. Additionally, consider the color of the caulk to ensure a seamless and aesthetically pleasing finish.
-
Prepare the Surface: Before applying the caulk, thoroughly clean the areas around the door frame where gaps are present. Use a mild detergent and water to remove dirt, dust, and debris, and allow the surface to dry completely. Ensuring a clean and dry surface is essential for promoting optimal adhesion and the effectiveness of the caulk seal.
-
Apply the Caulk: Load the caulk into a caulking gun and cut the tip of the caulk tube at a 45-degree angle to create a small opening. Apply a continuous and even bead of caulk along the gaps and cracks, ensuring full coverage and a uniform seal. Use steady and consistent pressure on the caulking gun to control the flow of caulk and achieve a smooth application.
-
Smooth and Shape the Caulk: After applying the caulk, use a wet finger or a caulk finishing tool to smooth and shape the bead, ensuring that it adheres tightly to the surfaces and fills the gaps completely. This step helps to create a neat and effective seal while preventing air and moisture from penetrating the gaps.
-
Allow for Proper Drying: Allow the caulk to dry and cure according to the manufacturer's instructions. This typically involves waiting for the recommended drying time, during which the caulk forms a strong and resilient seal. Avoid exposing the freshly applied caulk to moisture or extreme temperatures during the drying process.
By using caulk to seal gaps around your sliding glass door, you can significantly improve its insulation, weatherproofing, and energy efficiency. This proactive measure helps to address potential areas of air and moisture infiltration, ultimately contributing to a more comfortable and well-sealed living space. Additionally, properly sealed gaps can prevent issues such as water damage, mold growth, and energy loss, making caulk application a valuable investment in the maintenance and performance of your sliding glass door.
Read more: How To Seal Water Slide Decals On Glass
Step 5: Consider Adding Insulating Window Film
When enhancing the insulation and energy efficiency of your sliding glass door, considering the addition of insulating window film can provide significant benefits. Insulating window film is a cost-effective and practical solution that helps to minimize heat transfer, reduce drafts, and enhance the overall thermal performance of the door's glass panels. By adding a layer of insulating film to the glass surfaces, you can create a more comfortable indoor environment while reducing energy costs and improving the functionality of your sliding glass door.
Here's a detailed look at the process of adding insulating window film to your sliding glass door:
-
Select the Right Window Film: Choose a high-quality insulating window film that is designed for use on glass surfaces. Look for film options that offer thermal insulation properties, UV protection, and clarity to maintain visibility through the glass. Additionally, consider the specific dimensions of your sliding glass door to ensure that the window film can be trimmed to fit accurately.
-
Clean the Glass Surfaces: Before applying the window film, thoroughly clean the glass surfaces of the sliding door to remove any dirt, dust, and residue. Use a gentle glass cleaner and a lint-free cloth to ensure that the glass is free of smudges, streaks, and contaminants. A clean surface promotes optimal adhesion and a clear, professional finish once the window film is applied.
-
Measure and Trim the Window Film: Carefully measure the dimensions of the glass panels on the sliding door and cut the window film to fit using a sharp utility knife or scissors. It's essential to achieve precise measurements and cuts to ensure that the window film covers the entire glass surface without leaving exposed areas.
-
Apply the Window Film: Begin by spraying a fine mist of water onto the glass surfaces to create a wet and slightly tacky base for the window film. Carefully position the window film onto the glass, ensuring that it aligns evenly and smoothly. Use a squeegee to remove any air bubbles and excess water, pressing the film firmly onto the glass to create a secure bond.
-
Trim and Seal the Edges: Once the window film is applied, trim any excess film along the edges of the glass panels using a sharp blade. This step helps to achieve a clean and professional finish while ensuring that the film adheres securely to the glass. Additionally, use the squeegee to press along the edges, sealing the film firmly to prevent peeling or lifting.
By considering the addition of insulating window film to your sliding glass door, you can effectively enhance its thermal performance, reduce heat loss, and create a more comfortable indoor environment. Insulating window film provides a practical and affordable solution for improving the energy efficiency of your home while extending the lifespan of your sliding glass door. With its ability to minimize heat transfer and maintain a consistent indoor temperature, insulating window film is a valuable investment in optimizing the functionality and comfort of your living space.
Conclusion
In conclusion, effectively sealing a sliding glass door is a proactive and beneficial endeavor that contributes to the overall comfort, energy efficiency, and longevity of your home. By following the essential steps outlined in this guide, including cleaning the door, applying weatherstripping, installing a door sweep, using caulk to seal gaps, and considering the addition of insulating window film, you can significantly enhance the insulation and weatherproofing capabilities of your sliding glass door.
The process begins with thorough cleaning, ensuring that the door's surfaces and tracks are free from dirt, debris, and mold. This sets the stage for the application of weatherstripping, a highly effective method for sealing gaps and preventing air and water infiltration. Additionally, installing a door sweep further fortifies the door's insulation, creating a tight seal at the bottom edge and minimizing drafts and external elements.
Using caulk to seal gaps around the door frame is a crucial step in addressing potential areas of air and moisture infiltration, contributing to a more energy-efficient and well-sealed living space. Furthermore, considering the addition of insulating window film provides an opportunity to enhance the thermal performance of the glass panels, reducing heat transfer and improving overall energy efficiency.
By implementing these sealing measures, you can create a more comfortable indoor environment, reduce energy costs, and minimize the impact of external elements on your living space. Properly sealed sliding glass doors contribute to a well-insulated home, maintaining consistent indoor temperatures and reducing the workload on heating and cooling systems.
In addition to the immediate benefits of enhanced insulation and energy efficiency, effectively sealing your sliding glass door can lead to long-term advantages. By minimizing air and moisture infiltration, you can prevent issues such as water damage, mold growth, and premature wear and tear on the door and surrounding structures. This proactive approach to door maintenance and weatherproofing contributes to the overall durability and performance of your home.
In conclusion, the process of sealing a sliding glass door is a valuable investment in home maintenance, energy conservation, and the creation of a comfortable and well-insulated living environment. By following the steps outlined in this guide and taking proactive measures to seal your sliding glass door, you can enjoy the benefits of improved energy efficiency, reduced drafts, and a more comfortable indoor space for years to come.
Frequently Asked Questions about How To Seal Sliding Glass Door
Was this page helpful?
At Storables.com, we guarantee accurate and reliable information. Our content, validated by Expert Board Contributors, is crafted following stringent Editorial Policies. We're committed to providing you with well-researched, expert-backed insights for all your informational needs.


0 thoughts on “How To Seal Sliding Glass Door”