Home>Furniture & Design>Interior Design Trends>How To Remove Overspray From Glass
Interior Design Trends
How To Remove Overspray From Glass
Published: February 5, 2024
Learn effective techniques for removing overspray from glass surfaces. Discover the latest interior design trends for a stylish and modern home.
(Many of the links in this article redirect to a specific reviewed product. Your purchase of these products through affiliate links helps to generate commission for Storables.com, at no extra cost. Learn more)
Introduction
Overspray on glass surfaces can be a pesky nuisance, often resulting from activities such as painting, varnishing, or even construction work. This unwanted residue can mar the clarity and luster of glass, diminishing the overall aesthetic appeal of windows, mirrors, and other glass elements in your living or working space. However, with the right approach and tools, it's possible to effectively remove overspray and restore the glass to its pristine condition.
In this comprehensive guide, we will delve into the intricacies of removing overspray from glass, providing you with a step-by-step process that ensures a successful outcome. By understanding the nature of overspray and employing the appropriate techniques, you can rejuvenate your glass surfaces and revitalize the visual allure of your interior spaces.
Whether you're a DIY enthusiast or a professional in the field of interior design and maintenance, mastering the art of removing overspray from glass is a valuable skill. Not only does it contribute to the overall cleanliness and attractiveness of your surroundings, but it also demonstrates a commitment to preserving the quality and longevity of your glass fixtures.
So, let's embark on this journey together, equipping ourselves with the knowledge and tools necessary to bid farewell to unsightly overspray and welcome back the gleaming transparency of our glass surfaces. With a blend of precision, care, and the right products, you'll soon be able to enjoy the unobstructed clarity and brilliance of your glass elements once more.
Key Takeaways:
- Say goodbye to pesky overspray on glass with the right tools and techniques. Restore the clarity and luster of your glass surfaces for a visually captivating interior environment.
- Prepare, apply, and remove overspray with precision and care to achieve pristine glass surfaces. Master the art of removing overspray for a visually appealing living or working space.
Read more: How To Remove Overspray From Car Windows
Understanding Overspray on Glass
Overspray on glass is a common issue that arises from various activities such as painting, varnishing, or construction work. It occurs when tiny particles of paint, varnish, or other substances land on glass surfaces unintentionally, creating a thin, often stubborn layer that can be challenging to remove. This overspray can significantly detract from the visual appeal of glass, causing it to appear dull, hazy, or even speckled with unwanted residue.
The nature of overspray on glass is such that it adheres to the surface, forming a film that is not easily wiped away with conventional cleaning methods. This is due to the microscopic nature of the particles, which allows them to settle onto the glass and bond with it, making removal a more intricate process than simply wiping or washing the surface.
Furthermore, overspray can compromise the transparency and clarity of glass, affecting its functionality and aesthetic value. Whether it's windows, mirrors, or glass tabletops, the presence of overspray can obscure the view and diminish the overall ambiance of a space.
Understanding the characteristics of overspray is crucial in determining the most effective approach to its removal. Different types of overspray, such as water-based or oil-based, may require specific products and techniques for successful elimination. Additionally, the duration for which the overspray has been present on the glass, as well as the environmental conditions it has been exposed to, can influence the level of adherence and the difficulty of removal.
By gaining a comprehensive understanding of overspray on glass, including its composition, adhesion properties, and potential impact on the visual and functional aspects of glass surfaces, individuals can approach the removal process with clarity and confidence. This knowledge forms the foundation for selecting the appropriate tools, materials, and methods that will effectively restore the glass to its original pristine state.
In the subsequent sections, we will explore the tools and materials needed, as well as a detailed step-by-step process for removing overspray from glass, empowering you to tackle this common issue with precision and expertise.
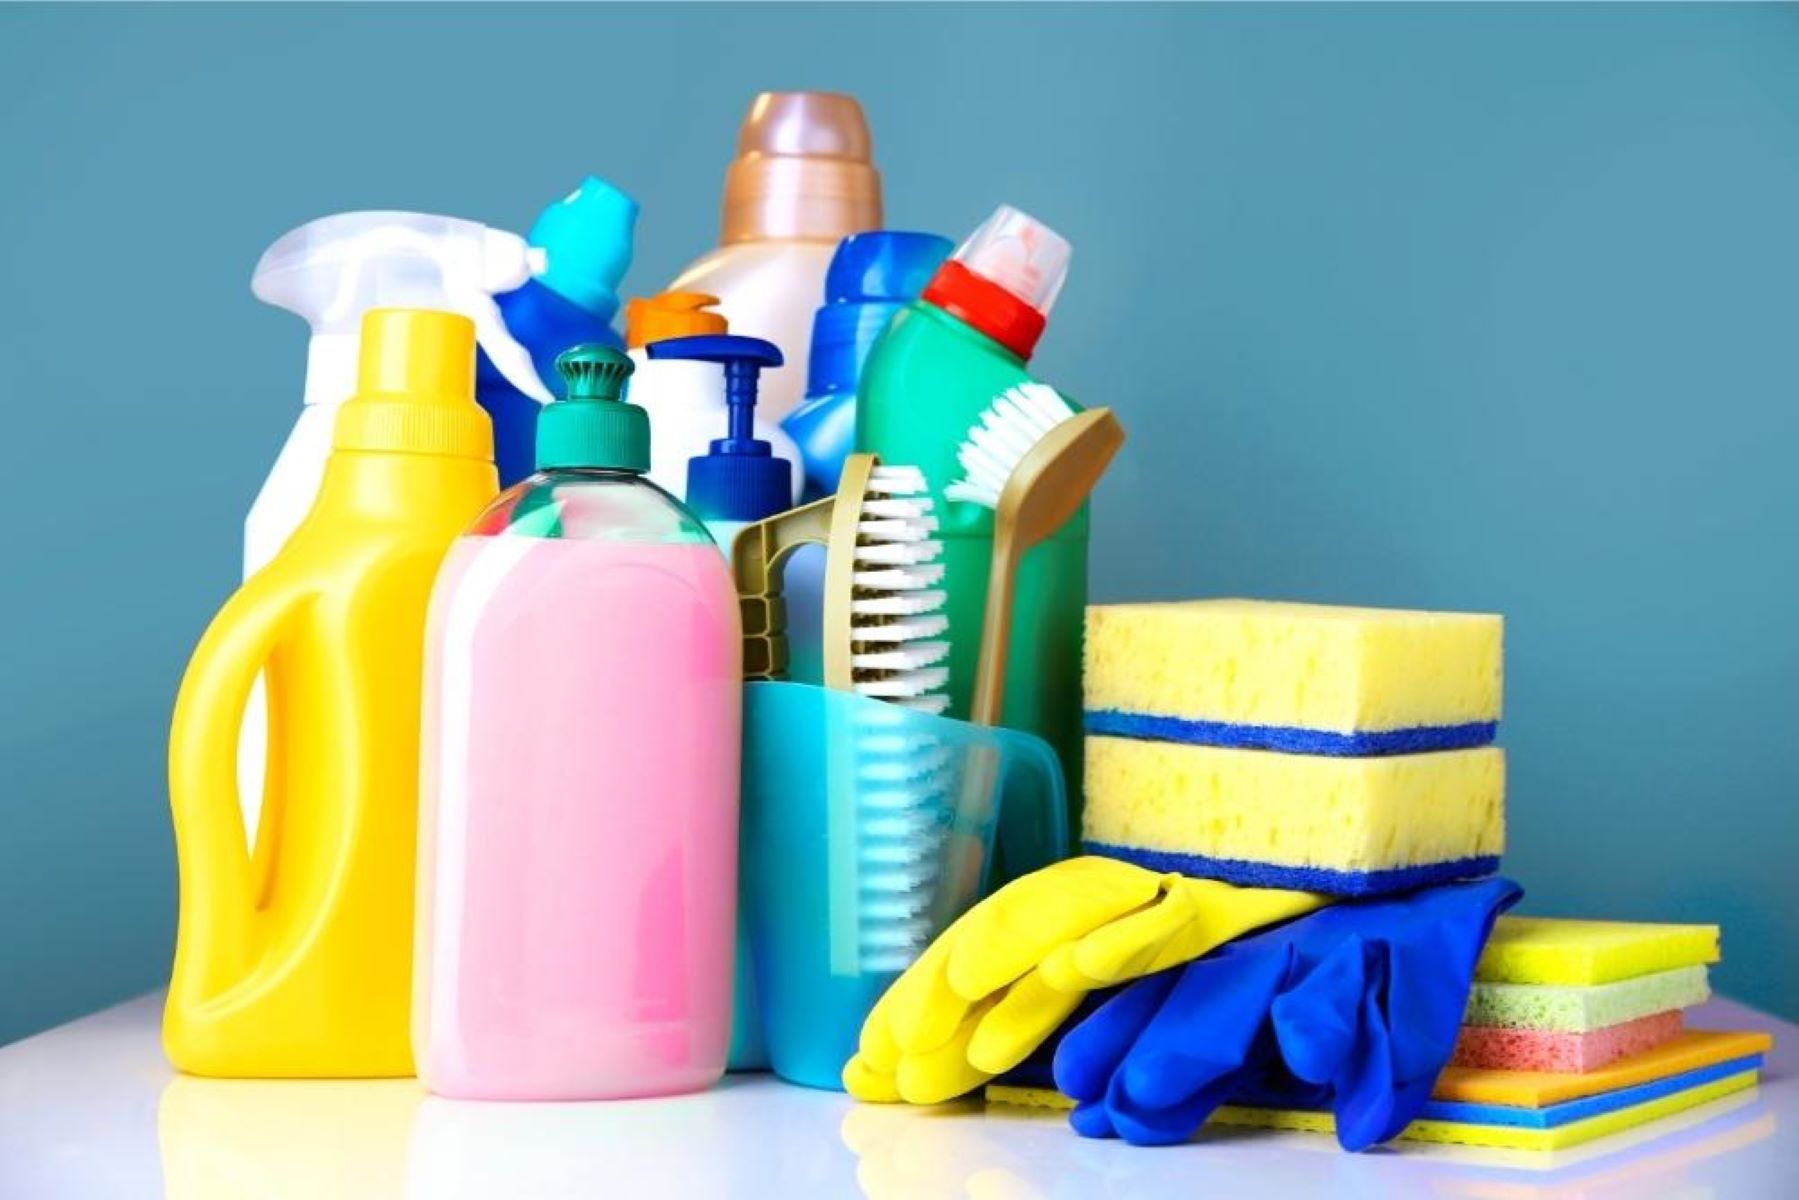
Tools and Materials Needed
When embarking on the task of removing overspray from glass, having the right tools and materials at your disposal is essential for achieving optimal results. Here's a comprehensive list of items that will facilitate the effective removal of overspray from glass surfaces:
1. Overspray Remover:
- Selecting a high-quality overspray remover specifically designed for glass surfaces is paramount. Look for a product that is formulated to dissolve and lift overspray particles without causing damage to the glass.
2. Microfiber Cloths:
- Soft, lint-free microfiber cloths are indispensable for gently wiping and polishing glass surfaces. These cloths are highly effective in capturing and lifting overspray residue without leaving streaks or scratches.
Read more: How To Get Overspray Off Glass
3. Glass Cleaner:
- A reliable glass cleaner serves as a supplementary cleaning agent to ensure the removal of any remaining overspray traces and to achieve a streak-free, crystal-clear finish.
4. Plastic Razor Blade or Scraper:
- A plastic razor blade or scraper can be utilized for delicately scraping off stubborn overspray particles from the glass surface. It's important to use a plastic blade to avoid scratching or damaging the glass.
5. Rubbing Alcohol:
- Rubbing alcohol is effective in dissolving and loosening certain types of overspray, making it easier to remove from the glass. It also aids in eliminating any residual adhesive or greasy substances.
6. Protective Gloves:
- Wearing protective gloves is advisable to shield your hands from the overspray remover and other cleaning agents, ensuring safety during the removal process.
Read more: How To Remove Dabs From Glass
7. Protective Eyewear:
- Safety goggles or glasses provide protection for your eyes while working with overspray remover and other cleaning solutions, preventing any accidental splashes or contact.
8. Ventilation:
- Adequate ventilation is crucial when working with overspray remover and cleaning agents to minimize exposure to fumes and ensure a comfortable working environment.
9. Ladder or Step Stool (if applicable):
- For overspray removal from high windows or glass surfaces, a stable ladder or step stool may be necessary to access and effectively treat the entire glass area.
By assembling these essential tools and materials, you'll be well-prepared to tackle the task of removing overspray from glass surfaces with precision and care. Each item plays a crucial role in the removal process, contributing to the restoration of the glass's clarity and visual appeal.
Step 1: Preparing the Glass Surface
Before diving into the process of removing overspray from glass, it is crucial to prepare the glass surface adequately. This preparatory phase sets the stage for a successful removal process, ensuring that the glass is ready to undergo the necessary treatments without encountering any avoidable complications.
Read more: How To Remove Glass From Finger
Clear the Surrounding Area
Begin by clearing the surrounding area to create a conducive and unobstructed workspace. Remove any objects, furniture, or decor that may impede access to the glass surface requiring treatment. This includes relocating items near windows, mirrors, or glass tabletops to prevent accidental contact or interference during the overspray removal process.
Ventilation and Safety Measures
Ensure that the workspace is well-ventilated to minimize exposure to fumes from the overspray remover and other cleaning agents. Open windows and doors to promote air circulation, and if possible, utilize fans to further enhance ventilation. Additionally, don protective gloves and safety goggles to safeguard your hands and eyes from potential contact with the overspray remover and cleaning solutions.
Test in a Discreet Area
Before proceeding with the full-scale removal process, it is advisable to conduct a small-scale test in a discreet area of the glass surface. This test serves to assess the compatibility of the overspray remover with the specific type of glass and to gauge its effectiveness in lifting the overspray without causing damage. Select an inconspicuous spot on the glass, apply a small amount of the overspray remover, and observe its interaction with the surface to ensure that it yields the desired results without adverse effects.
Clean the Glass Surface
Thoroughly clean the glass surface using a gentle glass cleaner and a microfiber cloth to eliminate any superficial dirt, dust, or debris. This initial cleaning step prepares the glass for the application of the overspray remover, ensuring that the treatment can directly target the overspray without encountering any extraneous particles that may impede its efficacy.
Read more: How To Remove Frosting From Glass
Assess the Overspray Severity
Assess the severity and extent of the overspray on the glass surface. Take note of areas with concentrated overspray buildup and areas where the overspray may have adhered more firmly. This assessment will inform the subsequent steps of the removal process, allowing for targeted and strategic application of the overspray remover to address varying degrees of overspray adherence.
By meticulously preparing the glass surface through these essential steps, you establish a solid foundation for the successful removal of overspray. This preparatory phase not only optimizes the effectiveness of the subsequent removal techniques but also minimizes the risk of complications or damage to the glass, ensuring a smooth and efficient removal process.
Step 2: Applying Overspray Remover
Once the glass surface is adequately prepared, the next crucial step in the process of removing overspray is the application of the overspray remover. This pivotal phase involves the strategic and precise application of the remover to effectively target and dissolve the overspray particles adhering to the glass surface.
Selecting the Appropriate Overspray Remover
Choosing the right overspray remover is paramount to the success of this step. It is essential to select a high-quality product specifically formulated for glass surfaces, ensuring that it is designed to effectively dissolve and lift overspray without causing damage or leaving residue. Consider the type of overspray present, whether it is water-based or oil-based, and select a remover that is tailored to address the specific composition of the overspray.
Application Technique
Begin by carefully following the manufacturer's instructions for the overspray remover. Shake the product well to ensure proper mixing of its components. Using a clean, lint-free microfiber cloth, apply a small amount of the overspray remover to a manageable section of the glass surface. It is advisable to start with a small area to gauge the product's effectiveness and to prevent it from drying out before it can be adequately worked into the overspray.
Read more: How To Remove Vinyl From Glass
Even Distribution
Gently spread the overspray remover across the glass surface, ensuring an even distribution of the product over the areas affected by overspray. The goal is to allow the remover to penetrate and interact with the overspray particles, effectively breaking down their adhesion to the glass.
Dwell Time
Allow the overspray remover to dwell on the glass surface for the duration recommended by the manufacturer. This dwell time is crucial as it allows the remover to effectively dissolve and loosen the overspray particles, preparing them for subsequent removal. It is important to monitor the dwell time closely to prevent the product from drying out prematurely.
Targeted Treatment
For areas with particularly stubborn overspray, consider applying a slightly thicker layer of the remover and allowing it to dwell for an extended period, ensuring thorough penetration and dissolution of the overspray. This targeted treatment approach is especially effective for areas with heavy overspray buildup or where the overspray has been present for an extended period.
By meticulously following these steps for applying the overspray remover, you set the stage for the subsequent phase of removing overspray from the glass surface. The careful and precise application of the remover is instrumental in effectively preparing the overspray for removal, laying the groundwork for the restoration of the glass's clarity and pristine condition.
Step 3: Removing Overspray
With the glass surface adequately prepared and the overspray remover effectively applied, the pivotal phase of removing overspray from the glass commences. This step involves the meticulous and strategic removal of the dissolved overspray particles, aiming to restore the glass to its original clarity and luster.
Read more: How To Remove Adhesive From Glass
Gentle Wiping Technique
Using a clean microfiber cloth, gently begin wiping the glass surface in a consistent and controlled manner. The dissolved overspray particles should begin to lift off the glass, facilitated by the action of the remover. Employing light pressure and smooth, overlapping strokes, gradually work across the treated areas, ensuring thorough coverage and removal of the overspray residue.
Plastic Razor Blade for Stubborn Overspray
For areas where the overspray has adhered more firmly or where stubborn particles persist, a plastic razor blade or scraper can be utilized. Carefully glide the plastic blade over the affected areas, applying minimal pressure to avoid scratching the glass. The blade aids in delicately dislodging any remaining overspray, allowing for a more targeted and precise removal process.
Repeat Application if Necessary
In instances where the overspray has accumulated in layers or has proven resistant to initial removal attempts, consider reapplying the overspray remover to the affected areas. Allow the remover to dwell for an extended period, ensuring thorough penetration and dissolution of the persistent overspray. Subsequent gentle wiping and targeted use of the plastic razor blade can then be employed to effectively eliminate the remaining overspray.
Thorough Inspection and Touch-Up
Upon completing the removal process, conduct a thorough inspection of the glass surface to identify any residual overspray or areas requiring touch-up. Utilize a clean microfiber cloth to gently address any remaining traces of overspray, ensuring that the glass is free from any lingering residue. This meticulous touch-up phase contributes to achieving a pristine, unobstructed finish on the glass surface.
By meticulously following these steps for removing overspray from the glass, you pave the way for the final phase of cleaning and polishing the glass, culminating in the restoration of its transparency and visual allure. The strategic and attentive approach to overspray removal ensures that the glass surfaces are rejuvenated to their optimal condition, free from the unsightly effects of overspray.
Read more: How To Remove Haze From Glass
Step 4: Cleaning and Polishing the Glass
After successfully removing the overspray from the glass surface, the final step involves thorough cleaning and polishing to restore the glass to its pristine and lustrous state. This phase is essential for ensuring that the glass exhibits a crystal-clear transparency and a visually appealing finish.
Glass Cleaning Solution
Begin by applying a high-quality glass cleaning solution to the treated areas. Select a cleaner specifically formulated for glass surfaces to ensure optimal results. Spray the cleaner onto the glass and use a fresh microfiber cloth to gently wipe the surface in smooth, overlapping motions. This step serves to eliminate any residual traces of the overspray remover and to further cleanse the glass, preparing it for the polishing process.
Polishing the Glass
Once the glass surface is thoroughly cleaned, it's time to polish it to achieve a brilliant, streak-free finish. Utilize a clean microfiber cloth or a dedicated glass polishing cloth to buff the glass in circular motions. This polishing action not only enhances the clarity and shine of the glass but also ensures the removal of any remaining streaks or smudges, resulting in a flawless, reflective surface.
Final Inspection
Conduct a meticulous inspection of the glass surface to assess the effectiveness of the cleaning and polishing process. Carefully examine the glass from various angles and under different lighting conditions to identify any remaining imperfections or streaks. Address any lingering issues by performing targeted touch-ups with the glass cleaning solution and polishing cloth, ensuring that the glass achieves a pristine, mirror-like finish.
Read more: How To Remove Resin From Glass
Admire the Results
Upon completing the cleaning and polishing process, take a moment to admire the revitalized appearance of the glass. Revel in the unobstructed clarity and radiant sheen that now grace the glass surface, showcasing its inherent beauty and enhancing the overall aesthetic of the surrounding space.
By meticulously following these steps for cleaning and polishing the glass, you conclude the comprehensive process of removing overspray and restoring the glass to its original splendor. The combination of effective cleaning, meticulous polishing, and attentive inspection ensures that the glass surfaces exude a captivating brilliance and remain free from the remnants of overspray, elevating the visual appeal and allure of the interior space.
Conclusion
In conclusion, the successful removal of overspray from glass surfaces is a task that demands precision, care, and the application of appropriate techniques and products. By embarking on this journey of overspray removal, individuals can rejuvenate the transparency and luster of their glass elements, contributing to the overall cleanliness and visual appeal of their living or working spaces.
Understanding the nature of overspray on glass, including its composition, adhesion properties, and potential impact on the visual and functional aspects of glass surfaces, forms the foundation for a successful removal process. This knowledge empowers individuals to select the right tools, materials, and methods tailored to the specific characteristics of the overspray, ensuring an effective and efficient removal process.
The preparatory phase, encompassing the clearing of the surrounding area, ventilation, safety measures, discreet testing, and initial cleaning, sets the stage for the subsequent steps of overspray removal. This meticulous preparation optimizes the effectiveness of the overspray remover and minimizes the risk of complications or damage to the glass, ensuring a smooth and efficient removal process.
The application of the overspray remover is a pivotal phase that demands careful consideration of the product's compatibility with the glass surface and the specific type of overspray present. The even distribution and strategic dwell time of the remover are instrumental in effectively preparing the overspray for removal, laying the groundwork for the restoration of the glass's clarity and pristine condition.
The meticulous and strategic removal of the dissolved overspray particles, coupled with targeted treatments for stubborn overspray, ensures the thorough elimination of unwanted residue from the glass surface. This phase culminates in a thorough inspection and touch-up, guaranteeing that the glass is free from any lingering overspray, resulting in a pristine, unobstructed finish.
The final steps of cleaning and polishing the glass serve to elevate the visual allure of the glass surfaces, ensuring a crystal-clear transparency and a visually appealing finish. The combination of effective cleaning, meticulous polishing, and attentive inspection results in glass surfaces that exude a captivating brilliance, enhancing the overall aesthetic of the interior space.
In mastering the art of removing overspray from glass, individuals not only preserve the quality and longevity of their glass fixtures but also demonstrate a commitment to maintaining the visual appeal and cleanliness of their surroundings. With the knowledge and techniques outlined in this guide, individuals are equipped to bid farewell to unsightly overspray and welcome back the gleaming transparency of their glass surfaces, ensuring a revitalized and visually captivating interior environment.
Frequently Asked Questions about How To Remove Overspray From Glass
Was this page helpful?
At Storables.com, we guarantee accurate and reliable information. Our content, validated by Expert Board Contributors, is crafted following stringent Editorial Policies. We're committed to providing you with well-researched, expert-backed insights for all your informational needs.
0 thoughts on “How To Remove Overspray From Glass”