Home>Furniture & Design>Interior Design Trends>How To Get Vinyl To Stick To Glass Permanently
Interior Design Trends
How To Get Vinyl To Stick To Glass Permanently
Modified: October 18, 2024
Learn the latest interior design trends and discover how to permanently adhere vinyl to glass surfaces for a stylish and durable finish. Explore expert tips and techniques for long-lasting results.
(Many of the links in this article redirect to a specific reviewed product. Your purchase of these products through affiliate links helps to generate commission for Storables.com, at no extra cost. Learn more)
Introduction
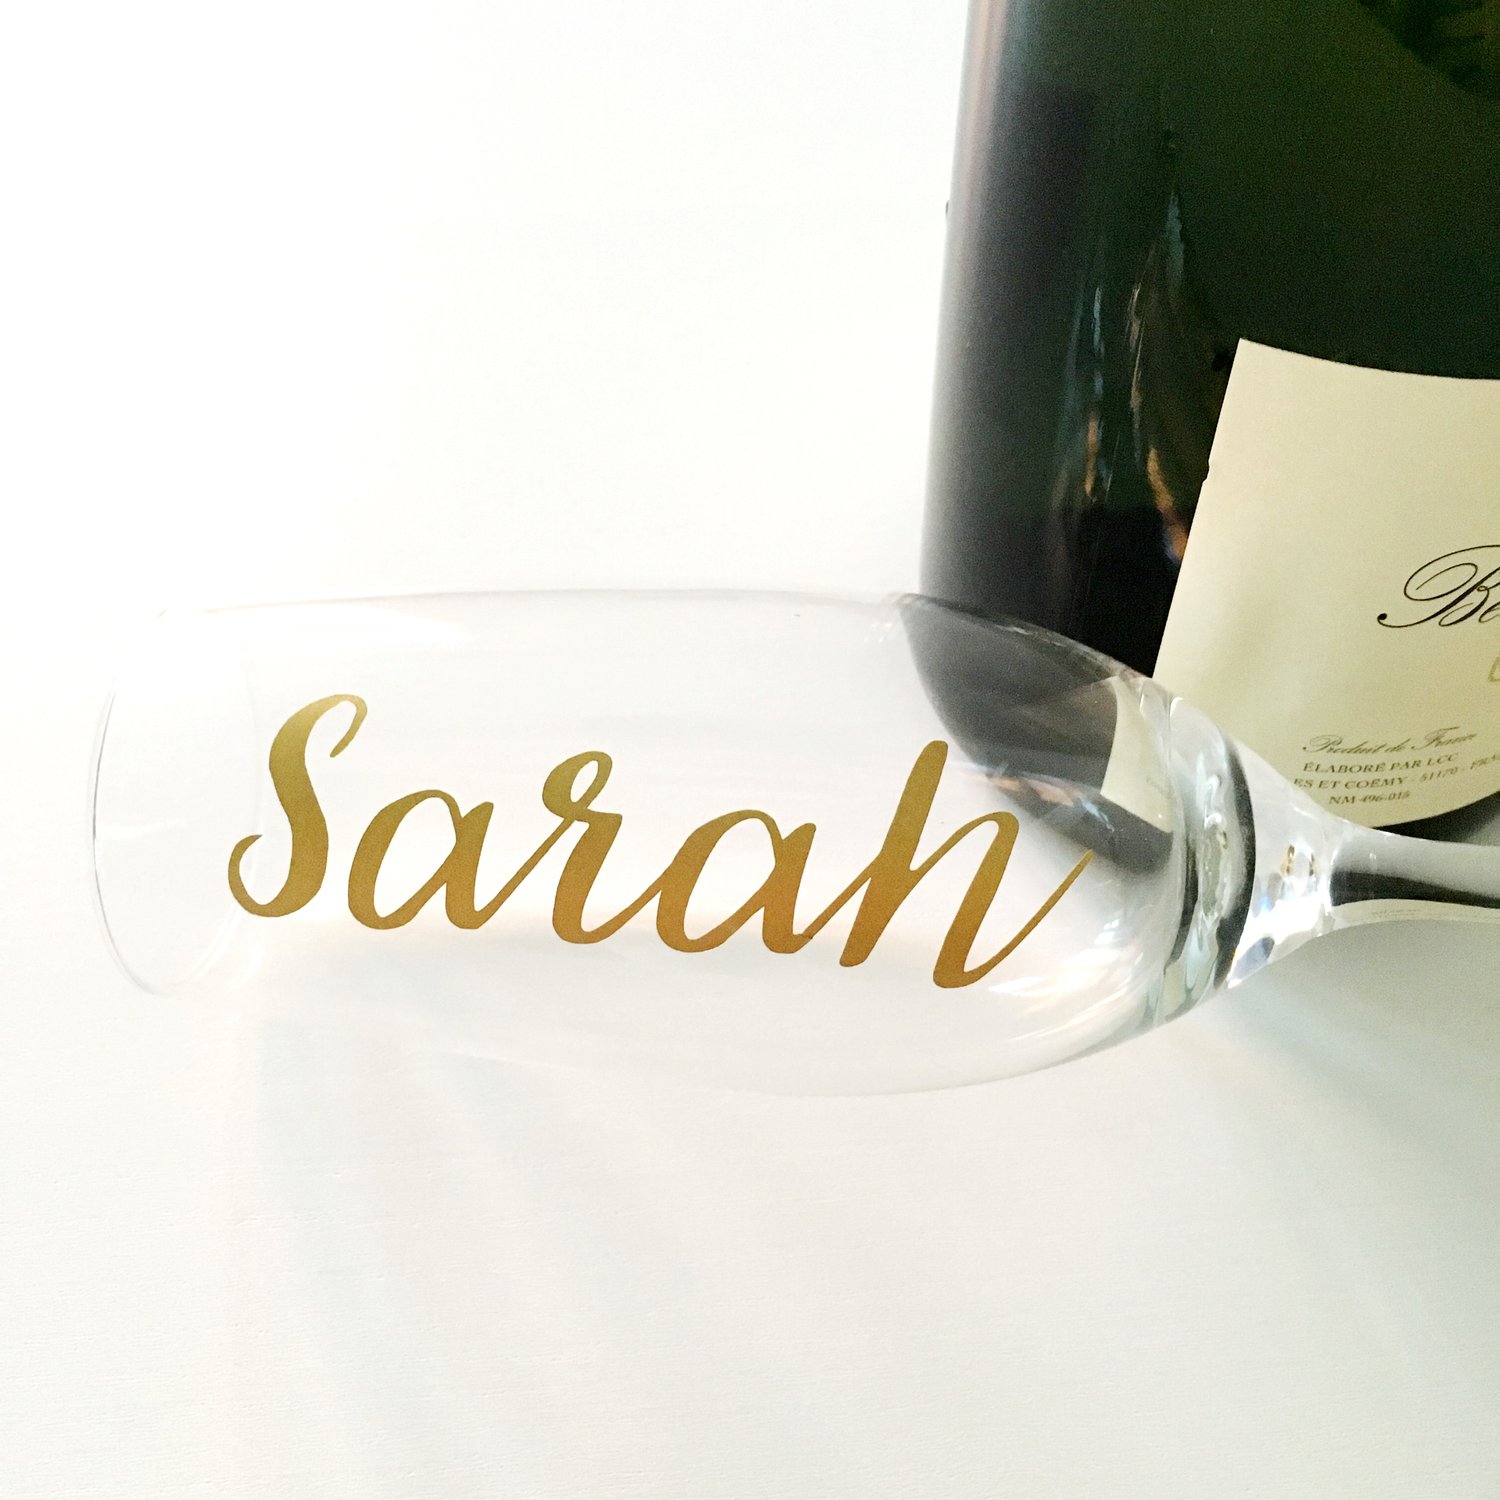
Vinyl has become a popular choice for adding a touch of personality and style to glass surfaces. Whether you're looking to decorate windows, glass doors, or glass tabletops, using vinyl can transform these surfaces into stunning works of art. However, achieving a permanent bond between vinyl and glass requires careful consideration and proper application techniques.
In this comprehensive guide, we will explore the essential steps and considerations for getting vinyl to stick to glass permanently. From understanding the nature of the glass surface to selecting the right type of vinyl and mastering the application process, we will delve into the intricacies of this craft. Additionally, we will discuss the importance of sealing the vinyl to ensure its longevity and offer valuable tips for maintaining its pristine appearance.
By the end of this guide, you will have the knowledge and confidence to embark on your vinyl-glass projects, knowing how to achieve a durable and visually appealing result. So, let's embark on this journey to unlock the secrets of achieving a lasting bond between vinyl and glass.
Key Takeaways:
- Achieving a lasting bond between vinyl and glass involves meticulous preparation, thoughtful vinyl selection, precise application, and diligent maintenance. By embracing these principles, stunning and enduring results can be achieved.
- Understanding the unique characteristics of glass, selecting the right vinyl, meticulous preparation, precise application, and effective sealing are essential for achieving a visually stunning and enduring bond between vinyl and glass surfaces.
Read more: How To Get Permanent Marker Off Glass
Understanding the Surface
Before embarking on a project to adhere vinyl to glass permanently, it's crucial to understand the nature of the glass surface. Glass, known for its smooth and non-porous characteristics, presents both advantages and challenges when it comes to vinyl adhesion.
The smoothness of glass, while visually appealing, can pose a significant obstacle for vinyl adhesion. Unlike porous surfaces that allow adhesives to penetrate and create a strong bond, glass's non-porous nature requires special attention to ensure the vinyl adheres effectively. Additionally, the presence of any contaminants, such as dust, oils, or residues, can further hinder the adhesion process.
Furthermore, the transparency of glass adds another layer of complexity. Any imperfections or air bubbles trapped beneath the vinyl will be highly visible, potentially compromising the aesthetic appeal of the finished project. Therefore, achieving a flawless and long-lasting bond between vinyl and glass requires meticulous preparation and attention to detail.
Understanding the surface also involves considering the environmental factors that may impact adhesion. For instance, exposure to sunlight and fluctuating temperatures can affect the performance of the adhesive over time. By taking these factors into account, you can make informed decisions when selecting the type of vinyl and adhesive best suited for the specific glass surface and its intended use.
In essence, comprehending the unique characteristics of the glass surface is the foundation for a successful vinyl application. By acknowledging its smooth, non-porous nature, addressing potential contaminants, and considering environmental influences, you can lay the groundwork for achieving a durable and visually appealing bond between vinyl and glass.
Choosing the Right Vinyl
Selecting the appropriate type of vinyl is a critical step in ensuring a long-lasting bond with glass surfaces. With a myriad of options available, understanding the characteristics of different vinyl types is essential for making an informed choice.
-
Vinyl Type: When choosing vinyl for glass applications, opt for a high-quality, adhesive-backed vinyl specifically designed for use on smooth surfaces. This type of vinyl is engineered to adhere effectively to non-porous materials like glass, providing a strong and durable bond.
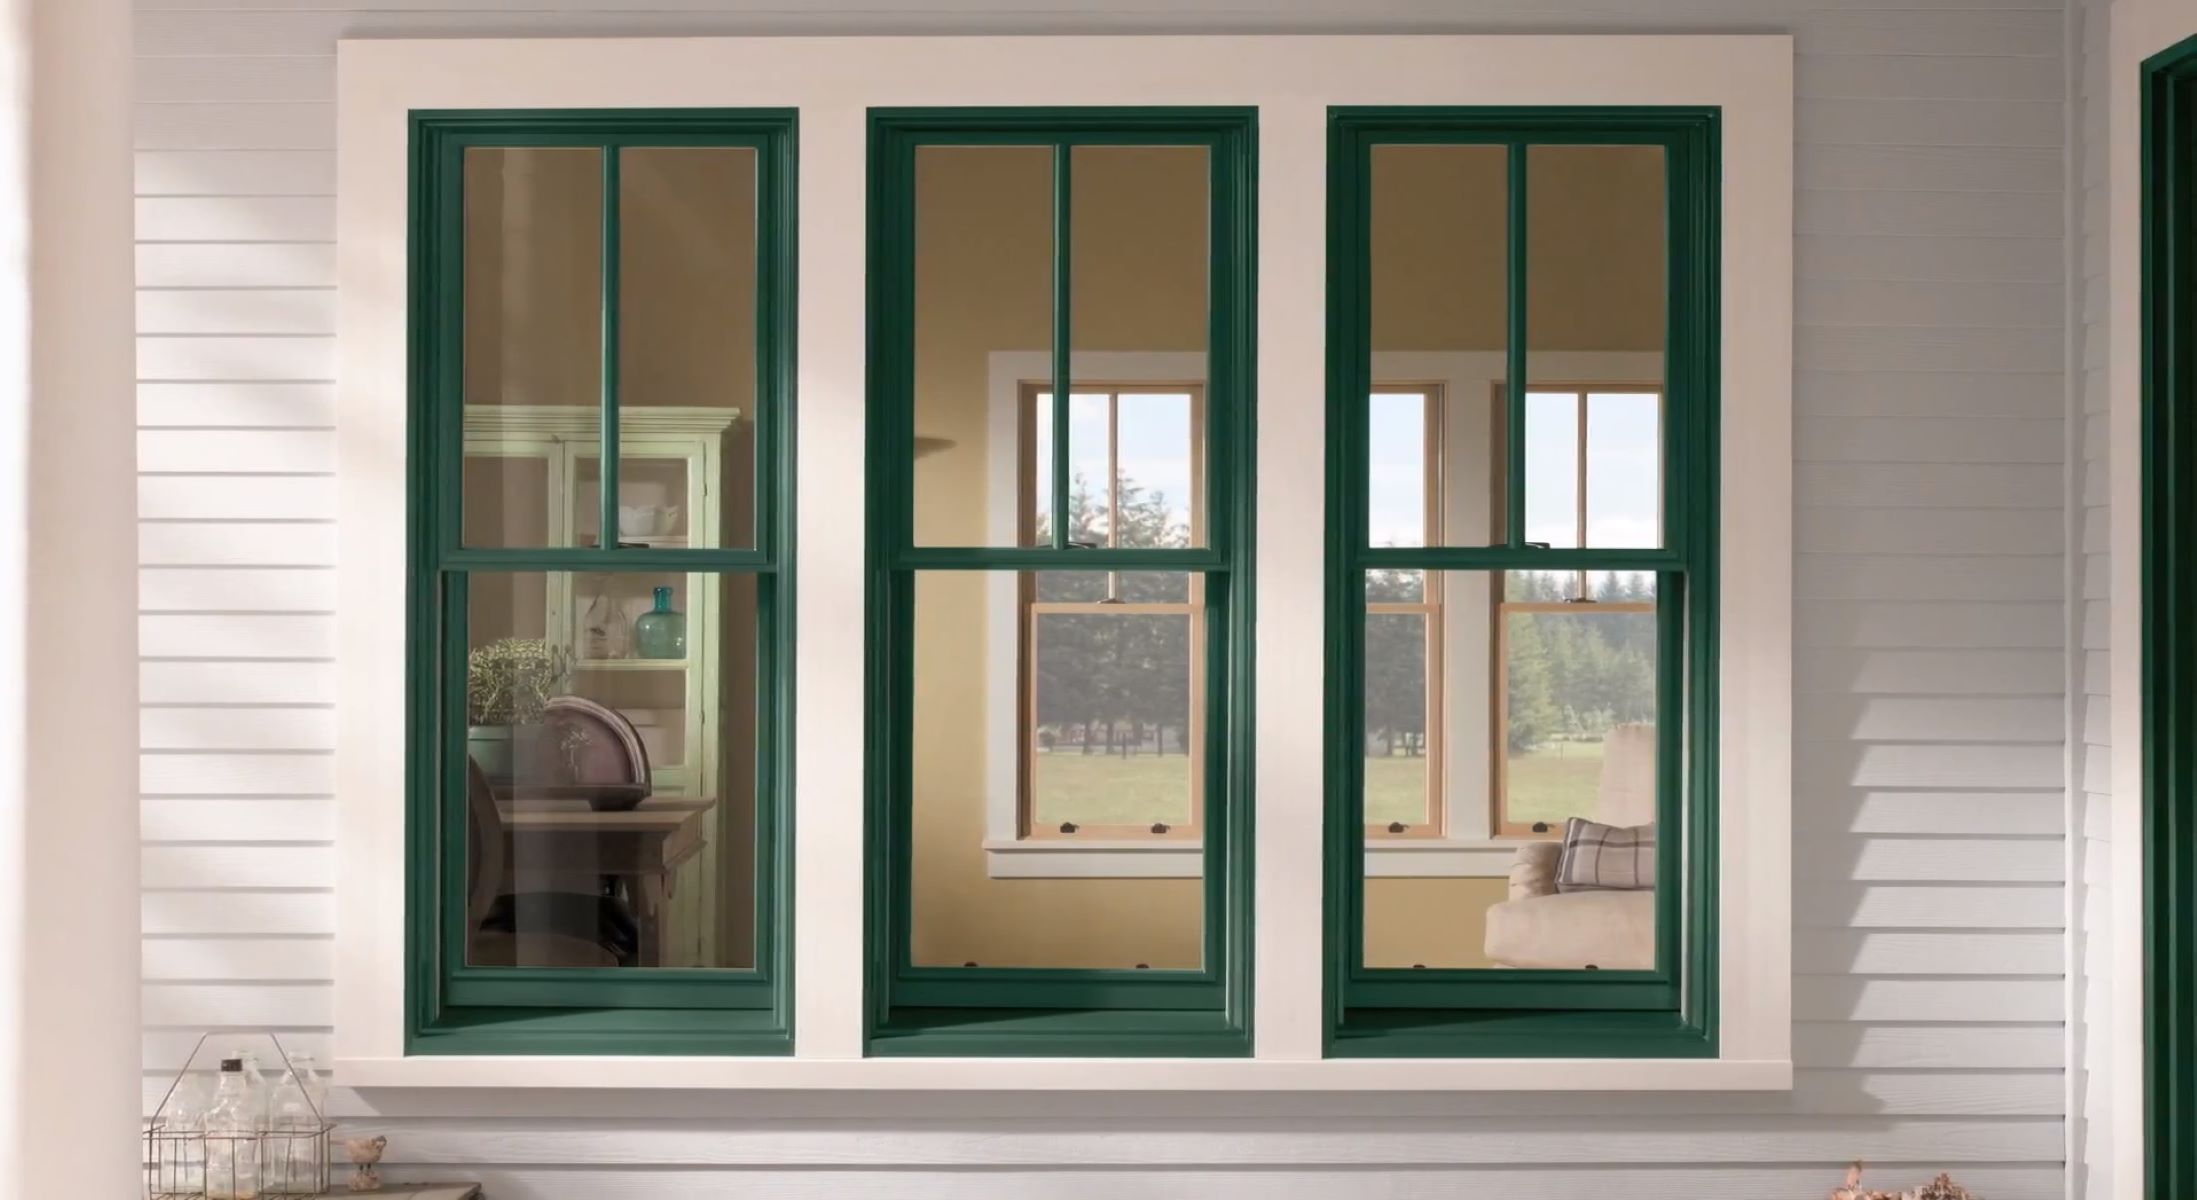
-
Transparency and Opacity: Consider the level of transparency or opacity required for your project. Transparent vinyl allows light to pass through, making it ideal for window decals or decorative elements that maintain visibility. On the other hand, opaque vinyl offers privacy and can be used for creating solid designs or covering large glass areas.
-
Durability and Weather Resistance: If the glass surface is exposed to outdoor elements or fluctuating temperatures, choose vinyl with superior durability and weather resistance. Look for vinyl specifically formulated to withstand UV exposure, moisture, and temperature variations, ensuring long-term adhesion and color retention.
-
Removability: While the goal is to achieve a permanent bond, considering the removability of the vinyl is important, especially for temporary or seasonal applications. Some high-quality vinyl products offer a balance between strong adhesion and clean removability, allowing for flexibility in design changes or repositioning.
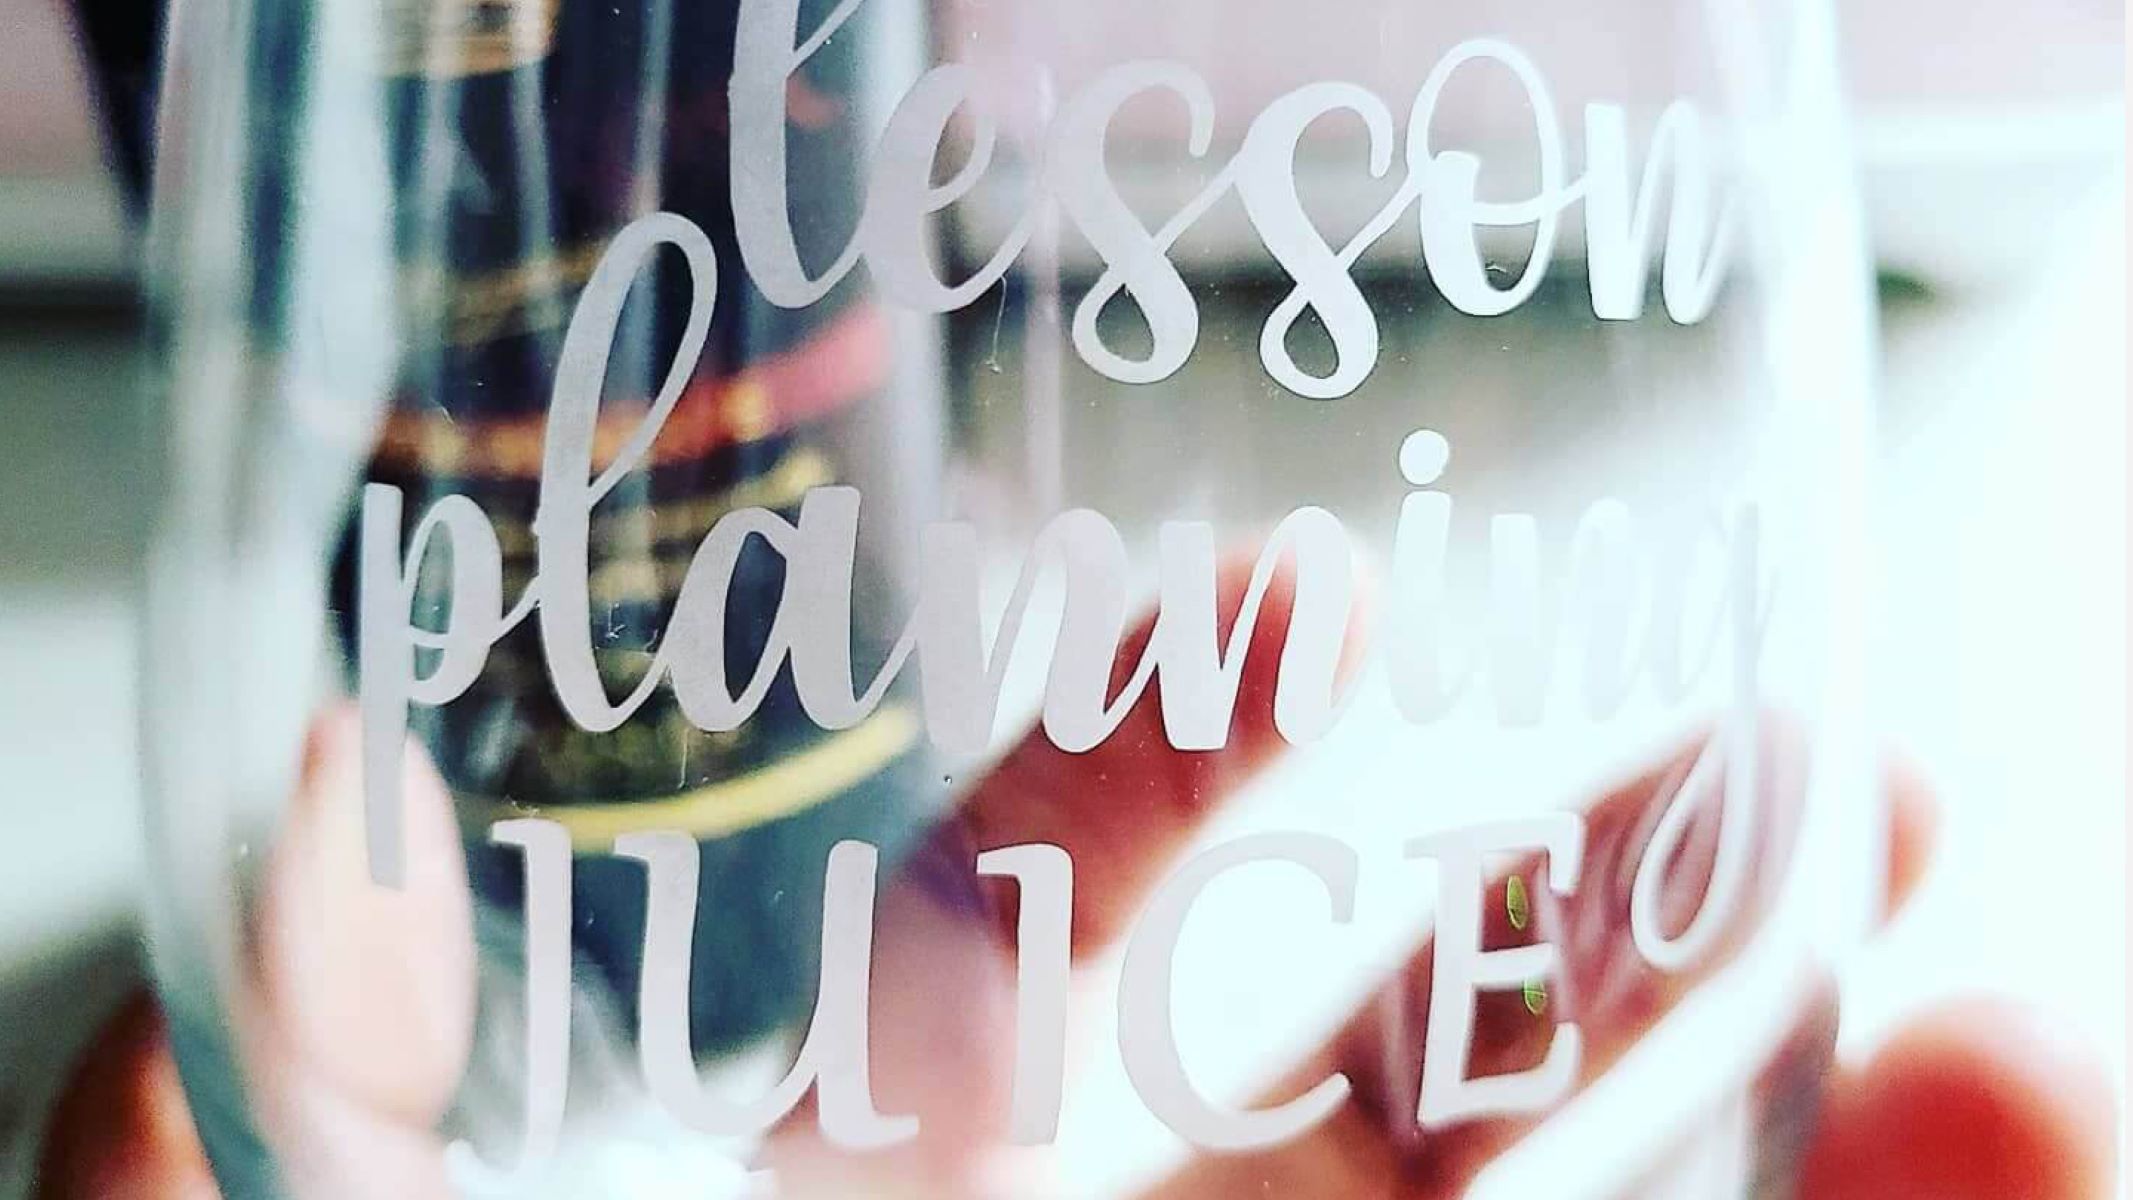
-
Specialty Finishes: Explore vinyl options with specialty finishes, such as frosted, etched, or metallic effects, to add a unique touch to your glass surfaces. These specialty finishes can elevate the visual impact of the vinyl application, creating stunning decorative effects while maintaining a strong bond with the glass.
By carefully considering these factors and selecting the right type of vinyl based on the specific requirements of your project, you can set the stage for a successful and enduring bond between the vinyl and glass surfaces. The chosen vinyl should not only adhere effectively to the smooth and non-porous nature of glass but also align with the aesthetic, functional, and environmental considerations of the intended application.
Preparing the Glass Surface
Properly preparing the glass surface is a crucial step in ensuring the successful adhesion of vinyl. The goal of this preparation is to create an optimal environment for the vinyl to form a strong and lasting bond with the glass. Here's a detailed guide on how to prepare the glass surface effectively:
-
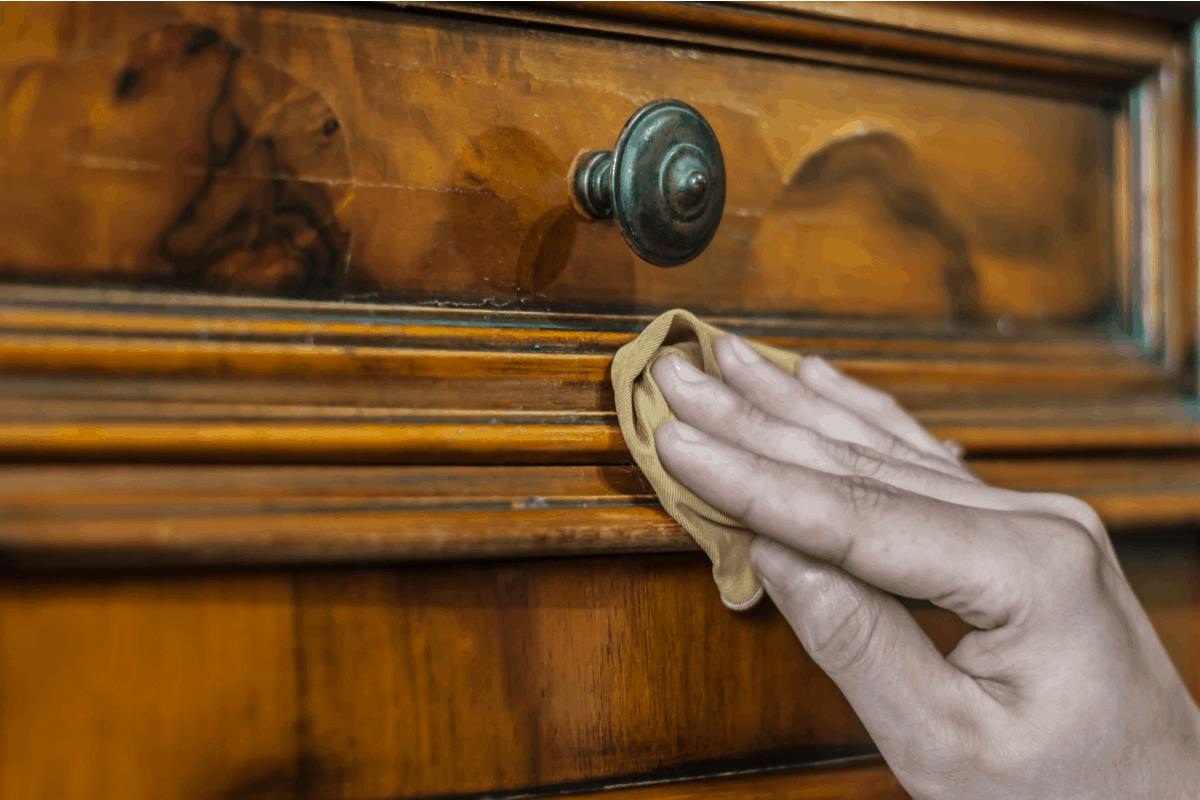
Cleaning the Surface: Begin by thoroughly cleaning the glass surface to remove any dirt, dust, oils, or residues that could hinder adhesion. Use a gentle glass cleaner or a solution of mild dish soap and water to clean the surface. Ensure that all cleaning agents are completely rinsed off, as any residue can compromise the adhesive's effectiveness.
-
Drying the Surface: After cleaning, allow the glass surface to dry completely. Any moisture or residual cleaning agents can interfere with the adhesive's ability to bond with the glass. Use a lint-free cloth to ensure the surface is completely dry before proceeding to the next step.
-
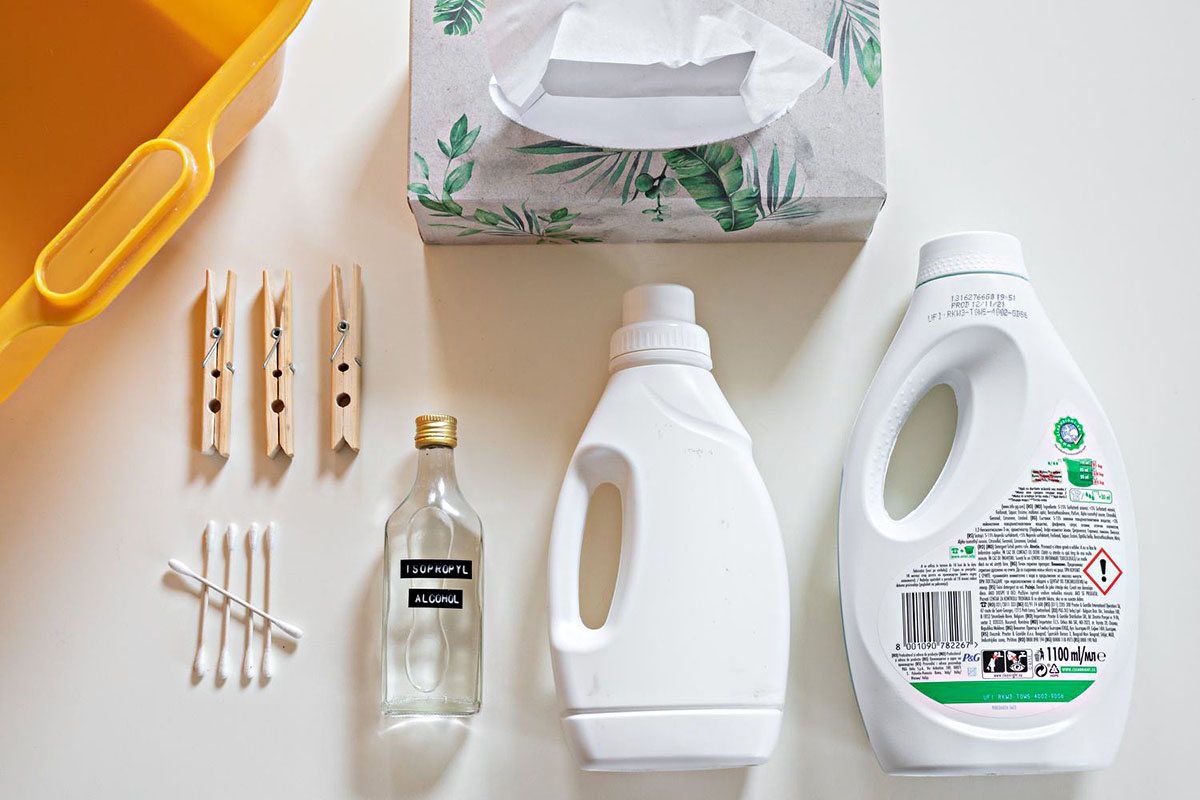
Degreasing the Surface: In addition to cleaning, it's essential to degrease the glass surface to remove any lingering oils or contaminants. Isopropyl alcohol or a specialized glass cleaner formulated for degreasing can be used to thoroughly clean the surface and ensure optimal adhesion.
-
Avoiding Touch Contamination: Throughout the cleaning and preparation process, it's important to avoid touching the glass surface with bare hands. Natural oils from the skin can transfer onto the glass, creating a barrier that hinders adhesion. Wear clean, lint-free gloves to handle the glass and minimize the risk of contamination.
-
Inspecting for Imperfections: Take the time to inspect the glass surface for any imperfections, such as scratches or chips. While vinyl can adhere to smooth surfaces, imperfections can affect the overall appearance and longevity of the adhesion. Address any noticeable imperfections before proceeding with the vinyl application.
By meticulously following these preparatory steps, you can create an ideal foundation for the vinyl to adhere to the glass surface effectively. The cleanliness, dryness, and degreased state of the glass are essential for promoting a strong and lasting bond between the vinyl and the glass. With the surface properly prepared, you are now ready to proceed with the vinyl application process, ensuring that every detail contributes to the longevity and visual appeal of the final result.
Applying the Vinyl
Once the glass surface is meticulously prepared, it's time to embark on the process of applying the vinyl. This step demands precision, patience, and a methodical approach to ensure the vinyl adheres seamlessly and achieves a professional finish.
-
Measuring and Cutting: Begin by measuring the dimensions of the glass surface and carefully cutting the vinyl to the appropriate size. Use a sharp utility knife and a straight edge to achieve clean and precise cuts, ensuring that the vinyl fits the intended area with accuracy.
-
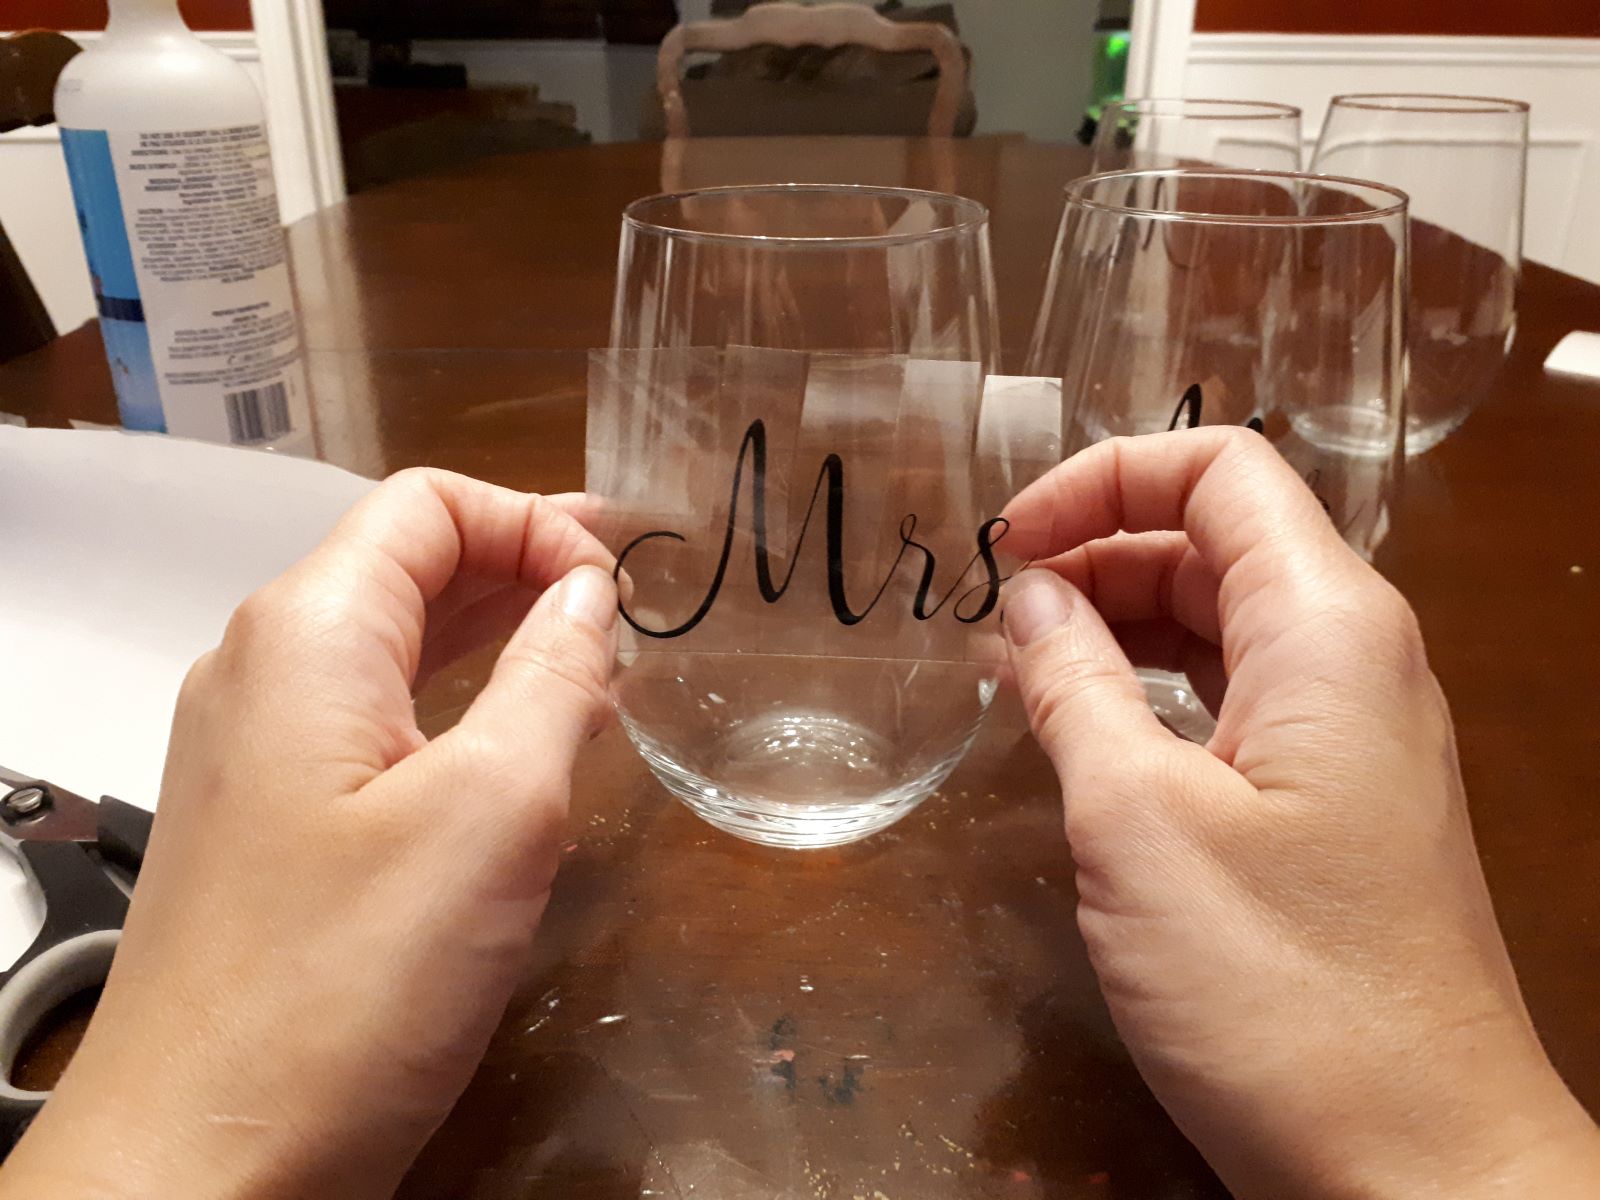
Positioning and Alignment: Before removing the backing from the vinyl, position it on the glass surface to verify the alignment and placement. This step allows for adjustments to be made before the adhesive makes contact with the glass. Using masking tape to temporarily secure the vinyl in place can aid in achieving the desired alignment.
-
Peeling and Application: With the vinyl in position, gradually peel away a portion of the backing, exposing the adhesive side. As you peel, use a squeegee or a soft, flexible applicator to smooth the vinyl onto the glass surface, working from the center outwards. This technique helps to minimize air bubbles and ensures even adhesion.
-
Gradual Removal of Backing: As the vinyl is smoothed onto the glass, continue to gradually remove the backing, working in small sections. Take care to maintain consistent pressure with the applicator to prevent air pockets from forming beneath the vinyl. This gradual approach contributes to a smooth and bubble-free application.
-
Managing Air Bubbles: If air bubbles appear during the application process, gently lift the vinyl and reapply it, using the squeegee to work out the trapped air. Patience and attention to detail are key in managing air bubbles effectively, ensuring a flawless and professional-looking result.
-
Trimming Excess Vinyl: Once the vinyl is fully applied, use the utility knife to carefully trim any excess material along the edges. A precise and steady hand is essential to achieve clean and neat edges, enhancing the overall appearance of the vinyl application.
By following these meticulous steps, you can achieve a seamless and professional application of the vinyl onto the glass surface. The careful attention to detail, precision in cutting and positioning, and the gradual, methodical approach to application contribute to a visually stunning and enduring bond between the vinyl and glass.
Read more: How To Glue Glass To Glass Permanently
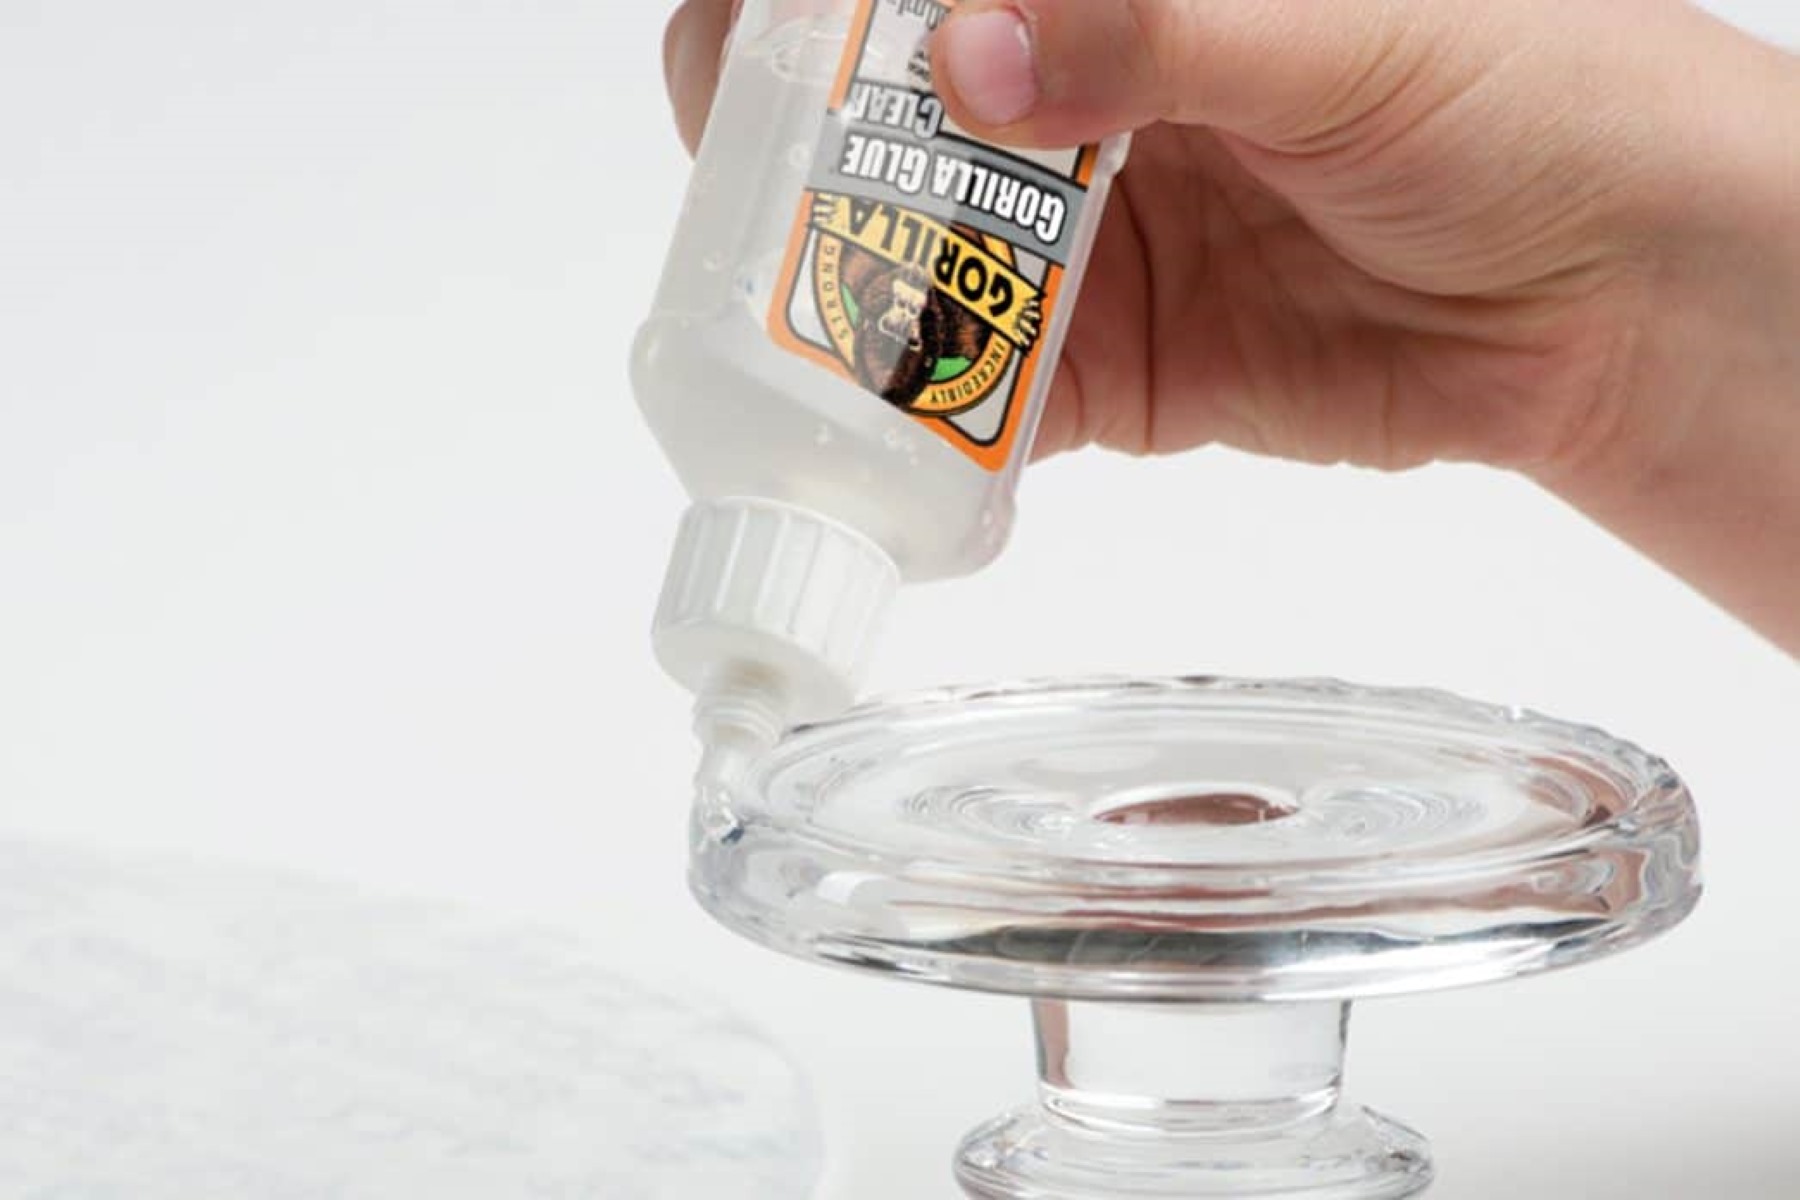
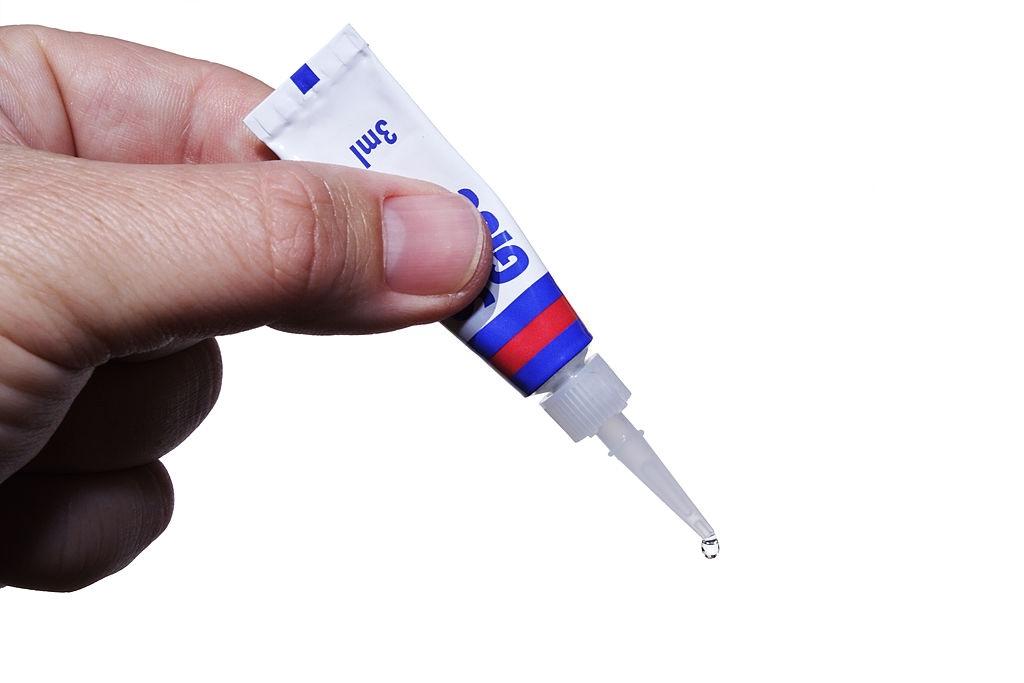
Sealing the Vinyl
After successfully applying the vinyl to the glass surface, the next crucial step is to seal the vinyl to ensure its longevity and durability. Sealing serves as a protective barrier, safeguarding the vinyl against environmental elements, physical wear, and ensuring a professional finish. Here's a detailed guide on how to effectively seal the vinyl on glass surfaces:
Selecting the Sealant
Choose a high-quality sealant specifically formulated for use on vinyl and glass surfaces. Opt for a clear, transparent sealant to maintain the visual appeal of the vinyl while providing robust protection. Look for sealants designed to withstand UV exposure, moisture, and temperature variations, ensuring long-term adhesion and color retention.
Application Technique
Before applying the sealant, ensure that the vinyl application is clean, dry, and free from any contaminants. Use a lint-free cloth to gently remove any dust or debris that may have accumulated on the surface. It's essential to work in a well-ventilated area and follow the manufacturer's instructions for the specific sealant being used.
Even Application
Apply the sealant evenly over the entire vinyl surface using a soft, clean brush or a lint-free cloth. Work methodically to ensure that the sealant covers the vinyl completely, reaching the edges and corners. Avoid applying excessive sealant, as this can lead to drips or uneven coverage, compromising the appearance of the finished project.
Read more: How To Get Tajin To Stick To Glass
Drying and Curing
Allow the sealant to dry and cure according to the manufacturer's recommendations. This typically involves allowing the sealed vinyl to remain undisturbed for a specified period, ensuring that the sealant forms a strong and protective layer over the vinyl. Avoid exposing the sealed vinyl to moisture or extreme temperatures during the drying and curing process.
Inspection and Touch-Ups
Once the sealant has dried, inspect the sealed vinyl surface for any imperfections or areas that may require touch-ups. Address any uneven coverage or missed spots by applying additional sealant as needed. This meticulous approach ensures that the entire vinyl surface is effectively sealed, providing comprehensive protection.
By following these steps, you can effectively seal the vinyl on glass surfaces, enhancing its durability and safeguarding its visual appeal. The sealant acts as a shield, preserving the integrity of the vinyl and ensuring that it maintains its vibrant colors and adhesive strength over time. With the vinyl securely sealed, you can enjoy the beauty and longevity of your glass surface transformation for years to come.
Caring for the Vinyl
Proper care and maintenance are essential for preserving the pristine appearance and longevity of vinyl applied to glass surfaces. By implementing regular maintenance practices and exercising caution in cleaning and handling, you can ensure that the vinyl remains vibrant and securely adhered to the glass. Here's a comprehensive guide on caring for the vinyl to maintain its visual appeal and durability:
Gentle Cleaning
When cleaning glass surfaces adorned with vinyl, opt for gentle cleaning methods to prevent damage to the vinyl and its adhesive bond. Use a mild, non-abrasive glass cleaner or a solution of mild dish soap and water to clean the surface. Avoid harsh chemicals, abrasive cleaners, or rough scrubbing, as these can compromise the integrity of the vinyl and its adhesive.
Read more: How To Get A Suction Cup To Stick To Glass
Avoiding Sharp Objects
Exercise caution when handling objects near vinyl-adorned glass surfaces. Avoid using sharp or abrasive objects that could scratch or damage the vinyl. When moving items on or near the glass surface, take care to prevent accidental contact that could potentially lift or damage the vinyl.
Protection from Physical Impact
Take measures to protect vinyl-adorned glass surfaces from physical impact or abrasion. Use appropriate padding or protective coverings when placing items on the surface to prevent scratches or damage to the vinyl. Additionally, consider applying vinyl to areas less prone to physical contact to minimize the risk of damage.
Regular Inspection
Periodically inspect the vinyl-adorned glass surfaces for any signs of wear, peeling, or damage. Address any issues promptly to prevent further deterioration. By identifying and addressing potential issues early, you can maintain the integrity of the vinyl and its bond with the glass.
Avoiding Extreme Temperatures
Protect vinyl-adorned glass surfaces from exposure to extreme temperatures. Sudden temperature changes can affect the adhesive bond and the vinyl's overall performance. Avoid placing hot items directly on the vinyl surface and take precautions to shield the glass from extreme heat or cold.
Read more: How To Get A Construction To Permanent Loan
Preventing Moisture Buildup
Minimize prolonged exposure to moisture on vinyl-adorned glass surfaces. While high-quality vinyl and sealants offer moisture resistance, excessive or prolonged moisture exposure can compromise the adhesive bond over time. Wipe away any moisture promptly to prevent potential damage.
By incorporating these care practices into your routine, you can ensure that the vinyl remains vibrant, securely adhered, and visually appealing over time. With regular maintenance and cautious handling, the vinyl-adorned glass surfaces can continue to enhance the aesthetic appeal of your space, providing enduring beauty and charm.
Conclusion
In conclusion, achieving a permanent bond between vinyl and glass surfaces requires a meticulous approach, from understanding the unique characteristics of the glass to selecting the right type of vinyl and executing precise application and sealing techniques. By comprehensively preparing the glass surface, carefully choosing high-quality vinyl, and following methodical application and sealing processes, one can ensure a visually stunning and enduring result.
The journey to getting vinyl to stick to glass permanently begins with acknowledging the smooth, non-porous nature of glass and the potential challenges it presents for adhesion. Understanding the surface allows for tailored preparation, addressing contaminants and environmental factors to create an optimal foundation for vinyl application.
Selecting the right vinyl is equally crucial, considering factors such as transparency, durability, and specialty finishes to align with the intended use and aesthetic preferences. With the appropriate vinyl in hand, the stage is set for a successful and enduring bond with the glass surface.
The meticulous preparation of the glass surface, including thorough cleaning, degreasing, and careful inspection, sets the foundation for a seamless and durable bond. The application process demands precision, patience, and attention to detail, ensuring that the vinyl adheres seamlessly and achieves a professional finish.
Sealing the vinyl serves as a protective barrier, safeguarding its longevity and visual appeal. By choosing the right sealant and following a meticulous application technique, the vinyl is shielded against environmental elements, physical wear, and potential damage, ensuring its enduring beauty.
Caring for the vinyl involves implementing gentle cleaning methods, exercising caution in handling, and protecting the surface from physical impact and extreme temperatures. By incorporating these care practices, the vinyl-adorned glass surfaces can maintain their vibrant appearance and secure adhesion over time.
In essence, the journey to getting vinyl to stick to glass permanently is a blend of meticulous preparation, thoughtful selection, precise application, and diligent maintenance. By embracing these principles, one can achieve visually stunning and enduring results, transforming glass surfaces into captivating works of art that stand the test of time.
Frequently Asked Questions about How To Get Vinyl To Stick To Glass Permanently
Was this page helpful?
At Storables.com, we guarantee accurate and reliable information. Our content, validated by Expert Board Contributors, is crafted following stringent Editorial Policies. We're committed to providing you with well-researched, expert-backed insights for all your informational needs.


0 thoughts on “How To Get Vinyl To Stick To Glass Permanently”