Home>Furniture & Design>Interior Design Trends>How To Make Glass One Way

Interior Design Trends
How To Make Glass One Way
Modified: March 2, 2024
Learn how to incorporate the latest interior design trend of one-way glass into your space. Discover tips and ideas for creating a stylish and functional environment.
(Many of the links in this article redirect to a specific reviewed product. Your purchase of these products through affiliate links helps to generate commission for Storables.com, at no extra cost. Learn more)
Introduction
One-way glass, also known as two-way mirror, is a fascinating material that offers privacy and functionality in various settings. Whether used in residential homes, commercial spaces, or automotive applications, one-way glass provides the unique ability to allow light to pass through while creating a reflective surface on one side. This innovative feature makes it an ideal choice for enhancing privacy without compromising natural light.
The process of creating one-way glass involves applying a special film to the surface of the glass, which transforms it into a semi-transparent material. This transformation allows individuals on one side of the glass to see through it, while those on the other side experience a mirrored effect. The versatility of one-way glass makes it a popular option for windows, doors, and partitions, offering an effective solution for controlling visibility and maintaining a sense of openness within a space.
In this comprehensive guide, we will explore the step-by-step process of creating one-way glass, providing valuable insights into the materials and tools needed, as well as the techniques required to achieve optimal results. By following these instructions, you can transform ordinary glass surfaces into functional and stylish one-way glass, adding a touch of sophistication to your living or working environment.
Whether you are a DIY enthusiast looking to upgrade your home or a professional seeking to incorporate innovative design elements into your projects, mastering the art of making one-way glass will undoubtedly expand your creative capabilities. Join us as we delve into the world of one-way glass and unlock the potential to elevate the privacy and aesthetic appeal of your spaces.
Key Takeaways:
- Transform ordinary glass into one-way glass by applying a special film, creating privacy without sacrificing natural light. It’s a versatile and stylish solution for homes, offices, and vehicles.
- Prepare, apply, and test the one-way glass to ensure a flawless finish with optimal privacy and reflective properties. Master the art of creating functional and stylish privacy solutions.
Read more: How To Make One-Way Glass
Understanding One-Way Glass
One-way glass, also referred to as two-way mirror, is a specialized material that exhibits distinct optical properties, allowing it to function as both a transparent and reflective surface. This unique characteristic is achieved through a combination of lighting conditions and the application of a semi-transparent film, resulting in a versatile product with diverse practical applications.
The concept of one-way glass revolves around the principle of differential lighting. When the area on one side of the glass is brightly illuminated, and the opposite side is dimly lit or dark, the glass appears as a reflective mirror to the darker side. Conversely, when the lighting on both sides is relatively balanced, the glass maintains its transparent properties, enabling individuals on either side to see through it.
The creation of one-way glass involves the application of a specialized film that possesses the ability to control the passage of light. This film is designed to selectively reflect light when the conditions are conducive to creating a mirrored effect, while allowing light transmission under alternative circumstances. As a result, one-way glass offers a dynamic solution for balancing privacy and visibility, making it an invaluable asset in architectural design, interior decor, and security applications.
The practical uses of one-way glass are diverse and far-reaching. In residential settings, it can be employed to enhance privacy without sacrificing natural light, serving as an effective solution for windows, doors, and room dividers. In commercial environments, one-way glass finds applications in office spaces, retail establishments, and hospitality venues, where it contributes to creating discreet yet inviting atmospheres. Additionally, the automotive industry leverages one-way glass for privacy and security in vehicles, elevating the comfort and safety of passengers.
Understanding the intricacies of one-way glass empowers individuals to harness its potential in various contexts, enabling them to optimize privacy, natural light, and visual aesthetics. By mastering the principles behind one-way glass, designers, architects, and DIY enthusiasts can unlock a world of creative possibilities, enriching their projects with innovative solutions that seamlessly blend functionality and style.
Materials and Tools Needed
Creating one-way glass requires specific materials and tools to ensure a successful transformation of ordinary glass into a functional and stylish privacy solution. Before embarking on this project, it is essential to gather the following items:
Materials:
- One-Way Film: Acquire high-quality one-way film designed for glass applications. This specialized film is crucial for achieving the desired semi-transparent and reflective properties of one-way glass.
- Glass Cleaner: Use a gentle, non-abrasive glass cleaner to thoroughly clean the surface of the glass before applying the one-way film. This step is essential for ensuring a smooth and flawless application.
- Application Solution: Prepare a solution of water and a small amount of mild detergent to facilitate the application of the one-way film. This solution helps to minimize air bubbles and ensures proper adhesion to the glass surface.
- Lint-Free Cloth or Squeegee: Have a lint-free cloth or a squeegee on hand to aid in the smooth application of the one-way film. This tool is instrumental in removing excess solution and air bubbles during the installation process.
Tools:
- Utility Knife or Cutting Tool: A sharp utility knife or a cutting tool is necessary for trimming the edges of the one-way film to fit the dimensions of the glass accurately. This tool ensures a precise and professional finish.
- Spray Bottle: Use a spray bottle to apply the application solution evenly onto the glass surface before placing the one-way film. This helps to facilitate the positioning and adjustment of the film during installation.
- Measuring Tape: A measuring tape is essential for accurately determining the dimensions of the glass and the corresponding size of the one-way film needed for the application. Precision in measurement is crucial for a seamless installation process.
- Heat Gun or Hair Dryer (Optional): In some cases, a heat gun or a hair dryer can be used to aid in the removal of air bubbles and ensure the proper adhesion of the one-way film to the glass surface.
By ensuring that these materials and tools are readily available, individuals can proceed with confidence in undertaking the process of creating one-way glass. The proper utilization of these resources is integral to achieving a professional and visually appealing result, enhancing privacy and aesthetics in various settings.
Read more: How Does One Way Glass Work
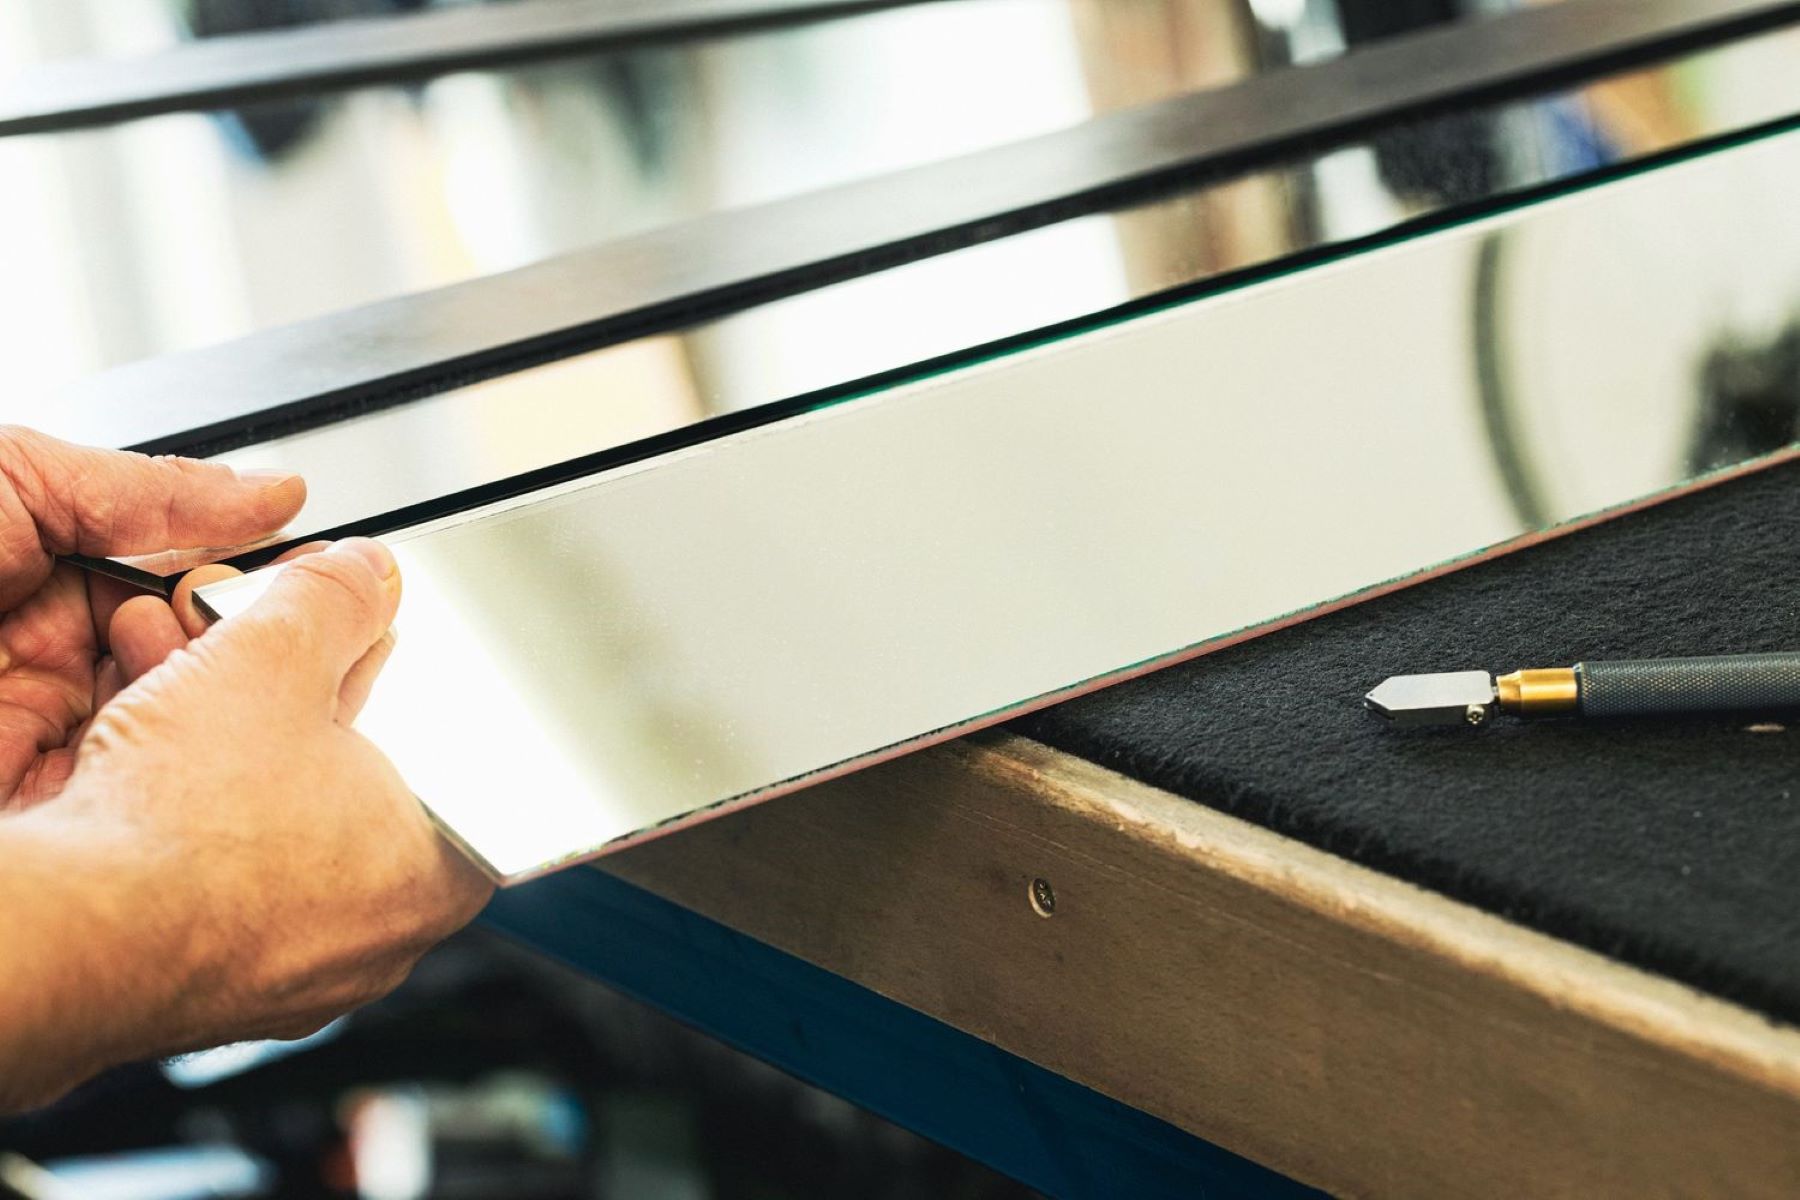
Step 1: Preparing the Glass
Before applying the one-way film, it is crucial to prepare the glass surface adequately to ensure optimal adhesion and a flawless finish. Proper preparation sets the foundation for a successful transformation of the glass into one-way glass, enhancing its functionality and visual appeal.
Cleaning the Glass
Begin by thoroughly cleaning the glass surface using a gentle, non-abrasive glass cleaner. This step is essential for removing any dirt, dust, or residues that may hinder the adhesion of the one-way film. Ensure that the glass is completely free of smudges and blemishes, as any imperfections can affect the transparency and reflective properties of the one-way glass.
Measuring the Glass Dimensions
Next, accurately measure the dimensions of the glass using a measuring tape. It is crucial to determine the precise length and width of the glass to ensure that the one-way film is cut to the correct size. Precision in measurement is key to achieving a seamless and professional installation.
Creating a Clean Workspace
Prepare a clean and well-lit workspace to facilitate the application of the one-way film. Clear any clutter or obstacles that may obstruct the process, and ensure that the area is free from dust and debris. A clean workspace minimizes the risk of contaminants interfering with the application of the film, resulting in a pristine and visually appealing outcome.
Read more: How To Make One Glass Of ORS At Home
Ensuring Proper Ventilation
If working indoors, ensure that the workspace is well-ventilated to allow for adequate airflow during the application process. Proper ventilation helps to disperse any fumes that may be emitted from cleaning agents or application solutions, creating a comfortable environment for the preparation and installation of the one-way film.
By meticulously preparing the glass surface through thorough cleaning, accurate measurement, workspace organization, and ventilation considerations, individuals can lay the groundwork for a successful application of the one-way film. This meticulous approach sets the stage for the subsequent steps in creating one-way glass, ensuring a professional and visually striking result that enhances privacy and aesthetics in various settings.
Step 2: Applying the One-Way Film
With the glass surface meticulously prepared, the next crucial step in creating one-way glass involves the precise application of the specialized one-way film. This process demands attention to detail and a methodical approach to ensure a seamless transformation of the glass into a semi-transparent and reflective material.
-
Cutting the Film: Begin by carefully cutting the one-way film to match the dimensions of the glass. Using a sharp utility knife or cutting tool, trim the film with precision, ensuring that it aligns perfectly with the measurements obtained during the preparation phase. Accuracy in cutting the film is essential for achieving a professional and polished result.
-
Preparing the Application Solution: In a spray bottle, mix water with a small amount of mild detergent to create an application solution. This solution facilitates the positioning and adjustment of the one-way film on the glass surface. It helps to minimize air bubbles and ensures proper adhesion, contributing to a flawless installation.
-
Applying the Film: Liberally spray the glass surface with the prepared application solution. Carefully position the cut one-way film onto the wet glass, allowing it to float on the solution. This technique enables easy repositioning of the film for accurate alignment before the solution dries, ensuring a smooth and precise application.
-
Smoothing Out Air Bubbles: Using a lint-free cloth or a squeegee, gently smooth out the one-way film from the center towards the edges. This action helps to remove any trapped air bubbles and excess application solution, ensuring a uniform and bubble-free adhesion of the film to the glass surface.
-
Removing Excess Solution: Once the film is smoothly positioned and air bubbles are eliminated, use the cloth or squeegee to remove any excess application solution from beneath the film. This step contributes to the proper bonding of the film to the glass, creating a seamless and visually appealing finish.
By meticulously following these steps, individuals can effectively apply the one-way film to the glass surface, transforming it into a functional and stylish privacy solution. The precise execution of this process is instrumental in achieving the desired semi-transparent and reflective properties of one-way glass, enhancing privacy and visual aesthetics in diverse settings.
Step 3: Removing Air Bubbles
Ensuring a flawless and professional finish when applying the one-way film to the glass surface involves the critical task of removing air bubbles. The presence of air bubbles can detract from the visual appeal and functionality of the one-way glass, making it essential to address this issue with precision and care.
-
Identifying Air Bubbles: After the one-way film has been applied to the glass and smoothed out, carefully inspect the surface for any trapped air bubbles. These bubbles may appear as small pockets of air beneath the film, causing distortions and inconsistencies in its reflective properties. Thoroughly examining the entire surface allows for the identification of any imperfections that require attention.
-
Using a Squeegee or Card: To address the air bubbles, gently press a squeegee or a smooth, rigid card against the film, starting from the center and working towards the edges. Applying even pressure, gradually push the air bubbles towards the nearest edge of the glass. This technique helps to release the trapped air and allows it to escape from beneath the film, resulting in a smooth and uniform surface.
-
Applying Heat (Optional): In cases where persistent air bubbles remain, the use of a heat gun or a hair dryer on a low setting can aid in their removal. Holding the heat source at a moderate distance from the film, apply gentle heat to the affected areas. The heat encourages the film to relax and conform to the glass surface, facilitating the release of trapped air and promoting a seamless finish.
-
Rechecking and Smoothing: After addressing the air bubbles, reinspect the surface to ensure that all imperfections have been successfully eliminated. If any residual bubbles are detected, repeat the process of using the squeegee or card to gently coax them towards the edges. This meticulous approach helps to achieve a pristine and visually appealing result.
By diligently removing air bubbles from the one-way film, individuals can elevate the quality and functionality of the resulting one-way glass. This attention to detail ensures that the glass surface exhibits the desired semi-transparent and reflective properties, enhancing privacy and visual aesthetics in a wide range of applications.
Step 4: Trimming the Edges
Once the one-way film has been meticulously applied to the glass surface and any air bubbles have been addressed, the next crucial step involves trimming the edges of the film to achieve a precise and professional finish. This process is essential for ensuring that the one-way glass presents a seamless and polished appearance, enhancing its functionality and visual appeal.
To begin the trimming process, carefully examine the edges of the glass to assess the overlap of the one-way film. Using a sharp utility knife or a cutting tool with a fresh blade, gently score along the edges of the film where it meets the glass. This initial scoring creates a guide for the subsequent cutting process, ensuring accuracy and precision in trimming the excess film.
With the scored edges established, proceed to carefully trim the excess film using the utility knife or cutting tool. Exercise caution and maintain a steady hand to achieve clean and straight cuts along the edges. It is crucial to follow the scored lines closely, ensuring that the excess film is removed without causing damage to the glass surface.
As the trimming process nears completion, take the time to verify the uniformity and neatness of the edges. Any uneven or jagged sections should be carefully corrected by making additional precise cuts. This meticulous attention to detail contributes to a refined and professional result, elevating the overall appearance of the one-way glass.
Upon completing the trimming process, inspect the edges of the glass to ensure that the one-way film aligns seamlessly with the contours of the glass. Any remaining imperfections or irregularities should be addressed promptly to achieve a flawless and visually appealing finish.
By meticulously trimming the edges of the one-way film, individuals can elevate the quality and aesthetics of the resulting one-way glass. This precise and methodical approach ensures that the glass surface presents a seamless and polished appearance, enhancing privacy and visual appeal in various settings.
Read more: How To Clean A Glass One Hitter
Step 5: Testing the One-Way Glass
After completing the application and trimming of the one-way film, it is essential to conduct thorough testing to ensure that the glass exhibits the desired semi-transparent and reflective properties. Testing the one-way glass serves as a critical validation of the successful application process, allowing individuals to verify its functionality and performance in real-world conditions.
To begin the testing process, position yourself on the side of the glass where the lighting is brighter, simulating the conditions that prompt the glass to appear as a reflective surface. From this vantage point, observe the glass closely to determine if it effectively reflects the surrounding environment, creating a mirrored effect. The reflective properties of the one-way glass should be readily apparent, providing a clear indication of its ability to enhance privacy and control visibility.
Next, move to the opposite side of the glass, where the lighting is dimmer or more balanced, representing the conditions conducive to maintaining transparency. From this perspective, assess the glass to ascertain whether it allows for clear visibility through the surface. The ability to see through the glass while maintaining a level of privacy confirms its functionality as a one-way material, striking a balance between openness and discretion.
As part of the testing process, it is beneficial to evaluate the one-way glass under varying lighting conditions throughout the day. Observing its performance during different times, such as morning, midday, and evening, provides valuable insights into its adaptability to changing natural light. This comprehensive assessment ensures that the one-way glass consistently delivers the intended visual effects, regardless of external lighting variations.
Furthermore, testing the one-way glass from different viewing angles contributes to a comprehensive evaluation of its performance. By observing the glass from various positions and perspectives, individuals can confirm that its semi-transparent and reflective properties remain consistent, validating its effectiveness in providing privacy and controlling visibility from multiple vantage points.
By conducting rigorous testing of the one-way glass, individuals can confidently affirm its successful transformation into a functional and stylish privacy solution. This meticulous validation process ensures that the glass exhibits the desired optical characteristics, enhancing privacy and visual aesthetics in diverse settings. The thorough testing serves as a final confirmation of the one-way glass's ability to fulfill its intended purpose, providing reassurance of its value as a versatile and innovative material.
You can make glass one way by using a special film called one-way mirror film. Apply the film to the glass and it will create a reflective surface on one side, allowing you to see through from one direction while appearing as a mirror from the other.
Conclusion
In conclusion, the process of creating one-way glass involves a meticulous and methodical approach to transform ordinary glass surfaces into functional and stylish privacy solutions. By understanding the principles behind one-way glass and following the step-by-step application process, individuals can achieve the desired semi-transparent and reflective properties, enhancing privacy and visual aesthetics in diverse settings.
The journey begins with the thorough preparation of the glass surface, including cleaning, measuring, and creating a conducive workspace. These foundational steps set the stage for the precise application of the one-way film, a critical process that demands attention to detail and the use of specialized tools and solutions. By carefully applying the film, smoothing out air bubbles, and trimming the edges, individuals can ensure a seamless and professional finish, elevating the quality and functionality of the resulting one-way glass.
The importance of rigorous testing cannot be overstated, as it serves as a critical validation of the successful application process. By assessing the one-way glass under varying lighting conditions, from different viewing angles, and throughout the day, individuals can confirm its consistent performance and effectiveness in providing privacy and controlling visibility.
Mastering the art of creating one-way glass unlocks a world of creative possibilities, empowering individuals to enhance privacy without sacrificing natural light and to seamlessly blend functionality and style in architectural design, interior decor, and security applications. Whether utilized in residential homes, commercial spaces, or automotive settings, one-way glass offers a dynamic solution for balancing privacy and visibility, enriching living and working environments with innovative design elements.
In essence, the process of making one-way glass represents a fusion of science, art, and practicality, culminating in the transformation of glass into a versatile and innovative material. By embracing the principles and techniques outlined in this guide, individuals can embark on a journey of creativity and exploration, harnessing the potential of one-way glass to elevate the privacy and visual appeal of their spaces.
Frequently Asked Questions about How To Make Glass One Way
Was this page helpful?
At Storables.com, we guarantee accurate and reliable information. Our content, validated by Expert Board Contributors, is crafted following stringent Editorial Policies. We're committed to providing you with well-researched, expert-backed insights for all your informational needs.


0 thoughts on “How To Make Glass One Way”