Home>Furniture & Design>Interior Design Trends>How To Make One-Way Glass
Interior Design Trends
How To Make One-Way Glass
Published: February 7, 2024
Learn how to incorporate the latest interior design trend of one-way glass into your space. Discover tips and ideas for creating a stylish and functional interior.
(Many of the links in this article redirect to a specific reviewed product. Your purchase of these products through affiliate links helps to generate commission for Storables.com, at no extra cost. Learn more)
Introduction
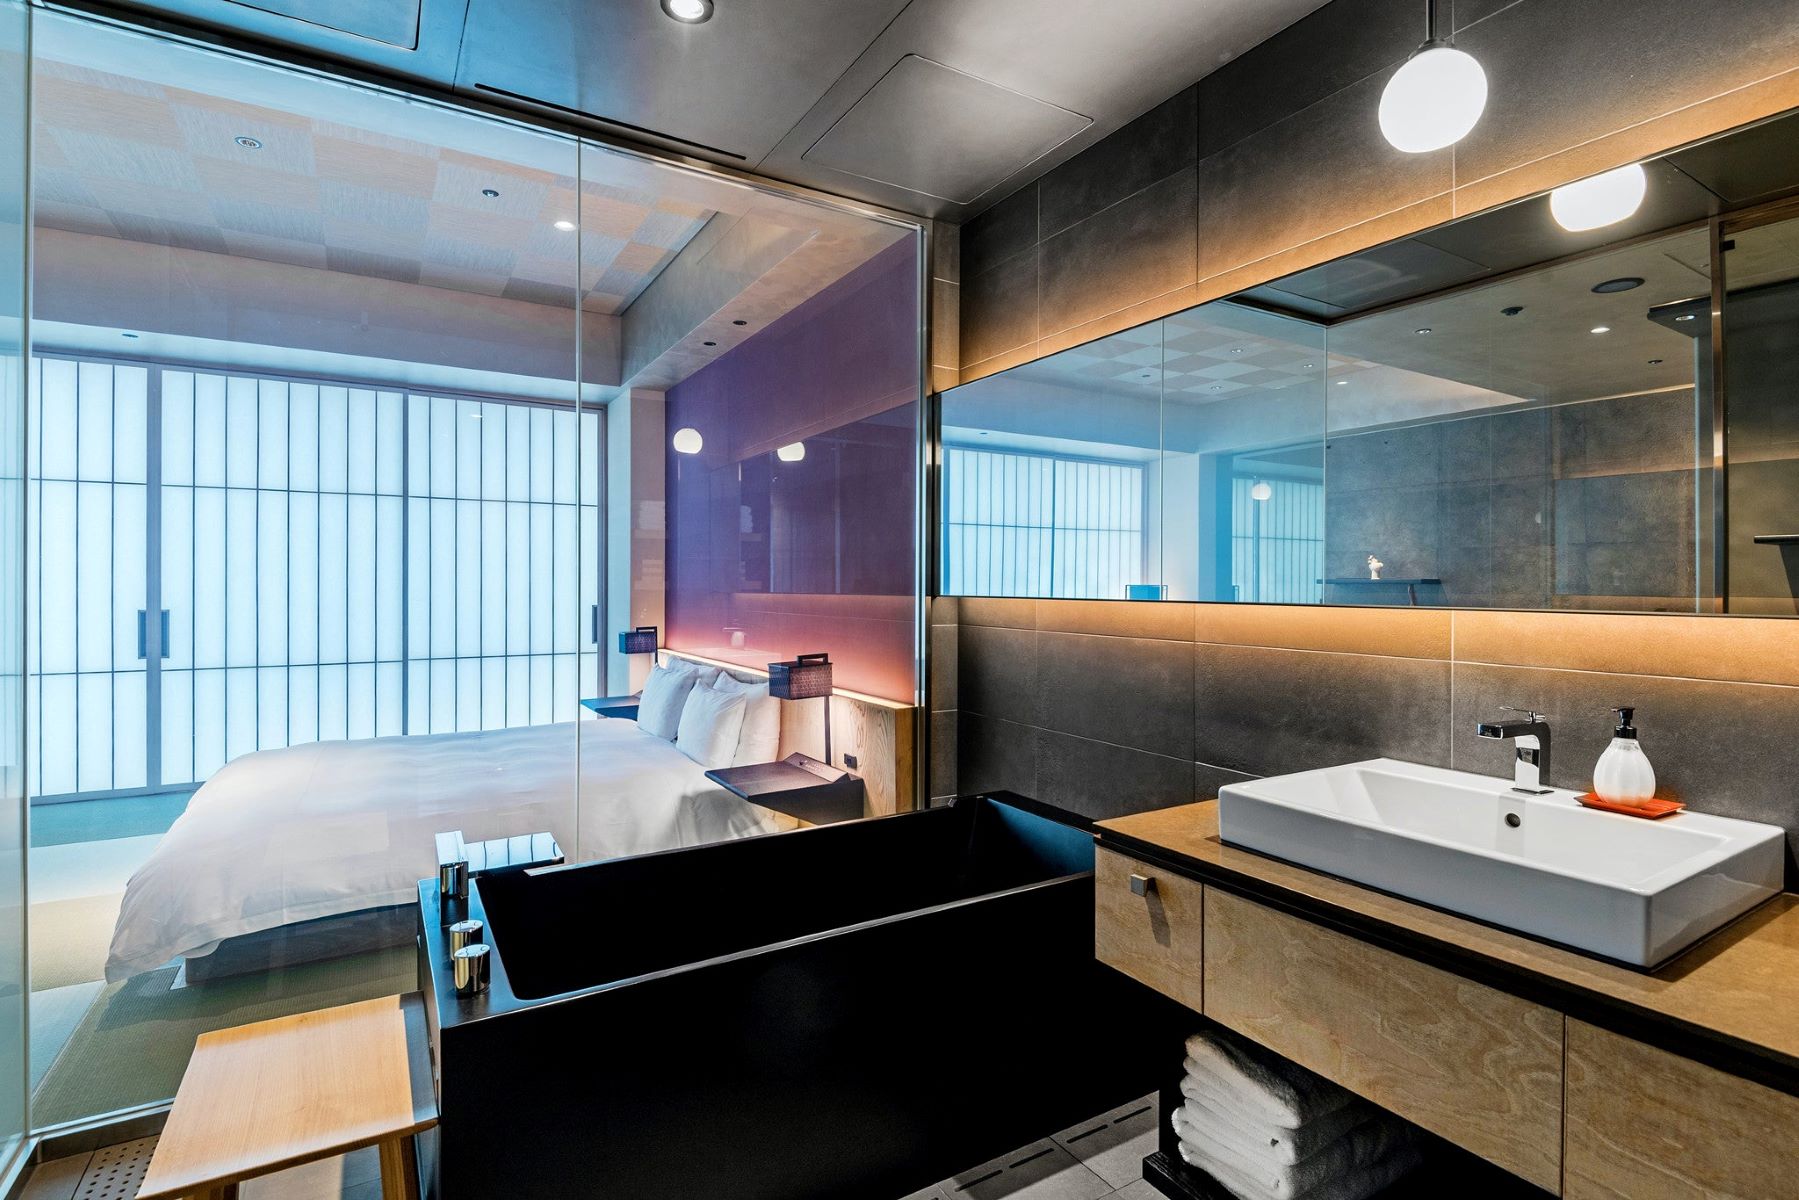
Creating one-way glass, also known as two-way mirror, can be a fascinating and practical project for those seeking privacy without sacrificing natural light. This innovative solution allows you to see through the glass from one side while appearing as a reflective surface from the other side. Whether you're looking to enhance the privacy of your home, office, or even a creative project, making one-way glass can be a rewarding endeavor.
By following a few simple steps and using readily available materials, you can transform ordinary glass into a versatile and functional one-way glass. This DIY project offers a cost-effective alternative to purchasing pre-made one-way glass, providing you with the flexibility to customize the size and application to suit your specific needs.
In this guide, we will walk through the process of creating one-way glass, from preparing the glass surface to applying the reflective film. Additionally, we will explore how to test the effectiveness of the one-way glass to ensure optimal results. With a bit of creativity and attention to detail, you can successfully craft your own one-way glass and enjoy the benefits of enhanced privacy and natural light in your space.
Let's dive into the materials needed and the step-by-step process of making one-way glass, empowering you to embark on this exciting DIY project with confidence and enthusiasm.
Key Takeaways:
- Create your own one-way glass by applying reflective film to standard glass, allowing privacy without sacrificing natural light. Enjoy a rewarding DIY project with customizable results for home, office, or creative spaces.
- Transform ordinary glass into a versatile and functional one-way glass using readily available materials. Enjoy enhanced privacy and natural light while embracing creativity and attention to detail.
Read more: How To Make Glass One Way
Materials Needed
To embark on the journey of creating your own one-way glass, you will need a few essential materials that are readily available and relatively affordable. Gathering these items will set the stage for a successful DIY project, allowing you to transform ordinary glass into a functional and versatile one-way glass. Here's a comprehensive list of the materials needed to get started:
-
Glass Pane: The foundation of your one-way glass project is a standard glass pane. Ensure that the glass is clean and free from any blemishes or imperfections to achieve optimal results.
-
Reflective Window Film: This specialized film is the key component that enables one-way visibility. It is designed to reflect light and create a mirrored effect on one side while allowing visibility from the other side. The film is available in various sizes and can be trimmed to fit your specific glass dimensions.
-
Spray Bottle with Water and Dish Soap Mixture: Creating a solution of water and dish soap will facilitate the application of the reflective film onto the glass surface. This mixture helps to reduce air bubbles and ensures a smooth and secure attachment of the film.
-
Lint-Free Cloth or Squeegee: A lint-free cloth or squeegee is essential for smoothing out the reflective film and removing any excess water or air bubbles during the application process. This step is crucial in achieving a seamless and professional finish.
-
Utility Knife or Scissors: To trim the reflective film to the exact size of the glass pane, a sharp utility knife or scissors will be necessary. Precision is key in ensuring a precise fit and a polished final result.
-
Measuring Tape: Accurately measuring the dimensions of the glass pane and the reflective film is essential for a tailored fit. A measuring tape will aid in determining the exact size needed for the reflective film, minimizing waste and ensuring a seamless application.
-
Clean, Lint-Free Cloth: Before applying the reflective film, it's important to thoroughly clean the glass surface to remove any dust, dirt, or debris. A clean, lint-free cloth will help achieve a pristine surface, allowing for optimal adhesion of the reflective film.
By gathering these materials, you will be well-equipped to embark on the process of creating your own one-way glass. With careful attention to detail and the right tools at your disposal, you can confidently proceed to the next steps of preparing the glass and applying the reflective film, bringing your vision of one-way glass to life.
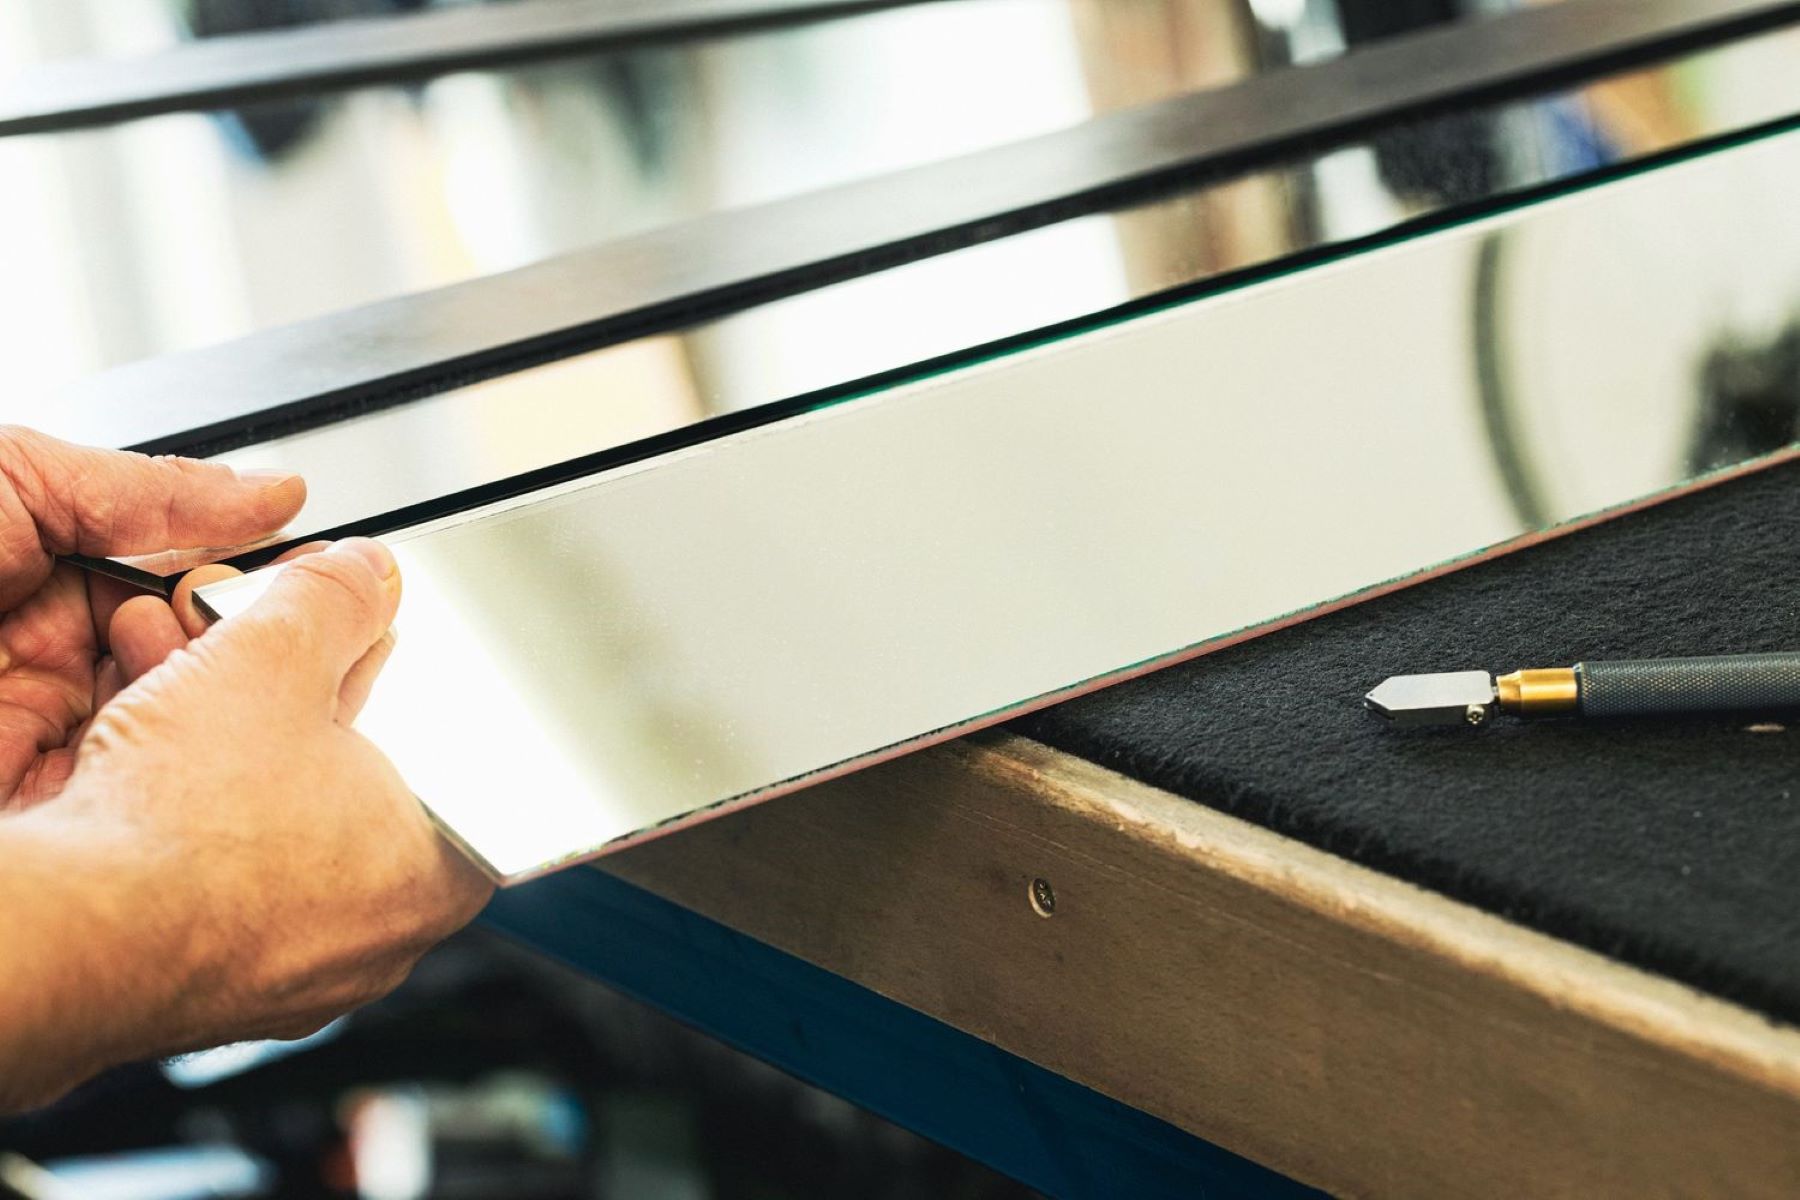
Step 1: Prepare the Glass
Before applying the reflective film to create one-way glass, it is crucial to prepare the glass surface thoroughly. This initial step sets the foundation for a successful application and ensures a seamless and professional finish. Here's a detailed guide on how to prepare the glass for the next phase of the project:
-
Clean the Glass: Begin by cleaning the glass pane using a clean, lint-free cloth and a mild glass cleaner. Ensure that the glass is free from any dust, dirt, or smudges that could affect the adhesion of the reflective film. Thoroughly wipe the entire surface of the glass to achieve a pristine and smooth foundation.
-
Measure the Glass Dimensions: Using a measuring tape, carefully measure the dimensions of the glass pane. Record the precise width and height, as these measurements will guide the trimming of the reflective film to ensure a tailored fit. Accurate measurements are essential for achieving a professional and polished result.
-
Create a Work Area: Select a clean and well-lit area to work on the glass preparation. A spacious and well-ventilated workspace will provide ample room to maneuver the glass pane and ensure optimal conditions for the subsequent application of the reflective film.
-
Inspect for Imperfections: Thoroughly inspect the glass surface for any imperfections, such as scratches or chips. Address any minor imperfections by gently buffing the affected areas with a glass polishing compound, ensuring that the surface is smooth and free from blemishes.
-
Remove Residual Adhesives: If there are any residual adhesives or stickers on the glass, use a gentle adhesive remover to eliminate any sticky residue. A clean and adhesive-free surface is essential for the successful application of the reflective film.
By meticulously preparing the glass surface, you are laying the groundwork for a successful transformation into one-way glass. This attention to detail and thorough preparation will contribute to a professional and visually appealing result, setting the stage for the next phase of the project: applying the reflective film.
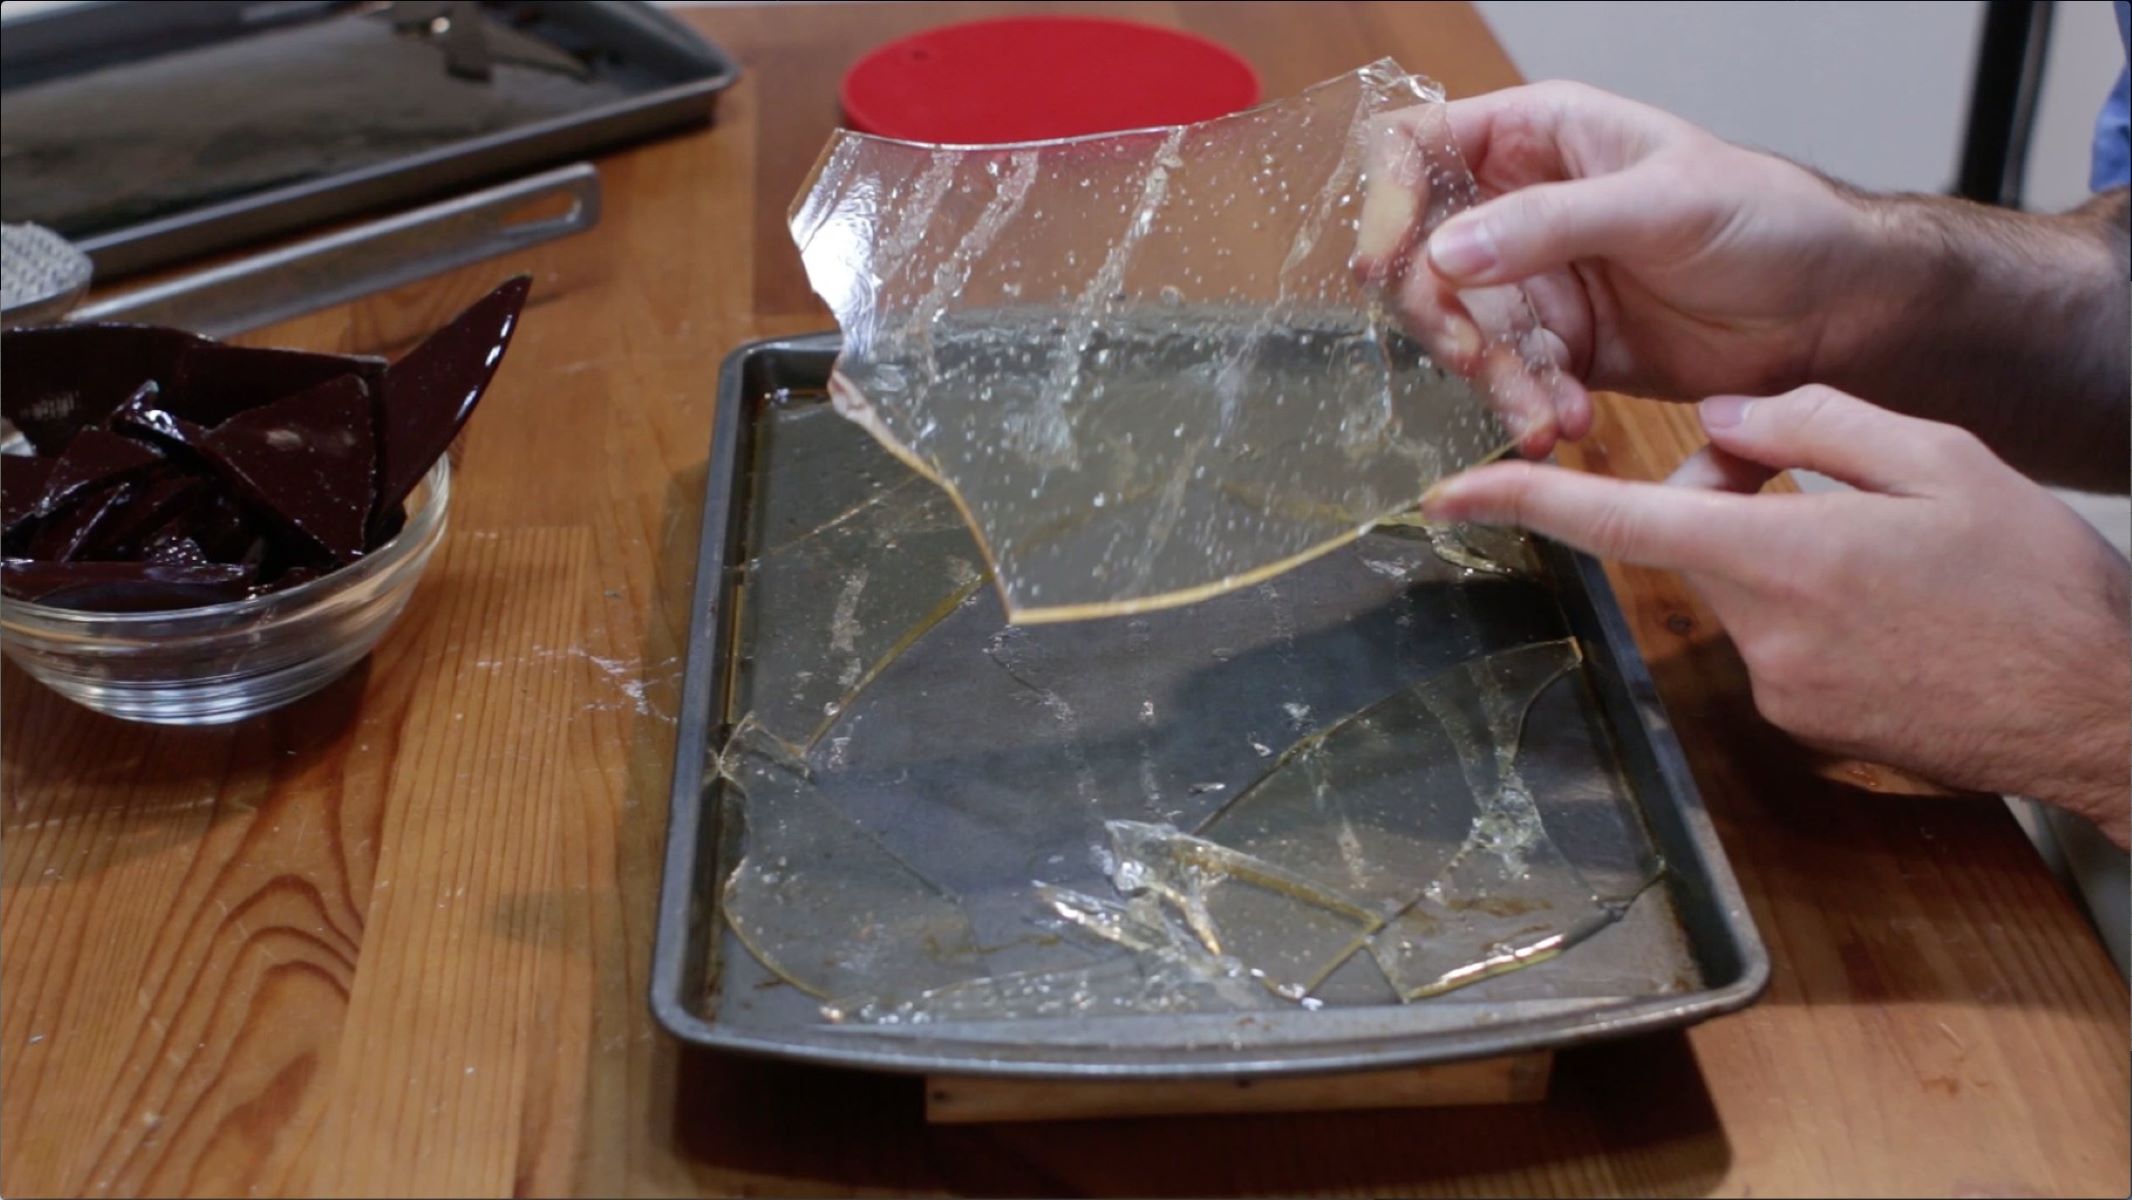
Step 2: Apply the Reflective Film
With the glass pane meticulously prepared, the next crucial step in creating one-way glass is the precise application of the reflective film. This specialized film is the key component that enables one-way visibility, transforming the glass into a versatile and functional element in your space. Here's a detailed guide on how to apply the reflective film to achieve optimal results:
-
Prepare the Reflective Film: Begin by unrolling the reflective window film on a clean and flat surface, ensuring that the film is positioned with the reflective side facing upward. Use the measurements obtained during the glass preparation phase to determine the exact dimensions needed for the film. With a sharp utility knife or scissors, carefully trim the film to match the width and height of the glass pane, allowing for a precise fit.
-
Create a Solution for Application: In a spray bottle, combine water with a small amount of dish soap to create a gentle solution. Lightly mist the glass surface with the solution, ensuring even coverage. This solution will facilitate the application of the reflective film and aid in minimizing air bubbles for a smooth and secure attachment.
-
Position and Apply the Film: With the glass surface lightly misted, carefully position the trimmed reflective film onto the glass pane, ensuring that the reflective side faces outward. As you gently lay the film onto the glass, the soapy solution will allow you to maneuver the film into the desired position. Take your time to align the film accurately with the edges of the glass, ensuring a precise fit.
-
Smooth Out the Film: Using a lint-free cloth or a squeegee, begin smoothing out the reflective film from the center towards the edges. This process helps to remove any excess water and air bubbles, ensuring a seamless and professional finish. Pay close attention to the corners and edges, ensuring that the film adheres securely to the glass surface.
-
Trim Excess Film: Once the reflective film is smoothly applied and adhered to the glass, carefully trim any excess film along the edges using a sharp utility knife or scissors. Precision is key in achieving a polished and tailored fit, ensuring that the one-way glass appears seamless and visually appealing.
By following these detailed steps, you can successfully apply the reflective film to create your own one-way glass. This transformative process allows you to achieve privacy without compromising natural light, enhancing the functionality and aesthetic appeal of your space. With the reflective film securely in place, the next crucial step is to test the effectiveness of the one-way glass to ensure that it meets your specific needs and expectations.
Step 3: Test the One-Way Glass
After meticulously applying the reflective film to the glass surface, it's essential to conduct a thorough test to ensure that the one-way glass functions as intended. This critical step allows you to verify the effectiveness of the one-way visibility and assess the overall performance of the DIY project. Here's a detailed guide on how to conduct a comprehensive test of the one-way glass:
Read more: How Does One Way Glass Work
Indoor Observation
Begin the testing process by standing on the side of the glass where you intend to achieve privacy. From this vantage point, observe the glass surface and assess the level of reflectivity. If the one-way glass has been successfully created, you should notice a mirrored or reflective appearance when viewed from this side. The reflective film should effectively obscure the view from the opposite side, providing the desired privacy without compromising natural light transmission.
Outdoor Observation
Next, move to the opposite side of the glass and observe the surface from an outdoor perspective. If the one-way glass functions as intended, you should be able to see through the glass with clarity, allowing visibility into the space where the reflective film has been applied. This two-way visibility demonstrates the successful transformation of the standard glass into a functional one-way glass, offering privacy from one side while maintaining visibility from the other side.
Lighting Conditions
To further test the effectiveness of the one-way glass, observe the surface under various lighting conditions. Assess the visibility and reflectivity of the glass during different times of the day, taking note of how natural and artificial light impacts the appearance and functionality of the one-way glass. By evaluating the glass under diverse lighting scenarios, you can ensure that the one-way visibility remains consistent and reliable in different environments.
Additional Considerations
In addition to the visual observations, consider testing the one-way glass in practical scenarios that mimic real-life usage. This may involve simulating typical activities and movements on both sides of the glass to gauge the level of privacy and visibility. By conducting these practical tests, you can confirm that the one-way glass effectively meets your specific privacy needs and functional requirements.
By thoroughly testing the one-way glass, you can confidently assess its performance and functionality, ensuring that it aligns with your expectations and enhances the privacy and versatility of your space. This comprehensive testing process allows you to validate the success of the DIY project and make any necessary adjustments to achieve the desired results.
To make one-way glass, apply a thin layer of reflective coating, like a mirror, to one side of the glass. This allows light to pass through from one side, while the other side appears as a mirror.
Read more: How To Make One Glass Of ORS At Home
Conclusion
In conclusion, the process of creating one-way glass through the application of reflective film offers a practical and innovative solution for enhancing privacy without compromising natural light. By meticulously preparing the glass surface and applying the reflective film with precision, you can transform standard glass into a versatile and functional element in your space. The DIY project empowers individuals to customize the size and application of one-way glass, providing a cost-effective alternative to pre-made options.
The successful creation of one-way glass opens up a myriad of possibilities for residential, commercial, and creative applications. Whether used in interior design to partition spaces while maintaining visibility, or as a privacy-enhancing feature in residential settings, one-way glass offers a seamless blend of functionality and aesthetic appeal. The ability to achieve privacy from one side while allowing visibility from the other side creates a dynamic and versatile element that can elevate the design and functionality of various environments.
Furthermore, the thorough testing of the one-way glass ensures that it meets specific privacy needs and functional requirements. By conducting visual observations and practical tests, individuals can validate the effectiveness of the DIY project and make any necessary adjustments to achieve the desired results. This comprehensive testing process provides confidence in the performance and reliability of the one-way glass, allowing for seamless integration into diverse settings.
Overall, the creation of one-way glass presents an exciting opportunity for individuals to engage in a hands-on DIY project that combines practicality with creativity. The ability to craft customized one-way glass empowers individuals to tailor privacy solutions to their unique preferences and spatial requirements. Whether used in residential, commercial, or artistic contexts, one-way glass serves as a versatile and functional addition that enhances privacy while embracing natural light.
By following the step-by-step process and embracing the creative potential of one-way glass, individuals can embark on a rewarding journey of crafting a practical and visually appealing element that enriches the functionality and aesthetic of their surroundings. The DIY approach to creating one-way glass not only offers a sense of accomplishment but also provides a customizable solution that aligns with individual preferences and design aspirations.
Frequently Asked Questions about How To Make One-Way Glass
Was this page helpful?
At Storables.com, we guarantee accurate and reliable information. Our content, validated by Expert Board Contributors, is crafted following stringent Editorial Policies. We're committed to providing you with well-researched, expert-backed insights for all your informational needs.


0 thoughts on “How To Make One-Way Glass”