Home>Furniture & Design>Interior Design Trends>How To Clean A Glass One Hitter
Interior Design Trends
How To Clean A Glass One Hitter
Published: February 7, 2024
Learn how to effectively clean a glass one hitter with our expert tips and tricks. Keep your interior design trends on point with a sparkling clean accessory.
(Many of the links in this article redirect to a specific reviewed product. Your purchase of these products through affiliate links helps to generate commission for Storables.com, at no extra cost. Learn more)
Introduction
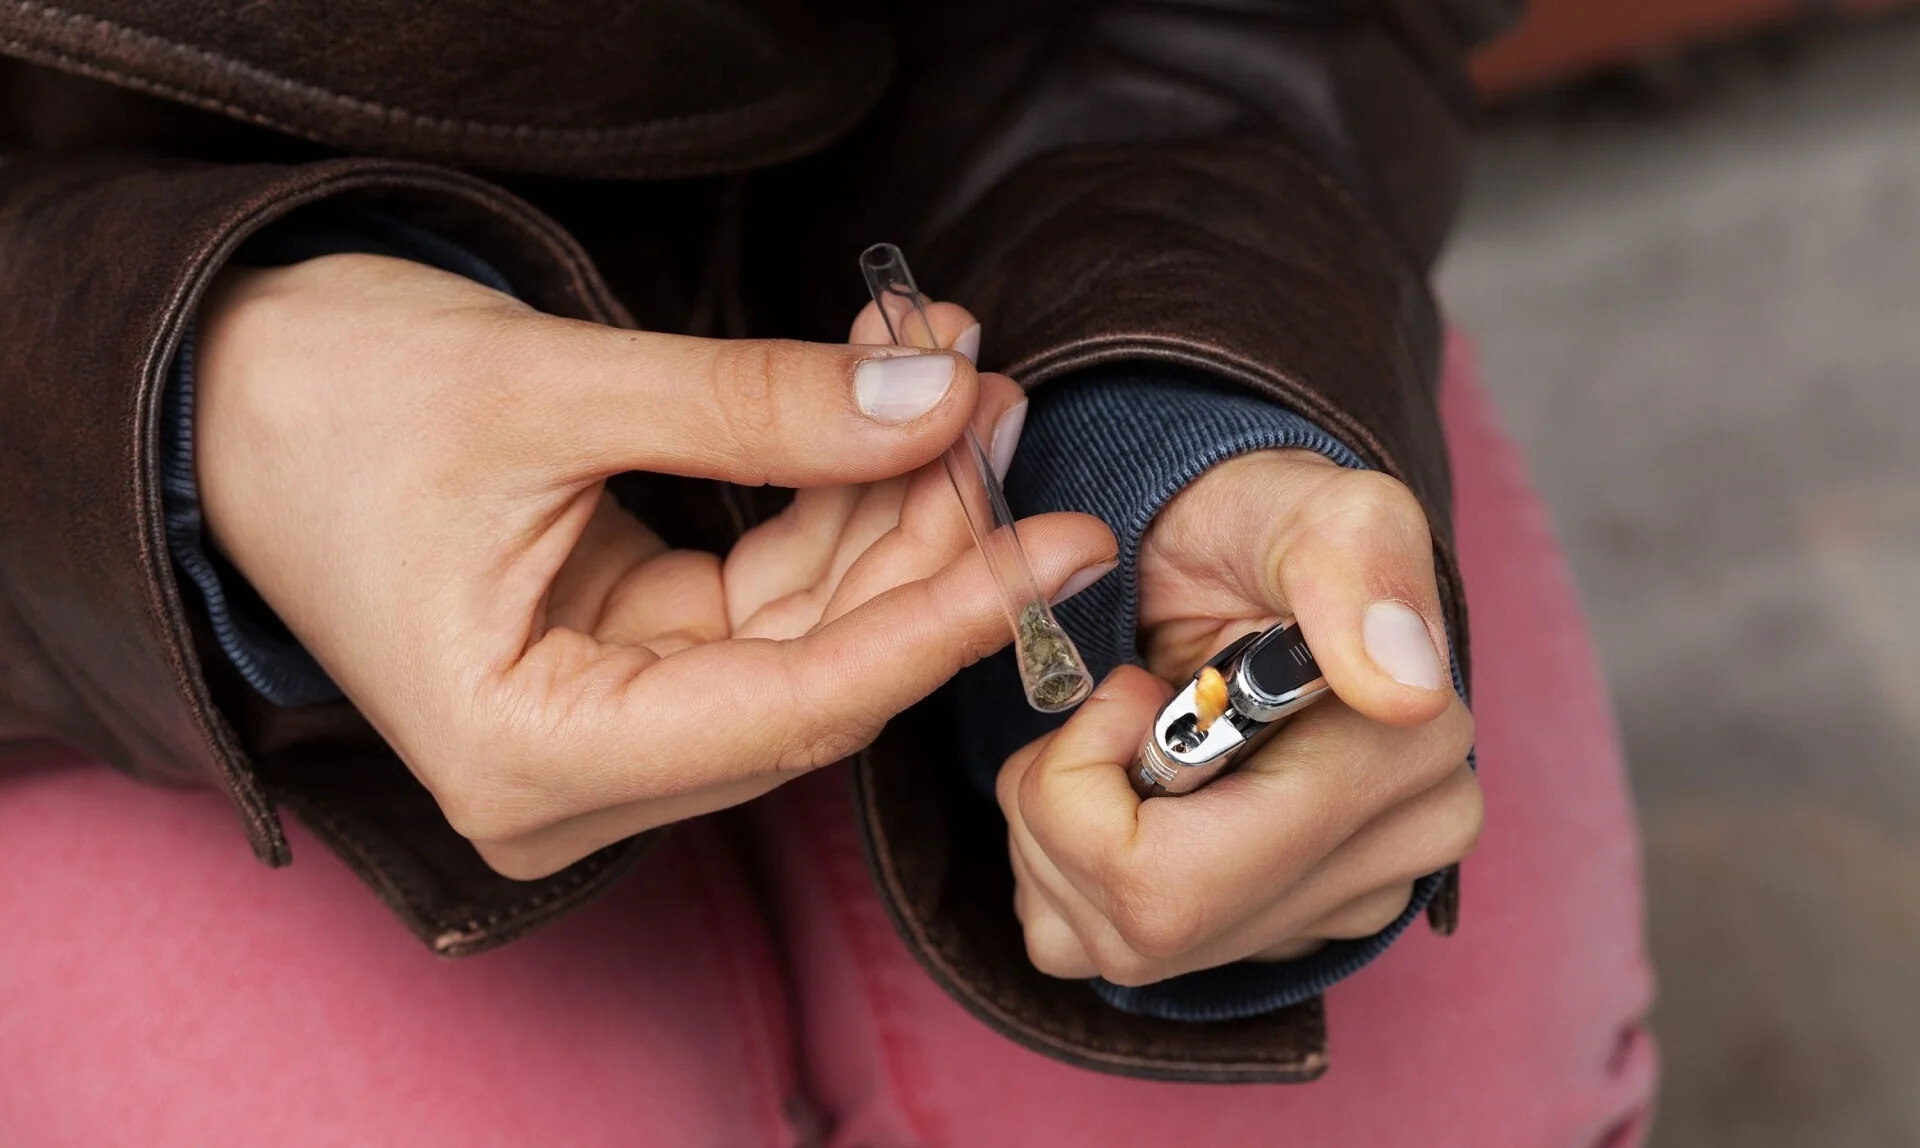
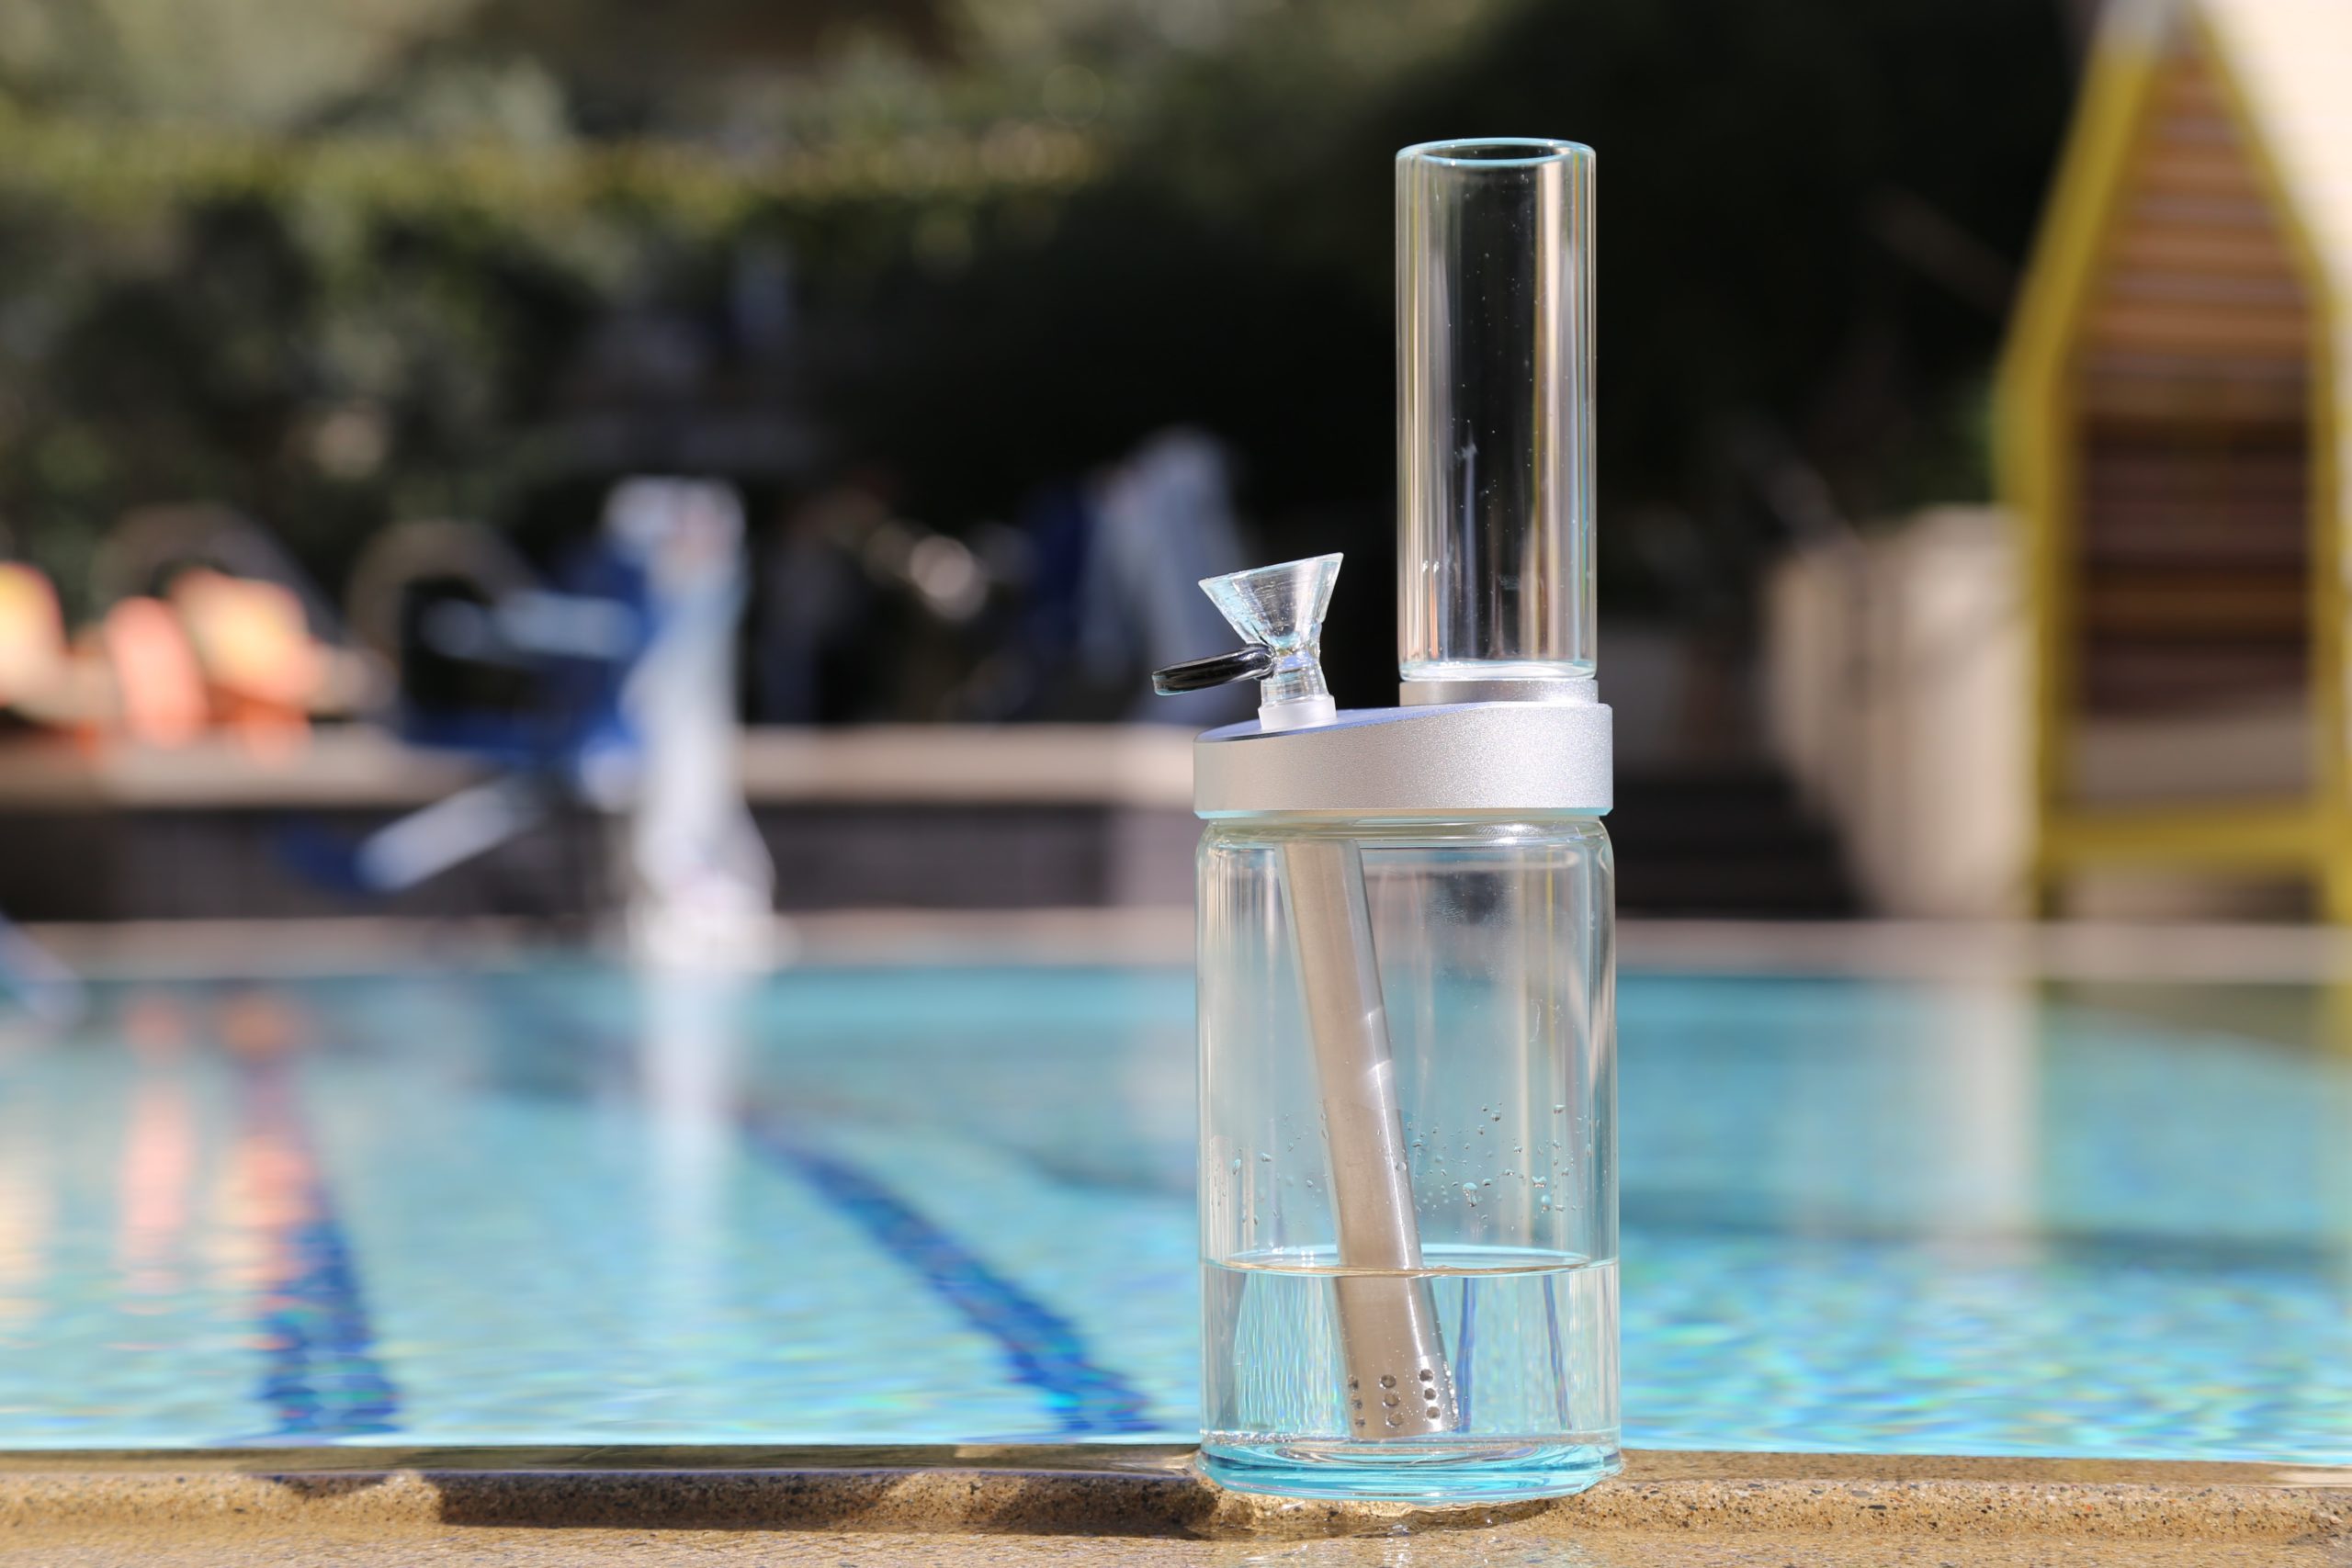
Cleaning a glass one hitter is an essential part of maintaining its functionality and ensuring a pleasant smoking experience. Over time, resin and residue can accumulate inside the one hitter, affecting its performance and flavor. By regularly cleaning your glass one hitter, you can preserve its pristine condition and enjoy a smoother, more flavorful smoking session.
Proper cleaning not only enhances the aesthetic appeal of your glass one hitter but also contributes to a healthier smoking experience. Residue buildup can harbor harmful bacteria and compromise the purity of your smoking material. Therefore, a thorough cleaning routine is crucial for maintaining both the visual appeal and functionality of your glass one hitter.
In this comprehensive guide, we will walk you through the step-by-step process of cleaning your glass one hitter effectively. From disassembling the one hitter to soaking it in a cleaning solution and finally rinsing and drying it, we will cover all the essential techniques to restore your glass one hitter to its pristine state.
Whether you are a seasoned smoker or new to the world of glass one hitters, this guide will equip you with the knowledge and skills to maintain your smoking device with ease. By following these simple yet effective cleaning methods, you can prolong the lifespan of your glass one hitter and elevate your smoking experience to new heights.
Now, let's delve into the materials needed and the step-by-step cleaning process to ensure that your glass one hitter remains in optimal condition for a satisfying smoking experience.
Key Takeaways:
- Regularly cleaning your glass one hitter with isopropyl alcohol and coarse salt preserves its condition, enhances smoking flavor, and promotes a healthier smoking experience by removing harmful residue buildup.
- Disassembling, soaking, scrubbing, and thorough rinsing and drying are the key steps to ensure your glass one hitter remains in optimal condition, providing a consistently enjoyable smoking experience.
Read more: How To Use Glass One Hitter
Materials Needed
Before embarking on the cleaning process, it's essential to gather the necessary materials to ensure a thorough and effective cleaning of your glass one hitter. Here's a list of items you'll need:
-
Isopropyl Alcohol (91% or higher): Isopropyl alcohol is a key component in cleaning glass one hitters. It effectively dissolves resin and residue, making it easier to remove buildup from the one hitter's interior.
-
Coarse Salt: Coarse salt serves as an abrasive agent that aids in dislodging stubborn residue from the one hitter. When combined with isopropyl alcohol, it creates a powerful cleaning solution.
-
Resealable Plastic Bag or Container: A resealable plastic bag or container is essential for soaking the glass one hitter in the cleaning solution. It allows for easy and thorough coverage of the one hitter, ensuring that the cleaning solution reaches all the nooks and crannies.
-
Pipe Cleaners or Cotton Swabs: Pipe cleaners or cotton swabs are useful for reaching tight spaces within the one hitter, allowing for precise cleaning and removal of residue.
-
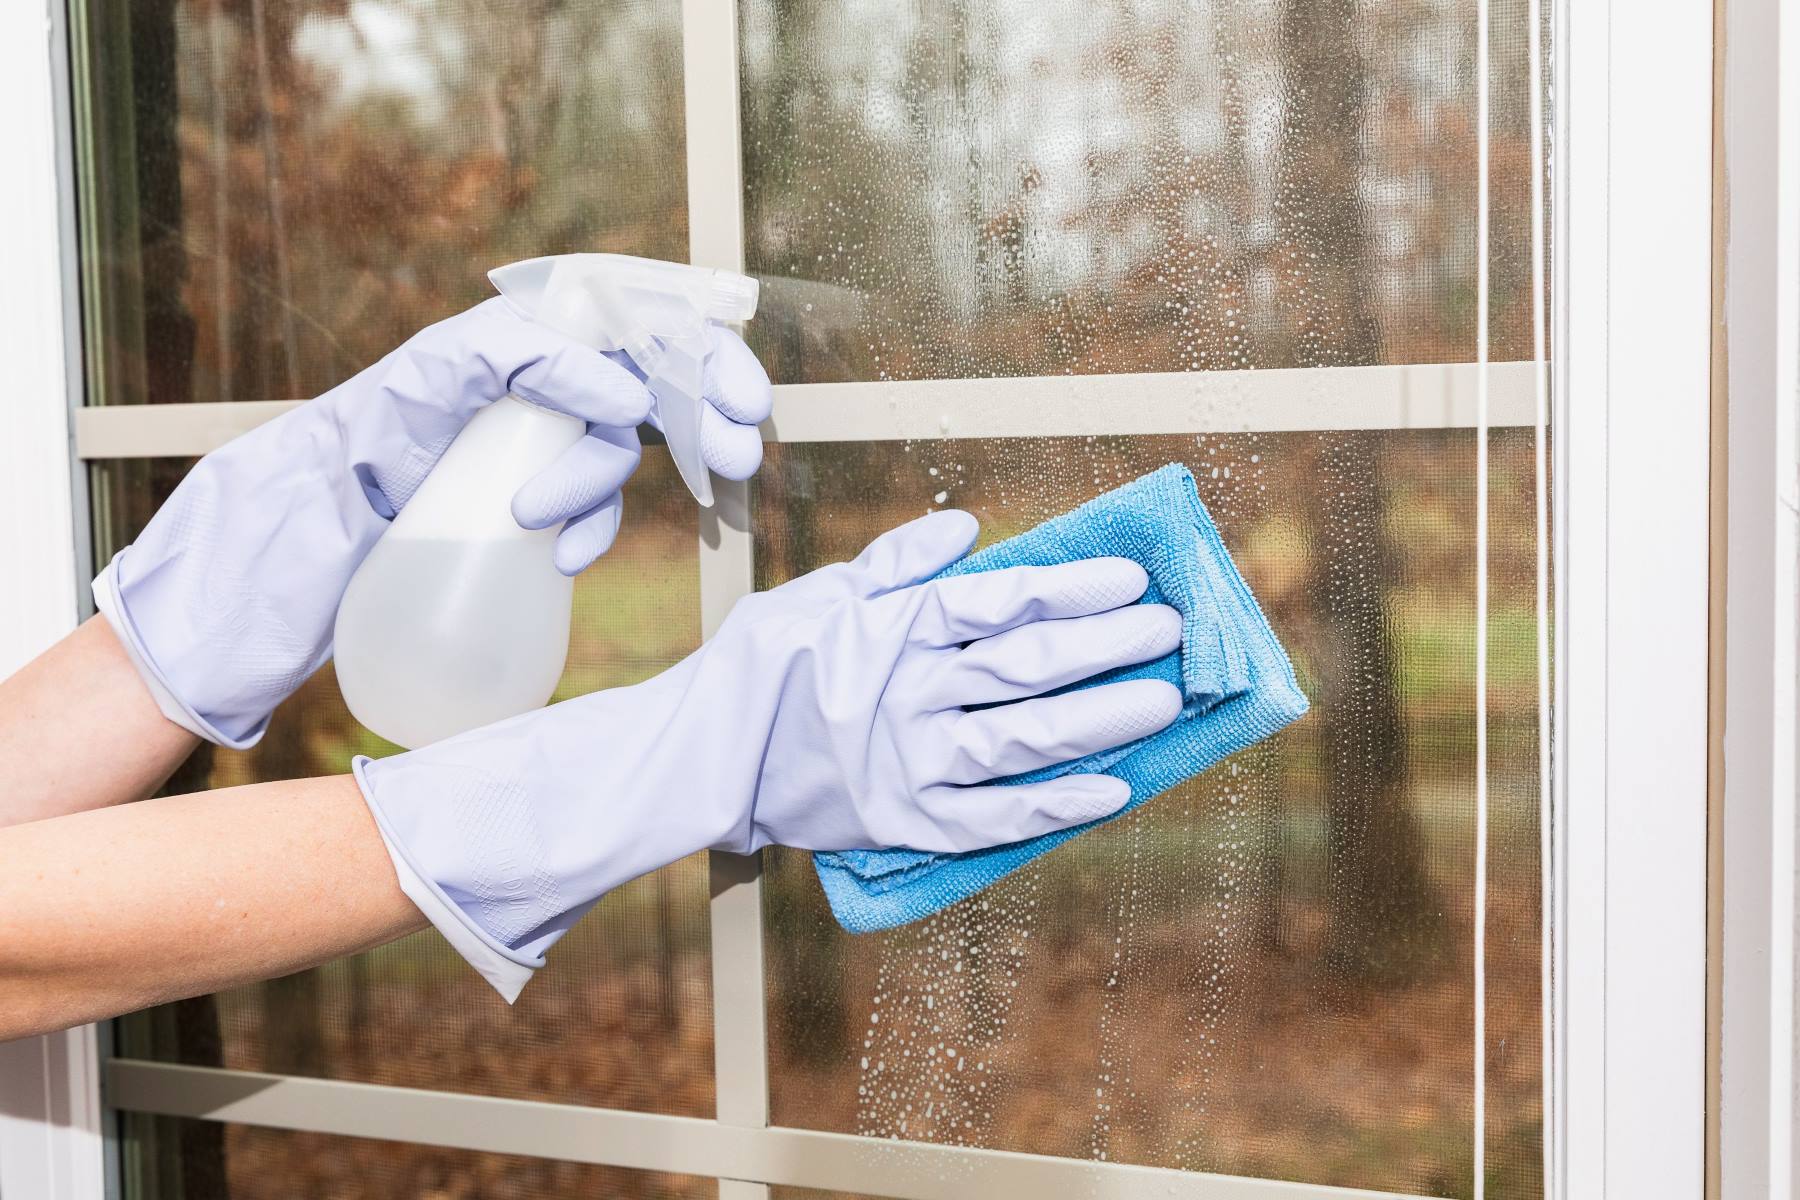
Rubber Gloves: Rubber gloves protect your hands from coming into direct contact with the cleaning solution and residue, ensuring a safe and hygienic cleaning process.
-
Paper Towels or Microfiber Cloth: These are essential for drying the glass one hitter after the cleaning process. They help to remove any remaining moisture and ensure that the one hitter is completely dry before use.
By gathering these materials, you'll be well-equipped to tackle the cleaning process effectively, ensuring that your glass one hitter is restored to its pristine condition. With these items at your disposal, you can proceed to the step-by-step cleaning process with confidence, knowing that you have everything you need to maintain your glass one hitter with care and precision.
Step 1: Disassembling the One Hitter
Disassembling the glass one hitter is the first crucial step in the cleaning process. This allows for thorough access to the interior and exterior surfaces, ensuring that all areas are effectively cleaned. Before beginning the disassembly, it's important to ensure that the one hitter is completely cool to the touch to prevent any risk of burns.
Start by carefully unscrewing any detachable components, such as the mouthpiece or filter, from the one hitter. If your glass one hitter does not have detachable parts, proceed to the next step. Once the detachable components are removed, inspect them for any visible residue or buildup. If present, these components can be cleaned separately using the same cleaning solution and techniques applied to the main body of the one hitter.
Next, carefully examine the one hitter to identify any removable debris or residue within the bowl or chamber. Gently tapping the one hitter against a soft surface can help dislodge any loose residue, making it easier to clean. It's important to handle the glass one hitter with care during this process to avoid causing any damage.
If the one hitter features a filter or screen, carefully remove it and set it aside for individual cleaning. Screens can be soaked in the cleaning solution to dissolve any trapped residue, ensuring that they are thoroughly cleaned before reassembly.
By disassembling the glass one hitter and inspecting its components, you can effectively prepare it for the subsequent cleaning steps. This meticulous approach ensures that every part of the one hitter receives the attention it needs to be restored to a pristine condition, setting the stage for a thorough and effective cleaning process.
With the glass one hitter disassembled and its components ready for cleaning, you are now prepared to move on to the next step: soaking the one hitter in the cleaning solution. This critical phase will effectively dissolve stubborn residue and prepare the one hitter for the subsequent cleaning and scrubbing process.
Step 2: Soaking in Cleaning Solution
Soaking the glass one hitter in a potent cleaning solution is a pivotal step in the thorough cleaning process. This method effectively dissolves stubborn residue and buildup, making it easier to remove and ensuring a comprehensive cleaning of the one hitter's interior and exterior surfaces.
To begin, prepare a cleaning solution by combining isopropyl alcohol with coarse salt in a resealable plastic bag or container. The coarse salt serves as an abrasive agent, enhancing the cleaning solution's effectiveness in dislodging residue from the one hitter. Pour enough isopropyl alcohol into the bag or container to fully submerge the disassembled glass one hitter, ensuring that all surfaces are immersed in the cleaning solution.
Once the cleaning solution is prepared, carefully place the disassembled glass one hitter into the resealable plastic bag or container, ensuring that it is fully submerged. Seal the bag or container securely to prevent any leakage and to facilitate thorough soaking of the one hitter. The cleaning solution should be given sufficient time to work its magic, effectively dissolving the accumulated residue and resin within the one hitter.
During the soaking process, it's advisable to periodically agitate the bag or container to ensure that the cleaning solution reaches all the nooks and crannies of the one hitter. This gentle agitation helps to dislodge stubborn residue and promotes thorough cleaning. The duration of the soaking process may vary depending on the extent of residue buildup, but allowing the one hitter to soak for at least 30 minutes is recommended to ensure optimal cleaning results.
As the glass one hitter soaks in the cleaning solution, the potent combination of isopropyl alcohol and coarse salt works to break down and dissolve the accumulated residue, preparing the one hitter for the subsequent scrubbing and rinsing steps. This soaking process is essential for achieving a deep and comprehensive clean, ensuring that the one hitter is thoroughly rejuvenated and free from any lingering residue.
By allowing the glass one hitter to soak in the potent cleaning solution, you are setting the stage for a successful cleaning process, laying the foundation for the next crucial step: scrubbing the one hitter to remove dissolved residue and achieve a pristine, like-new condition.
Soak the glass one hitter in isopropyl alcohol for at least 30 minutes, then use a pipe cleaner to scrub the inside. Rinse with hot water and let it air dry.
Step 3: Scrubbing the One Hitter
After the glass one hitter has undergone the soaking process and the cleaning solution has effectively dissolved the accumulated residue, it's time to proceed to the crucial step of scrubbing the one hitter. This step is essential for removing the dissolved residue and achieving a pristine, like-new condition for your smoking device.
To begin the scrubbing process, carefully remove the glass one hitter from the cleaning solution, ensuring that all components are thoroughly rinsed to remove any remaining residue. It's important to handle the one hitter with care during this step to prevent any accidental damage.
Once the one hitter has been removed from the cleaning solution and rinsed, it's time to focus on scrubbing the interior and exterior surfaces to ensure a thorough clean. Begin by using pipe cleaners or cotton swabs to reach into the narrow channels and chambers of the one hitter, effectively removing any remaining residue. These flexible cleaning tools allow for precise and targeted cleaning, ensuring that no area is overlooked.
For stubborn residue that may still cling to the interior surfaces, a gentle scrubbing with a small brush, such as a soft-bristled toothbrush, can be employed. The bristles of the brush effectively dislodge any remaining residue, allowing for a comprehensive cleaning of the one hitter's interior. Care should be taken to avoid using abrasive materials that could scratch or damage the glass surface.
In addition to scrubbing the interior surfaces, it's important to pay attention to the exterior of the glass one hitter. A gentle scrub with a soft cloth or sponge, combined with the cleaning solution, effectively removes any residue or stains, restoring the exterior to its original luster. This meticulous approach ensures that both the interior and exterior surfaces of the one hitter receive the attention they need to be thoroughly cleaned.
Throughout the scrubbing process, it's advisable to periodically rinse the one hitter with warm water to remove loosened residue and ensure that the cleaning solution is thoroughly flushed out. This helps to prevent any lingering residue and ensures that the one hitter is clean and ready for the final step of the cleaning process.
By meticulously scrubbing the glass one hitter, you are taking the necessary steps to ensure that it is restored to a pristine condition, free from any accumulated residue or impurities. This thorough approach sets the stage for the final step: rinsing and drying the one hitter to complete the cleaning process.
Read more: How To Make Glass One Way
Step 4: Rinsing and Drying
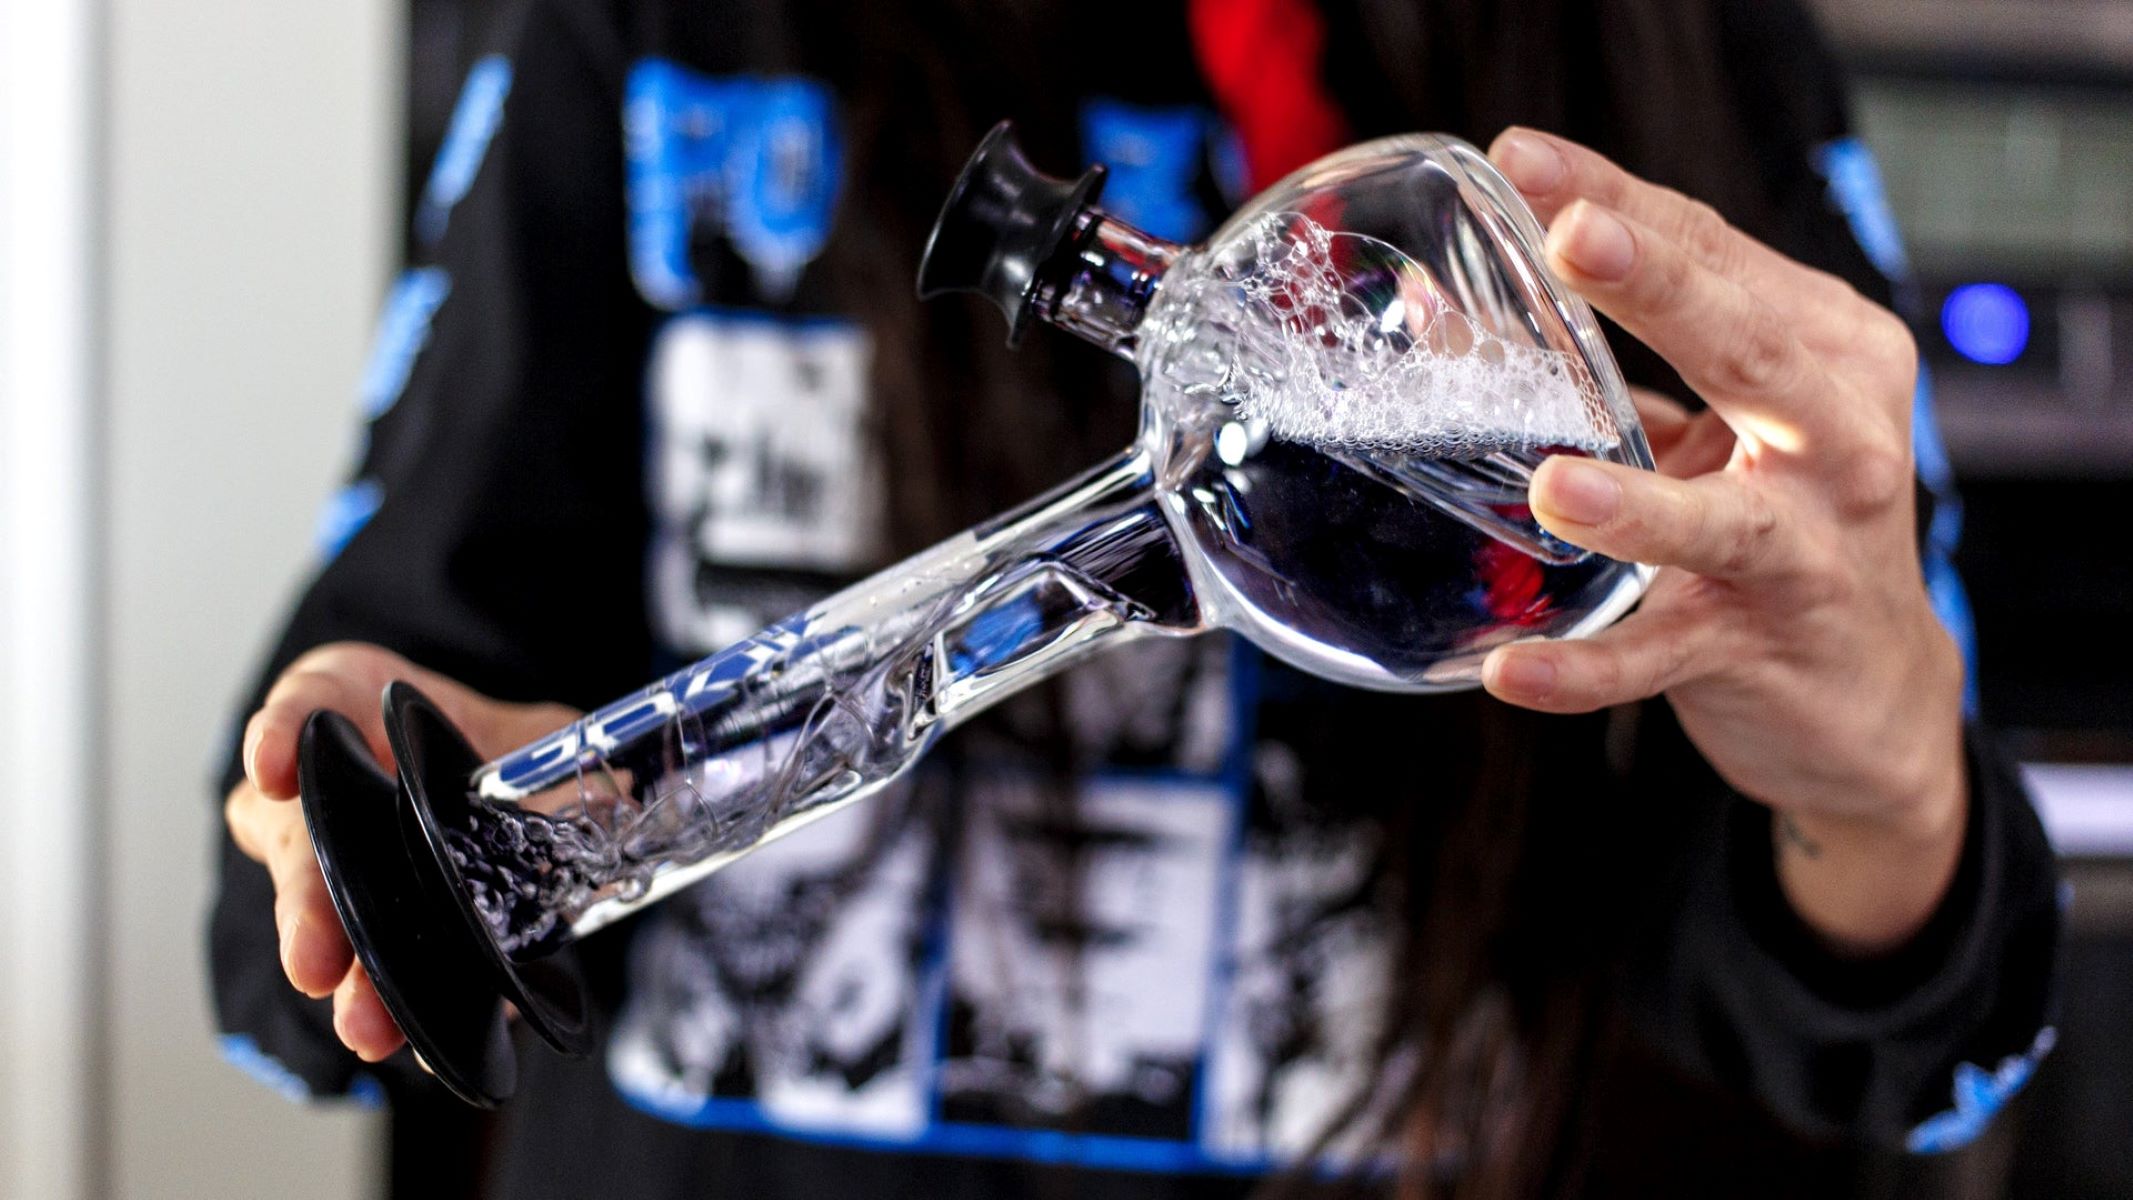
After the meticulous scrubbing process, the glass one hitter is now ready for the final steps of the cleaning process: rinsing and drying. These critical steps ensure that the one hitter is thoroughly cleansed of any remaining residue and moisture, setting the stage for a pristine and hygienic smoking experience.
To begin the rinsing process, thoroughly rinse the glass one hitter under warm running water. This helps to flush out any loosened residue and residual cleaning solution, ensuring that the interior and exterior surfaces are free from any lingering impurities. It's important to pay attention to detail during this step, ensuring that all traces of the cleaning solution are effectively removed.
As the one hitter is rinsed, visually inspect the interior and exterior surfaces to ensure that they are free from any remaining residue or stains. Gently shake the one hitter to dislodge any excess water and facilitate the drying process. This thorough rinsing step is essential for preparing the one hitter for the final phase of the cleaning process.
Once the glass one hitter has been thoroughly rinsed, it's time to focus on the drying process. Begin by carefully patting the one hitter with paper towels or a microfiber cloth to remove any remaining moisture. Pay close attention to the interior surfaces, ensuring that they are completely dry to prevent any potential buildup of moisture-related residue.
To further expedite the drying process, allow the glass one hitter to air dry in a well-ventilated area. Position the components, such as the mouthpiece and filter, in a manner that allows for efficient airflow and thorough drying. It's important to ensure that the one hitter is completely dry before reassembly and use to prevent any compromise of the smoking experience.
As the glass one hitter dries, take the opportunity to inspect it for any remaining residue or areas that may require additional attention. This final visual check ensures that the one hitter is in optimal condition, free from any lingering impurities that could affect its performance.
By meticulously rinsing and drying the glass one hitter, you have completed the essential steps to ensure that it is thoroughly cleansed and ready for use. This comprehensive cleaning process not only restores the one hitter to a pristine condition but also contributes to a healthier and more enjoyable smoking experience. With the one hitter now clean and dry, you can confidently reassemble it and resume your smoking sessions, knowing that your device has been maintained with care and precision.
Conclusion
In conclusion, mastering the art of cleaning a glass one hitter is an essential skill for any smoking enthusiast. By following the step-by-step cleaning process outlined in this guide, you can ensure that your glass one hitter remains in optimal condition, providing you with a consistently enjoyable smoking experience.
The meticulous approach to cleaning a glass one hitter involves disassembling the device, soaking it in a potent cleaning solution, scrubbing to remove dissolved residue, and finally, rinsing and drying. Each step plays a crucial role in restoring the one hitter to its pristine state, free from any accumulated residue or impurities.
Regular maintenance and cleaning of your glass one hitter not only contribute to its visual appeal but also play a significant role in ensuring a healthier smoking experience. Residue buildup within the one hitter can harbor harmful bacteria and compromise the purity of your smoking material. Therefore, a thorough cleaning routine is essential for maintaining both the functionality and hygiene of your smoking device.
By investing the time and effort into cleaning your glass one hitter, you are not only preserving its longevity but also elevating the quality of your smoking sessions. A clean one hitter ensures a smoother, more flavorful smoking experience, allowing you to fully appreciate the nuances of your chosen smoking material.
Furthermore, the materials needed for cleaning, such as isopropyl alcohol, coarse salt, resealable plastic bags, and cleaning tools, are readily available and affordable, making the cleaning process accessible to all enthusiasts.
In essence, the cleaning process outlined in this guide empowers you to take control of the maintenance and care of your glass one hitter, ensuring that it remains a reliable and enjoyable smoking companion for years to come. With a commitment to regular cleaning and maintenance, you can savor the purity and flavor of your smoking material while enjoying the peace of mind that comes with a well-maintained smoking device.
Incorporating this cleaning routine into your smoking regimen not only enhances the performance of your glass one hitter but also reflects a dedication to the art of smoking. By maintaining your one hitter with care and precision, you are embracing the tradition and craftsmanship that make the smoking experience truly exceptional.
So, as you embark on your next smoking session, take pride in knowing that your glass one hitter has been meticulously cleaned and maintained, ready to deliver a smooth and flavorful experience with every use. Cheers to a well-maintained glass one hitter and the enriching smoking experiences it brings!
Frequently Asked Questions about How To Clean A Glass One Hitter
Was this page helpful?
At Storables.com, we guarantee accurate and reliable information. Our content, validated by Expert Board Contributors, is crafted following stringent Editorial Policies. We're committed to providing you with well-researched, expert-backed insights for all your informational needs.


0 thoughts on “How To Clean A Glass One Hitter”