Home>Interior Design>How To Make A Bed The Right Way?

Interior Design
How To Make A Bed The Right Way?
Modified: October 20, 2024
Learn the correct method of making a bed for a perfectly styled and organized interior design. Transform your bedroom with these expert tips and tricks.
(Many of the links in this article redirect to a specific reviewed product. Your purchase of these products through affiliate links helps to generate commission for Storables.com, at no extra cost. Learn more)
Introduction
Welcome to the world of interior design! Creating a visually appealing and comfortable living space is no easy task, but with the right knowledge and techniques, you can transform any room into a stunning oasis. One of the key elements in interior design is the art of making a bed. A well-made bed not only adds a touch of elegance to a room, but it also promotes better sleep and relaxation. In this article, we will guide you through the process of making a bed the right way.
When it comes to making a bed, it’s important to strike a balance between aesthetics and functionality. You want your bed to look inviting and beautiful, but you also want it to be comfortable and easy to maintain. This is why understanding the proper steps and techniques is crucial.
Before we dive into the step-by-step process, it’s worth mentioning that a well-made bed can have a significant impact on your overall well-being. Research shows that a tidy and well-organized bedroom promotes better sleep quality, reduces stress levels, and improves overall mental health. So, let’s get started and learn how to make a bed that not only looks amazing but also contributes to a restful and rejuvenating sleep experience.
Key Takeaways:
- Transform your bed into a luxurious oasis by following these expert tips. A well-made bed not only looks stunning but also promotes better sleep and relaxation, contributing to overall well-being.
- Master the art of making a bed with these step-by-step techniques. Create a visually appealing and comfortable sanctuary that promotes restful sleep and reflects your unique style and personality.
Read more: How To Make A Bed
Step 1: Clear the Bed
The first step in making a bed is to clear the existing bedding and any clutter from the bed. Remove all pillows, sheets, blankets, and any decorative items that are currently on the bed. This will provide you with a clean canvas to work with.
Take this opportunity to inspect your pillows, sheets, and blankets for any signs of wear and tear or stains. If necessary, replace them with fresh, clean options. It’s important to start with a clean slate to ensure that your bed not only looks great but also feels fresh and inviting.
Once the bed is cleared, take a moment to give it a quick dusting or vacuuming to remove any debris that may have accumulated. This will help create a clean and hygienic sleeping environment.
Remember, a clutter-free bed not only looks more visually appealing, but it also promotes better sleep hygiene. Let’s move on to the next step.
Step 2: Sheets and Blankets
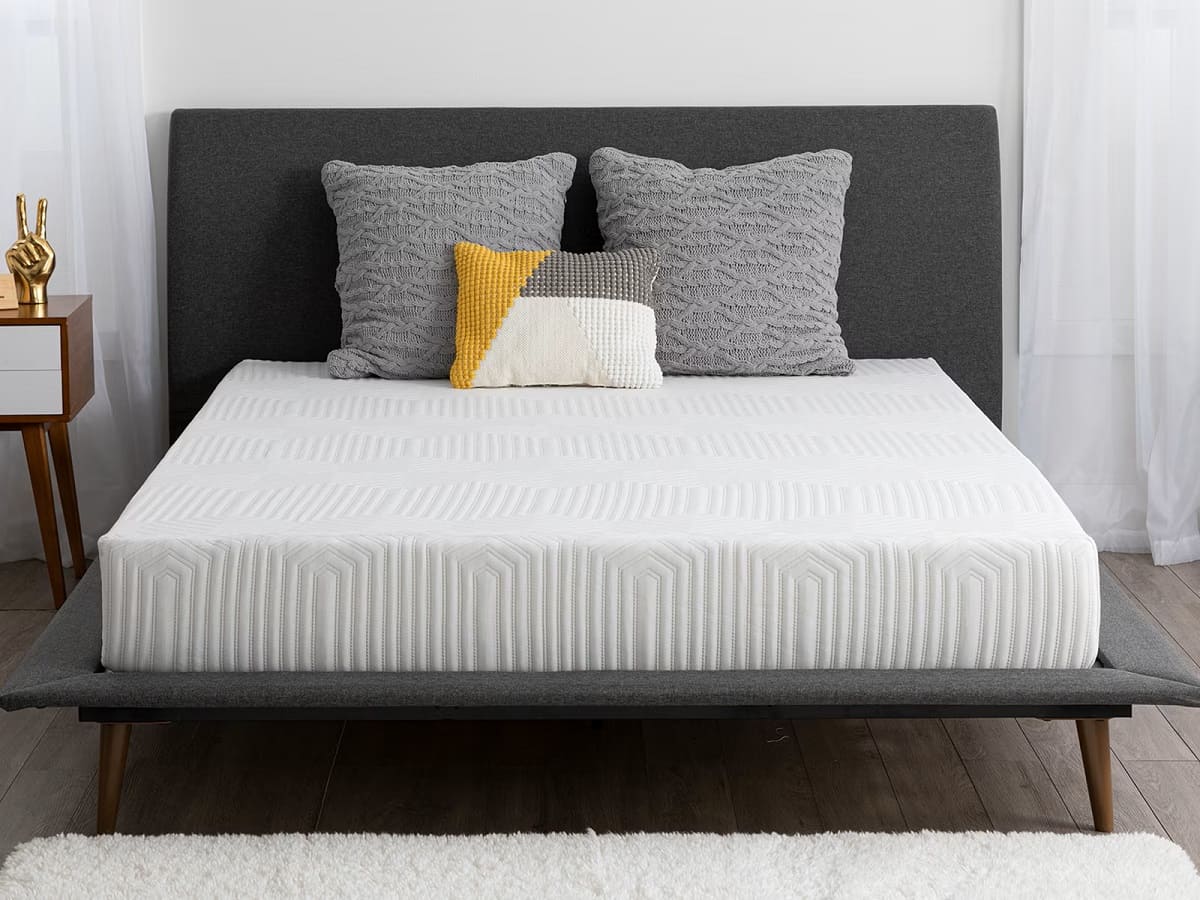
Now that your bed is clear and dust-free, it’s time to start layering the sheets and blankets. Begin by placing a fitted sheet over the mattress, making sure it’s securely tucked in on all corners. The fitted sheet acts as a protective layer and keeps the mattress clean and free from dust mites.
Next, add a flat sheet over the fitted sheet. Make sure the sheet is centered on the bed, with an equal amount of sheet hanging on both sides. If you prefer a more tailored look, you can tuck the flat sheet in at the foot of the bed, creating a hospital corner for a neater appearance.
Now it’s time to add blankets or a coverlet. Start by layering a thin blanket or coverlet over the flat sheet, ensuring that it covers the entire bed. If the weather is cold, you can add additional layers for warmth. Fold the top edge of the blanket or coverlet back about 12 inches to create a decorative fold that adds a touch of elegance to the bed.
To complete the sheet and blanket layering, add a bedspread or a quilt if desired. This adds extra texture and style to the overall look of the bed. Make sure the edges of the bedspread or quilt are even and hang down evenly on both sides of the bed.
Now that the foundation of the bed is set, let’s move on to the next step and arrange the pillows.
Step 3: Flat Sheet Tuck
In this step, we will focus on achieving a neat and tucked-in appearance for the flat sheet. This technique not only adds a touch of elegance to the bed but also ensures that the sheets stay securely in place throughout the night.
Start by standing at the foot of the bed and grab the flat sheet near one corner. Lift it up and hold it at chest level. Walk towards the head of the bed, allowing the excess sheet to fall over the mattress.
Once you reach the head of the bed, tuck the sheet tightly under the mattress at the foot of the bed, ensuring it’s smooth and wrinkle-free. Move to one side of the bed and repeat the process, tucking the excess sheet underneath the mattress all the way to the foot of the bed.
Now move to the opposite side of the bed and repeat the tucking process. Smooth out any wrinkles or creases as you go along, ensuring that the sheet is evenly tucked on both sides.
Once all sides are tucked in, move to the foot of the bed and give the sheet a final tug to make sure it’s tightly secured. Smooth out any wrinkles or folds on the surface of the sheet, creating a clean and polished look.
The flat sheet tuck not only provides a neat and organized appearance but also ensures that the sheet stays in place during sleep. Let’s move on to the next step and discuss the placement of the fitted sheet.
Step 4: Fitted Sheet Placement
In this step, we will focus on properly placing and securing the fitted sheet on the mattress. The fitted sheet is designed to fit snugly around the corners of the mattress, keeping it in place throughout the night.
Start by locating the fitted sheet and identify the corners with elastic bands. Lift one corner of the fitted sheet and stretch it over the corresponding corner of the mattress. Ensure that the elastic band fits securely around the corners, holding the sheet firmly in place.
Move to the adjacent corner and repeat the process, stretching the fitted sheet over the corner of the mattress and securing it with the elastic band. Repeat this step for the remaining two corners.
Once all the corners are properly fitted, adjust the rest of the fitted sheet around the edges of the mattress, making sure it’s even and smooth. Smooth out any wrinkles or creases for a polished appearance.
If your fitted sheet has excess fabric, you can either tuck it underneath the mattress for a sleek look or use sheet clips to keep it in place.
The fitted sheet plays a crucial role in keeping the bed tidy and comfortable. It prevents the sheets from slipping or coming off the mattress during sleep, ensuring a hassle-free experience. Let’s move on to the next step and arrange the pillows.
When making a bed, start by smoothing out the fitted sheet, followed by the flat sheet. Tuck in the bottom of the flat sheet tightly, then add the duvet or comforter and finish with decorative pillows and a throw blanket for a polished look.
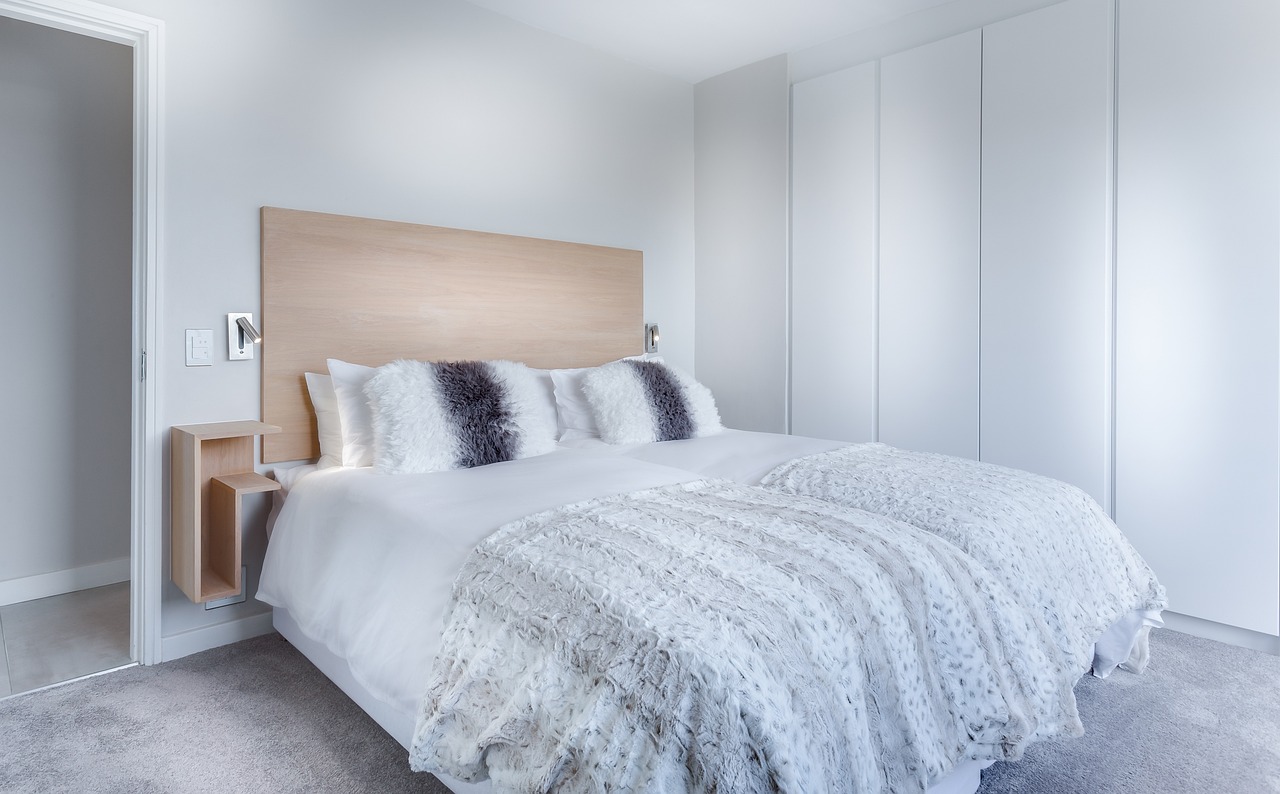
Step 5: Pillow Arrangement
Now it’s time to arrange the pillows to complete the look of your perfectly made bed. Pillows not only enhance the overall aesthetics but also provide support and comfort while sleeping or lounging.
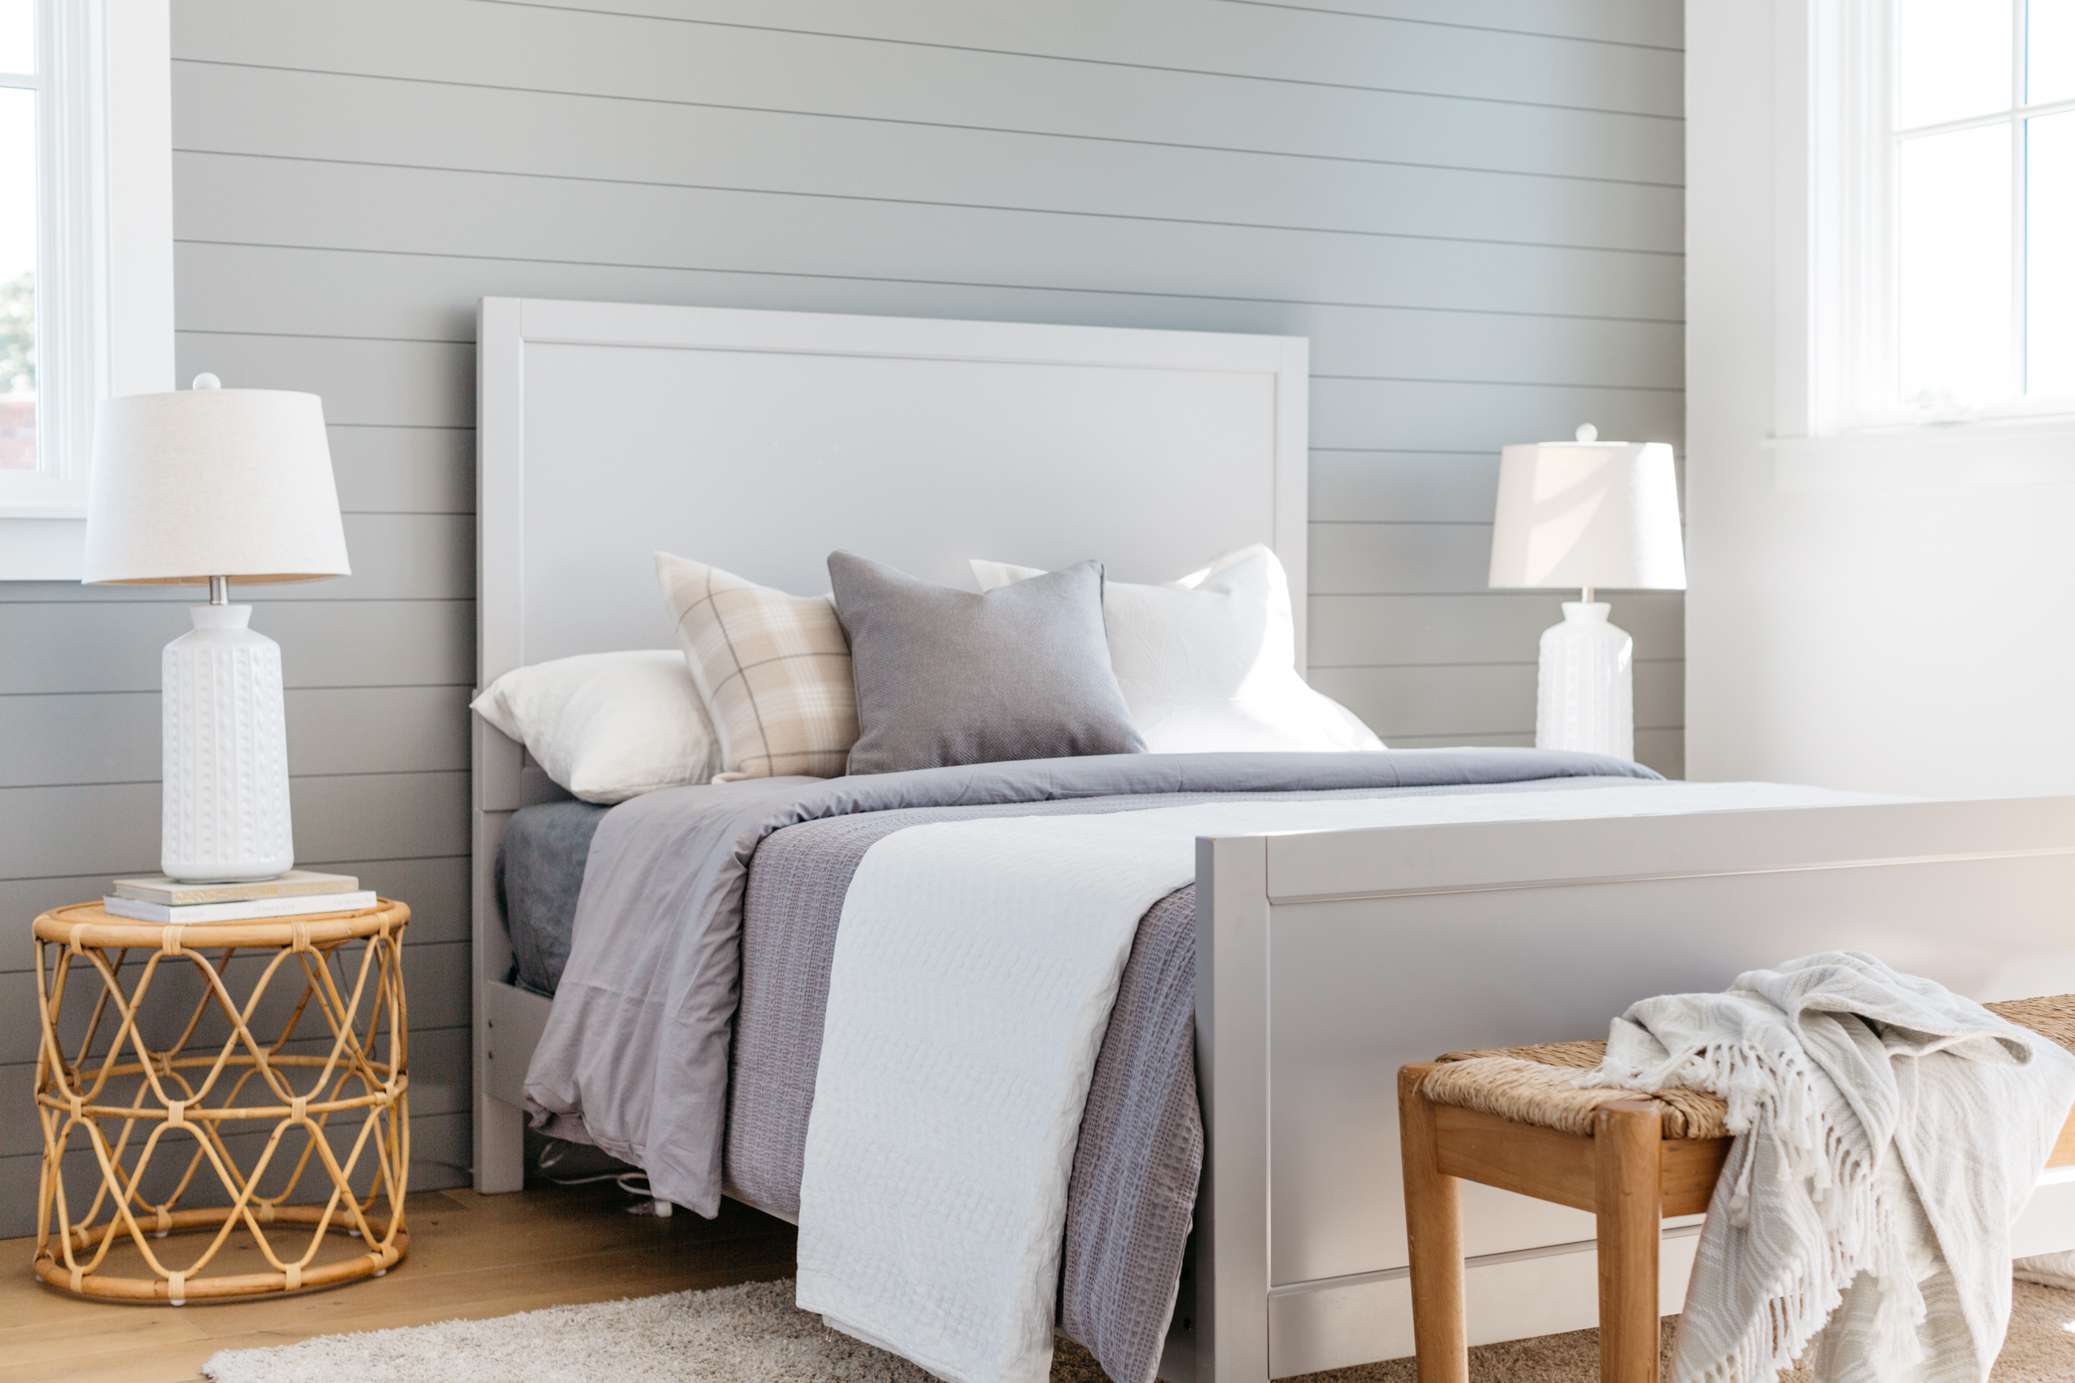
Start by placing your sleeping pillows against the headboard or the back of the bed. These are the pillows you will sleep on, so make sure they are fluffed and positioned at a comfortable angle. Depending on personal preferences, you can either prop them up for reading or lay them flat.
Next, add decorative pillows or accent pillows in front of the sleeping pillows. These pillows can be in different shapes, sizes, and textures to add visual interest and create a layered look. Play around with colors and patterns to match your overall bedroom decor.
Pro tip: To achieve a more symmetrical and balanced look, use an odd number of decorative pillows, such as three or five, rather than an even number.
If you have a bolster pillow, you can place it in the middle or at the front of the arrangement for added elegance and support. Bolster pillows can also be used to create a beautiful focal point on the bed.
Remember to fluff and adjust the pillows regularly to maintain their shape and maximize their comfort. A well-arranged pillow display adds a luxurious touch to the bed and instantly elevates the overall look of your bedroom.
Now that the pillows are perfectly placed, let’s move on to the next step and add a duvet or comforter.
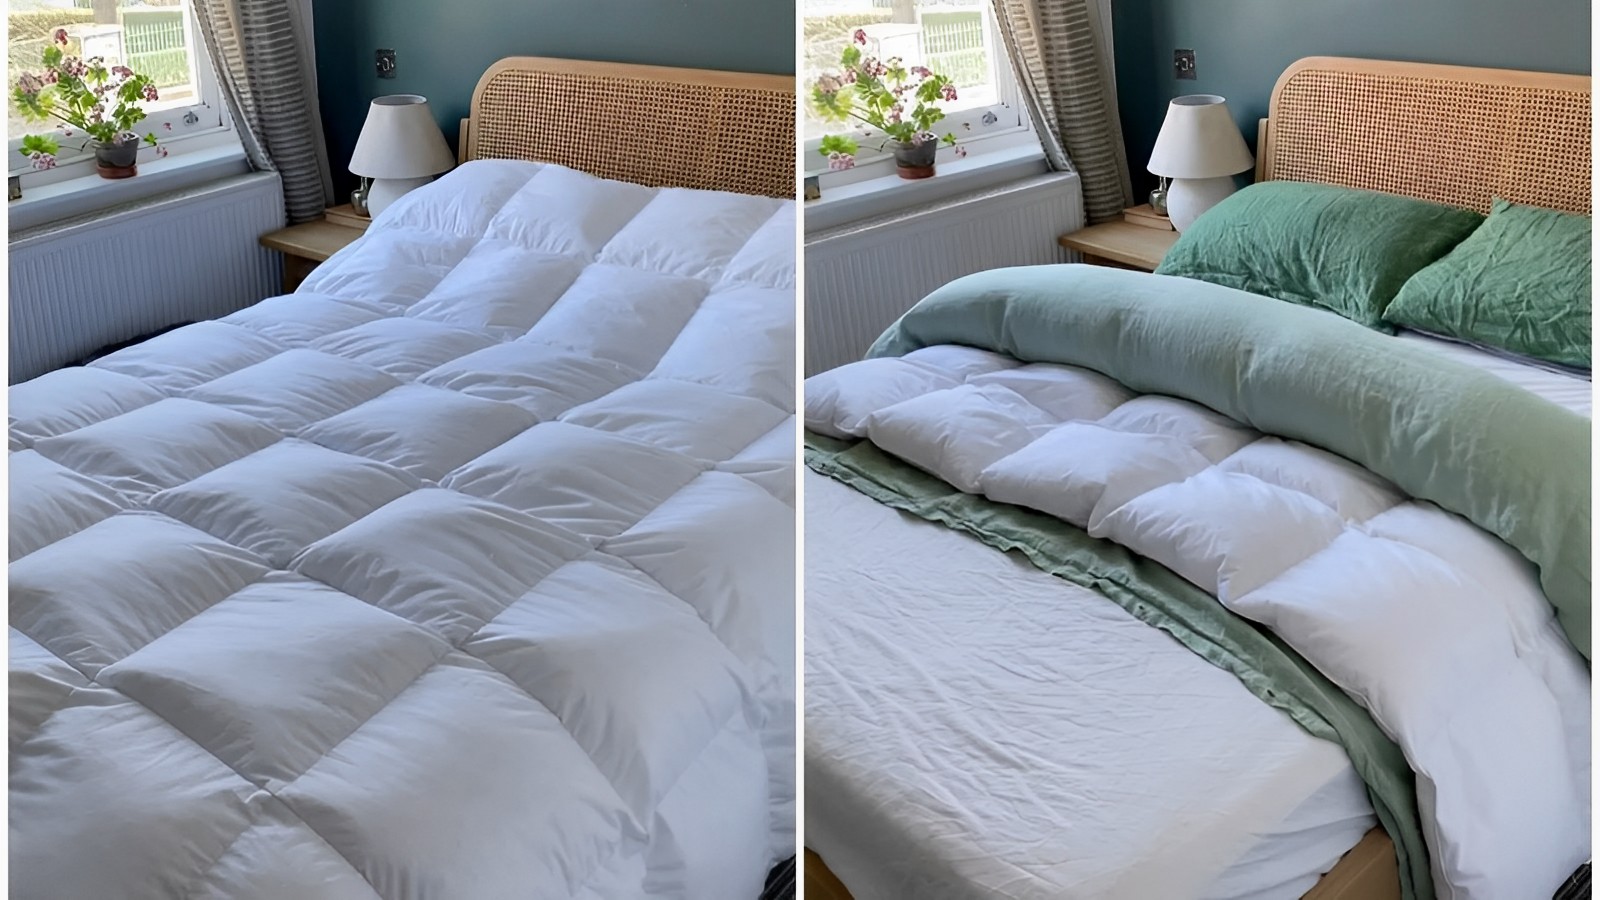
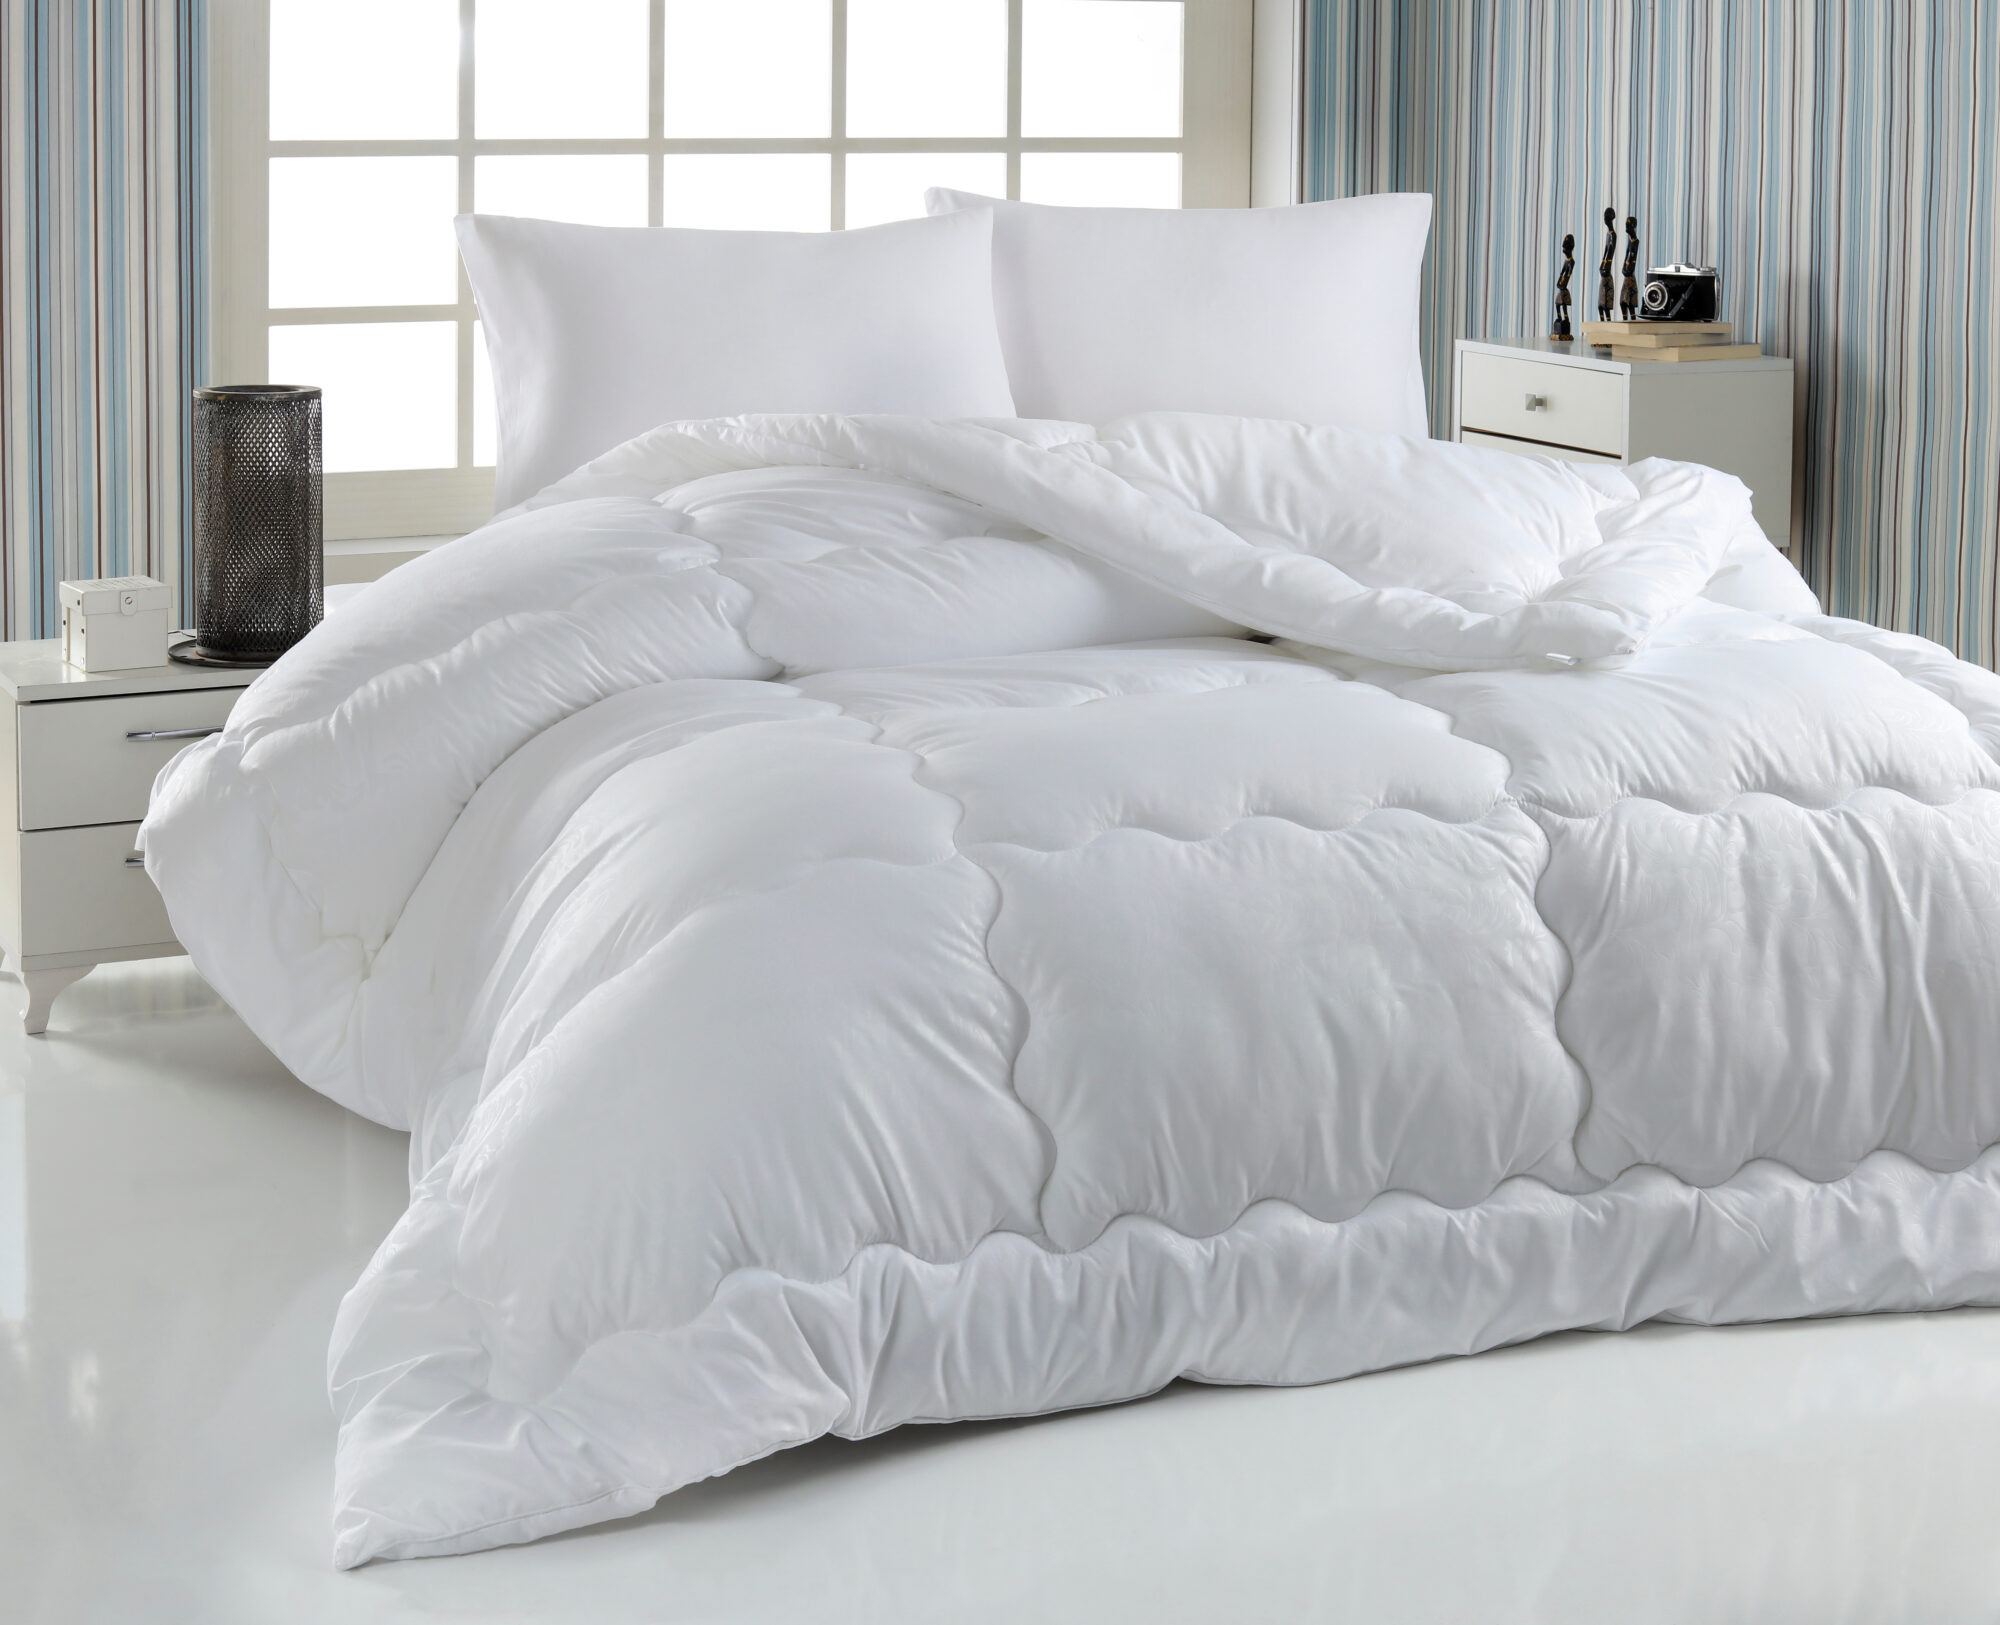
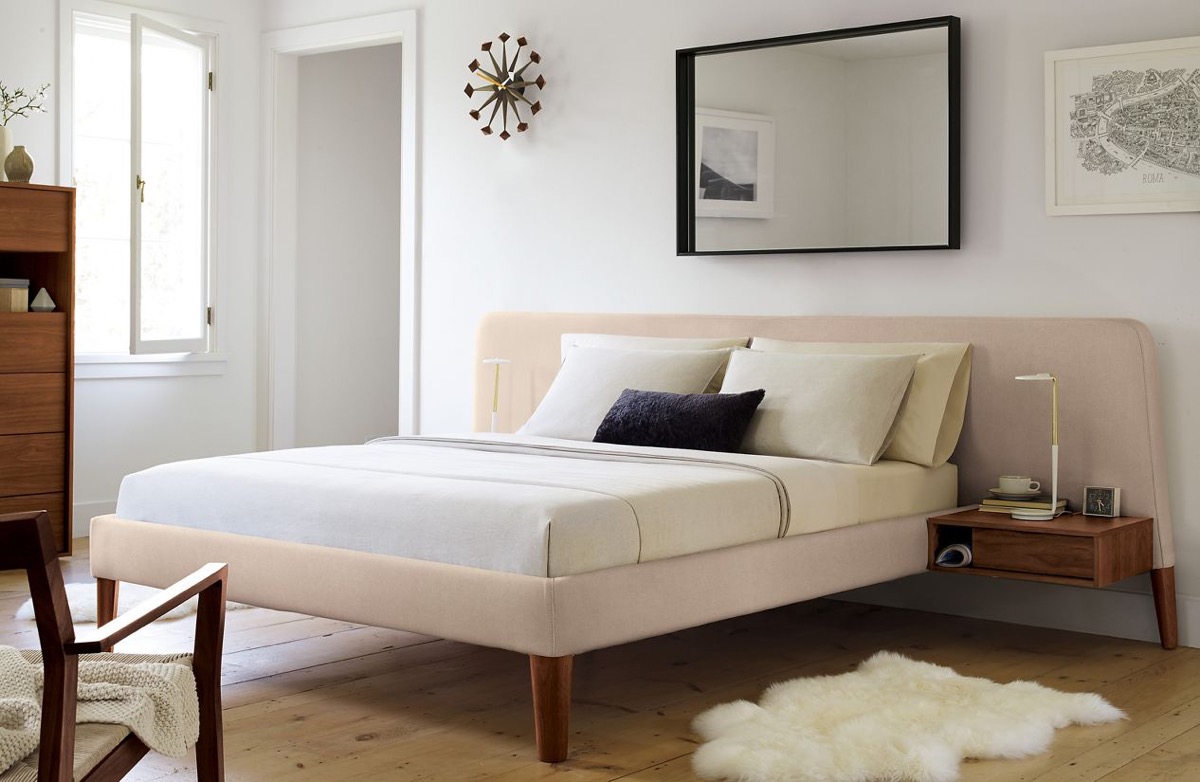
Step 6: Adding a Duvet or Comforter
The next step in making a bed is adding a duvet or comforter. This is where you can introduce warmth, texture, and color to the overall look of the bed.
Start by selecting a duvet or comforter that complements the style and color scheme of your bedroom. Make sure it’s the right size for your bed to ensure a proper fit and optimum coverage.
Spread the duvet or comforter evenly over the bed, making sure it hangs down on all sides and covers the entire mattress. Smooth out any wrinkles or creases for a polished appearance.
For a more luxurious and tailored look, you can fold down the top edge of the duvet or comforter to create a decorative fold. This not only adds visual interest but also allows you to showcase any beautiful patterns or design details on the duvet.
If desired, you can add a duvet cover over the duvet or comforter. A duvet cover adds an extra layer of protection and allows you to easily change the look of your bed. Choose a duvet cover that complements the overall color palette and style of your bedroom.
Remember to fluff and shake the duvet or comforter regularly to maintain its loft and ensure even distribution of fill. This will provide you with a cozy and comfortable sleeping experience.
Now that the duvet or comforter is in place, let’s move on to the final step and add those finishing touches!
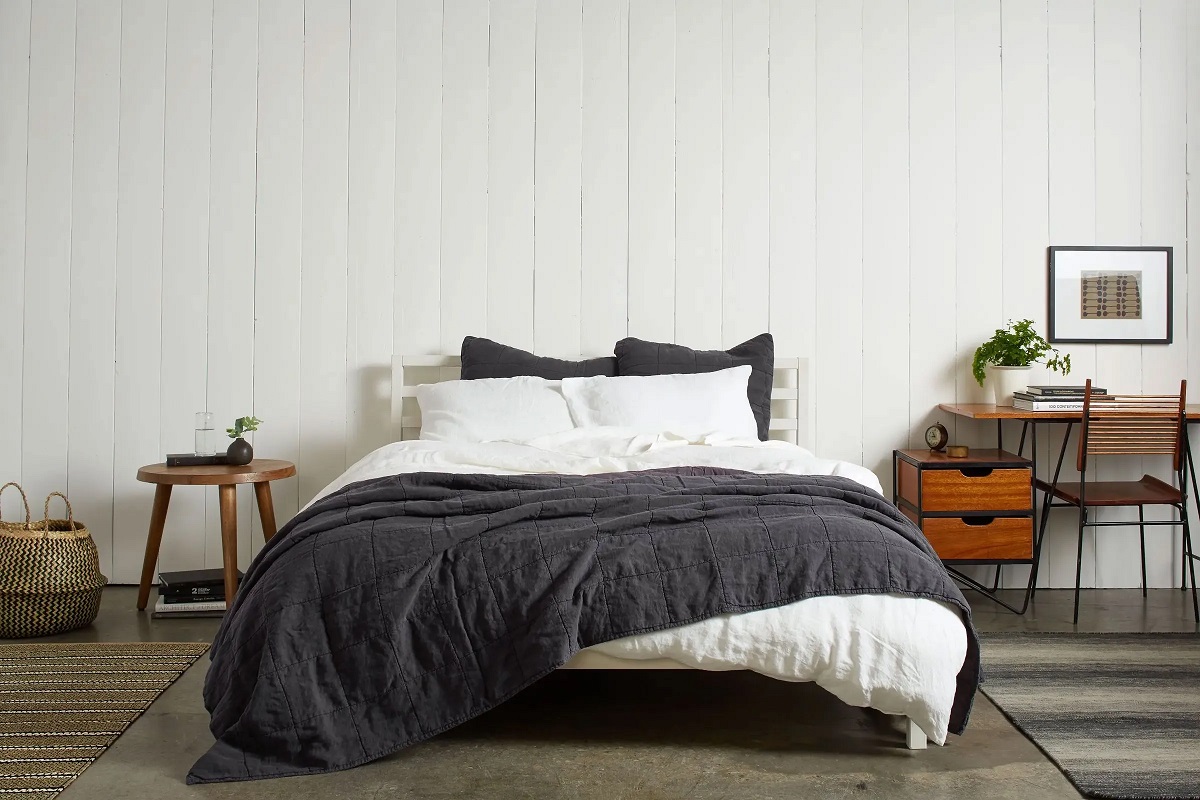
Step 7: Final Touches and Fluffing
In this final step, we will focus on adding the finishing touches and ensuring that your bed looks picture-perfect. These little details can make a big difference in creating a cozy and inviting atmosphere in your bedroom.
Start by smoothing out any wrinkles or creases on the sheets, blankets, and duvet. Use your hands or a gentle sweeping motion to remove any visible folds or uneven edges. This will give your bed a crisp and polished look.
Take a moment to fluff and arrange the pillows once again. Adjust the sleeping pillows and decorative pillows to ensure they are in the desired position and maintain their shape. Fluffing the pillows not only enhances their appearance but also ensures that they are comfortable and supportive.
If you have any additional accessories, such as a bed scarf, throw blanket, or decorative cushions, now is the time to add them. Experiment with different textures, colors, and patterns to create a visually appealing and inviting arrangement.
Step back and take a look at your beautifully made bed. Ensure that everything is in its proper place and that the overall look is harmonious and balanced. If you notice any areas that need adjustment or further fluffing, take the time to make the necessary corrections.
Remember, a well-made bed not only provides a comfortable place to sleep but also adds a touch of luxury and style to your bedroom. By following these steps and paying attention to the details, you can create a bed that you’ll love coming home to at the end of the day.
Now that you’ve mastered the art of making a bed, enjoy the satisfaction of a well-crafted sleep sanctuary. Sleep tight!
Conclusion
Congratulations! You’ve reached the end of our guide on how to make a bed the right way. By following these steps and techniques, you can transform your bed into a beautifully styled and comfortable oasis in your bedroom.
A well-made bed is not only visually appealing but also promotes better sleep hygiene and creates a more inviting atmosphere in your bedroom. By clearing the bed, layering sheets and blankets, tucking the flat sheet, securing the fitted sheet, arranging the pillows, adding a duvet or comforter, and adding the final touches, you can create a bed that you can’t wait to snuggle into at the end of the day.
Remember, it’s not just about making the bed look neat and tidy. It’s also about creating a space that promotes relaxation and rejuvenation. Pay attention to your personal preferences and experiment with different colors, textures, and patterns to create a bed that reflects your unique style and personality.
In addition to the aesthetic benefits, a well-made bed contributes to better sleep quality. The goal is to create an environment that promotes restful sleep and allows you to wake up refreshed and energized each morning.
So, take these tips and techniques and make your bed with care and attention. Your bedroom will become a sanctuary of comfort and style, ensuring that you have the perfect place to retreat to at the end of a long day.
Now, go ahead and enjoy the satisfaction of a beautifully made bed. It’s time to indulge in a great night’s sleep!
Frequently Asked Questions about How To Make A Bed The Right Way?
Was this page helpful?
At Storables.com, we guarantee accurate and reliable information. Our content, validated by Expert Board Contributors, is crafted following stringent Editorial Policies. We're committed to providing you with well-researched, expert-backed insights for all your informational needs.


0 thoughts on “How To Make A Bed The Right Way?”