Home>Furniture & Design>Interior Design Trends>How To Remove Calcium Deposits From Glass
Interior Design Trends
How To Remove Calcium Deposits From Glass
Modified: October 28, 2024
Learn effective techniques for removing calcium deposits from glass surfaces. Discover the latest interior design trends for a sparkling, clean home.
(Many of the links in this article redirect to a specific reviewed product. Your purchase of these products through affiliate links helps to generate commission for Storables.com, at no extra cost. Learn more)
Introduction
Calcium deposits on glass surfaces can be a persistent nuisance, diminishing the clarity and beauty of windows, shower doors, and glassware. These unsightly deposits, also known as limescale, are caused by the accumulation of minerals from hard water. Over time, they can form stubborn, cloudy stains that seem impervious to regular cleaning methods. However, with the right tools and techniques, you can effectively restore the pristine appearance of your glass surfaces.
In this comprehensive guide, we will delve into the process of removing calcium deposits from glass, providing step-by-step instructions and valuable insights to help you achieve sparkling, crystal-clear results. By understanding the nature of calcium deposits and employing the appropriate cleaning methods, you can revitalize your glass surfaces and maintain their lustrous allure.
Whether you are dealing with cloudy windows that obstruct natural light, or shower doors marred by unsightly stains, this guide will equip you with the knowledge and practical know-how to tackle calcium deposits with confidence. By following the outlined steps and implementing preventive measures, you can ensure that your glass surfaces remain free from the encumbrance of calcium deposits, preserving their transparency and visual appeal.
With the right approach and a commitment to regular maintenance, you can bid farewell to the frustration of dealing with stubborn calcium deposits. By taking proactive steps to address this common issue, you can elevate the aesthetic appeal of your living spaces and enjoy the unobstructed clarity of your glass surfaces. Let's embark on this journey to restore the radiance of your glass and reclaim the pristine beauty that calcium deposits have obscured.
Key Takeaways:
- Say goodbye to cloudy glass! Use vinegar, baking soda, and gentle scrubbing to remove calcium deposits. Prevent future buildup with regular cleaning and water softeners.
- Keep glass sparkling! Use vinegar and baking soda to dissolve deposits, then scrub and rinse. Prevent future buildup with regular cleaning and ventilation.
Understanding Calcium Deposits
Calcium deposits, also known as limescale, are the result of mineral buildup from hard water. When water with high mineral content evaporates or dries on glass surfaces, it leaves behind these unsightly deposits. The primary minerals responsible for these deposits are calcium and magnesium carbonates, which are commonly found in hard water.
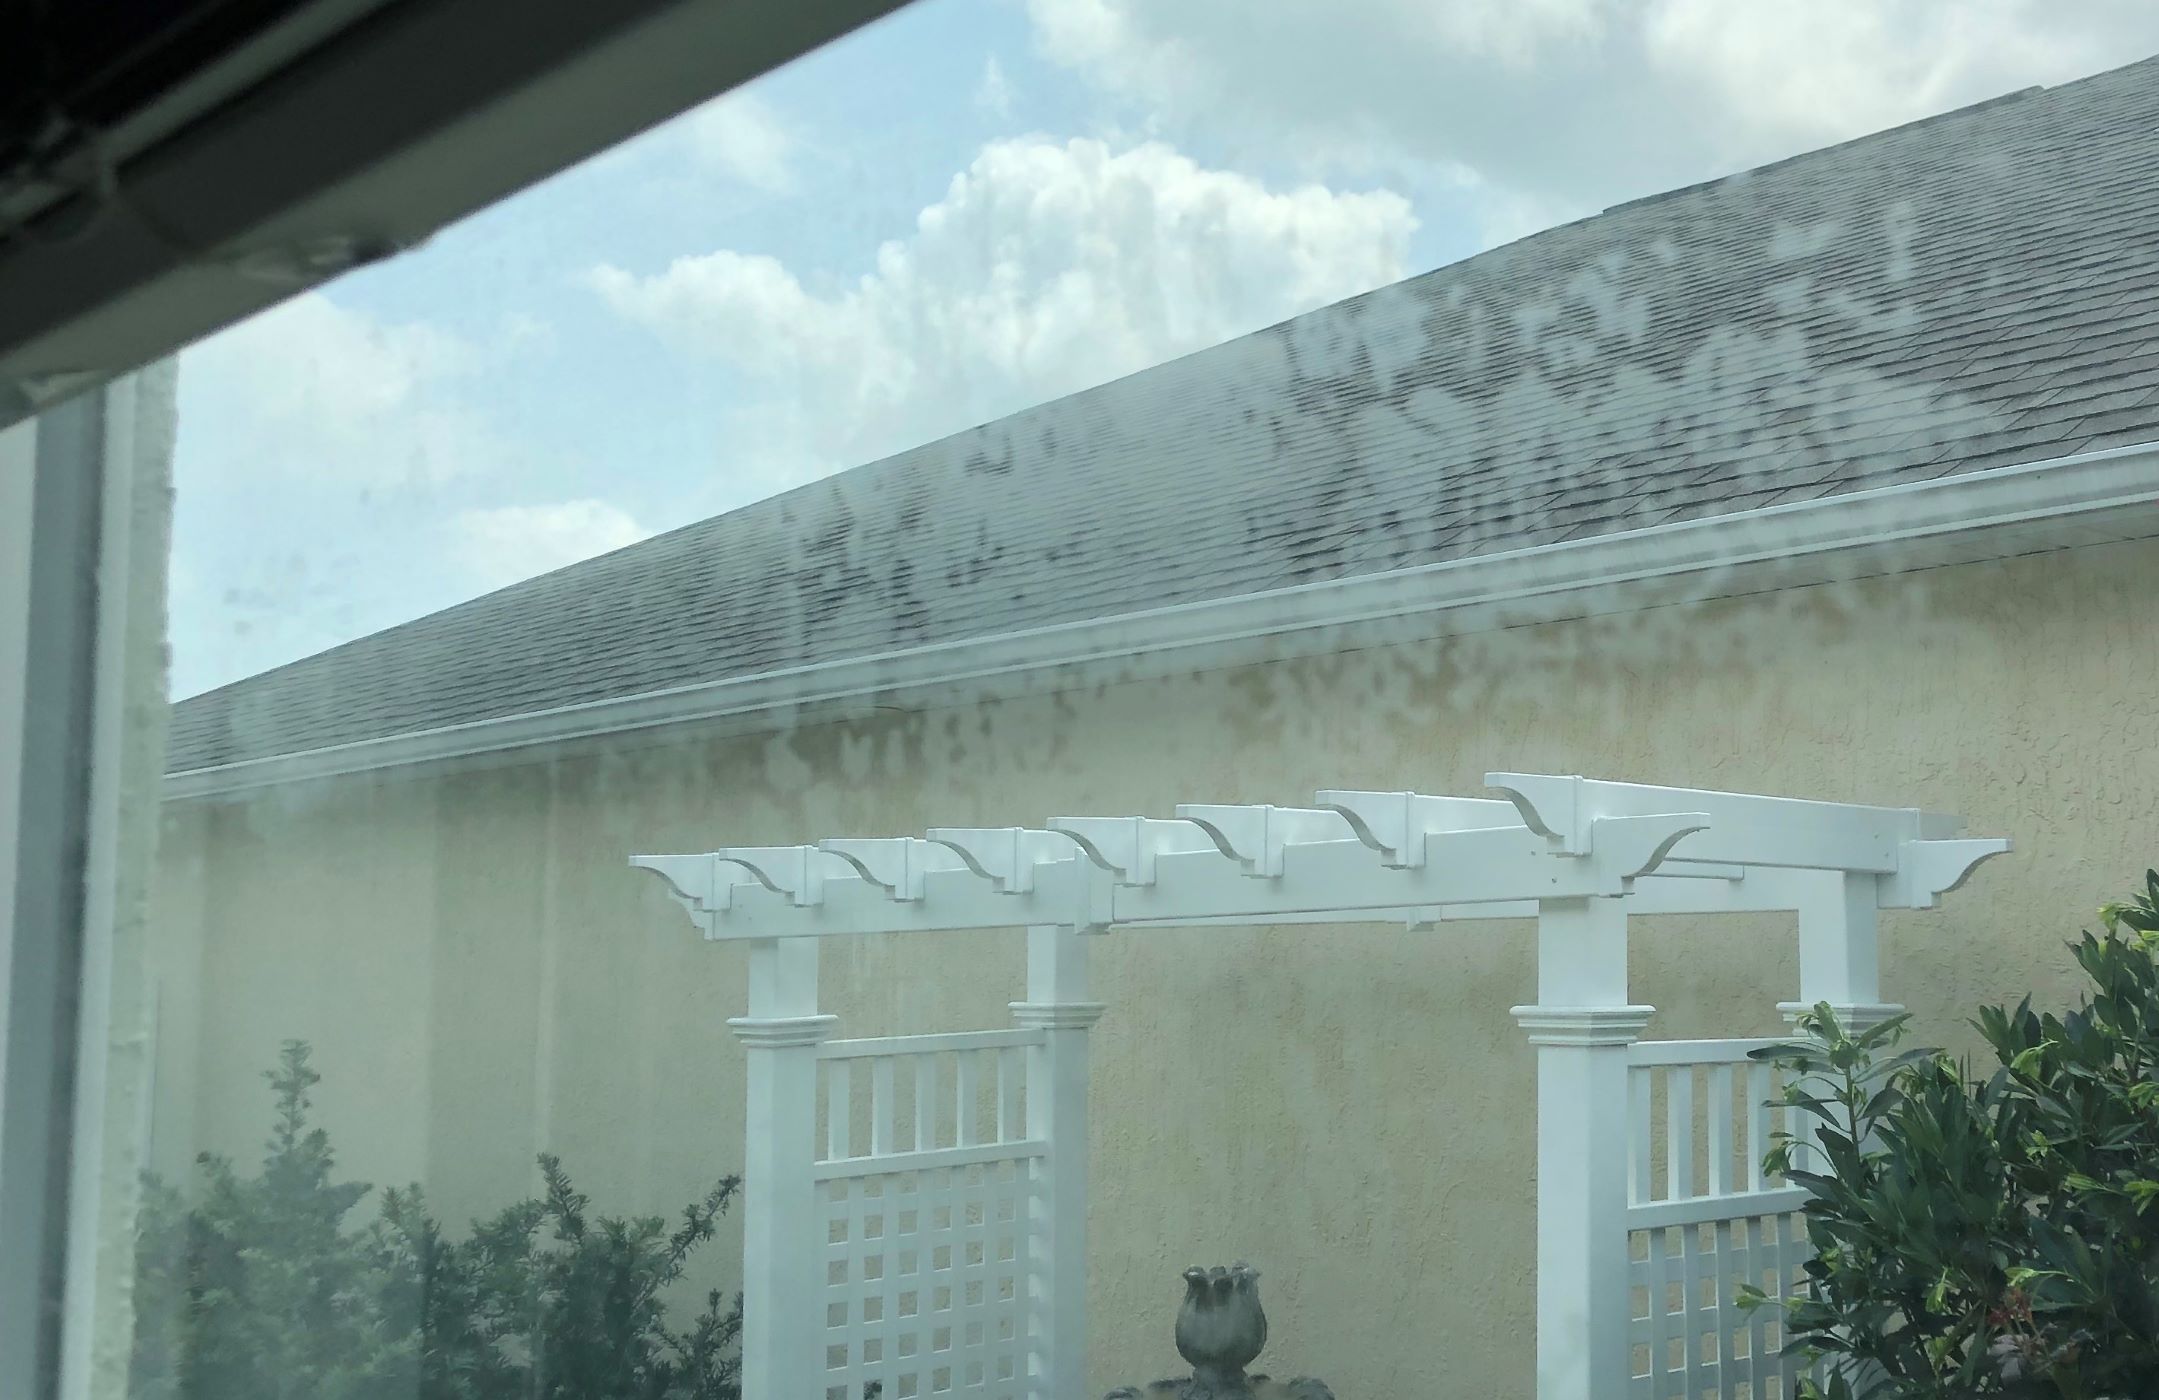
The appearance of calcium deposits can vary, ranging from translucent to opaque white or off-white stains. These deposits often accumulate on glass surfaces over time, particularly in areas where water is frequently present, such as shower doors, windows, and glassware.
The formation of calcium deposits is exacerbated by factors such as high water temperature, prolonged exposure to hard water, and inadequate ventilation, which can lead to the rapid evaporation of water and the subsequent deposition of minerals on glass surfaces.
Understanding the nature of calcium deposits is crucial for effectively addressing and preventing their recurrence. These deposits not only compromise the visual appeal of glass surfaces but can also pose challenges when attempting to remove them. Their stubborn and adhesive nature often requires targeted cleaning methods to dissolve and dislodge the accumulated minerals without damaging the glass itself.
By gaining insight into the composition and formation of calcium deposits, you can tailor your cleaning approach to effectively eliminate these unsightly blemishes. Moreover, understanding the underlying causes of calcium deposits empowers you to implement preventive measures, reducing the likelihood of future buildup and preserving the pristine clarity of your glass surfaces.
In the subsequent sections, we will explore the tools and techniques required to tackle calcium deposits, providing a comprehensive guide to restoring the lustrous transparency of glass surfaces. With a deeper understanding of calcium deposits and their impact, you can embark on the journey to rejuvenate your glass and reclaim its inherent radiance.
Tools and Materials Needed
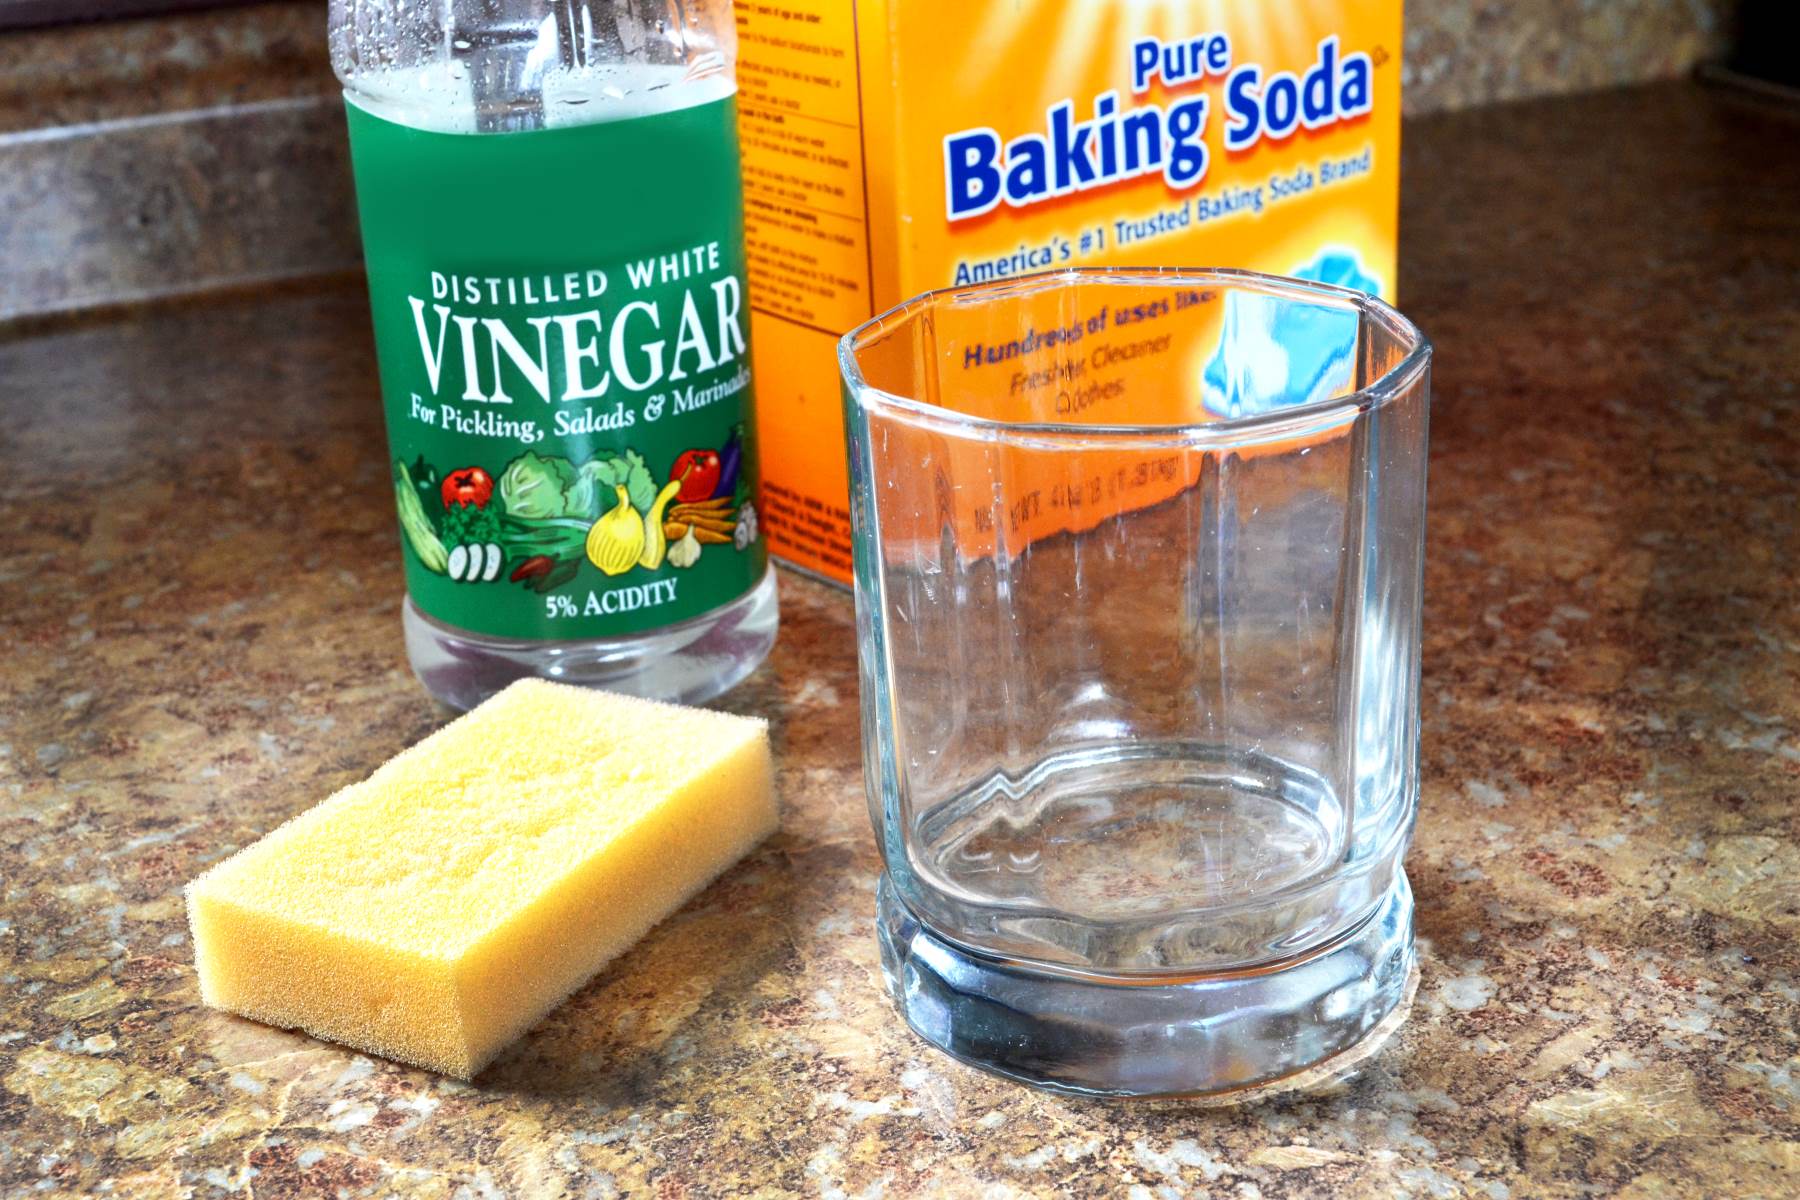
To effectively remove calcium deposits from glass surfaces, you will need a set of essential tools and materials that facilitate thorough cleaning without causing damage. By assembling the following items, you can embark on the process with confidence, ensuring that you have everything required to achieve optimal results.
White Vinegar or Lemon Juice
These acidic substances serve as potent natural cleaners, capable of dissolving and loosening calcium deposits from glass surfaces. White vinegar and lemon juice are effective at breaking down mineral buildup, making them indispensable for restoring the clarity of glass.
Baking Soda
As a mild abrasive, baking soda aids in gently scrubbing away stubborn calcium deposits without scratching the glass. When combined with white vinegar or lemon juice, it forms a powerful cleaning paste that targets and dislodges the mineral stains.
Microfiber Cloth or Soft Sponge
Utilize a microfiber cloth or a soft sponge to apply cleaning solutions and gently scrub the glass surface. These non-abrasive materials help prevent scratches while effectively removing loosened calcium deposits.
Spray Bottle
A spray bottle facilitates the even application of cleaning solutions onto the glass surface, ensuring thorough coverage and optimal contact with the calcium deposits. This allows the cleaning solution to effectively penetrate and dissolve the mineral buildup.
Rubber Gloves
When working with cleaning solutions, particularly acidic substances like white vinegar, it is advisable to wear rubber gloves to protect your skin from potential irritation. Additionally, gloves provide a secure grip while handling glass surfaces.
Water and Distilled White Vinegar Solution
Prepare a cleaning solution by diluting distilled white vinegar with water in a 1:1 ratio. This solution serves as an effective and economical method for combating calcium deposits, offering a natural and environmentally friendly approach to glass cleaning.
Read more: How To Remove Mineral Deposits From Glass
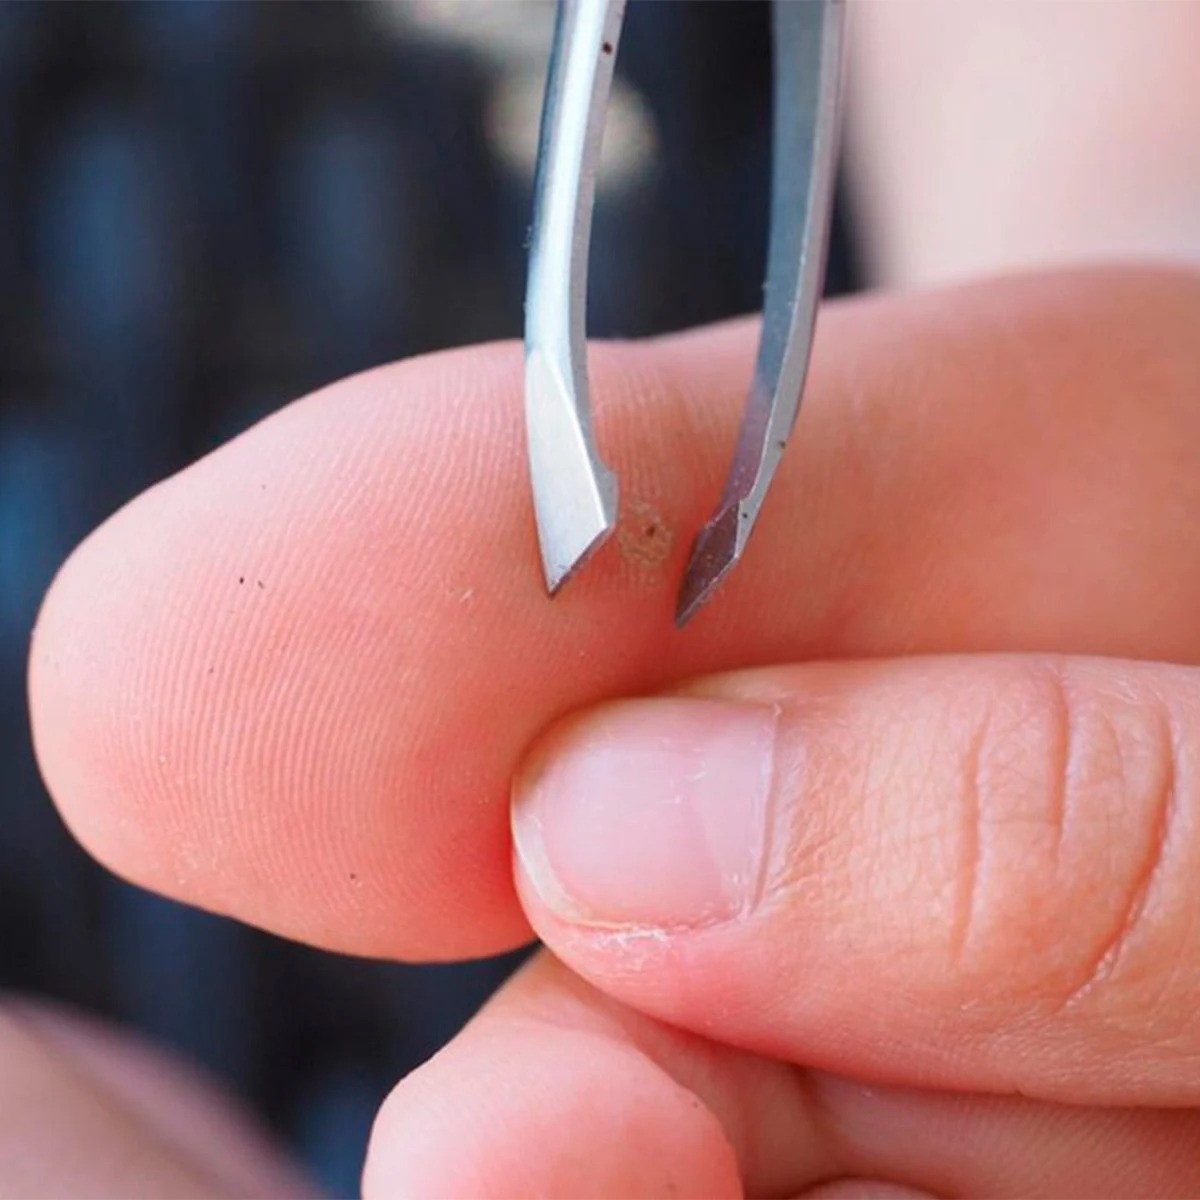
Plastic Scraper or Razor Blade (Optional)
For more stubborn calcium deposits, a plastic scraper or razor blade can be used cautiously to gently scrape away the buildup. Exercise caution to avoid scratching the glass, and only use this method if other cleaning techniques prove insufficient.
By ensuring that you have these essential tools and materials at your disposal, you can proceed with confidence, knowing that you are equipped to effectively tackle calcium deposits on glass surfaces. With these items in hand, you are ready to embark on the step-by-step process of restoring the pristine clarity of your glass, banishing the persistent presence of calcium deposits.
Step 1: Prepare the Glass Surface
Before initiating the process of removing calcium deposits from glass, it is crucial to prepare the surface to optimize the effectiveness of the cleaning procedure. Proper preparation ensures that the cleaning solutions can penetrate the deposits, facilitating their dissolution and subsequent removal. By following these preparatory steps, you can lay the foundation for a thorough and successful cleaning process.
Clear the Area
Begin by clearing the surrounding area to create a conducive workspace for cleaning the glass surface. Remove any objects, such as decorative items or personal belongings, that may obstruct access to the affected area. This allows for unimpeded movement and ensures that the entire glass surface can be addressed without hindrance.
Ventilation
Ensure adequate ventilation in the area where the glass surface is located. Proper ventilation helps expedite the drying process and minimizes the accumulation of fumes from cleaning solutions. Open windows or use fans to promote air circulation, creating a well-ventilated environment for the cleaning process.
Read more: How To Remove Lime Deposits From A Bathtub
Protective Measures
Prioritize safety by taking necessary precautions to protect yourself and the surrounding surfaces. Wear rubber gloves to shield your hands from the cleaning solutions and potential irritation. Additionally, consider placing protective coverings or towels on adjacent surfaces to prevent accidental contact with cleaning solutions and minimize the risk of incidental damage.
Test Spot
Before applying the cleaning solution to the entire glass surface, perform a small test spot in an inconspicuous area. This allows you to assess the compatibility of the cleaning solution with the glass and ensures that it does not cause any adverse reactions or damage. Observing the test spot helps determine the appropriate dwell time for the cleaning solution and provides valuable insights into its effectiveness.
Inspection
Thoroughly inspect the glass surface to identify the extent of the calcium deposits and any accompanying stains or discoloration. By closely examining the affected areas, you can tailor your cleaning approach to address specific areas of concern, ensuring comprehensive removal of the deposits.
By meticulously preparing the glass surface through these essential steps, you set the stage for a methodical and effective cleaning process. This preparatory phase establishes the groundwork for the subsequent application of cleaning solutions and targeted removal of calcium deposits, paving the way for the restoration of pristine transparency and visual appeal.
Step 2: Apply the Cleaning Solution
With the glass surface meticulously prepared, the next pivotal step in the process of removing calcium deposits involves the application of the cleaning solution. This critical phase is where the potent combination of white vinegar or lemon juice, along with baking soda, comes into play, harnessing their natural cleaning properties to dissolve and dislodge the stubborn mineral buildup.
To begin, fill a spray bottle with the distilled white vinegar and water solution, ensuring an equal ratio of both components. Alternatively, if using lemon juice as the primary cleaning agent, it can be directly applied to the affected areas. The acidic nature of white vinegar and lemon juice serves as a formidable weapon against calcium deposits, effectively breaking down the mineral buildup and preparing it for removal.
Once the spray bottle is filled, liberally apply the cleaning solution to the glass surface, ensuring comprehensive coverage of the areas affected by calcium deposits. The spray bottle facilitates an even distribution of the solution, allowing it to penetrate the deposits and initiate the dissolution process. The application of the cleaning solution sets the stage for the subsequent action of the baking soda, which further enhances the cleaning efficacy.
After applying the white vinegar or lemon juice solution, sprinkle a generous amount of baking soda onto the glass surface, particularly targeting the areas with prominent calcium deposits. The baking soda acts as a mild abrasive, gently scrubbing away the loosened mineral buildup without causing damage to the glass. As the baking soda interacts with the acidic cleaning solution, it forms a powerful cleaning paste, intensifying its ability to dislodge and eliminate the stubborn deposits.
Allow the cleaning solution, comprising white vinegar or lemon juice along with baking soda, to dwell on the glass surface for a few minutes. This dwell time is crucial, as it allows the acidic properties of the solution to effectively penetrate and weaken the calcium deposits, facilitating their subsequent removal. During this period, the chemical reaction between the cleaning solution and the mineral buildup begins to take effect, gradually loosening the deposits and preparing them for the next phase of the cleaning process.
By methodically applying the potent cleaning solution comprising white vinegar or lemon juice and baking soda, you initiate the transformative process of dissolving and dislodging calcium deposits from the glass surface. This meticulous application sets the stage for the subsequent scrubbing phase, where the loosened deposits will be targeted and effectively removed, unveiling the pristine clarity and radiance of the glass.
Step 3: Scrub the Glass
After allowing the cleaning solution to dwell and effectively loosen the calcium deposits, the next crucial step involves the meticulous scrubbing of the glass surface to dislodge and remove the softened mineral buildup. This phase requires a methodical approach, utilizing a microfiber cloth or a soft sponge to gently but effectively target the areas affected by calcium deposits.
Begin by moistening the microfiber cloth or soft sponge with water to create a conducive surface for scrubbing. The addition of water helps maintain a gentle yet effective cleaning action, preventing excessive abrasion while ensuring thorough removal of the loosened deposits. With the dampened cloth or sponge in hand, carefully focus on the areas where calcium deposits are prevalent, applying gentle pressure to gradually dislodge the softened mineral buildup.
In a circular or back-and-forth motion, systematically scrub the glass surface, paying particular attention to the regions where the deposits are most prominent. The combination of the residual cleaning solution and the gentle abrasive action of the cloth or sponge works in tandem to lift and remove the calcium deposits, gradually unveiling the pristine transparency of the glass.
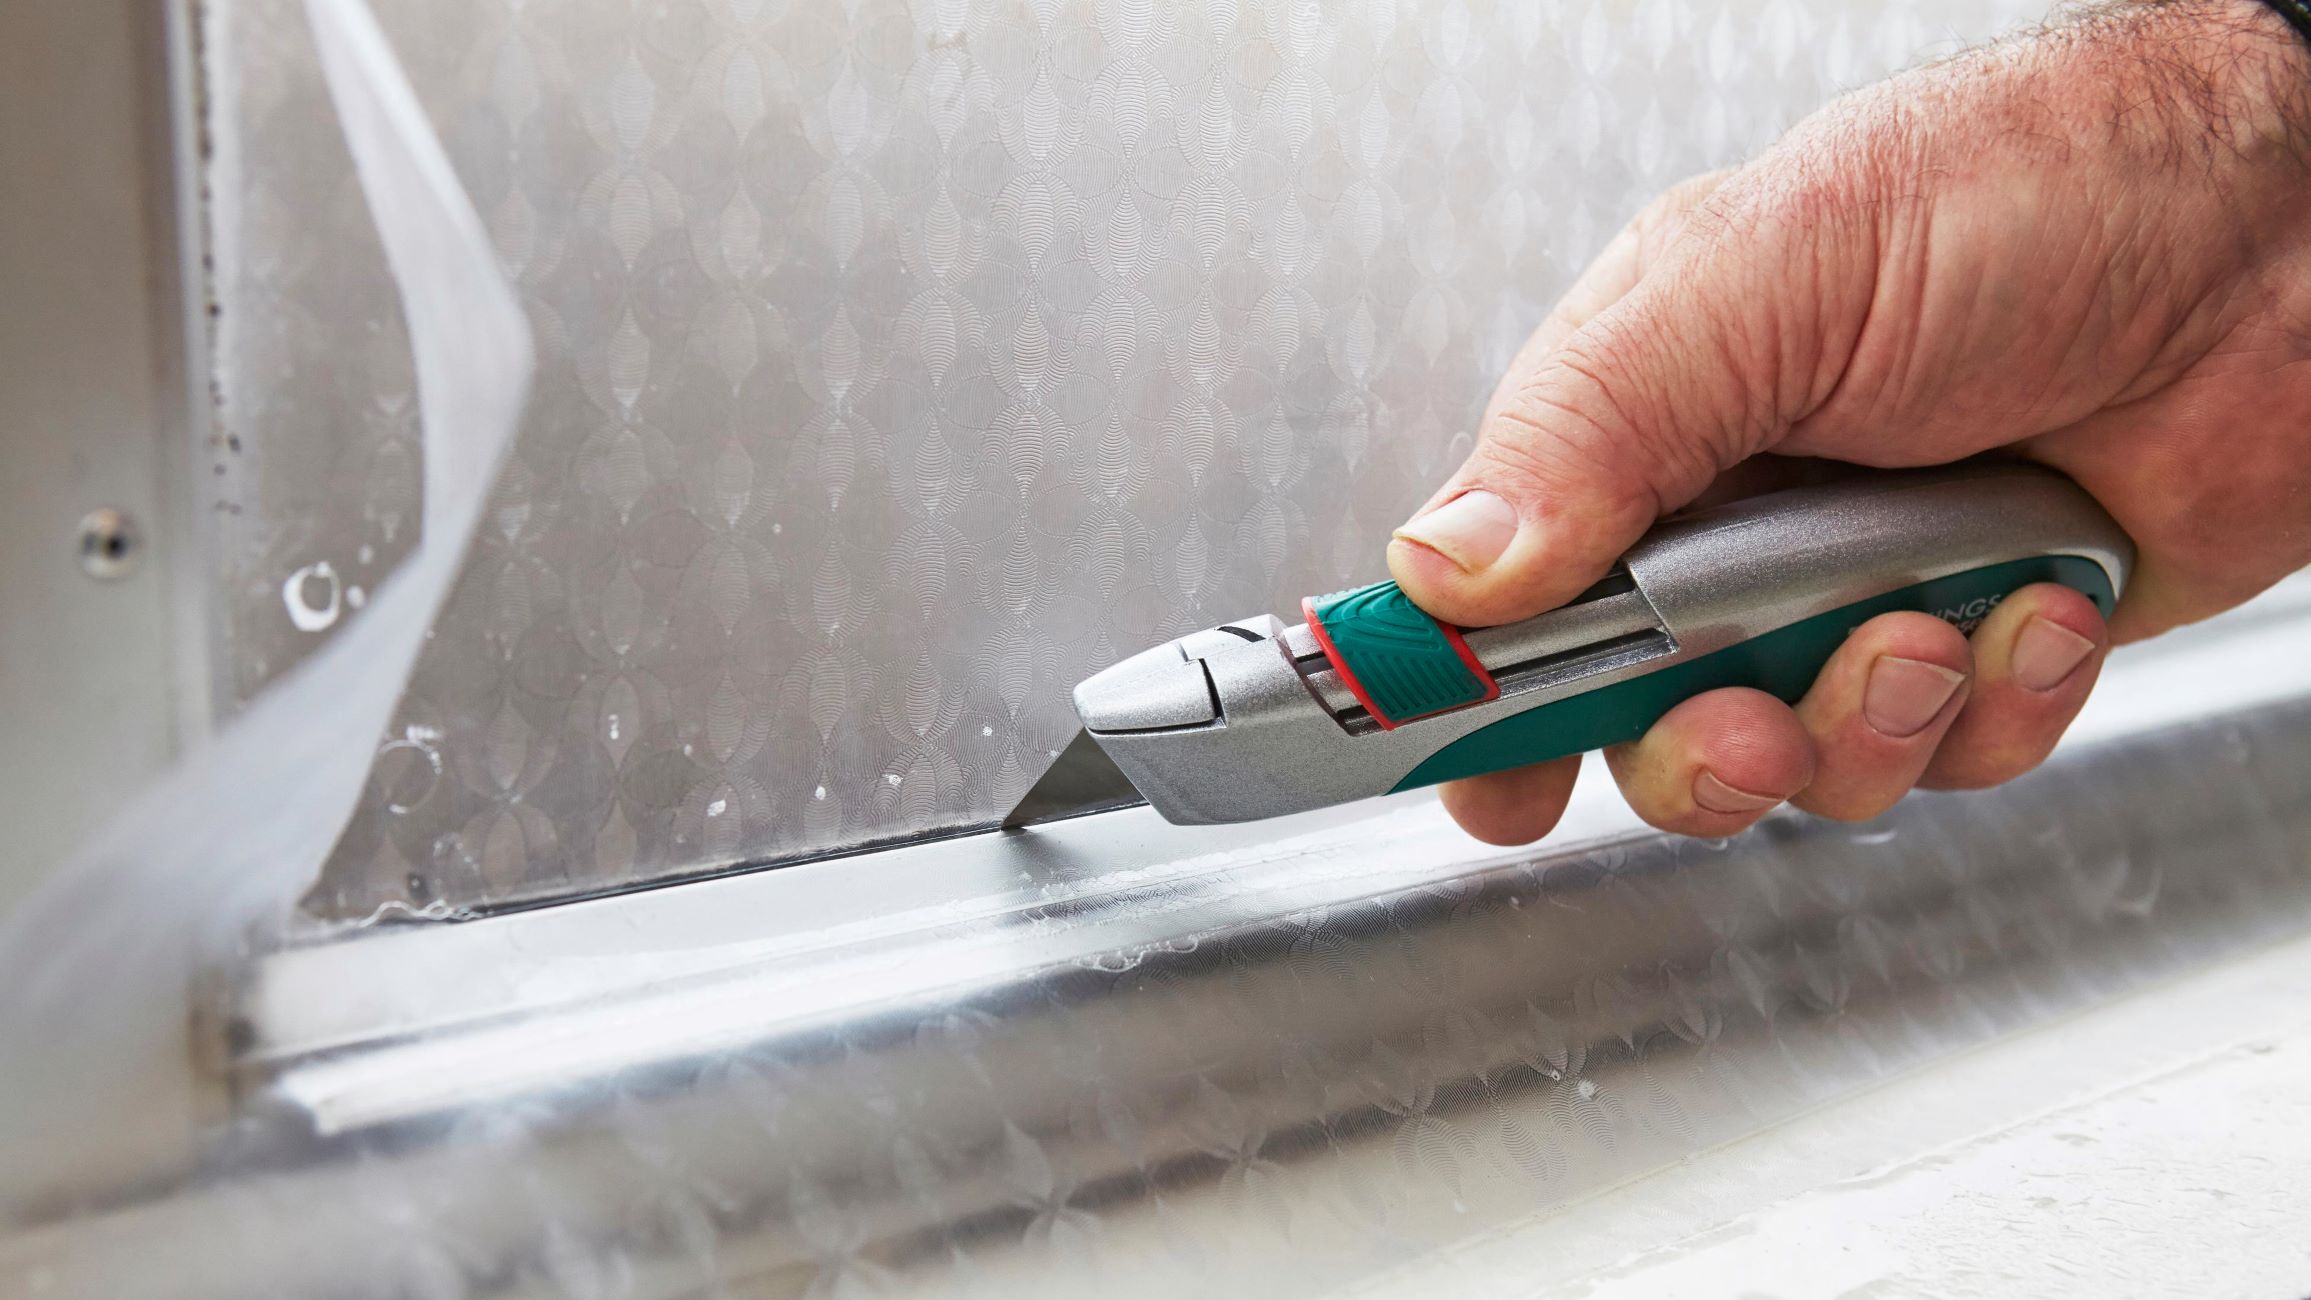
For more stubborn deposits, consider the cautious use of a plastic scraper or razor blade, if deemed necessary. Exercise extreme care and restraint when employing these tools, ensuring that they are used sparingly and with minimal pressure to avoid scratching the glass surface. The plastic scraper or razor blade can be delicately maneuvered to target persistent deposits, aiding in their gradual removal without compromising the integrity of the glass.
Throughout the scrubbing process, periodically rinse the cloth or sponge to remove dislodged deposits and prevent their redeposition on the glass surface. This ensures that the cleaning action remains effective and prevents the inadvertent spread of loosened mineral buildup. Continuously assess the progress of the scrubbing process, focusing on achieving comprehensive removal of the calcium deposits while preserving the pristine condition of the glass.
By diligently scrubbing the glass surface with a methodical and gentle approach, you effectively remove the softened calcium deposits, unveiling the inherent clarity and radiance of the glass. This meticulous phase sets the stage for the subsequent rinsing and drying process, where the glass surface will be restored to its pristine state, free from the encumbrance of stubborn calcium deposits.
Step 4: Rinse and Dry
Following the meticulous scrubbing process to remove calcium deposits from the glass surface, the final step involves thorough rinsing and drying to restore the pristine clarity and luster of the glass. This critical phase ensures the complete removal of residual cleaning solution and dislodged mineral buildup, culminating in a sparkling and unobstructed glass surface.
Begin by rinsing the glass surface with clean water, effectively removing any remaining traces of the cleaning solution and dislodged calcium deposits. Utilize a gentle stream of water or a dampened cloth to meticulously rinse the entire glass surface, ensuring that all remnants of the cleaning solution and loosened deposits are effectively eliminated. This comprehensive rinsing process is essential to prevent the reformation of calcium deposits and to unveil the unblemished transparency of the glass.
After thorough rinsing, meticulously dry the glass surface using a clean and lint-free microfiber cloth. The gentle yet absorbent nature of a microfiber cloth facilitates the complete removal of moisture, leaving the glass surface impeccably dry and free from streaks or water spots. Employing a methodical approach, systematically dry the glass surface, paying particular attention to any areas where water may accumulate, such as edges and corners. This meticulous drying process ensures that the glass surface is left immaculately clear and devoid of any residual moisture, enhancing its visual appeal and transparency.
As the glass surface is meticulously dried, take the opportunity to inspect the area for any remaining traces of calcium deposits or streaks. Address any lingering deposits by gently repeating the rinsing and drying process in targeted areas, ensuring that the glass surface is uniformly pristine and free from any remnants of the cleaning procedure. This attentive inspection and touch-up phase guarantee that the glass surface is restored to its original radiance, devoid of any lingering traces of calcium deposits.
Upon completing the rinsing and drying process, step back and admire the revitalized clarity of the glass surface. The removal of calcium deposits has unveiled the inherent luster and transparency of the glass, elevating the aesthetic appeal of windows, shower doors, or glassware. By meticulously following this comprehensive process, you have effectively banished the persistent presence of calcium deposits, reclaiming the unobstructed radiance of your glass surfaces.
Incorporating preventive measures and regular maintenance can help mitigate the recurrence of calcium deposits, preserving the pristine clarity of glass surfaces and ensuring their enduring visual allure. By embracing this proactive approach, you can enjoy the unobstructed transparency and luminosity of your glass, free from the encumbrance of stubborn calcium deposits.
Preventing Future Calcium Deposits
Preventing the recurrence of calcium deposits on glass surfaces is essential to maintain their pristine clarity and visual appeal. By implementing proactive measures and adopting regular maintenance practices, you can effectively mitigate the formation of stubborn mineral buildup, preserving the unobstructed radiance of your glass. Here are key strategies to prevent future calcium deposits:
Use a Water Softener
Installing a water softener in your home can significantly reduce the mineral content in the water supply, mitigating the formation of calcium deposits. By treating hard water at the source, a water softener prevents the accumulation of minerals on glass surfaces, minimizing the need for intensive cleaning and restoration efforts.
Read more: How Much Calcium In A Glass Of Milk
Regular Cleaning and Maintenance
Establish a routine for regular cleaning and maintenance of glass surfaces to prevent the buildup of calcium deposits. Utilize a mild, non-abrasive glass cleaner to remove water spots and mineral residue, maintaining the pristine transparency of windows, shower doors, and glassware. Consistent upkeep minimizes the likelihood of stubborn deposits taking hold, preserving the unobstructed clarity of glass surfaces.
Squeegee Shower Doors and Windows
After each use, employ a squeegee to remove excess water from shower doors and windows. This simple yet effective practice prevents water from evaporating and leaving behind mineral deposits, reducing the frequency of calcium buildup. By incorporating this habit into your daily routine, you can proactively combat the formation of unsightly stains on glass surfaces.
Ventilation and Drying
Promote adequate ventilation in areas with glass surfaces, such as bathrooms and kitchens, to facilitate the rapid evaporation of water. Proper ventilation minimizes the prolonged contact of water with glass, reducing the likelihood of mineral buildup. Additionally, ensure thorough drying of glassware and shower surfaces to prevent the accumulation of water spots and mineral residue.
Use Distilled Water for Cleaning
When cleaning glass surfaces, particularly for delicate items such as glassware and decorative pieces, consider using distilled water. Distilled water, devoid of mineral impurities, minimizes the risk of leaving behind water spots and mineral deposits during the cleaning process, preserving the pristine clarity of glass.
By integrating these preventive measures into your maintenance routine, you can effectively thwart the recurrence of calcium deposits, ensuring that your glass surfaces retain their inherent radiance and transparency. Embracing proactive strategies and regular upkeep safeguards the visual allure of glass, elevating the aesthetic appeal of your living spaces and preserving the unobstructed clarity of windows, shower doors, and glassware.
Read more: How To Remove Dabs From Glass
Conclusion
In conclusion, the process of removing calcium deposits from glass surfaces is a transformative journey that culminates in the restoration of pristine clarity and radiance. By understanding the nature of calcium deposits and employing targeted cleaning methods, you can effectively banish the persistent presence of mineral buildup, unveiling the unobstructed transparency of windows, shower doors, and glassware.
The comprehensive approach outlined in this guide equips you with the knowledge and practical techniques to address calcium deposits with confidence. From meticulous preparation and the application of potent cleaning solutions to the methodical scrubbing and thorough rinsing and drying, each step contributes to the revitalization of glass surfaces, free from the encumbrance of stubborn deposits.
By embracing preventive measures such as water softening, regular cleaning and maintenance, and proactive drying practices, you can mitigate the recurrence of calcium deposits, preserving the inherent luster and visual allure of glass. These proactive strategies empower you to maintain the unobstructed radiance of glass surfaces, enhancing the aesthetic appeal of your living spaces and elevating the clarity of your surroundings.
As you embark on the journey to rejuvenate your glass surfaces, remember that persistence and diligence are key to achieving optimal results. The transformative process of removing calcium deposits not only revitalizes the transparency of glass but also enhances the overall ambiance of your home, allowing natural light to permeate unimpeded and accentuating the inherent beauty of your living spaces.
By integrating the insights and techniques presented in this guide, you can reclaim the pristine clarity of your glass surfaces, free from the persistent presence of calcium deposits. Embrace the proactive approach to maintenance and revel in the unobstructed radiance of your glass, ensuring that its inherent allure remains undiminished by mineral buildup.
In the pursuit of unblemished transparency and luminosity, the journey to remove calcium deposits from glass surfaces is a testament to the transformative power of targeted cleaning methods and proactive maintenance. With a commitment to preserving the inherent radiance of glass, you can revel in the unobstructed clarity and visual allure of your living spaces, free from the encumbrance of stubborn mineral deposits.
Frequently Asked Questions about How To Remove Calcium Deposits From Glass
Was this page helpful?
At Storables.com, we guarantee accurate and reliable information. Our content, validated by Expert Board Contributors, is crafted following stringent Editorial Policies. We're committed to providing you with well-researched, expert-backed insights for all your informational needs.


0 thoughts on “How To Remove Calcium Deposits From Glass”