Home>Furniture & Design>Interior Design Trends>How To Remove Vinyl From Glass

Interior Design Trends
How To Remove Vinyl From Glass
Modified: August 16, 2024
Learn the best techniques for removing vinyl from glass and stay updated on the latest interior design trends. Discover expert tips and tricks for a seamless removal process.
(Many of the links in this article redirect to a specific reviewed product. Your purchase of these products through affiliate links helps to generate commission for Storables.com, at no extra cost. Learn more)
Introduction
Removing vinyl from glass surfaces can be a challenging task, but with the right tools and techniques, it can be accomplished effectively. Whether you're looking to update the design of your glass windows, doors, or any other glass surface, knowing how to remove vinyl properly is essential. Vinyl removal is often necessary when the existing vinyl is damaged, outdated, or simply no longer fits the aesthetic of the space. By learning the step-by-step process of removing vinyl from glass, you can ensure a smooth and clean surface for applying new vinyl or enjoying the glass in its natural state.
This article will guide you through the process of removing vinyl from glass, providing detailed instructions and tips to make the task more manageable. From preparing the work area to softening the vinyl and removing any residue, each step is crucial to achieving a successful vinyl removal. Additionally, we will discuss the tools and materials needed for the job, ensuring that you have everything required to complete the task efficiently and safely.
By following the steps outlined in this guide, you can transform the appearance of your glass surfaces and create a fresh canvas for new design possibilities. Whether you're a DIY enthusiast or a homeowner looking to update your living space, mastering the art of vinyl removal from glass will empower you to take on various interior design projects with confidence. So, let's dive into the process and discover how to remove vinyl from glass like a pro.
Key Takeaways:
- Removing vinyl from glass requires patience and the right tools. Soften the vinyl with a heat gun, peel it off carefully, and remove any residue for a clean, refreshed glass surface.
- Prepare the work area, soften the vinyl, peel it off, remove any residue, and clean the glass for a successful vinyl removal. With the right steps and tools, anyone can transform their glass surfaces with confidence.
Read more: How To Remove Vinyl Tiles From Floor
Tools and Materials Needed
Before embarking on the task of removing vinyl from glass, it's essential to gather the necessary tools and materials to ensure a smooth and efficient process. Here's a comprehensive list of what you'll need:
Tools:
-
Heat Gun or Hair Dryer: A heat gun or hair dryer is crucial for softening the vinyl adhesive, making it easier to peel off from the glass surface. The application of heat helps loosen the adhesive bond, facilitating the removal process without causing damage to the glass.
-
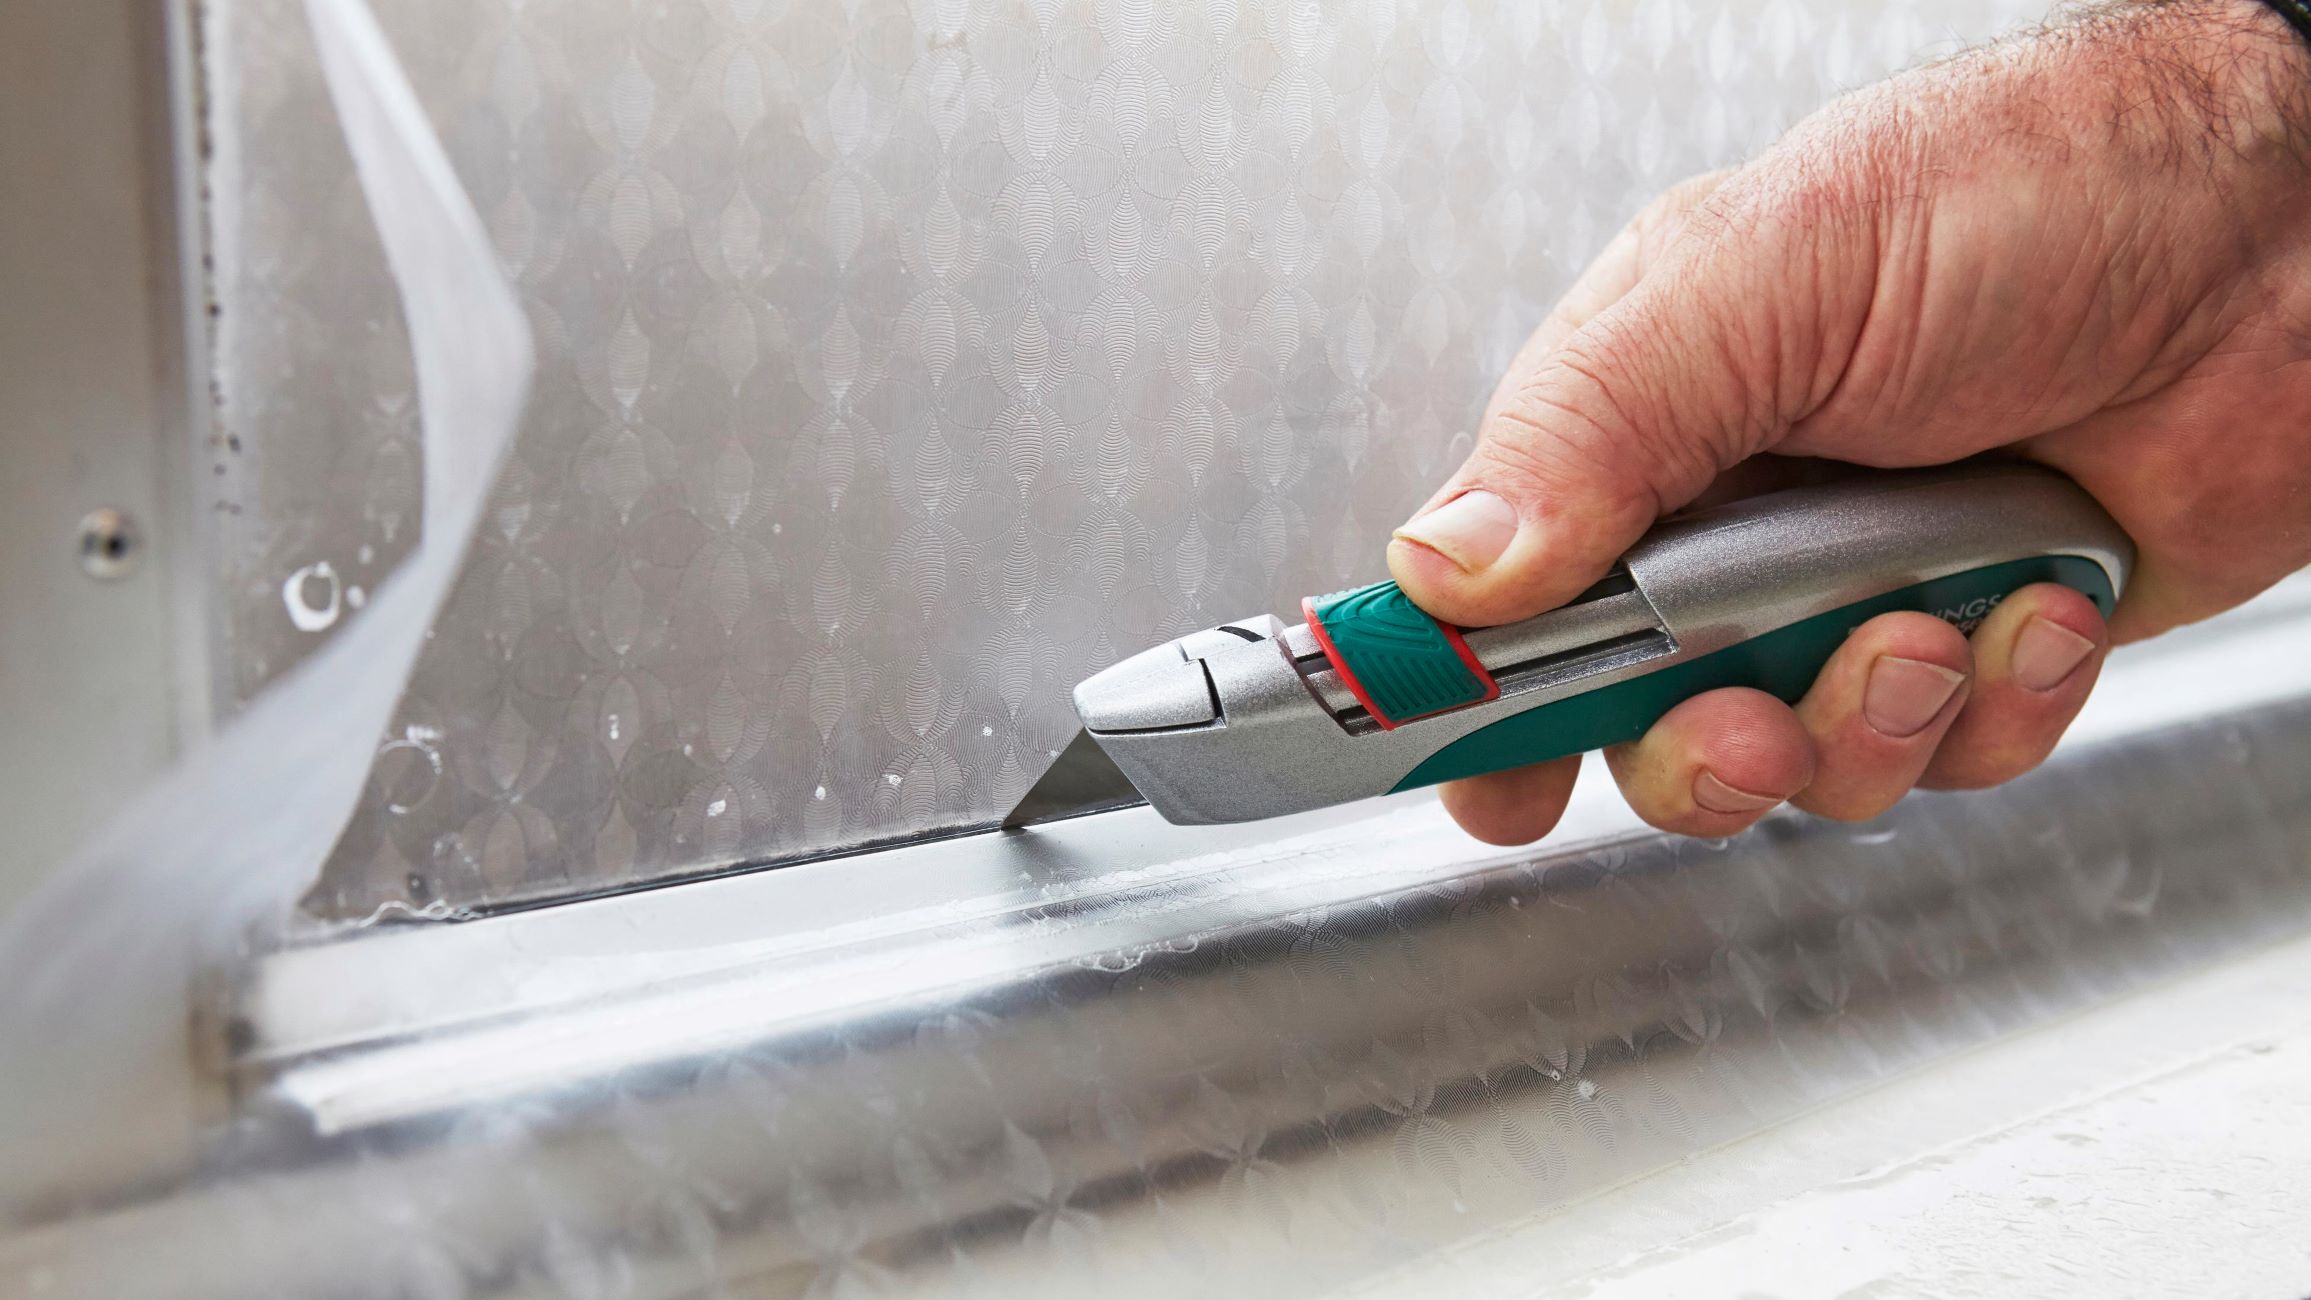
Razor Blade or Utility Knife: A sharp razor blade or utility knife is indispensable for carefully lifting the softened vinyl from the glass. It allows for precise cutting and controlled peeling, minimizing the risk of scratches or residue left behind.
-
Plastic Scraper or Putty Knife: A plastic scraper or putty knife serves as a gentle yet effective tool for scraping off the vinyl without scratching or damaging the glass. Its flat, smooth edge helps in lifting the vinyl and adhesive residue from the surface.
-
Rubbing Alcohol or Adhesive Remover: Rubbing alcohol or a specialized adhesive remover is essential for dissolving any remaining adhesive residue after the vinyl has been peeled off. This step ensures that the glass surface is thoroughly cleaned and free from sticky remnants.
-
Microfiber Cloth or Paper Towels: A soft microfiber cloth or paper towels are used for wiping and cleaning the glass surface. These materials are gentle and absorbent, ideal for removing any remaining adhesive or cleaning solution without leaving lint or streaks.
Materials:
-
Protective Gloves: It's important to wear protective gloves to safeguard your hands during the vinyl removal process. Gloves provide a barrier against potential cuts from the razor blade and protect the skin from prolonged exposure to cleaning solutions.
-
Safety Glasses: Safety glasses are essential for eye protection, especially when using a heat gun or handling sharp tools. They shield the eyes from debris, splinters, or any accidental contact with the vinyl or adhesive.
-
Ventilation: Adequate ventilation is crucial when using a heat gun or adhesive remover to prevent the buildup of fumes. Ensure that the work area is well-ventilated to maintain a safe and comfortable environment during the vinyl removal process.
By having these tools and materials at your disposal, you'll be well-equipped to tackle the task of removing vinyl from glass surfaces with confidence and precision. Each item plays a vital role in ensuring a successful and efficient vinyl removal process, allowing you to transform your glass surfaces with ease.
Step 1: Prepare the Work Area
Before diving into the process of removing vinyl from glass, it's crucial to prepare the work area to ensure a safe and organized environment for the task at hand. Proper preparation sets the stage for a smooth and efficient vinyl removal process. Here's a detailed guide on how to prepare the work area effectively:
Read more: How To Remove Caulk From Vinyl Siding
Clear the Surrounding Space
Begin by clearing the surrounding space around the glass surface you intend to work on. Remove any obstacles, furniture, or decorative items that may obstruct your movement or access to the glass. Creating ample space around the area allows for unrestricted movement and minimizes the risk of accidental damage to nearby objects during the vinyl removal process.
Protect the Surrounding Surfaces
Next, take measures to protect the surrounding surfaces, such as walls, floors, or adjacent glass panels, from potential heat, adhesive, or debris. Use painter's tape or masking tape to cover the edges of the glass and create a protective barrier. This precautionary step helps prevent accidental damage to adjacent surfaces and ensures a focused approach to the vinyl removal task.
Ensure Adequate Ventilation
Proper ventilation is essential when using a heat gun or adhesive remover during the vinyl removal process. Open windows and doors to allow fresh air to circulate, reducing the concentration of fumes and ensuring a comfortable working environment. Adequate ventilation also helps dissipate any lingering odors from the adhesive remover, promoting a healthier and more pleasant workspace.
Gather Essential Tools and Materials
Verify that all the necessary tools and materials are within reach before commencing the vinyl removal process. Ensure that the heat gun or hair dryer, razor blade or utility knife, plastic scraper or putty knife, rubbing alcohol or adhesive remover, microfiber cloth or paper towels, protective gloves, and safety glasses are readily available. Having these items at hand streamlines the vinyl removal process and minimizes interruptions.
Establish Proper Lighting
Good lighting is crucial for precision and safety during the vinyl removal process. Position additional lighting sources, such as task lamps or portable LED lights, to illuminate the work area effectively. Adequate lighting helps in identifying the vinyl edges, monitoring the application of heat, and ensuring thorough cleaning of the glass surface after the vinyl removal.
By meticulously preparing the work area, you set the foundation for a successful vinyl removal process. These preparatory steps create a conducive environment for executing each phase of the vinyl removal with precision and care, ultimately leading to a clean and rejuvenated glass surface ready for new design possibilities.
Step 2: Soften the Vinyl
Softening the vinyl is a critical step in the process of removing it from glass surfaces. By effectively softening the vinyl, you can loosen its adhesive bond, making it easier to peel off without causing damage to the glass. This step requires the use of a heat gun or hair dryer to apply controlled heat to the vinyl, gradually breaking down the adhesive and allowing for smooth removal. Here's a detailed guide on how to soften the vinyl effectively:
-
Prepare the Heat Source: Begin by ensuring that the heat gun or hair dryer is set to a moderate temperature suitable for softening the vinyl without overheating or damaging the glass. Hold the heat source at a distance of approximately 6 to 8 inches from the vinyl surface to apply even heat distribution.
-
Apply Heat in a Controlled Manner: Starting from one edge of the vinyl, apply the heat in a sweeping motion, moving the heat source back and forth to cover the entire surface area of the vinyl. Focus on heating small sections at a time to prevent overheating and ensure uniform softening of the adhesive.
-
Observe the Vinyl's Response to Heat: As you apply the heat, observe the vinyl's response to the temperature. The vinyl will gradually become more pliable and may start to lift or bubble slightly as the adhesive loosens. Take care not to overheat the vinyl, as excessive heat can cause damage to the glass or lead to uneven peeling.
-
Test the Softness of the Vinyl: Periodically test the softness of the vinyl by gently attempting to lift a corner or edge using a razor blade or utility knife. If the vinyl lifts easily and the adhesive releases its grip, it indicates that the softening process is effective. Continue applying heat to areas that require further softening.
-
Work in Sections: To ensure thorough softening of the entire vinyl surface, work in manageable sections, gradually applying heat and testing the softness before proceeding to the next area. This approach allows for precise control over the softening process and minimizes the risk of overheating or uneven softening.
By following these steps, you can effectively soften the vinyl, preparing it for the subsequent phase of peeling off. Softening the vinyl with care and precision sets the stage for a successful and damage-free removal process, allowing you to achieve a clean and rejuvenated glass surface.
Step 3: Peel Off the Vinyl
With the vinyl effectively softened, the next crucial step is to carefully peel it off from the glass surface. This phase requires precision and patience to ensure that the vinyl is removed without leaving behind any residue or causing damage to the glass. Here's a detailed guide on how to peel off the vinyl effectively:
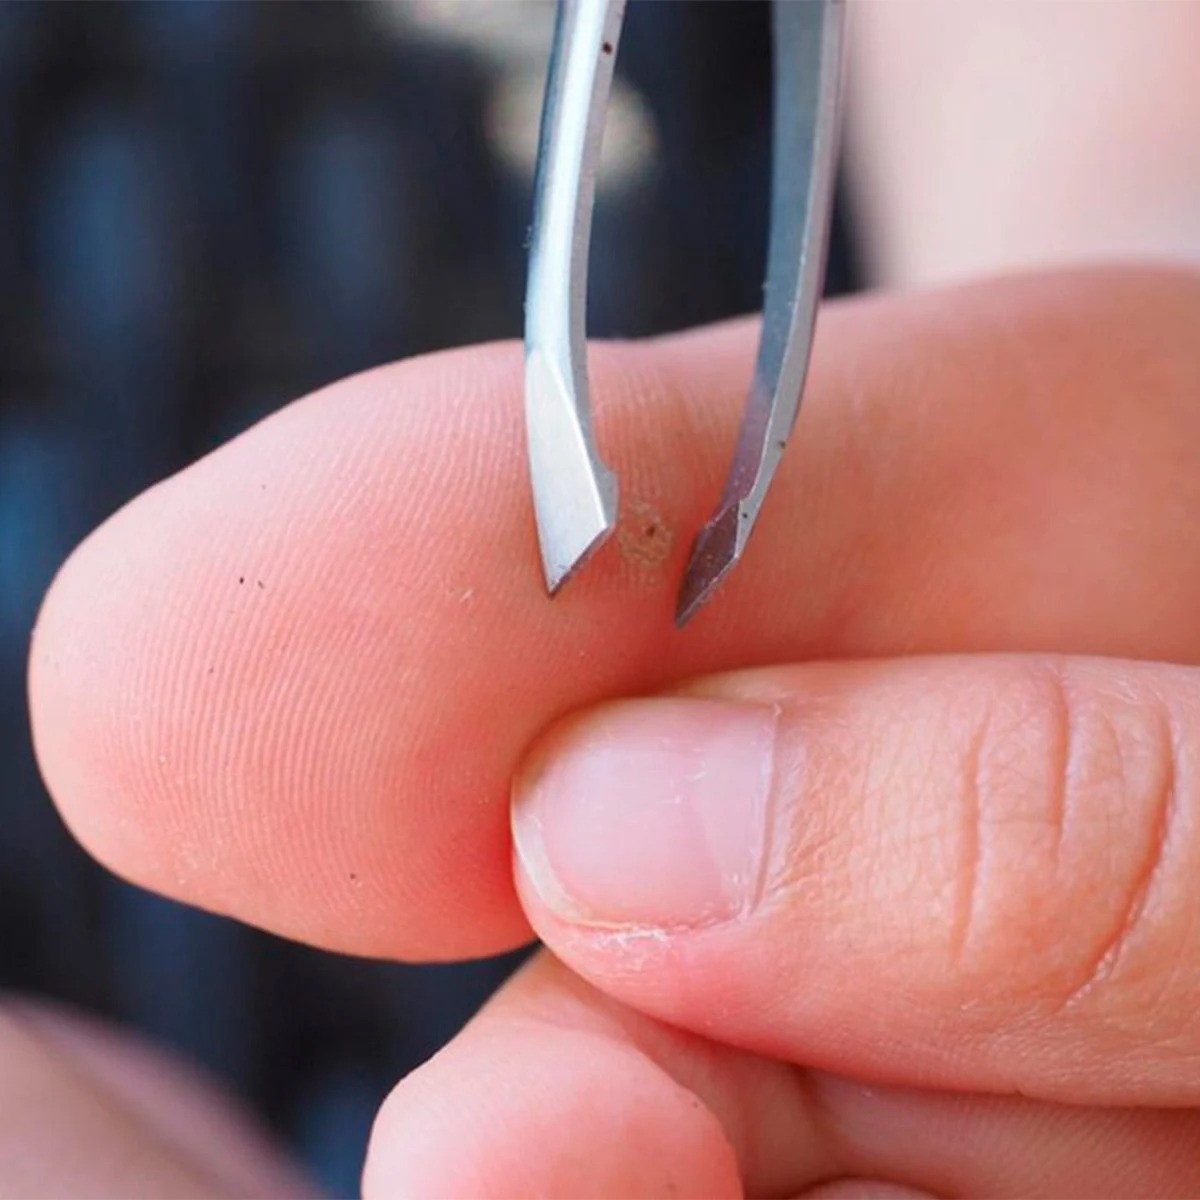
-
Begin at the Edges: Start by identifying a corner or edge of the softened vinyl. Using a razor blade or utility knife, gently lift the edge of the vinyl, creating a starting point for the peeling process. Take care to angle the blade away from the glass to avoid scratching or damaging the surface.
-
Peel at a Gradual Angle: Once the edge is lifted, begin peeling the vinyl at a gradual angle, ensuring a controlled and steady motion. Avoid pulling the vinyl forcefully, as this can lead to tearing or leaving adhesive residue on the glass. Instead, maintain a consistent peeling motion, allowing the vinyl to release smoothly.
-
Use a Plastic Scraper or Putty Knife: As the vinyl is peeled off, use a plastic scraper or putty knife to assist in lifting and separating it from the glass surface. The flat, smooth edge of the scraper helps in gently maneuvering the vinyl without causing scratches or marks on the glass.
-
Work in Small Sections: To maintain precision and control, work in small sections, gradually peeling off the vinyl while monitoring the adherence of the adhesive to the glass. This approach allows for careful inspection of the underlying surface and ensures that the vinyl is removed completely.
-
Address Stubborn Areas with Heat: If certain areas of the vinyl prove to be stubborn or resistant to peeling, apply additional heat using the heat gun or hair dryer. Softening these areas further can facilitate easier peeling and minimize the risk of leaving adhesive residue on the glass.
-
Inspect for Residue: As the vinyl is peeled off, periodically inspect the glass surface for any remaining adhesive residue. If residue is present, refrain from forcefully scraping it off and proceed to the next step of removing residue.
By following these steps, you can effectively peel off the vinyl from the glass surface, ensuring a clean and smooth removal process. This phase sets the stage for the final steps of removing any remaining residue and cleaning the glass, ultimately preparing the surface for a fresh, new look.
Step 4: Remove Residue
After successfully peeling off the vinyl from the glass surface, the next crucial step is to address any remaining adhesive residue left behind. Removing this residue is essential to ensure a clean and smooth glass surface, free from any sticky remnants. Here's a detailed guide on how to effectively remove residue from the glass:
-
Apply Rubbing Alcohol or Adhesive Remover: Begin by applying a small amount of rubbing alcohol or adhesive remover to a clean microfiber cloth or paper towel. Gently dab the cloth onto the adhesive residue, allowing the solution to penetrate and dissolve the sticky remnants. Take care not to oversaturate the glass surface, as excessive moisture can hinder the effectiveness of the cleaning process.
-
Allow Dwell Time: Once the rubbing alcohol or adhesive remover is applied, allow it to dwell on the adhesive residue for a few minutes. This dwell time enables the solution to break down the adhesive, making it easier to lift and wipe away.
-
Gently Scrub the Residue: Using the microfiber cloth or paper towel, gently scrub the adhesive residue in circular motions. Apply light pressure to avoid scratching the glass while effectively lifting the dissolved adhesive. Continue scrubbing until the residue starts to release from the glass surface.
-
Repeat as Needed: For stubborn or persistent adhesive residue, repeat the application of rubbing alcohol or adhesive remover, allowing for additional dwell time before gently scrubbing the area again. Patience and persistence are key to ensuring thorough removal of the residue without causing damage to the glass.
-
Inspect and Wipe Clean: After scrubbing the adhesive residue, inspect the glass surface to ensure that the majority of the residue has been lifted. If any remnants persist, repeat the process until the glass is free from sticky residue. Once satisfied, use a clean, dry microfiber cloth or paper towel to wipe the glass surface, removing any remaining traces of the adhesive remover.
-
Final Inspection: After the residue removal process, conduct a final inspection of the glass surface to ensure that it is clean, smooth, and free from any lingering adhesive remnants. This step sets the stage for the final phase of cleaning the glass to achieve a pristine finish.
By following these steps, you can effectively remove adhesive residue from the glass, restoring its clarity and smoothness. This meticulous process ensures that the glass surface is impeccably prepared for the next phase of cleaning and any desired design applications.
Read more: How To Keep Vinyl From Peeling Off Glass
Step 5: Clean the Glass
After successfully removing the vinyl and addressing any adhesive residue, the final step involves thoroughly cleaning the glass surface to restore its clarity and shine. This crucial phase ensures that the glass is free from any remaining cleaning solutions, residue, or debris, creating an immaculate canvas for new design applications or simply enjoying the natural beauty of the glass.
Guide to Cleaning the Glass:
-
Prepare a Cleaning Solution: Begin by preparing a gentle cleaning solution using warm water and a mild dish soap. Mix the solution in a clean spray bottle or a small bucket, ensuring that the soap is thoroughly diluted to avoid leaving streaks or residue on the glass.
-
Apply the Cleaning Solution: Spray the cleaning solution onto the glass surface or dip a soft, lint-free microfiber cloth into the solution. Ensure that the cloth is damp but not dripping wet to prevent excessive moisture from accumulating on the glass.
-
Wipe the Glass Surface: Using the damp microfiber cloth, gently wipe the entire glass surface in smooth, overlapping motions. Pay attention to any areas that may have accumulated dust, fingerprints, or cleaning solution residue, ensuring thorough coverage of the entire surface.
-
Address Stubborn Stains or Spots: For any stubborn stains or spots on the glass, such as water marks or dried residue, apply gentle pressure while wiping with the damp cloth. If necessary, use a separate clean cloth to focus on these areas, ensuring that they are effectively cleaned without leaving streaks.
-
Dry the Glass Surface: Once the glass is thoroughly wiped with the cleaning solution, use a dry microfiber cloth to gently dry the surface. Wipe in a consistent, circular motion to absorb any remaining moisture and ensure a streak-free finish.
-
Inspect for Clarity: After drying the glass, inspect the surface from various angles to ensure that it is free from streaks, smudges, or residue. Any remaining marks can be gently buffed with a clean, dry microfiber cloth to achieve a crystal-clear finish.
-
Final Touches: If desired, a glass cleaner specifically formulated for streak-free results can be used as a final touch to enhance the clarity and shine of the glass. Apply the glass cleaner sparingly and buff the surface with a clean, dry microfiber cloth for a pristine finish.
By following these steps, you can effectively clean the glass surface, restoring its natural brilliance and ensuring a flawless result. This meticulous cleaning process prepares the glass for a variety of design applications, allowing you to showcase its beauty with clarity and elegance.
Conclusion
In conclusion, mastering the art of removing vinyl from glass surfaces empowers individuals to transform their living spaces with ease and creativity. By following the step-by-step process outlined in this guide, anyone can embark on the journey of rejuvenating glass windows, doors, or any other glass surface, opening the door to new design possibilities and a refreshed aesthetic.
The meticulous preparation of the work area sets the stage for a focused and efficient vinyl removal process. Clearing the surrounding space, protecting adjacent surfaces, ensuring proper ventilation, and gathering essential tools and materials create an environment conducive to successful vinyl removal. These preparatory steps not only enhance safety but also streamline the overall process, allowing individuals to approach the task with confidence and precision.
Softening the vinyl with the application of controlled heat is a pivotal phase that requires patience and attention to detail. By gradually softening the vinyl and testing its pliability, individuals can ensure a smooth and damage-free removal process. This step sets the foundation for the subsequent phase of peeling off the vinyl, allowing for a controlled and precise approach to achieving a clean glass surface.
Peeling off the vinyl demands precision and care to avoid leaving behind any residue or causing damage to the glass. Working in small sections, using the appropriate tools, and addressing stubborn areas with additional heat ensures a thorough and meticulous removal process. This phase paves the way for the critical step of removing any remaining adhesive residue, restoring the glass to its pristine state.
The final phase of cleaning the glass surface ensures that it is free from any remnants of the vinyl removal process, allowing individuals to admire the natural brilliance of the glass or embark on new design endeavors. By following the detailed guide on cleaning the glass, individuals can achieve a streak-free, immaculate finish, ready to showcase the beauty of the glass in its pure form.
In essence, mastering the art of removing vinyl from glass surfaces is not only a practical skill but also a gateway to unleashing creativity and design innovation. Whether it's updating the look of a living space, preparing for new design applications, or simply appreciating the elegance of glass, the process of vinyl removal empowers individuals to reimagine their surroundings with clarity and sophistication.
Frequently Asked Questions about How To Remove Vinyl From Glass
Was this page helpful?
At Storables.com, we guarantee accurate and reliable information. Our content, validated by Expert Board Contributors, is crafted following stringent Editorial Policies. We're committed to providing you with well-researched, expert-backed insights for all your informational needs.

0 thoughts on “How To Remove Vinyl From Glass”