Home>Furniture & Design>Interior Design Trends>How To Remove Glass From Finger
Interior Design Trends
How To Remove Glass From Finger
Published: February 6, 2024
Learn how to safely remove glass from your finger with these interior design trends. Protect your hands and keep your home safe.
(Many of the links in this article redirect to a specific reviewed product. Your purchase of these products through affiliate links helps to generate commission for Storables.com, at no extra cost. Learn more)
Introduction
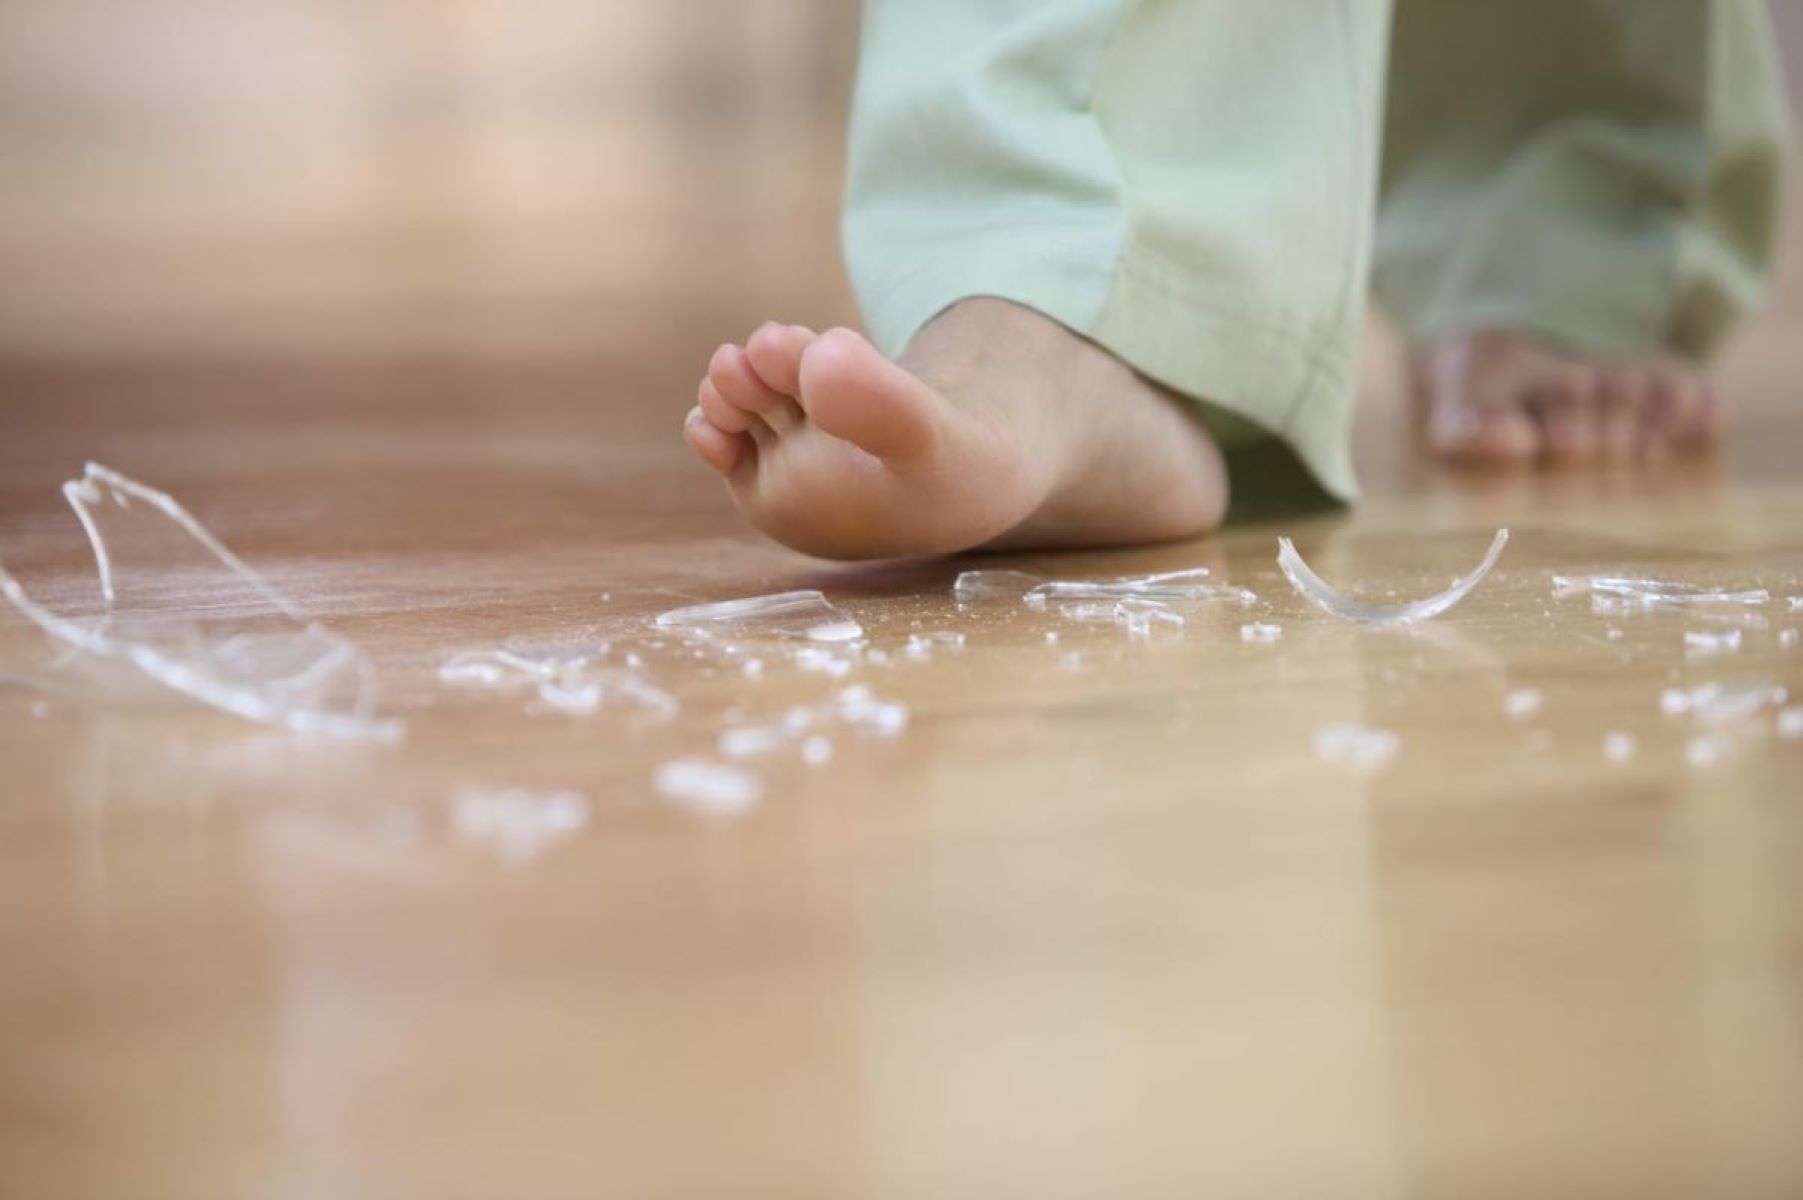
Finding a sliver of glass embedded in your skin can be a painful and alarming experience. Whether it's a tiny shard from a broken glass or a splinter from a shattered object, removing glass from your finger requires careful attention to prevent further injury and reduce the risk of infection. While it's natural to feel anxious when dealing with this situation, following the right steps can help you safely extract the glass and promote proper healing.
In this guide, we will walk you through the essential steps for removing glass from your finger. From assessing the injury to cleaning the affected area and safely extracting the glass, each step is crucial in ensuring a successful and hygienic removal process. By following these instructions, you can effectively address the issue and minimize the discomfort associated with having glass lodged in your skin.
Whether the glass is visible on the surface or deeply embedded, it's important to approach the removal process with caution and precision. By taking the time to assess the injury and carefully clean the area, you can create a suitable environment for extracting the glass without causing further harm. Additionally, knowing how to properly dress the wound after removing the glass is essential for preventing infection and promoting healing.
As we delve into the step-by-step process, keep in mind that patience and attentiveness are key. While it may be tempting to rush through the removal procedure, taking your time and following each step diligently will yield the best results. Remember, the goal is not only to remove the glass but also to ensure that the affected area is properly cared for to facilitate a smooth recovery.
Now, let's embark on this journey of safely and effectively removing glass from your finger, equipping you with the knowledge and confidence to address this common yet unsettling predicament.
Key Takeaways:
- Removing glass from your finger requires careful steps, like assessing the injury, cleaning the area, and using a sterilized needle or tweezers. Patience and precision are key for a successful extraction.
- After removing the glass, apply gentle pressure to ensure all fragments are gone, then clean and dress the wound. This promotes healing and protects the injured finger for a smooth recovery.
Read more: How To Remove Dabs From Glass
Step 1: Assess the injury
When dealing with a glass injury, the first and most crucial step is to carefully assess the extent of the injury. Begin by examining the affected area to determine the size and depth of the glass penetration. If the glass is visible on the surface, take note of its location and whether it has caused any bleeding or inflammation. In cases where the glass is embedded and not immediately visible, gently palpate the area to identify the precise location and assess the level of discomfort.
It's essential to evaluate the severity of the injury to gauge whether professional medical attention may be necessary. If the glass has penetrated deeply, causing excessive bleeding, severe pain, or if there are signs of infection such as redness, warmth, or pus, seeking medical assistance is highly recommended. Additionally, if the injury occurred due to a dirty or contaminated object, such as a rusty metal shard or a piece of glass from an outdoor environment, it's important to consult a healthcare professional to prevent potential tetanus or other complications.
Furthermore, consider the mobility and functionality of the affected finger. If the injury has impaired movement or if you experience numbness or tingling sensations, it's crucial to assess whether the glass may have affected underlying structures such as tendons or nerves. These indicators can help determine the level of urgency in seeking medical attention and guide the subsequent steps in the removal process.
By thoroughly assessing the injury, you can gain a comprehensive understanding of the situation, enabling you to make informed decisions about the next course of action. Remember, a careful and thorough assessment sets the foundation for a successful glass removal process and ensures that the appropriate measures are taken to address the injury effectively.
Taking the time to assess the injury not only provides valuable insights into the nature of the glass penetration but also helps in determining the level of urgency and the need for professional medical intervention. This initial step sets the stage for the subsequent actions in the glass removal process, guiding you towards a safe and successful resolution of the injury.
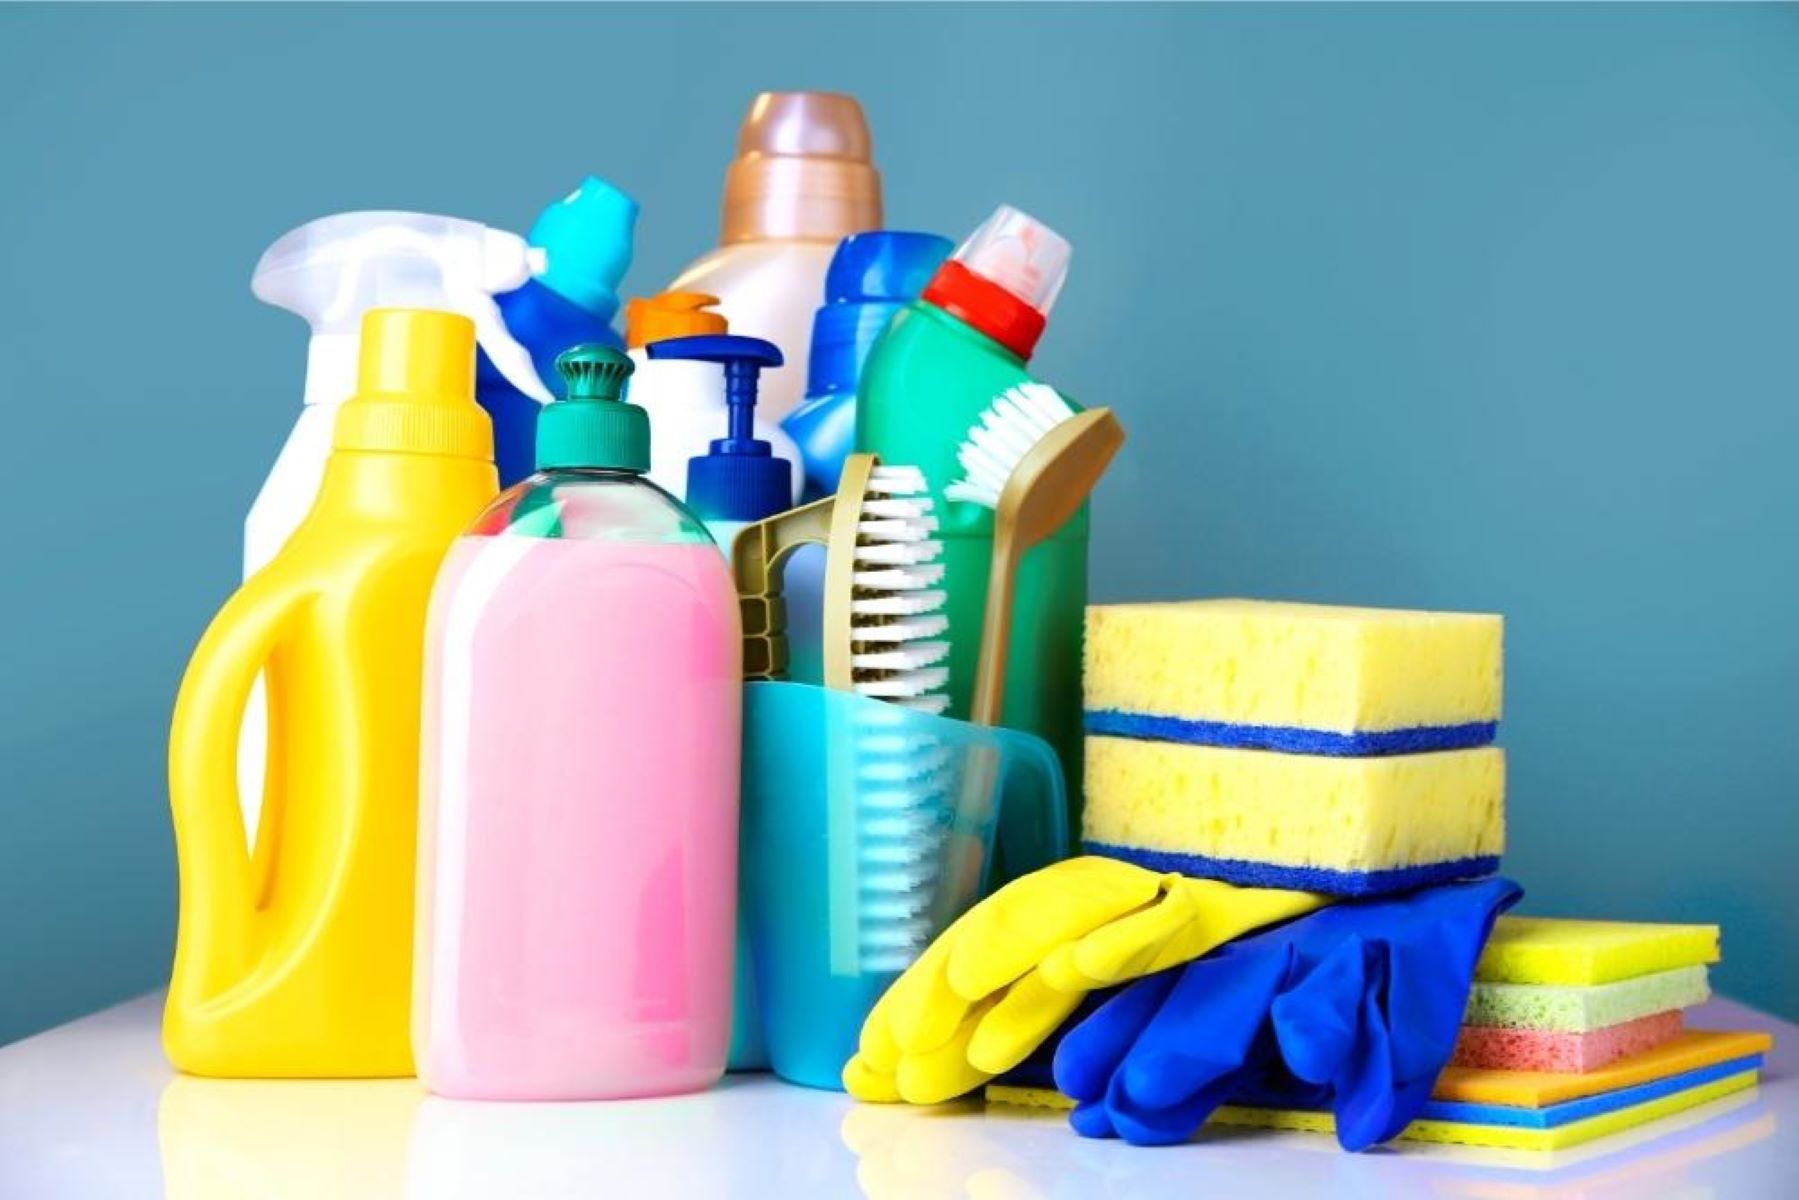
Step 2: Clean the area
After assessing the injury and understanding the nature of the glass penetration, the next critical step is to thoroughly clean the affected area. Proper cleaning is essential for minimizing the risk of infection and creating an optimal environment for the safe removal of the glass from your finger.
To begin, gently wash your hands with soap and water to ensure that they are clean before tending to the injured finger. Once your hands are thoroughly washed and dried, prepare a mild antiseptic solution, such as diluted hydrogen peroxide or an alcohol-based disinfectant. Carefully pour a small amount of the antiseptic solution onto a clean cotton ball or gauze pad.
Next, delicately dab the cotton ball or gauze pad onto the area surrounding the glass penetration, ensuring that the entire affected area is cleansed. It's important to avoid directly applying the antiseptic solution onto the glass-embedded area, as this can cause discomfort and make the subsequent removal process more challenging. Instead, focus on cleaning the surrounding skin to minimize the risk of introducing bacteria or contaminants during the glass extraction.
Once the area has been gently cleansed, rinse it with lukewarm water to remove any residual antiseptic solution. Pat the area dry with a clean, lint-free cloth, taking care not to apply excessive pressure that could cause the glass to shift or cause further injury.
After the initial cleansing, inspect the area to ensure that it is free from any debris or foreign particles. If there are any visible contaminants, carefully remove them using sterilized tweezers or a clean cotton swab. It's crucial to exercise caution and precision during this process to avoid pushing the glass deeper into the skin or causing additional trauma.
Following the thorough cleaning and removal of any visible debris, apply a small amount of antibiotic ointment to the affected area. This helps create a protective barrier against potential infection and promotes the healing process. Gently spread the ointment over the cleaned area, ensuring that it covers the entire surface surrounding the glass penetration.
By meticulously cleaning the area and applying an antibiotic ointment, you establish a hygienic and conducive environment for the subsequent glass removal process. This step is pivotal in minimizing the risk of infection and preparing the injured finger for the safe and effective extraction of the embedded glass.
Remember, the thorough cleaning of the affected area is a crucial preparatory step that sets the stage for the safe removal of the glass from your finger. By prioritizing cleanliness and meticulous care, you can mitigate the risk of complications and facilitate a smooth and successful glass extraction process.
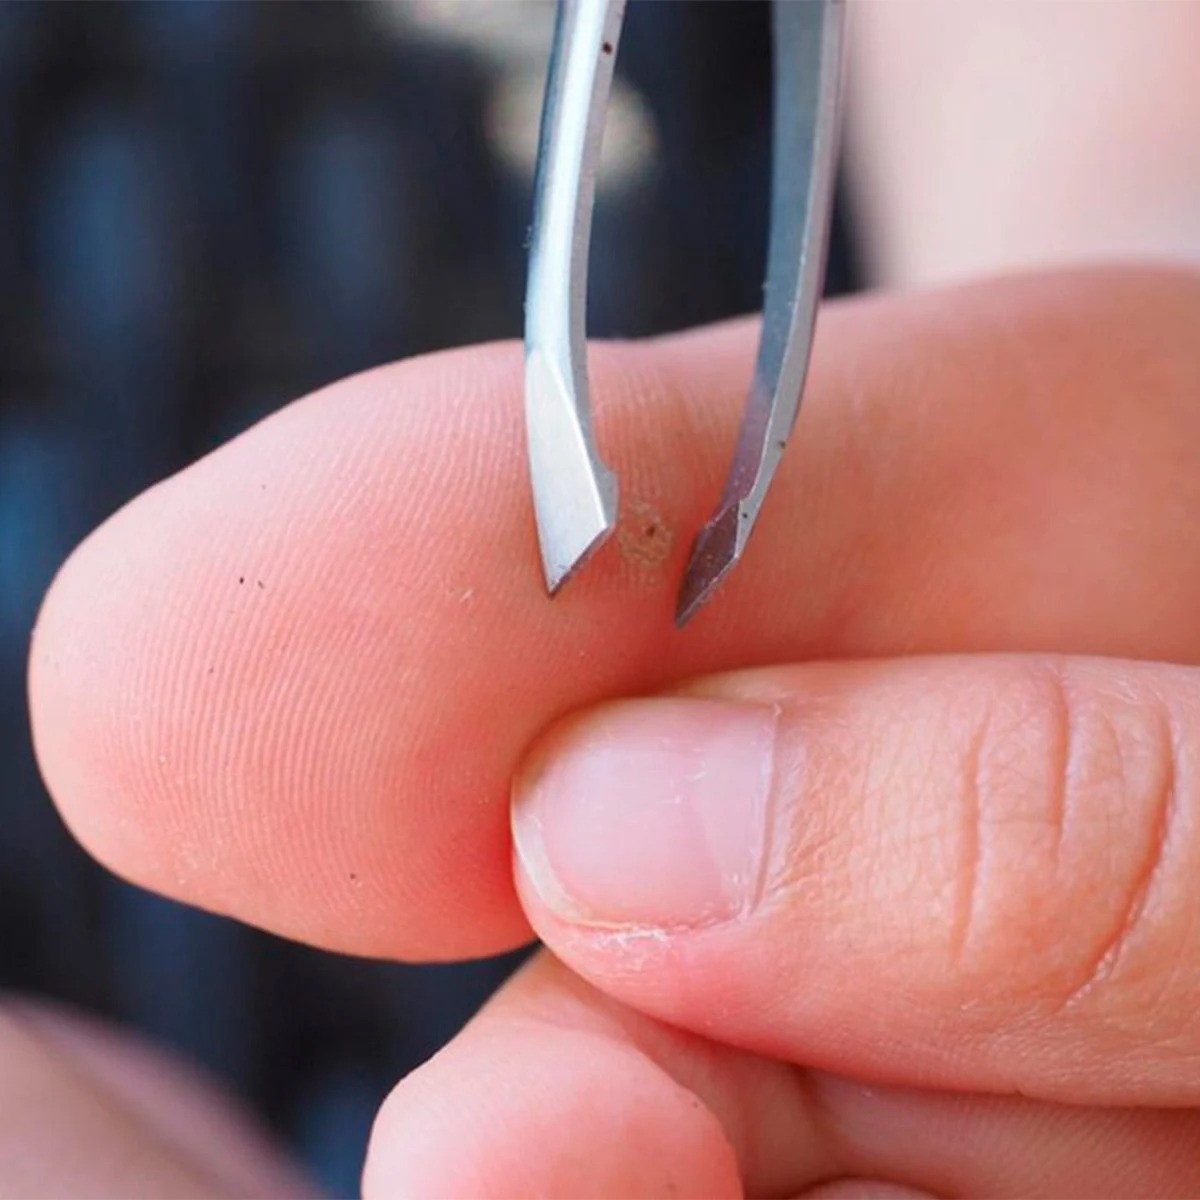
Step 3: Use a sterilized needle or tweezers
Once the affected area is thoroughly cleaned and prepared, the next step involves the careful use of a sterilized needle or tweezers to extract the glass from your finger. This process requires precision and attentiveness to ensure that the glass is safely and effectively removed without causing further injury or complications.
Begin by sterilizing a needle or tweezers using rubbing alcohol or by carefully heating the tip over an open flame. It's crucial to ensure that the needle or tweezers are thoroughly sterilized to minimize the risk of introducing bacteria or causing infection during the extraction process.
Once the needle or tweezers are sterilized, gently approach the glass-embedded area, taking care to avoid applying excessive pressure or causing unnecessary discomfort. If the glass is protruding from the skin, carefully grasp it with the sterilized tweezers, ensuring a firm yet gentle grip to avoid breakage or slippage.
In cases where the glass is embedded beneath the skin's surface, use the sterilized needle to create a small incision or puncture near the edge of the glass. Exercise extreme caution and precision during this step, ensuring that the incision is shallow and targeted to facilitate the extraction without causing additional trauma.
After creating the incision, carefully maneuver the tip of the needle beneath the edge of the glass, using gentle and controlled movements to lift and dislodge the glass from the skin. It's essential to proceed with patience and delicacy, avoiding sudden or forceful actions that could lead to further injury or complications.
Once the glass is partially lifted, use the sterilized tweezers to grasp and steadily extract it from the skin. Maintain a steady and controlled grip, ensuring that the glass is removed in its entirety without leaving any fragments behind. If the glass breaks during the extraction, carefully use the needle or tweezers to remove the remaining fragments, taking care to avoid pushing them deeper into the skin.
Throughout the extraction process, pay close attention to any signs of resistance or discomfort, adjusting your approach as needed to ensure a smooth and successful removal. Once the glass has been fully extracted, carefully inspect the area to confirm that no fragments remain and that the skin is free from any foreign particles.
By using a sterilized needle or tweezers with precision and care, you can effectively extract the glass from your finger, setting the stage for the final steps in the glass removal process. This meticulous approach minimizes the risk of complications and promotes a safe and successful extraction, paving the way for the subsequent wound care and healing.
Remember, the use of a sterilized needle or tweezers demands patience, precision, and attentiveness to ensure a successful glass extraction process. By approaching this step with diligence and care, you can navigate the removal process with confidence and minimize the risk of further injury or complications.
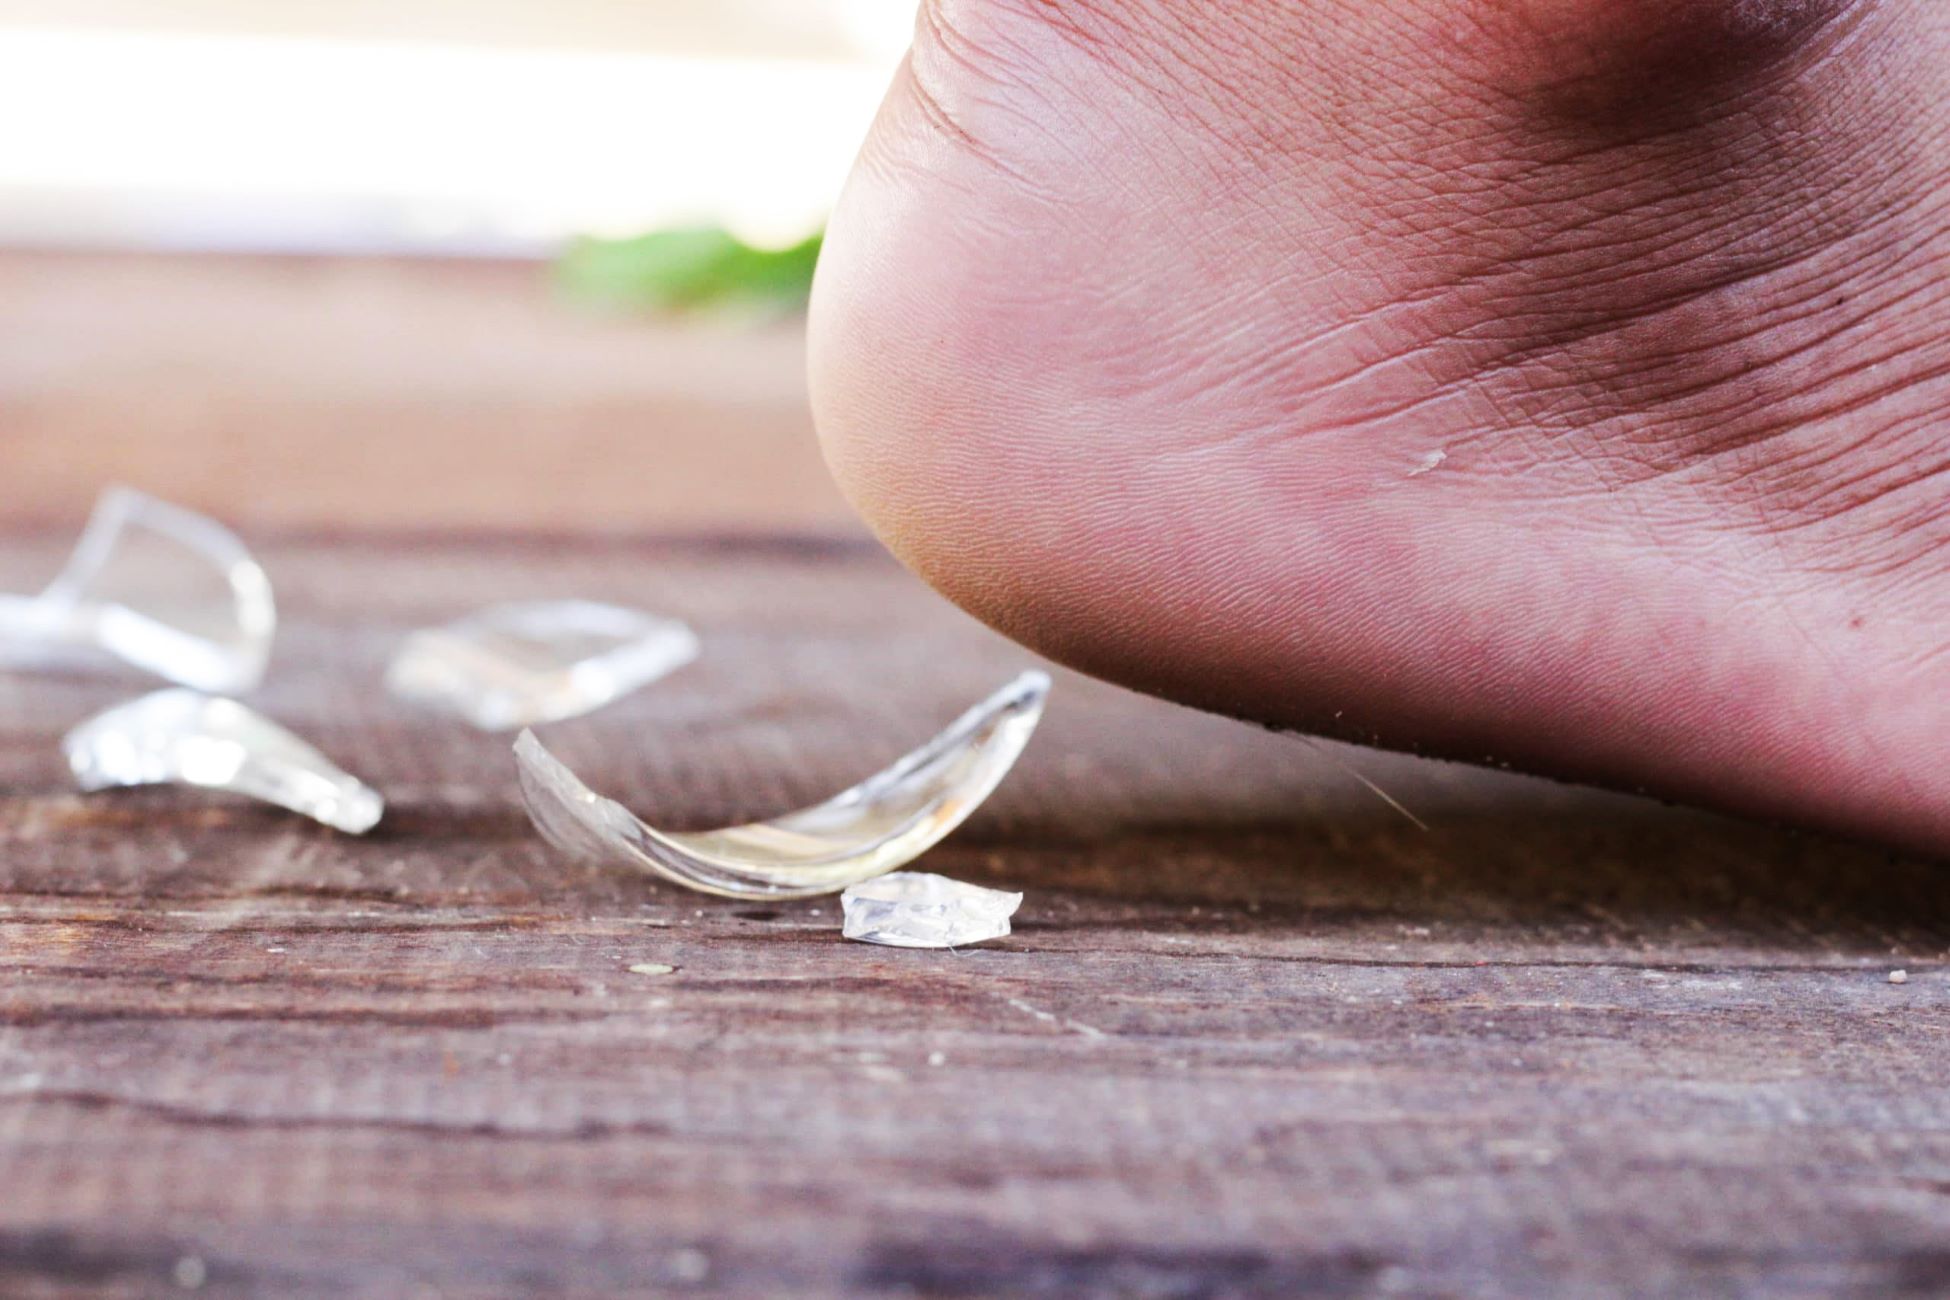
Soak the affected finger in warm, soapy water for 10-15 minutes to soften the skin. Gently try to remove the glass with tweezers, being careful not to push it further into the skin. If it’s deeply embedded or causing severe pain, seek medical attention.
Step 4: Apply pressure to remove the glass
After successfully extracting the glass from the skin, the next crucial step involves applying gentle pressure to the affected area to ensure that any remaining glass particles or microscopic fragments are expelled. This process is essential for minimizing the risk of residual glass within the skin and promoting thorough cleansing to prevent potential complications.
To begin, use a clean and sterile gauze pad or cotton ball to apply gentle pressure to the area from which the glass was extracted. By exerting controlled pressure, you can encourage any residual glass fragments to rise to the surface, facilitating their removal and reducing the likelihood of retained particles causing discomfort or infection.
As you apply pressure, observe the area closely for any signs of residual glass or foreign particles emerging from the skin. It's important to exercise patience and attentiveness during this process, as microscopic glass fragments may not be immediately visible and may require careful observation to ensure thorough removal.
If any additional glass particles become visible during the pressure application, use sterilized tweezers or a clean cotton swab to delicately lift and remove them from the skin. Take care to avoid excessive force or aggressive manipulation, as this can lead to further injury or irritation of the affected area.
Continue applying gentle pressure and inspecting the area until no further glass particles are observed. This meticulous approach ensures that the skin is free from any remaining glass and that the risk of complications stemming from retained fragments is minimized.
Once the area has been thoroughly cleansed and inspected, gently wash it with lukewarm water to remove any residual debris or disinfectant. Pat the area dry with a clean, lint-free cloth, taking care to avoid disrupting the skin or causing discomfort.
By applying gentle pressure and meticulously inspecting the area, you can effectively ensure the complete removal of glass particles from the skin, setting the stage for the final step in the glass removal process. This thorough approach minimizes the risk of residual glass causing discomfort or complications, promoting a smooth and successful recovery.
Remember, the application of pressure and careful inspection are vital in ensuring the thorough removal of glass particles from the skin. By approaching this step with patience and precision, you can mitigate the risk of retained fragments and promote optimal healing of the affected area.
Read more: How To Remove Frosting From Glass
Step 5: Clean and dress the wound
After successfully removing the glass from your finger and ensuring the thorough expulsion of any remaining glass particles, the final step involves cleaning and dressing the wound to promote healing and minimize the risk of infection. This critical phase is essential for providing the injured area with the necessary care and protection as it undergoes the recovery process.
To begin, gently cleanse the affected area with a mild antiseptic solution to ensure that it is free from any residual debris or contaminants. Use a clean cotton ball or gauze pad to delicately apply the antiseptic solution, carefully covering the entire surface of the wound. This cleansing step helps eliminate any remaining traces of bacteria or foreign particles, creating a hygienic environment for the subsequent dressing.
Once the area has been cleansed, apply a thin layer of antibiotic ointment over the wound. The antibiotic ointment serves as a protective barrier, guarding the injured skin against potential infection and promoting the healing process. Gently spread the ointment over the entire surface of the wound, ensuring that it is evenly distributed and adequately covers the affected area.
Following the application of the antibiotic ointment, cover the wound with a sterile adhesive bandage or gauze pad to provide protection and support for the injured finger. Ensure that the bandage is securely positioned over the wound, offering a snug yet comfortable fit. This dressing serves to shield the wound from external contaminants and friction, creating an optimal healing environment.
It's important to monitor the wound regularly and change the dressing as needed to maintain cleanliness and promote healing. If the bandage becomes soiled or wet, replace it with a fresh, sterile dressing to prevent the risk of infection and facilitate the healing process. Additionally, keep the injured finger dry and avoid exposing it to excessive moisture, which can impede the healing progress.
Throughout the recovery period, observe the wound for any signs of infection, such as increasing redness, swelling, or discharge. If you notice any concerning symptoms or if the pain intensifies, seek medical attention promptly to ensure proper evaluation and treatment.
By diligently cleaning and dressing the wound, you provide the injured finger with the essential care and protection it needs to heal effectively. This final step in the glass removal process plays a pivotal role in safeguarding the injured area and promoting a smooth and successful recovery, allowing you to resume your daily activities with confidence and comfort.
Conclusion
In conclusion, successfully removing glass from your finger requires a systematic and careful approach, prioritizing thorough assessment, meticulous cleaning, precise extraction, and attentive wound care. By following the step-by-step process outlined in this guide, you can effectively address the presence of glass in your skin and promote a safe and successful recovery.
The initial assessment of the injury sets the stage for the subsequent actions, guiding you to make informed decisions about the urgency of medical attention and the appropriate measures for the removal process. Thoroughly cleaning the affected area is crucial for creating a hygienic environment and minimizing the risk of infection, laying the foundation for the safe extraction of the glass.
The use of a sterilized needle or tweezers demands patience, precision, and attentiveness to ensure a successful glass extraction process. By approaching this step with diligence and care, you can navigate the removal process with confidence and minimize the risk of further injury or complications.
Applying gentle pressure to remove any remaining glass particles and meticulously inspecting the area ensures the complete removal of glass from the skin, minimizing the risk of residual fragments causing discomfort or complications. This thorough approach promotes a smooth and successful recovery, mitigating the risk of retained fragments and facilitating optimal healing of the affected area.
Finally, cleaning and dressing the wound provide the injured finger with the essential care and protection it needs to heal effectively. This final step in the glass removal process plays a pivotal role in safeguarding the injured area and promoting a smooth and successful recovery, allowing you to resume your daily activities with confidence and comfort.
By following these comprehensive steps and exercising patience and attentiveness throughout the process, you can effectively remove glass from your finger and promote proper healing. Remember, if you encounter any complications or concerns during the removal process, seeking medical attention is always advisable to ensure the best possible care for your injury.
Frequently Asked Questions about How To Remove Glass From Finger
Was this page helpful?
At Storables.com, we guarantee accurate and reliable information. Our content, validated by Expert Board Contributors, is crafted following stringent Editorial Policies. We're committed to providing you with well-researched, expert-backed insights for all your informational needs.


0 thoughts on “How To Remove Glass From Finger”