Home>Furniture & Design>Interior Design Trends>How To Remove Glass Break Sensor Cover
Interior Design Trends
How To Remove Glass Break Sensor Cover
Modified: August 17, 2024
Learn how to safely remove the cover of a glass break sensor to keep up with the latest interior design trends. Follow our step-by-step guide for a seamless update.
(Many of the links in this article redirect to a specific reviewed product. Your purchase of these products through affiliate links helps to generate commission for Storables.com, at no extra cost. Learn more)
Introduction
Removing the glass break sensor cover is a crucial aspect of maintaining and troubleshooting your home security system. The glass break sensor is a vital component that helps protect your home from potential intruders by detecting the sound frequency of breaking glass. Over time, the sensor cover may accumulate dust, debris, or even become dislodged, affecting its functionality. Therefore, knowing how to safely remove and clean the glass break sensor cover is essential for ensuring the optimal performance of your security system.
In this comprehensive guide, we will walk you through the step-by-step process of removing the glass break sensor cover. By following these instructions, you can effectively address any issues related to the sensor cover and maintain the overall effectiveness of your home security system. Whether you are a seasoned DIY enthusiast or a homeowner looking to troubleshoot minor issues, this guide will equip you with the knowledge and confidence to tackle this task with ease.
Understanding the importance of maintaining your glass break sensor cover is the first step towards ensuring the security and functionality of your home security system. By taking the time to familiarize yourself with the process of removing and cleaning the sensor cover, you can proactively address any potential issues and contribute to the long-term reliability of your security setup. So, let's dive into the step-by-step instructions and empower you to effectively remove and clean your glass break sensor cover.
Key Takeaways:
- Keep your home security system in top shape by regularly removing and cleaning the glass break sensor cover. It’s an essential DIY task that ensures your system functions optimally and keeps your home safe from potential intruders.
- By following the step-by-step guide, you can confidently maintain your home security system. Taking proactive steps to remove, clean, and reassemble the glass break sensor cover demonstrates your commitment to creating a secure and protected living environment.
Read more: How To Test Glass Break Sensor
Step 1: Gather the necessary tools
Before embarking on the process of removing the glass break sensor cover, it's essential to gather the necessary tools to ensure a smooth and efficient undertaking. Having the right tools at your disposal will not only streamline the process but also contribute to the overall safety and effectiveness of the task at hand.
Here's a comprehensive list of the essential tools you will need:
-
Screwdriver Set: A quality screwdriver set with various head types, including Phillips and flathead, is indispensable for accessing and removing the sensor cover. Ensure that the screwdriver set is compatible with the screws securing the sensor cover in place.
-
Soft Cleaning Cloth: A soft, lint-free cleaning cloth is essential for wiping and cleaning the sensor cover without leaving behind any residue or scratches. Opt for a microfiber cloth to gently remove any accumulated dust or debris from the cover's surface.
-
Compressed Air Duster: To effectively remove stubborn dust and debris from hard-to-reach areas of the sensor cover, a can of compressed air duster is highly recommended. The pressurized air will dislodge and expel any trapped particles, ensuring a thorough cleaning process.
-
Cleaning Solution: Depending on the material of the sensor cover, a mild cleaning solution or glass cleaner may be required to remove smudges or stains. Ensure that the cleaning solution is suitable for the specific material of the sensor cover to avoid any damage.
-
Safety Gloves: As a precautionary measure, wearing safety gloves is advisable to protect your hands from any sharp edges or debris that may be encountered during the removal and cleaning process.
-
Step Ladder: If the glass break sensor is installed in a high or hard-to-reach location, a sturdy step ladder will facilitate safe and convenient access to the sensor cover.
By ensuring that you have these essential tools readily available, you can approach the task of removing the glass break sensor cover with confidence and preparedness. With the right tools at your disposal, you are well-equipped to navigate the subsequent steps of the process and effectively address any maintenance or cleaning requirements associated with the sensor cover.
Step 2: Locate the glass break sensor
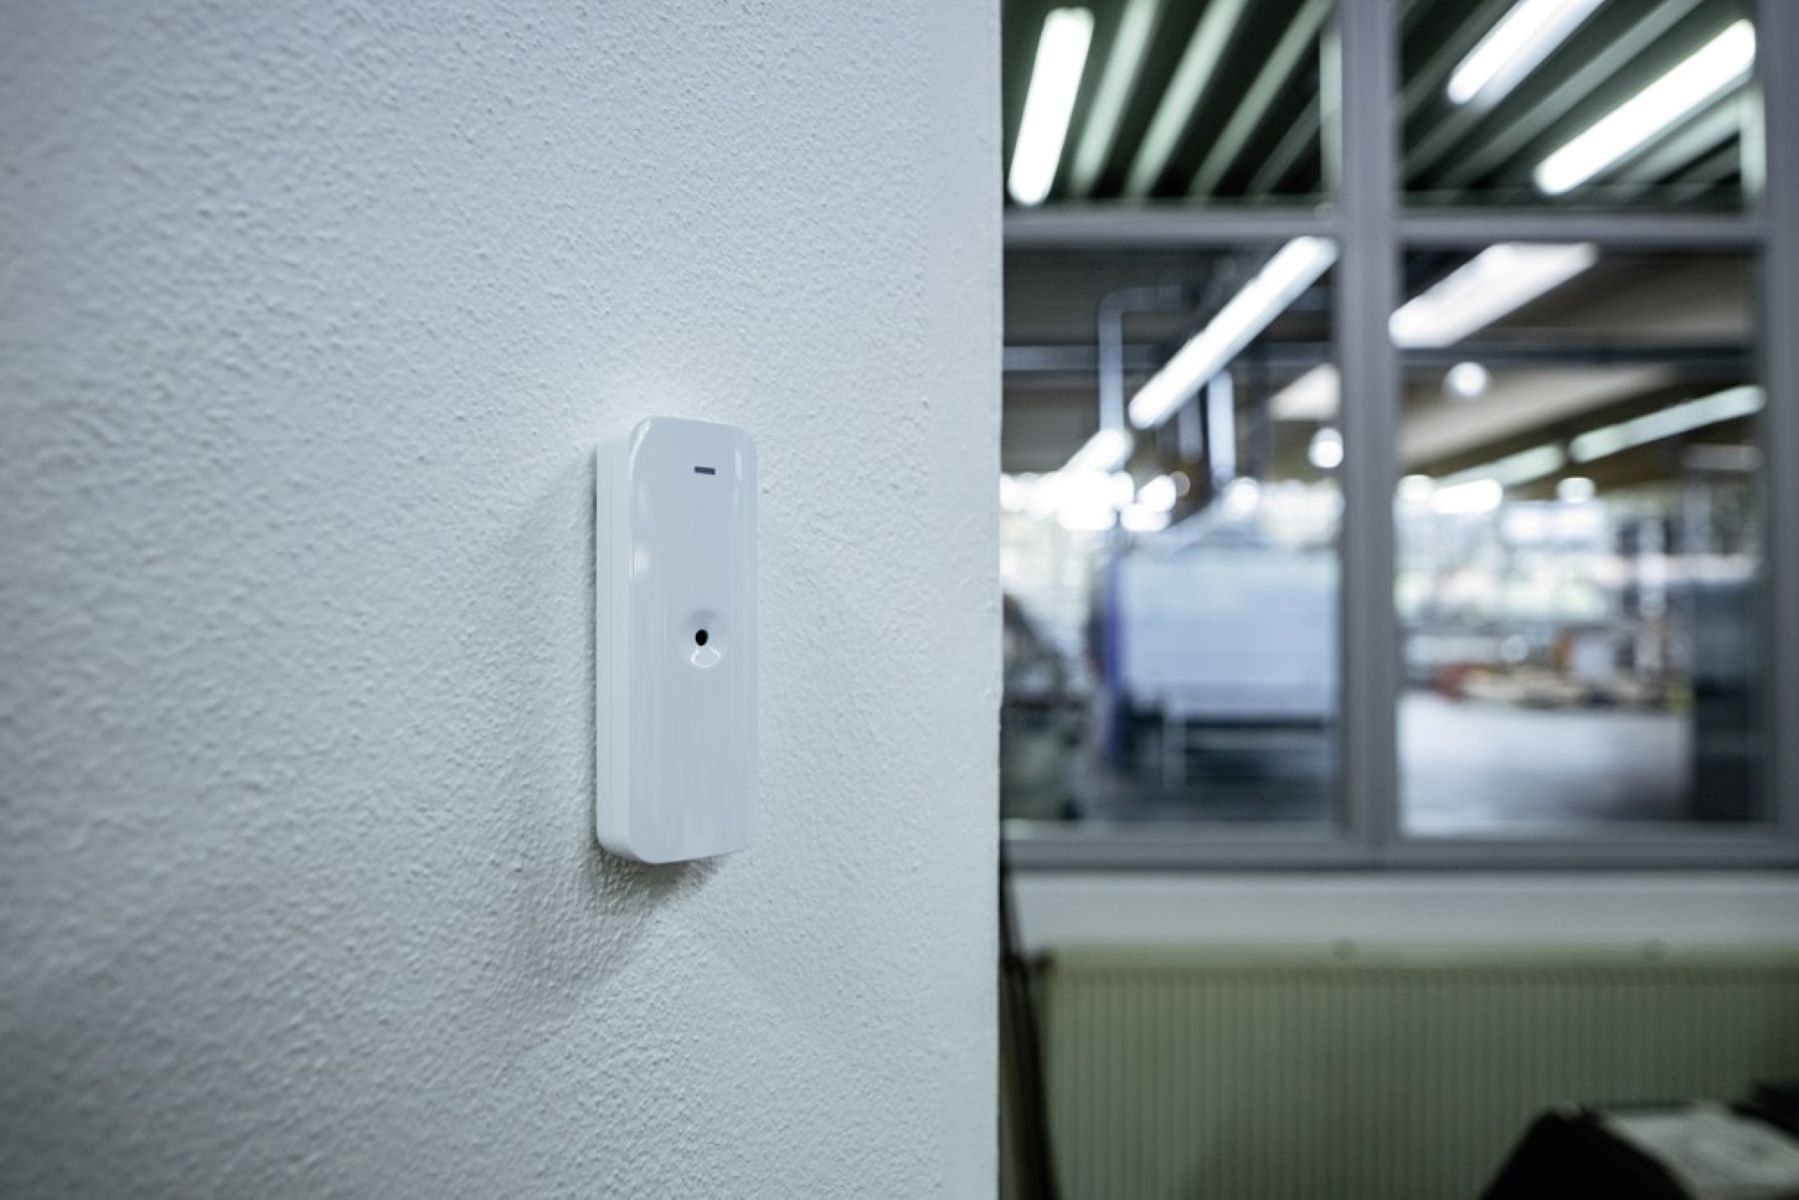
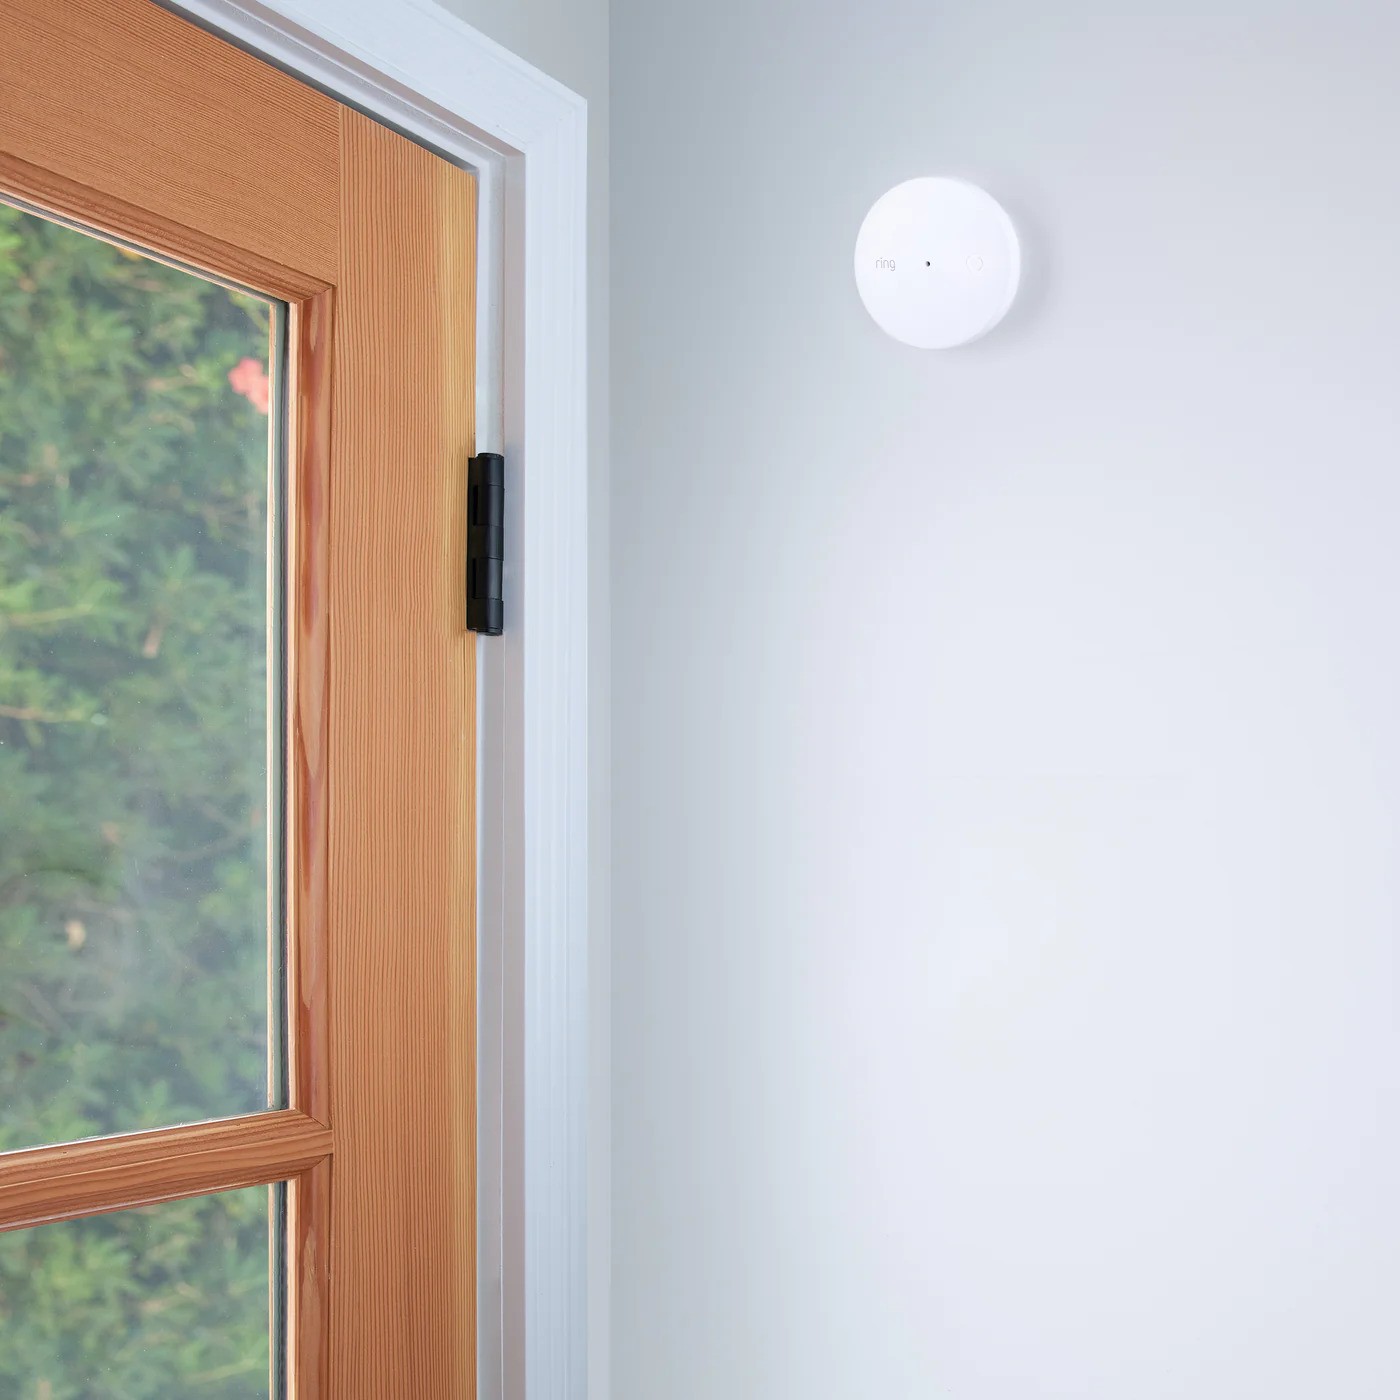
The glass break sensor, a pivotal component of your home security system, is strategically positioned to detect the distinct sound frequency produced by breaking glass. Locating the glass break sensor is the crucial first step in the process of removing the sensor cover. While the exact placement of the sensor may vary depending on the layout and design of your home, there are several common locations where the glass break sensor is typically installed.
-
Windows and Doors: Glass break sensors are often positioned in close proximity to windows and doors, as these entry points are susceptible to potential intrusion attempts. When securing these vulnerable areas, the sensor is strategically placed to effectively monitor and detect any glass-related disturbances.
-
High-Risk Areas: Areas with valuable assets or high-risk zones within the property, such as rooms containing valuable artwork, antiques, or sensitive equipment, may feature dedicated glass break sensors. These sensors are strategically placed to provide comprehensive coverage and protection for specific areas of concern.
-
Centralized Locations: In some security system configurations, the glass break sensor may be centrally located to ensure optimal coverage and detection capabilities. This centralized placement allows the sensor to effectively monitor multiple areas within its range, providing a comprehensive security solution.
To locate the glass break sensor, visually inspect the areas mentioned above, paying close attention to any small, inconspicuous devices that may be affixed to the walls or ceilings. Additionally, refer to the documentation or manual provided by the security system manufacturer for specific guidance on the sensor's placement within your home.
Once you have successfully identified the glass break sensor and its positioning, you are ready to proceed to the next step of removing the sensor cover. This foundational knowledge of the sensor's location will facilitate a seamless transition into the subsequent steps, ensuring that you can effectively address any maintenance or cleaning requirements associated with the sensor cover.
Step 3: Remove the glass break sensor cover
Removing the glass break sensor cover requires a methodical approach to ensure the safe and proper extraction of the cover without causing damage to the sensor or surrounding components. By following these detailed steps, you can effectively remove the sensor cover and gain access to the internal components for maintenance or cleaning purposes.
-
Power Off the Security System: Before initiating the removal process, it is imperative to deactivate the power supply to the security system to prevent any potential electrical hazards. Locate the main control panel of the security system and follow the manufacturer's instructions to power off the system safely.
-
Identify the Securing Mechanism: Inspect the sensor cover to identify the securing mechanism, which may involve screws, clips, or a snap-on design. Depending on the specific model and installation, the securing mechanism may vary. Use the appropriate tools, such as a screwdriver or pry tool, to address the securing mechanism effectively.
-
Unfasten the Screws or Release the Clips: If the sensor cover is secured by screws, carefully unfasten them using the compatible screwdriver from your toolset. Ensure that the screws are safely stored to prevent misplacement. In the case of a clip or snap-on design, gently release the clips by applying even pressure to disengage the cover from its mounting.
-
Handle with Care: As you begin to detach the sensor cover, exercise caution to avoid applying excessive force or causing undue stress to the cover or the sensor itself. Take note of any resistance or obstructions, and proceed with gentle maneuvers to disengage the cover without causing damage.
-
Inspect for Additional Fastenings: In some instances, the sensor cover may feature additional fastenings or securing points that require attention. Thoroughly inspect the perimeter of the cover to ensure that all fastenings are addressed before attempting to remove the cover completely.
-
Secure the Removed Cover: Once the sensor cover is successfully removed, place it in a secure location away from the work area to prevent accidental damage or misplacement. This step is crucial, especially if the cover requires cleaning or maintenance before reinstallation.
By meticulously following these steps, you can confidently remove the glass break sensor cover without encountering unnecessary complications. This systematic approach ensures that the sensor cover is safely extracted, allowing for subsequent maintenance or cleaning procedures to be carried out effectively.
Use a flathead screwdriver to gently pry off the cover of the glass break sensor. Be careful not to apply too much pressure to avoid damaging the sensor.
Step 4: Clean the sensor cover
Cleaning the sensor cover is a crucial aspect of the maintenance process, as it ensures that the glass break sensor operates optimally and remains free from any obstructions that could impede its functionality. By following these detailed steps, you can effectively clean the sensor cover and maintain its effectiveness in detecting potential security threats.
-
Inspect the Cover Surface: Before proceeding with the cleaning process, carefully inspect the surface of the sensor cover for any visible dust, smudges, or debris. Take note of any stubborn stains or accumulated particles that may require targeted cleaning techniques.
-
Use Compressed Air: To remove loose dust and debris from the cover's surface and crevices, utilize a can of compressed air duster. Direct the nozzle of the compressed air duster towards the cover, applying short bursts of air to dislodge and expel any trapped particles. Ensure thorough coverage of the entire surface area to achieve a comprehensive cleaning outcome.
-
Gentle Cleaning Solution: If the sensor cover exhibits stubborn stains or smudges, dampen a soft cleaning cloth with a mild cleaning solution or glass cleaner. Ensure that the cleaning solution is suitable for the specific material of the sensor cover to avoid any potential damage. Gently wipe the cover's surface in a circular motion, gradually addressing any visible blemishes or marks.
-
Microfiber Cloth for Polishing: Following the initial cleaning with the solution, utilize a dry microfiber cloth to gently polish the sensor cover, removing any residual cleaning solution and achieving a streak-free, pristine finish. The microfiber cloth's soft texture ensures that the cover's surface is left immaculately clean without the risk of scratches or abrasions.
-
Inspect for Residue: After cleaning and polishing the sensor cover, carefully inspect the surface for any remaining residue or streaks. Address any lingering marks or streaks by lightly buffing the cover with a clean, dry section of the microfiber cloth until the surface achieves a uniform, spotless appearance.
-
Allow for Drying: If a cleaning solution was utilized during the process, allow the sensor cover to air dry completely before reinstallation. This ensures that any residual moisture evaporates, leaving the cover in an optimal condition for reassembly.
By meticulously following these steps, you can effectively clean the sensor cover, ensuring that it remains free from dust, debris, and blemishes that could compromise the functionality and aesthetic appeal of the glass break sensor. This meticulous cleaning process contributes to the overall maintenance and reliability of your home security system, allowing the sensor to operate at its full potential in safeguarding your home against potential security threats.
Read more: Where To Place Glass Break Sensors
Step 5: Reassemble the glass break sensor cover
Reassembling the glass break sensor cover is a critical step that ensures the sensor is properly protected and its functionality remains uncompromised. By following these detailed steps, you can effectively reassemble the sensor cover and restore the integrity of the glass break sensor within your home security system.
-
Inspect the Internal Components: Before reassembling the sensor cover, take a moment to inspect the internal components of the glass break sensor. Ensure that the sensor itself is free from any dust or debris that may have accumulated during the removal process. Additionally, verify that the sensor is securely positioned and undamaged.
-
Align the Sensor Cover: Position the sensor cover in alignment with the sensor housing, ensuring that it fits securely and uniformly over the sensor. Take note of any guiding markers or alignment indicators that facilitate the correct placement of the cover.
-
Secure the Cover in Place: If the sensor cover is secured by screws, carefully align the screw holes on the cover with the corresponding mounting points on the sensor housing. Utilize the appropriate screwdriver from your toolset to fasten the screws securely, ensuring that the cover is firmly affixed to the sensor housing. In the case of a clip or snap-on design, apply even pressure to snap the cover back into place, ensuring a snug and secure fit.
-
Verify Stability and Alignment: Once the sensor cover is reattached, verify its stability and alignment to ensure that it sits flush and securely over the glass break sensor. Gently press on the cover to confirm that it is firmly in place and free from any wobbling or misalignment.
-
Power On the Security System: After successfully reassembling the sensor cover, proceed to power on the security system according to the manufacturer's instructions. This step allows you to verify that the glass break sensor operates as intended and that the reassembly process has not affected its functionality.
-
Functional Testing: Conduct a brief functional test of the glass break sensor to ensure that it accurately detects simulated glass-breaking sounds. Follow the recommended testing procedures provided by the security system manufacturer to validate the sensor's responsiveness and effectiveness.
By meticulously following these steps, you can confidently reassemble the glass break sensor cover, ensuring that the sensor is adequately protected and capable of fulfilling its crucial role in safeguarding your home. This meticulous reassembly process contributes to the overall reliability and effectiveness of your home security system, providing you with peace of mind and confidence in its protective capabilities.
Conclusion
In conclusion, the process of removing and cleaning the glass break sensor cover is an essential aspect of maintaining the effectiveness and reliability of your home security system. By following the step-by-step guide outlined in this comprehensive article, you have gained valuable insights into the meticulous process of safely removing the sensor cover, conducting thorough cleaning procedures, and reassembling the cover to ensure optimal functionality.
Understanding the significance of the glass break sensor within your security setup empowers you to proactively address any maintenance or cleaning requirements associated with the sensor cover. By adhering to the detailed steps provided, you can effectively navigate the process with confidence and precision, contributing to the long-term reliability and performance of your home security system.
The meticulous approach to removing the sensor cover, coupled with the careful cleaning and reassembly procedures, underscores the commitment to maintaining a secure and protected home environment. By investing the time and effort into these maintenance tasks, you actively contribute to the overall effectiveness of your security system, ensuring that it remains poised to detect and deter potential security threats.
Furthermore, the knowledge and skills acquired through this guide enable you to take a proactive stance in addressing minor maintenance tasks within your home security system. This empowerment fosters a sense of confidence and self-reliance, allowing you to effectively troubleshoot and maintain critical components such as the glass break sensor cover without undue reliance on external assistance.
As you conclude the process of removing, cleaning, and reassembling the glass break sensor cover, take a moment to appreciate the proactive stance you have taken in safeguarding your home and loved ones. The attention to detail and commitment to maintaining the integrity of your security system exemplify your dedication to creating a secure and protected living environment.
By integrating these maintenance practices into your overall home security regimen, you contribute to the sustained effectiveness and reliability of your security system, reinforcing the peace of mind and confidence that comes with knowing your home is well-protected.
In essence, the process of removing and cleaning the glass break sensor cover transcends a mere maintenance task; it embodies a proactive commitment to upholding the security and well-being of your home, reflecting your dedication to creating a safe haven for you and your family.
Frequently Asked Questions about How To Remove Glass Break Sensor Cover
Was this page helpful?
At Storables.com, we guarantee accurate and reliable information. Our content, validated by Expert Board Contributors, is crafted following stringent Editorial Policies. We're committed to providing you with well-researched, expert-backed insights for all your informational needs.


0 thoughts on “How To Remove Glass Break Sensor Cover”