Home>Home Security and Surveillance>How To Remove A Burglar Alarm Sensor

Home Security and Surveillance
How To Remove A Burglar Alarm Sensor
Modified: March 6, 2024
Learn how to easily remove a burglar alarm sensor in your home. Enhance your home security and surveillance with our step-by-step guide.
(Many of the links in this article redirect to a specific reviewed product. Your purchase of these products through affiliate links helps to generate commission for Storables.com, at no extra cost. Learn more)
Introduction
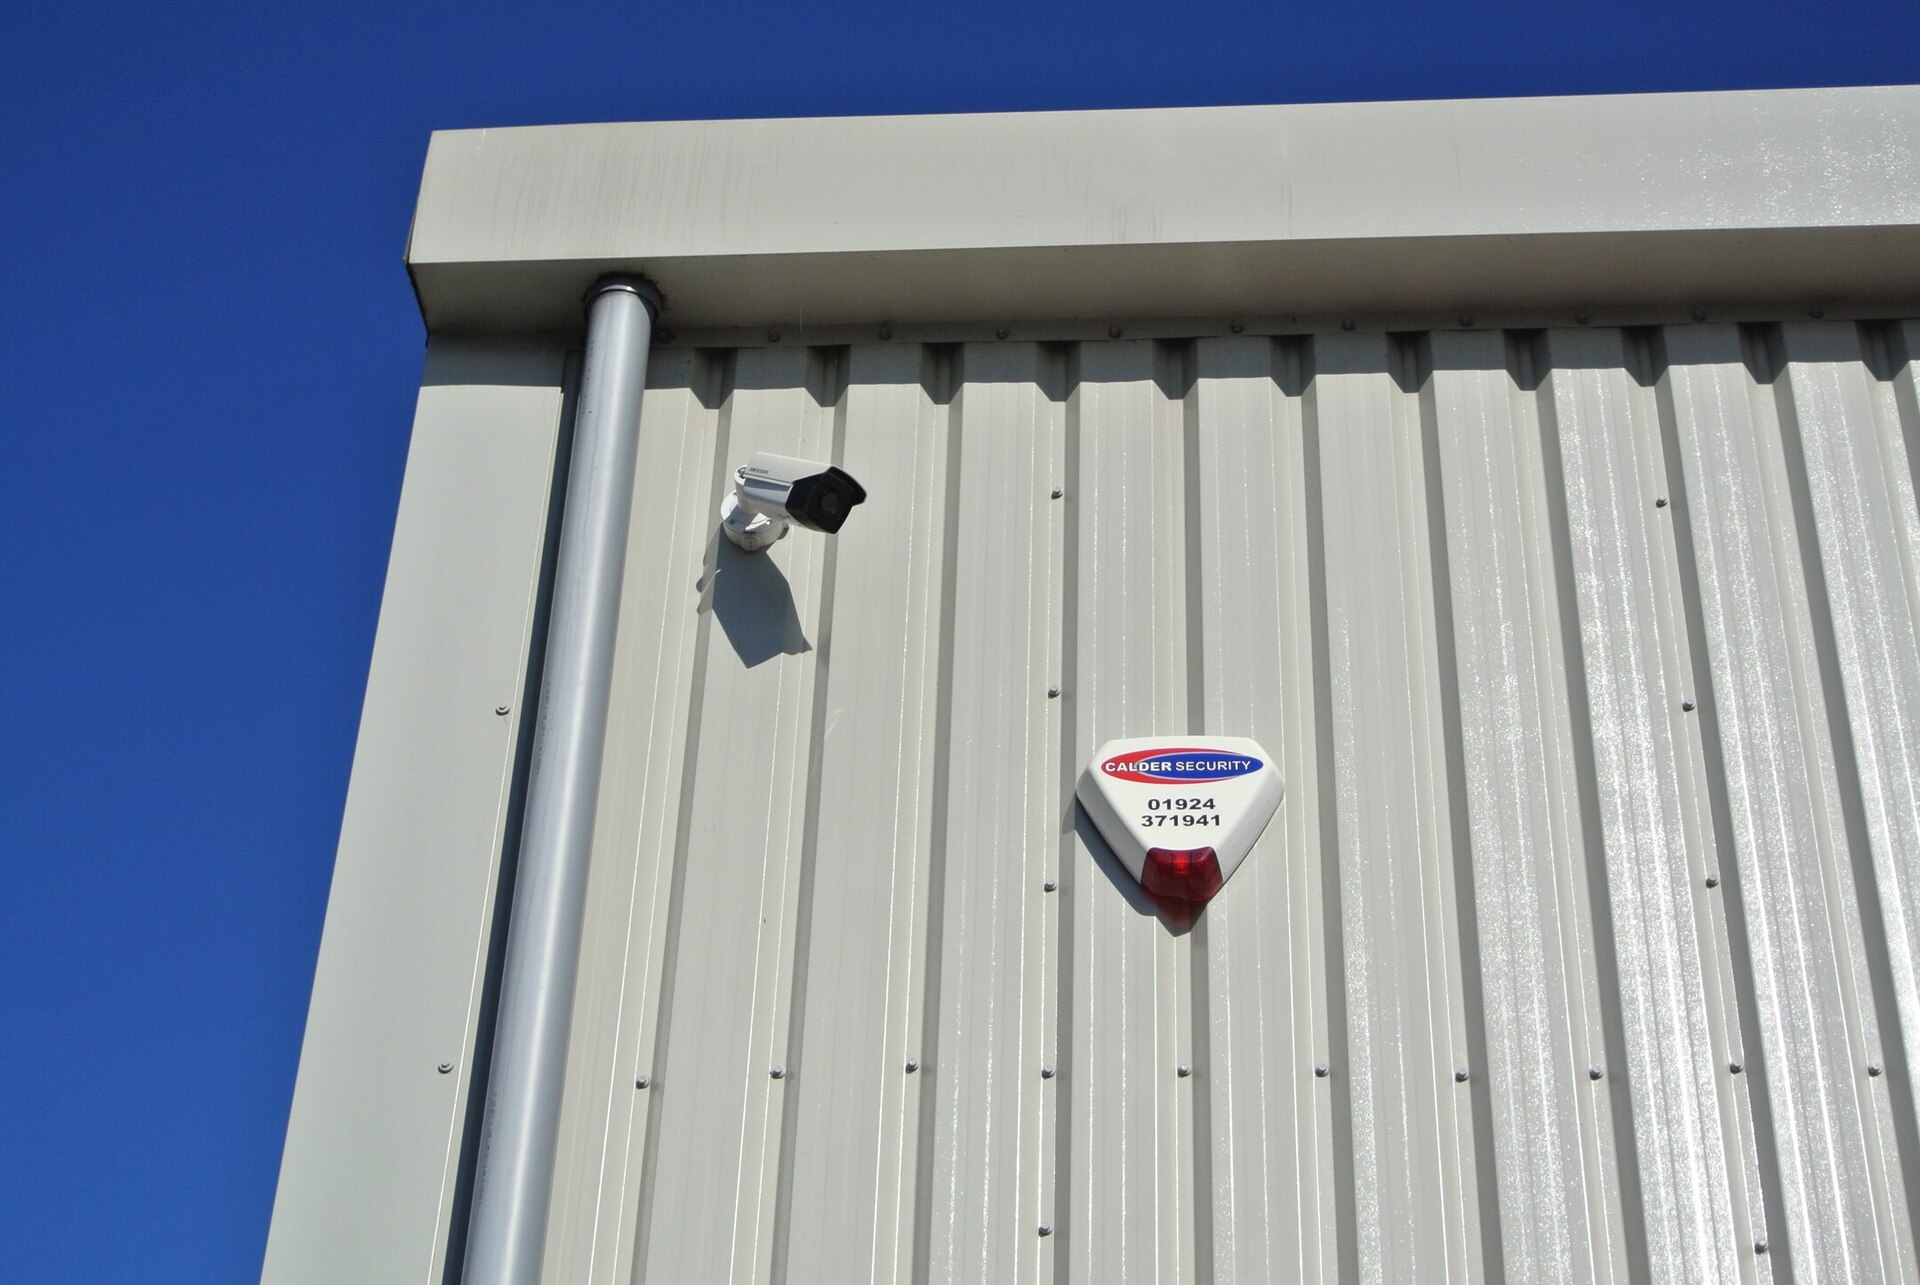
Home security is a top priority for many homeowners, and one of the key components of a robust security system is a burglar alarm. These alarms serve as a deterrent to potential intruders and provide peace of mind by alerting homeowners and security monitoring services of any unauthorized access. While burglar alarms are designed to enhance your home’s security, there may be instances when you need to remove or replace a specific component, such as a sensor.
In this article, we will provide a step-by-step guide on how to remove a burglar alarm sensor. Whether you’re replacing a faulty sensor or making upgrades to your existing security system, understanding the process of sensor removal will ensure a smooth and successful operation.
Before we dive into the nitty-gritty details, it’s essential to have a basic understanding of burglar alarm sensors and their role in your home security setup.
Key Takeaways:
- Removing a burglar alarm sensor involves disarming the system, locating the sensor, disconnecting wires, and testing the system. Prioritize safety, follow the steps carefully, and consult manuals if needed for a successful removal process.
- Understanding the types of burglar alarm sensors and having the right tools is crucial. Carefully handling wires, securing them with electrical tape, and testing the system ensures a smooth and effective sensor removal.
Read more: How Do Burglar Alarm Sensors Work
Understanding Burglar Alarm Sensors
Burglar alarm sensors are devices that detect and respond to specific events or actions that may indicate a potential intrusion. These sensors are strategically placed throughout your home to monitor doors, windows, and other access points. When a sensor is triggered, it sends a signal to the central control panel, which then activates the alarm and alerts the homeowners or the security monitoring service.
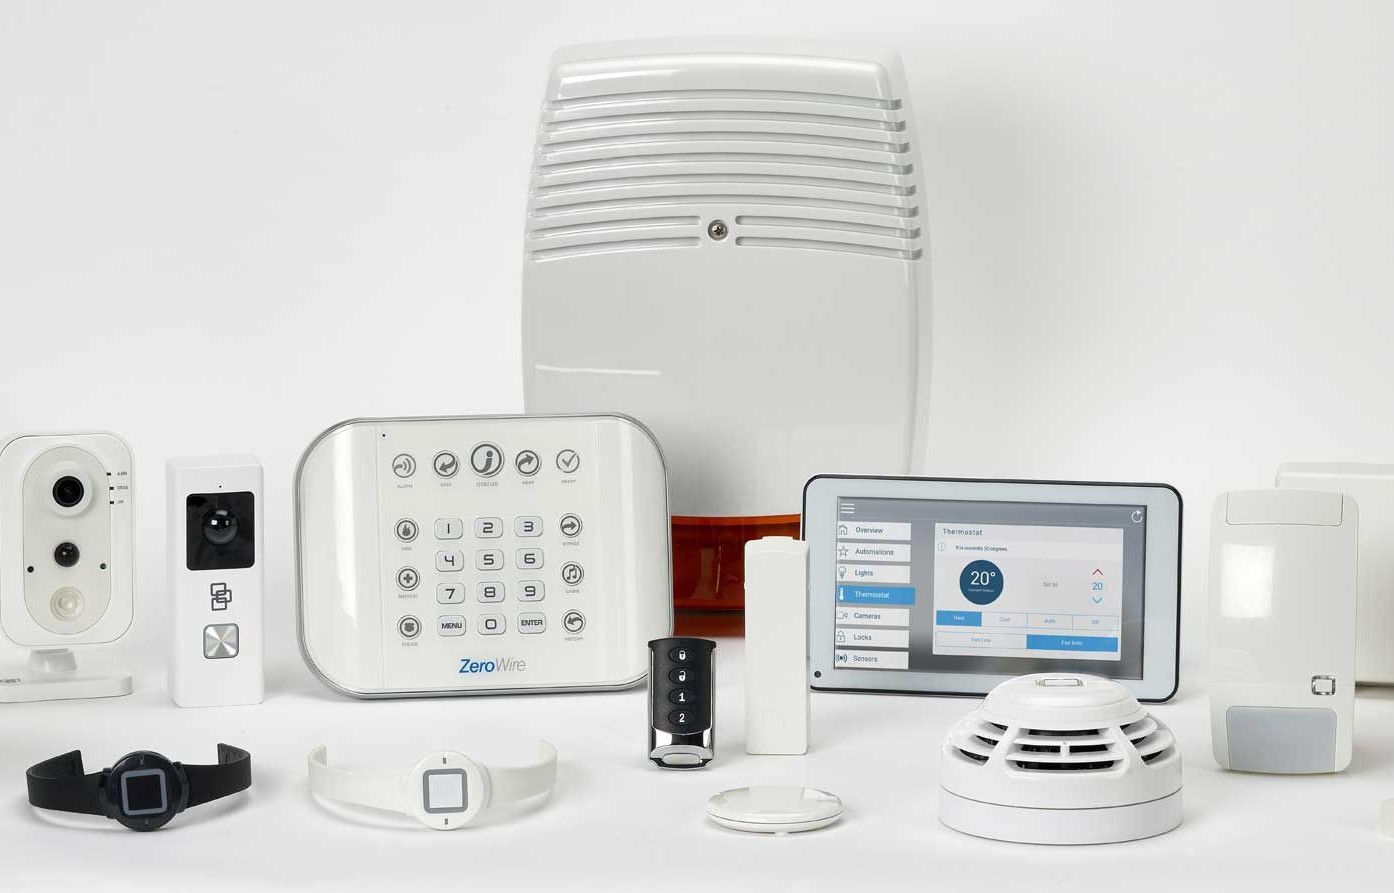
There are several types of burglar alarm sensors commonly used in home security systems:
- Magnetic Contact Sensors: These sensors are commonly used on doors and windows. They consist of two parts: a magnet and a magnetic switch. When the door or window is closed, the magnet and the switch are in close proximity, completing a circuit. If the door or window is opened, the circuit is broken, triggering the alarm.
- Passive Infrared (PIR) Sensors: PIR sensors detect changes in infrared radiation, such as body heat. These motion sensors are typically installed in hallways, living rooms, or other areas where movement is expected. If the sensor detects a sudden change in infrared radiation, indicating movement, it triggers the alarm.
- Glass Break Sensors: Glass break sensors are designed to detect the sound frequency and pattern of breaking glass. When the sensor detects the characteristic sound, it triggers the alarm.
- Smoke and Heat Detectors: While not specific to burglary, these sensors are often integrated into home security systems. Smoke and heat detectors are designed to detect the presence of smoke or unusual heat levels, signaling a potential fire. They play a crucial role in keeping your home safe from fire hazards.
Understanding the different types of burglar alarm sensors in your security system will help you identify the specific sensor you need to remove or replace. Each sensor may have a slightly different removal process, so it’s essential to refer to the manufacturer’s instructions or consult a professional if you are uncertain.
Tools and Materials Needed
Before you begin the process of removing a burglar alarm sensor, it’s important to gather all the necessary tools and materials. Having the right equipment on hand will ensure a smooth and efficient removal process. Here are the tools and materials you’ll need:
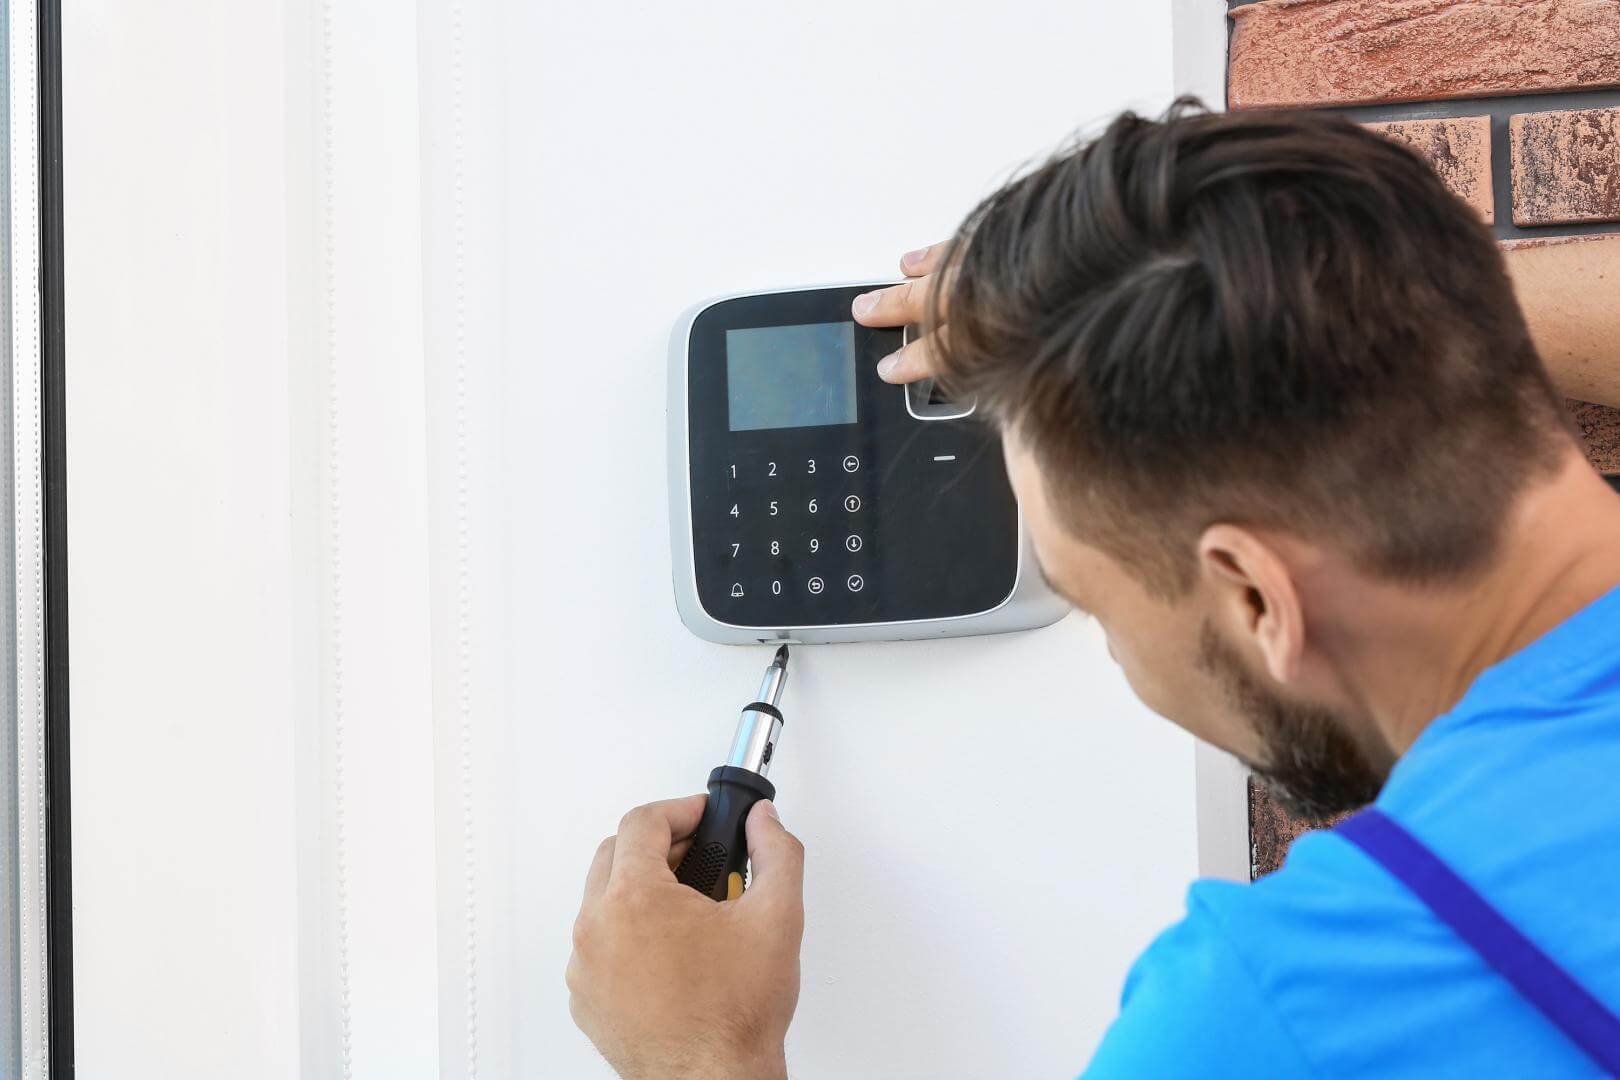
- Screwdriver: A screwdriver is essential for removing screws that secure the sensor in place or hold the sensor cover in position. The type and size of screwdriver required will depend on the specific system and sensor.
- Wire Cutters or Strippers: Wire cutters or strippers are necessary for disconnecting the sensor wires from the control panel or power source. It’s important to handle the wires carefully during this process to avoid any electrical hazards.
- Electrical Tape: Electrical tape is used to secure and insulate the sensor wires once they have been disconnected. This prevents any accidental short circuits or exposed wires.
- Replacement Sensor (if applicable): If you’re removing a sensor for replacement purposes, ensure you have the new sensor ready to install. Make sure the replacement sensor is compatible with your existing security system.
- Safety Equipment: It’s always a good idea to prioritize safety when working with any electrical components. Make sure to wear safety goggles and gloves to protect your eyes and hands from any potential hazards.
Gathering these tools and materials in advance will save you time and frustration during the removal process. It’s always better to be prepared and have everything you need readily available.
Once you have all the necessary tools and materials, you’re ready to proceed with the removal of the burglar alarm sensor. Follow the next steps carefully to ensure a successful and safe removal process.
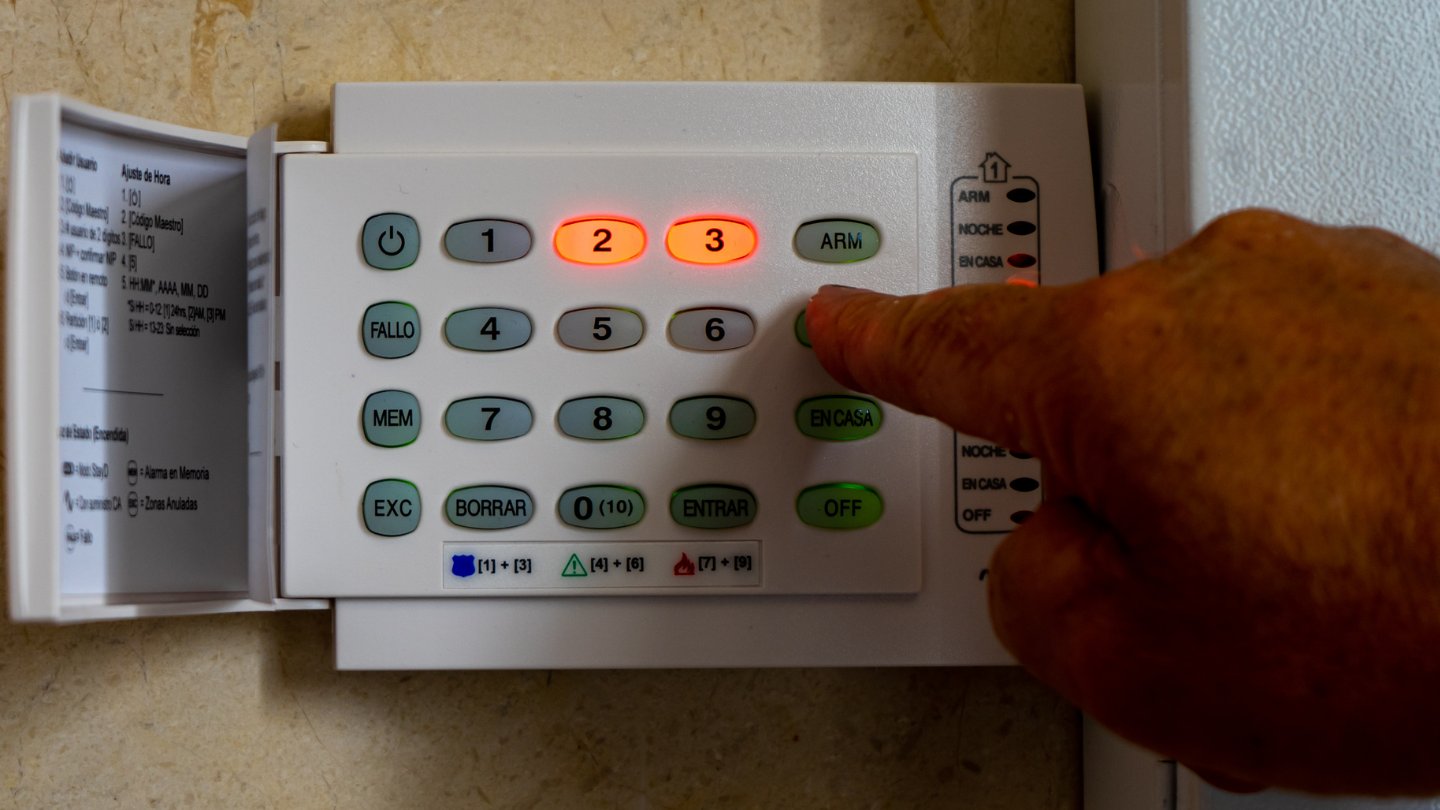
Step 1: Disarming the Alarm System
Before you begin removing the burglar alarm sensor, it is crucial to disarm the alarm system to prevent any accidental triggering or false alarms. Disarming the system ensures your safety and allows you to work on the sensor without any interruptions. Follow these steps to disarm your alarm system:
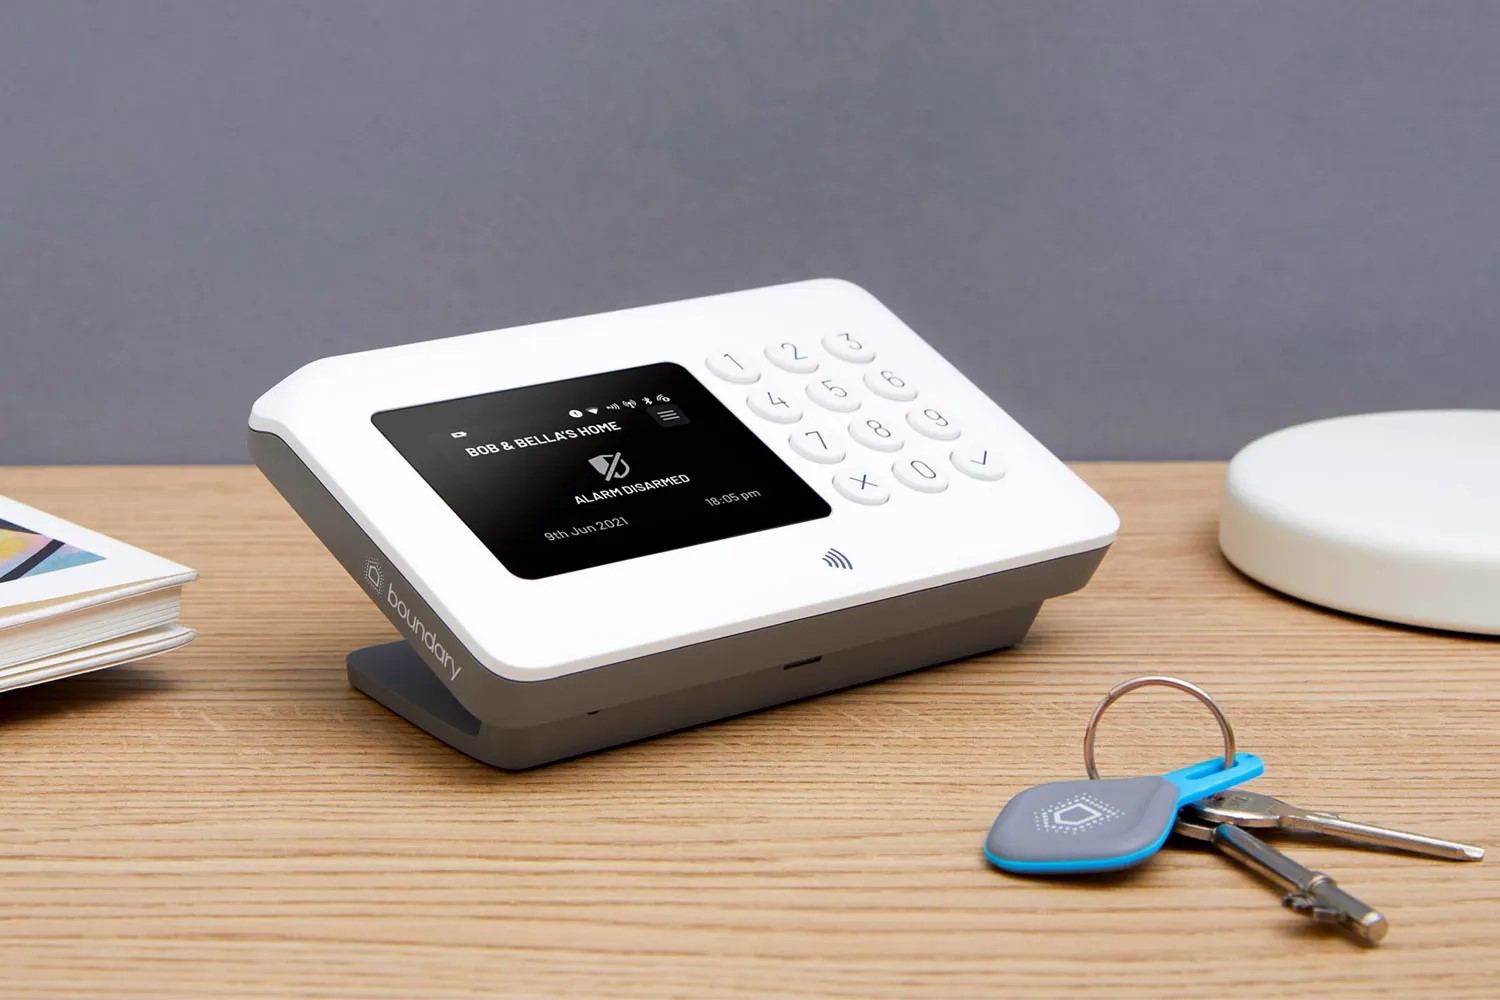
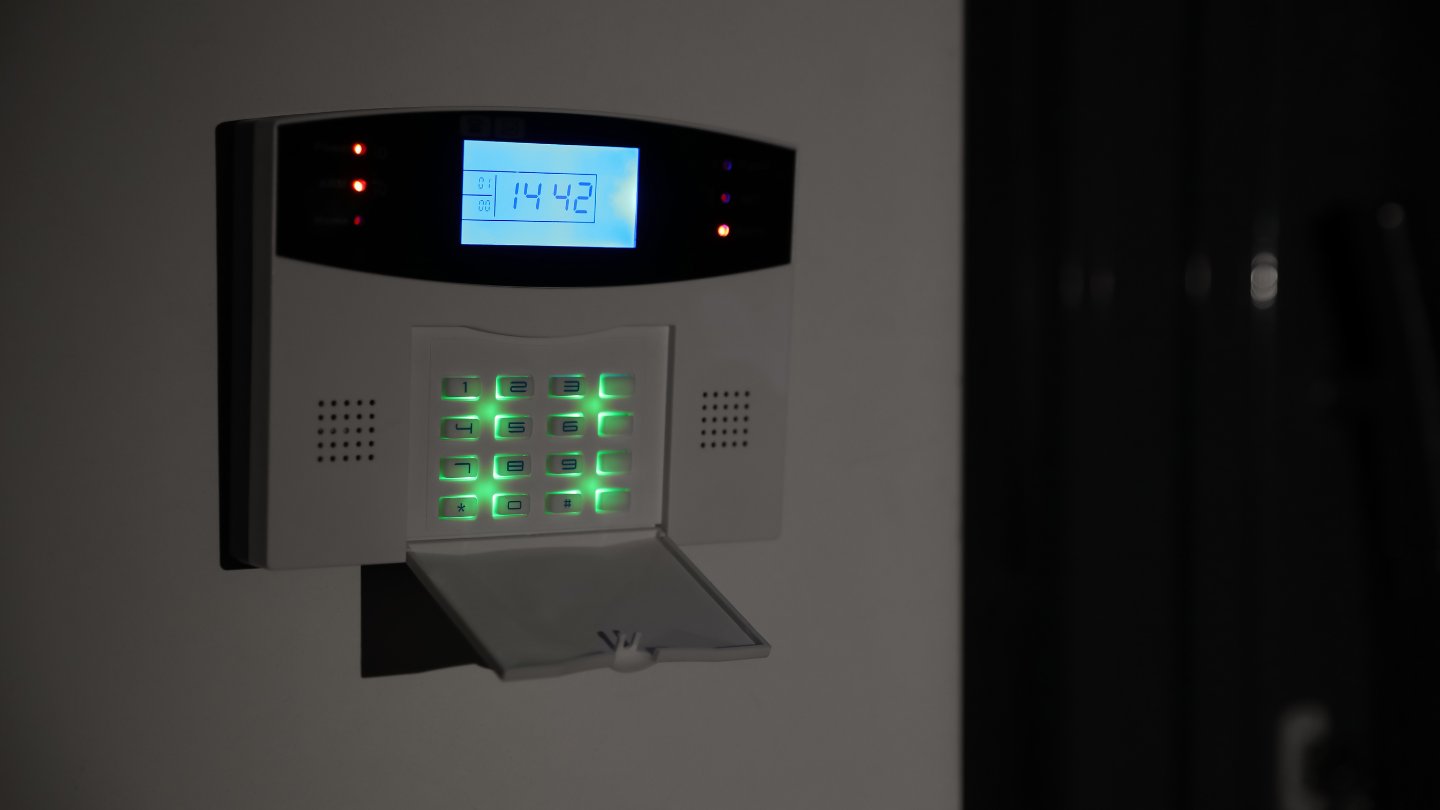
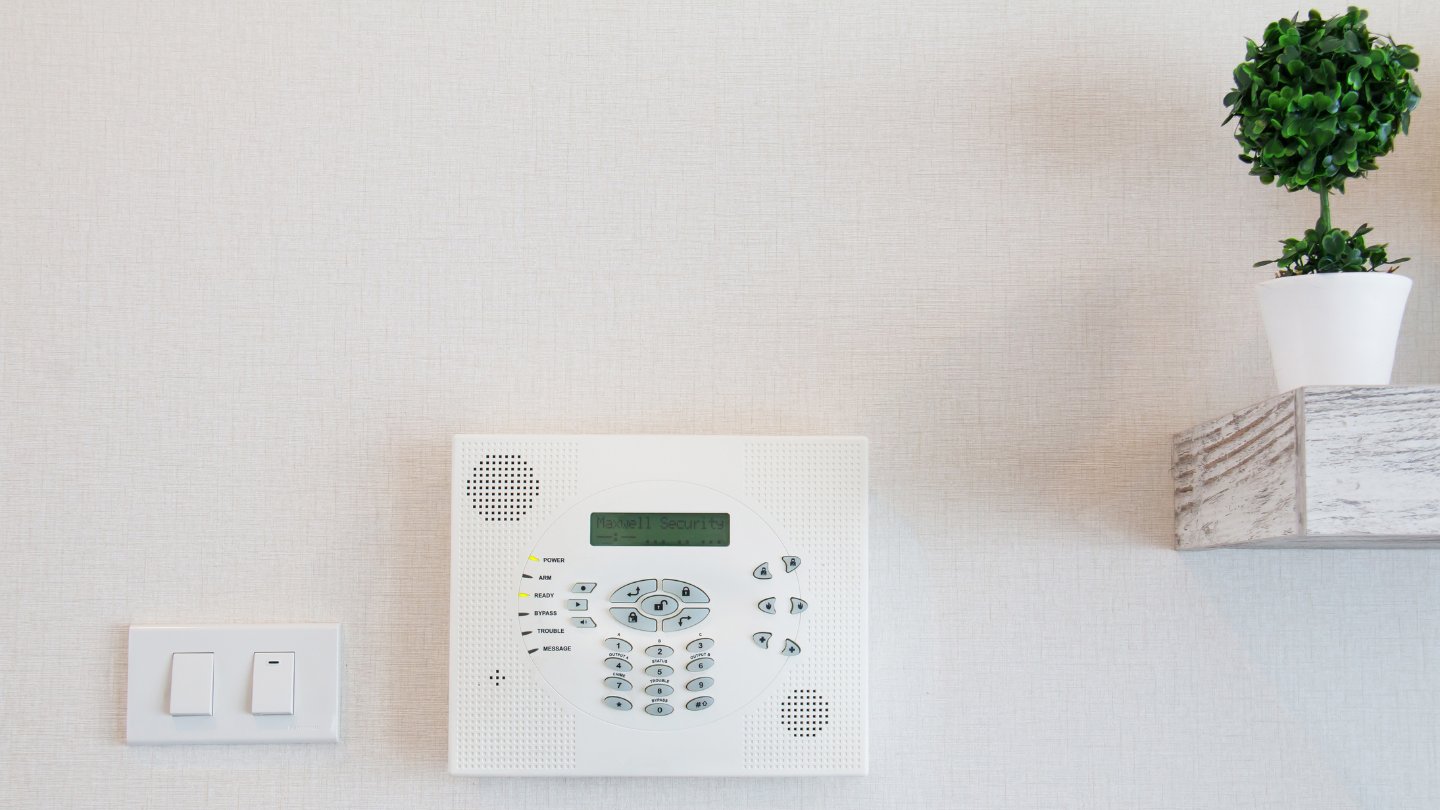
- Locate the control panel: The control panel is the central hub of your alarm system. It is usually installed in a convenient, easily accessible location, such as a utility room or near the main entrance.
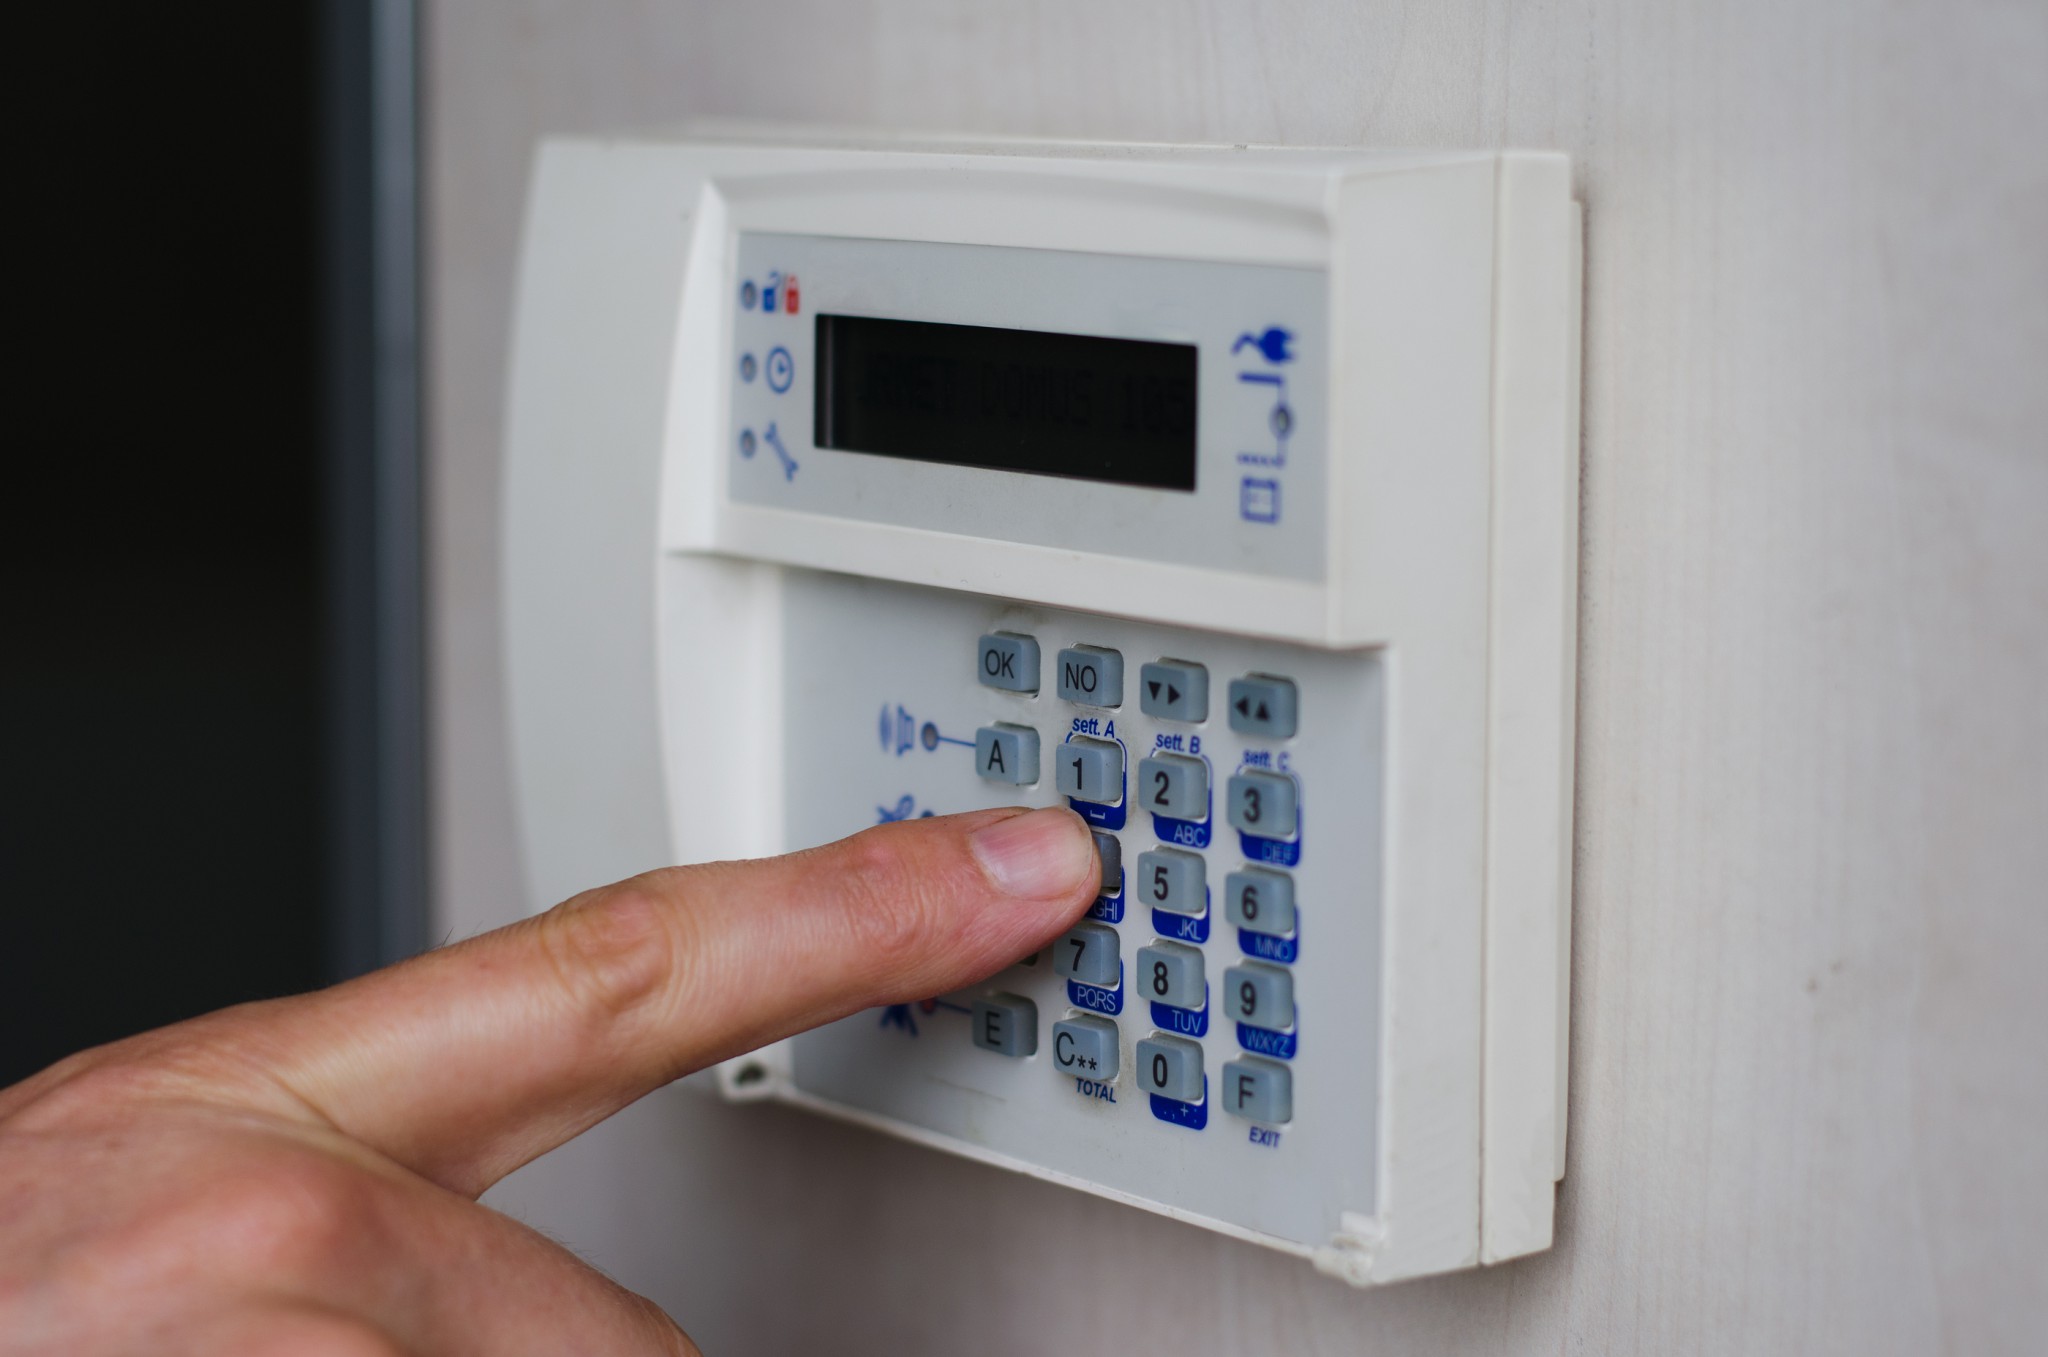
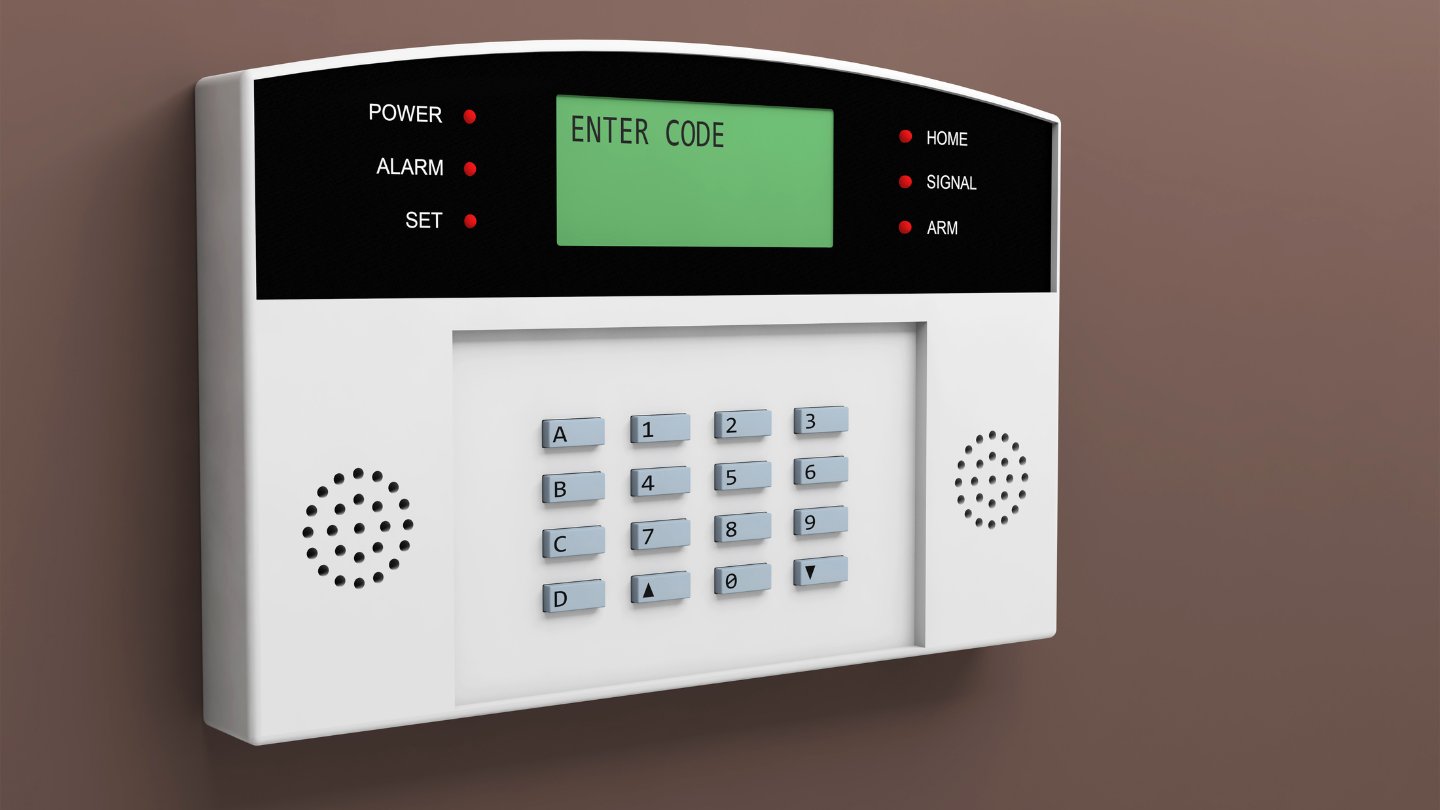
- Enter the security code: To disarm the alarm system, you will need to enter the security code on the control panel keypad. This code is typically provided by the alarm installation company or set by the homeowner during the initial setup process.
- Deactivate any additional security measures: Some alarm systems may have additional security measures, such as motion detectors or glass break sensors. If applicable, make sure to deactivate these features as well by following the instructions provided by the manufacturer.
- Verify the system is disarmed: Once you have entered the security code and deactivated any additional security measures, verify that the system is disarmed by checking the control panel’s display or indicator lights. It should indicate that the system is disarmed and not ready to trigger an alarm.
Disarming the alarm system is an essential first step to ensure your safety and prevent any false alarms during the sensor removal process. It is important to follow the specific instructions provided by your alarm system manufacturer to ensure proper disarming of the system.
Once you have successfully disarmed the alarm system, you can proceed to the next step of locating the sensor that needs to be removed.
Step 2: Locating the Sensor
After disarming the alarm system, the next step is to locate the specific sensor that you want to remove. Depending on the layout of your home and the type of sensor you’re dealing with, the location may vary. Follow these steps to locate the sensor:
- Refer to the alarm system manual: If you’re unsure about the exact location of the sensor, consult the alarm system manual. The manual should provide information and diagrams that will help you identify the sensor’s position.
- Inspect doors and windows: In most cases, magnetic contact sensors are used on doors and windows. Begin by inspecting these areas and look for small rectangular boxes attached to the frame or the moving part of the door or window. These boxes typically house the sensor components.
- Check other access points: Depending on your security system setup, there may be sensors installed on other access points, such as garage doors, basement windows, or skylights. Make sure to thoroughly check each potential access point for the presence of a sensor.
- Look for wires: In some cases, the sensor may be connected to the control panel or power source via wires. Follow the wires from the control panel to trace their path and locate the sensor.
Take your time to carefully locate the sensor as it may be hidden, mounted high on the wall, or placed in less visible areas. If you’re still having trouble finding the sensor, consider reaching out to the alarm system manufacturer or hiring a professional for assistance.
Once you have located the sensor, you are ready to move on to the next step of removing the sensor cover.
Read more: How To Disable A Burglar Alarm
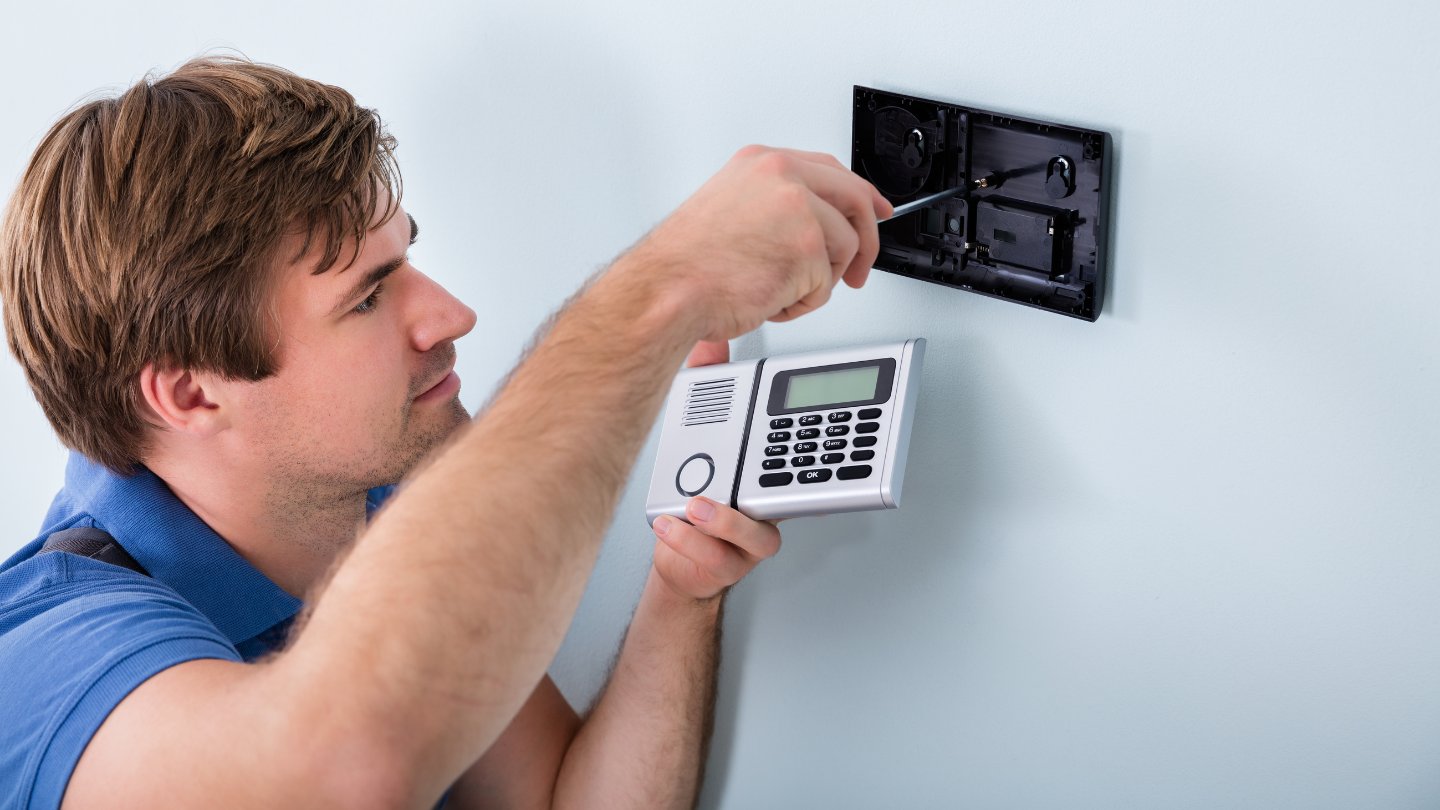
Step 3: Removing the Sensor Cover
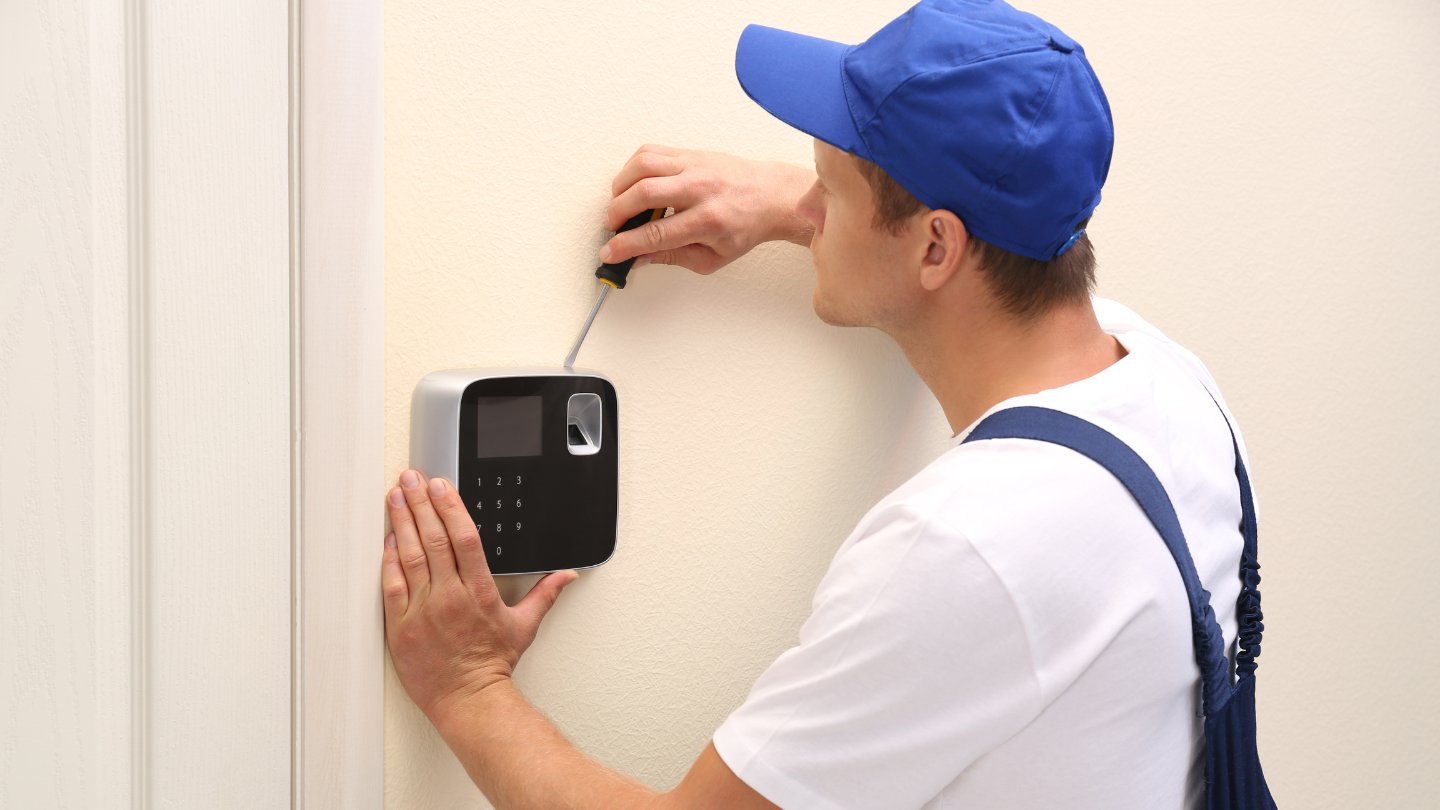
Now that you have located the burglar alarm sensor, it’s time to remove the sensor cover. The cover protects the internal components of the sensor and is typically held in place with screws or clips. Follow these steps to remove the sensor cover:
- Identify the screws or clips: Examine the sensor cover to determine how it is secured. Most covers are attached with small screws. Look for any visible screws or clips that are keeping the cover in place.
- Use the appropriate tool: Depending on the type of screws or clips used, use the appropriate tool, such as a screwdriver, to remove them. For screws, ensure that the screwdriver fits securely in the screw head to avoid any damage.
- Gently remove the cover: Once the screws or clips are loosened, carefully lift or slide the sensor cover off. Be cautious not to force it or pry too aggressively, as this may damage the cover or the sensor itself.
- Set aside the cover safely: Place the removed sensor cover in a safe location to prevent damage or misplacement. You may need to reinstall it later if you are replacing the sensor or making any repairs.
While removing the sensor cover, be mindful of any wires or connections inside the sensor. Avoid tugging or pulling on the wires, as this can cause damage. If you encounter any difficulties during this step, refer to the manufacturer’s instructions or consider seeking professional assistance.
With the sensor cover removed, you can now proceed to the next step of disconnecting the sensor wires.
Before removing a burglar alarm sensor, make sure to disarm the alarm system to prevent any false alarms. Then, carefully follow the manufacturer’s instructions for removing the sensor to avoid damaging the system.
Step 4: Disconnecting the Sensor Wires
With the sensor cover removed, the next step is to disconnect the sensor wires. These wires are responsible for transmitting signals from the sensor to the control panel of the alarm system. Follow these steps to disconnect the sensor wires:
- Identify the wiring connections: Examine the sensor and locate the wiring connections. Depending on the type of sensor, there may be one or more wires connected to the sensor or terminal blocks.
- Take note of the wire connections: Before disconnecting any wires, it’s important to document or take note of the existing wiring connections. This will help you when installing a new sensor or reconnecting the wires later on.
- Disconnect the wires: Using wire cutters or strippers, carefully cut or strip the insulation from the wires to expose the bare copper ends. Once the wires are exposed, disconnect them from the sensor terminals or terminal blocks. Take care not to damage the wires or the terminals during this process.
- Secure the disconnected wires: After disconnecting the wires, use electrical tape to individually wrap and secure the bare ends of each wire. This prevents any accidental contact or short circuits that could potentially trigger false alarms or damage the system.
It’s crucial to handle the wires with care and avoid any unnecessary tugging or pulling. Take your time during this step to ensure that the wires are properly disconnected without causing any damage.
Once the wires are securely wrapped with electrical tape, you can proceed to the next step of removing the sensor from the mounting bracket or surface.
Step 5: Removing the Sensor from the Mounting Bracket
With the sensor wires disconnected, it’s time to remove the sensor from its mounting bracket or surface. The sensor is typically attached to the bracket using screws or clips. Follow these steps to remove the sensor:
- Identify the mounting screws or clips: Examine the sensor and the mounting bracket to determine how the sensor is secured in place. Look for any visible screws or clips that are holding the sensor in position.
- Use the appropriate tool: Depending on the type of screws or clips used, use the appropriate tool, such as a screwdriver, to remove them. Ensure that the screwdriver fits securely in the screw head to avoid any damage.
- Gently remove the sensor: Once the screws or clips are loosened, carefully lift or slide the sensor to detach it from the mounting bracket. Take care not to force it or exert excessive pressure, as this may damage the sensor or the bracket.
- Set aside the sensor safely: Place the removed sensor in a safe location to prevent any damage or misplacement. If you are replacing the sensor, keep it aside for disposal or further examination.
During this step, it’s important to be mindful of any additional components or attachments that may be connected to the sensor. Take your time and be gentle when removing the sensor to avoid any accidental damage.
With the sensor removed from the mounting bracket, you can now proceed to the next step of securing the disconnected wires.
Step 6: Securing the Wires
After removing the sensor from the mounting bracket, it’s important to properly secure the disconnected wires to prevent any accidental contact or short circuits. Follow these steps to secure the wires:
- Inspect the wires: Before proceeding, inspect the wires for any signs of damage or fraying. If you notice any issues, consider replacing the wires or seeking professional assistance.
- Organize the wires: If there are multiple wires, organize them in a neat and orderly manner. This will make it easier to reconnect them later or install a new sensor.
- Wrap each wire: Individually wrap each wire with electrical tape. Start near the end of the wire and continue wrapping until you reach the exposed copper end. Ensure that the tape is tightly secured and covers the bare copper to provide insulation.
- Secure the wire bundle: Once each wire is wrapped, bundle them together using additional electrical tape or zip ties. This will prevent them from coming loose or getting tangled during the reinstallation process.
It’s important to take your time during this step to ensure that the wires are properly secured. Loose or exposed wires can lead to system malfunctions or potential safety hazards. Therefore, it’s crucial to handle the wires with care and ensure that they are well-insulated and organized.
With the wires securely wrapped and bundled, you can proceed to the final step of testing the alarm system to ensure everything is functioning properly.
Read more: How To Wire A Burglar Alarm Panel
Step 7: Testing the Alarm System
After completing the previous steps, it’s essential to test the alarm system to ensure that everything is functioning correctly. Testing the system will help you verify that the sensor removal process was successful and that there are no issues with the overall security system. Follow these steps to test the alarm system:
- Reassemble the sensor: If you’re not replacing the sensor, reassemble it by placing it back onto the mounting bracket and securing it with screws or clips.
- Reconnect the sensor wires: Take the securely wrapped wires and reconnect them to their respective terminals or terminal blocks on the sensor. Ensure that each wire is connected to the correct terminal based on the notes or documentation you made during the disconnection process.
- Arm the alarm system: Once the sensor is reassembled and the wires are securely connected, arm the alarm system by following the manufacturer’s instructions. Activate any additional security measures such as motion detectors or glass break sensors if applicable.
- Test the sensor: Trigger the sensor by opening a door or window (in the case of magnetic contact sensor) or by moving in front of the motion detector (in the case of PIR sensors). The alarm system should respond by sounding the alarm and/or sending a signal to the monitoring service.
- Verify the signal: Confirm that the alarm system’s control panel receives the signal from the sensor and displays the appropriate response. This may include indicating the zone or location of the triggered sensor.
- Disarm the alarm system: After testing, disarm the alarm system to stop the alarm and ensure that it’s ready for regular use. Enter the security code on the control panel keypad to deactivate the system.
Properly testing the alarm system is crucial to ensure its reliability and effectiveness in protecting your home. If you encounter any issues during the testing process or if the system does not respond as expected, consult the alarm system manufacturer’s manual or consider contacting a professional for assistance.
By following these steps, you can confidently remove a burglar alarm sensor and ensure the smooth operation of your home security system.
Conclusion
Removing a burglar alarm sensor may be necessary for various reasons, such as replacing a faulty sensor or making upgrades to your home security system. By following the step-by-step guide outlined in this article, you can successfully remove a sensor while maintaining the integrity of your alarm system.
Understanding the different types of burglar alarm sensors and their functions is crucial in identifying the sensor you need to remove. Equipping yourself with the necessary tools and materials ensures a smooth and efficient removal process. Remember to always prioritize safety by wearing the appropriate safety gear when working with electrical components.
Each step in the process is essential for a successful sensor removal. Disarming the alarm system before starting and carefully locating the sensor are crucial steps to ensure your safety and prevent false alarms. Removing the sensor cover, disconnecting the wires, and removing the sensor from the mounting bracket require attention to detail and gentle handling to avoid damage.
Securely wrapping and organizing the disconnected wires is essential for preventing any accidental contact or short circuits. Finally, thoroughly testing the alarm system after reassembling and reconnecting the sensor ensures that everything is functioning properly and provides peace of mind that your home security system is in optimal condition.
If you encounter any difficulties or uncertainties, it’s advisable to consult the alarm system manual or seek professional assistance. Safety and proper functioning are of utmost importance in maintaining a reliable and effective home security system.
By following the step-by-step instructions provided in this guide, you can remove a burglar alarm sensor with confidence. Remember to always refer to manufacturer instructions and prioritize safety throughout the process. With your sensor successfully removed, you can now proceed with any necessary repairs or upgrades to ensure the continued security of your home.
Frequently Asked Questions about How To Remove A Burglar Alarm Sensor
Was this page helpful?
At Storables.com, we guarantee accurate and reliable information. Our content, validated by Expert Board Contributors, is crafted following stringent Editorial Policies. We're committed to providing you with well-researched, expert-backed insights for all your informational needs.