Home>Furniture & Design>Interior Design Trends>How To Change Battery In ADT Glass Break Sensor
Interior Design Trends
How To Change Battery In ADT Glass Break Sensor
Modified: August 17, 2024
Learn how to change the battery in your ADT glass break sensor with our step-by-step guide. Keep up with the latest interior design trends and ensure your home security is always up to date.
(Many of the links in this article redirect to a specific reviewed product. Your purchase of these products through affiliate links helps to generate commission for Storables.com, at no extra cost. Learn more)
Introduction
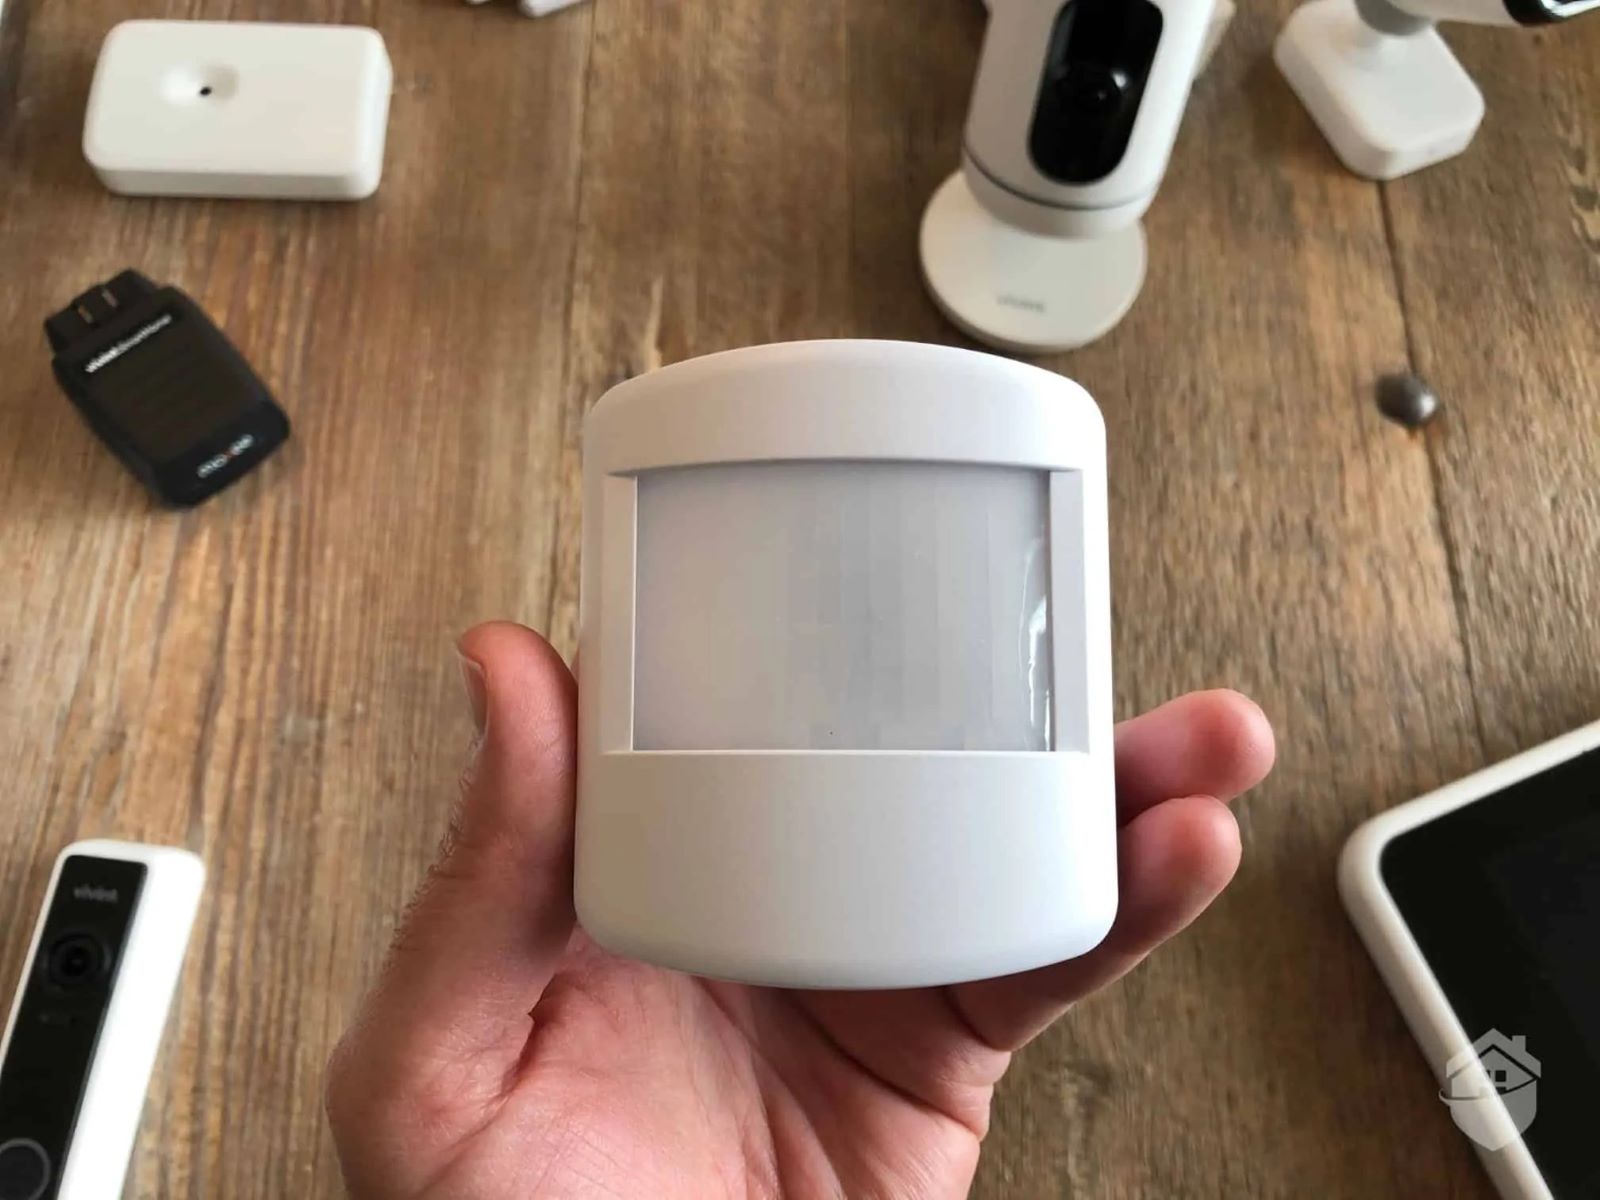
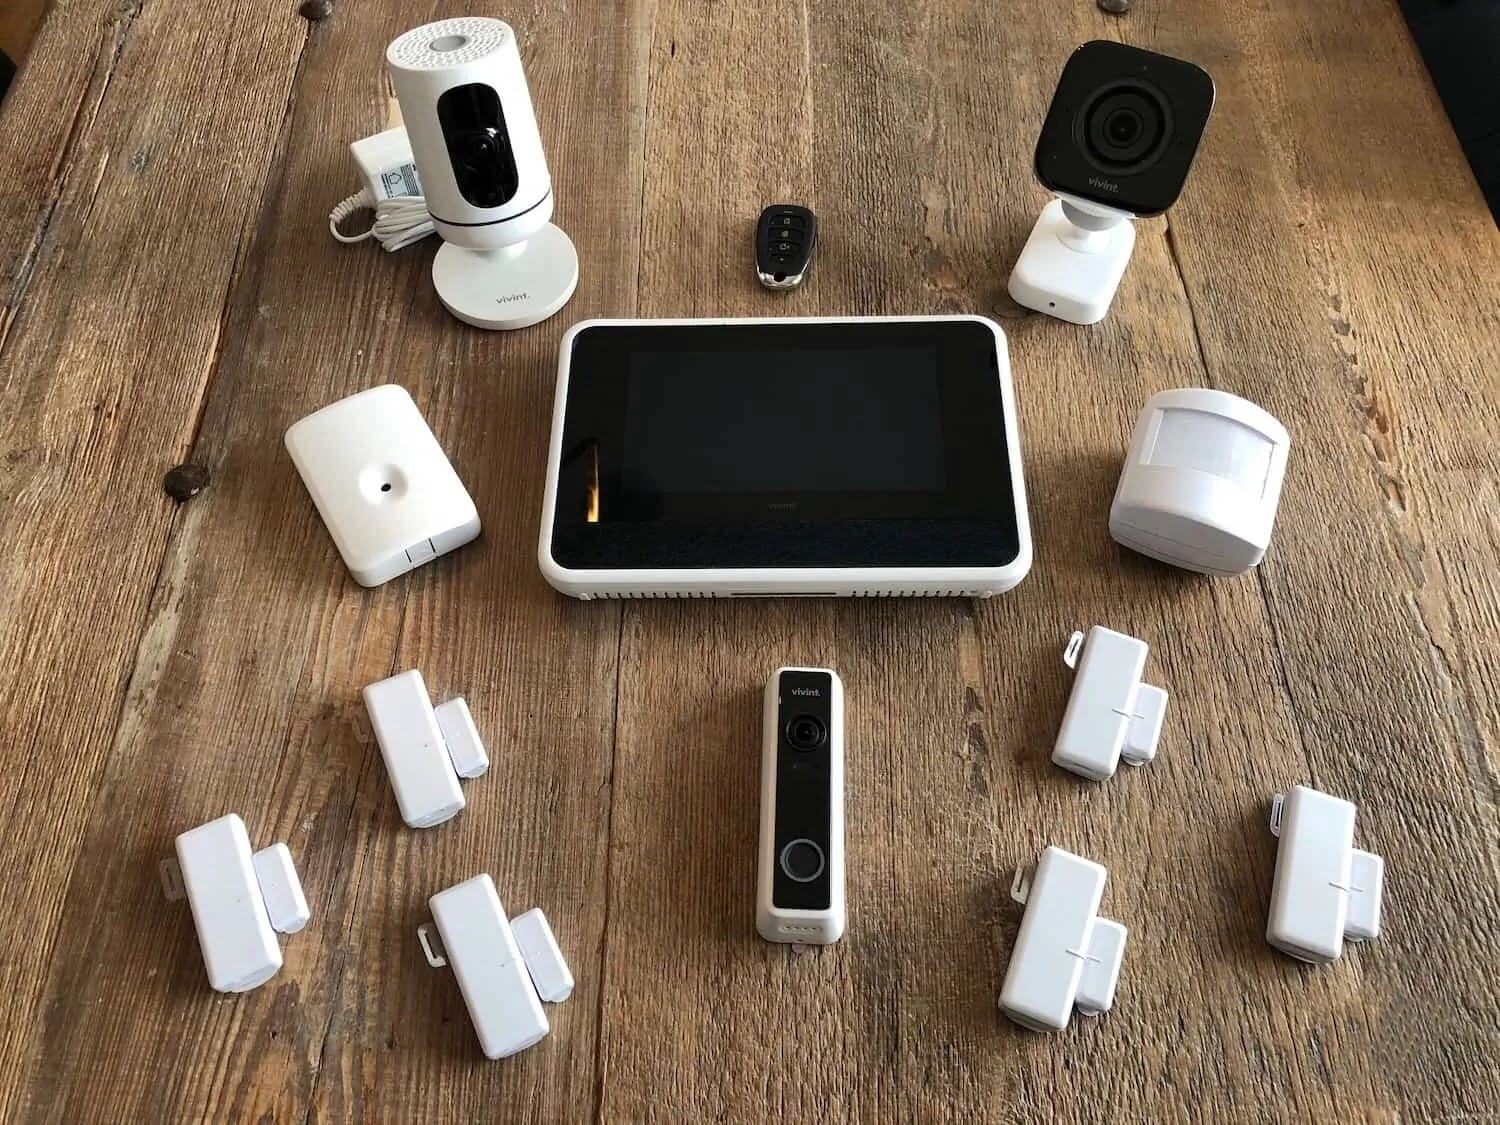
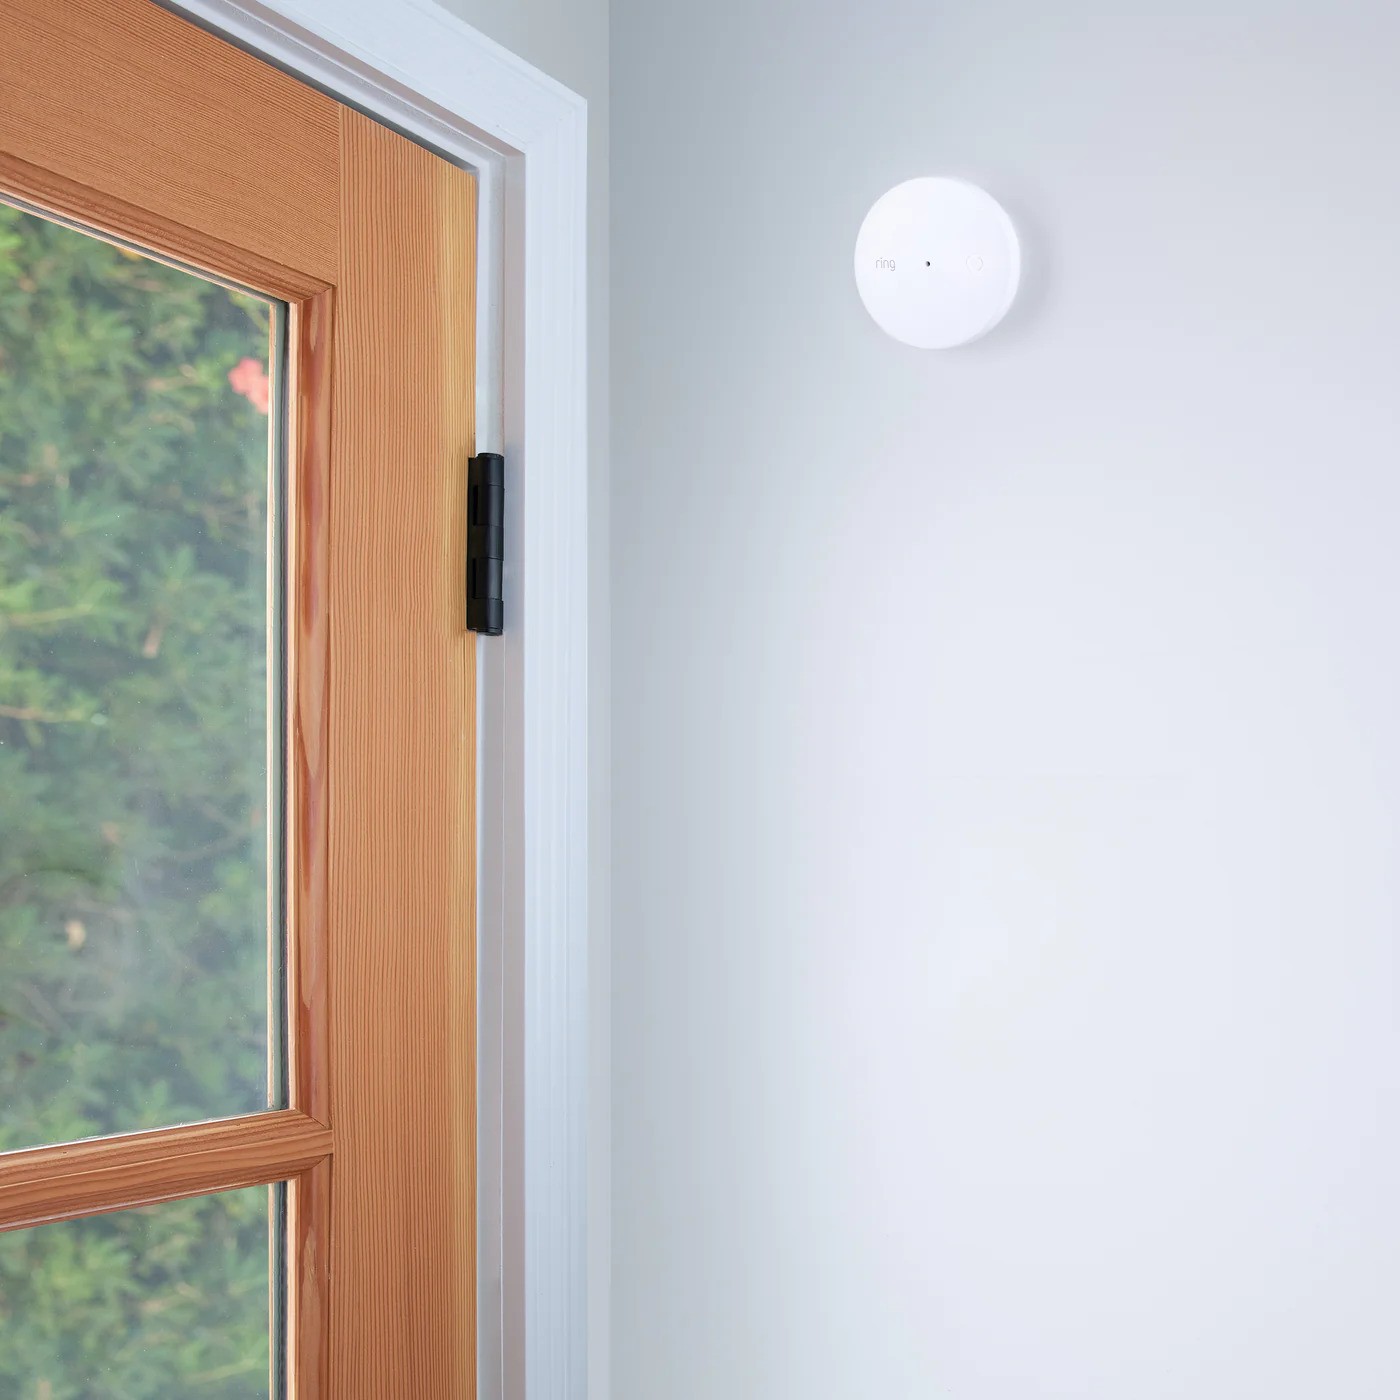
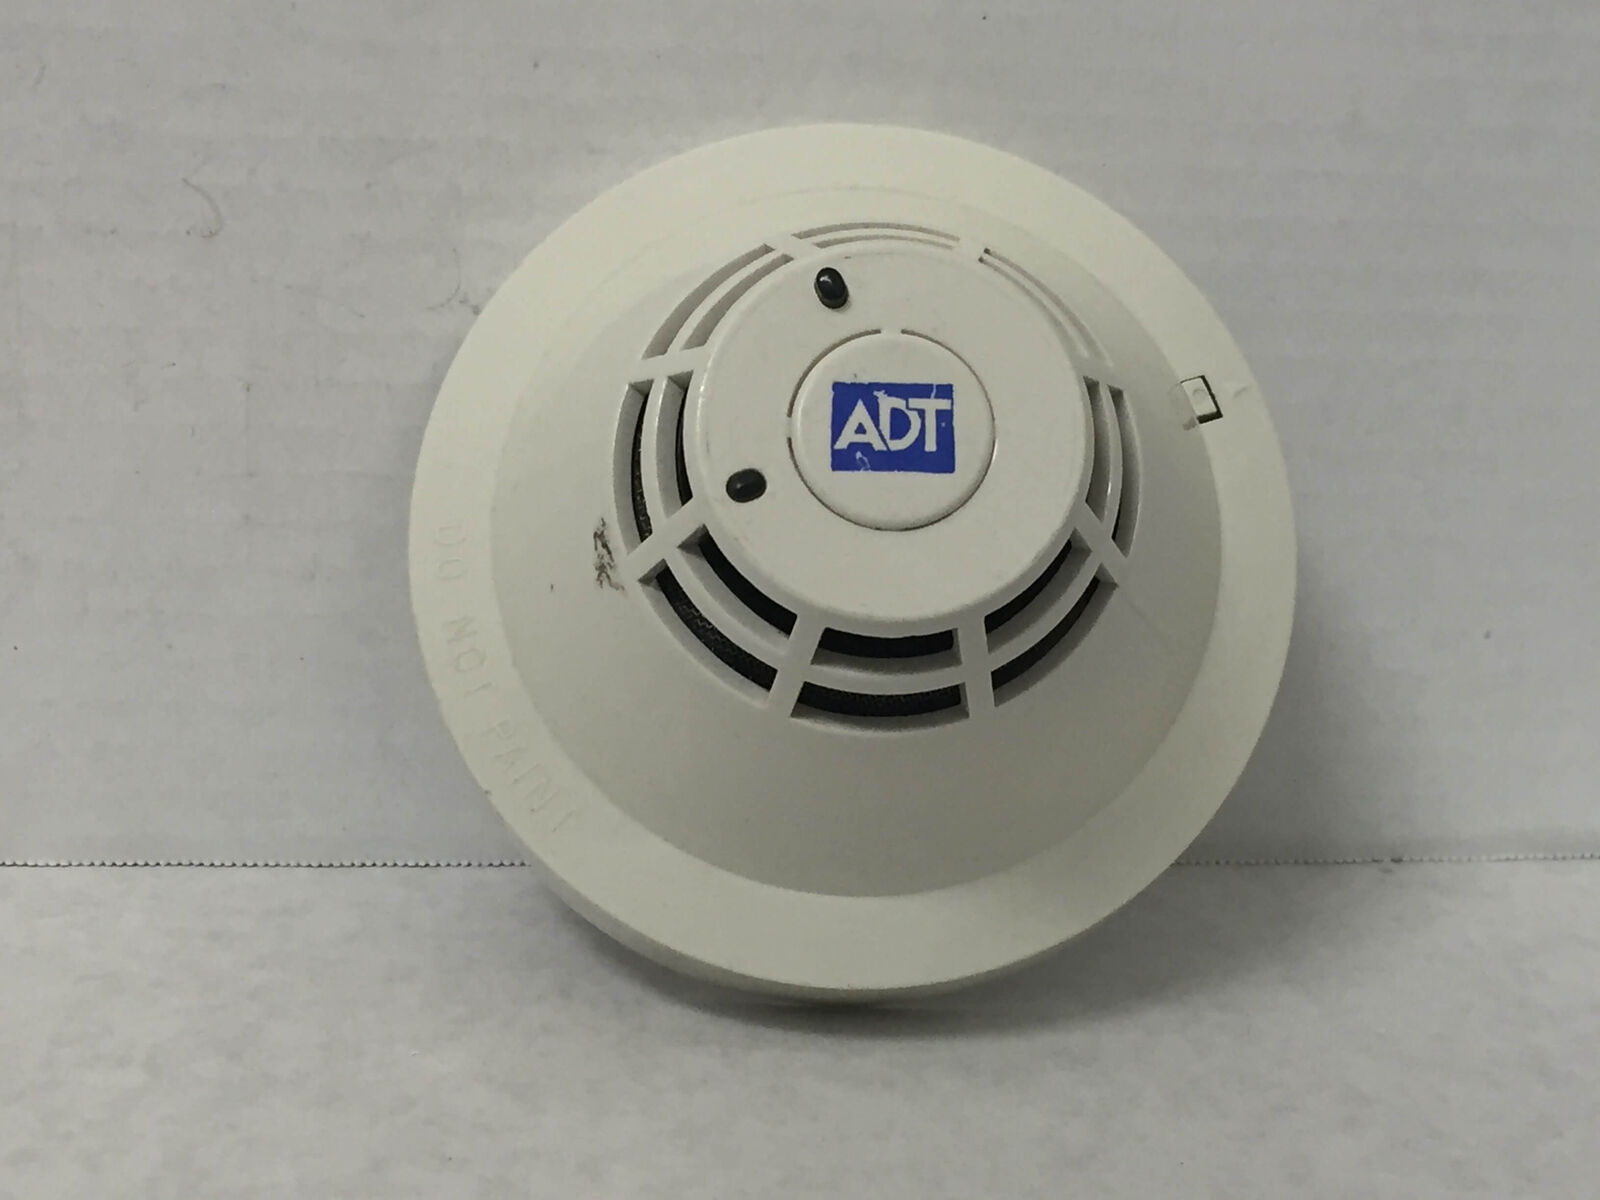
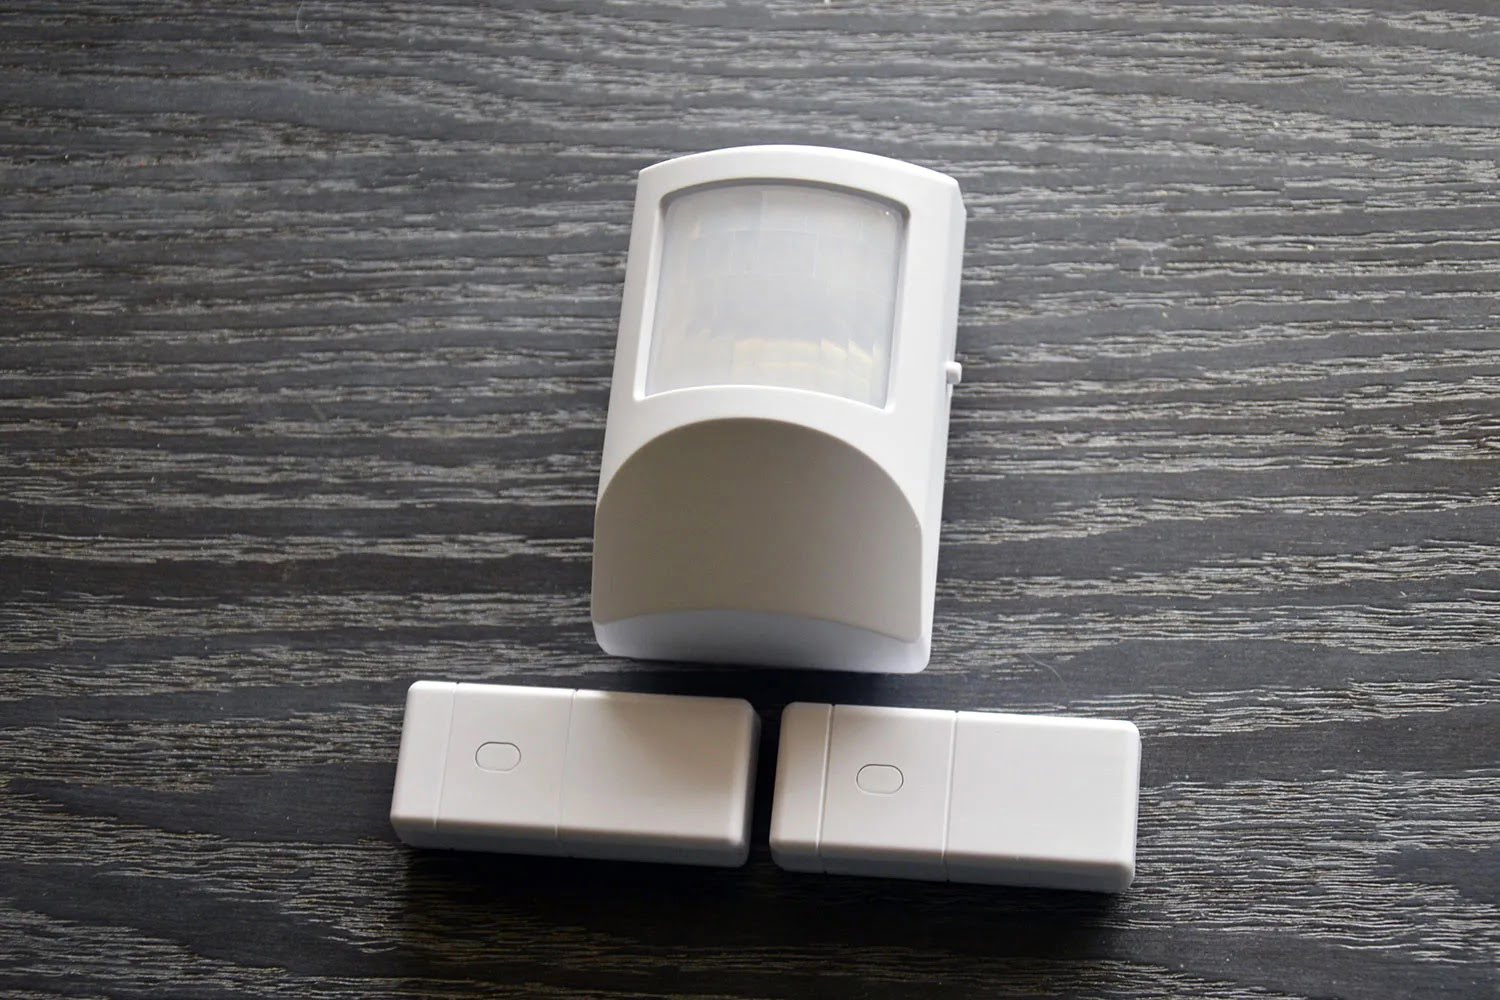
The ADT glass break sensor is a crucial component of your home security system, providing an added layer of protection against potential intruders. However, like all electronic devices, the sensor's battery will eventually require replacement to ensure uninterrupted functionality. Understanding how to change the battery in your ADT glass break sensor is essential for maintaining the effectiveness of your home security system.
In this comprehensive guide, we will walk you through the step-by-step process of replacing the battery in your ADT glass break sensor. By following these instructions, you can ensure that your sensor continues to operate at its optimal level, providing you with the peace of mind that comes with a reliable home security system.
Whether you are a seasoned DIY enthusiast or a novice when it comes to home security maintenance, this guide will equip you with the knowledge and confidence to successfully replace the battery in your ADT glass break sensor. With just a few simple tools and a clear understanding of the process, you can complete this task efficiently and effectively, ensuring that your home remains secure and protected.
Now, let's dive into the step-by-step instructions for changing the battery in your ADT glass break sensor, empowering you to take control of your home security maintenance and keep your system in optimal working condition.
Key Takeaways:
- Don’t let a dead battery compromise your home security! Gather tools, remove the cover, replace the battery, and test the sensor to keep your ADT glass break sensor in top-notch shape.
- By following simple steps and testing the sensor, you can ensure your home security remains robust. Mastering battery replacement empowers you to take control and protect your loved ones.
Step 1: Gather Necessary Tools
Before embarking on the process of replacing the battery in your ADT glass break sensor, it's essential to gather the necessary tools to ensure a smooth and efficient experience. By having the required tools at your disposal, you can streamline the battery replacement process and minimize any potential disruptions to your home security system.
Here are the essential tools you will need:
-
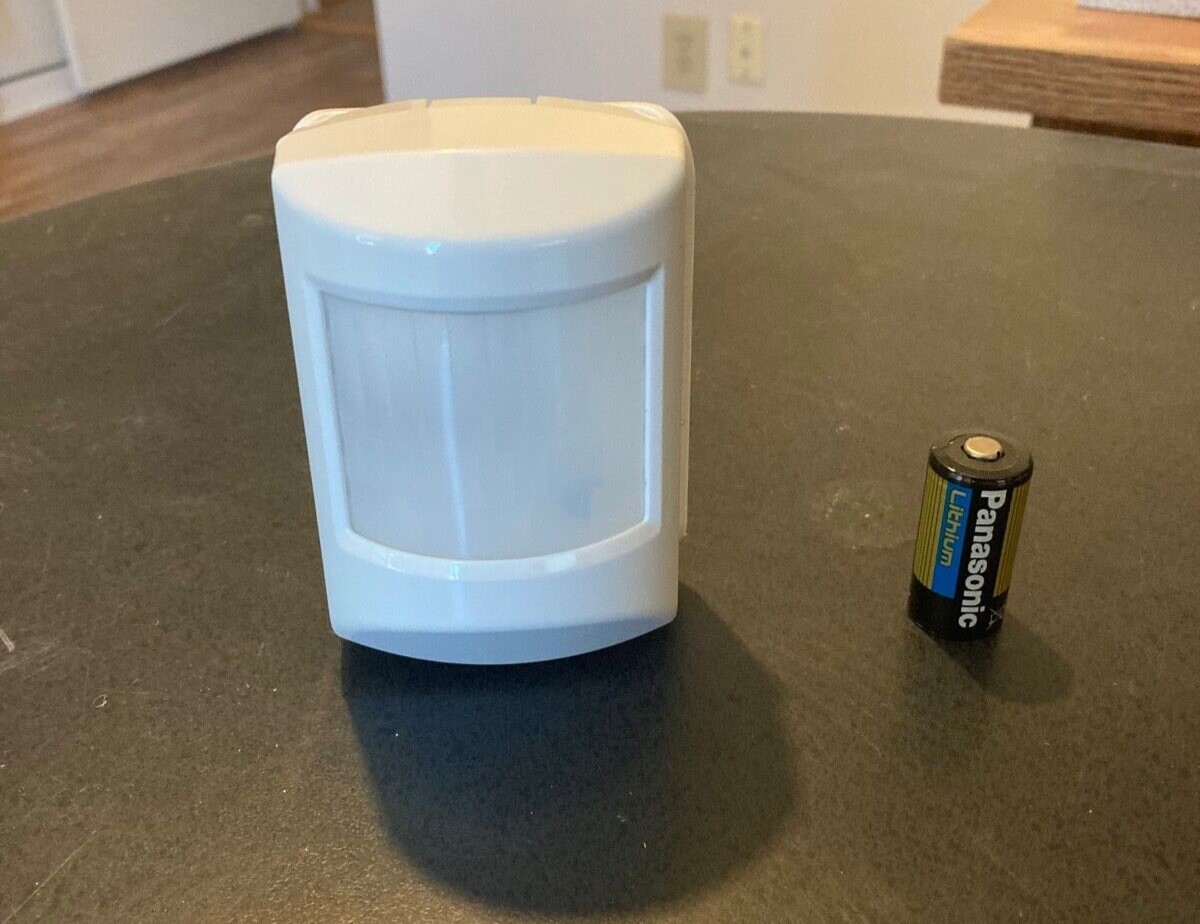
Replacement Battery: The first and most crucial tool you'll need is the replacement battery for your ADT glass break sensor. It's important to ensure that you have the correct type of battery specified for your specific sensor model. Typically, ADT glass break sensors utilize lithium batteries, so be sure to check the sensor's manual or documentation for the exact battery specifications.
-
Screwdriver: Depending on the model of your ADT glass break sensor, you may need a small screwdriver to remove the cover and access the battery compartment. A Phillips-head screwdriver is commonly used for this purpose, but it's advisable to have a few different sizes on hand to accommodate variations in sensor models.
-
Step Stool or Ladder: In some cases, the glass break sensor may be installed in a location that requires reaching overhead or at a height. Having a step stool or a small ladder can facilitate safe and convenient access to the sensor, ensuring that you can perform the battery replacement task with ease.
-
Safety Gloves (Optional): While not always necessary, wearing safety gloves can provide added protection for your hands, especially if the sensor is located in a hard-to-reach area or if there is any debris or dust around the sensor cover.
By gathering these essential tools before starting the battery replacement process, you can set yourself up for a hassle-free experience and ensure that you have everything you need to complete the task efficiently. With the necessary tools at your disposal, you'll be ready to move on to the next step of removing the cover and accessing the battery compartment of your ADT glass break sensor.
Step 2: Remove the Cover
Once you have gathered the necessary tools, the next step in replacing the battery in your ADT glass break sensor is to remove the cover. This step is crucial as it grants you access to the battery compartment, allowing for the seamless replacement of the old battery with a new one.
-
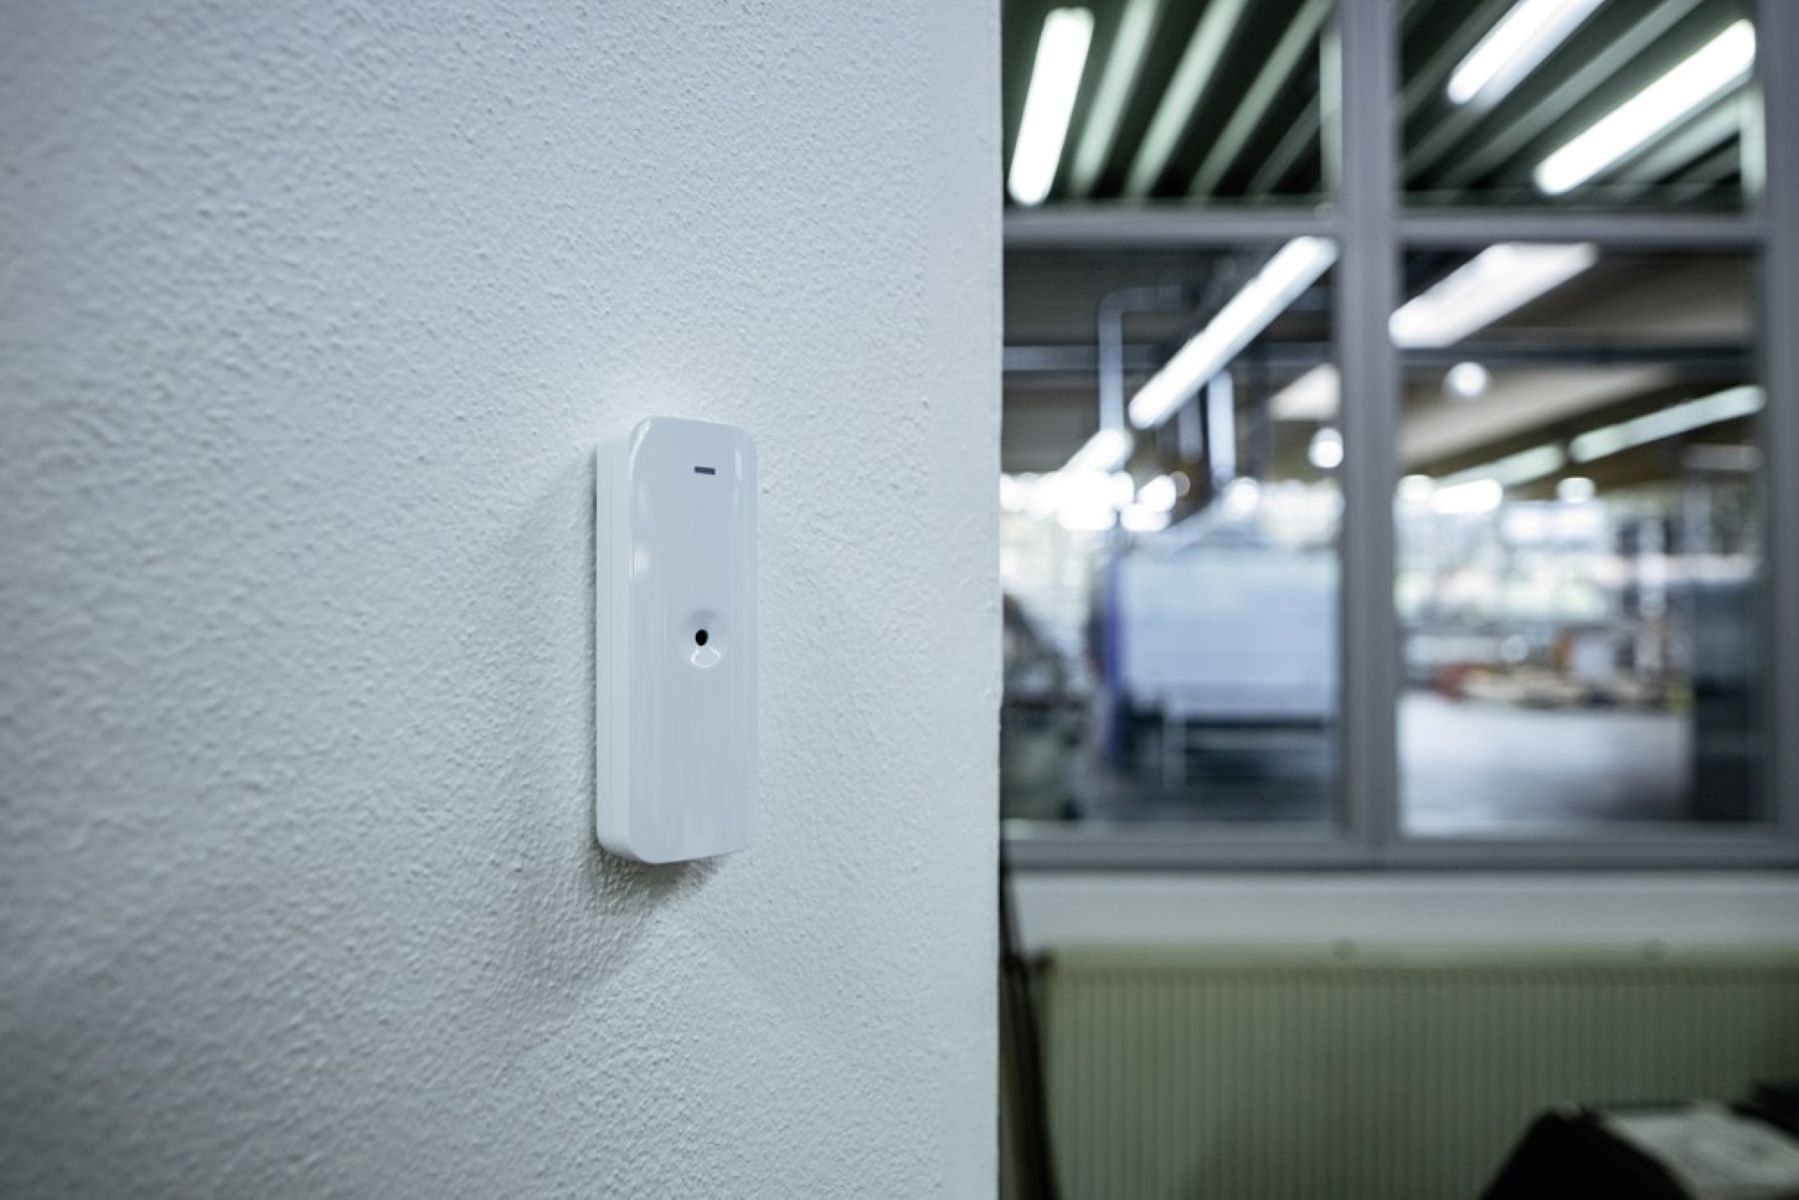
Locate the Sensor: Identify the exact location of your ADT glass break sensor. It is commonly installed on a wall or ceiling in areas such as living rooms, hallways, or near windows. Once located, ensure that the area around the sensor is clear of any obstructions or debris.
-
Use the Screwdriver: Depending on the model of your sensor, you may need to use a screwdriver to remove the cover. Most ADT glass break sensors have a small screw securing the cover in place. Use the appropriate screwdriver, typically a Phillips-head, to carefully unscrew and remove the cover. Place the screws in a secure location to prevent misplacement.
-
Handle with Care: As you remove the cover, handle it with care to avoid any damage. Some covers may have tabs or latches that need to be disengaged before the cover can be fully removed. Take your time and ensure that you release any securing mechanisms gently to prevent any breakage.
-
Inspect the Interior: Once the cover is removed, take a moment to inspect the interior of the sensor for any dust or debris. Use a soft, dry cloth to gently clean the inside of the sensor if necessary. This ensures that the battery compartment and internal components are free from any contaminants that could affect the sensor's performance.
-
Secure the Cover: After replacing the battery, ensure that the cover is securely reattached to the sensor. Align the cover properly and reinsert any screws to firmly secure it in place. Be mindful not to overtighten the screws to avoid damaging the cover or the sensor housing.
By following these steps, you can successfully remove the cover of your ADT glass break sensor, granting you access to the battery compartment. This sets the stage for the next crucial step: replacing the old battery with a new one. With the cover removed, you are one step closer to ensuring that your home security system remains fully operational and reliable.
To change the battery in an ADT glass break sensor, first, locate the battery compartment on the sensor. Then, remove the old battery and replace it with a new one, making sure to match the positive and negative ends correctly. Finally, close the battery compartment and test the sensor to ensure it is working properly.
Step 3: Replace the Battery
With the cover of your ADT glass break sensor successfully removed, you are now ready to proceed with the pivotal task of replacing the battery. This step is essential for ensuring that your sensor continues to function optimally, providing reliable security for your home. Follow these detailed steps to seamlessly replace the battery in your ADT glass break sensor:
-
Identify the Battery Compartment: Once the cover is off, locate the battery compartment within the sensor. The battery compartment is typically easy to spot and may be marked with a label indicating the type of battery required. Take a moment to familiarize yourself with the layout of the compartment and the positioning of the old battery.
-
Remove the Old Battery: Carefully remove the old battery from the compartment, paying attention to its orientation. Some batteries may be secured in place with a small clip or holder. If this is the case, gently release the clip to free the old battery. Take note of the positioning of the positive (+) and negative (-) terminals to ensure the correct placement of the new battery.
-
Insert the New Battery: Take the replacement battery specified for your ADT glass break sensor and insert it into the battery compartment, ensuring that it aligns correctly with the polarity markings. The positive terminal should align with the designated positive contact within the compartment, and likewise for the negative terminal. Ensure that the battery fits snugly and securely in place.
-
Check for Proper Fit: Once the new battery is inserted, perform a quick visual inspection to confirm that it is seated properly within the compartment. Ensure that the terminals make firm contact with the corresponding connectors in the sensor. A secure fit is essential for reliable power transmission to the sensor's internal components.
-
Replace the Cover: With the new battery in place, carefully reattach the cover to the sensor. Align the cover correctly and secure it in position, ensuring that any tabs or latches are engaged. If screws were removed to detach the cover, use the appropriate screwdriver to reinsert and tighten them, being mindful not to overtighten.
By following these detailed steps, you can effectively replace the battery in your ADT glass break sensor, ensuring that it remains operational and capable of providing the security and peace of mind you rely on. With the new battery installed, your sensor is poised to continue its vital role in safeguarding your home against potential security threats.
Step 4: Test the Sensor
After successfully replacing the battery in your ADT glass break sensor, it is crucial to perform a comprehensive test to ensure that the sensor is functioning as intended. Testing the sensor after a battery replacement is a critical step in the maintenance process, as it allows you to verify that the new battery has been installed correctly and that the sensor is capable of detecting glass breakage and transmitting signals to your home security system.
Here's a detailed guide on how to test your ADT glass break sensor:
-
Activate Test Mode: Many ADT glass break sensors are equipped with a test mode feature that allows you to simulate the sound of breaking glass. Refer to your sensor's manual or documentation to determine the specific steps for activating test mode. This typically involves pressing a designated button or using a combination of button presses to initiate the test sequence.
-
Trigger the Sensor: Once test mode is activated, create a controlled environment to trigger the sensor. This can be achieved by using a glass break simulator or by following the manufacturer's guidelines for producing a sound that mimics breaking glass. Position the simulator or produce the sound within the sensor's detection range to prompt a response.
-
Observe the Sensor's Response: As the simulated glass break sound is produced, closely observe the sensor for any indication of activation. This may include LED indicators lighting up, audible alerts from the sensor, or signals being transmitted to your home security system. Ensure that the sensor responds promptly and accurately to the simulated glass breakage, indicating that it is operational and capable of detecting security threats.
-
Verify Signal Transmission: If your ADT glass break sensor is integrated with a central monitoring system or a control panel, verify that the simulated glass break event triggers the transmission of signals to the monitoring center or the control panel. This validation ensures that the sensor's communication capabilities are intact, allowing for swift notification of security breaches when actual incidents occur.
-
Reset and Exit Test Mode: Once the sensor has been tested and its functionality confirmed, exit the test mode according to the manufacturer's instructions. This typically involves pressing specific buttons or following a sequence to return the sensor to its standard operating mode. Ensure that the sensor is ready to resume its normal monitoring duties.
By following these steps, you can effectively test the functionality of your ADT glass break sensor after replacing the battery. This proactive approach allows you to verify the sensor's operational status, providing you with the assurance that your home security system remains robust and reliable.
With the sensor successfully tested and confirmed to be in optimal working condition, you can rest assured that your home is equipped with a fully functional ADT glass break sensor, ready to safeguard your property and loved ones against potential security threats.
Read more: How To Test Glass Break Sensor
Conclusion
In conclusion, mastering the process of changing the battery in your ADT glass break sensor is a valuable skill that empowers you to maintain the effectiveness of your home security system. By following the step-by-step guide outlined in this comprehensive article, you have gained the knowledge and confidence to seamlessly replace the battery in your sensor, ensuring that it remains fully operational and capable of detecting potential security threats.
Successfully completing the battery replacement process involves gathering the necessary tools, removing the sensor cover, replacing the old battery with a new one, and testing the sensor to confirm its functionality. Each step is crucial in ensuring that your ADT glass break sensor continues to fulfill its vital role in safeguarding your home and providing you with peace of mind.
By gathering essential tools such as the replacement battery, screwdriver, and step stool, you set the stage for a smooth and efficient battery replacement experience. Removing the sensor cover with care and attention allows you to access the battery compartment and prepare for the seamless installation of the new battery. With the old battery replaced and the cover securely reattached, testing the sensor ensures that it responds accurately to simulated glass breakage, validating its operational status.
The proactive approach of testing the sensor after a battery replacement serves as a crucial quality assurance step, providing you with the confidence that your home security system remains robust and reliable. By following the detailed testing process, you can verify that the sensor's communication capabilities and detection functionality are intact, ensuring that it is ready to respond to potential security breaches effectively.
Mastering the art of changing the battery in your ADT glass break sensor not only ensures the continued effectiveness of your home security system but also empowers you to take proactive control of your home maintenance. By understanding and executing this essential task, you contribute to the overall security and protection of your home and loved ones.
With the knowledge and skills acquired from this guide, you are well-equipped to maintain the optimal functionality of your ADT glass break sensor, ensuring that it remains a reliable guardian of your home's security. By staying proactive and attentive to the maintenance needs of your home security system, you can enjoy the peace of mind that comes with a well-maintained and fully operational ADT glass break sensor.
Frequently Asked Questions about How To Change Battery In ADT Glass Break Sensor
Was this page helpful?
At Storables.com, we guarantee accurate and reliable information. Our content, validated by Expert Board Contributors, is crafted following stringent Editorial Policies. We're committed to providing you with well-researched, expert-backed insights for all your informational needs.


0 thoughts on “How To Change Battery In ADT Glass Break Sensor”