Home>Home Security and Surveillance>How To Install DSC BV500GB PIR Motion Detector And Glass Break Sensor

Home Security and Surveillance
How To Install DSC BV500GB PIR Motion Detector And Glass Break Sensor
Modified: March 6, 2024
Enhance your home security and surveillance with the step-by-step guide on installing the DSC BV500GB PIR motion detector and glass break sensor.
(Many of the links in this article redirect to a specific reviewed product. Your purchase of these products through affiliate links helps to generate commission for Storables.com, at no extra cost. Learn more)
Introduction
Welcome to the world of home security and surveillance! In today’s rapidly changing world, it is essential to prioritize the safety and well-being of our loved ones and belongings. One of the most effective ways to achieve this is by installing a reliable home security system.
Among the various components of a home security system, motion detectors and glass break sensors play a crucial role. These devices help detect and deter potential intruders, providing an added layer of security for your home.
In this article, we will guide you through the installation process of the DSC BV500GB PIR motion detector and glass break sensor. With its advanced features and user-friendly design, this sensor is an excellent choice for enhancing your home security.
Before we dive into the installation steps, let’s take a quick look at the tools and materials you will need for the project.
Key Takeaways:
- Installing the DSC BV500GB PIR motion detector and glass break sensor involves unboxing, choosing the right mounting location, securely mounting the sensors, connecting the wires, and performing thorough testing to ensure they function correctly.
- Regular maintenance and testing of the sensors are crucial to ensure continued reliability. Keep the sensors clean, replace batteries as needed, and stay proactive in keeping your home secure for peace of mind.
Tools and Materials Required
Before starting the installation process, make sure you have the following tools and materials readily available:
- Screwdriver set: You’ll need a set of screwdrivers to remove and install screws during the process.
- Drill and drill bits: A drill will be required to create holes for mounting the sensors.
- Wire stripper: This tool will help you strip the insulation off the wires for proper connections.
- Wire connectors: These connectors are necessary for securely joining the wires together.
- Mounting brackets: The brackets are used to securely fasten the sensors to the desired location.
- Double-sided adhesive tape: This tape can be used as an alternative to mounting brackets for temporary installations.
- Power drill and screws: If you’re mounting the sensors on a hard surface, a power drill and screws will be needed.
- Power source: Ensure you have a power source nearby to connect the sensors and test their functionality.
- User manual: Don’t forget to have the user manual of the DSC BV500GB sensor on hand for reference.
With these tools and materials at your disposal, you are now ready to dive into the installation process of the DSC BV500GB PIR motion detector and glass break sensor. Let’s move on to the next step!
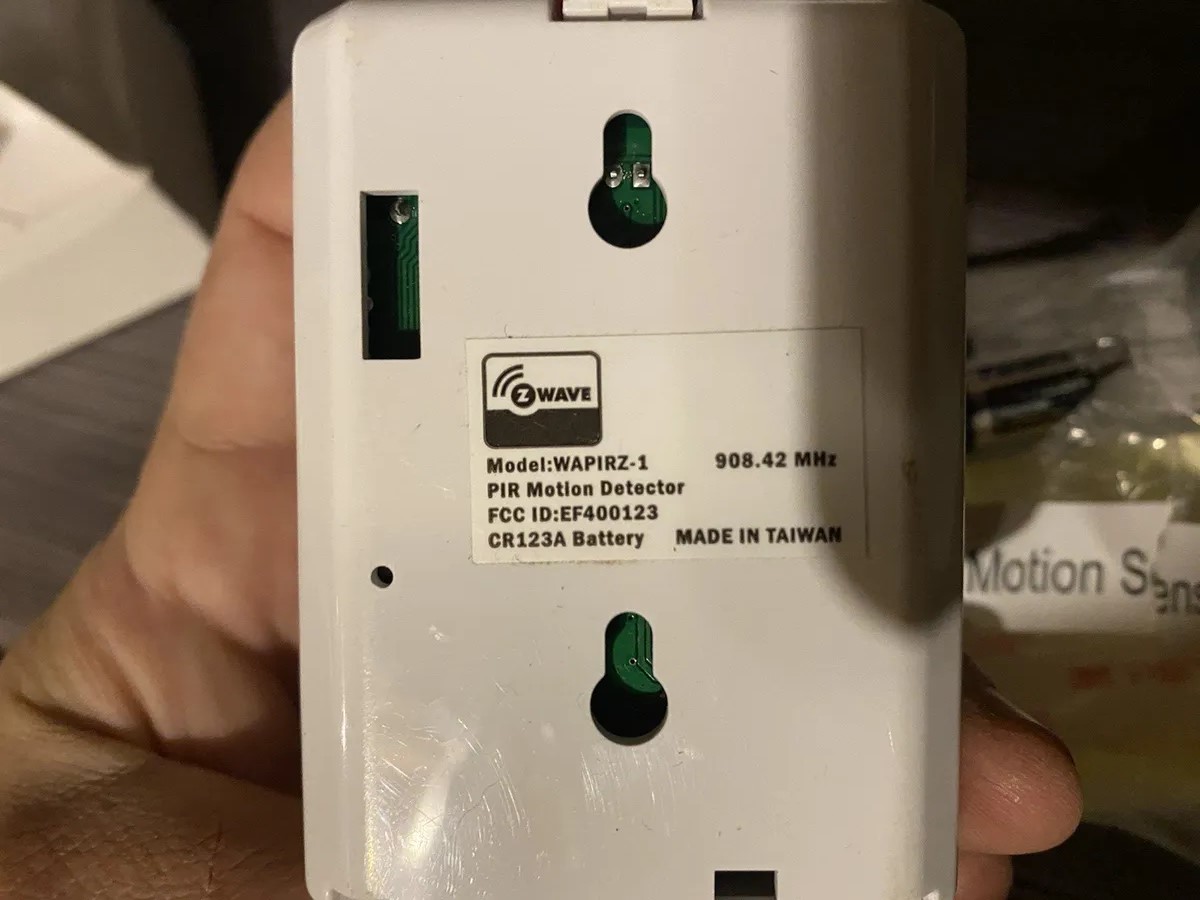
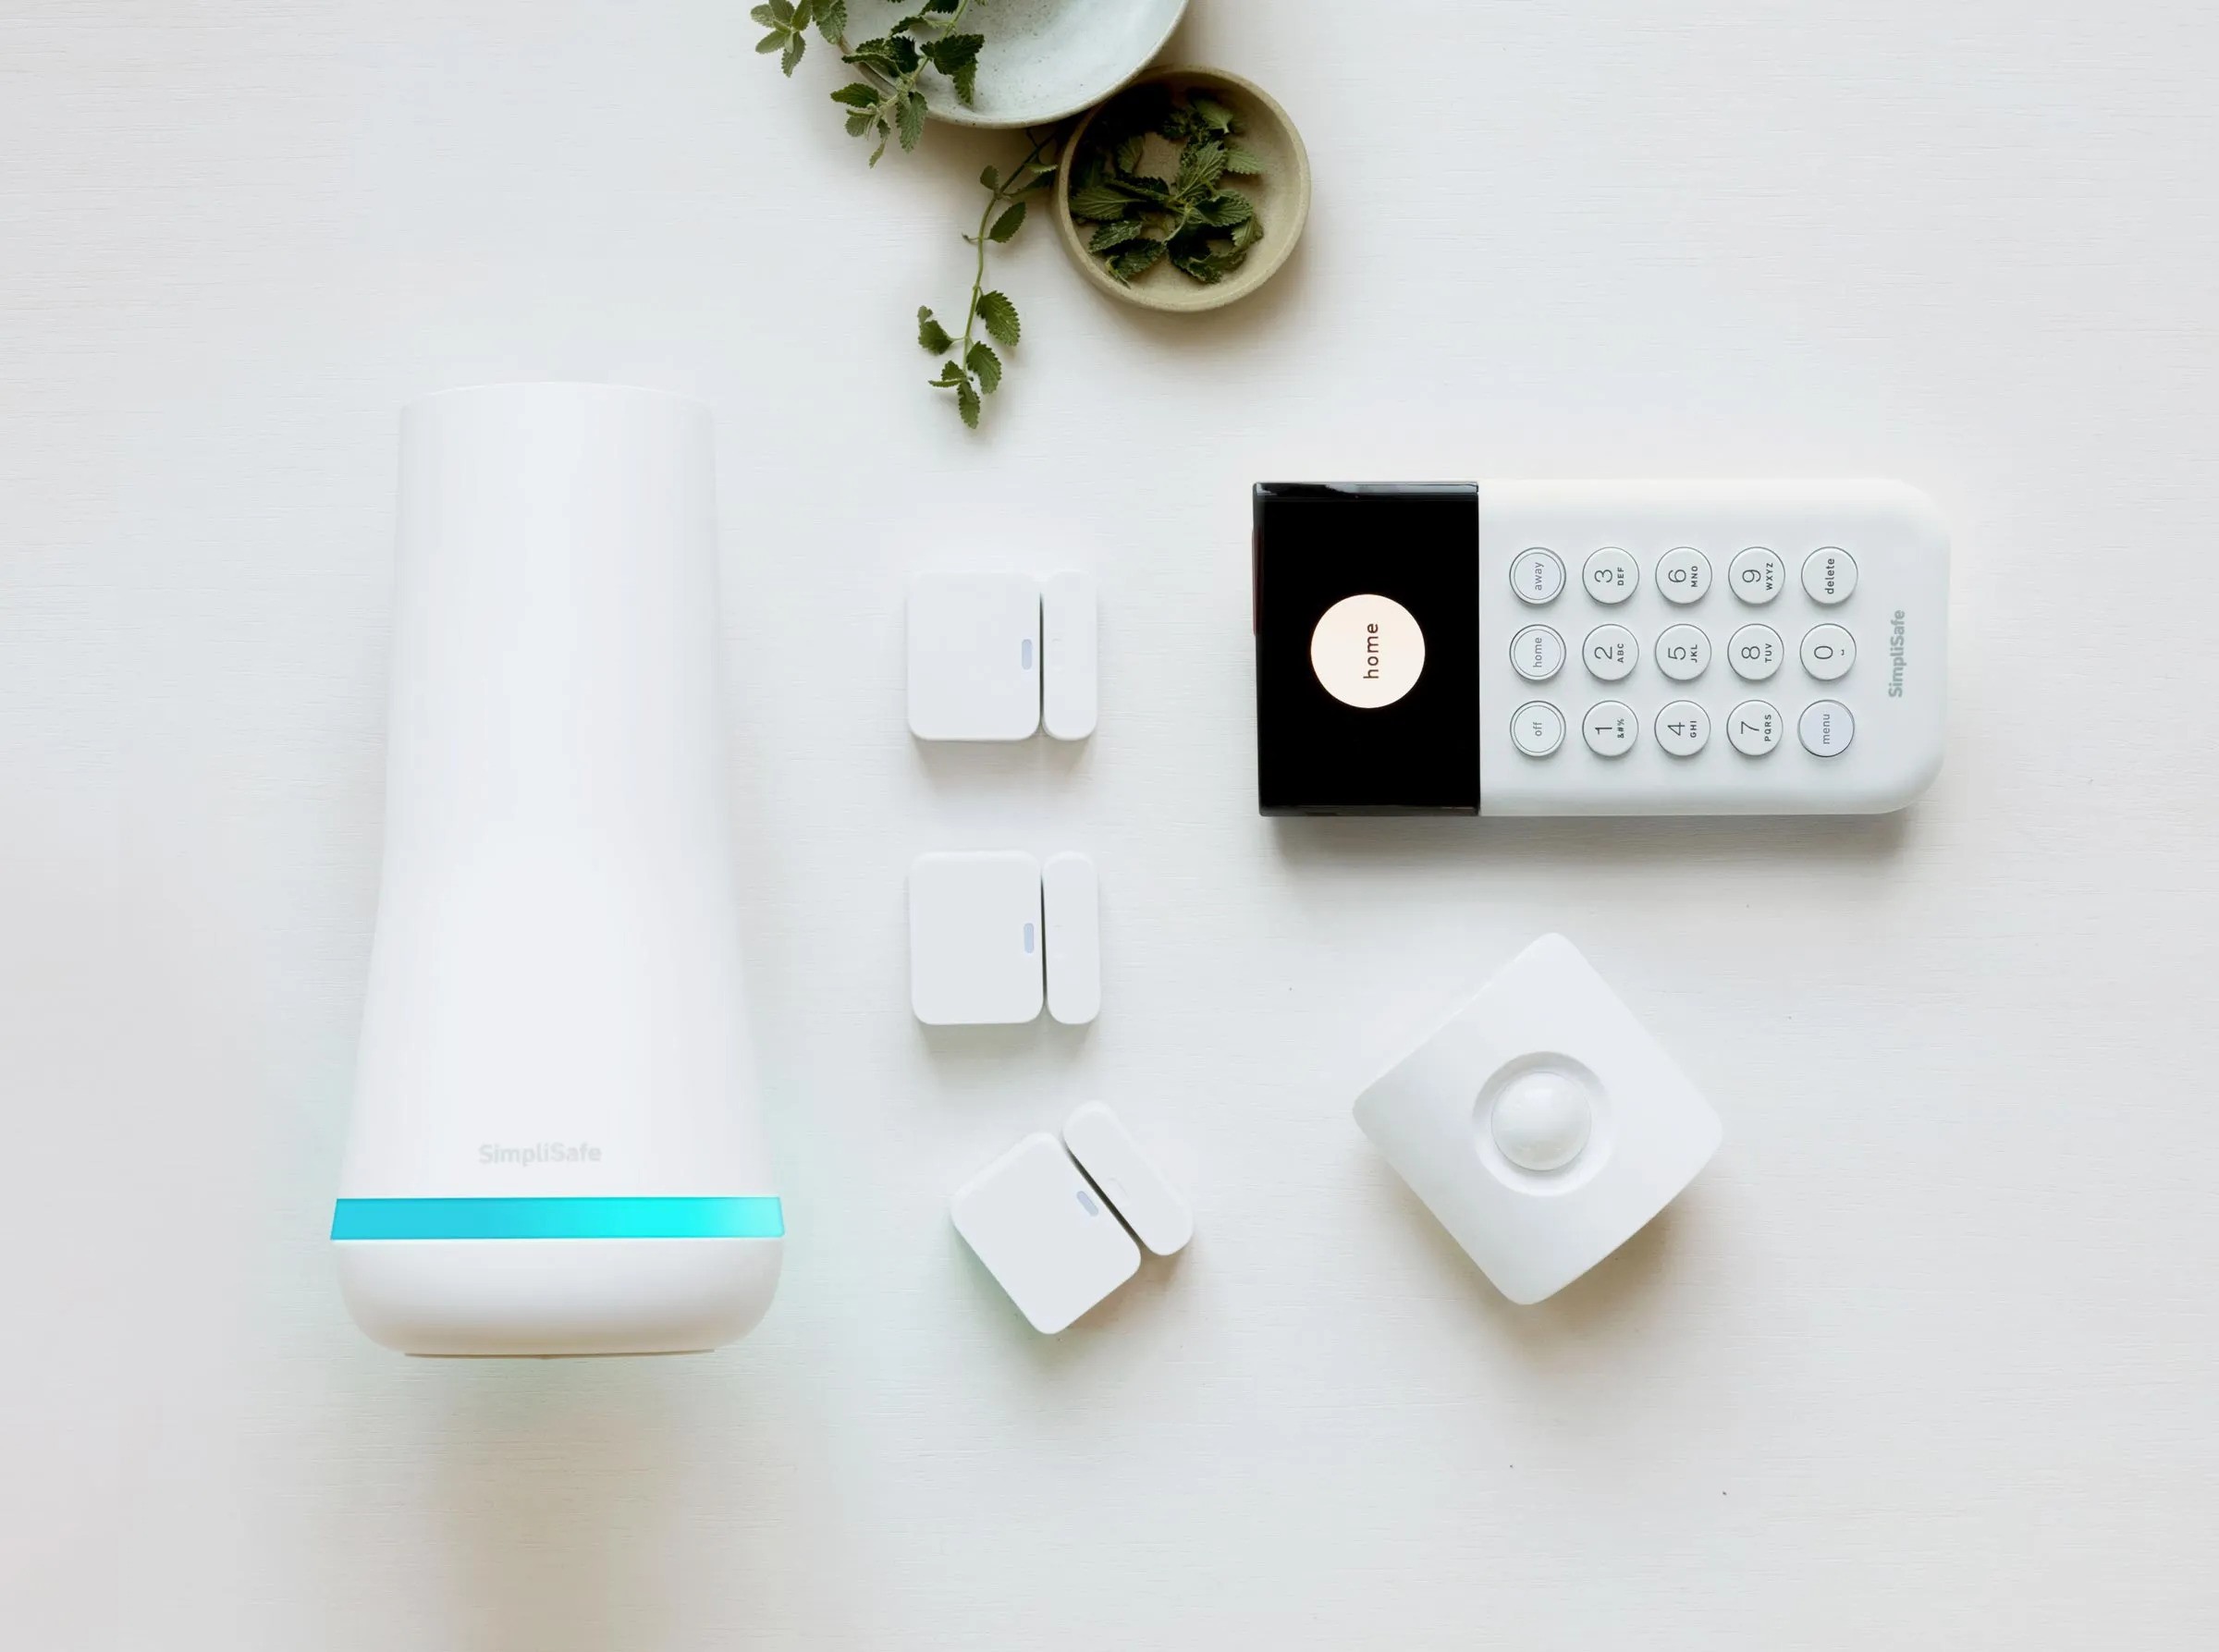
Step 1: Unboxing the DSC BV500GB Sensor
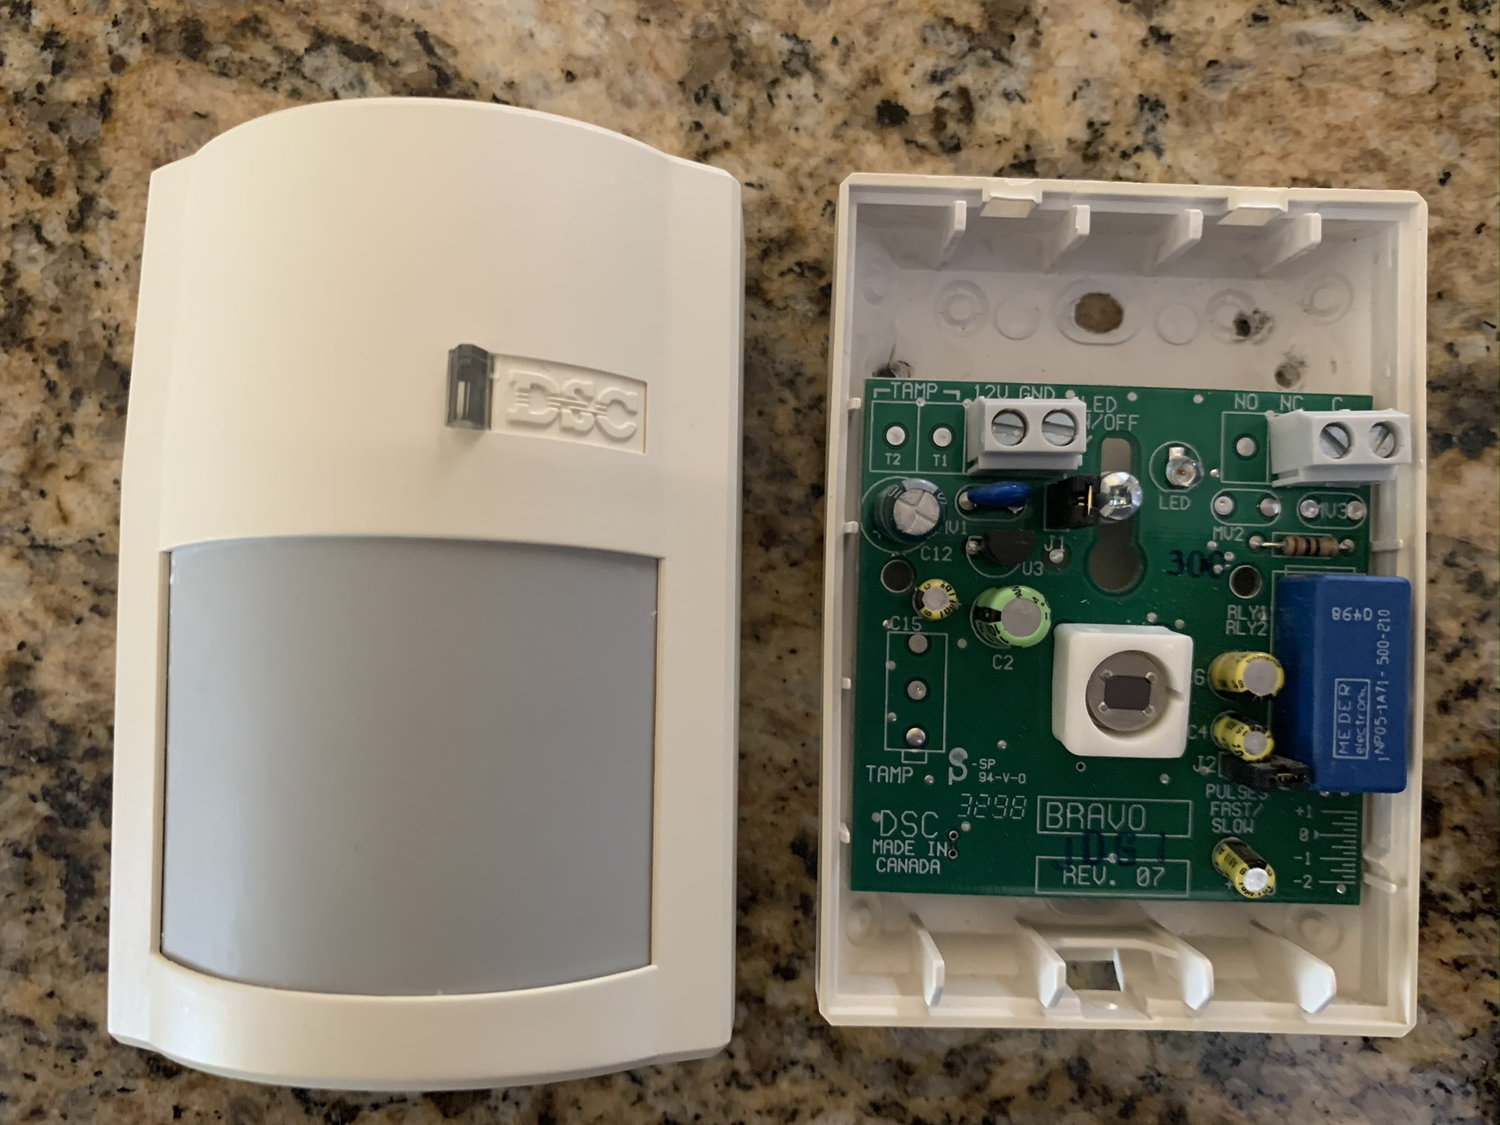
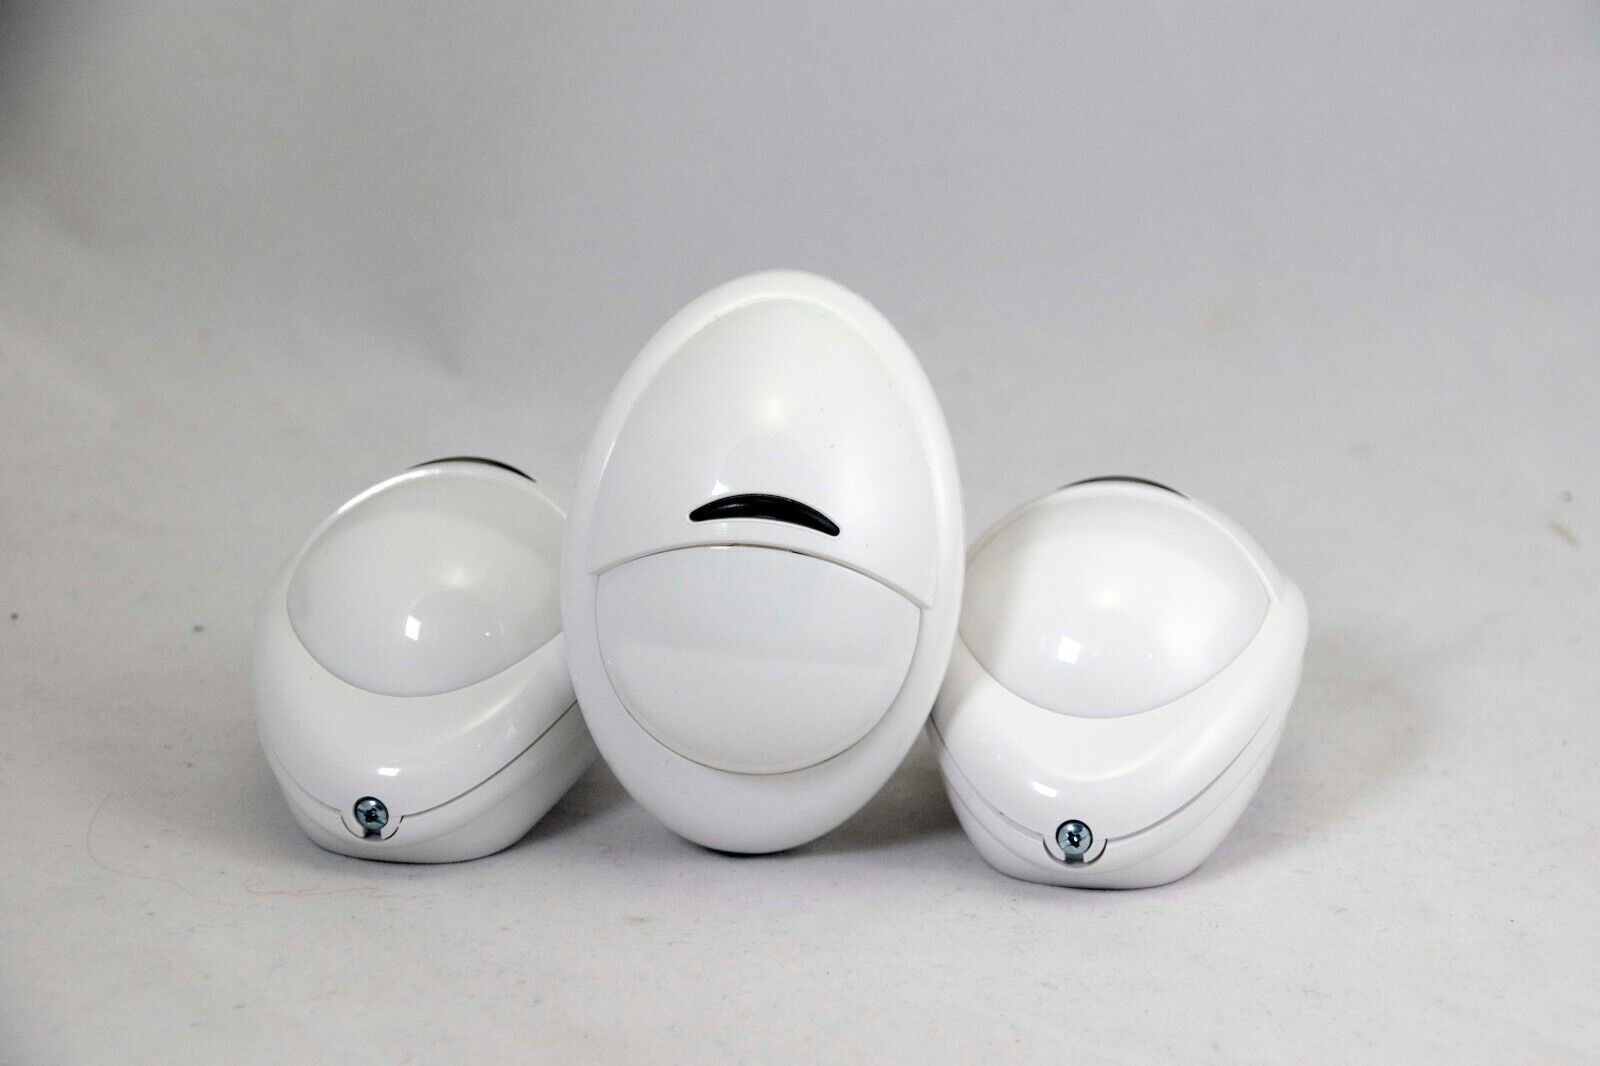
The first step in installing the DSC BV500GB PIR motion detector and glass break sensor is to unbox the sensor and familiarize yourself with its components. The sensor will typically include the following:
- Main sensor unit: This is the primary component of the sensor that detects motion and sound.
- Mounting bracket: The mounting bracket is used to attach the sensor to a wall or ceiling.
- PIR lens: The PIR lens is responsible for capturing infrared energy emitted by moving objects.
- Glass break detector: This component uses sensitive microphones to detect the sound frequency of breaking glass.
- Wires: The sensor will have wires that need to be connected to a power source.
- User manual: Be sure to read the user manual thoroughly to understand the installation process and sensor functionality.
Once you have unpacked the sensor, inspect the components for any signs of damage. It is essential to ensure that all parts are in good condition before proceeding with the installation. If you notice any damage or defects, contact the manufacturer or supplier for assistance.
Now that you have unboxed the sensor and familiarized yourself with its components, you are ready to move on to the next step: choosing the mounting location.
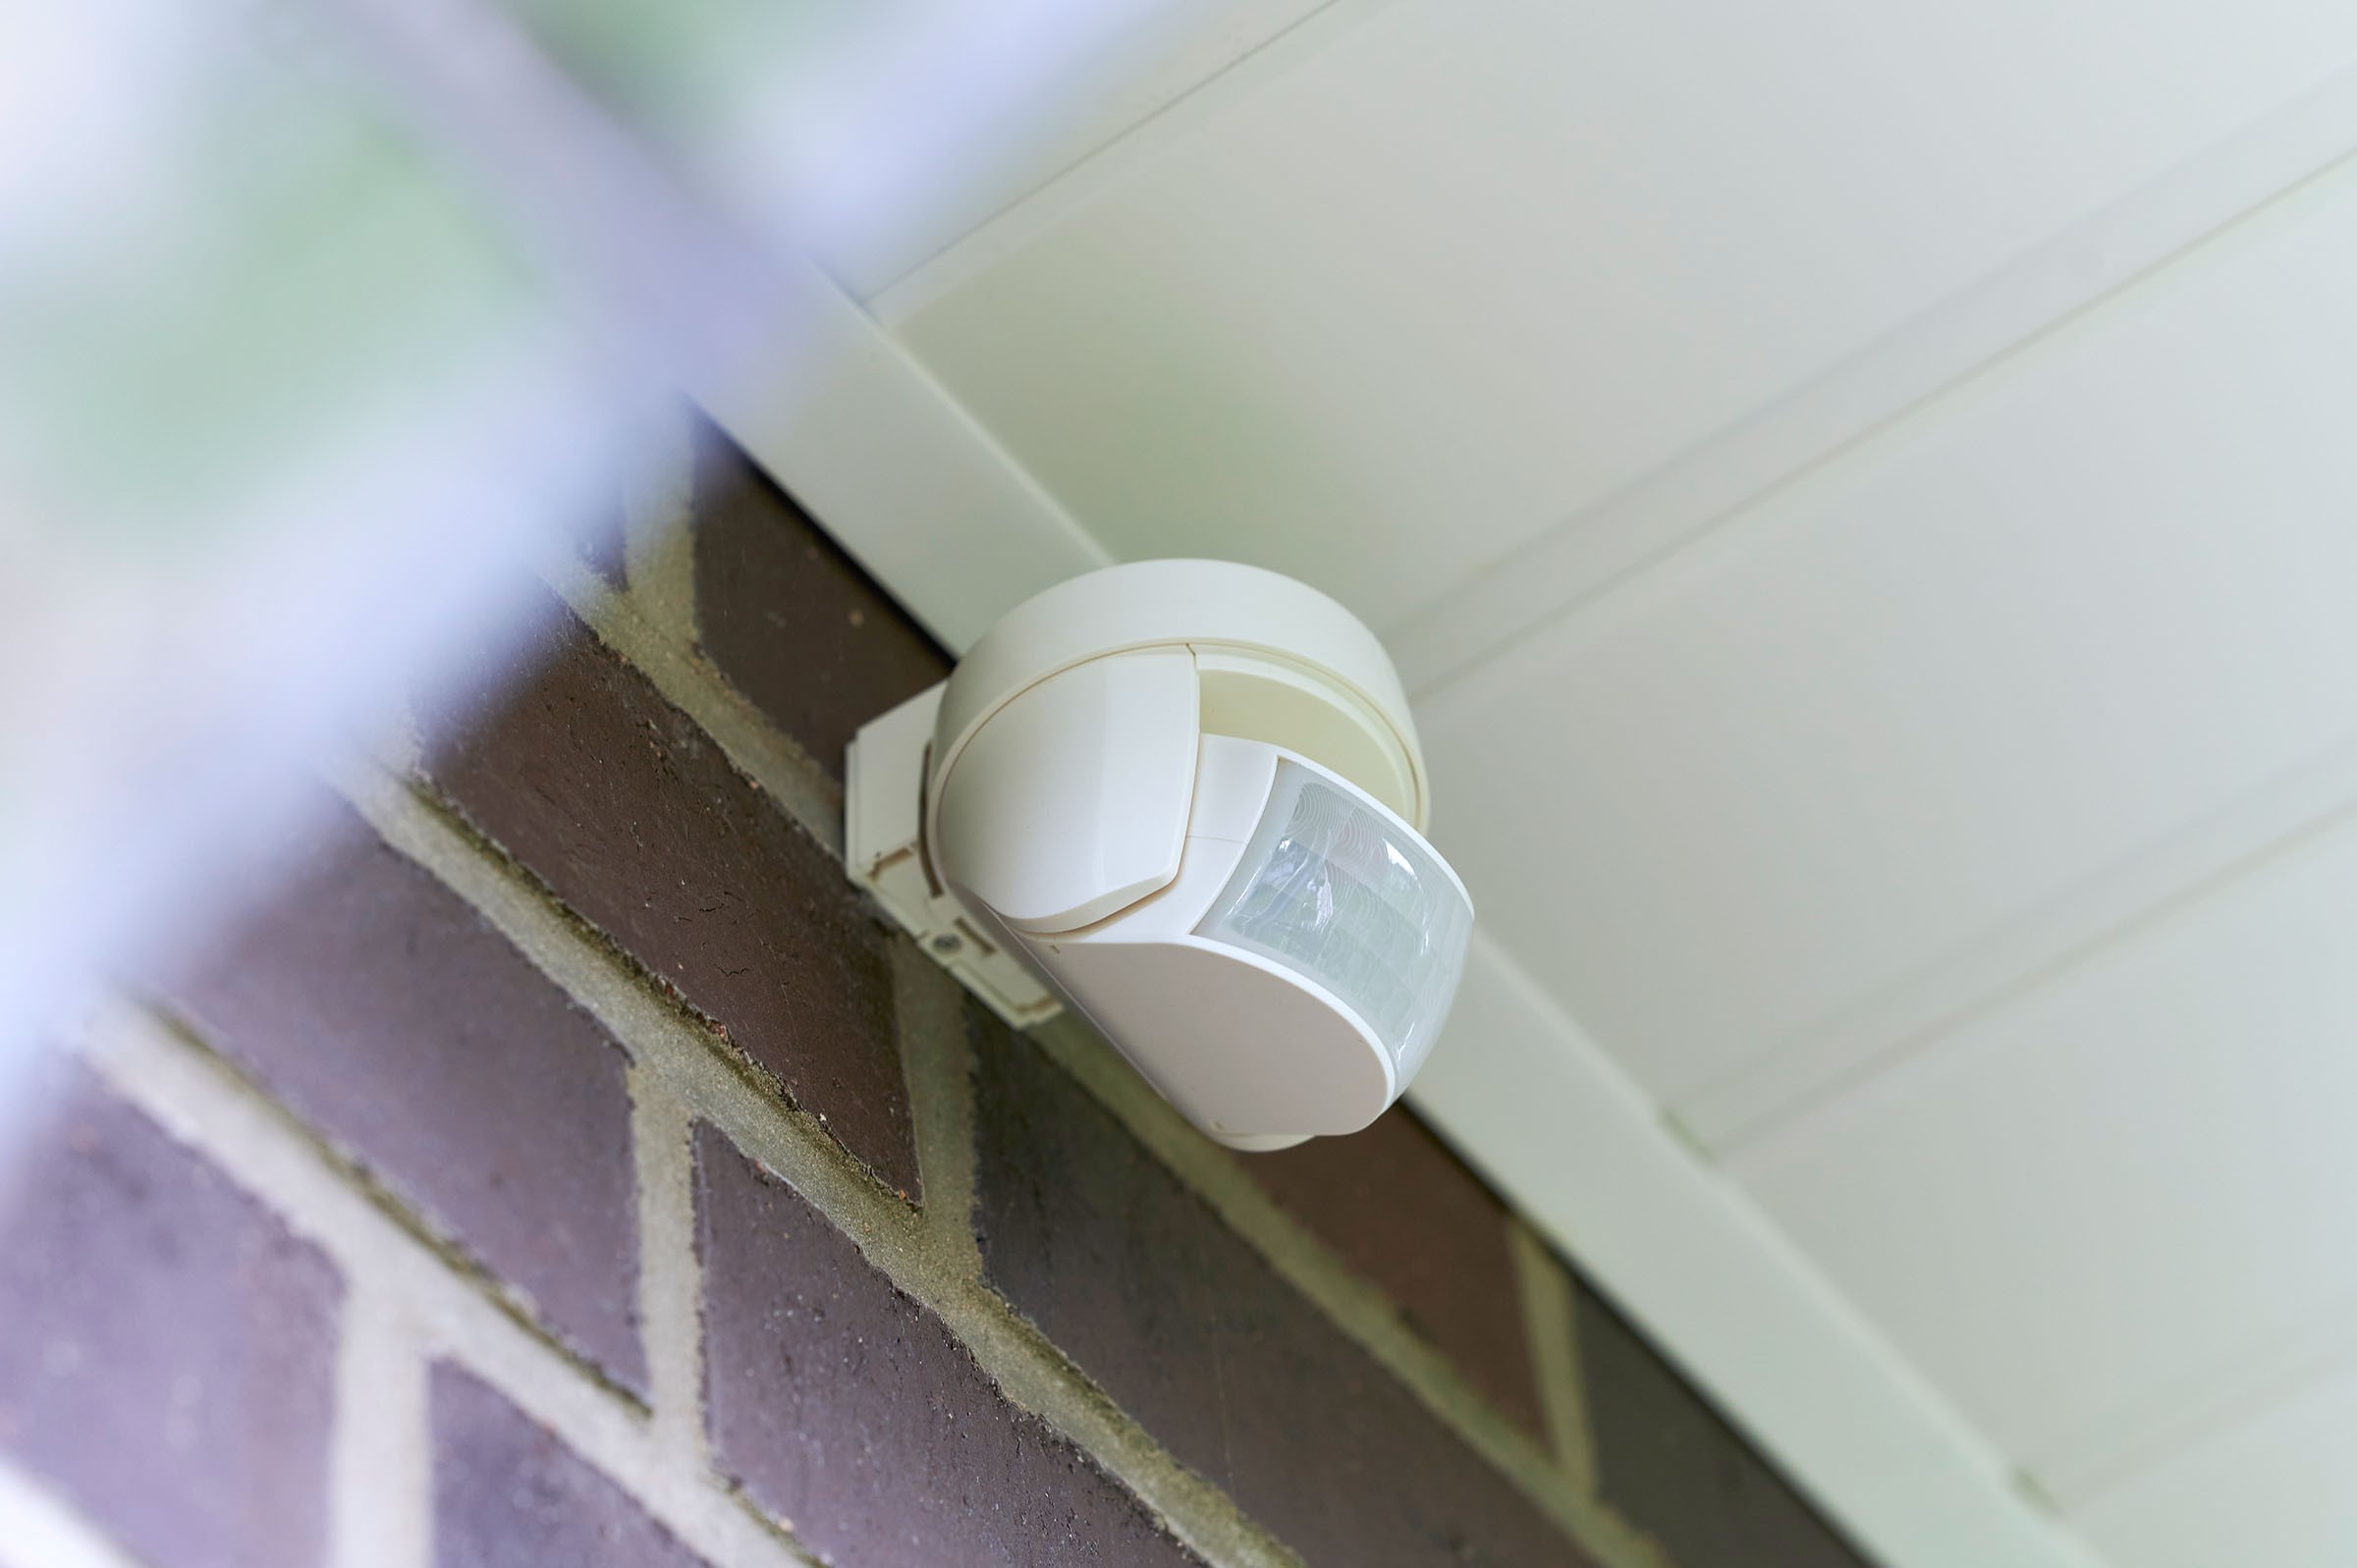
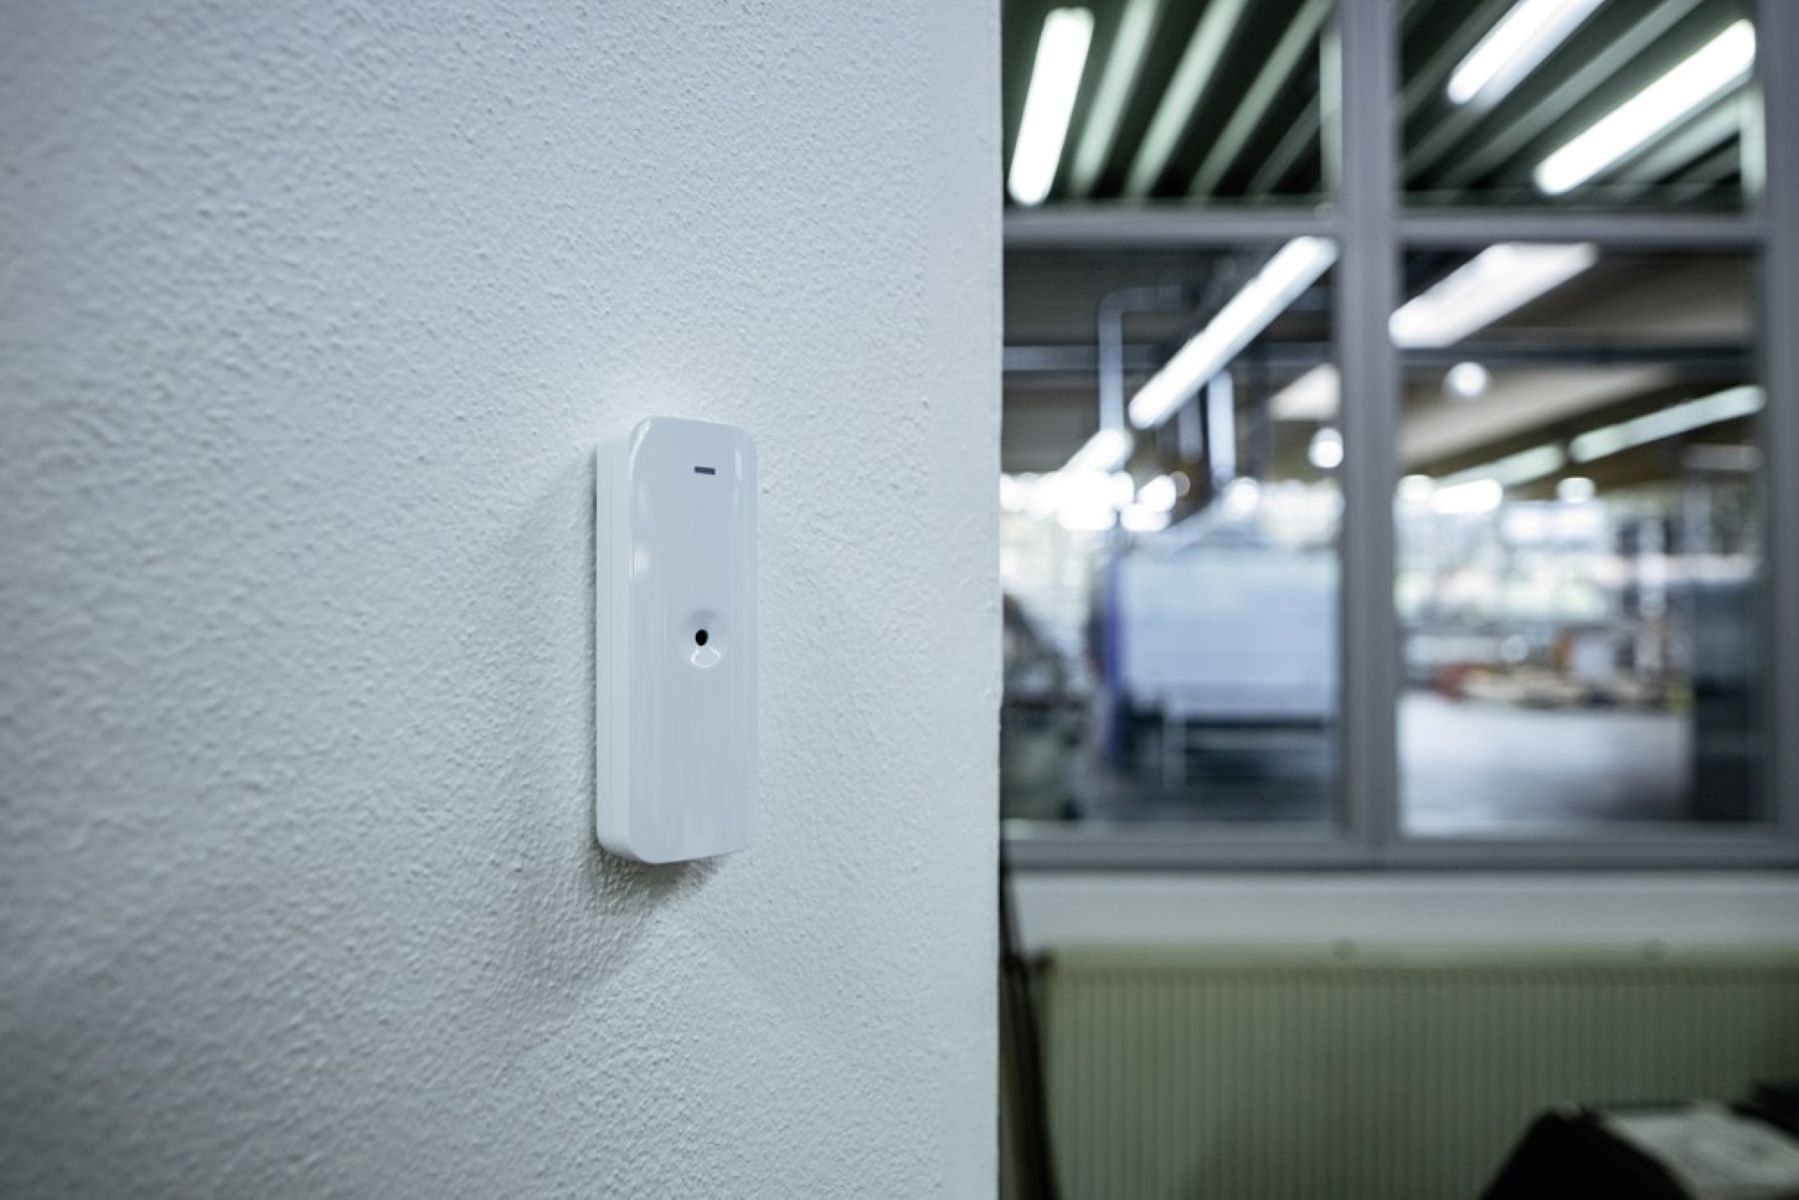
Step 2: Choosing the Mounting Location
Choosing the right mounting location for your DSC BV500GB PIR motion detector and glass break sensor is crucial for maximizing its effectiveness. Here are some considerations to keep in mind when selecting the ideal location:
- Height and angle: Mount the sensor at a height that allows it to capture motion without any obstructions. The recommended height is typically between 6 to 8 feet above the ground. Additionally, ensure that the sensor is angled correctly towards the area you want to cover.
- Line of sight: The sensor should have a clear line of sight to the area you want to monitor. Avoid placing it behind objects like curtains, furniture, or plants that could potentially obstruct its view.
- Range and coverage: Consider the range and coverage area of the sensor. Determine whether you need a wide-angle sensor for broader coverage or a narrow-angle sensor for targeted areas.
- Avoid direct sunlight and heat sources: Direct sunlight and heat sources can affect the performance of the sensor and cause false alarms. Choose a location that is away from direct sunlight and other heat-emitting devices.
- Accessibility: Ensure that the sensor is easily accessible for maintenance or battery replacement if required.
Once you have taken these factors into account, you can proceed to the next step: mounting the PIR motion detector.
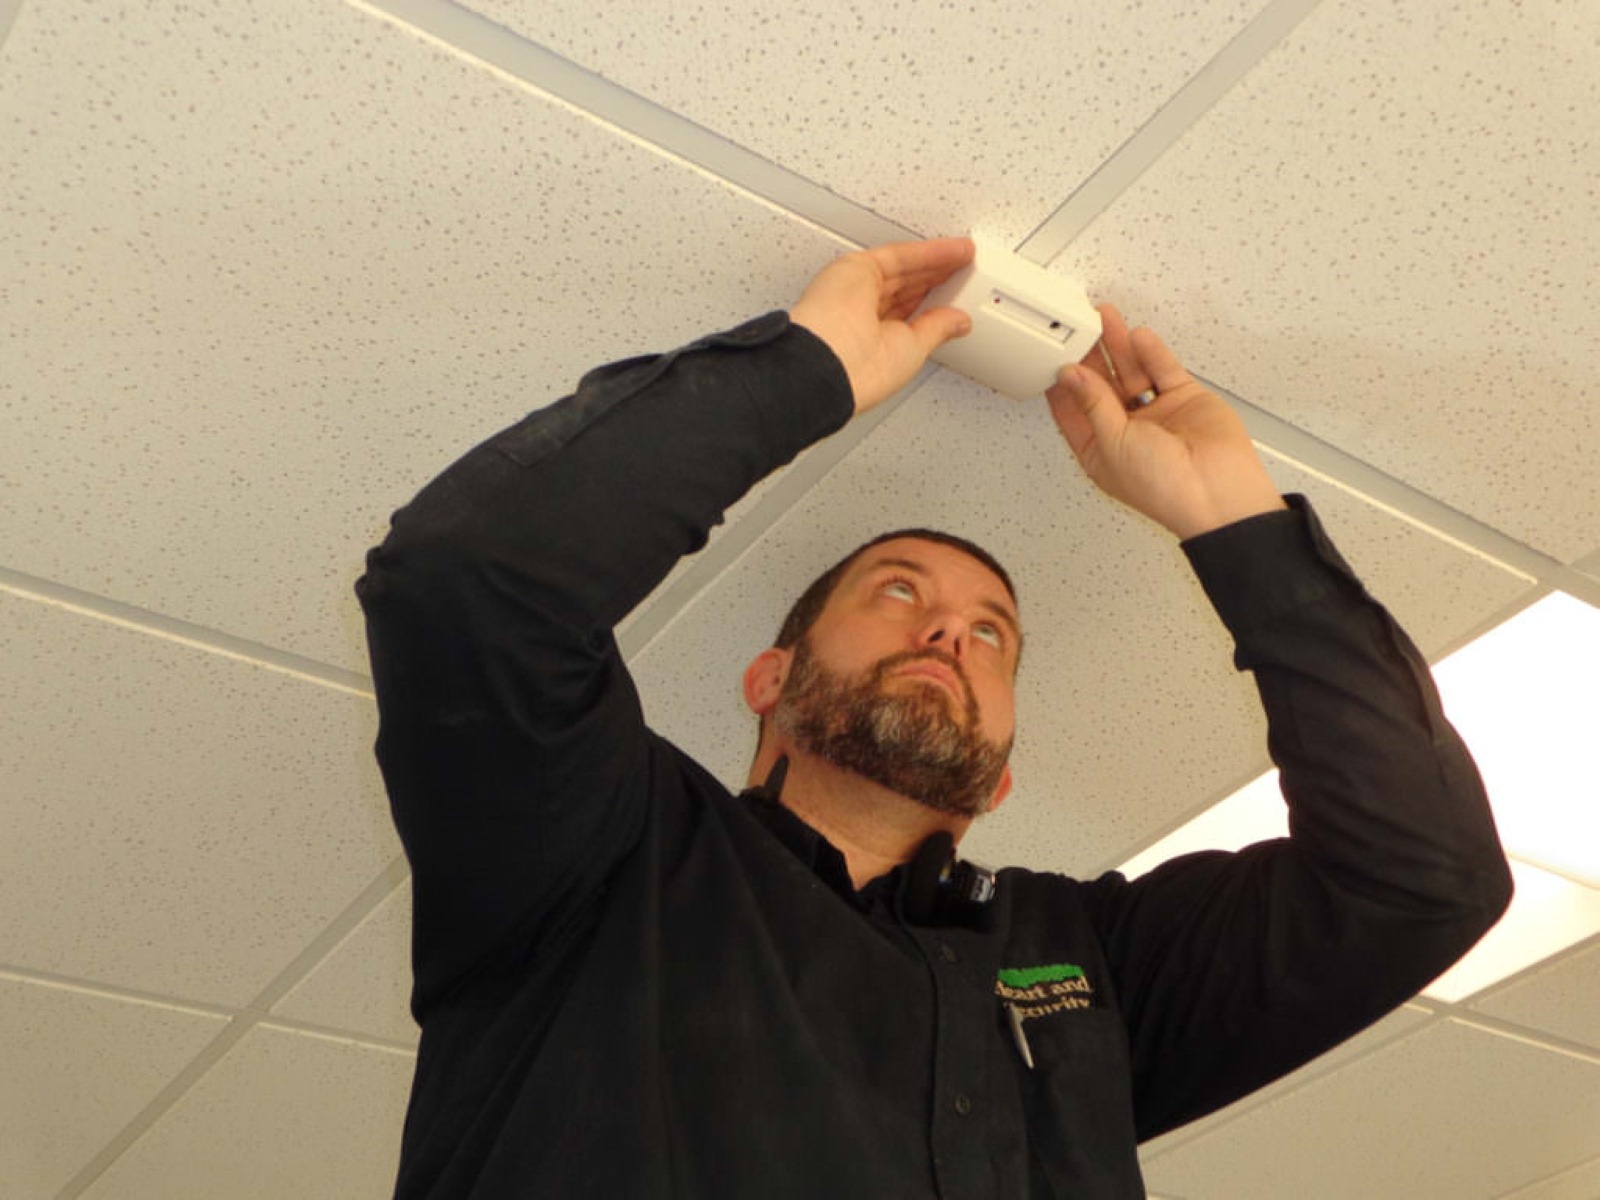
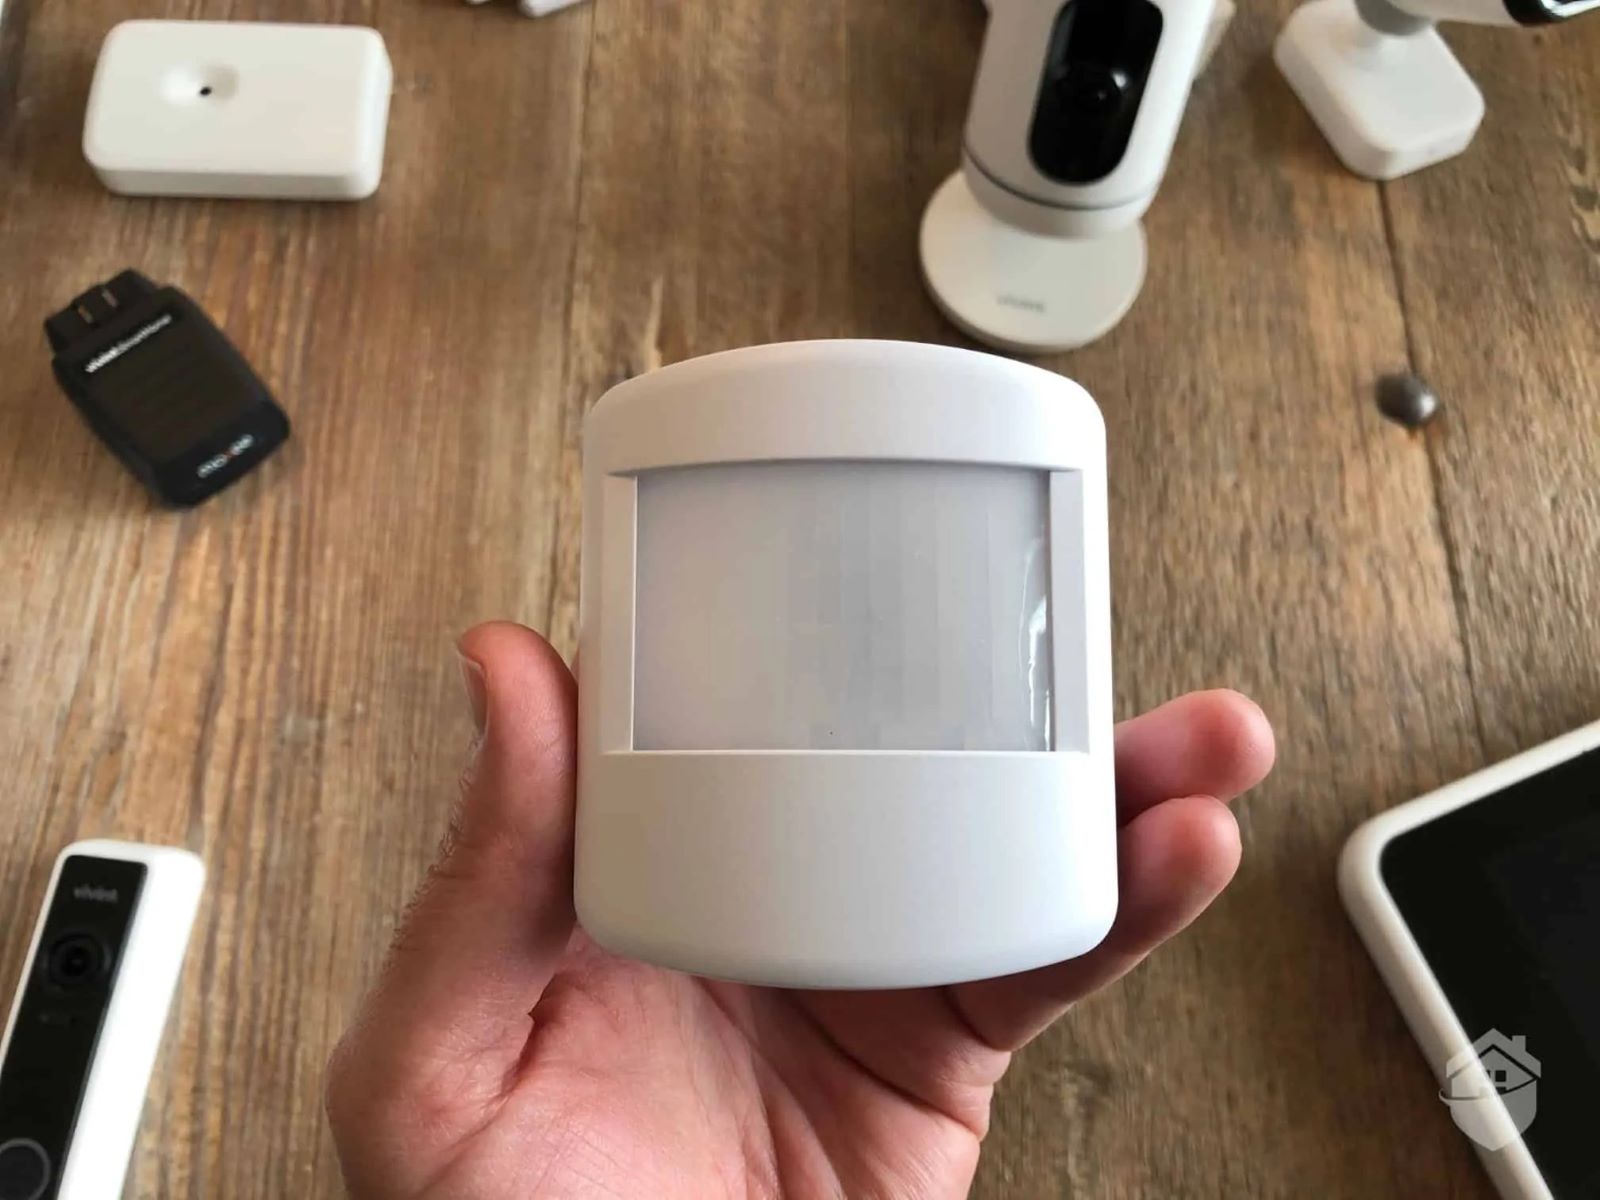
Step 3: Mounting the PIR Motion Detector
Mounting the PIR motion detector of the DSC BV500GB sensor is a crucial step in ensuring optimal performance. Follow these step-by-step instructions for a successful installation:
- Using a screwdriver or drill, attach the mounting bracket to the desired location on the wall or ceiling.
- Ensure that the bracket is securely fastened and level.
- Align the PIR lens of the motion detector with the mounting bracket.
- Gently slide the motion detector onto the mounting bracket until it clicks into place.
- Ensure that the motion detector is securely attached and does not wobble.
- Adjust the angle of the motion detector to cover the desired area by tilting it up or down.
- Once you are satisfied with the mounting and angle, tighten any screws or fasteners to secure the motion detector in place.
It is important to note that different models of the DSC BV500GB sensor may have varying mounting mechanisms. Always refer to the user manual provided with the sensor for specific instructions tailored to your device.
With the motion detector securely mounted, you are now ready to proceed to the next step: mounting the glass break sensor.
When installing the DSC BV500GB PIR Motion Detector and Glass Break Sensor, make sure to follow the manufacturer’s instructions carefully. Test the sensor after installation to ensure it is working properly.
Read more: How To Deactivate A DSC Motion Detector
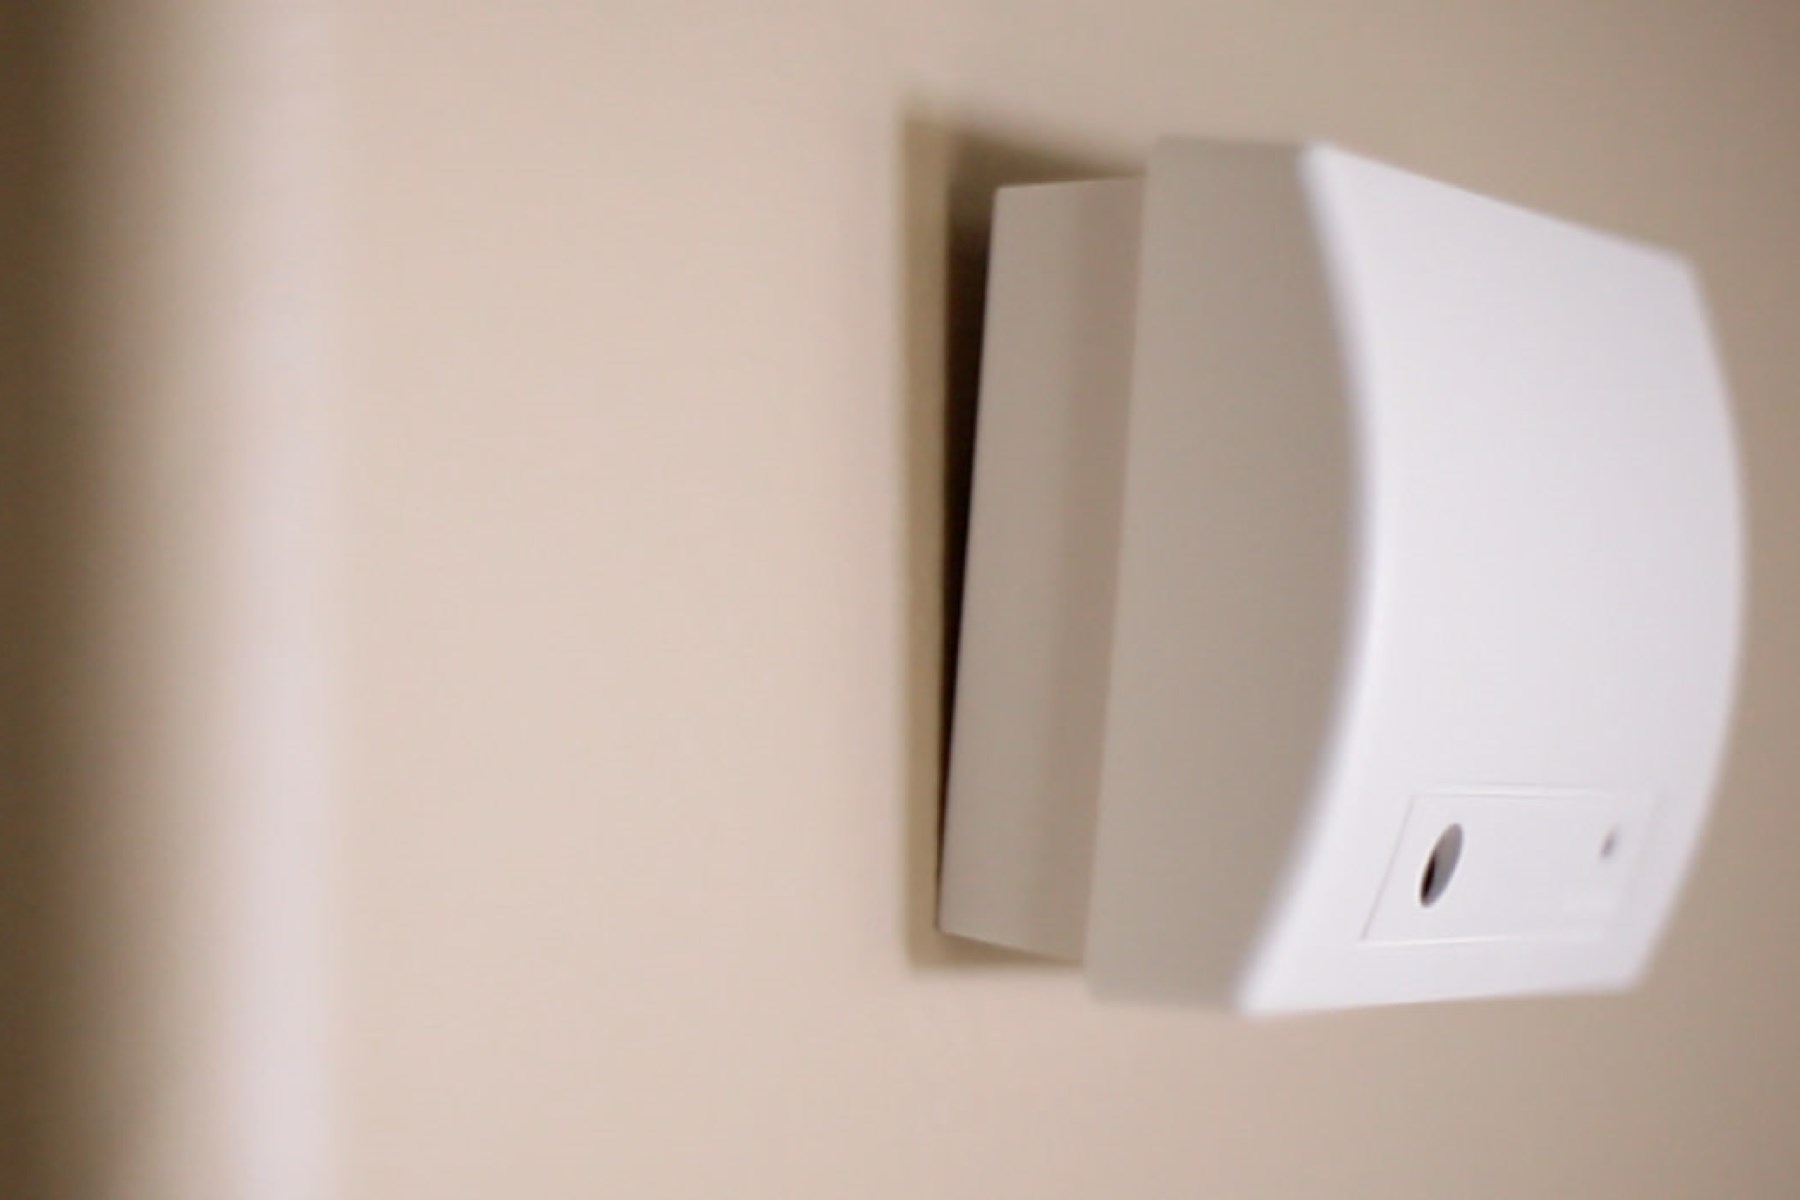
Step 4: Mounting the Glass Break Sensor
Mounting the glass break sensor of the DSC BV500GB is an important part of enhancing your home security system. Follow these steps to properly install the glass break sensor:
- Choose an appropriate location for the glass break sensor. Ideally, it should be placed near windows or glass doors that are at a higher risk of intrusion.
- Ensure that the sensor is within the recommended range of the windows or glass doors it will be monitoring.
- Using a screwdriver or drill, attach the mounting bracket of the glass break sensor to the chosen location. Make sure it is securely fastened and level.
- Align the glass break sensor with the mounting bracket and gently slide it onto the bracket until it clicks into place.
- Check that the glass break sensor is securely attached and does not move or wobble.
- Adjust the angle of the glass break sensor to cover the desired area by tilting it as needed.
- Tighten any screws or fasteners to ensure the glass break sensor is firmly mounted.
It’s important to note that the sensitivity of the glass break sensor can be adjusted based on your specific requirements and the characteristics of the room. Refer to the user manual for instructions on how to adjust the sensitivity level of the sensor.
With the glass break sensor securely mounted, you’re ready to move on to the next step: connecting the wires.
Step 5: Connecting the Wires
Now that you have successfully mounted the DSC BV500GB PIR motion detector and glass break sensor, it’s time to connect the wires. Follow these steps to ensure proper wiring:
- Locate the wires coming from the sensors, typically color-coded for easy identification.
- If necessary, strip a small section of insulation from the end of each wire using a wire stripper.
- Next, identify the corresponding wires from your home security system or control panel.
- Connect the wires from the PIR motion detector and glass break sensor to the corresponding terminals on the control panel.
- Ensure that the connections are secure and tight, making sure there are no loose wires.
- If your system requires power, connect the power supply wires to a suitable power source.
- Double-check all the connections to ensure they are properly secured and aligned.
It is crucial to refer to the user manual or consult with a professional if you are unsure about the wiring connections. Safety precautions should always be taken when working with electrical components to prevent accidents or damage to the system.
With the wires successfully connected, you can now proceed to the final step: testing the sensor.
Step 6: Testing the Sensor
After completing the installation and wiring of your DSC BV500GB PIR motion detector and glass break sensor, it is crucial to perform a thorough test to ensure that the sensor is functioning correctly. Follow these steps to test the sensor:
- Activate the sensor by arming your home security system or control panel.
- Trigger the PIR motion detector by walking within its detection range or moving an object in front of it.
- Observe if the motion detector successfully detects the movement and triggers the alarm system.
- To test the glass break sensor, generate a glass-breaking sound by clapping your hands loudly near the sensor or using a glass break simulator.
- Check if the sensor responds by activating the alarm system upon detecting the glass-breaking sound.
- Repeat the process multiple times to ensure the sensor consistently detects motion and glass break sounds.
- If any issues or inconsistencies are found during testing, consult the user manual or contact the manufacturer for troubleshooting steps or technical support.
Regular testing and maintenance are essential to ensure the continued reliability and effectiveness of your home security system. Consider scheduling periodic tests to guarantee the sensor’s performance over time.
Congratulations! You have successfully installed and tested the DSC BV500GB PIR motion detector and glass break sensor. With these sensors in place, your home security and surveillance system are now enhanced, providing you with peace of mind and increased protection.
Remember to periodically check and clean the sensors to prevent dust or debris buildup, as this can affect their functionality. Additionally, keep an eye on the sensor’s battery life and replace as needed.
Thank you for following this installation guide. Stay safe and secure!
Conclusion
Installing a reliable home security system is crucial in today’s fast-paced world, where ensuring the safety and security of our loved ones and belongings is a top priority. The DSC BV500GB PIR motion detector and glass break sensor provide an effective and efficient solution to enhance your home security measures.
Throughout this installation guide, we have walked you through the step-by-step process of installing the DSC BV500GB sensor. By unboxing the sensor, choosing the mounting location, mounting the PIR motion detector and glass break sensor, connecting the wires, and performing a thorough testing process, you have successfully integrated these essential components into your home security system.
Remember to refer to the user manual and follow manufacturer instructions when installing the sensor. If you encounter any difficulties or have questions, it is always recommended to seek professional assistance or contact the manufacturer for guidance.
Regular maintenance and testing of your home security system are crucial to ensure its continued effectiveness. Schedule periodic checks to ensure the sensors are functioning correctly, clean them to prevent dust accumulation, replace batteries when needed, and stay proactive in keeping your home secure.
With the DSC BV500GB PIR motion detector and glass break sensor installed, you can now enjoy greater peace of mind, knowing that you have taken an important step towards safeguarding your home and loved ones. Remember, home security is not just about the installation of devices; it requires a comprehensive approach that includes proper locks, lighting, and other security measures.
Thank you for following this installation guide. Stay vigilant, stay secure!
Frequently Asked Questions about How To Install DSC BV500GB PIR Motion Detector And Glass Break Sensor
Was this page helpful?
At Storables.com, we guarantee accurate and reliable information. Our content, validated by Expert Board Contributors, is crafted following stringent Editorial Policies. We're committed to providing you with well-researched, expert-backed insights for all your informational needs.