Home>Furniture & Design>Interior Design Trends>How To Remove Side Mirror Glass Without Breaking
Interior Design Trends
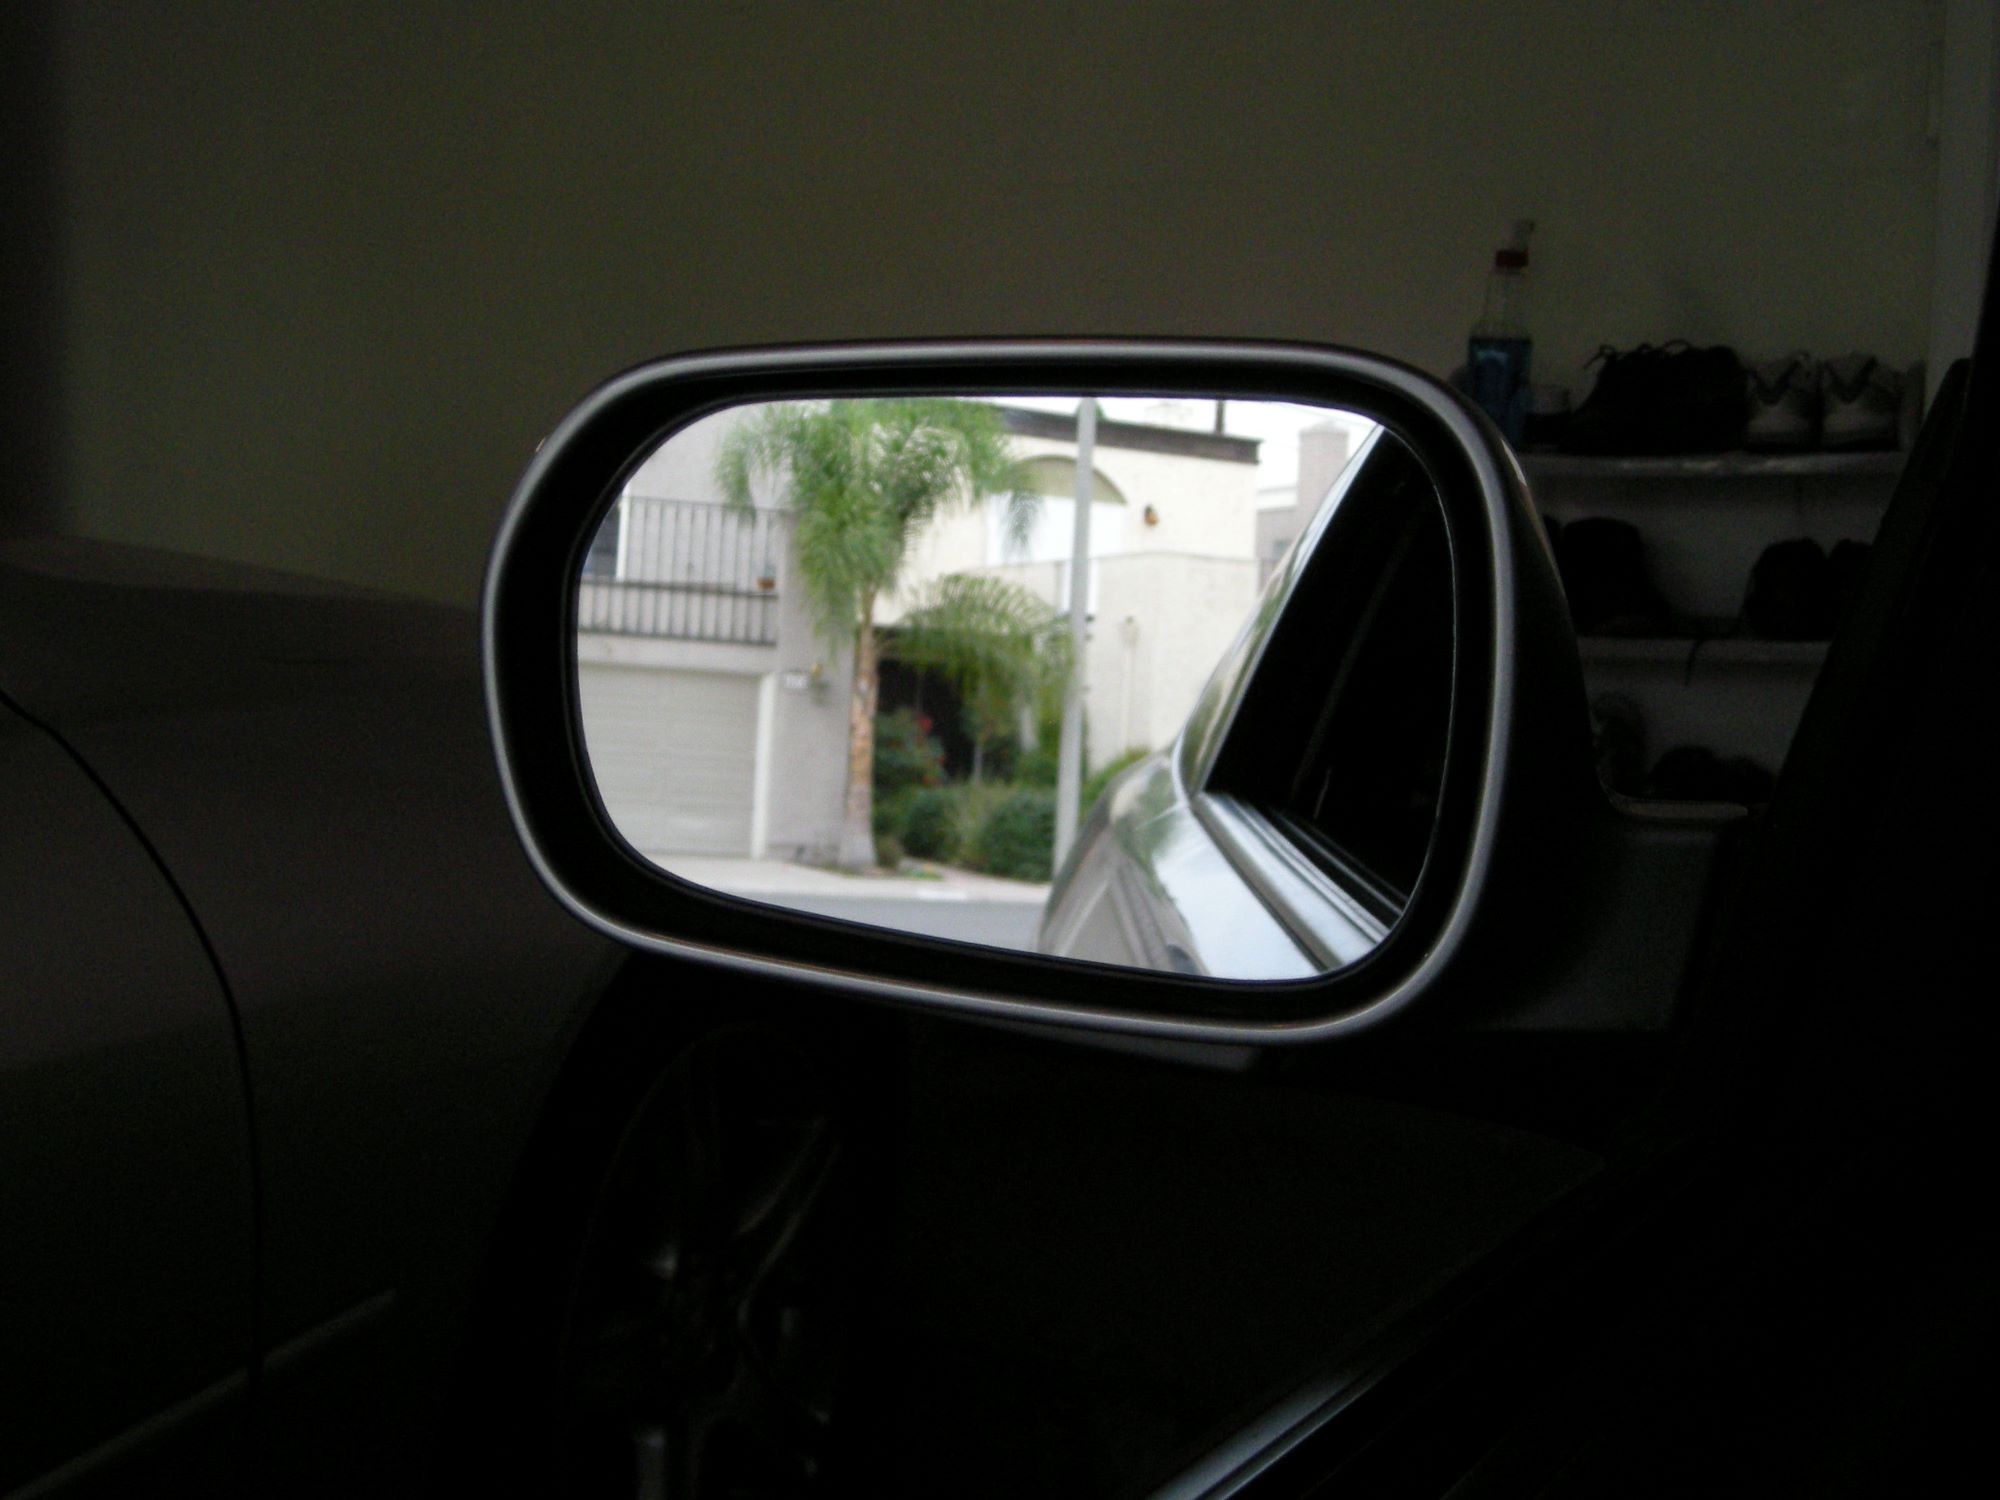
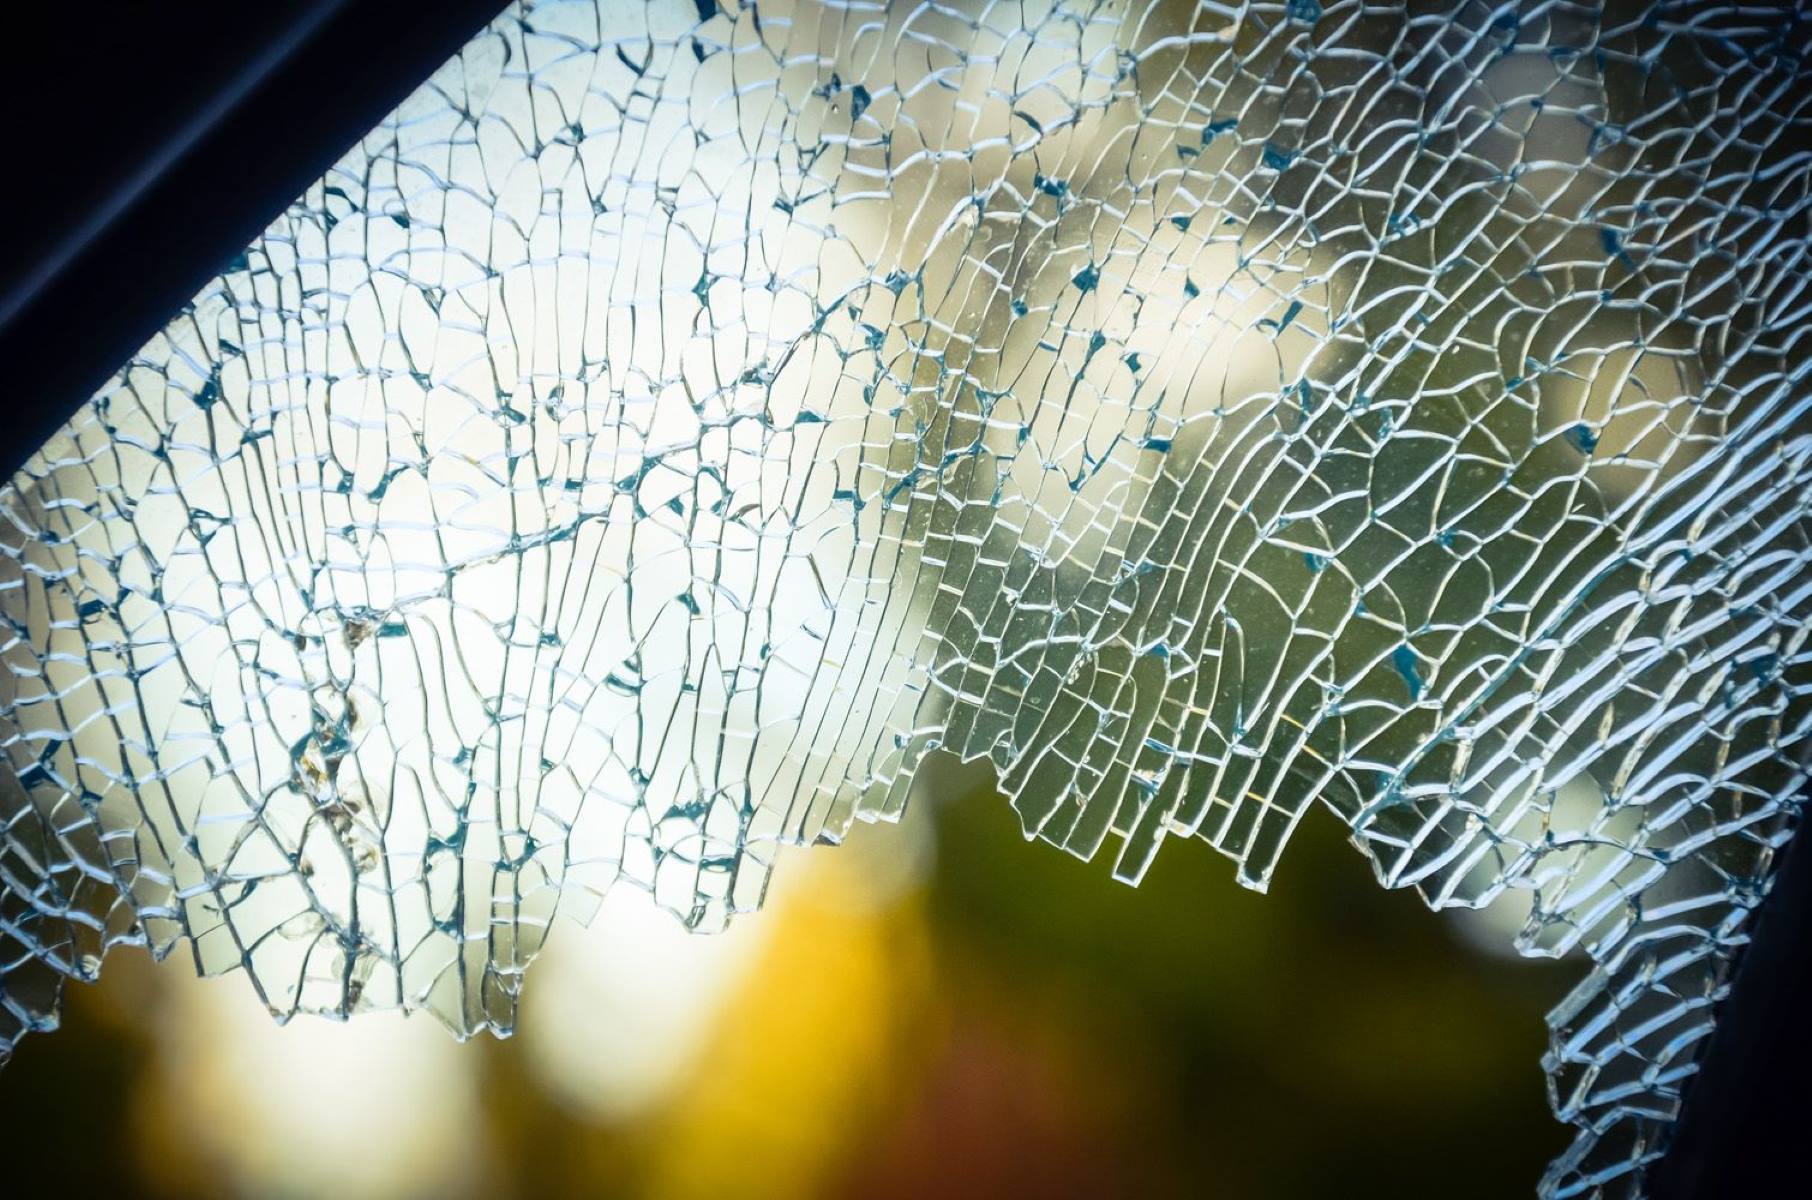
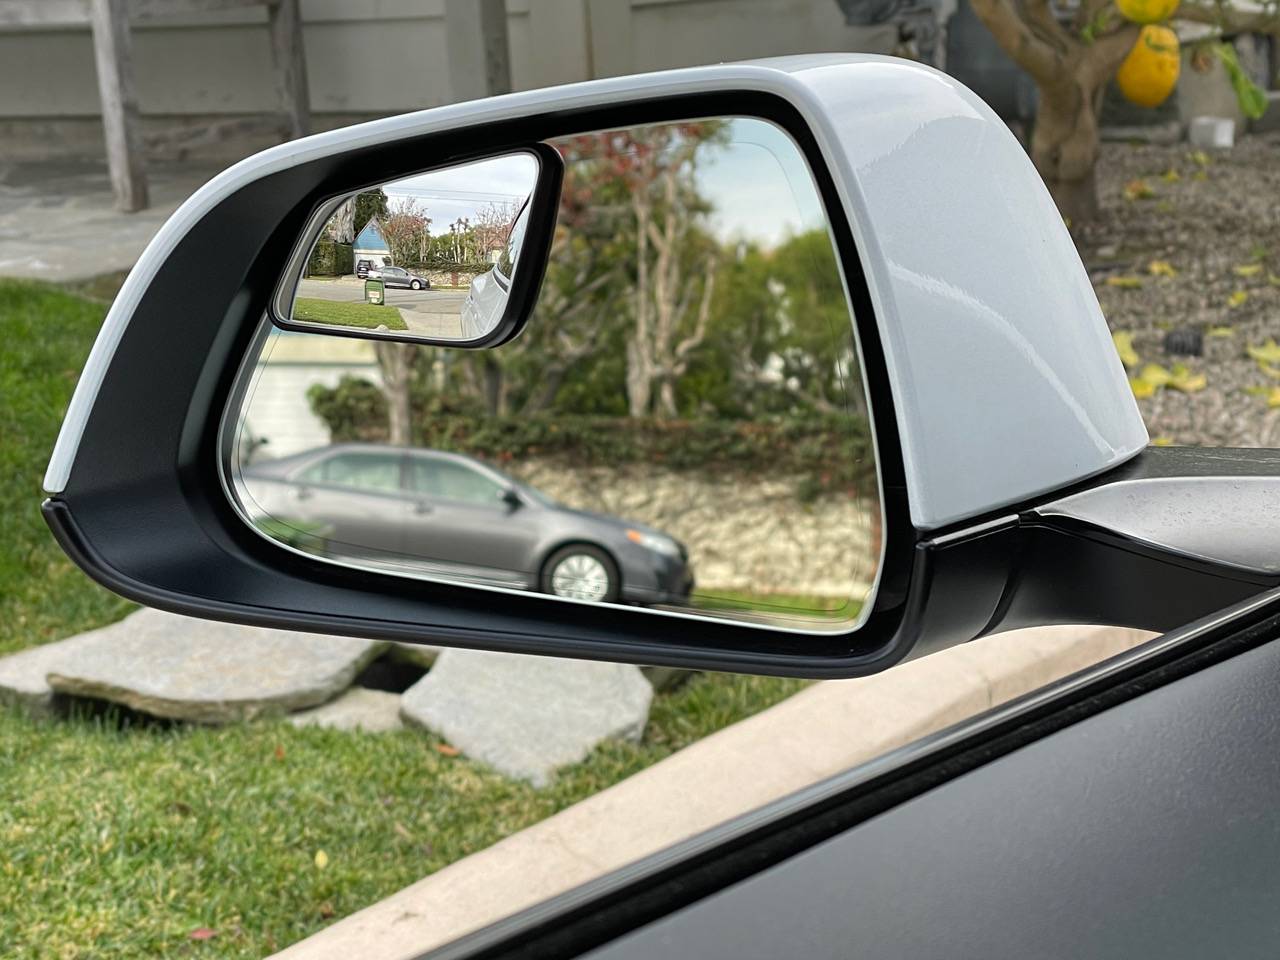
How To Remove Side Mirror Glass Without Breaking
Modified: February 18, 2024
Learn how to safely remove side mirror glass without breaking it. Discover the latest interior design trends and tips for your home.
(Many of the links in this article redirect to a specific reviewed product. Your purchase of these products through affiliate links helps to generate commission for Storables.com, at no extra cost. Learn more)
Introduction
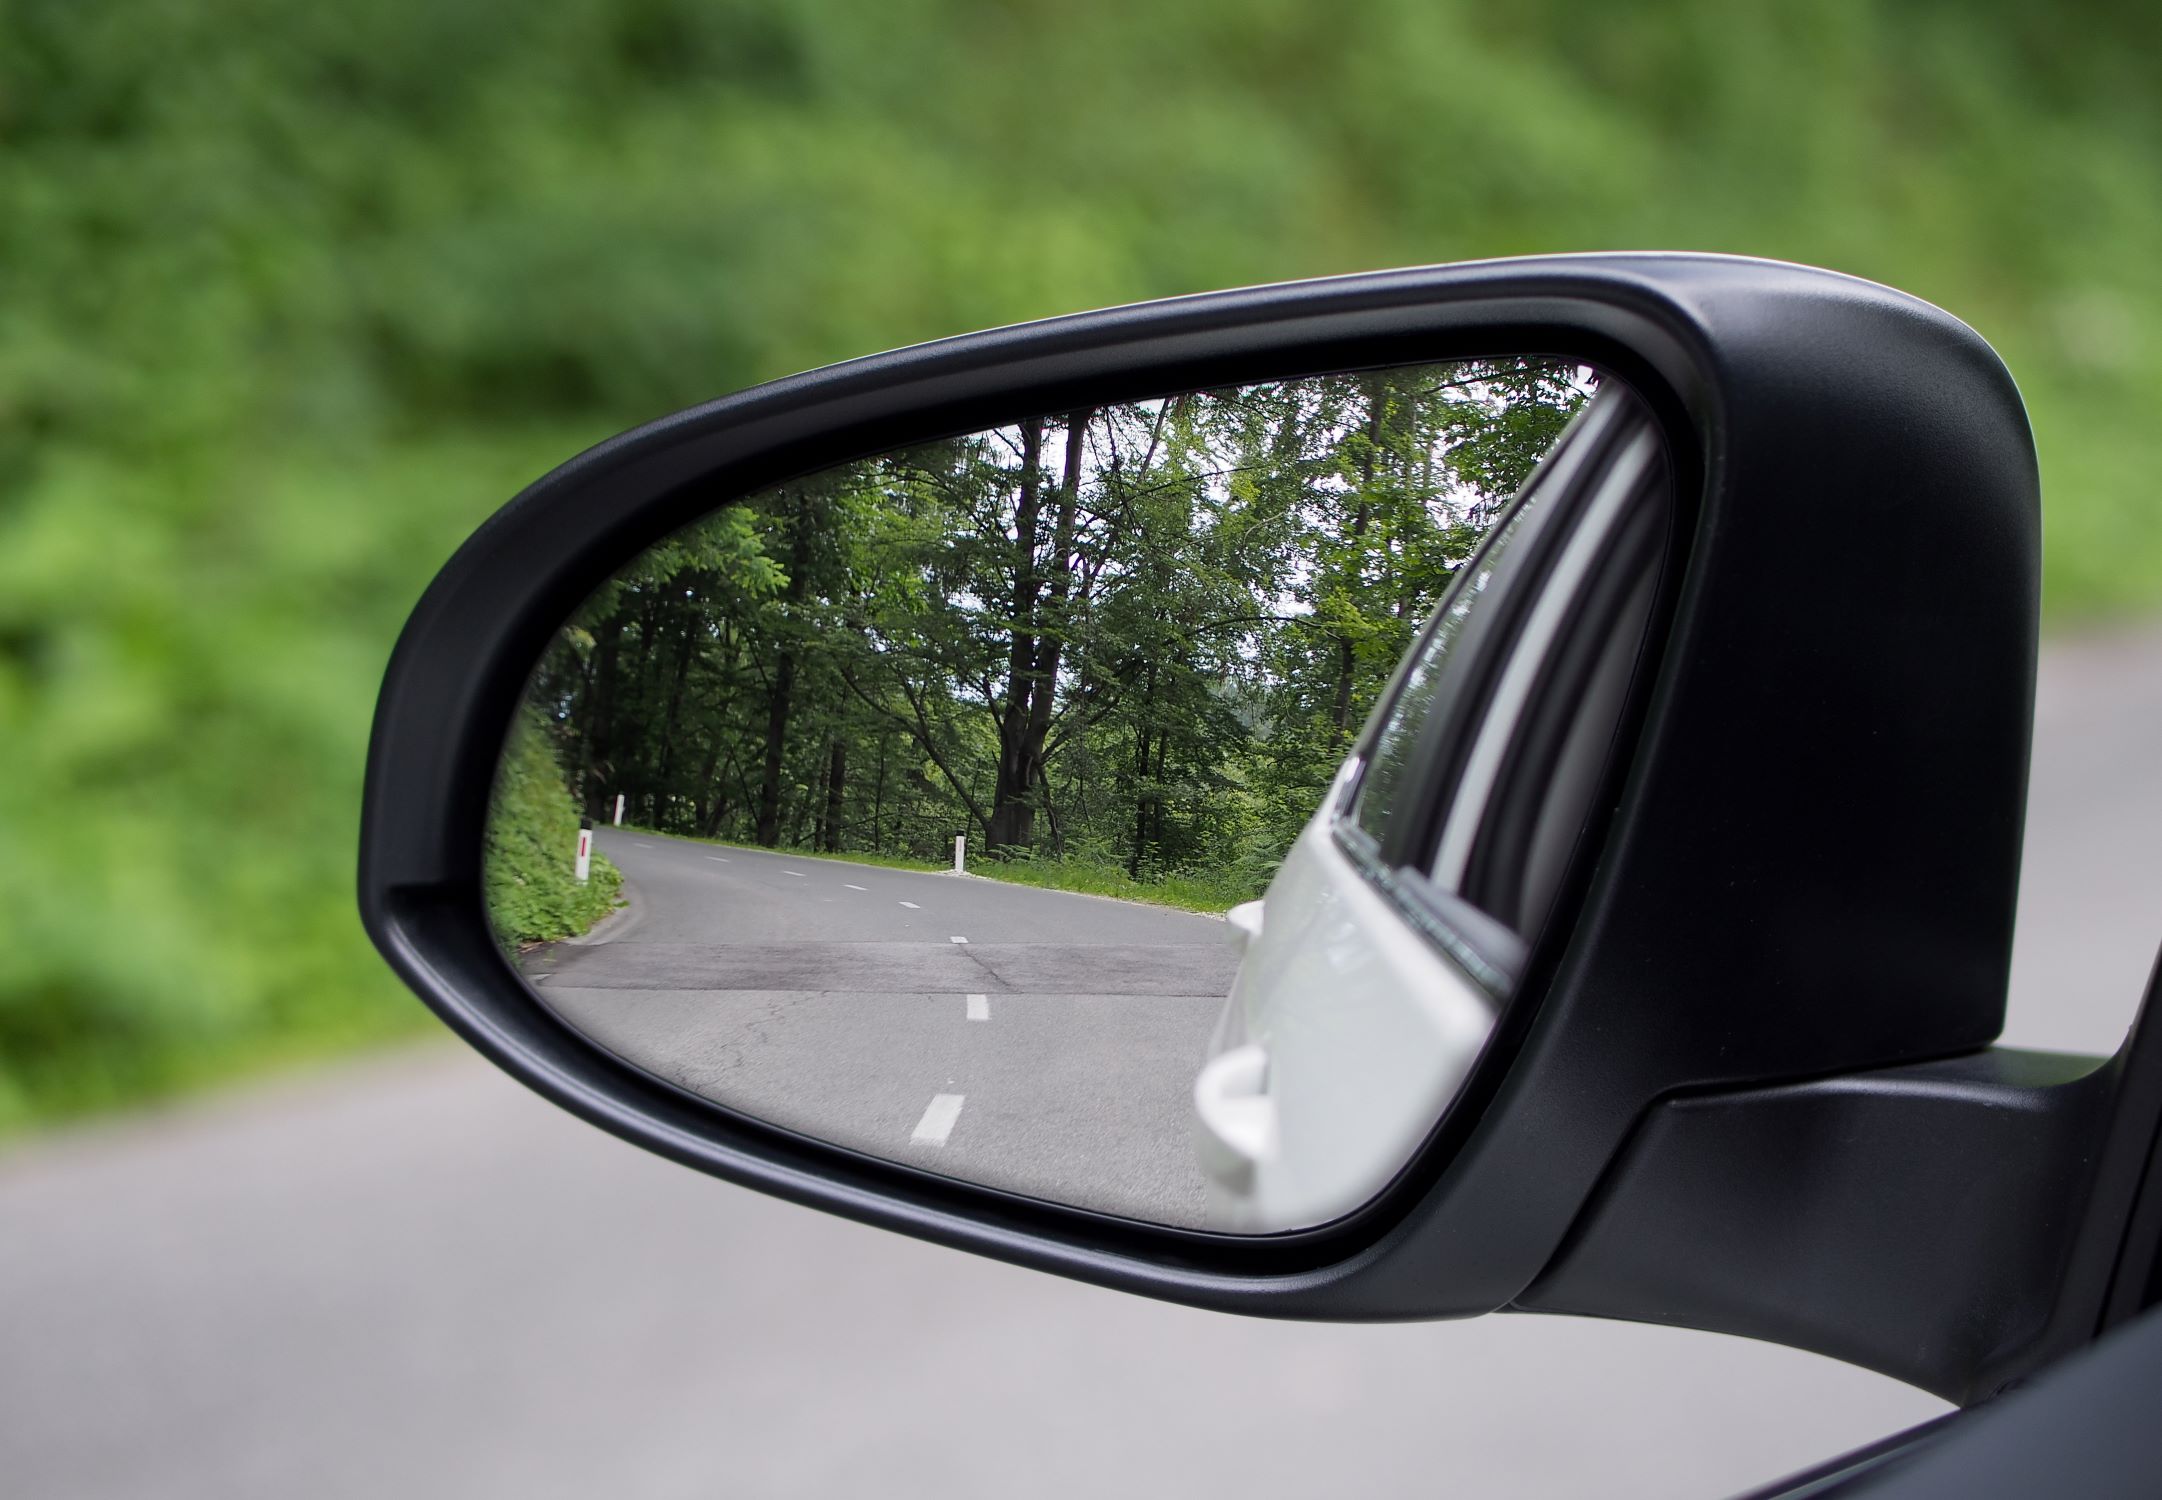
Removing side mirror glass from a car may seem like a daunting task, but with the right tools and techniques, it can be a straightforward process. Whether you need to replace a damaged mirror or simply want to clean the mirror housing, knowing how to remove the mirror glass without breaking it is essential. By following the steps outlined in this guide, you can safely and effectively remove the mirror glass from your car without causing any damage.
Taking the time to properly remove the mirror glass can save you from costly repairs and ensure that the process is completed smoothly. With the right approach, you can tackle this task with confidence, knowing that you have the necessary knowledge to complete it successfully. So, gather your tools and let's get started on this practical and essential car maintenance skill.
Key Takeaways:
- Removing side mirror glass from a car is a delicate process that requires the right tools and preparation. By following the steps in this guide, you can safely remove and clean the mirror without causing any damage.
- After removing the mirror glass, cleaning the interior of the housing is crucial for a professional finish. Reinstalling the mirror glass with care ensures that your car’s side mirror is fully functional and aesthetically restored.
Read more: How To Remove Side Mirror Glass From Housing
Tools and Materials Needed
Before embarking on the task of removing the side mirror glass from your car, it's crucial to gather the necessary tools and materials. Having the right equipment at hand will not only make the process smoother but also minimize the risk of damaging the mirror or the surrounding components. Here's a comprehensive list of the tools and materials you'll need:
Tools:
-
Flathead Screwdriver: This versatile tool will be used to carefully pry the mirror glass from its housing. Ensure that the screwdriver has a thin and flat tip to fit into the tight spaces around the mirror.
-
Trim Removal Tool: A trim removal tool with a flat, non-marring edge is ideal for gently releasing the mirror glass from its housing without causing any scratches or damage.
-
Protective Gloves: It's essential to protect your hands during the removal process. Opt for a pair of durable gloves that offer a good grip and dexterity.
-
Clean Cloth: Having a clean, lint-free cloth on hand will allow you to wipe down the mirror housing and remove any dust or debris that may have accumulated.
-
Safety Glasses: As a precautionary measure, wearing safety glasses can protect your eyes from any debris that may dislodge during the removal process.
Materials:
-
Protective Tape: A roll of low-tack protective tape can be used to cover the surrounding area of the mirror housing, providing an extra layer of protection against accidental scratches or damage.
-
Cleaning Solution: Depending on the condition of the mirror housing, you may need a suitable cleaning solution to remove any stubborn dirt or residue.
-
Replacement Mirror Glass (if applicable): If your intention is to replace the mirror glass, ensure that you have the correct replacement part ready for installation.
-
Adhesive (if applicable): In the case of a replacement mirror glass, having the appropriate adhesive on hand will be necessary for securing the new glass in place.
By assembling these tools and materials before starting the removal process, you'll be well-prepared to tackle the task with confidence and precision. With the right equipment at your disposal, you can proceed to the next steps knowing that you have everything you need to successfully remove the side mirror glass from your car.
Step 1: Prepare the Area
Before diving into the process of removing the side mirror glass, it's crucial to prepare the surrounding area to ensure a smooth and damage-free operation. Taking the time to prepare the area will not only safeguard the integrity of the mirror housing but also minimize the risk of accidental scratches or breakage. Here's a detailed guide on how to effectively prepare the area for mirror glass removal:
-
Park the Vehicle in a Safe and Well-Lit Area: Begin by parking your car in a well-lit and spacious area. Adequate lighting is essential for clear visibility, while a safe and open space allows for easier maneuvering around the mirror.
-
Engage the Parking Brake: To prevent any unexpected movement of the vehicle, engage the parking brake. This added safety measure ensures that the car remains stationary throughout the removal process.
-
Cover the Surrounding Area with Protective Tape: Carefully apply low-tack protective tape around the edges of the mirror housing. This step is crucial for safeguarding the paint and surrounding surfaces from accidental scratches or damage during the removal process.
-
Wear Protective Gloves and Safety Glasses: Prior to initiating the removal, put on a pair of protective gloves to shield your hands from any sharp edges or debris. Additionally, wearing safety glasses provides essential eye protection in case of dislodged particles during the process.
-
Inspect the Mirror Housing: Take a moment to inspect the mirror housing for any visible damage or irregularities. This visual assessment can help identify any pre-existing issues that may require attention during the removal process.
-
Gather the Necessary Tools and Materials: Ensure that all the required tools and materials are within reach. Having everything readily available will streamline the process and minimize interruptions during the removal.
By meticulously preparing the area before commencing the mirror glass removal, you set the stage for a successful and damage-free operation. These preparatory steps not only contribute to a smoother removal process but also demonstrate a proactive approach to safeguarding the integrity of your vehicle's side mirror. With the area properly prepared, you are now ready to proceed to the next step of removing the mirror glass with confidence and precision.
Read more: How To Break Glass Without Shattering
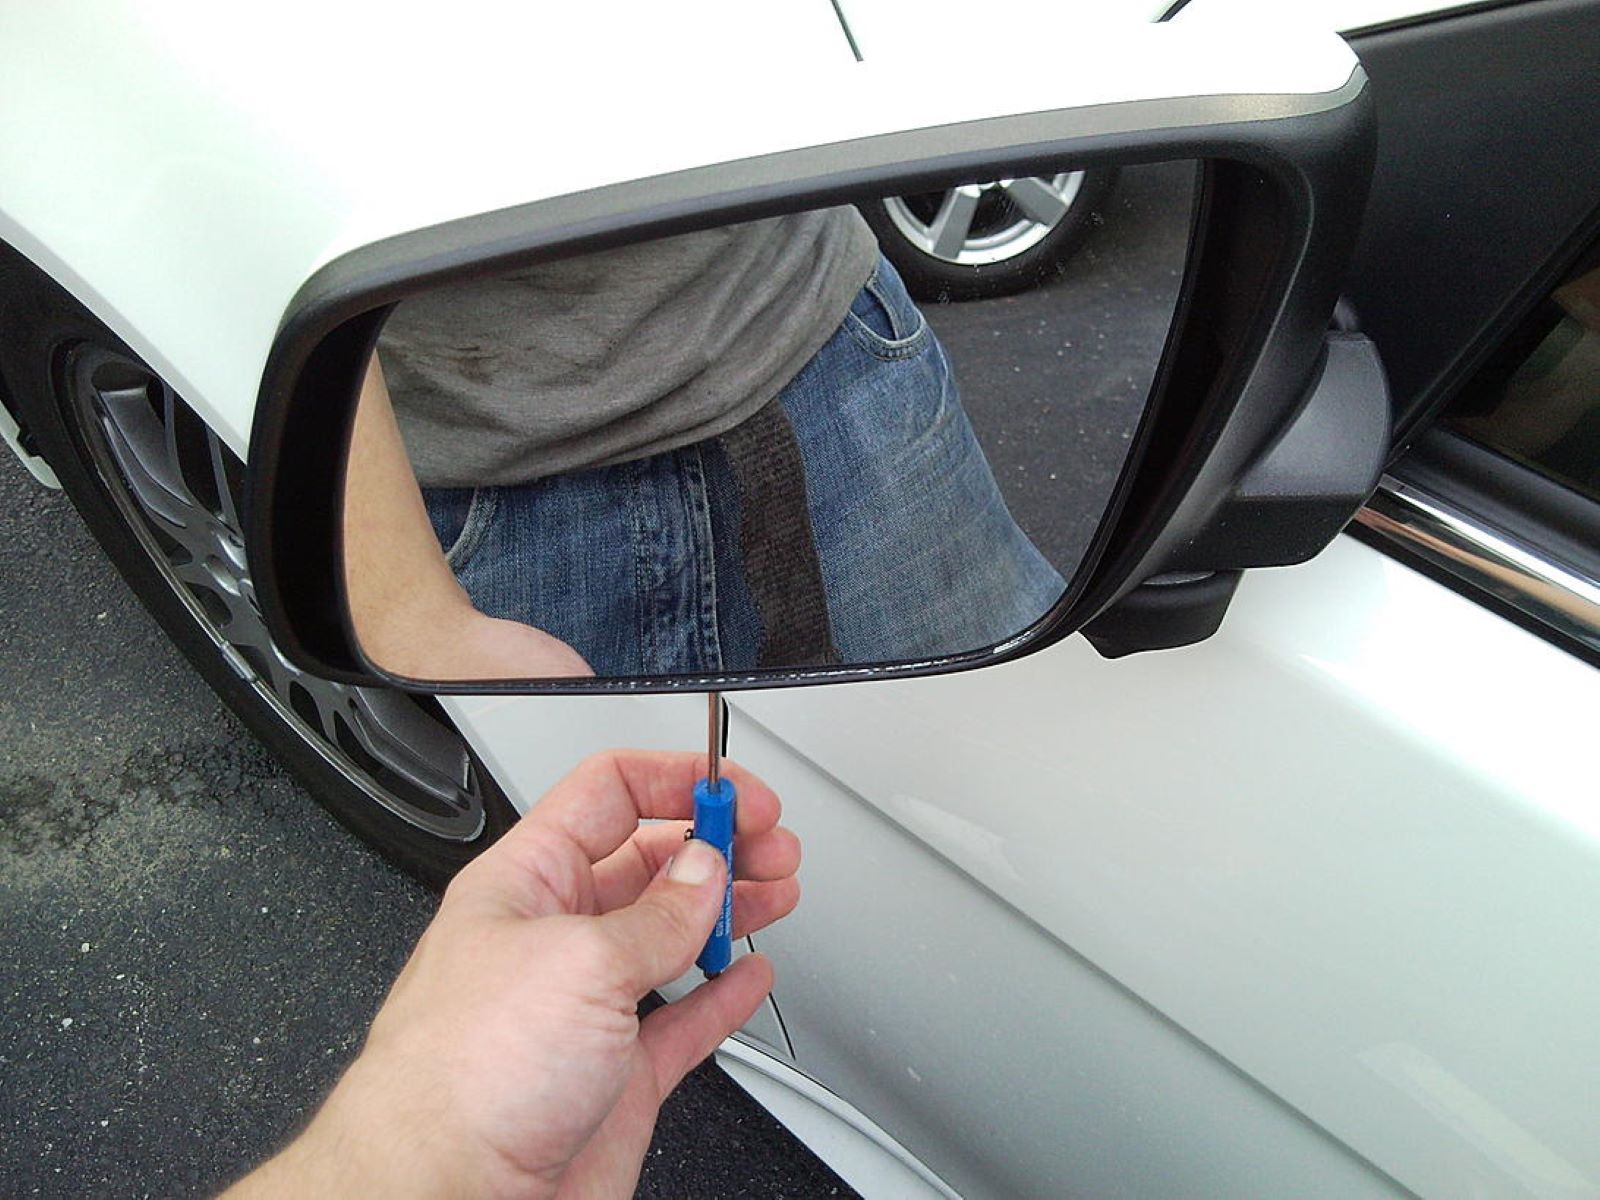
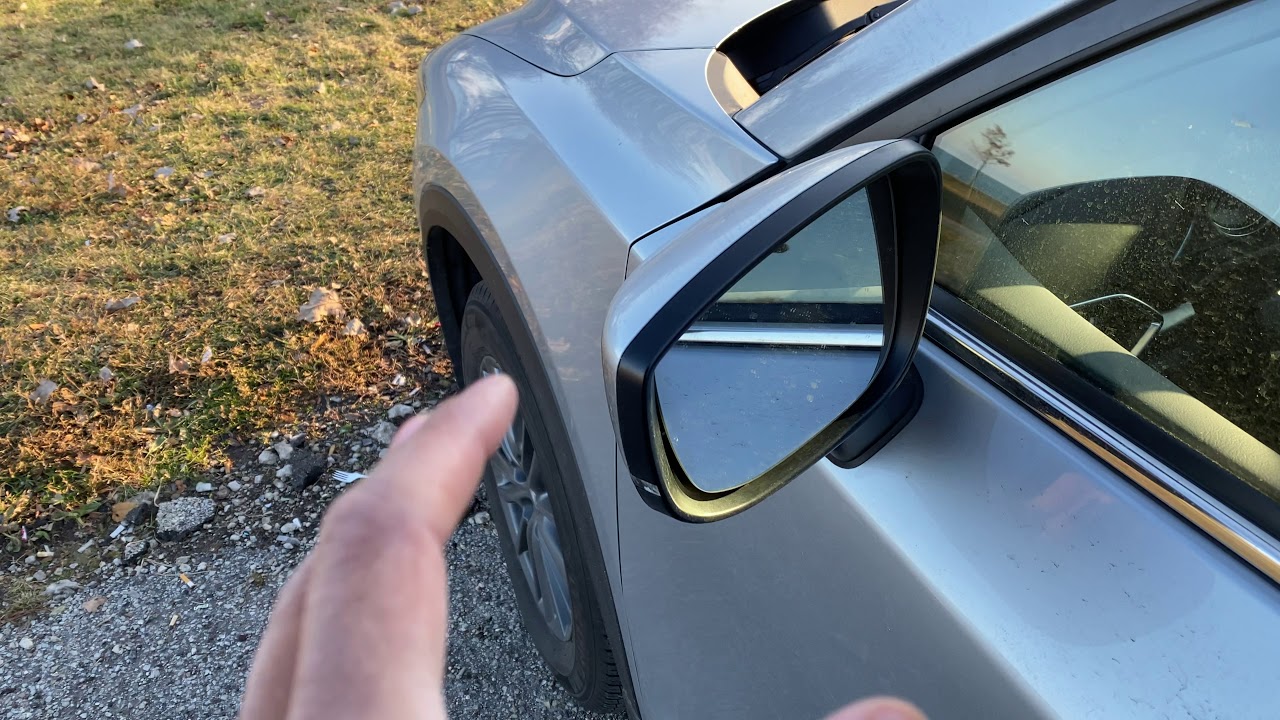
Step 2: Remove the Mirror Glass
Removing the mirror glass from your car's side mirror housing requires a delicate and precise approach to avoid any damage. By following these detailed steps, you can safely and effectively remove the mirror glass without causing any harm to the mirror or the surrounding components.
-
Identify the Retaining Clips: Begin by identifying the retaining clips that secure the mirror glass to the housing. These clips are typically located on the back of the mirror and may vary in number depending on the make and model of your vehicle.
-
Use a Flathead Screwdriver: Gently insert a flathead screwdriver behind the edge of the mirror glass, being careful not to apply excessive force. Slowly pry the mirror away from the housing, taking care not to damage the clips or the mirror itself.
-
Utilize a Trim Removal Tool: For added precision, consider using a trim removal tool with a flat, non-marring edge. This tool can help release the mirror glass from the retaining clips without causing any scratches or damage to the surrounding surfaces.
-
Apply Even Pressure: As you work around the edges of the mirror, apply even pressure to gradually release the retaining clips. Take your time and exercise patience to ensure a smooth and controlled removal process.
-
Support the Mirror Glass: Once the retaining clips are disengaged, support the mirror glass with one hand while continuing to gently pry it away from the housing. Be mindful of any electrical connectors or heating elements that may be attached to the mirror.
-
Disconnect Any Electrical Components (if applicable): If your mirror is equipped with electrical components, such as heating elements or turn signal indicators, carefully disconnect the wiring harness before fully removing the mirror glass.
-
Inspect for Additional Fasteners: In some cases, there may be additional fasteners securing the mirror glass. Take a moment to inspect the mirror housing for any hidden screws or fastening mechanisms that may need to be addressed before the mirror can be fully removed.
By following these meticulous steps, you can successfully remove the mirror glass from your car's side mirror housing with precision and care. Taking the time to execute each step thoughtfully will ensure that the removal process is completed smoothly and without any damage to the mirror or the surrounding components. With the mirror glass safely removed, you can proceed to the next steps of cleaning the mirror housing and, if necessary, installing a replacement mirror glass.
Step 3: Clean the Mirror Housing
After successfully removing the mirror glass from the side mirror housing, the next crucial step is to thoroughly clean the interior of the housing. Over time, dust, debris, and other contaminants may accumulate within the housing, affecting the overall appearance and functionality of the mirror. By following these detailed cleaning steps, you can ensure that the mirror housing is pristine and ready for the reinstallation of the mirror glass.
Cleaning Process:
-
Inspect the Interior: Begin by visually inspecting the interior of the mirror housing. Look for any signs of dirt, grime, or residue that may have accumulated over time. Pay close attention to the edges and corners where debris is likely to gather.
-
Use Compressed Air: If there is visible dust or loose debris within the housing, gently blow it out using compressed air. This step helps dislodge any loose particles, making it easier to clean the interior surfaces effectively.
-
Dampen a Clean Cloth: Moisten a clean, lint-free cloth with a suitable cleaning solution. Ensure that the cloth is not overly saturated, as excess moisture can seep into the electrical components or wiring within the housing.
-
Wipe the Interior Surfaces: Carefully wipe the interior surfaces of the mirror housing, paying attention to areas where dirt and grime are most prevalent. Use gentle, circular motions to remove any stubborn residue while avoiding excessive pressure that could damage the housing.
-
Address Stubborn Stains: For persistent stains or residue, a mild cleaning solution or automotive glass cleaner can be used to effectively dissolve and remove the buildup. Apply the solution to the cloth and target the affected areas, ensuring thorough coverage.
-
Dry the Interior: Once the cleaning process is complete, use a dry, clean cloth to carefully dry the interior surfaces of the mirror housing. Ensure that all moisture is removed to prevent any potential issues with electrical components or the reinstallation of the mirror glass.
-
Inspect for Residue: After cleaning and drying the interior, inspect the housing for any remaining residue or streaks. Address any lingering marks with a clean, dry cloth to achieve a pristine finish.
By meticulously cleaning the interior of the mirror housing, you not only enhance the visual appeal of the mirror but also ensure that the reinstalled mirror glass sits securely and free from any obstructions. This cleaning process sets the stage for a seamless and professional finish, allowing you to proceed with confidence to the final step of reinstalling the mirror glass.
Step 4: Reinstall the Mirror Glass
After successfully removing and cleaning the mirror housing, the final step involves the careful reinstallation of the mirror glass. This critical phase ensures that the mirror is securely positioned, free from any debris, and fully functional. By following these detailed steps, you can confidently reinstall the mirror glass, completing the process with precision and care.
Read more: How To Break Glass Without Touching It
Reinstallation Process:
-
Inspect the Mirror Housing: Before proceeding with the reinstallation, take a moment to inspect the interior of the mirror housing to ensure that it is clean and free from any residual debris. Address any remaining particles or streaks using a clean, dry cloth to achieve a pristine finish.
-
Check the Retaining Clips: Verify that the retaining clips within the mirror housing are intact and undamaged. Ensure that they are in the correct position to securely hold the mirror glass in place once reinstalled.
-
Align the Mirror Glass: Position the mirror glass carefully, aligning it with the retaining clips within the housing. Take care to match the electrical connectors or heating elements, if applicable, to their corresponding outlets within the housing.
-
Apply Even Pressure: With the mirror glass aligned, apply even pressure to the center and edges of the glass to secure it onto the retaining clips. Ensure that the glass sits flush and stable within the housing without any gaps or misalignment.
-
Reconnect Electrical Components (if applicable): If the mirror glass features electrical components, such as heating elements or turn signal indicators, reconnect the wiring harness to restore full functionality. Verify that the connections are secure and properly seated within the housing.
-
Test the Mirror Functions: Before finalizing the reinstallation, test the mirror functions to ensure that any electrical components, such as heating or adjustment features, are operational. This step confirms that the mirror glass is securely installed and fully functional.
-
Remove Protective Tape (if applied): If protective tape was used to safeguard the surrounding area during the removal process, carefully remove it to reveal the restored mirror assembly. Dispose of the tape responsibly and inspect the area for any remaining adhesive residue.
By meticulously following these steps, you can successfully reinstall the mirror glass, completing the process with attention to detail and precision. This final phase ensures that the mirror is securely positioned and fully operational, allowing you to enjoy the restored functionality and aesthetics of your car's side mirror. With the mirror glass securely in place, you have completed the essential task of removing, cleaning, and reinstalling the mirror glass, enhancing the overall maintenance and care of your vehicle.
To remove side mirror glass without breaking, use a hairdryer to warm the glass and soften the adhesive. Then, gently pry the glass away using a flat tool. Be careful not to apply too much force to avoid breaking the glass.
Conclusion
In conclusion, mastering the art of removing side mirror glass without causing damage is a valuable skill for any car owner or enthusiast. By following the detailed steps outlined in this guide, you can confidently tackle this essential maintenance task with precision and care. The process begins with thorough preparation, ensuring that the surrounding area is safeguarded and the necessary tools and materials are readily available. This proactive approach sets the stage for a smooth and damage-free removal process.
The meticulous steps for removing the mirror glass emphasize the importance of delicacy and precision. Identifying retaining clips, utilizing the right tools, and being mindful of electrical components are key aspects of this phase. By exercising patience and attention to detail, the mirror glass can be safely removed, allowing for a thorough cleaning of the mirror housing.
The cleaning process not only enhances the visual appeal of the mirror but also ensures that the reinstallation of the mirror glass is seamless. By carefully inspecting and cleaning the interior of the housing, any debris or residue is effectively removed, setting the stage for a professional finish.
The final step of reinstalling the mirror glass involves aligning, securing, and testing the mirror to ensure its full functionality. This phase completes the process, leaving the side mirror restored and fully operational.
By mastering the skill of removing side mirror glass without breaking it, you can maintain the aesthetics and functionality of your vehicle while avoiding costly repairs. This guide empowers you to approach this task with confidence, knowing that you have the knowledge and techniques to complete it successfully. Whether you are replacing a damaged mirror or simply performing routine maintenance, the ability to remove and reinstall the mirror glass with precision is a valuable asset in your automotive maintenance repertoire.
Frequently Asked Questions about How To Remove Side Mirror Glass Without Breaking
Was this page helpful?
At Storables.com, we guarantee accurate and reliable information. Our content, validated by Expert Board Contributors, is crafted following stringent Editorial Policies. We're committed to providing you with well-researched, expert-backed insights for all your informational needs.


0 thoughts on “How To Remove Side Mirror Glass Without Breaking”