Home>Furniture & Design>Living Room Furniture>How To Repair A Recliner Chair Mechanism
Living Room Furniture
How To Repair A Recliner Chair Mechanism
Modified: August 20, 2024
Learn how to repair a recliner chair mechanism with our step-by-step guide. Find out how to fix issues with your living room furniture and design
(Many of the links in this article redirect to a specific reviewed product. Your purchase of these products through affiliate links helps to generate commission for Storables.com, at no extra cost. Learn more)
Introduction
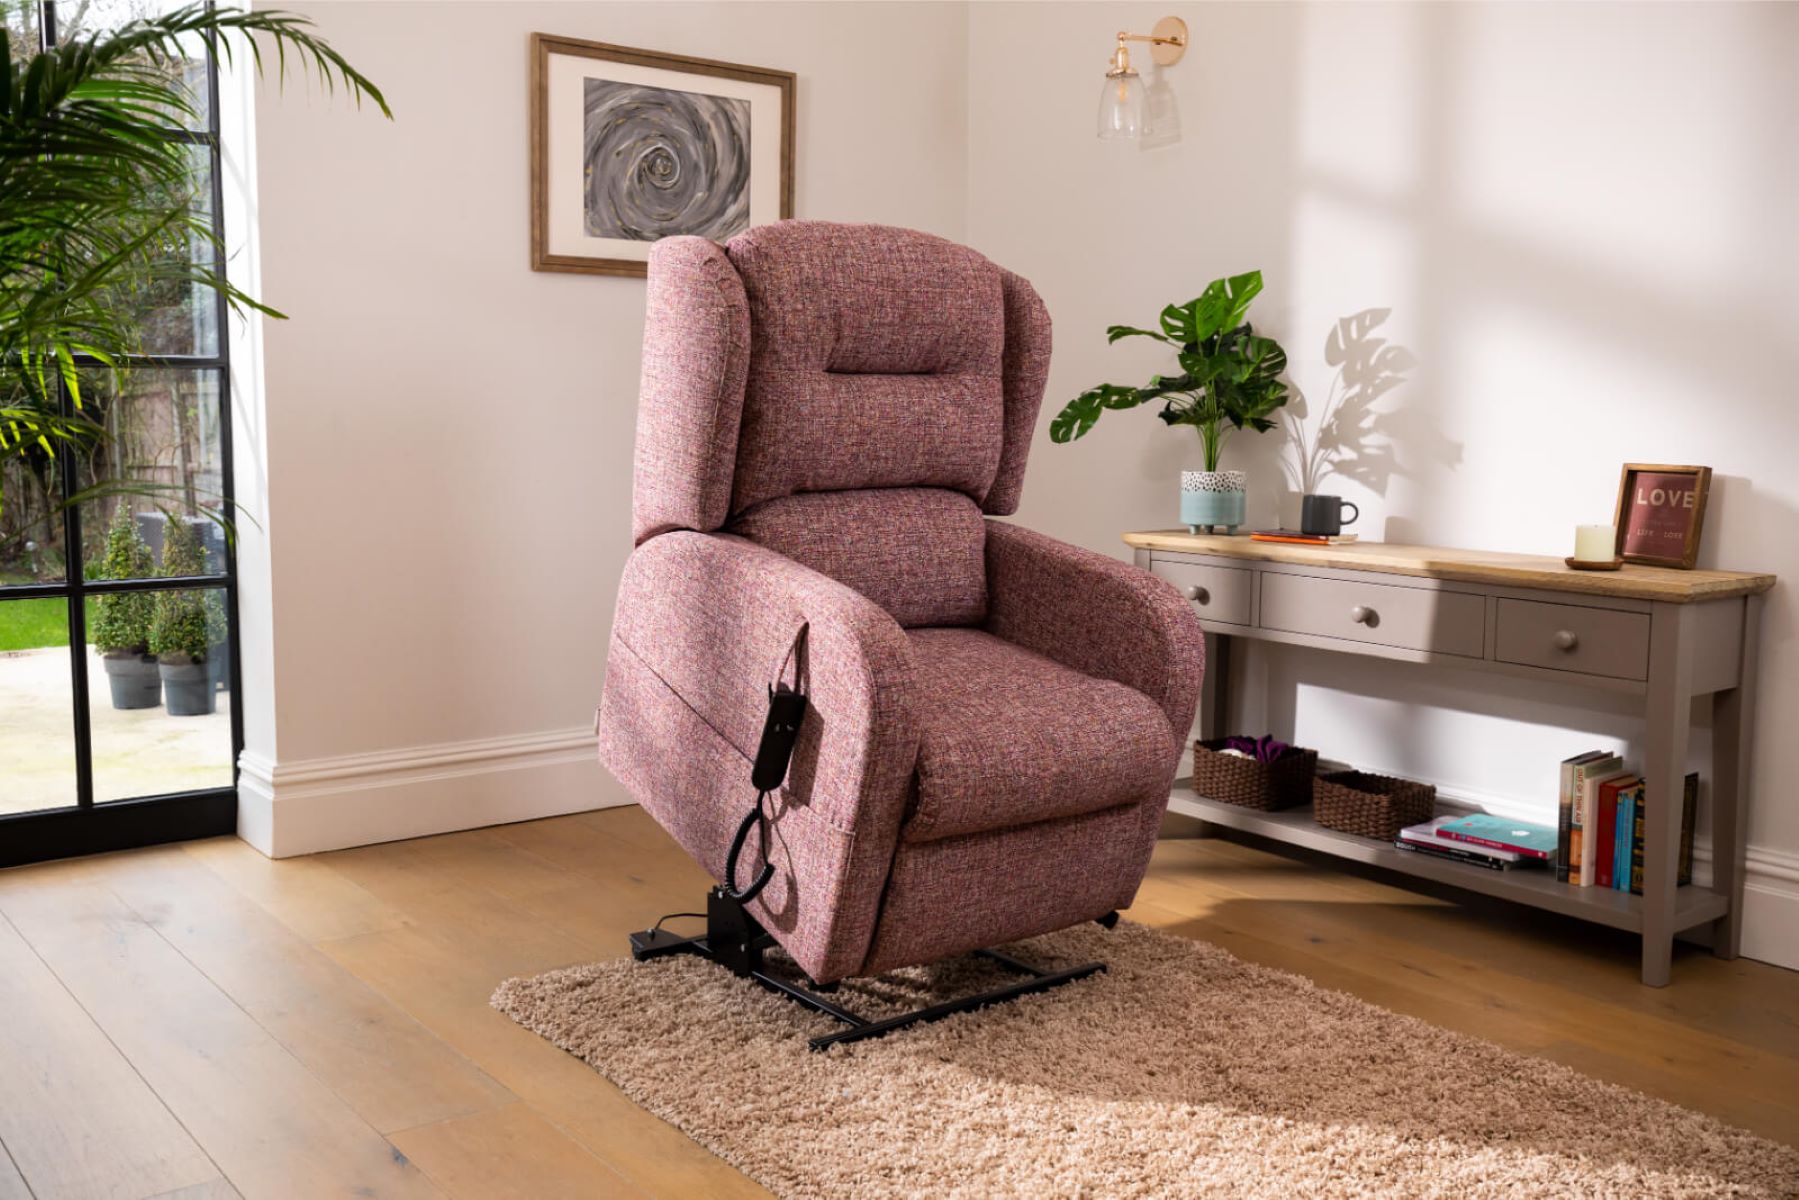
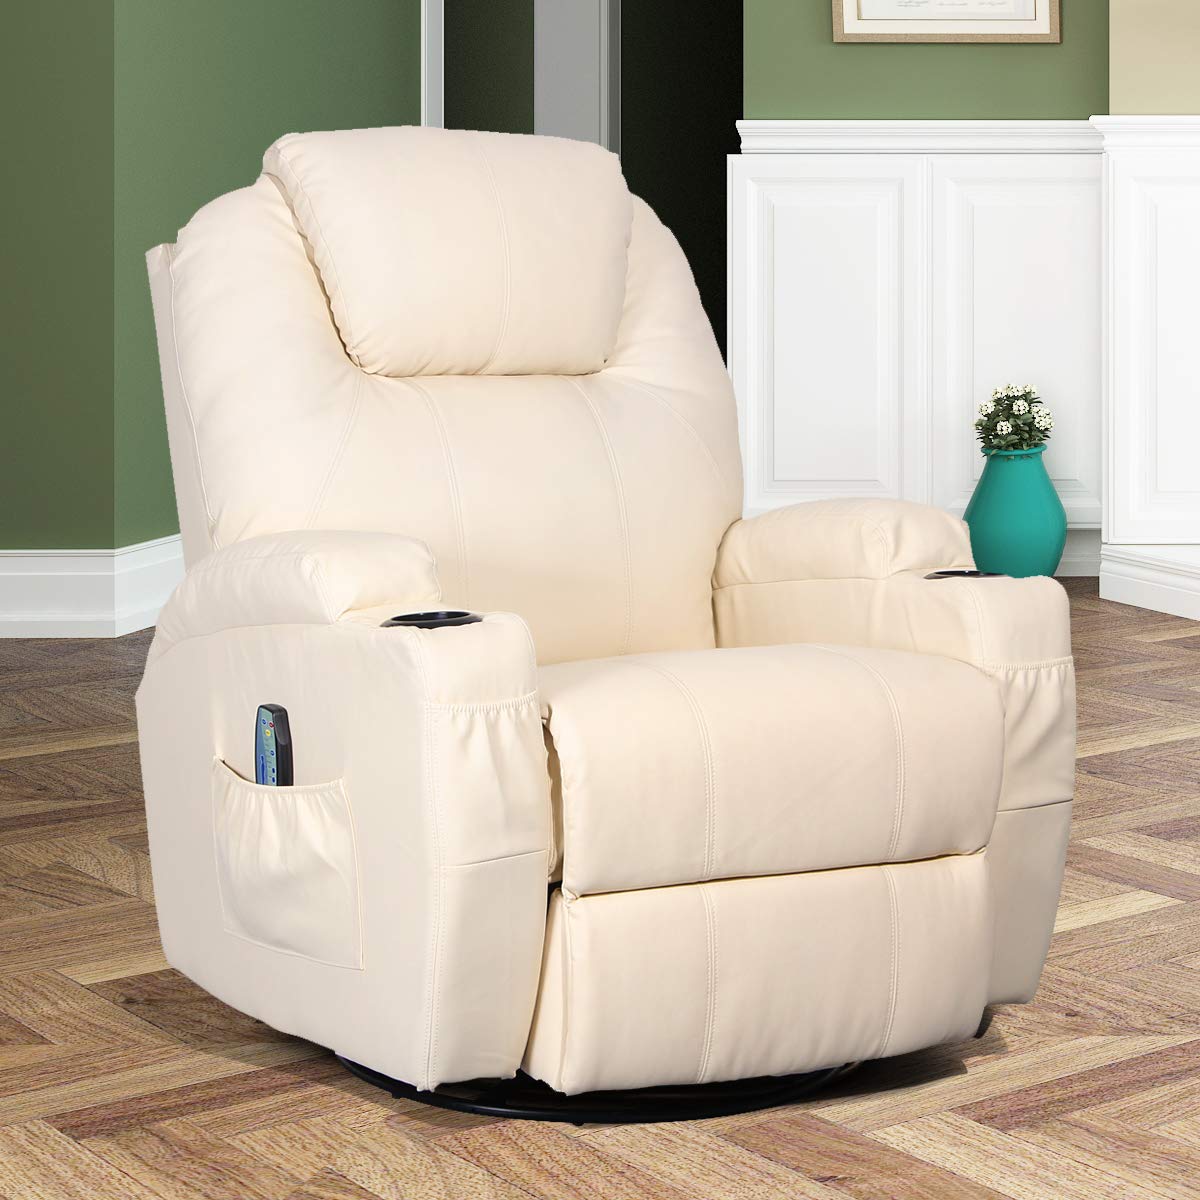
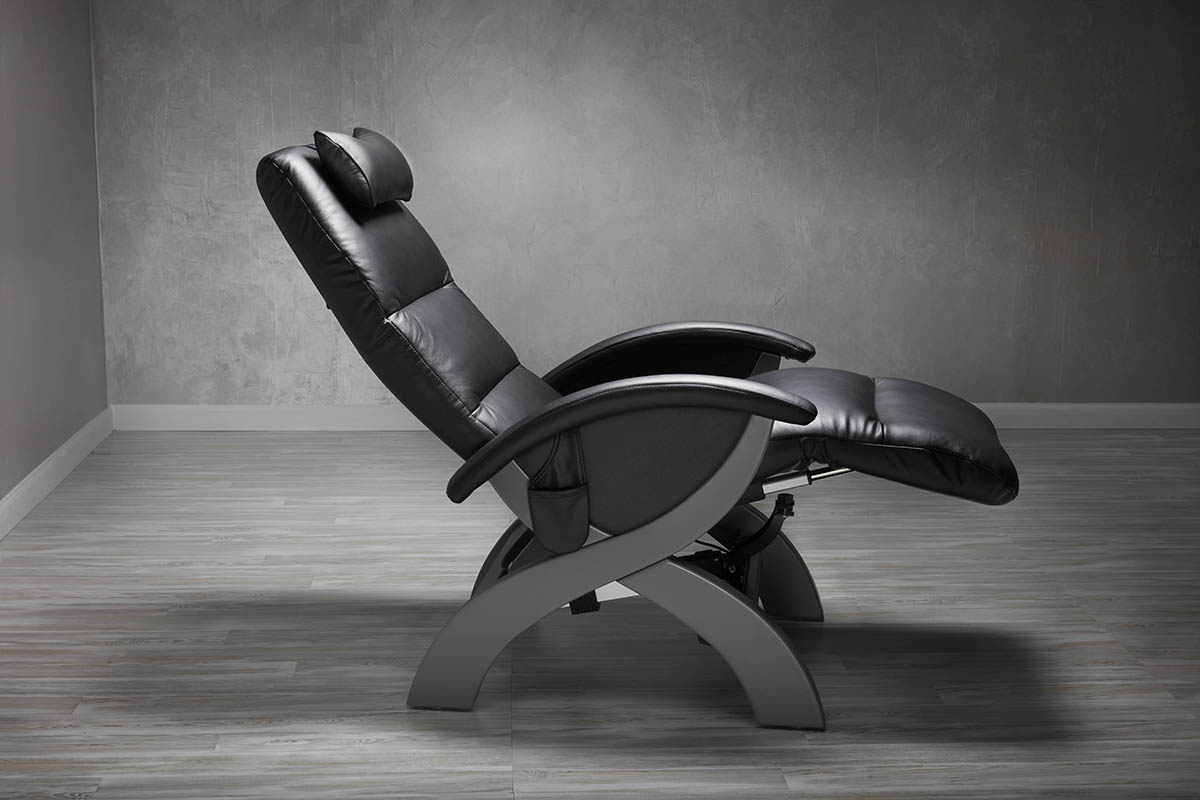
Recliner chairs are a popular choice for many living rooms, offering comfort, relaxation, and a touch of luxury. However, over time, the mechanism of a recliner chair may experience wear and tear, causing it to malfunction or become less comfortable.
If your recliner chair is not functioning properly, you may be tempted to replace it with a new one. But before you do that, you might be surprised to learn that repairing the recliner mechanism is often a more cost-effective solution. By diagnosing the problem and taking the necessary steps, you can bring your recliner chair back to life without breaking the bank.
Repairing a recliner chair mechanism may seem daunting at first, but with the right tools, materials, and guidance, it can be a manageable DIY project. In this article, we will provide you with a step-by-step guide on how to repair a recliner chair mechanism and get your favorite piece of furniture back in working order.
Key Takeaways:
- Repairing a recliner chair mechanism can be a cost-effective DIY project, saving money and extending the lifespan of your favorite furniture piece. Follow safety precautions and take your time to ensure a successful repair.
- Thoroughly inspect, identify, and address the specific problem with your recliner chair mechanism. Repair or replace damaged parts carefully, and test the mechanism to ensure smooth functionality. If in doubt, seek professional assistance for a rewarding repair experience.
Read more: How Recliner Mechanism Works
Tools and Materials Needed
Before you start repairing your recliner chair mechanism, it is essential to gather the necessary tools and materials. Having them on hand will make the repair process smoother and more efficient. Here’s a list of what you will need:
- Adjustable wrench or socket set
- Phillips and flathead screwdrivers
- Needle-nose pliers
- Hammer
- Replacement parts (if needed) such as springs, bolts, or screws
- Wood glue or adhesive
- Allen wrenches
- Fabric or upholstery cleaner
- Fabric glue (if required for reattaching upholstery)
- Upholstery needle and thread
- Pencil or marker
- Tape measure
- Protective gloves
- Safety goggles
- Dust mask
- Rags or towels
- Cleaners and lubricants suitable for metal, wood, or upholstery
Having these tools and materials readily available will ensure that you can tackle any necessary repairs during the process. Additionally, it’s always a good idea to have some extra screws, bolts, or springs on hand in case any need to be replaced.
Safety Precautions
When working on any DIY project, including repairing a recliner chair mechanism, it is crucial to prioritize safety. Here are some safety precautions to keep in mind:
- Wear protective gloves to prevent any injuries to your hands while handling tools or sharp objects.
- Wear safety goggles to protect your eyes from any flying debris or particles.
- Use a dust mask to avoid inhaling any dust or particles that may be released during the repair process.
- Make sure to work in a well-ventilated area to prevent any fumes or chemical odors from causing discomfort or health issues.
- Keep children and pets away from the work area to prevent accidents or injuries.
- Take regular breaks and avoid overexertion to prevent muscle strain or fatigue.
- Follow the manufacturer’s instructions for any cleaning agents or lubricants that you may be using during the repair process.
- When using adhesives or glue, make sure to read the instructions and use them in a well-ventilated area.
- Take care not to damage the upholstery or surrounding furniture while working on the recliner chair.
- If you are unsure about any step of the repair process or encounter a more complex issue, it is advisable to seek professional help.
By following these safety precautions, you can minimize the risk of accidents, injury, or damage and ensure a smooth and safe repair process for your recliner chair mechanism.
Step 1: Remove the Chair Back
Before you can begin repairing the recliner chair mechanism, you’ll need to remove the chair back. This will give you access to the internal components and make it easier to diagnose and fix any issues. Follow these steps:
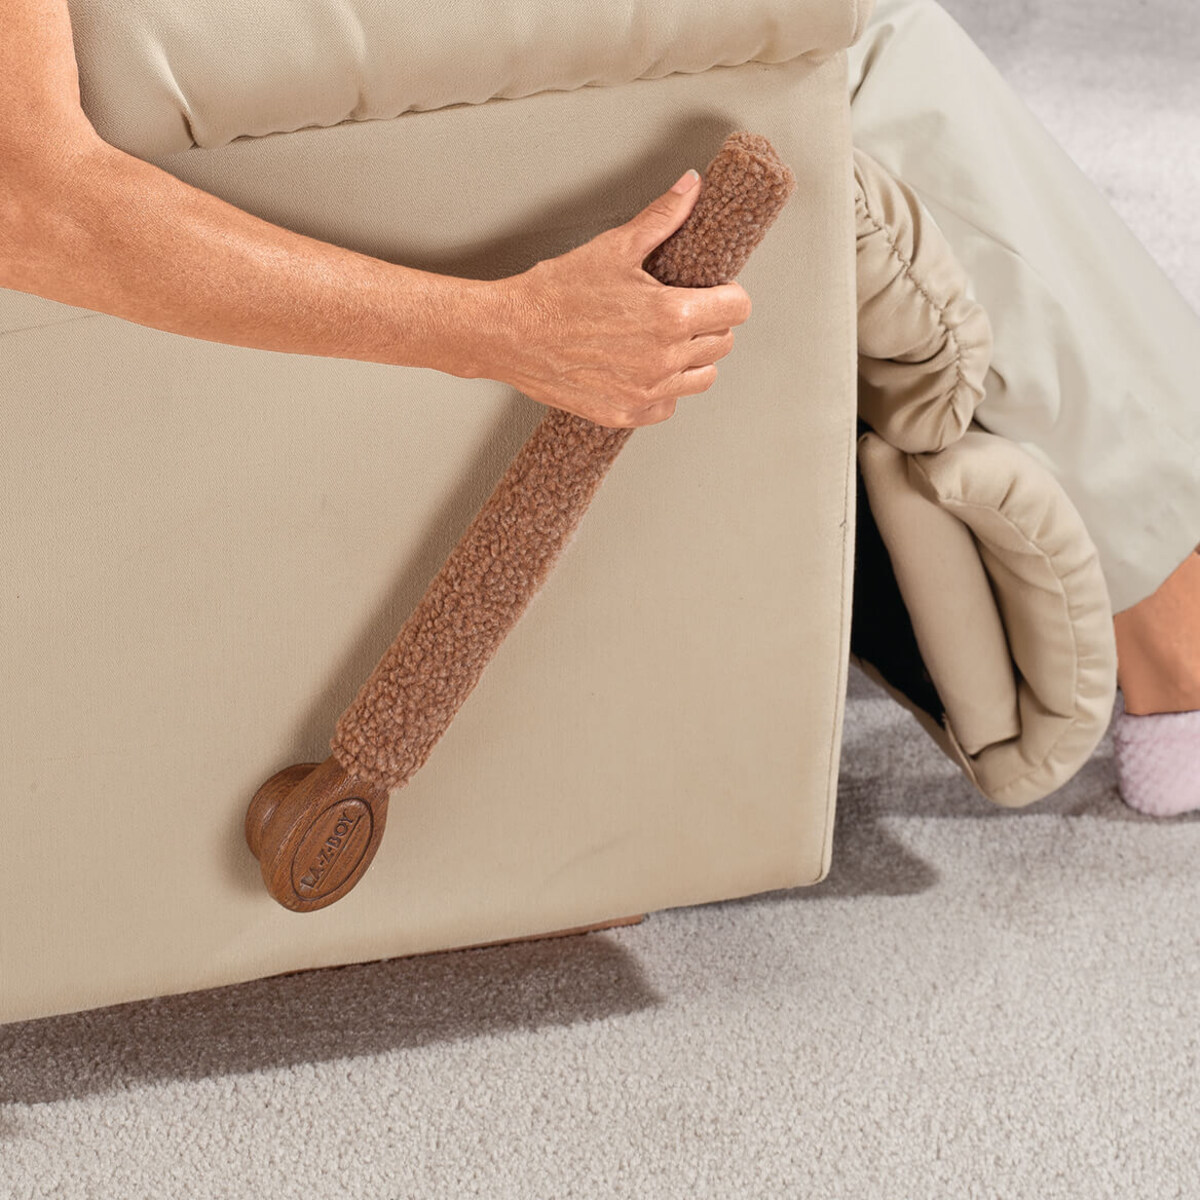
- Start by locating the lever or mechanism that adjusts the reclining position of the chair. This may be located on the side or under the armrest.
- Using an adjustable wrench or socket set, loosen and remove any bolts or screws that are securing the chair back to the seat frame.
- Once the fasteners are removed, carefully lift the chair back off the seat frame and set it aside.
- Take this opportunity to inspect the upholstery for any rips, tears, or damage. If necessary, you can repair or replace the upholstery during the repair process.
- Place the chair back in a safe location, away from the work area, to prevent any accidental damage or tripping hazards.
By removing the chair back, you’ll have a clear view of the recliner mechanism and be able to proceed with the repair process more effectively. Make sure to keep track of any bolts, screws, or fasteners that you remove as you’ll need them later for reassembly.
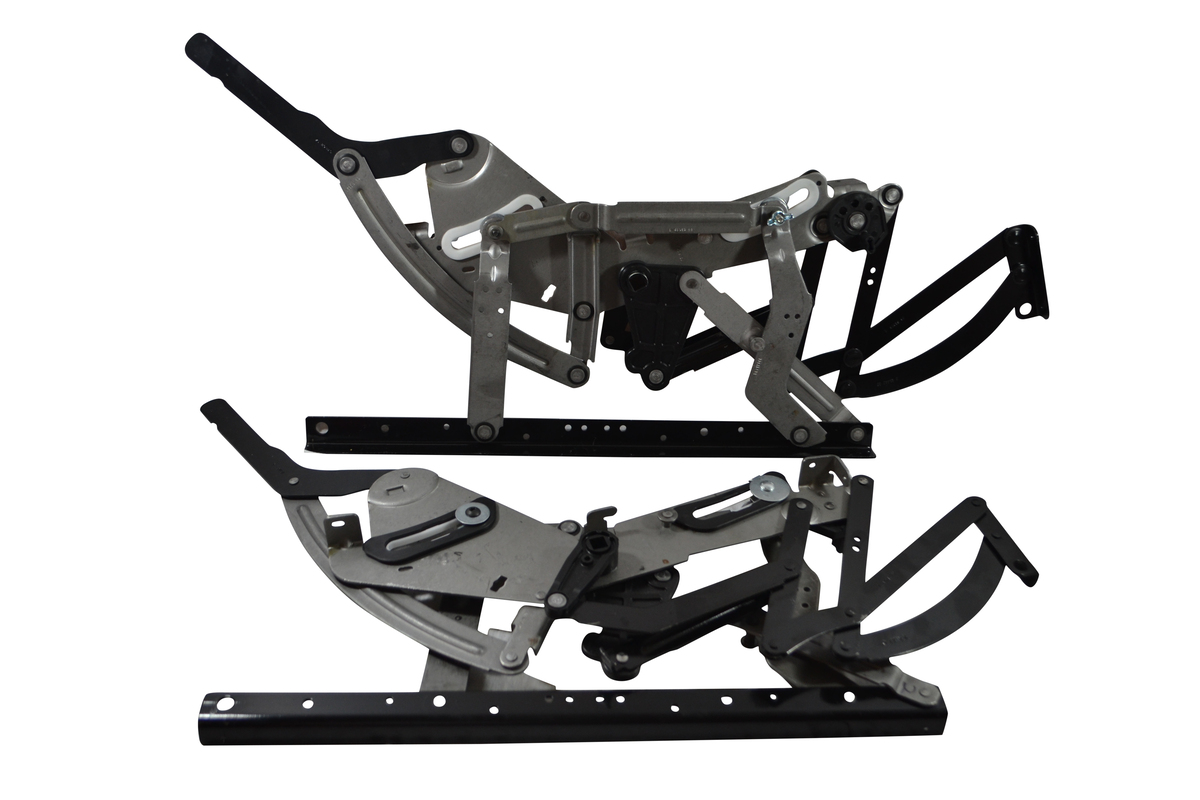
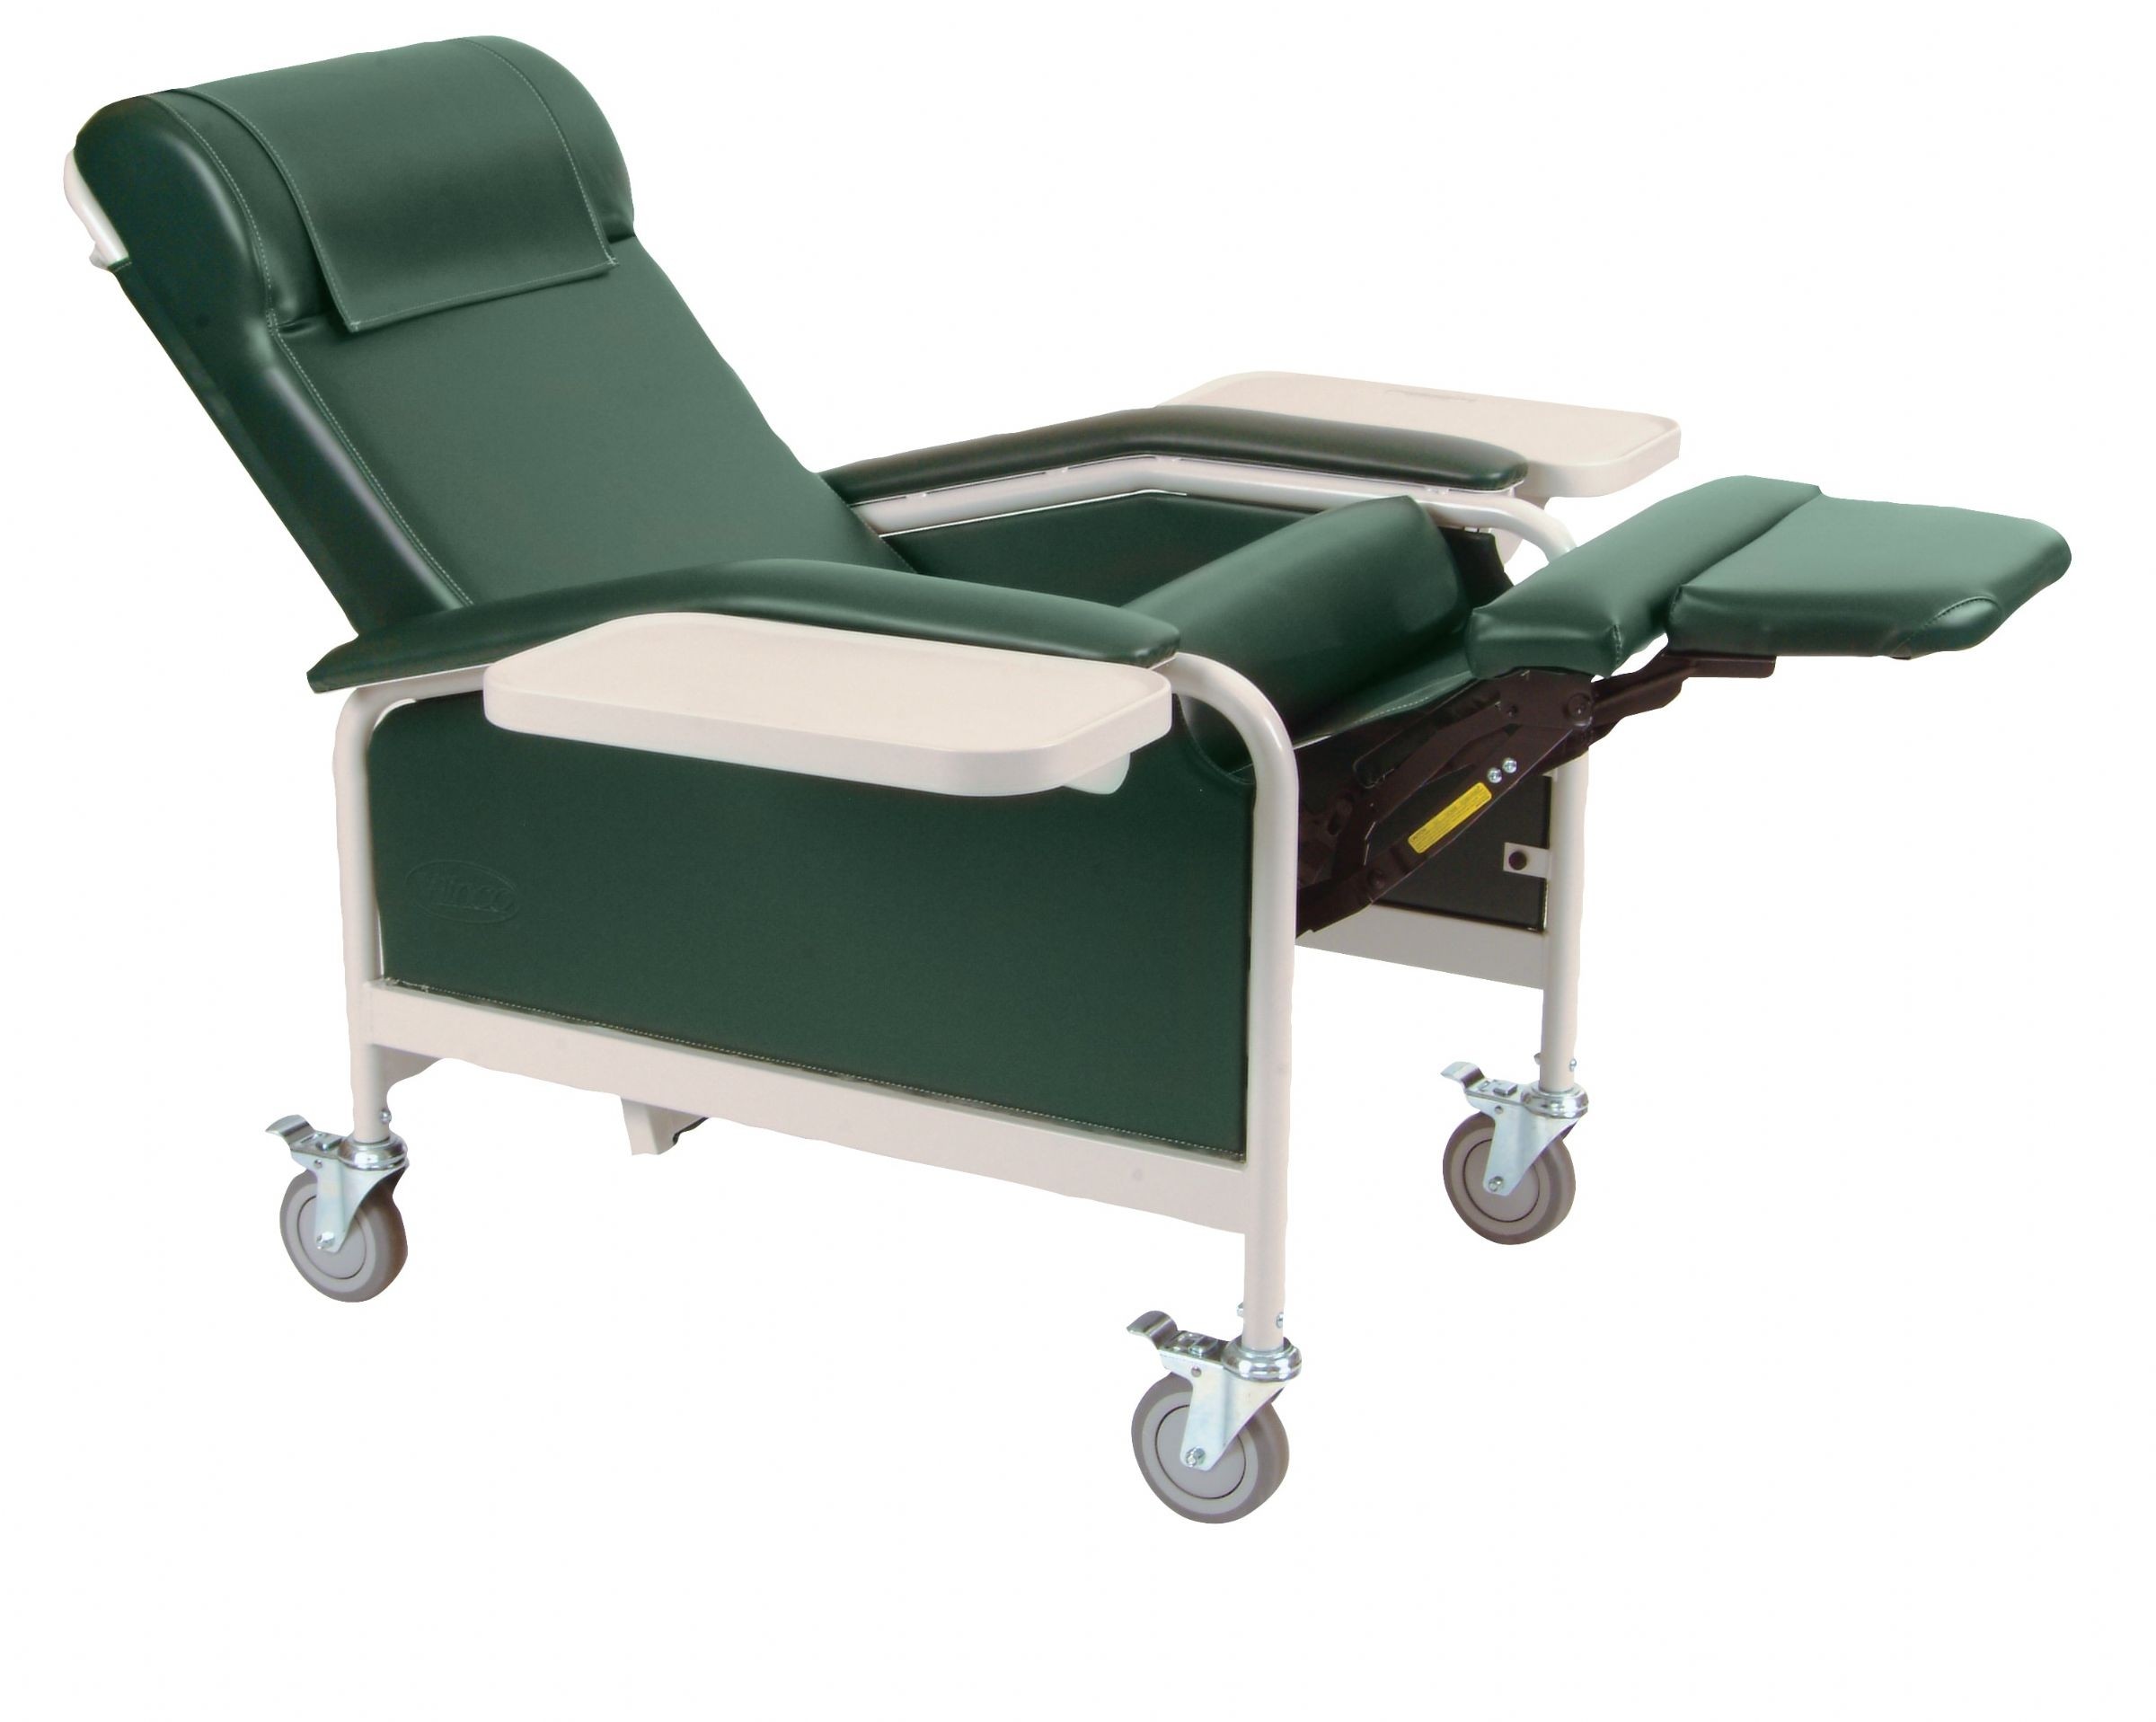
Step 2: Inspect and Assess the Mechanism
Now that you have removed the chair back, it’s time to inspect and assess the recliner chair mechanism. This step will help you identify any visible issues or areas that require attention. Follow these steps:
- Thoroughly examine the internal components of the recliner mechanism, paying close attention to any springs, bolts, or screws.
- Look for signs of wear and tear, such as broken or sagging springs, loose fasteners, or damaged metal parts.
- If there are any visible issues, take note of them and determine the extent of the damage.
- Check the reclining mechanism to ensure it moves smoothly and without any obstructions.
- Inspect the cables and wires connected to the reclining mechanism to ensure they are properly secured and in good condition.
- Take measurements of any broken or damaged parts that may need to be replaced.
- Refer to the manufacturer’s documentation or seek online resources for specific information about the mechanism of your recliner chair.
- In some cases, you may need to dismantle certain parts of the recliner mechanism to get a better look or access hard-to-reach areas. Depending on the complexity of the mechanism, this may require additional tools or expertise.
By thoroughly inspecting and assessing the recliner chair mechanism, you will have a clearer understanding of what needs to be fixed or replaced. This will help you proceed with the repair process more efficiently and ensure the best possible outcome for your recliner chair.
Read more: How To Fix Recliner Mechanism
Step 3: Identify the Problem
After inspecting and assessing the recliner chair mechanism, it’s time to identify the specific problem or issue causing the malfunction. This step will help you narrow down the focus of your repair efforts and ensure that you address the root cause. Follow these steps:
- Based on your observations during the inspection, determine the main problem or area of concern. This could be a broken spring, loose bolt, stuck reclining mechanism, or any other issue you identified.
- Consider any symptoms or signs that may have led you to seek repair, such as squeaking sounds, uneven reclining, or difficulty in adjusting the position.
- Refer to the manufacturer’s documentation or online resources to better understand how the recliner chair mechanism should function properly.
- If you are unsure about the specific problem or unable to identify it, you may consider seeking professional help or consulting resources such as online forums or community groups.
- Make a note of the problem or issue you have identified. This will guide your repair efforts and ensure that you focus on the necessary repairs.
Identifying the problem is a crucial step in the repair process, as it allows you to target your efforts towards fixing the underlying issue. By understanding the problem, you can proceed with the appropriate repairs or replacement of parts, leading to a more successful repair of your recliner chair mechanism.
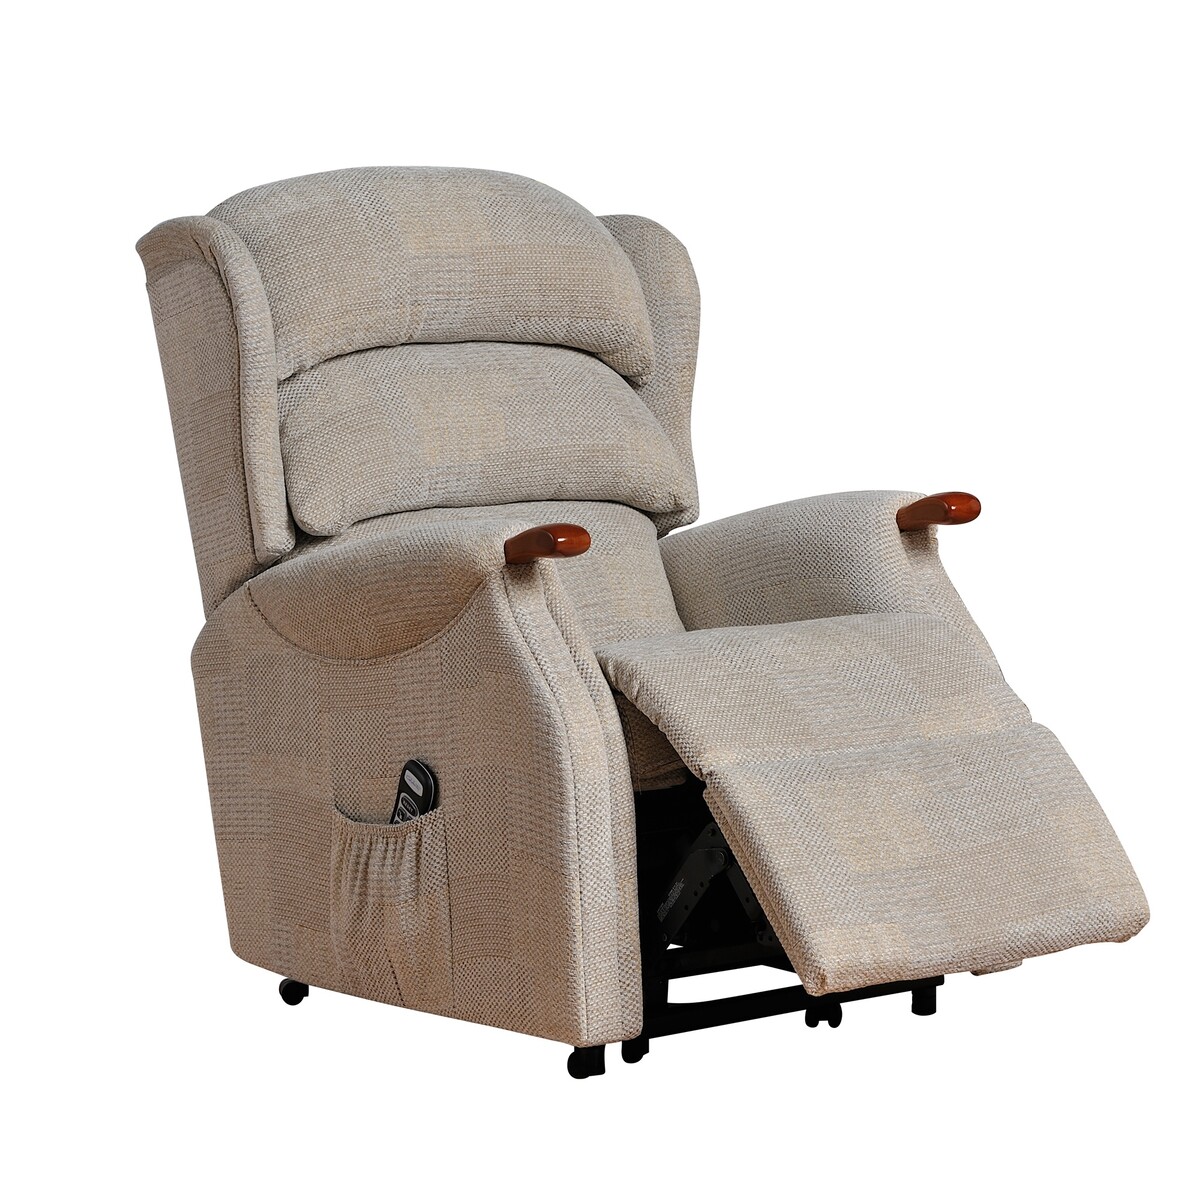
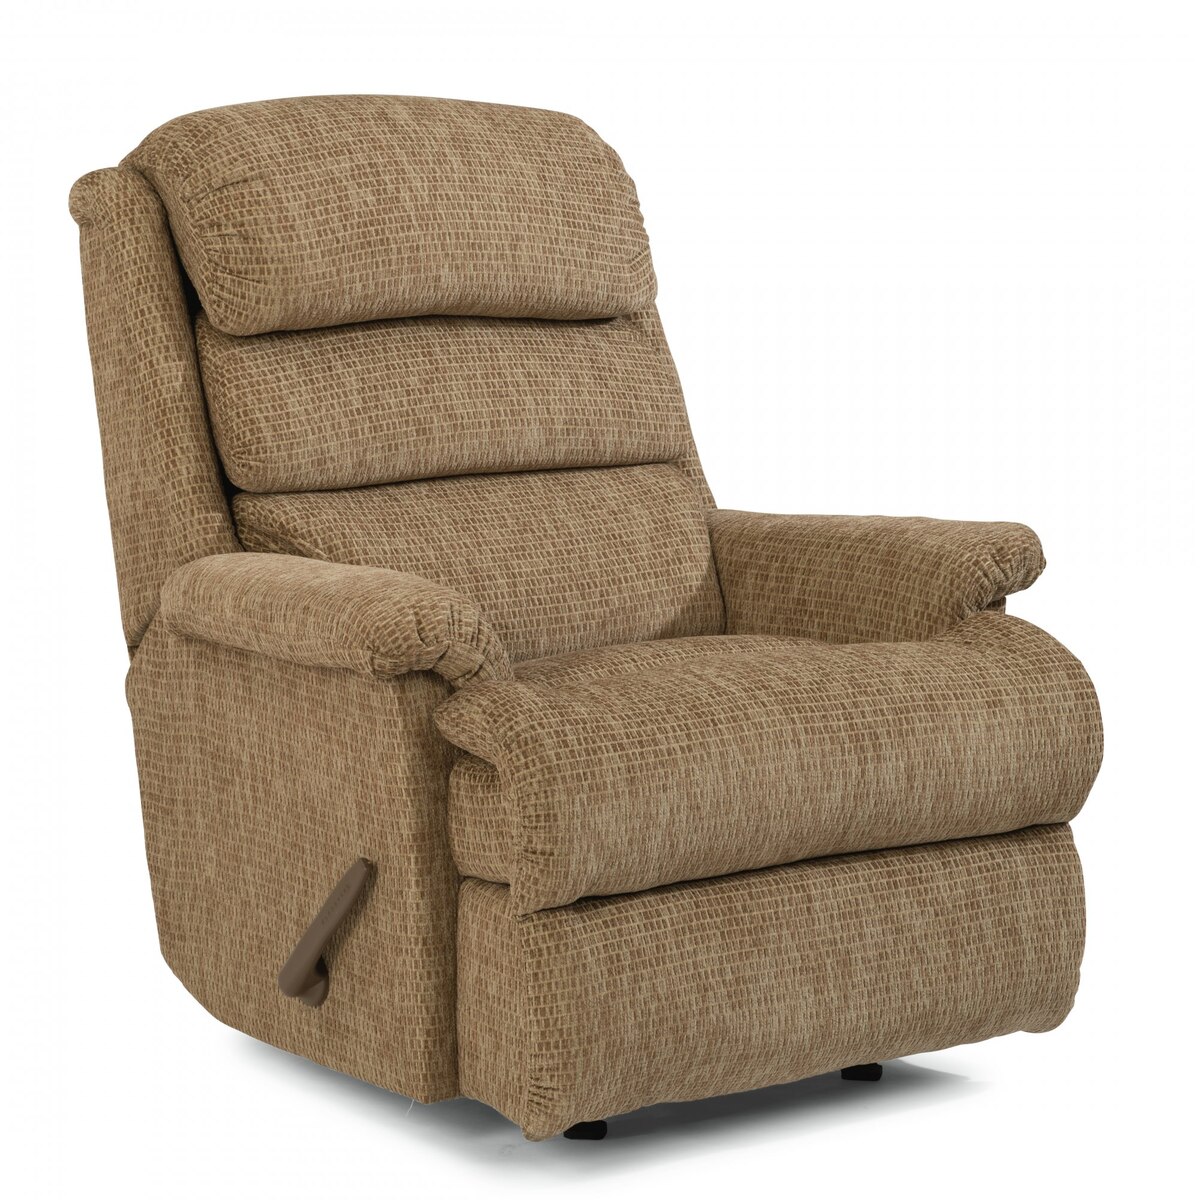
Check the recliner’s springs and cables for any signs of wear and tear. Replace any damaged parts to ensure the mechanism functions properly.
Step 4: Repair or Replace the Damaged Parts
Once you have identified the problem with your recliner chair mechanism, it’s time to repair or replace the damaged parts. The specific steps and methods will vary depending on the issue at hand, but here are some general guidelines:
- For loose or missing bolts, use an appropriate wrench or socket set to tighten or replace them. Make sure to achieve a secure and snug fit without over-tightening.
- If a spring is broken or sagging, carefully remove the damaged spring and replace it with a new one of the same size and type. Follow the manufacturer’s instructions or seek professional advice if you are unsure about the replacement process.
- If the reclining mechanism is stuck or not functioning properly, inspect the cables and wires for any kinks, fraying, or disconnections. Repair or replace any damaged cables to ensure smooth operation.
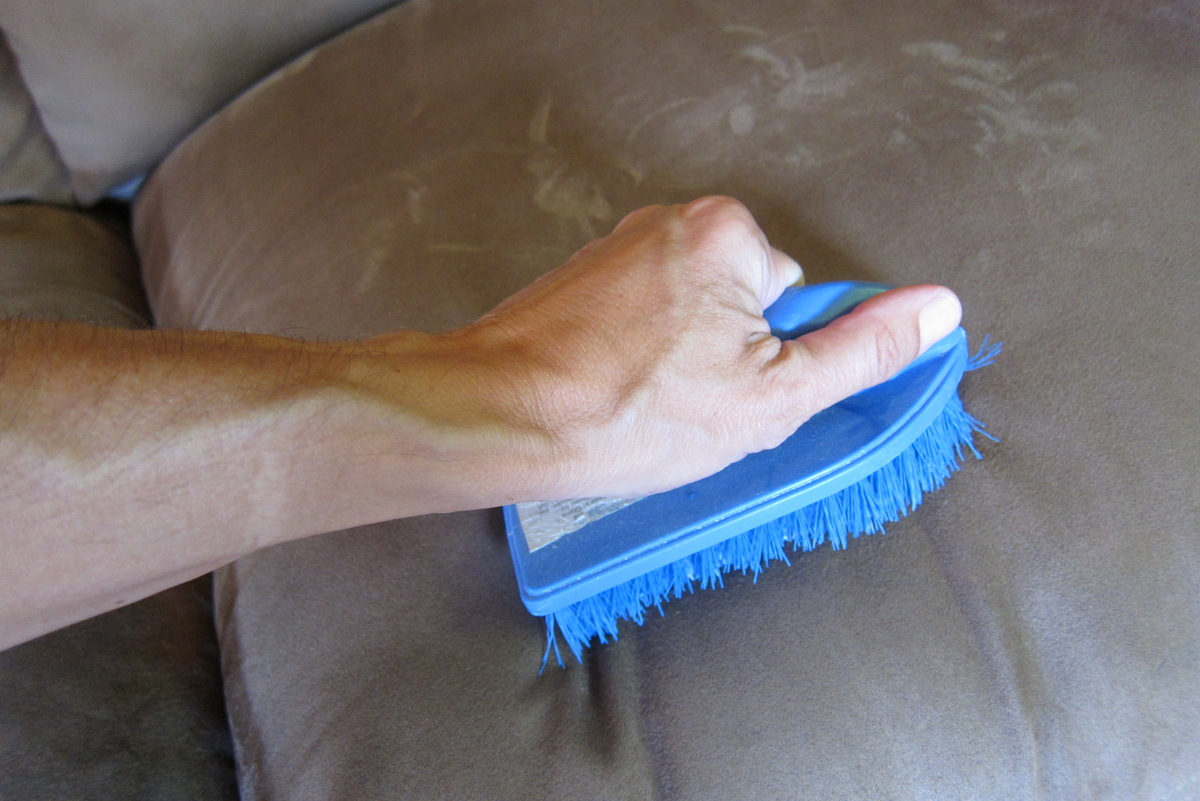
- If any upholstered parts, such as the seat or backrest, are torn or damaged, consider repairing the upholstery or replacing it entirely. Use fabric glue or upholstery needle and thread to mend small tears, or consult a professional upholsterer for larger repairs.
- If the recliner chair mechanism has wooden components that are cracked or broken, use wood glue or adhesive suited for furniture repair to fix or reinforce the damaged areas. Allow sufficient drying time as per the product instructions before reassembling.
- Follow any additional repair instructions specific to your recliner chair model or consult professional assistance if needed.
Remember to take your time and ensure that each repair is done properly. Rushing through the process may result in further damage or a temporary fix that won’t last long. If you are uncertain about any repair procedures or lack the necessary tools, consider seeking professional help to ensure a successful repair.
By addressing the damaged parts directly, you can restore the functionality and comfort of your recliner chair.
Step 5: Reassemble the Chair
After completing the necessary repairs or replacements, it’s time to reassemble the recliner chair. Follow these steps to ensure a smooth and successful reassembly:
- Refer to the notes or documentation you made when disassembling the chair back in Step 1. Use them as a guide to reverse the process and reconnect the chair back to the seat frame.
- Reattach any bolts, screws, or fasteners that were previously removed, ensuring that they are tightened securely but not over-tightened.
- Double-check that all the repaired or replaced components are properly aligned and functioning as intended.
- If necessary, use wood glue or adhesive as per the manufacturer’s instructions to secure any reinforced or repaired wooden parts.
- Carefully inspect the upholstery to ensure that it is reattached firmly and free of any wrinkles or misalignments. Use fabric glue or an upholstery needle and thread to fix any loose or damaged areas.
- Wipe down the recliner chair with a clean cloth to remove any dust, dirt, or debris that may have accumulated during the repair process.
- Allow any adhesives, glues, or freshly repaired parts to dry completely before using the recliner chair.
Take your time during the reassembly process to ensure that all components are properly aligned and secured. This will help prevent any future issues and guarantee a sturdy and functional recliner chair.
Once you have reassembled the chair, take a moment to appreciate your handiwork and the restored functionality of your recliner chair mechanism.
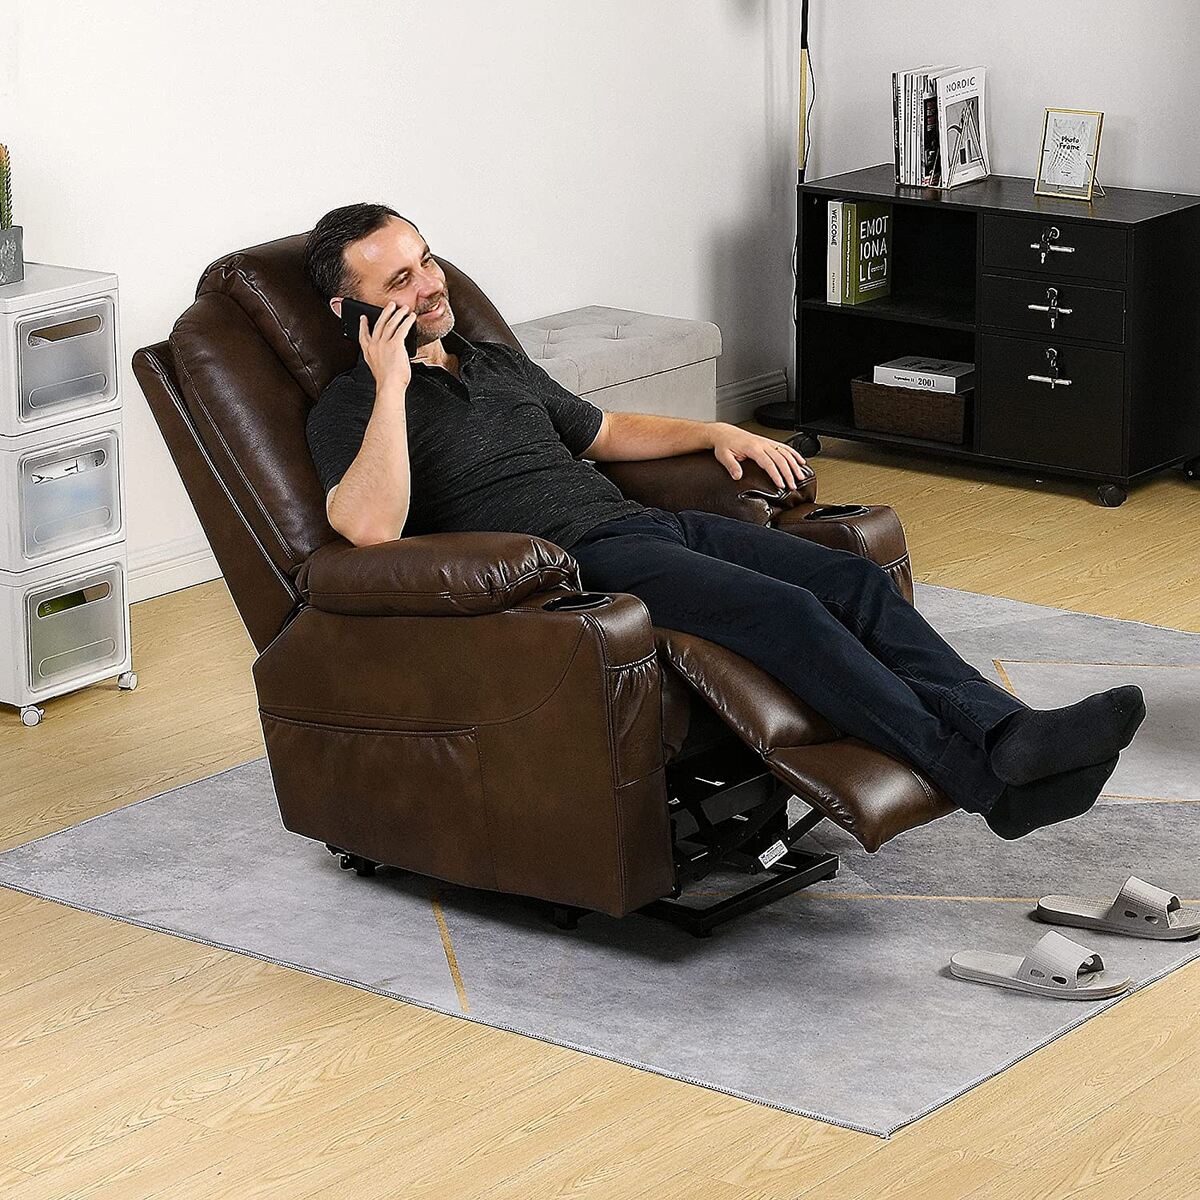
Step 6: Test the Recliner Mechanism
After reassembling the recliner chair, it’s crucial to thoroughly test the recliner mechanism to ensure that it is functioning properly. Follow these steps to test the mechanism:
- Gently operate the reclining lever or mechanism to adjust the position of the chair. Pay close attention to the smoothness of the movement and any resistance or unusual noises.
- Test the reclining mechanism in different positions to ensure it locks securely and provides the desired level of comfort and support.
- Adjust any tension or settings related to the reclining mechanism as per the manufacturer’s instructions.
- If problems persist or you notice any issues during the testing phase, carefully examine the previously repaired or replaced components to ensure they are correctly installed. Make any necessary adjustments or additional repairs as needed.
- Pay attention to the upholstery, ensuring that it remains properly attached and unaffected by the reclining motion.
- Make sure that all fasteners, bolts, or screws are securely tightened and do not loosen during the testing process.
By thoroughly testing the recliner mechanism, you can ensure that all the repairs and replacements were successful and that your recliner chair is fully functional and comfortable once again. If any issues persist or new problems arise, you may need to revisit previous steps or consider seeking professional assistance for further diagnosis and repair.
Once you are confident in the functionality and comfort of your recliner chair, you can sit back, relax, and enjoy the fruits of your repair efforts!
Read more: How To Open A Recliner Chair
Conclusion
Repairing a recliner chair mechanism can be a rewarding and cost-effective alternative to replacing the entire chair. By following the step-by-step guide provided in this article, you can confidently tackle the repair process and bring new life to your beloved recliner chair.
From removing the chair back to identifying the problem, repairing or replacing damaged parts, and finally reassembling and testing the recliner mechanism, each step is essential to ensure a successful repair. It’s important to keep in mind the safety precautions and gather the necessary tools and materials before starting the repair process.
Remember, patience and attention to detail are key when repairing a recliner chair mechanism. Take the time to properly inspect and assess the mechanism, identify the problem, and make the necessary repairs. Double-check and test the recliner mechanism to ensure it functions smoothly before returning to regular use.
If at any point you feel overwhelmed or uncertain about the repair process, it’s recommended to seek professional assistance. They can provide expertise and guidance to ensure the best possible outcome for your recliner chair.
By taking the proactive approach of repairing your recliner chair, you not only save on the cost of purchasing a new one but also extend the lifespan of your favorite piece of furniture. So, roll up your sleeves, gather your tools, and get ready to bring that comfort and relaxation back to your living room.
Remember, when it comes to repairing a recliner chair mechanism, you have the power to transform it from a malfunctioning piece to a fully functional and comfortable seat once again.
Additional Tips and Troubleshooting
While the step-by-step guide provided above should cover most common repair scenarios for recliner chair mechanisms, here are a few additional tips and troubleshooting suggestions that can help you along the way:
- Take pictures: Before disassembling your recliner chair, consider taking pictures of the parts and their arrangement. This will serve as a helpful reference during reassembly.
- Keep track of screws and bolts: Place screws and bolts in a labeled container or baggie to prevent them from getting lost during the repair process.
- Inspect cables and wires: If your recliner chair has a motorized mechanism, check the cables and wires for any signs of damage or fraying. Replace them if necessary.
- Proper lubrication: Apply appropriate lubricants such as silicone spray or dry lubricants to hinges, pivot points, or sliding parts to ensure smooth operation. Avoid using oily lubricants that can attract dust and dirt.
- Address squeaks: If your recliner chair squeaks, apply a lubricant specifically designed for reducing noise, such as graphite powder or silicone-based spray, to the affected areas.
- Seek professional help: If you encounter complex issues or are unsure about any aspect of the repair process, don’t hesitate to consult a professional furniture repair technician for assistance.
- Follow the manufacturer’s instructions: If your recliner chair is still under warranty, it’s important to check the manufacturer’s guidelines before attempting any repairs. This will ensure that you don’t void the warranty.
- Regular maintenance: To prevent future issues, perform regular maintenance on your recliner chair, such as cleaning the upholstery, tightening loose screws, and inspecting the mechanism for any signs of wear.
Remember, every recliner chair is unique, and specific troubleshooting or repair procedures may vary. Always refer to the manufacturer’s documentation, online resources, or seek professional advice when in doubt.
By utilizing these additional tips and troubleshooting suggestions, you can navigate potential challenges and ensure the long-term functionality and enjoyment of your recliner chair.
Frequently Asked Questions about How To Repair A Recliner Chair Mechanism
Was this page helpful?
At Storables.com, we guarantee accurate and reliable information. Our content, validated by Expert Board Contributors, is crafted following stringent Editorial Policies. We're committed to providing you with well-researched, expert-backed insights for all your informational needs.
0 thoughts on “How To Repair A Recliner Chair Mechanism”