Home>Furniture & Design>Living Room Furniture>How To Make A Recliner Into A Rocker
Living Room Furniture
How To Make A Recliner Into A Rocker
Modified: October 19, 2024
Transform your living room furniture with this easy tutorial on how to convert a recliner into a stylish rocker. Enhance your furniture and design with this simple DIY project.
(Many of the links in this article redirect to a specific reviewed product. Your purchase of these products through affiliate links helps to generate commission for Storables.com, at no extra cost. Learn more)
Introduction
Welcome to our comprehensive guide on how to transform a recliner into a rocker. Recliners are undoubtedly one of the most comfortable pieces of furniture, allowing you to lounge and relax after a long day. However, if you’re looking to add a gentle rocking motion to your recliner, we’ve got you covered!
Rocking chairs have long been associated with soothing relaxation and have become a popular choice for many living rooms. By combining the comfort of a recliner with the gentle rocking motion of a rocker, you can create the ultimate lounging experience.
In this article, we’ll walk you through a step-by-step process to successfully convert your recliner into a rocker. We’ll cover everything from gathering the necessary materials to testing and adjusting the rocker mechanism. So, let’s get started and turn your recliner into a delightful rocker!
Key Takeaways:
- Transform your recliner into a soothing rocker by following our step-by-step guide. Enjoy the ultimate lounging experience with a DIY project that brings comfort and relaxation to your living room.
- Gather the necessary materials, prepare the recliner, attach the rocker base, install the rocker mechanism, secure the recliner, and test and adjust the rocker to create your very own comfortable and stylish recliner rocker.
Read more: What Is A Rocker Recliner
Step 1: Gather the necessary materials
Before you begin the transformation process, it’s important to gather all the materials you’ll need. Having everything on hand will ensure a smooth and efficient DIY project. Here’s a list of the essential materials:
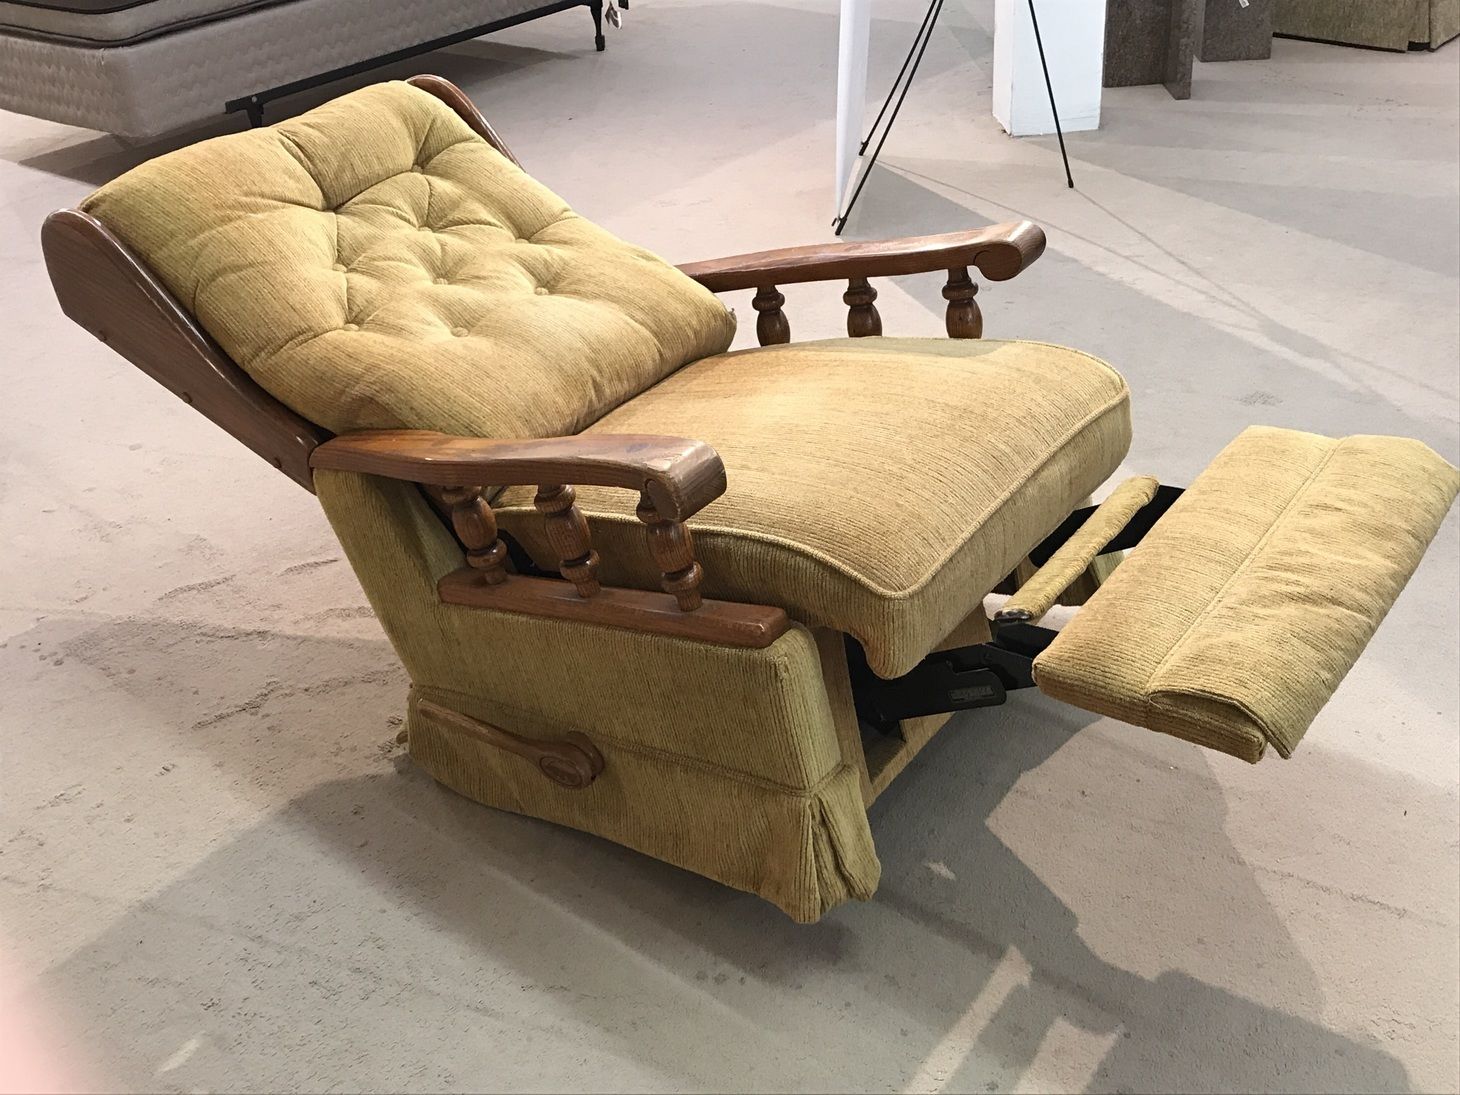
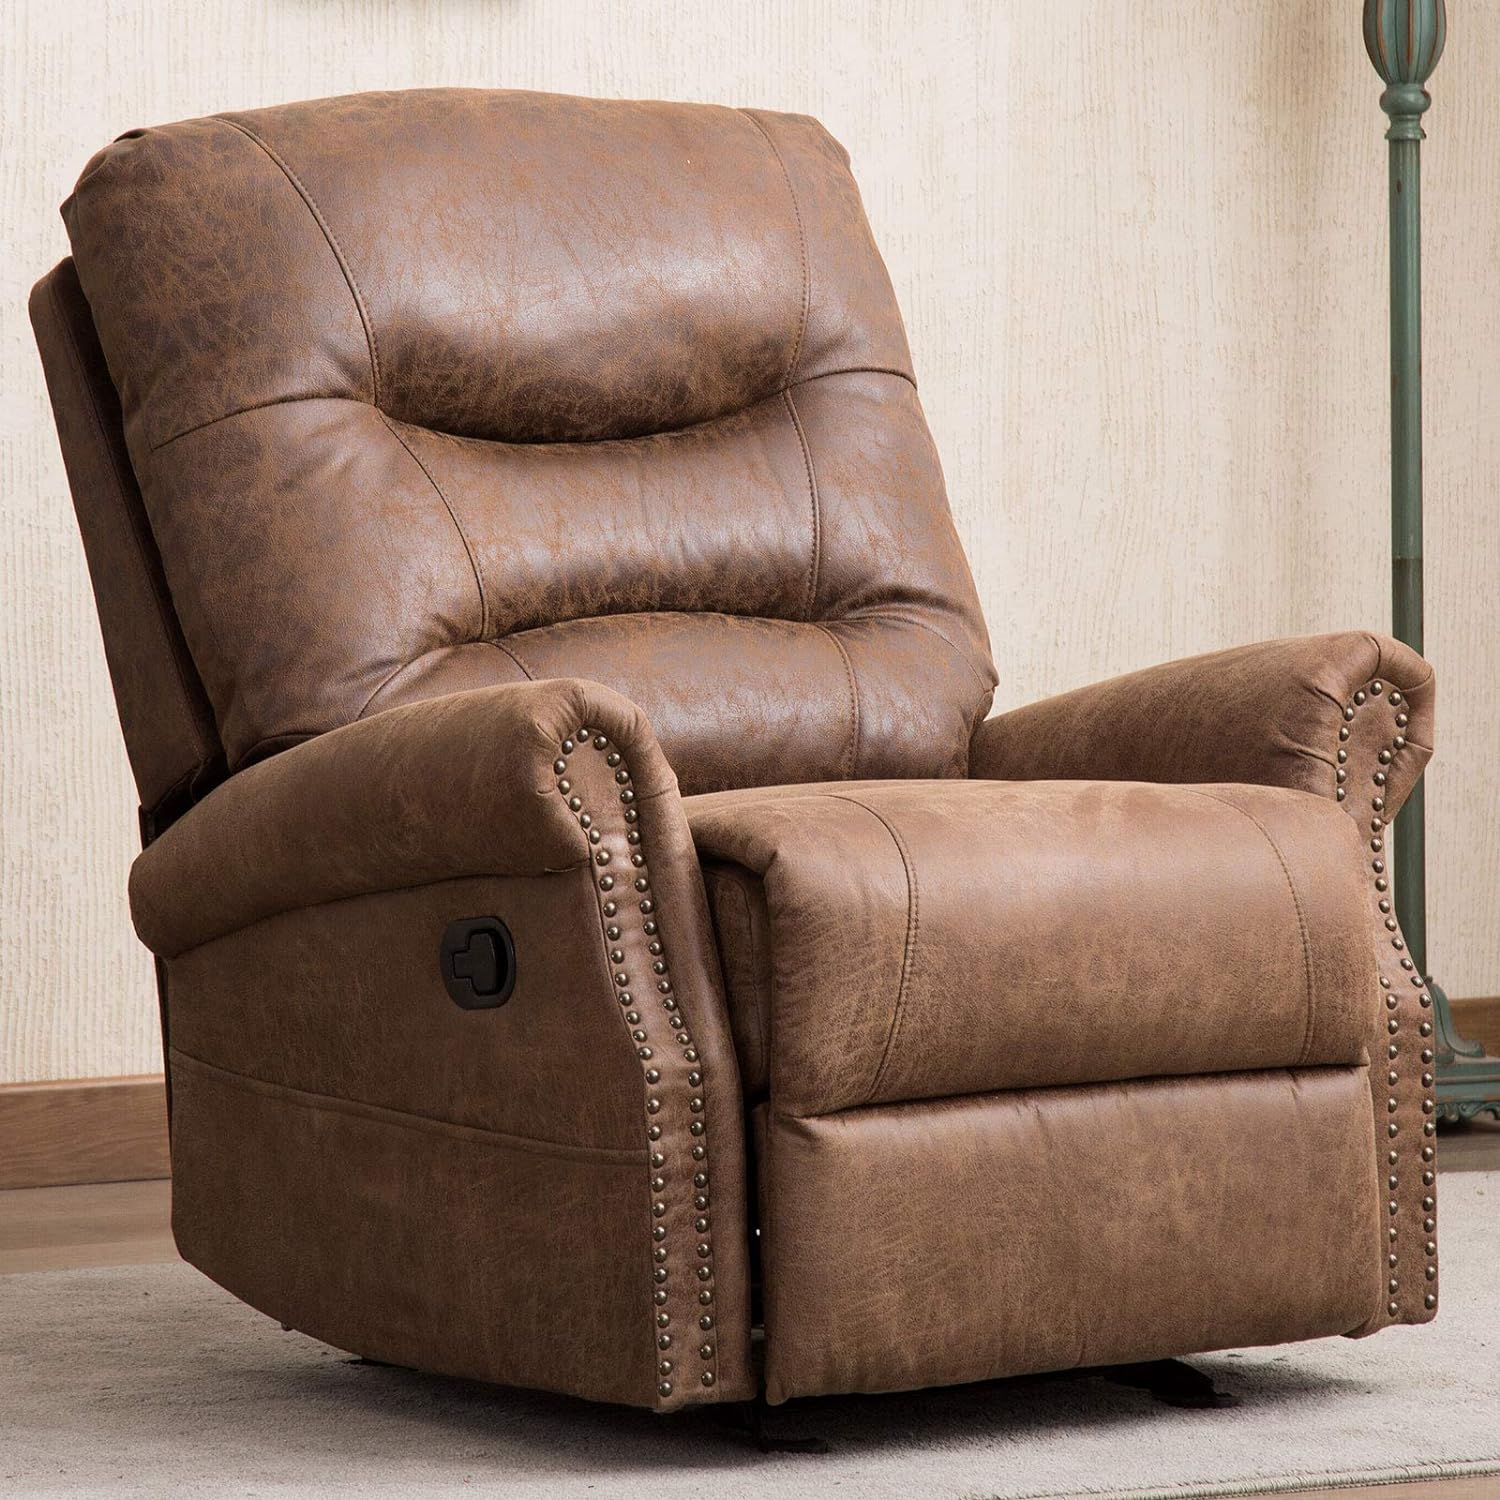
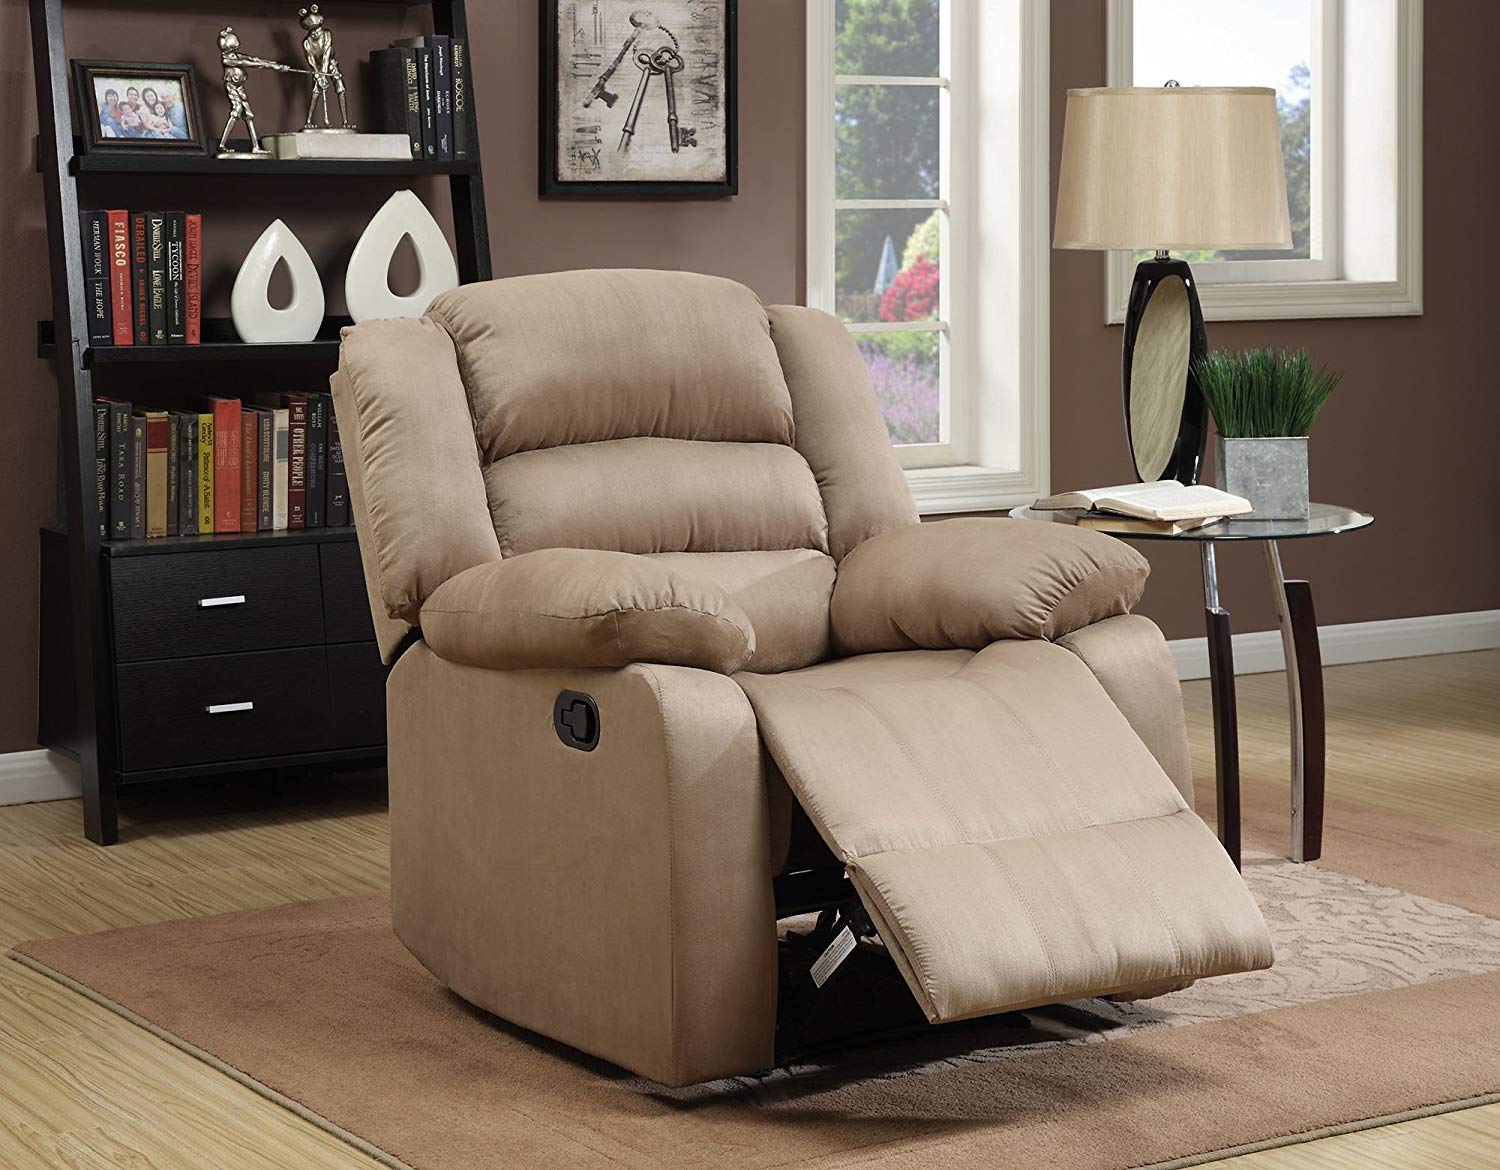
- A recliner chair: Choose a recliner that is in good condition and structurally sound. This will ensure that the rocker conversion is successful.
- Rocker base: This will serve as the foundation for your recliner-turned-rocker. Look for a sturdy and reliable rocker base that is compatible with your recliner’s design.
- Rocker mechanism: This is the core component that will enable the rocking motion. Make sure to select a high-quality rocker mechanism that suits the size and weight capacity of your recliner.
- Screws and bolts: These will be used to secure the rocker base and mechanism to the recliner. Ensure you have the appropriate sizes and types of screws to fit the components.
- Tools: Gather a set of basic tools such as a screwdriver, pliers, wrench, and drill. These will aid in disassembling and reassembling the recliner.
Once you have gathered all the necessary materials and tools, you’re ready to proceed with transforming your recliner into a rocker. In the following steps, we’ll guide you through the process of preparing the recliner, attaching the rocker base, installing the rocker mechanism, and securing the recliner to the rocker base.
Remember to take your time and follow the instructions carefully. With the right materials and a little bit of DIY enthusiasm, you’ll soon have a fabulous recliner-turned-rocker that offers both comfort and a soothing rocking motion.
Step 2: Prepare the recliner
Before you can start the conversion process, you’ll need to prepare the recliner for the rocker base installation. Here’s how to do it:
- Clear the space: Move the recliner to an open area where you have enough room to work comfortably. This will ensure that you have easy access to all sides of the recliner.
- Empty the contents: Remove any items from the recliner’s pockets or compartments. It’s essential to have a clear and empty recliner to avoid any belongings getting damaged or misplaced during the transformation.
- Flip the recliner over: Carefully turn the recliner upside down to expose the underside of the chair. You may need someone to assist you with this step to ensure the recliner remains steady and doesn’t tip over.
- Inspect the frame: Take a close look at the recliner’s frame to check for any signs of damage or wear. If you notice any cracks, loose screws, or weak points, it’s essential to address them before proceeding with the conversion.
- Remove the existing base: Depending on the design of your recliner, you may need to detach the existing base. This step can vary from recliner to recliner, so consult the manufacturer’s instructions or refer to any disassembly guides specific to your model.
- Keep track of the screws: As you disassemble the recliner, make sure to keep track of all the screws and any other small components. Place them in a secure container or plastic bag to avoid losing them.
By preparing the recliner and ensuring its stability, you’ll have a solid foundation for the rocking base installation. Take your time during this step to ensure that you don’t overlook any important details. Once you’ve completed the preparation, you’re ready to move on to the next step of attaching the rocker base to your recliner.
Step 3: Attach the rocker base
Now that you have prepared the recliner, it’s time to attach the rocker base. Follow these steps to securely fasten the base to your recliner:
- Position the rocker base: Carefully place the rocker base in the desired position underneath the recliner. Ensure that the base is centered and aligned with the recliner’s frame.
- Mark the screw holes: With the rocker base in place, use a pencil or marker to mark the screw holes on the recliner’s frame. This step will guide you when it’s time to drill the holes for the screws.
- Drill the pilot holes: Using a drill bit that matches the size of the screws, drill pilot holes at the marked positions. Pilot holes will make it easier to insert the screws and prevent the wood from splitting.
- Attach the rocker base: With the pilot holes drilled, carefully align the screw holes on the rocker base with the holes in the recliner’s frame. Insert the screws through the holes and tighten them using a screwdriver or a power drill with a screwdriver bit.
- Double-check the stability: Once the rocker base is attached, give the recliner a gentle shake to test its stability. If there is any wobbling or looseness, ensure that the screws are fully tightened and that the base is securely attached.
It’s crucial to properly align and fasten the rocker base to ensure a stable and secure foundation for the rocking motion. Take your time during this step, ensuring that the base is centered and the screws are tightened appropriately. A securely attached rocker base will lay the groundwork for the next step of installing the rocker mechanism.
To turn a recliner into a rocker, you can attach a rocker base to the bottom of the recliner. This can be done by purchasing a rocker base kit and following the instructions for installation.
Step 4: Install the rocker mechanism
With the rocker base securely attached, it’s time to install the rocker mechanism. This component will enable the recliner to rock back and forth smoothly. Follow these steps to install the rocker mechanism:
- Position the rocker mechanism: Carefully place the rocker mechanism on top of the rocker base. Make sure it aligns with the pre-drilled holes or slots on the base.
- Secure the rocker mechanism: Depending on the design of the rocker mechanism, you may need to use screws, bolts, or other securing methods to firmly attach it to the rocker base. Refer to the manufacturer’s instructions for the specific installation process.
- Align the recliner frame: Adjust the position of the recliner frame so that it aligns with the rocker mechanism. Ensure that the frame is centered and securely connected to the mechanism.
- Attach the recliner frame to the rocker mechanism: Use the provided screws or bolts to connect the recliner frame to the rocker mechanism. Depending on the design, you may need to slide the recliner frame into slots or align it with pre-drilled holes.
- Tighten the screws or bolts: Once the recliner frame is properly aligned, tighten the screws or bolts securely. Ensure that there is no wobbling or movement between the frame and the rocker mechanism.
Installing the rocker mechanism is a crucial step in converting your recliner into a rocker. Double-check the alignment and stability before moving on to the next step. A properly installed mechanism will ensure smooth rocking motion and a comfortable experience.
Now that the rocker mechanism is installed, it’s time to secure the recliner to the rocker base. This step will ensure that the recliner remains firmly attached to the base during rocking motions. Stay tuned for Step 5!
Read more: Who Makes The Best Swivel Rocker Recliner
Step 5: Secure the recliner to the rocker base
Now that you have successfully installed the rocker mechanism, it’s important to secure the recliner to the rocker base. This step will ensure that your recliner remains stable and safe while rocking. Follow these steps to secure the recliner:
- Position the recliner: Adjust the recliner on top of the rocker base, ensuring that it is centered and aligned with the rocker mechanism.
- Locate the attachment points: Look for the designated attachment points on the bottom of the recliner. These points may be pre-drilled holes or slots that align with corresponding areas on the rocker base.
- Insert screws or bolts: Using the appropriate screws or bolts, attach the recliner to the rocker base by inserting them through the attachment points. Make sure to tighten them securely, but avoid over-tightening as it may damage the recliner.
- Double-check the stability: Give the recliner a gentle shake to ensure that it is securely attached to the rocker base. If there is any wobbling or movement, check if the screws or bolts are tightened properly.
Securing the recliner to the rocker base is crucial to ensure safety and stability during use. Take your time during this step to ensure that the recliner is firmly connected to the base. With Step 5 completed, you’re almost ready to enjoy your newly transformed recliner rocker!
Now that your recliner is securely attached, it’s time to move on to the final step of testing and adjusting the rocker mechanism. This step will ensure that the rocking motion is smooth and comfortable. Continue reading to learn more in Step 6!
Step 6: Test and adjust the rocker
Now that your recliner is securely attached to the rocker base, it’s time to test and adjust the rocker mechanism. This step will ensure that the rocking motion is smooth and comfortable. Follow these steps to test and adjust the rocker:
- Sit in the recliner: Take a seat in the recliner and get comfortable. Slowly lean back into the reclined position to get a feel for the rocking motion.
- Test the rocking motion: Gently push off with your feet to initiate the rocking motion. Pay attention to how smoothly and evenly the recliner rocks back and forth. Take note of any areas where the motion feels uneven or jerky.
- Make adjustments: If you notice any irregularities in the rocking motion, you may need to make adjustments. Look for any screws or bolts that may be causing friction or hindering the movement. Loosen or tighten them as necessary to ensure a smooth rocking experience.
- Check for stability: While rocking, pay attention to the stability of the recliner. Ensure that it remains firmly attached to the rocker base and does not wobble or shift unexpectedly. If you notice any instability, recheck the attachment points and tightening of screws or bolts.
- Repeat and fine-tune: Test the rocking motion multiple times and make any necessary adjustments until you achieve a smooth and comfortable rocking experience.
Testing and adjusting the rocker mechanism is a crucial step to ensure that your recliner turned rocker provides the desired relaxation experience. Take your time during this step, as it may require some fine-tuning to achieve the perfect rocking motion.
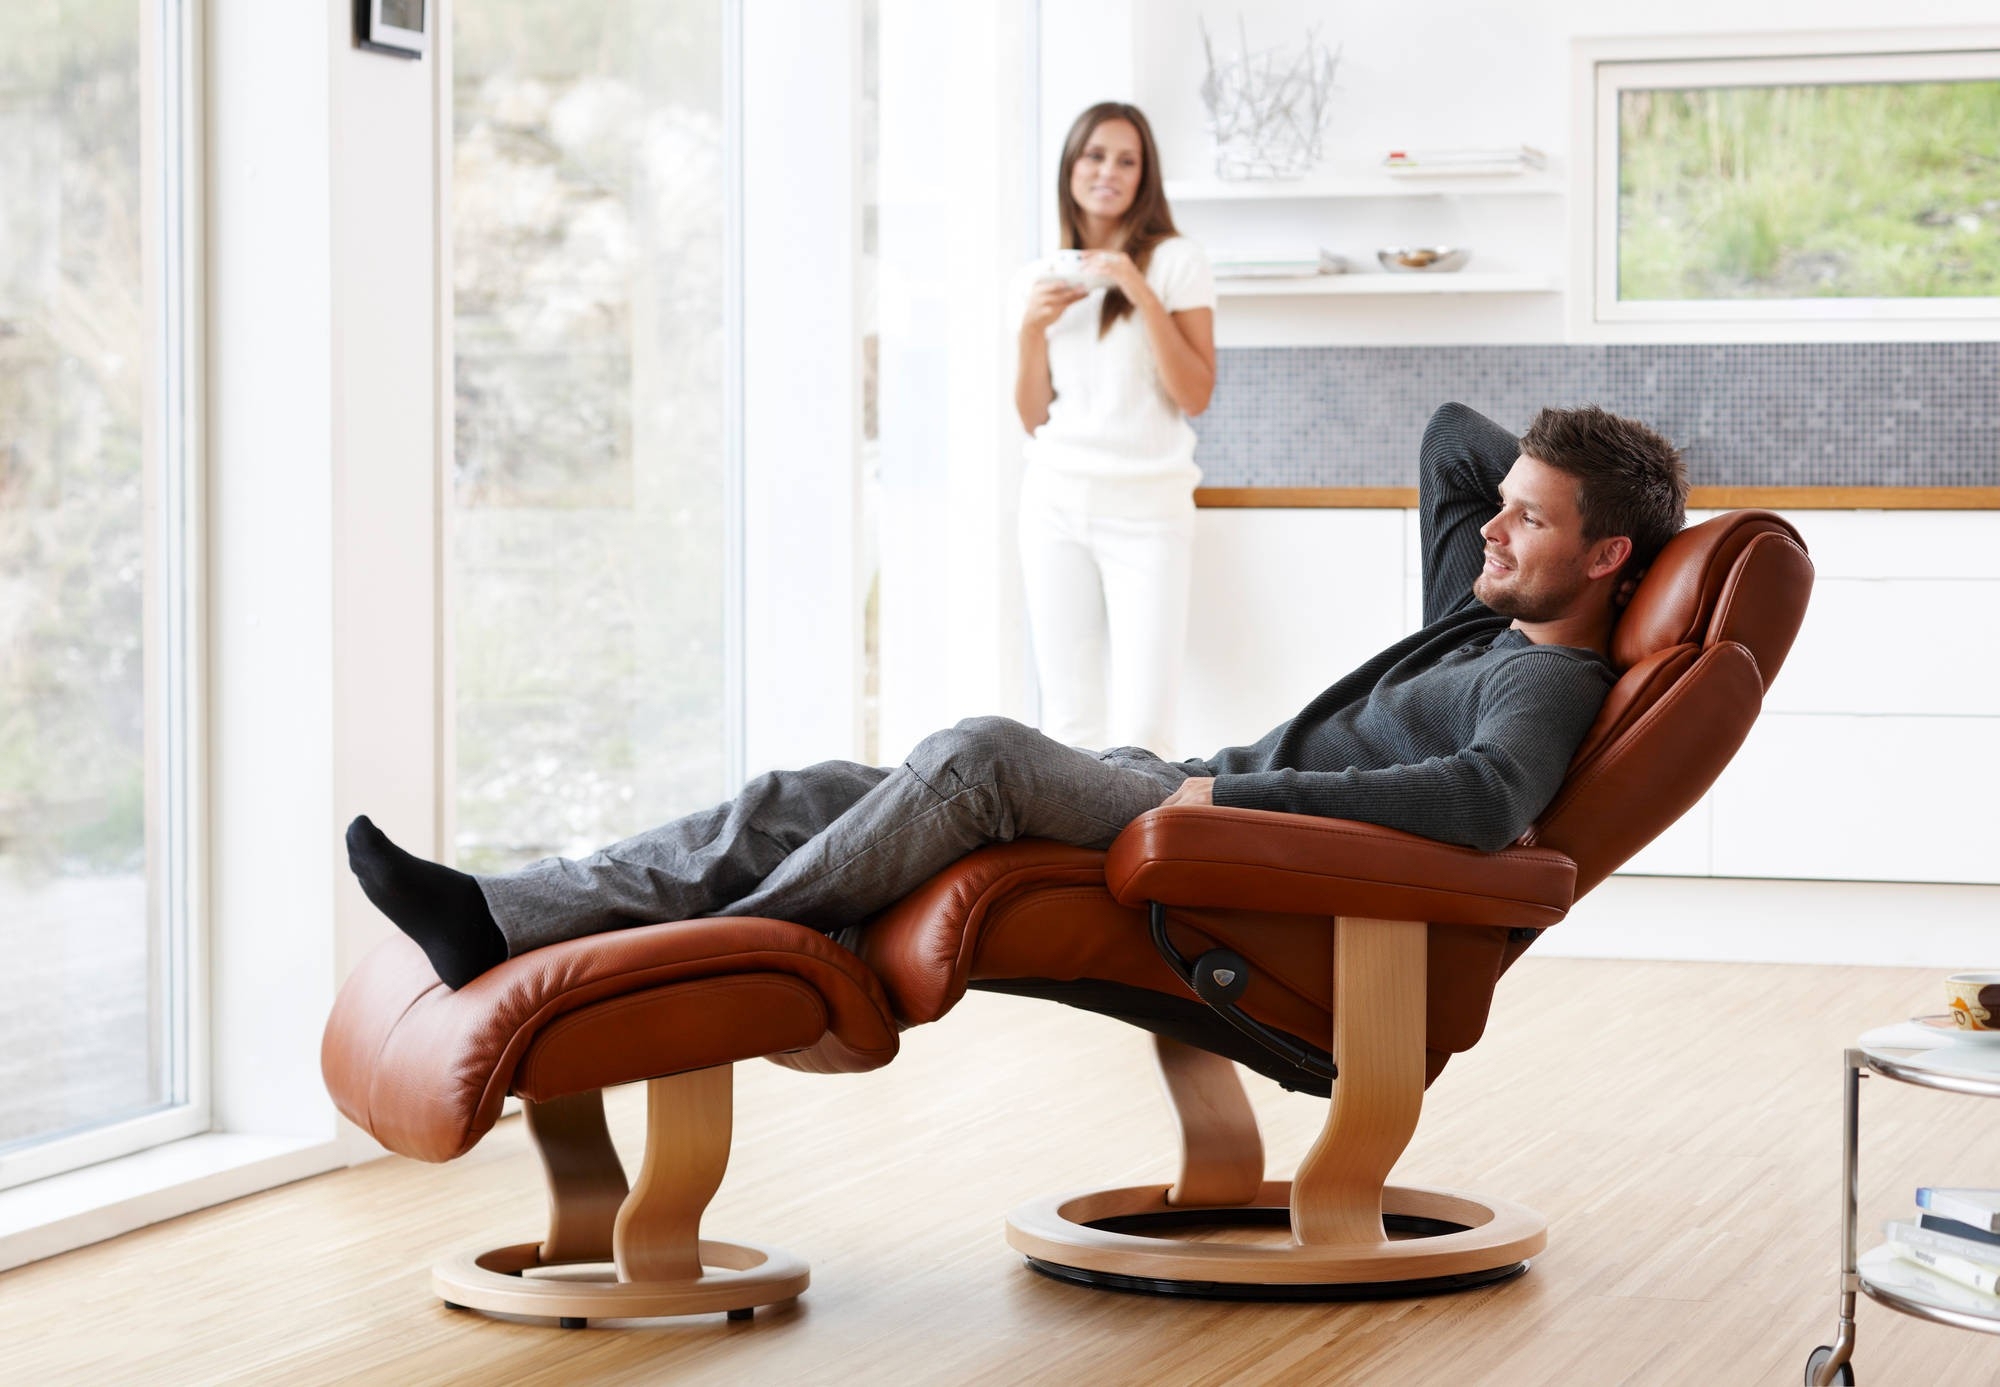
Congratulations! You have successfully transformed your recliner into a rocker. Now, it’s time to sit back, relax, and enjoy the gentle rocking motion in your stylish and comfortable recliner rocker.
Remember to regularly inspect and maintain your recliner rocker to ensure its long-term durability and performance. With proper care, your recliner rocker can become a favorite spot in your living room for years to come.
Conclusion
Congratulations! You’ve reached the end of our comprehensive guide on how to transform a recliner into a rocker. By following the step-by-step process outlined in this article, you’ve successfully converted your recliner into a comfortable and soothing rocker.
Throughout the journey, you’ve learned how to gather the necessary materials, prepare the recliner, attach the rocker base, install the rocker mechanism, secure the recliner to the base, and test and adjust the rocker. Each step is crucial in creating a sturdy and enjoyable recliner rocker that brings relaxation to your living room.
Now, it’s time to sit back, relax, and enjoy the gentle rocking motion of your newly transformed recliner. Whether you’re reading a book, watching a movie, or simply unwinding after a long day, your recliner rocker offers the perfect spot for ultimate comfort.
Remember to regularly inspect and maintain your recliner rocker to keep it in optimal condition. Check for any loose screws or bolts, ensure the stability of the attachments, and address any signs of wear or damage promptly. By caring for your recliner rocker, you can prolong its lifespan and continue to enjoy its benefits for years to come.
We hope this guide has been informative and helpful in your DIY project. Now, go ahead and embrace the relaxation and comfort of your newly transformed recliner rocker!
Frequently Asked Questions about How To Make A Recliner Into A Rocker
Was this page helpful?
At Storables.com, we guarantee accurate and reliable information. Our content, validated by Expert Board Contributors, is crafted following stringent Editorial Policies. We're committed to providing you with well-researched, expert-backed insights for all your informational needs.


0 thoughts on “How To Make A Recliner Into A Rocker”