Home>Furniture & Design>Living Room Furniture>How To Fix A Lane Recliner Mechanism
Living Room Furniture
How To Fix A Lane Recliner Mechanism
Modified: May 6, 2024
Learn how to fix a Lane recliner mechanism with our expert tips. Get your living room furniture back in top shape with our easy-to-follow guide.
(Many of the links in this article redirect to a specific reviewed product. Your purchase of these products through affiliate links helps to generate commission for Storables.com, at no extra cost. Learn more)
Introduction
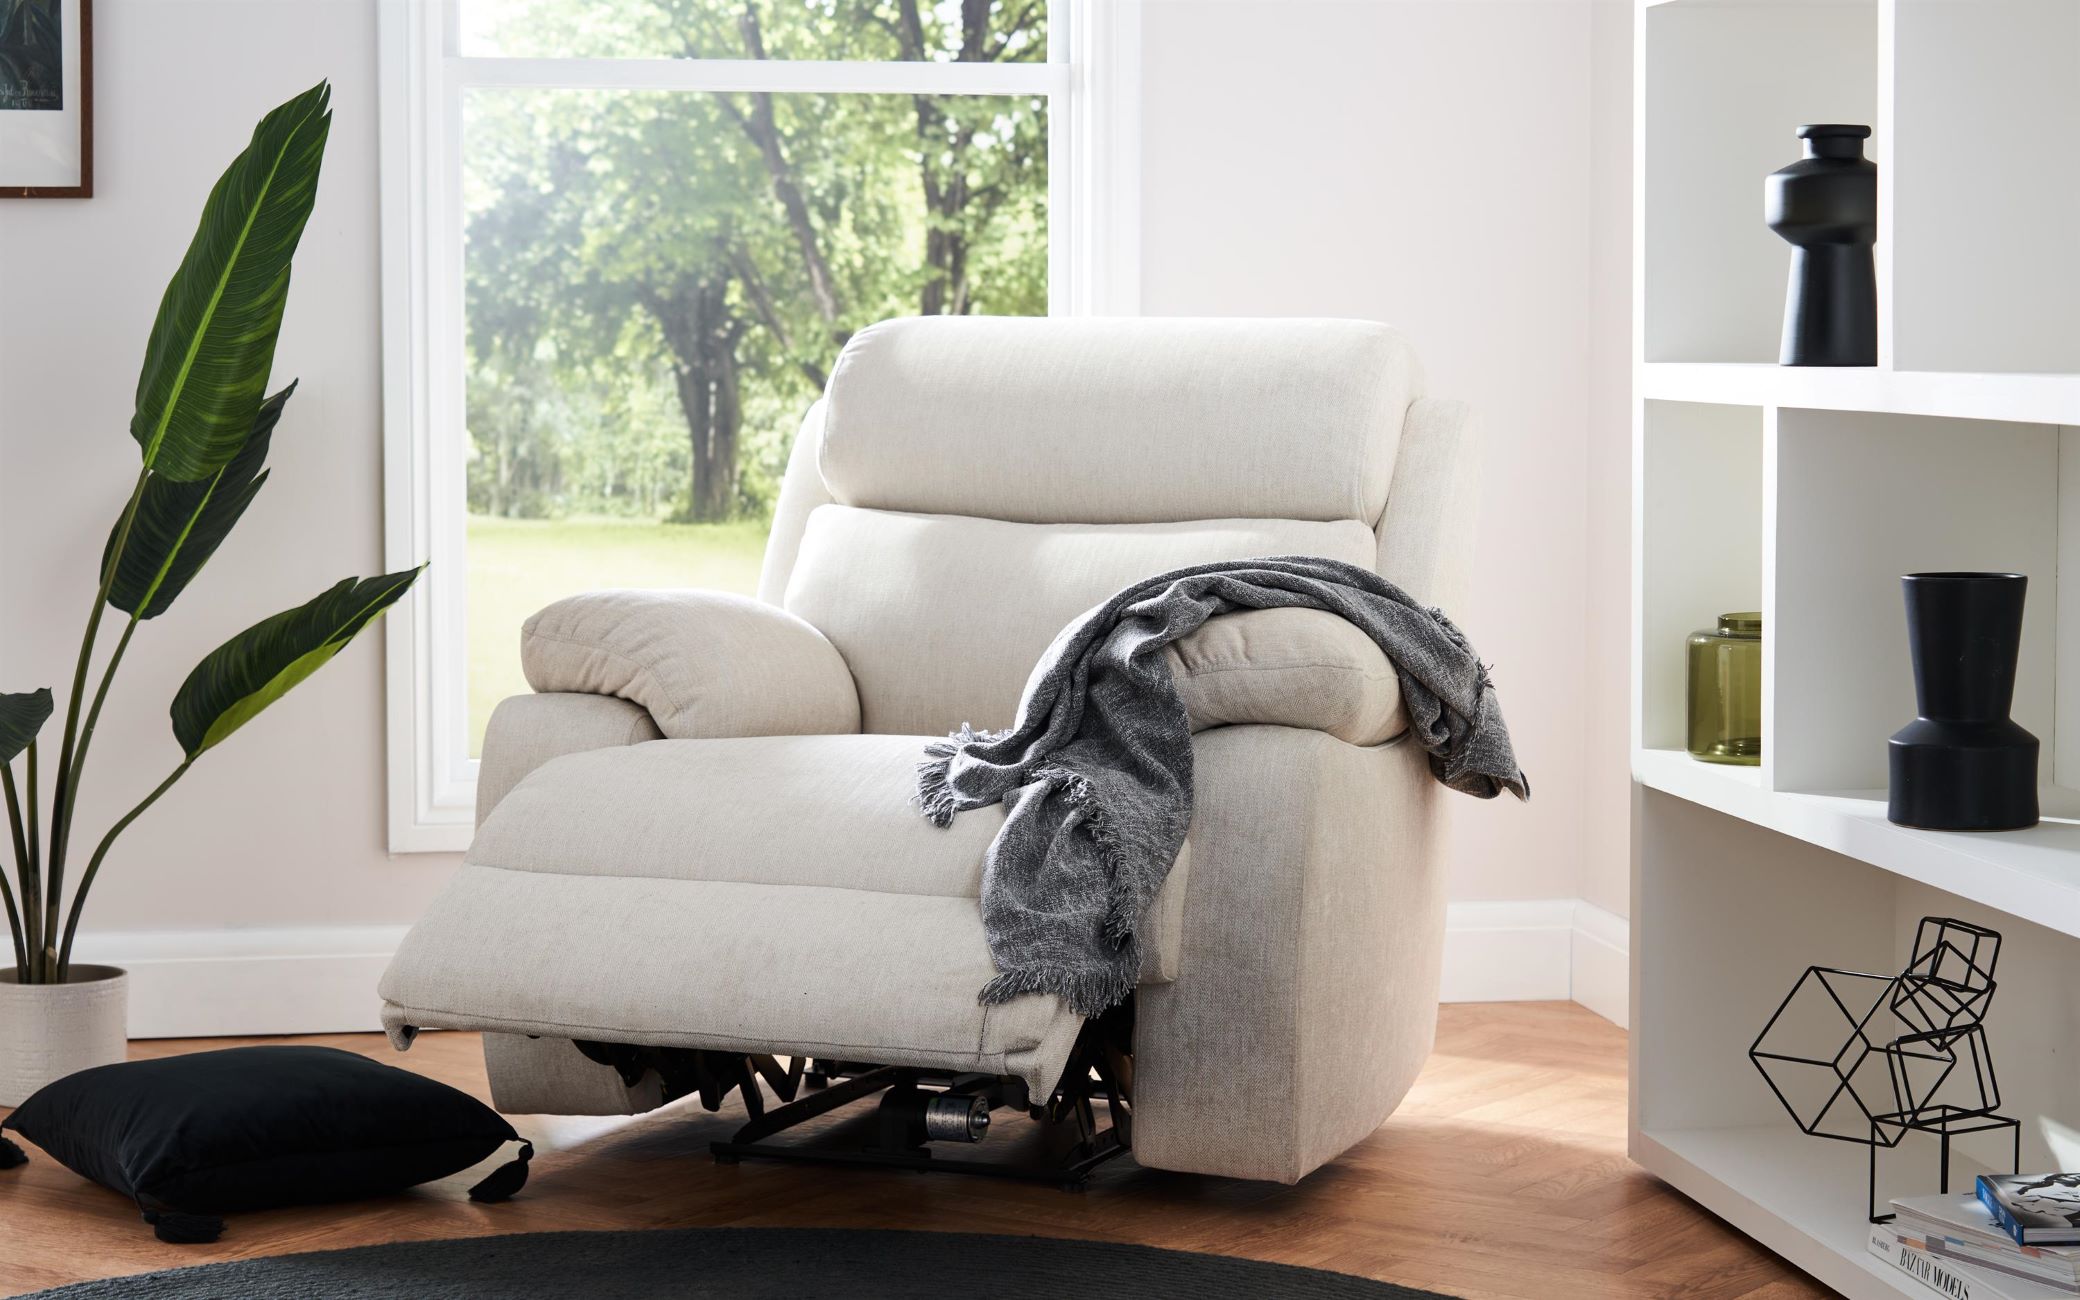
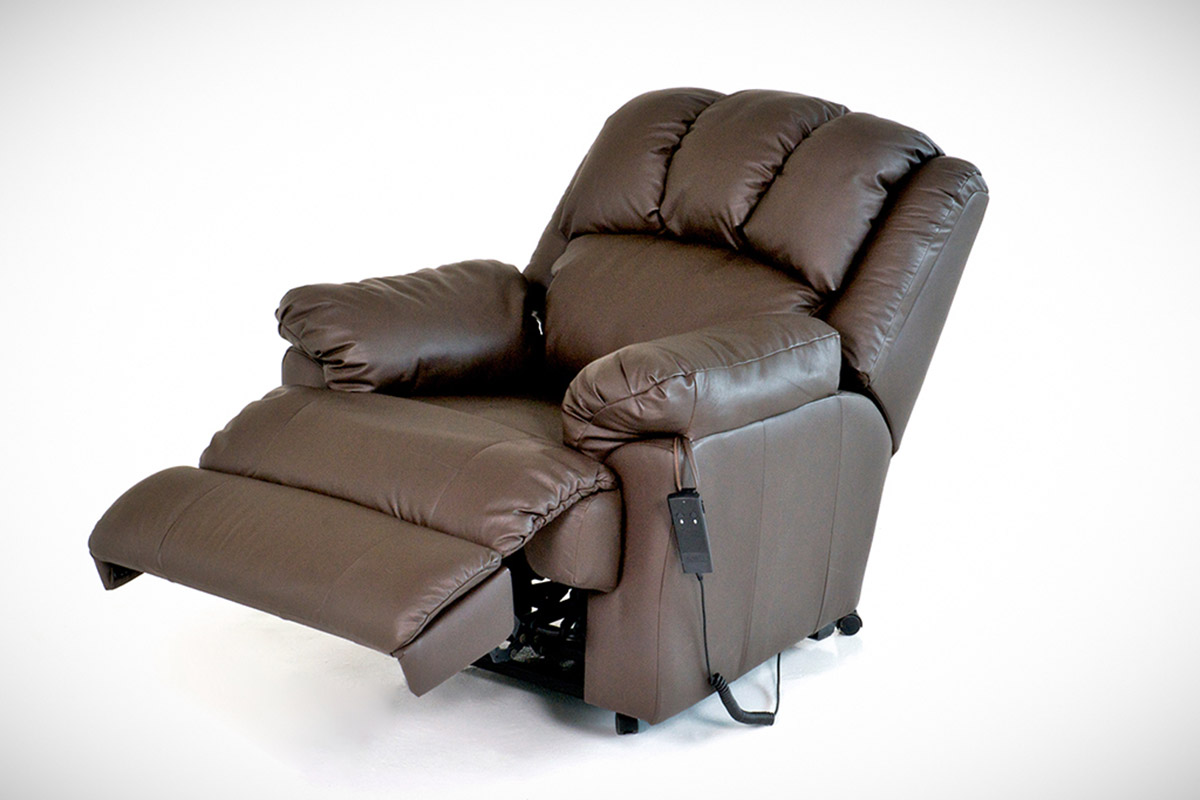
A Lane recliner is a beloved piece of furniture that provides comfort and relaxation in any living room. However, over time, the recliner mechanism may encounter issues that hinder its smooth operation. Whether it's a stuck footrest, a malfunctioning lever, or a creaking sound, these problems can disrupt the overall comfort and functionality of the recliner.
In this comprehensive guide, we will delve into the process of fixing a Lane recliner mechanism, empowering you to restore your favorite chair to its optimal condition. By understanding the intricacies of the recliner mechanism and following the step-by-step instructions provided, you can breathe new life into your recliner and continue enjoying its luxurious comfort for years to come.
Let's embark on this journey to unravel the inner workings of the Lane recliner mechanism and equip ourselves with the knowledge and skills needed to address any issues that may arise. With the right tools, a methodical approach, and a touch of DIY spirit, you can conquer the challenges associated with recliner maintenance and repair, ensuring that your cherished piece of furniture remains a source of relaxation and tranquility in your home.
Key Takeaways:
- Fixing a Lane recliner involves understanding its parts, inspecting for damage, and repairing or replacing components. With the right tools and care, you can restore your recliner’s comfort and functionality.
- Reassembling the recliner with precision and testing its movement ensures a successful repair. By following these steps, you can maintain the comfort and tranquility of your living space.
Read more: How To Fix Recliner Mechanism
Understanding the Lane Recliner Mechanism
The Lane recliner mechanism is a sophisticated system designed to provide seamless and adjustable comfort. It consists of several key components that work in harmony to facilitate the reclining and footrest extension functions. Understanding the intricacies of this mechanism is crucial for effectively diagnosing and addressing any issues that may arise.
Inner Workings
The heart of the Lane recliner mechanism lies in its frame, which serves as the foundation for the entire system. Attached to the frame is the reclining mechanism, typically operated by a lever or handle located on the side of the chair. This mechanism is responsible for initiating the reclining motion, allowing the user to effortlessly transition from an upright position to a reclined one.
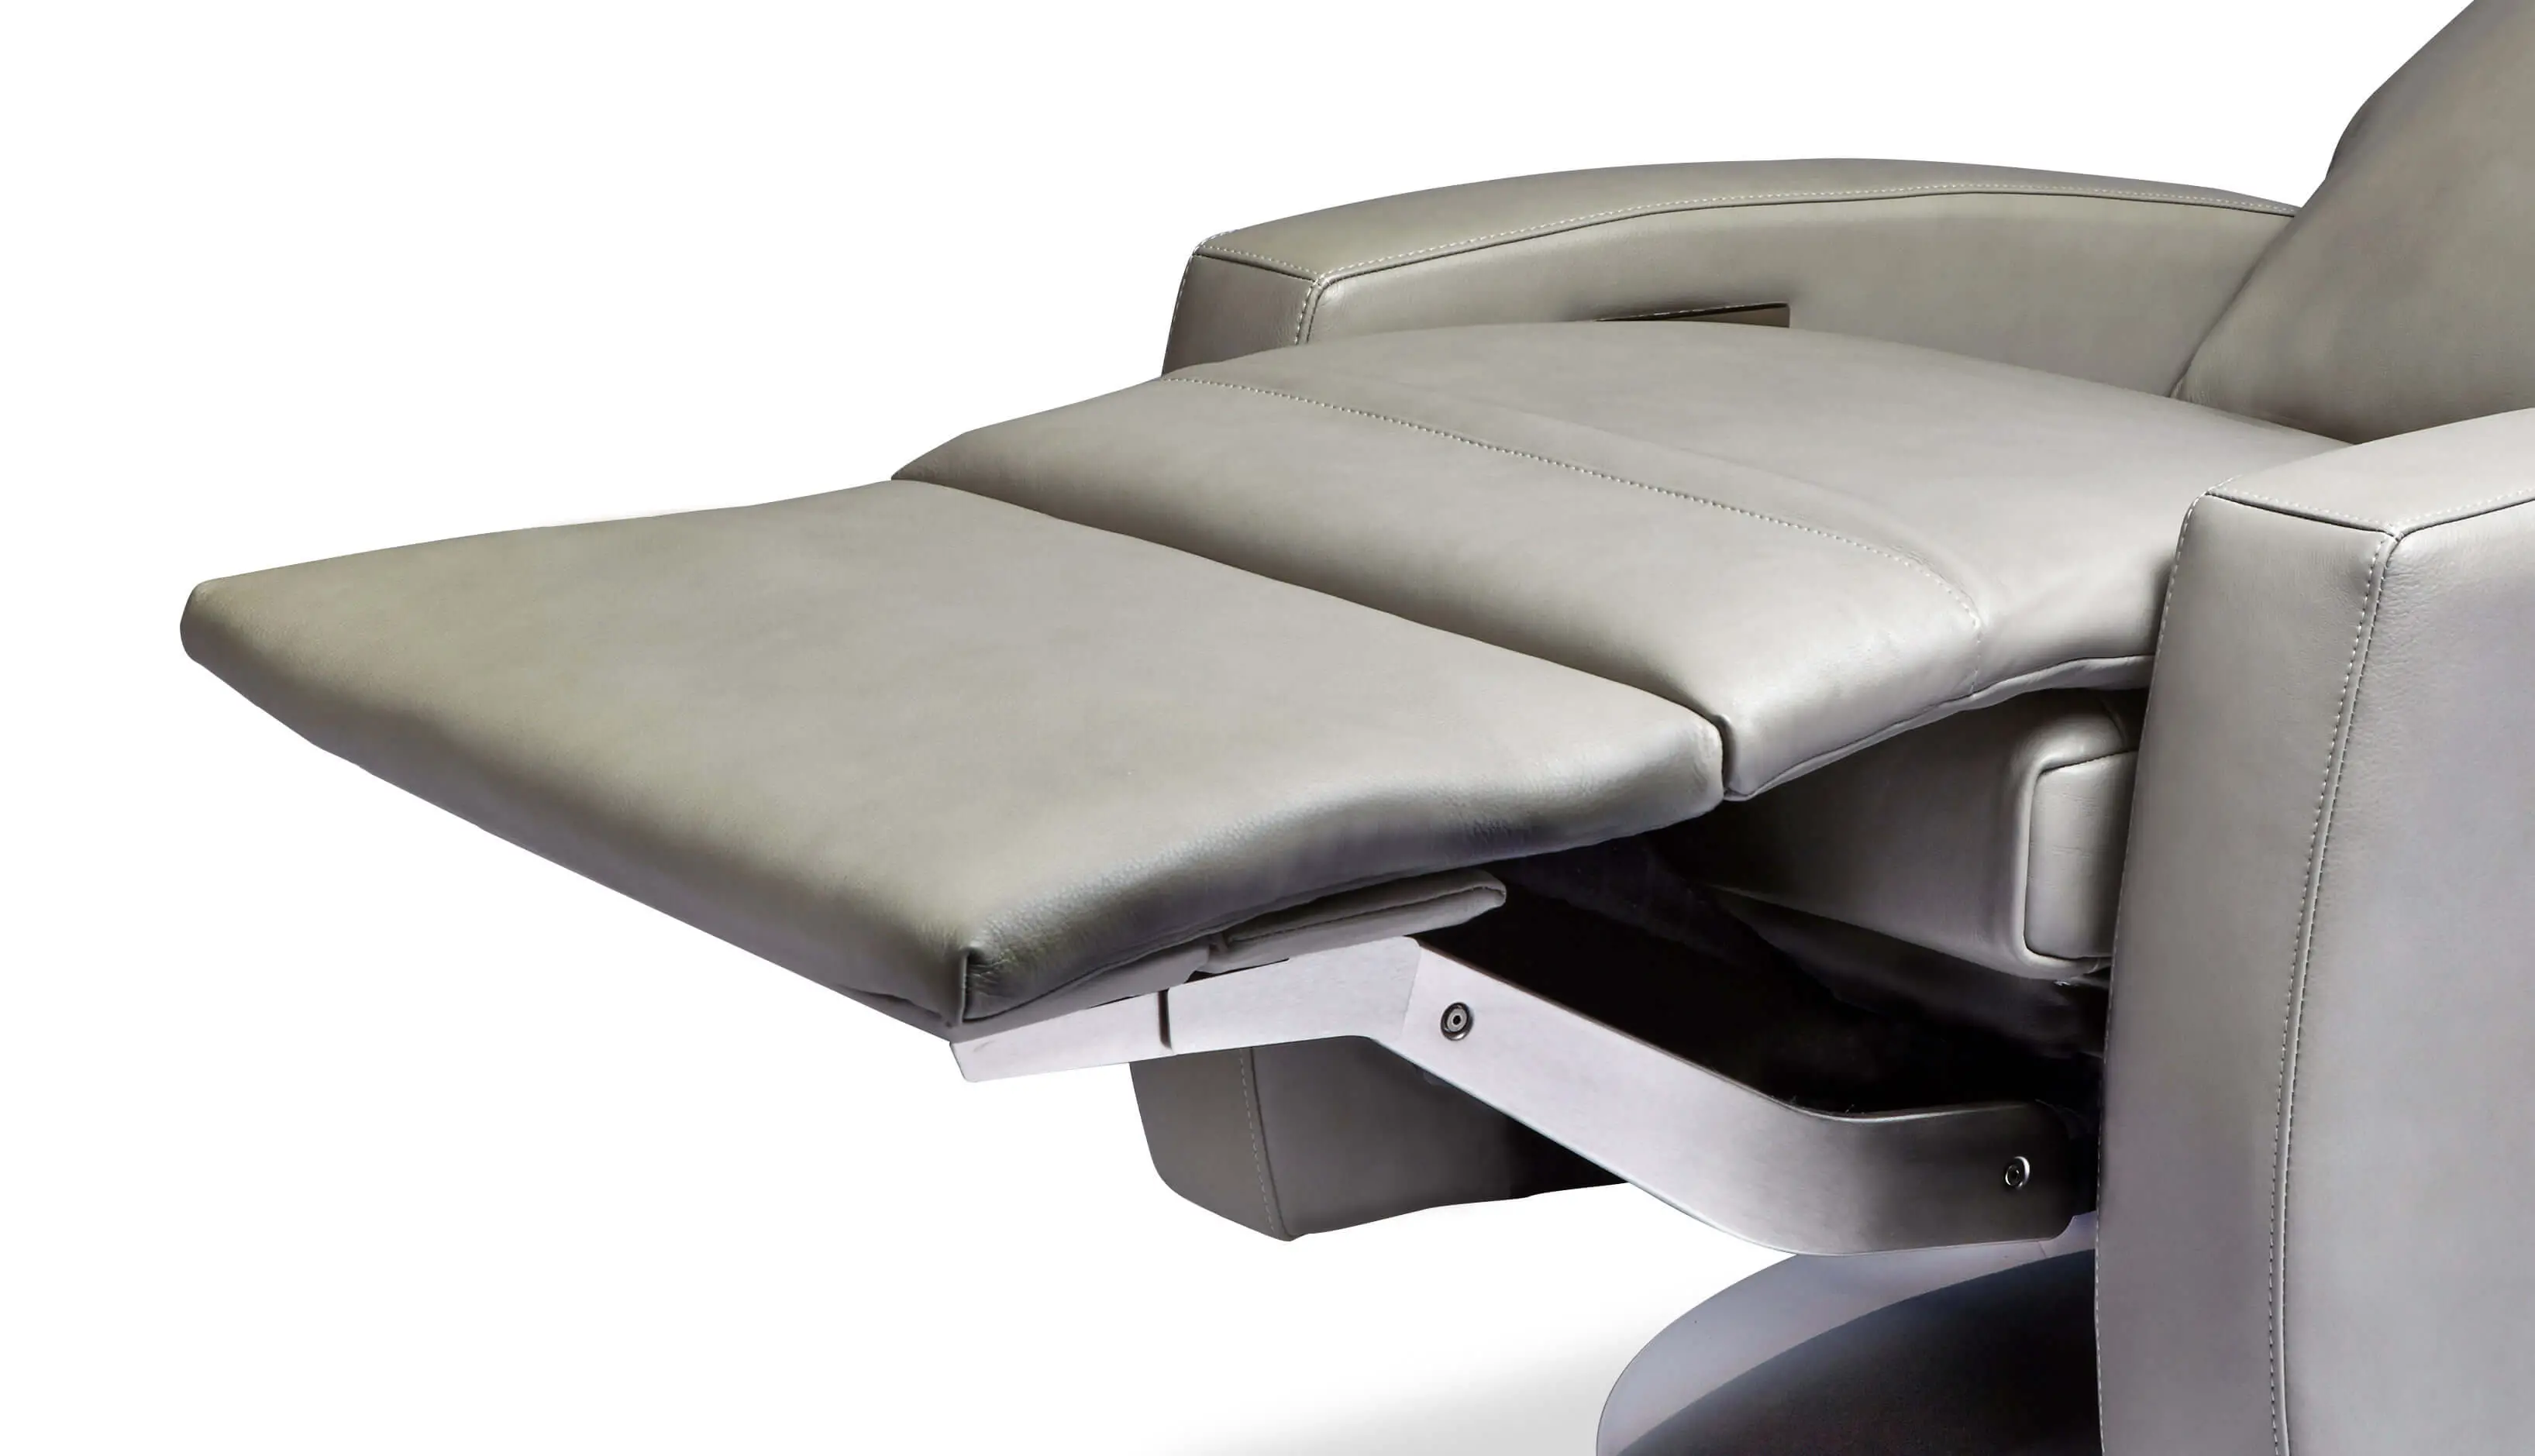
Complementing the reclining mechanism is the footrest extension system, which is seamlessly integrated to provide optimal leg support. When engaged, the footrest extends outward, offering a comfortable resting place for the user's legs. This feature adds an extra layer of relaxation to the reclining experience, making it a coveted aspect of Lane recliners.
Components and Materials
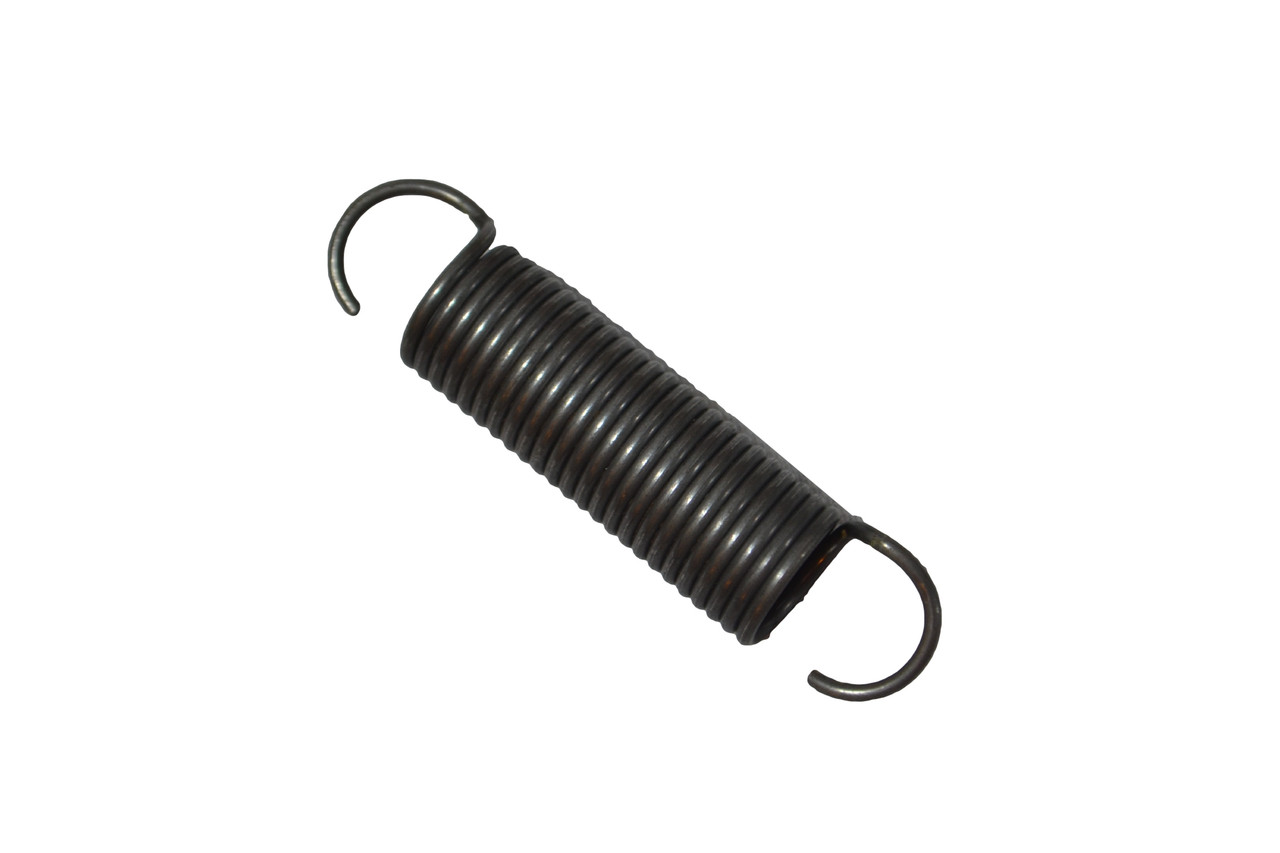
The Lane recliner mechanism comprises various components, including springs, hinges, and metal frames, all meticulously engineered to withstand the rigors of daily use. These components are often constructed from durable materials such as steel and high-quality upholstery, ensuring longevity and reliability.
The springs within the mechanism play a pivotal role in facilitating smooth and controlled movement. They are strategically positioned to provide the necessary tension and support, allowing the recliner to transition between different positions with ease. Additionally, the hinges are engineered to pivot and support the movement of the footrest, contributing to the overall functionality of the recliner.
Ergonomic Design
Lane recliners are renowned for their ergonomic design, which prioritizes comfort and adaptability. The mechanism is engineered to offer customizable reclining angles, enabling users to find their preferred position for relaxation. Whether it's a gentle recline for reading or a full extension for napping, the Lane recliner mechanism accommodates a range of preferences, making it a versatile and indispensable piece of furniture in any living room.
By gaining a deeper understanding of the Lane recliner mechanism, you can appreciate the intricate engineering and thoughtful design that underpin this beloved piece of furniture. Armed with this knowledge, you are better equipped to troubleshoot and address any mechanical issues that may arise, ensuring that your Lane recliner continues to provide unparalleled comfort and satisfaction.
This understanding serves as the foundation for the subsequent steps in repairing the Lane recliner mechanism, empowering you to approach the task with confidence and precision.
Read more: How Recliner Mechanism Works
Tools and Materials Needed
Repairing a Lane recliner mechanism requires the use of specific tools and materials to effectively diagnose and address any issues. Before embarking on the repair process, it's essential to gather the following items to ensure a smooth and efficient repair experience.
Tools:
- Screwdriver Set: A set of screwdrivers with various head types, including Phillips and flathead, is essential for disassembling and reassembling the recliner components.
- Pliers: Both regular and needle-nose pliers are valuable for gripping and manipulating small components within the recliner mechanism.
- Adjustable Wrench: This tool is useful for tightening or loosening nuts and bolts that may be present in the recliner's frame or mechanism.
- Flashlight: A flashlight can aid in illuminating the inner workings of the recliner, especially in dimly lit areas, allowing for better visibility during the repair process.
- Allen Wrench Set: Many recliner models utilize Allen screws, and having a set of Allen wrenches of various sizes is crucial for accessing and adjusting these components.
- Rubber Mallet: A rubber mallet can be used to gently tap and adjust certain components without causing damage.
Materials:
- Replacement Parts: Depending on the specific issue with the recliner mechanism, it may be necessary to acquire replacement parts such as springs, hinges, or levers. Identifying the exact components needed for the repair is essential before proceeding.
- Lubricant: A high-quality lubricant, such as silicone-based spray or grease, can help address issues related to squeaking or stiffness within the recliner mechanism.
- Clean Cloth: Keeping a clean cloth handy is important for wiping down components and removing any debris or old lubricant during the repair process.
- Safety Gloves: It's advisable to wear safety gloves to protect your hands from sharp edges and to provide a better grip when handling components.
- Safety Glasses: When working with tools and moving parts, safety glasses can safeguard your eyes from potential debris or small components that may dislodge during the repair.
By ensuring that these tools and materials are readily available, you can approach the repair of the Lane recliner mechanism with confidence and preparedness. Having the right equipment at your disposal will streamline the repair process and contribute to a successful outcome, allowing you to restore your recliner to its optimal condition and reclaim the comfort it provides in your living space.
Step 1: Removing the Recliner from the Chair
Before delving into the intricacies of the Lane recliner mechanism, the initial step involves safely removing the recliner from the chair to gain unhindered access to its internal components. This process requires careful maneuvering and attention to detail to ensure that the recliner is detached without causing any damage to its structure or upholstery.
Read more: How To Adjust A Lane Recliner
Preparation and Safety Measures
To commence this step, it's essential to clear the surrounding area to create ample space for maneuvering the recliner. Clear any obstacles or furniture that may impede the removal process, allowing for a smooth and unobstructed transition. Additionally, ensure that the floor surface is clean and free of any potential hazards, such as loose objects or slippery areas, to prevent accidents during the removal process.
Locate and Remove Attachment Points
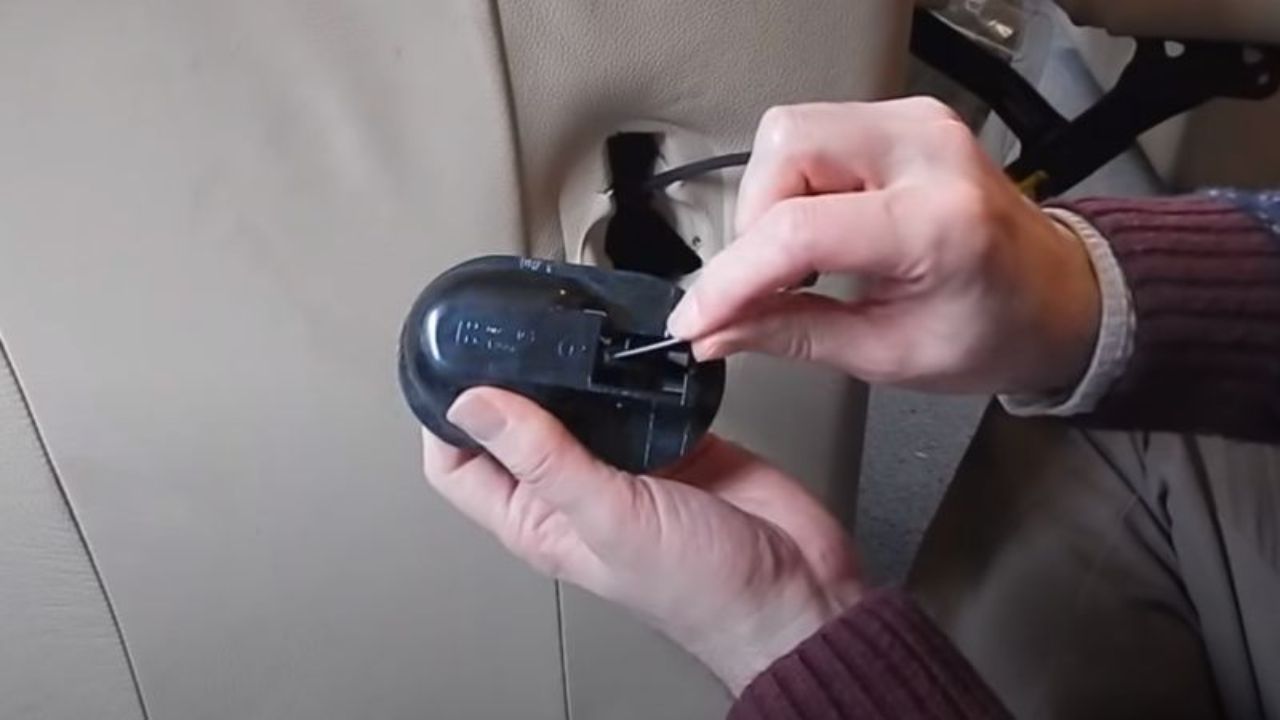
The attachment points securing the recliner to the chair are typically located at the base and backrest of the unit. Carefully inspect these attachment points to identify the fasteners, which may consist of screws, bolts, or clips, depending on the recliner model. Utilize the appropriate tools, such as a screwdriver or wrench, to systematically remove these fasteners, ensuring that they are safely set aside for reassembly.
Enlist Assistance if Needed
Given the weight and bulkiness of the recliner, enlisting the assistance of another individual can greatly facilitate the removal process. Coordinate with a helper to support the weight of the recliner as the attachment points are loosened and detached, minimizing the risk of strain or accidents during the maneuvering process. Effective communication and coordination with your helper are crucial to ensure a safe and coordinated removal.
Lift and Detach the Recliner
With the attachment points loosened and the assistance of a helper, carefully lift and detach the recliner from the chair, ensuring a steady and controlled movement to prevent any sudden shifts or jolts. Pay close attention to the upholstery and structural components to avoid snagging or damage during the removal process. Once detached, place the recliner in a safe and accessible location, ready for the subsequent inspection and repair steps.
By meticulously following these steps and exercising caution throughout the removal process, you can successfully detach the recliner from the chair, setting the stage for a thorough examination of the recliner mechanism. This methodical approach ensures that the recliner is handled with care and precision, laying the groundwork for effective repairs and maintenance to restore its optimal functionality and comfort.
Read more: How To Make Recliner Mechanism
Step 2: Inspecting the Mechanism for Damage
Upon successfully removing the recliner from the chair, the next critical step in the repair process involves a comprehensive inspection of the recliner mechanism to identify any signs of damage, wear, or malfunction. This meticulous examination serves as the foundation for determining the specific issues affecting the mechanism and devising an effective repair strategy.
Thorough Visual Assessment
Begin the inspection by conducting a thorough visual assessment of the recliner mechanism, paying close attention to key components such as the frame, springs, hinges, and levers. Look for any visible signs of wear, corrosion, or breakage that may be contributing to the issues experienced with the recliner. Check for misaligned or bent components that could impede the smooth operation of the mechanism.
Testing Movement and Functionality
After the visual assessment, proceed to test the movement and functionality of the recliner mechanism. Operate the reclining lever or handle to gauge the smoothness of the reclining motion and the extension of the footrest. Pay attention to any resistance, grinding noises, or irregularities in the movement, as these indicators can offer valuable insights into the underlying issues affecting the mechanism.
Identifying Specific Issues
As you inspect the mechanism, take note of any specific issues or abnormalities observed during the visual assessment and functionality testing. This may include sagging or uneven extension of the footrest, stiffness in the reclining motion, or audible creaking or grinding sounds during operation. By pinpointing these specific issues, you can narrow down the focus of the repair and direct your efforts towards addressing the root causes of the mechanism's malfunction.
Read more: How To Repair A Recliner Chair Mechanism
Documentation and Note-Taking
Throughout the inspection process, it is advisable to document your observations and take detailed notes regarding the condition of the recliner mechanism. Capture any findings related to damaged components, areas of concern, and notable observations that will inform the subsequent repair steps. This documentation serves as a valuable reference point and aids in formulating a targeted repair plan tailored to the specific needs of the recliner mechanism.
Consultation and Research
In cases where the issues identified during the inspection are unfamiliar or require further expertise, consider consulting repair manuals, online resources, or seeking guidance from professionals with experience in Lane recliner maintenance. Researching specific symptoms and common issues associated with Lane recliner mechanisms can provide valuable insights and guidance for addressing complex or less obvious problems.
By meticulously inspecting the recliner mechanism for damage and irregularities, you lay the groundwork for a precise and effective repair strategy. This proactive approach enables you to identify the underlying issues affecting the mechanism, empowering you to proceed with confidence and clarity as you embark on the subsequent repair and maintenance steps.
Step 3: Repairing or Replacing the Mechanism Parts
After conducting a thorough inspection of the Lane recliner mechanism and identifying the specific issues affecting its functionality, the next crucial step involves addressing these issues through targeted repairs or component replacements. This meticulous approach aims to restore the optimal operation of the recliner mechanism, ensuring that it continues to provide comfort and relaxation in your living space.
Repairing Damaged Components
If the inspection reveals that certain components within the recliner mechanism have sustained damage or wear, initiating repairs can help rectify these issues. For instance, if the springs exhibit signs of deformation or loss of tension, they can be carefully adjusted or replaced to restore their functionality. Similarly, hinges and levers that show signs of misalignment or wear can be realigned or reinforced to enhance their performance.
Read more: How To Fix A Recliner
Lubrication and Maintenance
In cases where stiffness or squeaking noises are observed during the functionality testing, applying high-quality lubricant to the moving parts can alleviate these issues. Silicone-based spray or grease can be strategically applied to pivot points, hinges, and other friction-prone areas to facilitate smooth and silent operation. Additionally, cleaning and removing debris from the mechanism can contribute to its overall maintenance and longevity.
Replacement of Worn Components
For components that exhibit irreparable damage or wear beyond repair, such as severely bent or broken parts, replacing them with new, compatible components is essential. This may involve acquiring replacement springs, hinges, or levers that align with the specifications of the Lane recliner model. Ensuring the compatibility and quality of replacement parts is paramount to the successful restoration of the recliner mechanism.
Reassembly and Testing
Following the repair or replacement of components, reassembling the recliner with precision and attention to detail is crucial. Carefully align and secure the components, fasteners, and attachment points to restore the integrity of the recliner mechanism. Once reassembled, conduct thorough testing of the reclining and footrest extension functions to verify the effectiveness of the repairs and replacements.
By meticulously addressing the specific issues identified during the inspection, you can breathe new life into your Lane recliner, ensuring that it continues to serve as a source of comfort and relaxation in your home. This proactive approach to repairing and replacing the mechanism parts underscores the value of regular maintenance and attentive care in preserving the functionality and longevity of your cherished recliner.
Step 4: Reassembling the Recliner
Reassembling the Lane recliner after addressing the specific issues within its mechanism is a critical phase that demands precision, attention to detail, and a methodical approach. This step marks the culmination of the repair process, where the carefully repaired or replaced components are integrated to restore the recliner to its optimal functionality and comfort. By following a systematic reassembly process, you can ensure that the recliner is reinstated with integrity and precision, ready to resume its role as a cherished piece of furniture in your living space.
Read more: How To Fix Recliner Footrest
Organizing Components and Fasteners
Before commencing the reassembly, it is essential to organize the repaired or replaced components, along with the corresponding fasteners and attachment points. Lay out the components in a clear and accessible manner, ensuring that all necessary parts are readily available for the reassembly process. This organization minimizes the risk of misplacing components and streamlines the subsequent steps, fostering a seamless and efficient reassembly experience.
Alignment and Integration
Carefully align the components, taking care to position them in their designated locations within the recliner mechanism. Ensure that the attachment points and fasteners correspond accurately to the components, facilitating a secure and stable integration. Pay close attention to the orientation and alignment of each component, adhering to the manufacturer's specifications and guidelines to guarantee a precise and reliable reassembly.
Fastening and Securing
Utilize the appropriate tools, such as screwdrivers, wrenches, and pliers, to fasten and secure the components within the recliner mechanism. Exercise caution and control when tightening the fasteners, ensuring that they are snug and secure without over-tightening, which could potentially damage the components. Verify the stability and integrity of the fastened components, confirming that they are firmly in place and poised to contribute to the smooth operation of the recliner.
Functional Testing
Following the reassembly of the recliner, conduct comprehensive functional testing to validate the effectiveness of the reassembly process. Operate the reclining lever or handle to initiate the reclining motion, observing the smoothness and stability of the movement. Similarly, extend the footrest to assess its seamless operation, ensuring that the repaired or replaced components contribute to the recliner's overall functionality. Any irregularities or issues observed during testing should be promptly addressed to guarantee the successful reassembly of the recliner.
Read more: How To Fix A Leaning Recliner
Final Inspection and Adjustment
Conclude the reassembly process with a final inspection of the recliner mechanism, scrutinizing the integrated components for alignment, stability, and functionality. Make any necessary adjustments or refinements to optimize the performance of the mechanism, addressing any minor discrepancies or inconsistencies that may arise during the testing phase. This meticulous approach ensures that the reassembled recliner meets the highest standards of quality and reliability, poised to deliver unparalleled comfort and satisfaction.
By meticulously following the reassembly process, you can effectively restore the Lane recliner to its optimal condition, ensuring that it continues to enrich your living space with its luxurious comfort and functionality. This methodical approach underscores the value of precision and care in maintaining and repairing cherished furniture, reaffirming the enduring appeal and utility of the Lane recliner in your home.
Conclusion
In conclusion, the process of fixing a Lane recliner mechanism encompasses a journey of understanding, meticulous inspection, targeted repairs, and precise reassembly. By embarking on this endeavor, you have gained valuable insights into the inner workings of the Lane recliner mechanism, empowering you to address any issues that may compromise its functionality and comfort.
Throughout this comprehensive guide, you have delved into the intricate design and components of the Lane recliner mechanism, appreciating the thoughtful engineering and ergonomic considerations that underpin this beloved piece of furniture. Armed with this understanding, you have approached the repair process with confidence and precision, ensuring that your recliner continues to serve as a source of relaxation and tranquility in your living space.
The meticulous steps outlined in this guide, from removing the recliner from the chair to inspecting, repairing, and reassembling its mechanism, have equipped you with the knowledge and skills needed to navigate the complexities of recliner maintenance and repair. By adhering to a methodical approach and leveraging the right tools and materials, you have demonstrated a commitment to preserving the functionality and longevity of your Lane recliner.
As you conclude this repair journey, it is essential to reflect on the value of proactive maintenance and attentive care in safeguarding the comfort and utility of your cherished furniture. By investing time and effort in understanding and addressing the specific needs of the Lane recliner mechanism, you have reaffirmed its role as a centerpiece of relaxation and comfort in your home.
Moving forward, the insights and expertise gained from this repair experience will serve as a valuable resource, enabling you to address any future challenges that may arise with the Lane recliner mechanism. Whether it's a minor adjustment, a targeted repair, or routine maintenance, you are well-prepared to uphold the optimal functionality and comfort of your recliner, ensuring that it remains a cherished and indispensable asset in your living space.
In essence, the journey of fixing a Lane recliner mechanism transcends mere repairs; it embodies a commitment to preserving comfort, functionality, and the enduring appeal of a beloved piece of furniture. By embracing this commitment, you have not only revitalized your recliner but also reaffirmed the significance of attentive care and maintenance in sustaining the comfort and tranquility of your living space.
Reviving your Lane recliner could be just the start! Ready for more hands-on projects around your house? Our guide on DIY home improvement offers practical advice and clever tricks to spruce up your space, no professional help needed. Whether you're looking to overhaul a room or just add some personal touches, our tips will steer you right. Don't miss out on transforming your home into a more beautiful and functional place to live.
Frequently Asked Questions about How To Fix A Lane Recliner Mechanism
Was this page helpful?
At Storables.com, we guarantee accurate and reliable information. Our content, validated by Expert Board Contributors, is crafted following stringent Editorial Policies. We're committed to providing you with well-researched, expert-backed insights for all your informational needs.

0 thoughts on “How To Fix A Lane Recliner Mechanism”