Home>Furniture & Design>Living Room Furniture>How To Make A Recliner Cover
Living Room Furniture
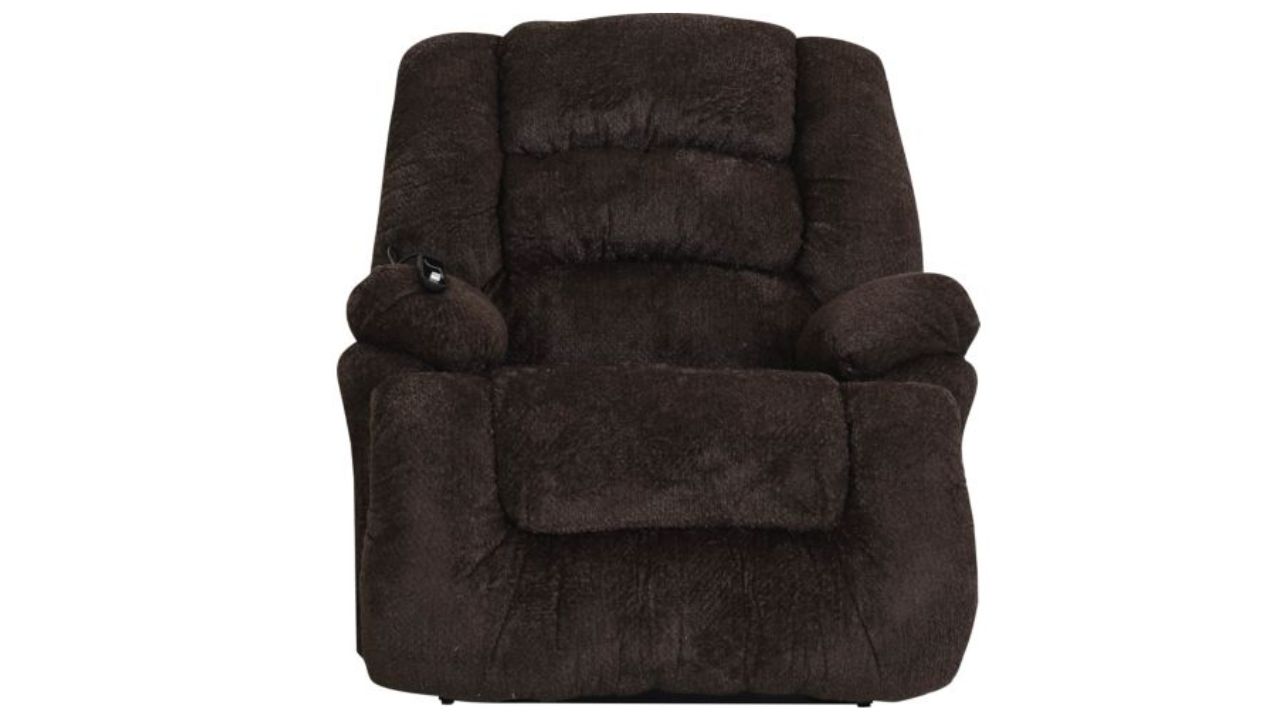
How To Make A Recliner Cover
Published: December 20, 2023
Learn how to make a custom recliner cover to protect and update your living room furniture. Follow our step-by-step guide for a perfect fit and stylish design. Ideal for living room furniture and design enthusiasts.
(Many of the links in this article redirect to a specific reviewed product. Your purchase of these products through affiliate links helps to generate commission for Storables.com, at no extra cost. Learn more)
**
Introduction
**
Welcome to the world of DIY furniture design! Making a recliner cover is a fantastic way to breathe new life into your favorite piece of furniture. Whether you want to protect your recliner from wear and tear, update its look to match your evolving style, or simply add a personal touch, creating a custom cover is a rewarding and practical project.
Crafting a recliner cover allows you to showcase your creativity and sewing skills while also providing a cost-effective alternative to purchasing a new piece of furniture. By choosing your own fabric and design, you can tailor the cover to suit your unique taste and complement your living room decor.
In this comprehensive guide, we will walk you through the process of making a recliner cover from start to finish. You will learn about the materials needed, precise measurements and cutting techniques, as well as sewing and adding the finishing touches to your cover. Whether you are a seasoned sewing enthusiast or a beginner looking for a fun and fulfilling project, this guide is designed to help you achieve professional results and revitalize your recliner with a custom cover that reflects your individual style.
So, grab your sewing supplies, select your favorite fabric, and let's dive into the exciting world of creating a custom recliner cover that will breathe new life into your living room and provide both comfort and style.
**
Key Takeaways:
- Revitalize your recliner with a custom cover that reflects your style and protects your furniture. Enjoy the rewarding process of creating a unique and practical piece for your living room.
- By embracing DIY creativity, you can infuse your living space with personalized touches. Showcase your sewing skills and transform your recliner into a stylish and comfortable centerpiece.
Read more: How To Make A Recliner Into A Rocker
Materials Needed
**
Before embarking on your recliner cover project, it’s essential to gather the necessary materials. Here’s a list of items you’ll need to bring your vision to life:
- Fabric: Select a durable, machine-washable fabric that complements your decor and withstands the daily use of a recliner. Consider the color, texture, and pattern that will best suit your space.
- Measuring Tape: Accurate measurements are crucial for a well-fitted cover, so invest in a reliable measuring tape to ensure precision.
- Scissors: Quality fabric scissors are essential for cutting the fabric with ease and accuracy.
- Pins: Sewing pins will help secure the fabric in place during the cutting and sewing process.
- Sewing Machine: If you have one, a sewing machine will streamline the sewing process, although it’s also possible to sew the cover by hand.
- Thread: Choose a high-quality thread that complements your fabric and provides strong, durable seams.
- Elastic: Depending on the design of your cover, elastic may be needed to ensure a snug fit around the recliner’s contours.
- Iron: An iron and ironing board are essential for pressing seams and achieving a polished, professional finish.
- Optional Embellishments: If desired, consider adding decorative elements such as piping, buttons, or contrasting fabric to personalize your cover.
By gathering these materials, you’ll be well-equipped to commence the exciting process of creating a custom recliner cover that will elevate your living space and provide both functionality and style.
**
Measurements and Cutting
**
Accurate measurements and precise cutting are essential for creating a well-fitted recliner cover. Before diving into the cutting process, it’s crucial to measure your recliner thoroughly. Begin by measuring the width and length of the backrest, seat, and footrest, taking into account any additional features such as armrests or headrests. It’s advisable to add a few inches to your measurements to allow for seam allowances and a snug fit.
Once you have your measurements, it’s time to transfer them onto your chosen fabric. Lay the fabric on a flat surface, and using fabric chalk or a washable fabric marker, mark the dimensions of each section of the cover based on your measurements. Carefully cut along these markings, ensuring clean, straight lines and even edges.
When cutting the fabric, pay attention to the fabric’s pattern and direction if applicable. For example, if your chosen fabric has a specific pattern or grain, ensure that all pieces are cut in the same direction for a cohesive look once the cover is assembled.
If your recliner cover design includes multiple pieces that need to be sewn together, label each piece with its intended location to avoid confusion during the sewing process. This step will help streamline the assembly and ensure that the cover comes together seamlessly.
Remember, precision is key when it comes to measurements and cutting. Taking the time to measure accurately and cut with care will contribute to the professional finish of your custom recliner cover and guarantee a perfect fit for your beloved piece of furniture.
**
When making a recliner cover, be sure to measure your recliner carefully to ensure a proper fit. Use a durable and washable fabric for easy maintenance. Consider adding extra padding for comfort and a non-slip backing to keep the cover in place.
Sewing the Cover
**
With your fabric pieces cut to size, it’s time to bring your recliner cover to life through the art of sewing. Whether you’re using a sewing machine or opting for hand-sewing, the following steps will guide you through the process of assembling the cover:
- Pin and Secure: Begin by pinning the fabric pieces together, ensuring that the right sides are facing each other. Use sewing pins to secure the edges and corners, aligning them accurately to maintain the desired fit.
- Seam Construction: Select a suitable stitch on your sewing machine or choose a hand-sewing technique that provides durability and a neat finish. Begin sewing along the pinned edges, removing the pins as you progress. Be sure to reinforce the corners and stress points for added strength.
- Fitting and Adjustments: Once the main sections of the cover are sewn together, carefully fit it over the recliner to assess the overall fit. Make any necessary adjustments to ensure a snug and tailored appearance, marking any areas that require further stitching or alterations.
- Finishing Touches: After achieving the desired fit, complete any remaining seams and hems. Consider adding elastic or other fastening elements to secure the cover in place, especially if your design includes a fitted or form-hugging style.
- Pressing and Detailing: To achieve a professional finish, press the seams and hems with an iron, ensuring crisp edges and a polished appearance. Add any optional embellishments, such as piping or decorative elements, to personalize the cover and elevate its visual appeal.
Throughout the sewing process, attention to detail and precision will contribute to a well-crafted and durable recliner cover. Whether you’re a seasoned seamstress or new to the world of sewing, this stage of the project offers an opportunity to showcase your skills and creativity while achieving a tailored cover that enhances both the comfort and aesthetics of your recliner.
**
Adding Finishing Touches
**
As you near the completion of your custom recliner cover, adding the finishing touches will elevate its appearance and functionality. Consider the following steps to enhance the overall look and ensure a professional finish:
- Trim and Tuck: Trim any loose threads and tuck in any remaining seam allowances for a clean and tidy appearance. Attention to these details will contribute to a polished final product.
- Secure Fastenings: If your design includes fastenings such as buttons, Velcro, or ties, ensure that they are securely attached and provide a snug fit when the cover is in place. This step is crucial for both practicality and aesthetics.
- Quality Check: Thoroughly inspect the cover for any missed stitches, weak seams, or irregularities. Making any necessary adjustments at this stage will ensure a durable and long-lasting cover.
- Personalization: Consider adding personalized elements such as monograms, decorative embroidery, or custom details that reflect your unique style and make the cover truly your own.
- Final Pressing: Once all elements are in place, give the cover a final press with an iron to smooth out any wrinkles and creases, ensuring a professional and well-presented result.
By paying attention to these finishing touches, you will elevate your custom recliner cover from a functional piece to a stylish and personalized addition to your living space. Embracing the opportunity to add these final details allows you to infuse the cover with your individual touch and create a finished product that seamlessly integrates with your decor and provides both comfort and visual appeal.
**
Read more: Who Makes The Best Recliner
Conclusion
**
Congratulations on completing your journey to create a custom recliner cover! By embarking on this project, you have not only revitalized your beloved piece of furniture but also showcased your creativity and sewing skills. The finished cover serves as a testament to your dedication and attention to detail, providing both practical functionality and personalized style.
As you integrate the cover into your living space, take a moment to appreciate the transformation it has brought about. Your recliner now boasts a tailored and stylish look that complements your decor while offering enhanced protection and comfort. Whether you chose a classic fabric, added unique embellishments, or personalized the cover to reflect your individual taste, the end result is a testament to your creativity and craftsmanship.
As you enjoy the comfort and visual appeal of your newly covered recliner, take pride in the fact that you have successfully undertaken a DIY project that not only adds value to your home but also reflects your personality and flair for design. The process of creating a custom recliner cover is a fulfilling endeavor that allows you to infuse your living space with a touch of your own creativity and practicality.
With the knowledge and experience gained from this project, you are well-equipped to tackle future DIY endeavors and continue to personalize and enhance your living space. Whether it’s sewing additional covers for different furniture pieces, exploring new design projects, or sharing your expertise with others, the skills and satisfaction gained from this undertaking will continue to inspire and empower you in your creative pursuits.
Thank you for joining us on this exciting journey, and may your custom recliner cover serve as a constant reminder of your ability to transform ideas into tangible, functional, and beautiful creations.
Frequently Asked Questions about How To Make A Recliner Cover
Was this page helpful?
At Storables.com, we guarantee accurate and reliable information. Our content, validated by Expert Board Contributors, is crafted following stringent Editorial Policies. We're committed to providing you with well-researched, expert-backed insights for all your informational needs.


0 thoughts on “How To Make A Recliner Cover”