Home>Furniture & Design>Office Furniture>How To Adjust My Office Chair

Office Furniture
How To Adjust My Office Chair
Modified: January 14, 2024
Learn how to properly adjust your office chair for maximum comfort and support. Get expert tips on optimizing your office furniture for better posture and productivity. Discover the best practices for office-furniture-furniture-and-design.
(Many of the links in this article redirect to a specific reviewed product. Your purchase of these products through affiliate links helps to generate commission for Storables.com, at no extra cost. Learn more)
Introduction
Welcome to the ultimate guide on how to adjust your office chair for optimal comfort and support. Whether you spend a few hours or the entire workday seated at your desk, having an ergonomically sound office chair is crucial for maintaining good posture and minimizing the risk of discomfort or injury. By understanding the various adjustments available on modern office chairs and how to customize them to fit your body, you can create a workspace that promotes productivity and well-being.
In this comprehensive guide, we will explore the step-by-step process of assessing your chair and making key adjustments to ensure a personalized fit. From seat height and depth to armrest and lumbar support adjustments, we will cover everything you need to know to achieve the perfect seating arrangement. Additionally, we will delve into the significance of backrest angle adjustments and how they contribute to a healthy sitting posture.
Whether you are new to office chair adjustments or seeking to refine your existing setup, this guide will equip you with the knowledge and techniques to optimize your seating experience. By taking the time to tailor your office chair to your unique body dimensions and preferences, you can enhance your overall comfort, reduce strain, and boost your productivity throughout the workday.
So, let's dive into the world of office chair adjustments and discover how simple modifications can make a world of difference in your daily work routine. Get ready to transform your office chair into a personalized oasis of comfort and support!
Key Takeaways:
- Personalized chair adjustments promote comfort and reduce strain, enhancing productivity and well-being during work. Tailoring seat height, depth, armrests, lumbar support, and backrest angle creates a customized oasis of support.
- Regular reassessment and proactive adjustments to your office chair ensure consistent comfort and support, empowering you to work efficiently and enjoy a healthier sitting experience. Customizing your workspace promotes well-being and productivity.
Read more: How To Adjust An Office Chair Tilt
Assessing Your Chair
Before delving into the specific adjustments, it’s essential to assess your office chair to understand its current configuration and identify areas that may require modification. Start by sitting in your chair and taking note of any discomfort, pressure points, or areas of inadequate support. Consider the following aspects during your assessment:
- Seat Height: Check if your feet rest comfortably on the floor while your thighs are parallel to the ground. If your feet dangle or if your knees are above hip level, the seat height may need adjustment.
- Seat Depth: Ensure there is adequate space between the edge of the seat and the back of your knees. If the seat is too deep, it may put pressure on the back of your knees, while a shallow seat may not provide ample support for your thighs.
- Armrests: Assess the armrests to see if they are positioned at a height that allows your shoulders to relax and your elbows to rest comfortably at a 90-degree angle.
- Lumbar Support: Determine if the chair’s lumbar support aligns with the natural curve of your lower back, providing adequate support without causing discomfort or pressure.
- Backrest Angle: Consider the angle of the backrest and whether it promotes a neutral, upright posture without causing strain on your back.
By evaluating these key areas, you can gain valuable insights into the adjustments needed to optimize your chair for superior comfort and support. Remember, every individual’s body is unique, so it’s important to tailor the chair to your specific dimensions and preferences.
Once you have completed your assessment, you can proceed to make targeted adjustments to address any areas of concern and create an ergonomic seating arrangement that suits your body perfectly.
Adjusting Seat Height
Proper seat height is a fundamental aspect of ergonomic chair setup, as it directly impacts your posture and overall comfort. Follow these steps to adjust your office chair’s seat height:
- Start at a Neutral Position: Begin by setting the seat height to a neutral position, where your feet rest flat on the floor and your thighs are parallel to the ground. This initial setting serves as a baseline for making further adjustments.
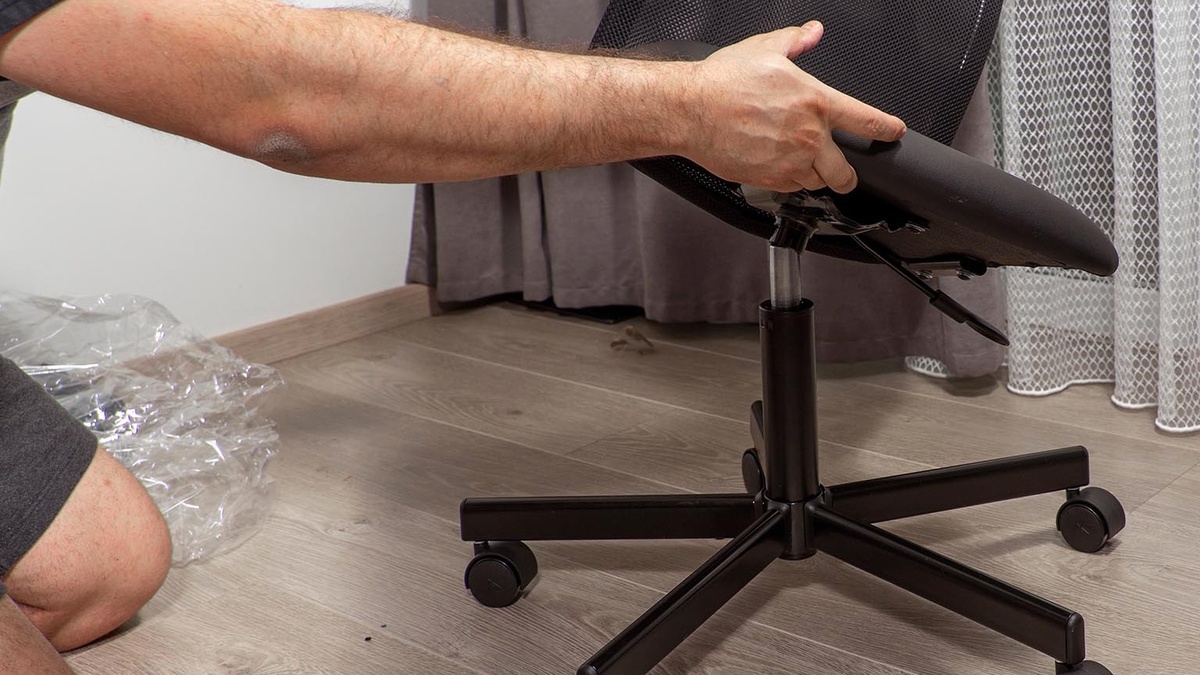
- Adjusting the Height: Most modern office chairs feature a pneumatic or gas lift mechanism, located beneath the seat. While seated, reach under the chair and locate the height adjustment lever or knob. Lift the lever or rotate the knob to raise or lower the seat to the desired height. As you make adjustments, ensure that your feet remain flat on the floor and your thighs maintain a parallel position.
- Testing the Height: After each adjustment, take a moment to assess the new seat height. Ensure that your feet are comfortably grounded, and there is no pressure on the underside of your thighs. Additionally, check if your knees are at a 90-degree angle when seated.
- Finalize the Position: Once you have found the ideal seat height, lock the adjustment mechanism in place according to the chair’s instructions. This secures the seat at the desired height, preventing unintended changes during use.
Adjusting your chair’s seat height to achieve proper alignment and support for your lower body is crucial for maintaining a healthy sitting posture. By customizing the seat height to suit your individual dimensions, you can minimize strain on your legs and lower back, promoting greater comfort and reducing the risk of musculoskeletal issues.
Remember, regular readjustment may be necessary over time, especially if multiple individuals use the same chair or if your workspace undergoes changes. By staying attuned to your body’s needs and making proactive adjustments, you can ensure that your office chair provides consistent support and comfort throughout the workday.
Adjusting Seat Depth
Optimizing the seat depth of your office chair is essential for promoting proper circulation, minimizing pressure on your thighs, and supporting your lower body while seated. Follow these steps to adjust the seat depth of your chair:
- Evaluate the Current Depth: Sit in your chair and assess the space between the edge of the seat and the back of your knees. Ensure there is approximately a two-finger gap to allow for proper circulation and prevent pressure on the back of your knees.
- Locate the Adjustment Mechanism: Many modern office chairs offer the flexibility to adjust the seat depth. Look for the seat depth adjustment lever or knob beneath the seat or along the sides of the chair frame.
- Adjusting the Seat Depth: Depending on the chair’s design, you may need to lift the lever or rotate the knob to release the seat depth adjustment feature. Slide the seat pan forward or backward to achieve the desired depth, ensuring that it provides adequate support for your thighs without causing pressure on the back of your knees.
- Testing the Depth: After making adjustments, sit back in the chair and assess the new seat depth. Ensure that your thighs are fully supported by the seat, with no pressure points or discomfort behind the knees. Additionally, check if your lower back remains in contact with the lumbar support while maintaining a neutral posture.
- Secure the Adjustment: Once you have found the optimal seat depth, secure the adjustment mechanism according to the chair’s instructions. This ensures that the seat remains at the desired depth, providing consistent support and comfort during prolonged periods of sitting.
By customizing the seat depth to accommodate your body’s unique dimensions, you can alleviate pressure on your thighs and enhance overall comfort while seated. Proper seat depth adjustment promotes healthy circulation and reduces the risk of discomfort or strain, contributing to a more ergonomic and supportive seating experience.
Regularly reassessing and readjusting the seat depth as needed will help maintain an optimal seating arrangement, especially if the chair is shared among multiple users or if your seating preferences evolve over time. With a personalized seat depth, you can enjoy improved comfort and support, allowing you to focus on your tasks with minimal distraction or discomfort.
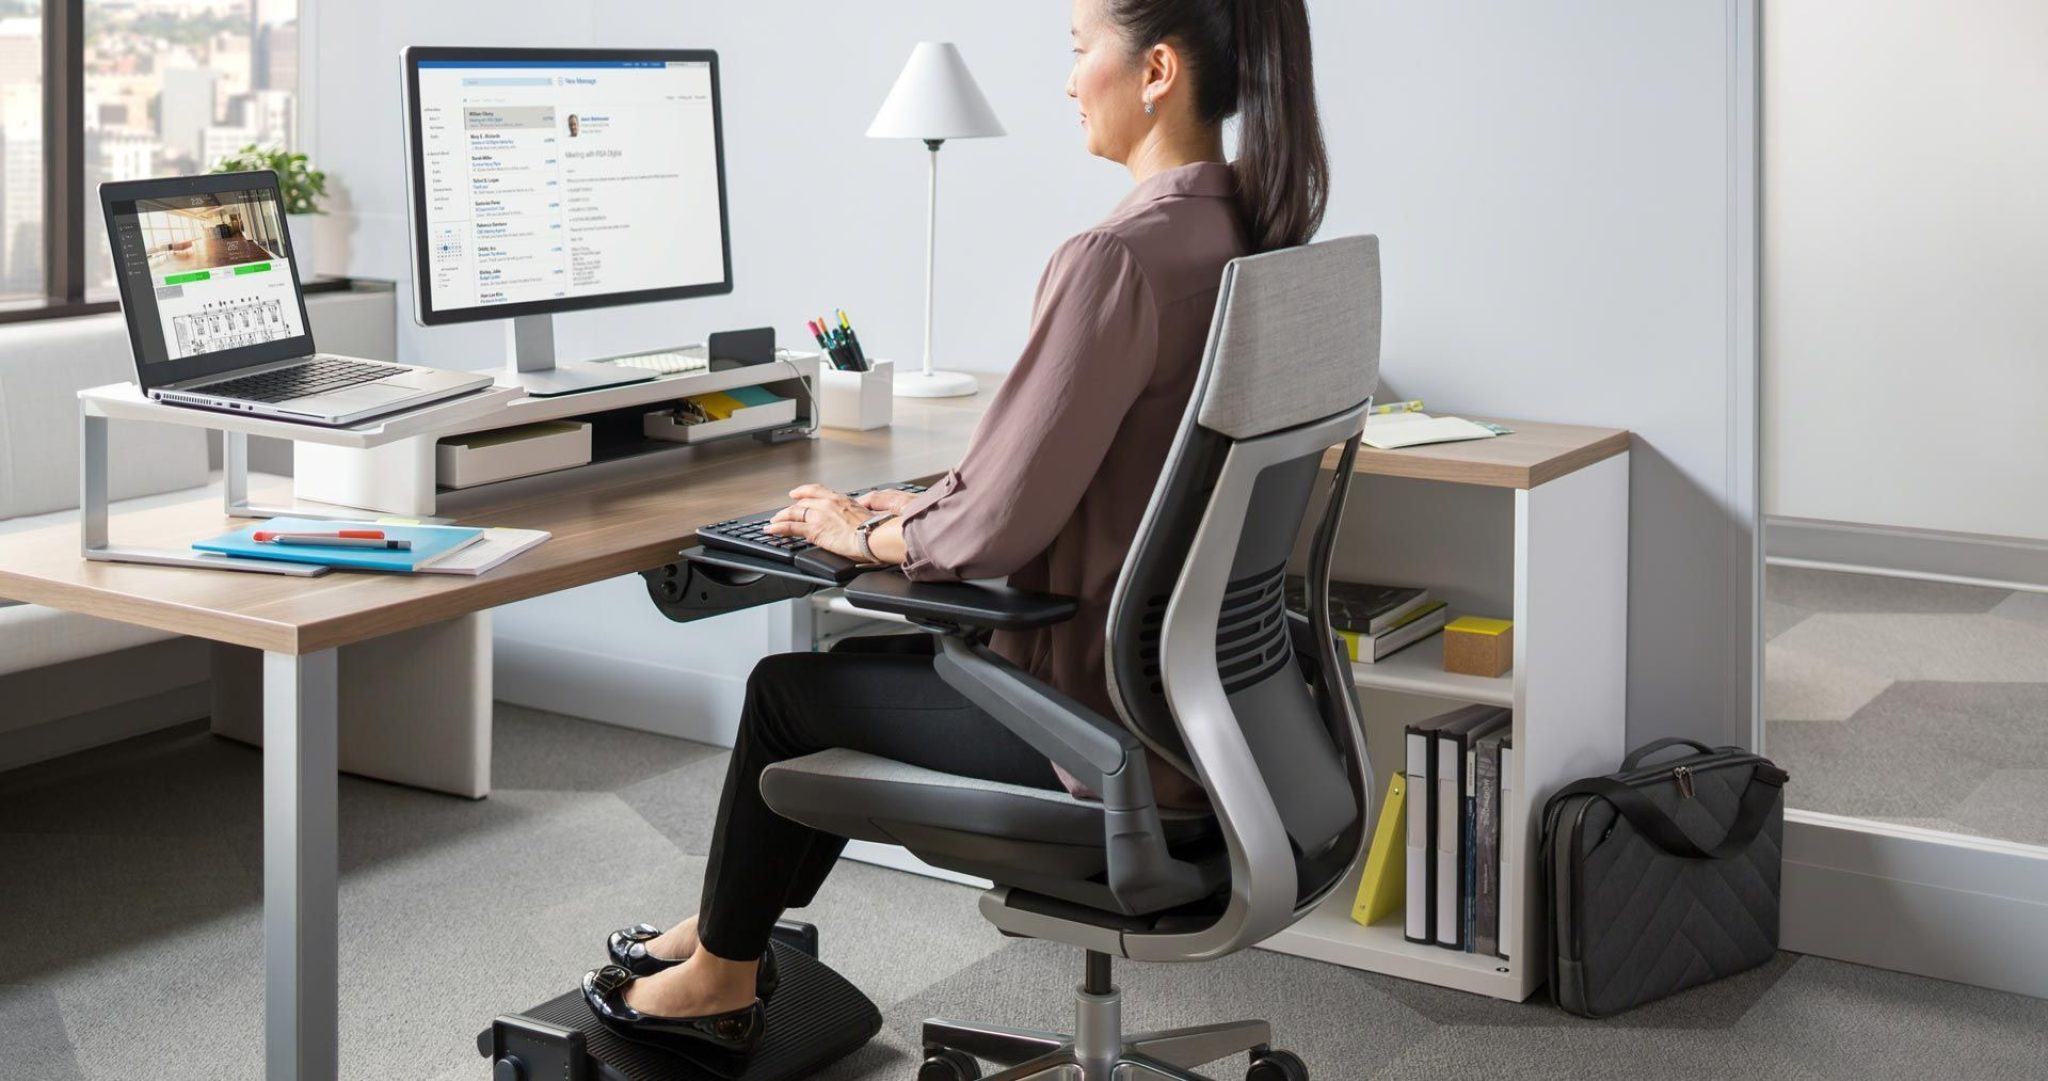
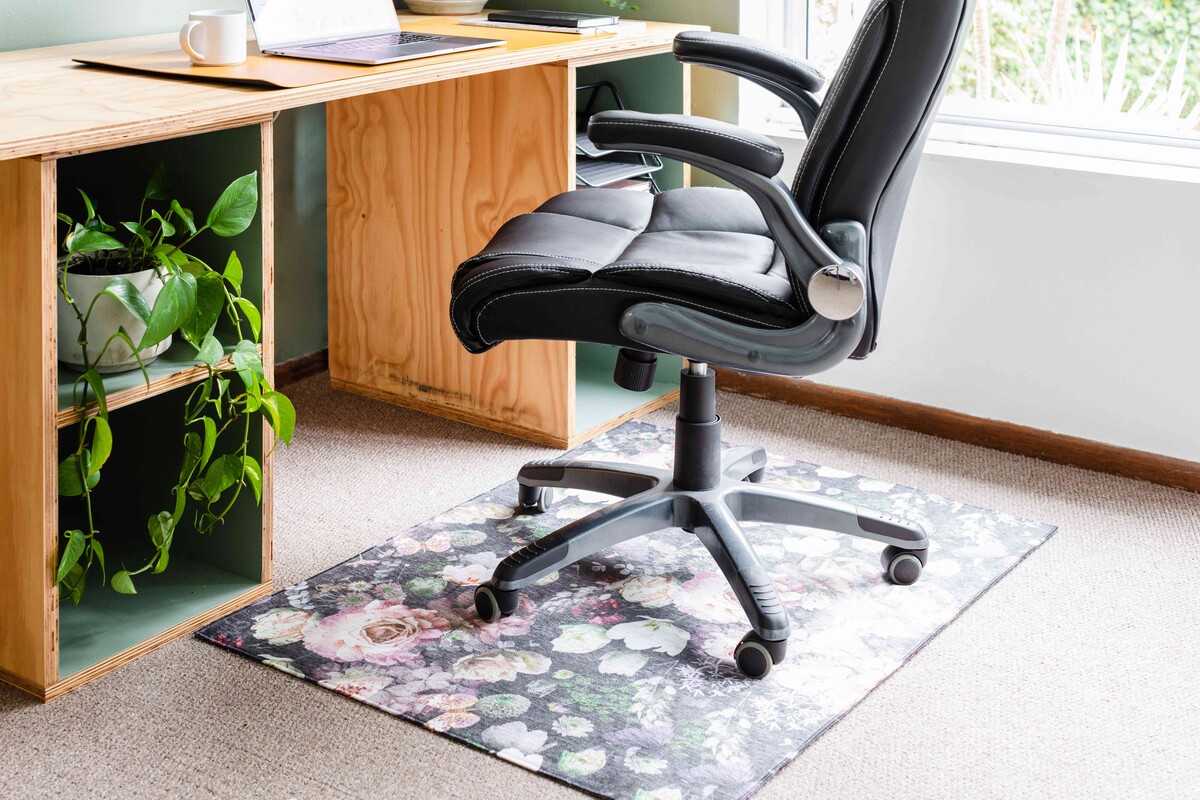
When adjusting your office chair, make sure your feet are flat on the floor and your knees are at a 90-degree angle. Adjust the seat height so your thighs are parallel to the ground and your arms are at a comfortable height for typing.
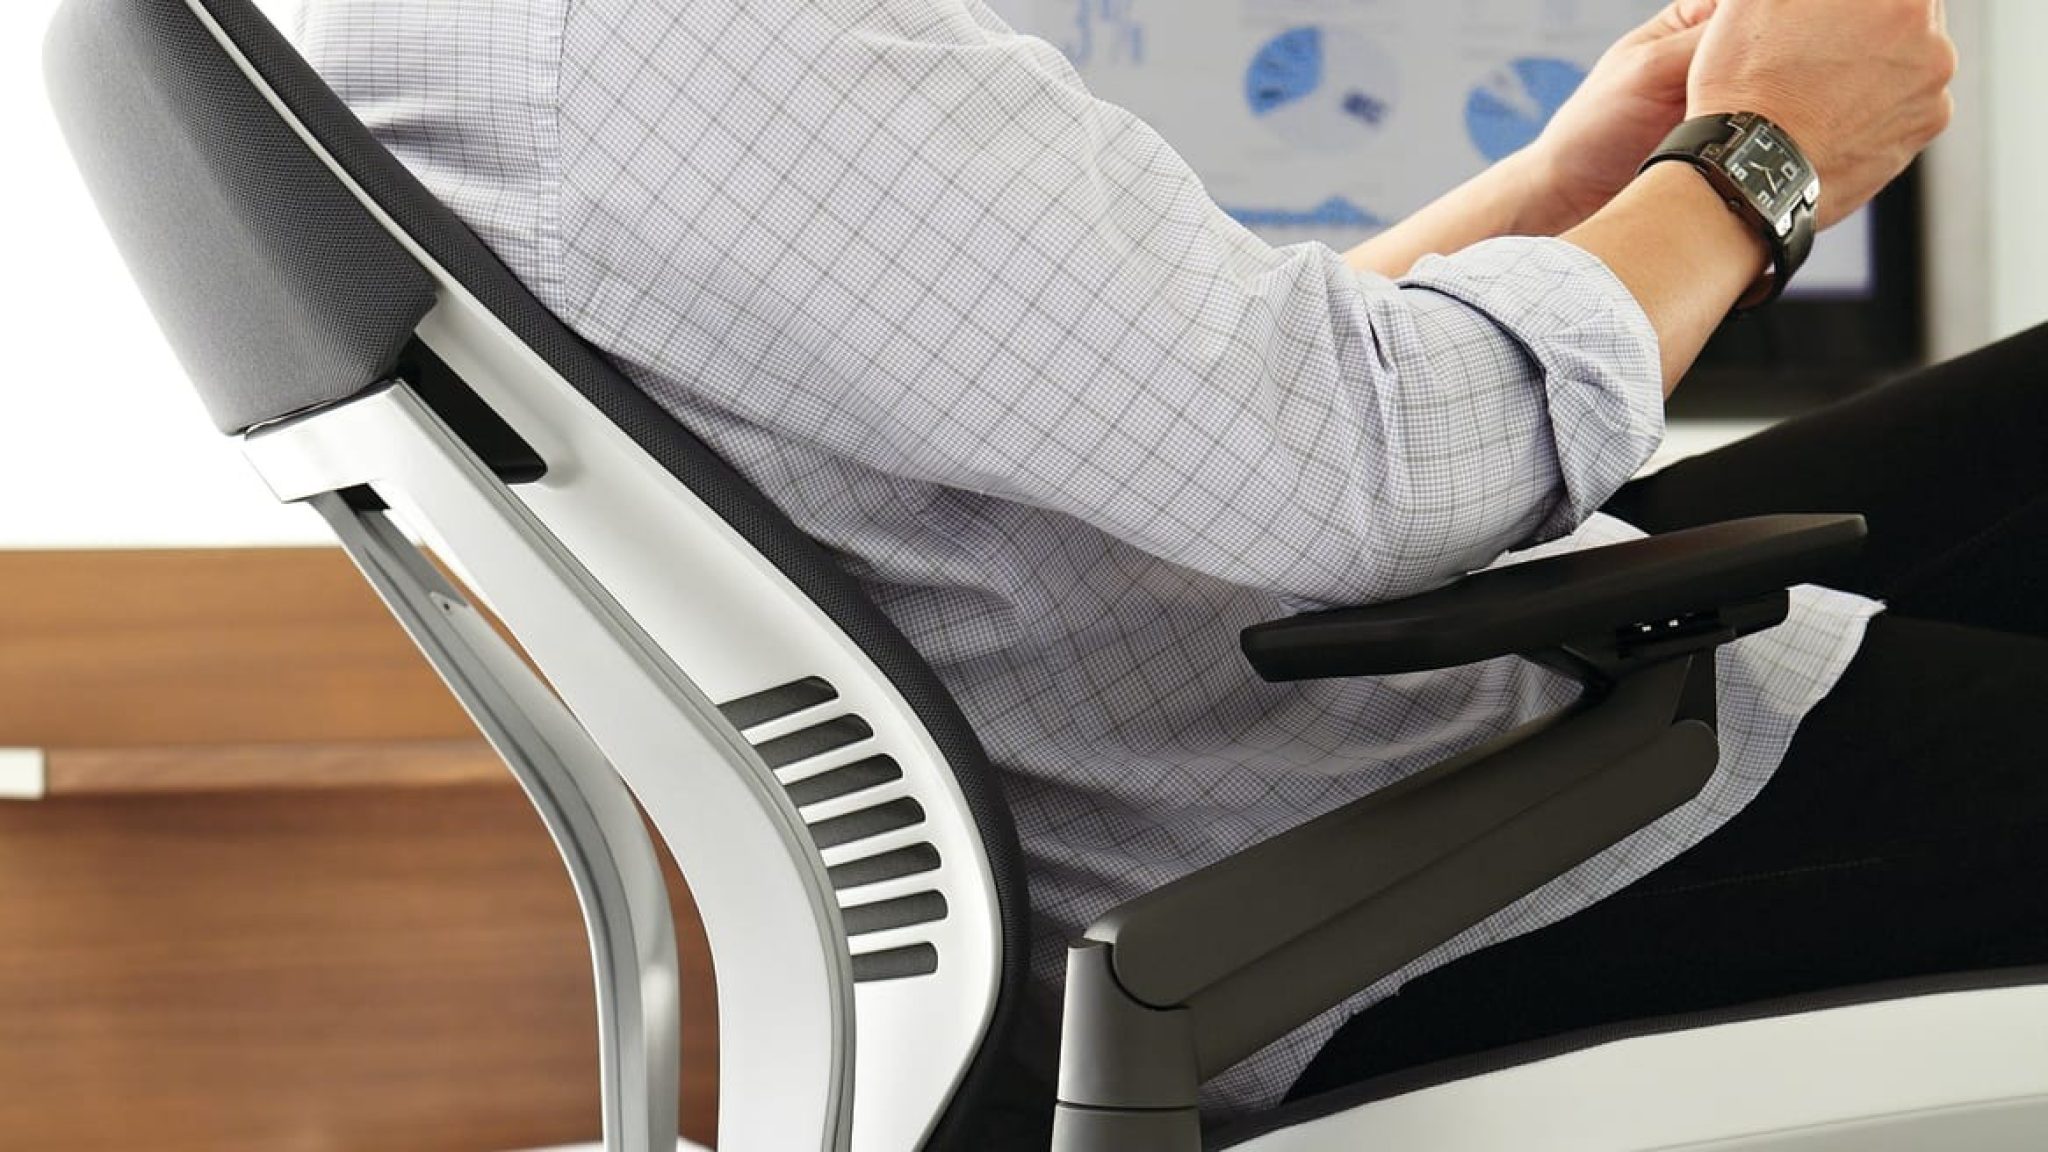
Adjusting Armrests
Properly positioned armrests play a crucial role in reducing upper body strain and promoting overall comfort during prolonged periods of sitting. Follow these steps to adjust the armrests of your office chair:
- Evaluate the Current Position: While seated, assess the height and width of the armrests to determine if they align with your natural arm position. Ideally, your shoulders should be relaxed, and your elbows should rest comfortably at a 90-degree angle when your hands are on the desk or keyboard.
- Locate the Adjustment Controls: Most office chairs feature adjustable armrests with various control mechanisms. Look for buttons, levers, or knobs on the underside of the armrests or along the chair’s sides.
- Adjusting the Height: If your chair’s armrests offer height adjustment, lift or lower them to achieve a position where your elbows are comfortably bent at a 90-degree angle while your shoulders remain relaxed. Ensure that the adjustment is symmetrical on both sides for balanced support.
- Adjusting the Width: Some chairs provide the option to adjust the width of the armrests. If available, modify the width to align with the natural position of your arms, allowing for comfortable support without feeling constricted or overly spread apart.
- Testing the Position: After making adjustments, sit back in the chair and assess the armrest positioning. Ensure that your arms are fully supported, your shoulders remain relaxed, and your elbows maintain a comfortable angle while performing tasks at your workstation.
- Secure the Adjustments: Once you have achieved the ideal armrest position, lock the adjustment controls in place according to the chair’s instructions. This secures the armrests at the desired height and width, providing consistent support and comfort during extended periods of sitting.
By customizing the armrests to align with your natural arm position and provide adequate support, you can reduce strain on your shoulders, neck, and upper back. Properly adjusted armrests contribute to a more ergonomic seating experience, allowing you to maintain a relaxed and comfortable posture while working.
Regularly reassess the armrests’ position and make adjustments as needed to accommodate changes in your seating preferences or body dimensions. With personalized armrest positioning, you can enhance your overall comfort and focus on your tasks with minimal upper body discomfort or strain.
Read more: How To Adjust An Office Chair Back
Adjusting Lumbar Support
Optimal lumbar support is essential for maintaining a healthy and comfortable seated posture, as it helps alleviate lower back strain and promotes proper spinal alignment. Follow these steps to adjust the lumbar support of your office chair:
- Evaluate the Current Support: Sit in your chair and assess the contact between your lower back and the chair’s lumbar support. Determine if the existing support aligns with the natural curve of your lower back, providing adequate reinforcement without causing discomfort or pressure points.
- Locate the Adjustment Mechanism: Many modern office chairs offer adjustable lumbar support features, which may include knobs, levers, or inflatable lumbar cushions located at the back of the chair.
- Adjusting the Support: If your chair provides adjustable lumbar support, use the designated controls to increase or decrease the level of support. Experiment with different settings to find a position that comfortably reinforces the natural curve of your lower back without feeling overly intrusive or insufficient.
- Testing the Support: After making adjustments, sit back in the chair and assess the lumbar support’s position. Ensure that it maintains contact with your lower back, promoting a neutral and supported posture without causing discomfort or restricting your movement.
- Secure the Adjustment: Once you have found the optimal level of lumbar support, secure the adjustment mechanism according to the chair’s instructions. This ensures that the lumbar support remains in the desired position, providing consistent reinforcement for your lower back throughout the workday.
Customizing the lumbar support to fit the natural curvature of your lower back is instrumental in reducing the risk of lower back pain and promoting a more comfortable and supportive sitting experience. Properly adjusted lumbar support helps maintain a healthy spinal alignment, reducing the strain on your lower back muscles and minimizing the potential for discomfort or fatigue.
Regularly reassess the lumbar support’s position and make adjustments as needed to accommodate changes in your seating preferences or body dimensions. By tailoring the lumbar support to your unique needs, you can enjoy improved comfort and support, allowing you to focus on your tasks with minimal lower back strain or discomfort.
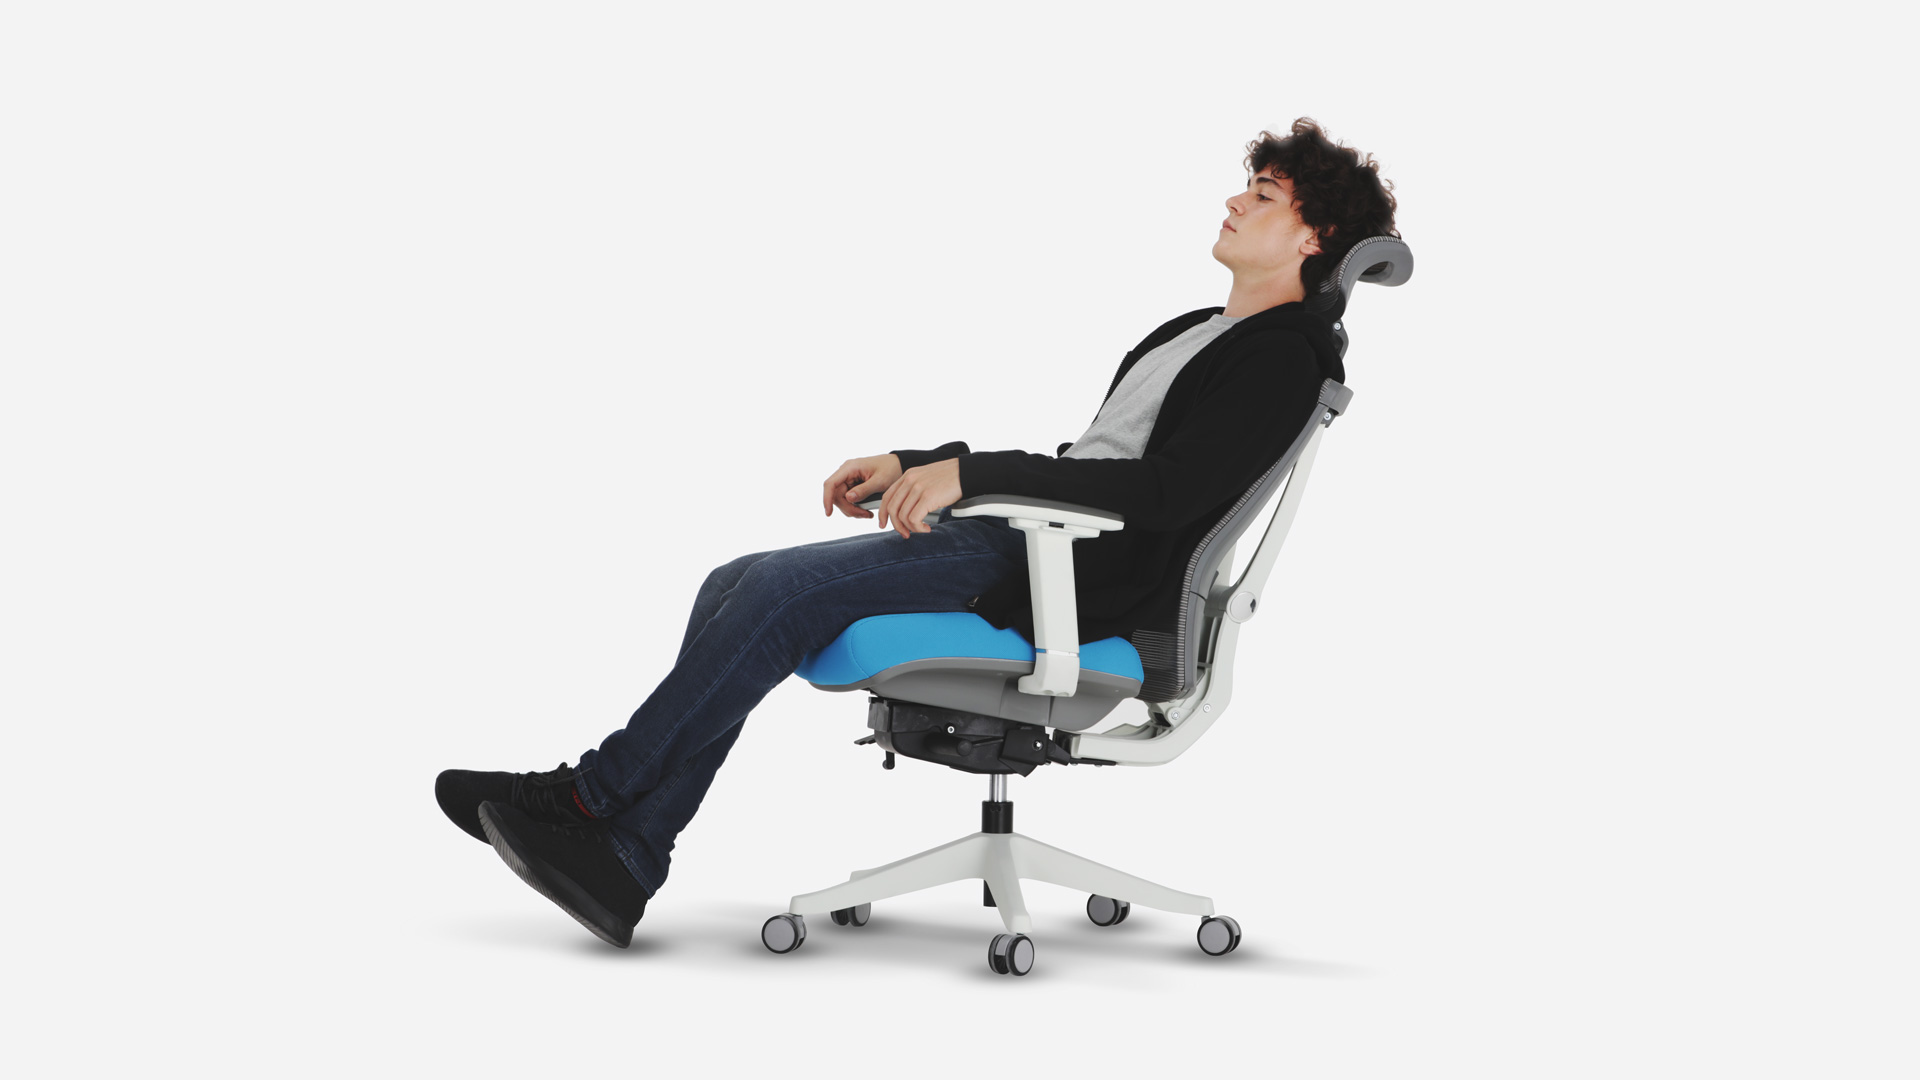
Adjusting Backrest Angle
The backrest angle of your office chair significantly influences your sitting posture and overall comfort. By adjusting the backrest angle to suit your preferences and ergonomic needs, you can promote proper spinal alignment and reduce the risk of discomfort during extended periods of sitting. Follow these steps to customize the backrest angle of your chair:
- Evaluate the Current Angle: Sit in your chair and assess the existing backrest angle. Determine if it provides adequate support for your back while promoting a comfortable and neutral posture.
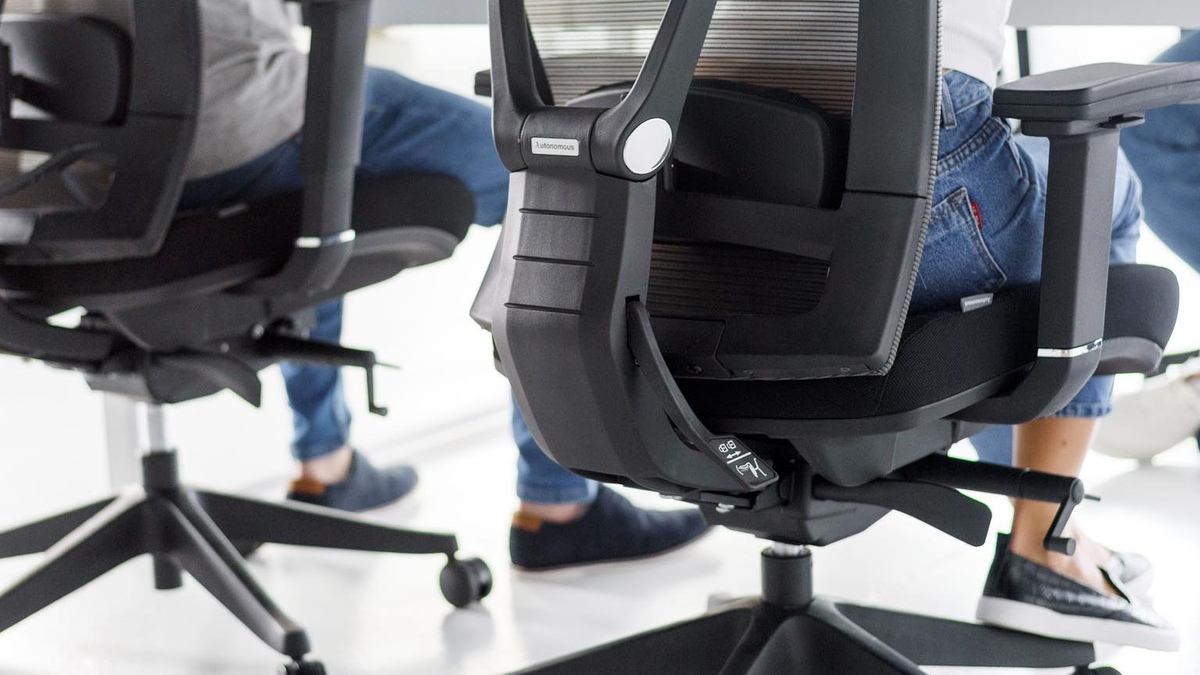
- Locate the Adjustment Mechanism: Look for the backrest angle adjustment controls, typically located on the side of the chair or beneath the seat. Depending on the chair’s design, this may involve a lever, knob, or locking mechanism.
- Adjusting the Angle: Use the designated controls to recline or incline the backrest to the desired angle. Experiment with different positions to find a setting that offers optimal support for your back while allowing for comfortable movement and posture adjustments.
- Testing the Angle: After making adjustments, sit back in the chair and assess the backrest angle. Ensure that it promotes a relaxed and supported posture without causing strain on your back or neck. Additionally, check if the backrest angle aligns with your natural sitting position and tasks performed at your workstation.
- Secure the Adjustment: Once you have found the ideal backrest angle, lock the adjustment mechanism in place according to the chair’s instructions. This ensures that the backrest remains at the desired angle, providing consistent support and comfort during prolonged periods of sitting.
Customizing the backrest angle to accommodate your preferred sitting posture and tasks at hand is crucial for minimizing strain on your back and promoting a comfortable and ergonomic seating experience. By tailoring the backrest angle to your individual needs, you can enhance your overall comfort and maintain a healthy sitting posture throughout the workday.
Regularly reassess the backrest angle and make adjustments as needed to accommodate changes in your seating preferences or tasks. With a personalized backrest angle, you can enjoy improved comfort and support, allowing you to focus on your work with minimal discomfort or postural strain.
Conclusion
Congratulations on completing the comprehensive guide to adjusting your office chair for optimal comfort and support. By understanding the various adjustments available and learning how to tailor your chair to fit your unique body dimensions and preferences, you have taken a significant step toward creating a more ergonomic and personalized workspace.
Throughout this guide, you’ve gained insights into assessing your chair’s current configuration, adjusting the seat height, seat depth, armrests, lumbar support, and backrest angle to promote a healthy and comfortable sitting posture. Each adjustment plays a vital role in enhancing your overall comfort, reducing the risk of strain, and supporting your well-being during prolonged periods of sitting.
Remember, the key to maintaining a supportive seating arrangement is to regularly reassess your chair’s settings and make adjustments as needed to accommodate changes in your body dimensions, preferences, or tasks. By staying attuned to your body’s needs and making proactive modifications, you can ensure that your office chair provides consistent support and comfort throughout your workday.
Implementing these adjustments can lead to a myriad of benefits, including improved posture, reduced discomfort, and enhanced productivity. By transforming your office chair into a personalized oasis of comfort and support, you are empowering yourself to work more efficiently and enjoy a healthier sitting experience.
As you apply the techniques outlined in this guide, pay attention to how your body responds to the adjustments. Embrace the opportunity to fine-tune your seating arrangement and create a workspace that promotes your well-being and productivity.
With your newly acquired knowledge and the ability to customize your office chair to your unique needs, you are well-equipped to embark on a journey toward a more comfortable and supportive work environment. Here’s to a future of productive, pain-free, and enjoyable workdays!
Frequently Asked Questions about How To Adjust My Office Chair
Was this page helpful?
At Storables.com, we guarantee accurate and reliable information. Our content, validated by Expert Board Contributors, is crafted following stringent Editorial Policies. We're committed to providing you with well-researched, expert-backed insights for all your informational needs.


0 thoughts on “How To Adjust My Office Chair”