Home>Furniture & Design>Office Furniture>How To Add A Headrest To An Office Chair
Office Furniture
How To Add A Headrest To An Office Chair
Modified: January 14, 2024
Learn how to easily add a headrest to your office chair for improved comfort and support. Upgrade your office furniture with this simple DIY solution.
(Many of the links in this article redirect to a specific reviewed product. Your purchase of these products through affiliate links helps to generate commission for Storables.com, at no extra cost. Learn more)
Introduction
Adding a headrest to your office chair can significantly enhance your comfort and support while working or relaxing. A well-designed headrest can help alleviate neck strain and promote better posture, leading to improved overall well-being. Whether you spend long hours at your desk or simply desire a more ergonomic seating experience, installing a headrest is a practical and straightforward solution.
In this guide, we will explore the step-by-step process of adding a headrest to your office chair. By following these instructions and gathering the necessary materials, you can customize your chair to better suit your needs. With a few simple tools and a bit of patience, you can transform your existing office chair into a more ergonomic and comfortable seating option. Let's dive into the process and discover how to elevate your office chair's comfort level with the addition of a headrest.
Key Takeaways:
- Upgrade your office chair with a headrest for better comfort and support. Follow simple steps to install and adjust it to your liking, promoting a more ergonomic and enjoyable seating experience.
- Gather materials, prepare your chair, and follow instructions to add a headrest. Customize its settings for personalized support, reducing strain and enhancing relaxation while working or unwinding.
Read more: What Is A Task Chair Vs. Office Chair
Step 1: Gather the Necessary Materials
Before you begin the process of adding a headrest to your office chair, it’s essential to gather the required materials. Having the right tools and components at hand will streamline the installation process and ensure a successful outcome. Here’s a list of the materials you’ll need:
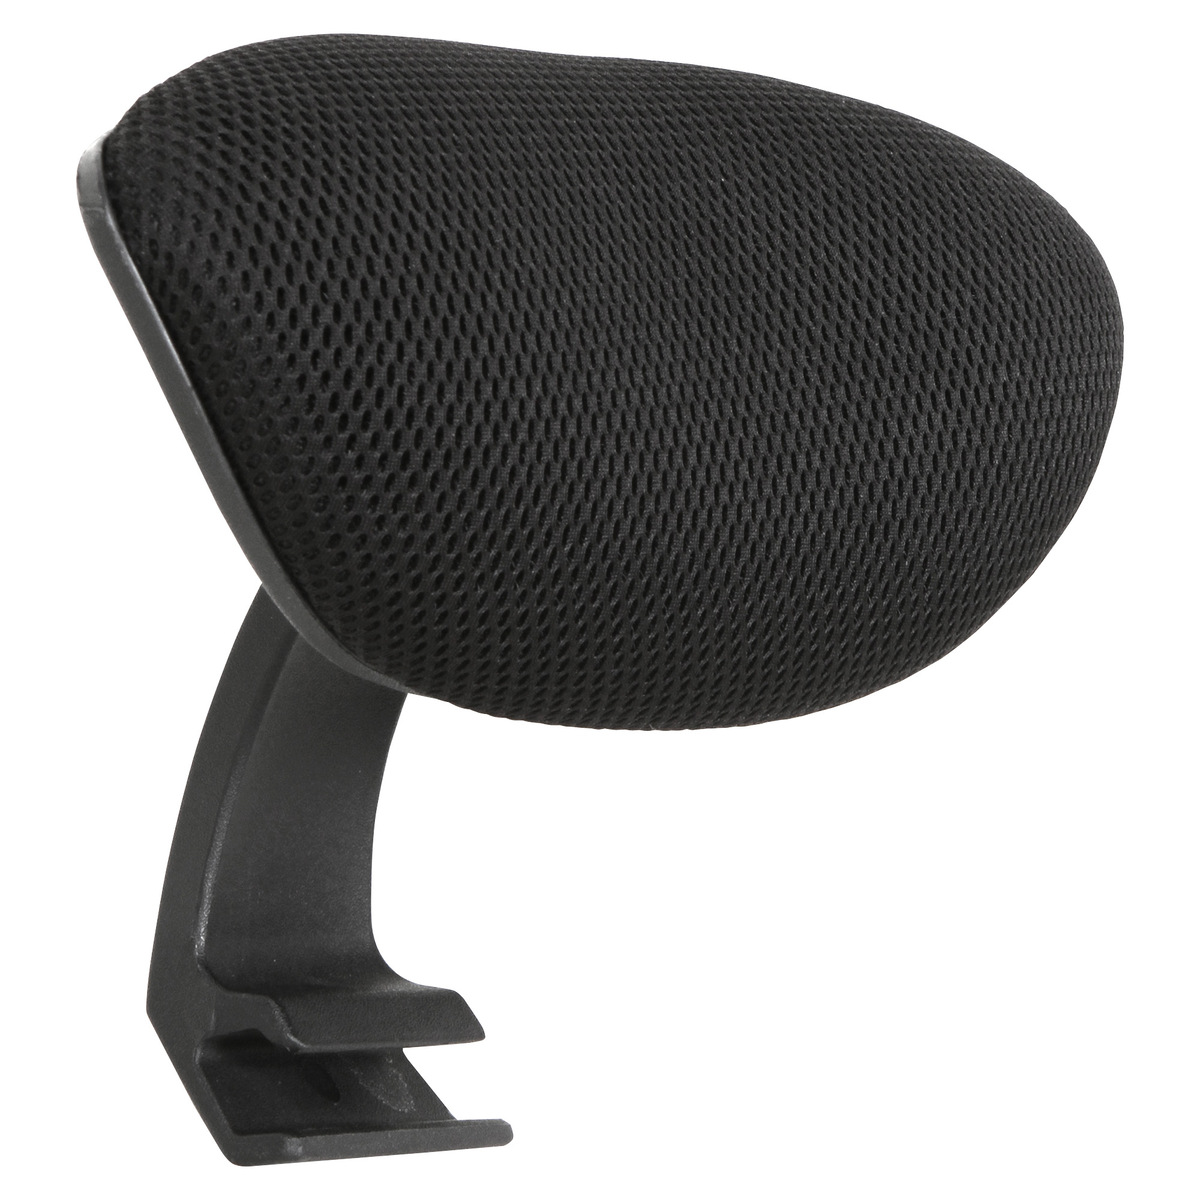
- Headrest Kit: Purchase a headrest kit designed for office chairs. These kits typically include the headrest itself, mounting brackets, screws, and any additional hardware required for installation.
- Office Chair: Ensure you have the specific model and make of your office chair in mind when selecting a headrest kit. Different chairs may require different types of headrest attachments, so it’s important to choose a compatible kit.
- Tools: Gather basic tools such as a screwdriver, wrench, and possibly a drill, depending on the installation requirements of the headrest kit.
- Clean Cloth: It’s helpful to have a clean cloth or rag on hand to wipe down the chair and ensure a clean surface for installation.
- Workspace: Find a well-lit and spacious area to work on the chair, allowing for easy maneuverability and access to all sides of the chair.
By gathering these materials beforehand, you’ll be fully prepared to proceed with the installation of the headrest. This proactive approach minimizes interruptions during the process and sets the stage for a smooth and efficient upgrade to your office chair.
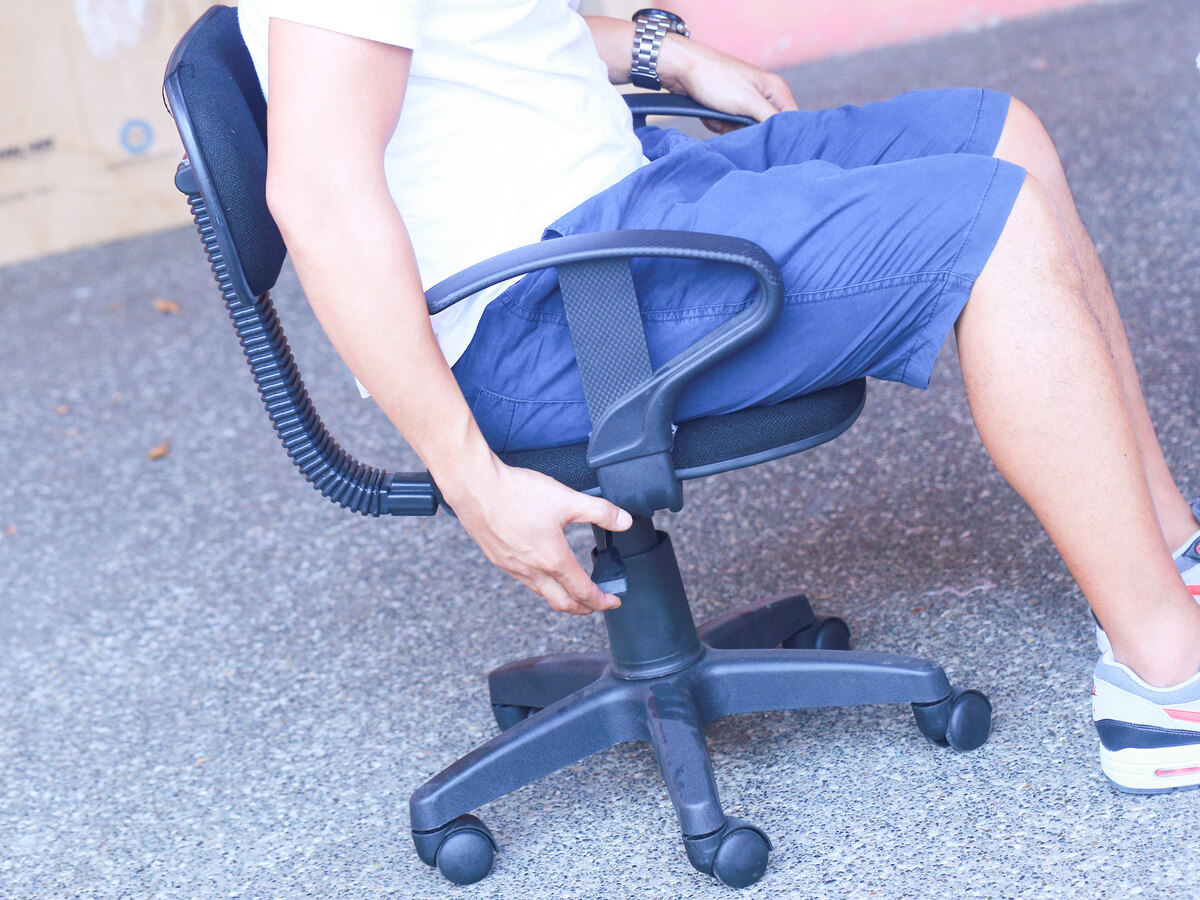
Step 2: Prepare the Office Chair
Before attaching the headrest, it’s crucial to prepare the office chair to ensure a secure and stable installation. Follow these steps to get your chair ready for the addition of the headrest:
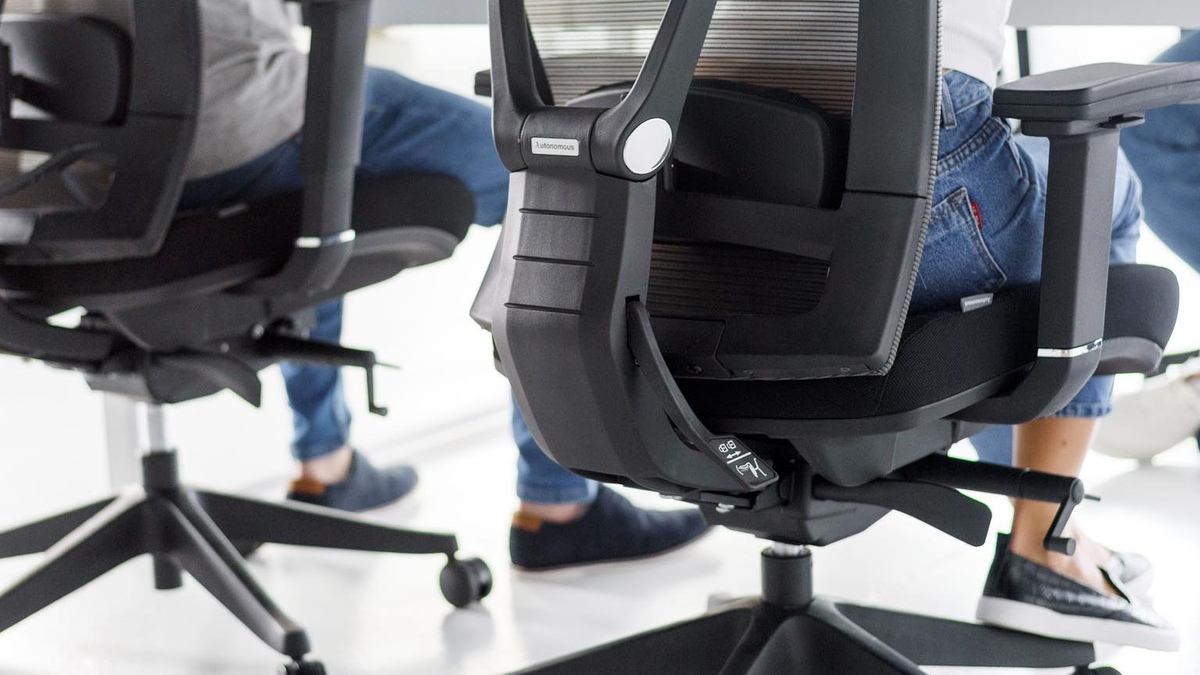
- Inspect the Chair: Thoroughly examine the backrest of the chair to identify the ideal location for the headrest attachment. Look for a flat and sturdy area where the headrest can be mounted without obstructing the chair’s functionality.
- Clean the Surface: Using a clean cloth or rag, wipe down the selected area on the backrest to remove any dust, debris, or residue. A clean surface will promote better adhesion and ensure a secure attachment for the headrest.
- Position the Chair: Place the office chair in a position that allows easy access to the backrest. If possible, adjust the chair to a lower height to facilitate the installation process and provide a more ergonomic working posture.
- Secure the Chair: If the chair has wheels, consider locking them in place or placing wedges beneath them to prevent any unintended movement while working on the installation.
- Gather the Tools: Ensure that you have the necessary tools within reach, including the screwdriver, wrench, and any additional equipment specified in the headrest kit’s instructions.
By meticulously preparing the office chair, you’ll create an optimal environment for attaching the headrest. Taking the time to assess the chair’s condition and cleanliness will contribute to a successful and durable installation, providing you with a comfortable and supportive seating solution.
Consider purchasing a headrest attachment that can be easily added to your office chair. Make sure it is adjustable and provides proper support for your head and neck.
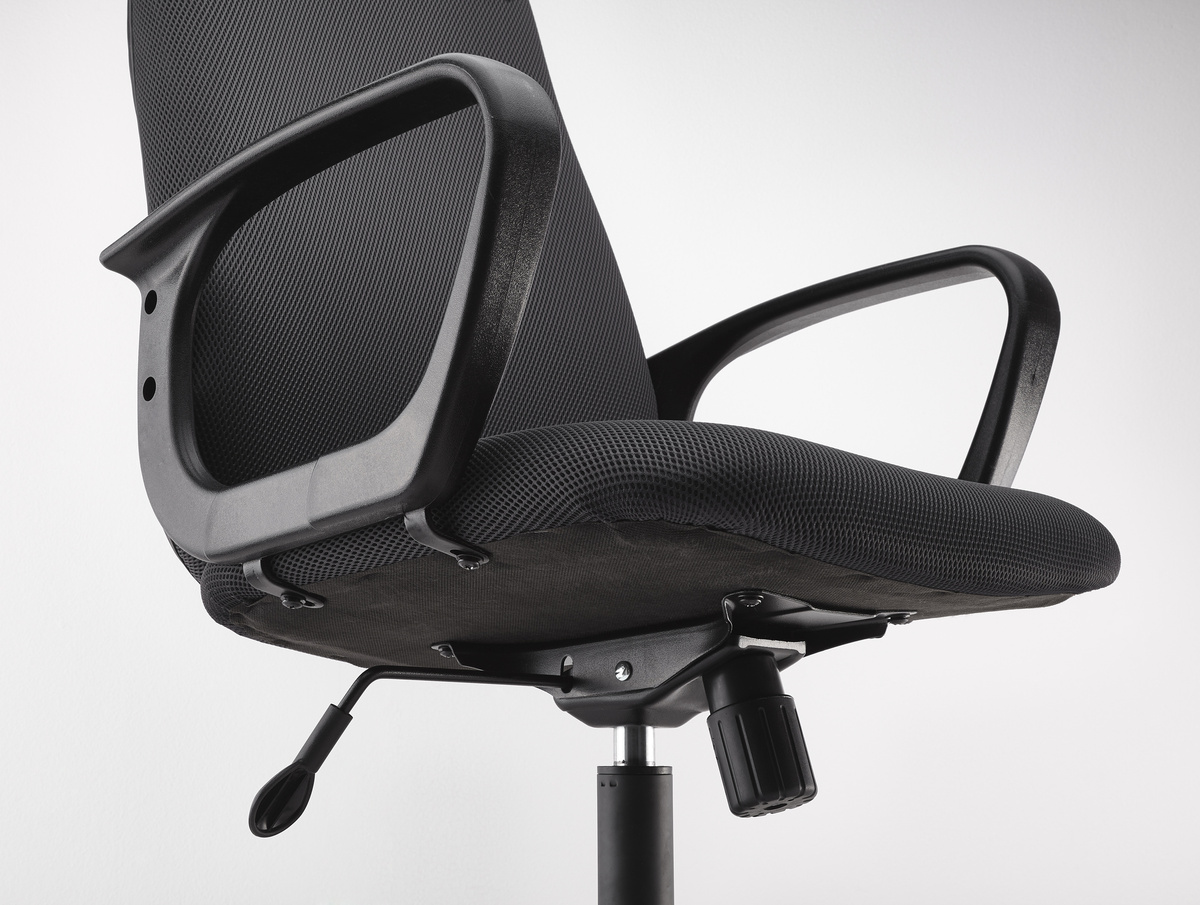
Step 3: Attach the Headrest
With the office chair prepared, it’s time to proceed with the attachment of the headrest. Follow these detailed steps to securely affix the headrest to your chair:
- Refer to the Instructions: Carefully review the installation instructions provided with the headrest kit. Familiarize yourself with the specific steps and any unique requirements for your chair model.
- Position the Headrest: Place the headrest in the designated location on the backrest of the chair, aligning it with the pre-determined mounting area. Ensure that the headrest is centered and level before proceeding.
- Attach the Mounting Brackets: Using the hardware provided in the kit, secure the mounting brackets to the backrest of the chair according to the manufacturer’s guidelines. Double-check the alignment and tightness of the brackets to guarantee a stable foundation for the headrest.
- Secure the Headrest: With the mounting brackets in place, carefully attach the headrest to the brackets, following the prescribed method in the instructions. Utilize the appropriate screws and fasteners to firmly affix the headrest to the chair.
- Test the Stability: Gently test the stability of the attached headrest by applying light pressure and ensuring that it remains securely in position. Make any necessary adjustments to the fasteners or brackets to optimize the headrest’s stability.
By diligently following these steps, you can effectively attach the headrest to your office chair, creating a more comfortable and supportive seating experience. Attention to detail and precision during the attachment process will contribute to the overall functionality and durability of the headrest installation.
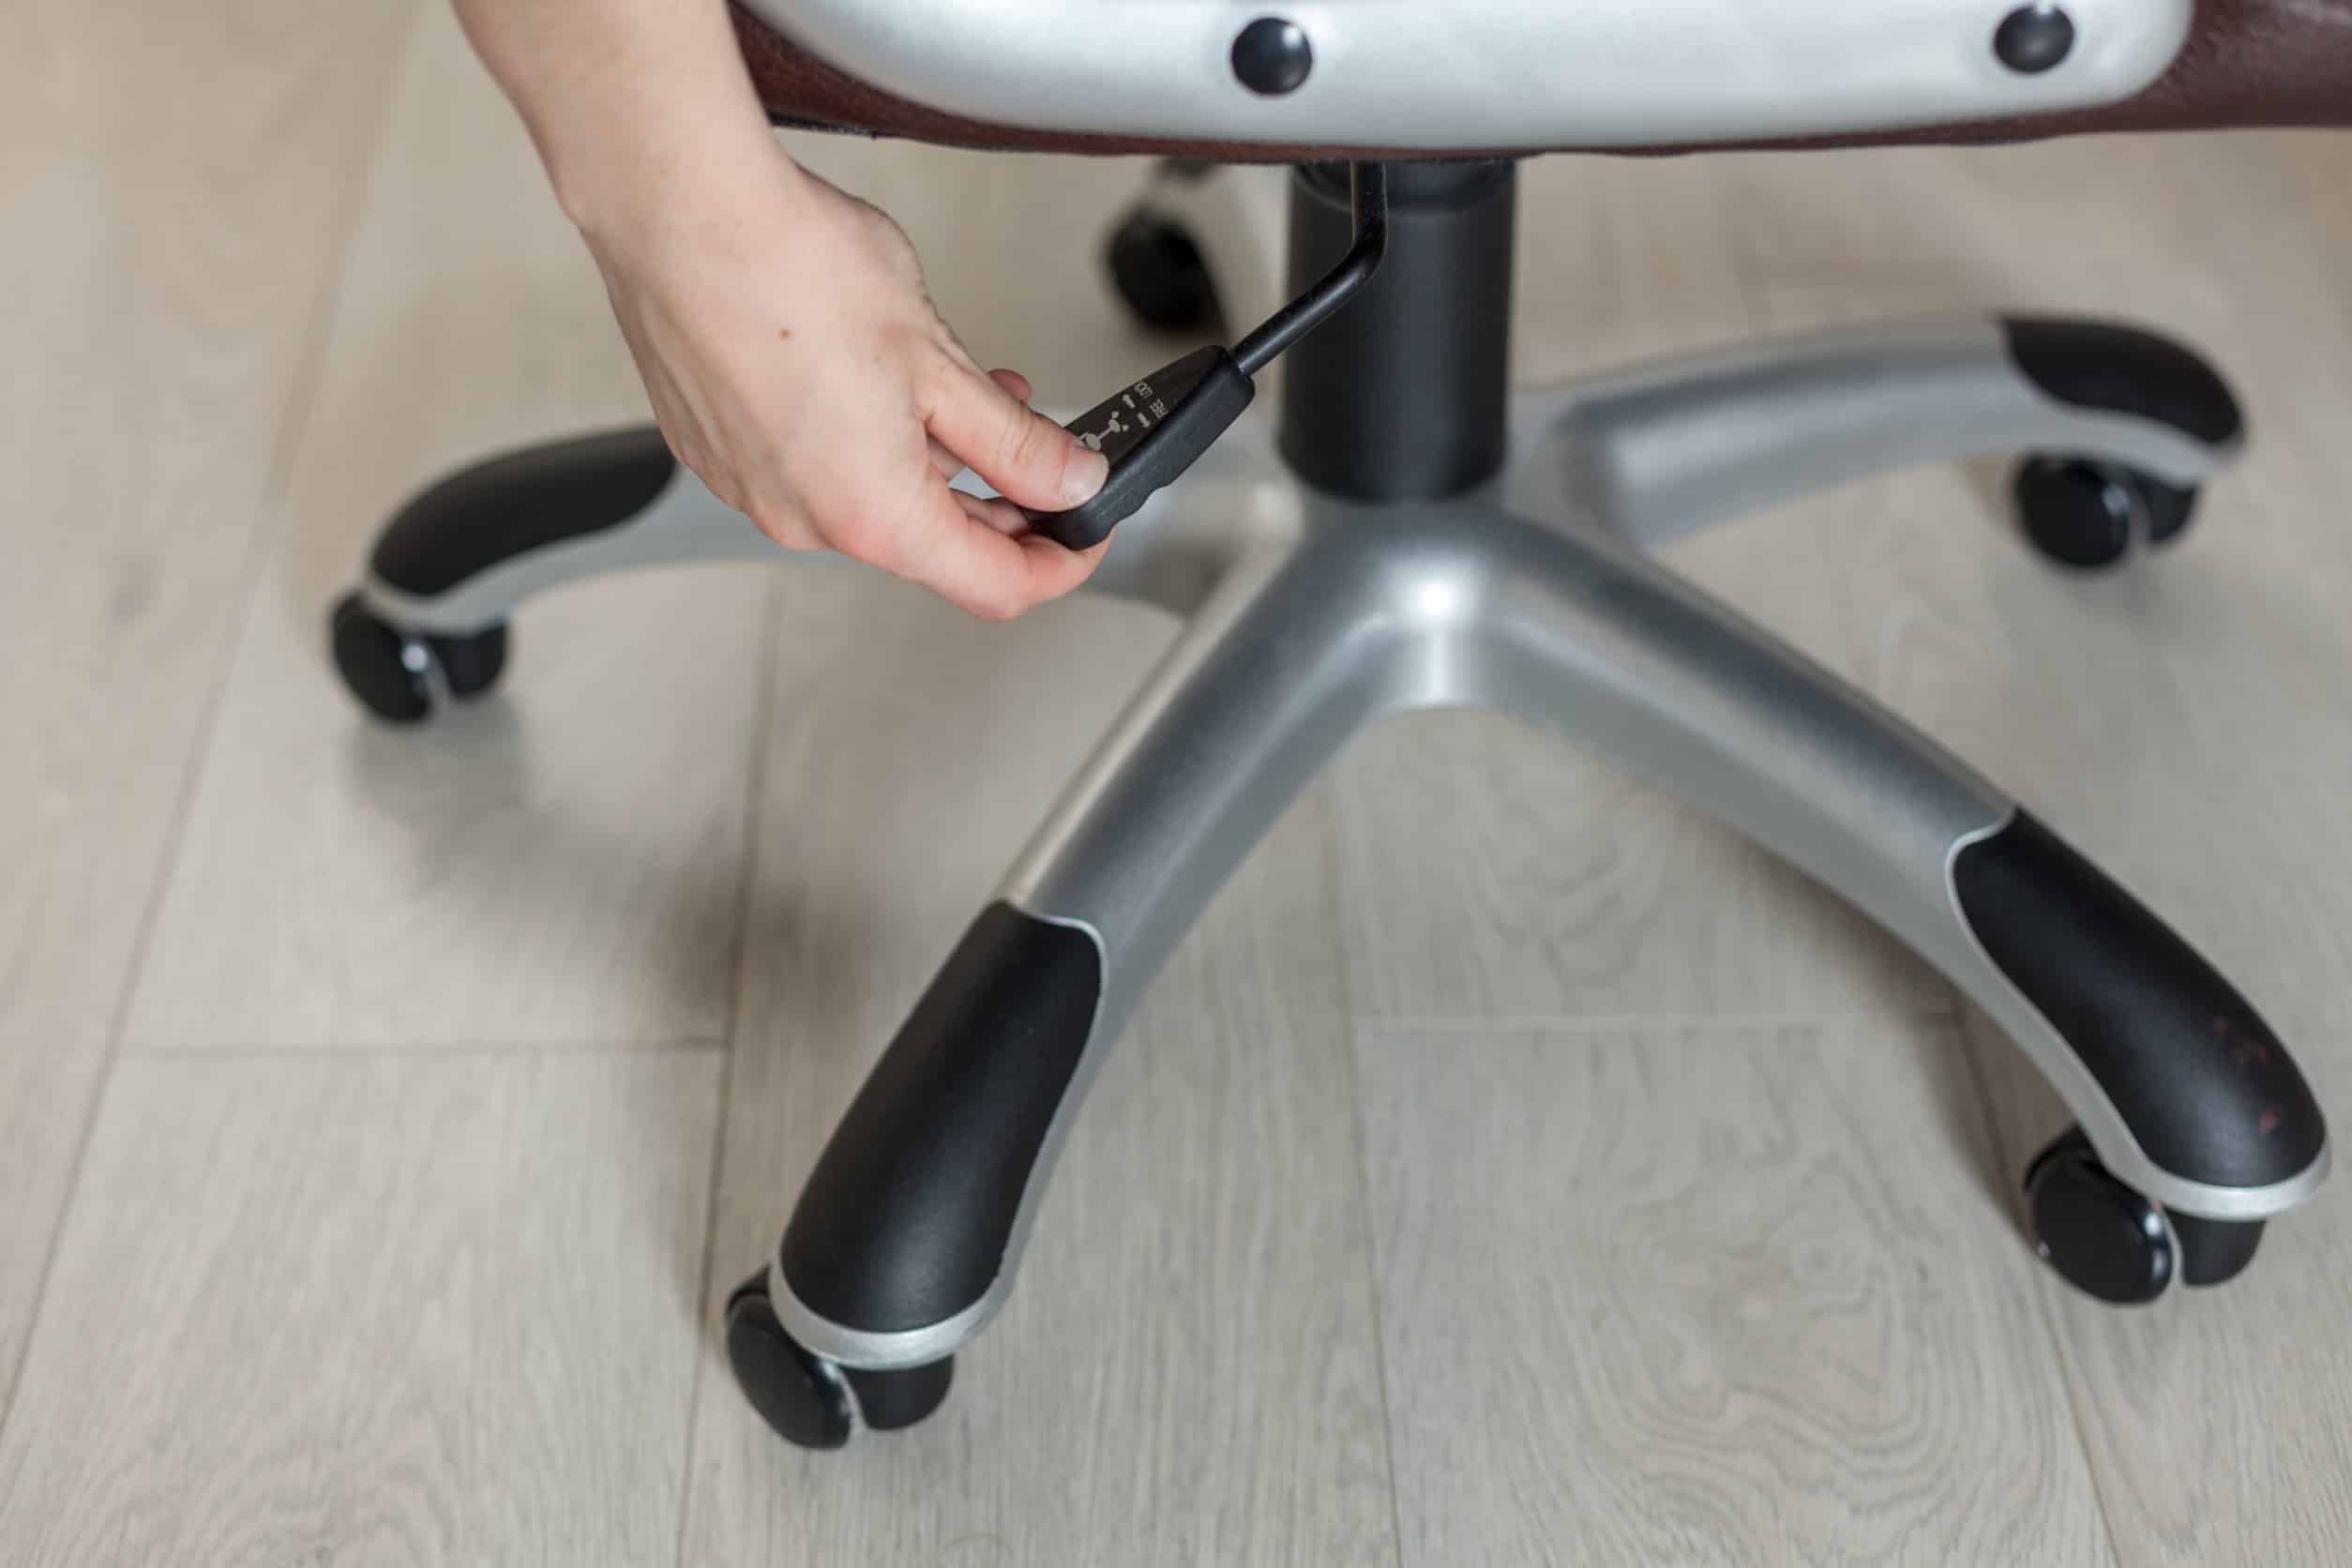
Step 4: Adjust the Headrest
After successfully attaching the headrest to your office chair, it’s essential to focus on adjusting it to suit your specific comfort and ergonomic needs. Proper adjustment ensures that the headrest provides optimal support and enhances your overall seating experience. Follow these steps to customize the headrest to your liking:
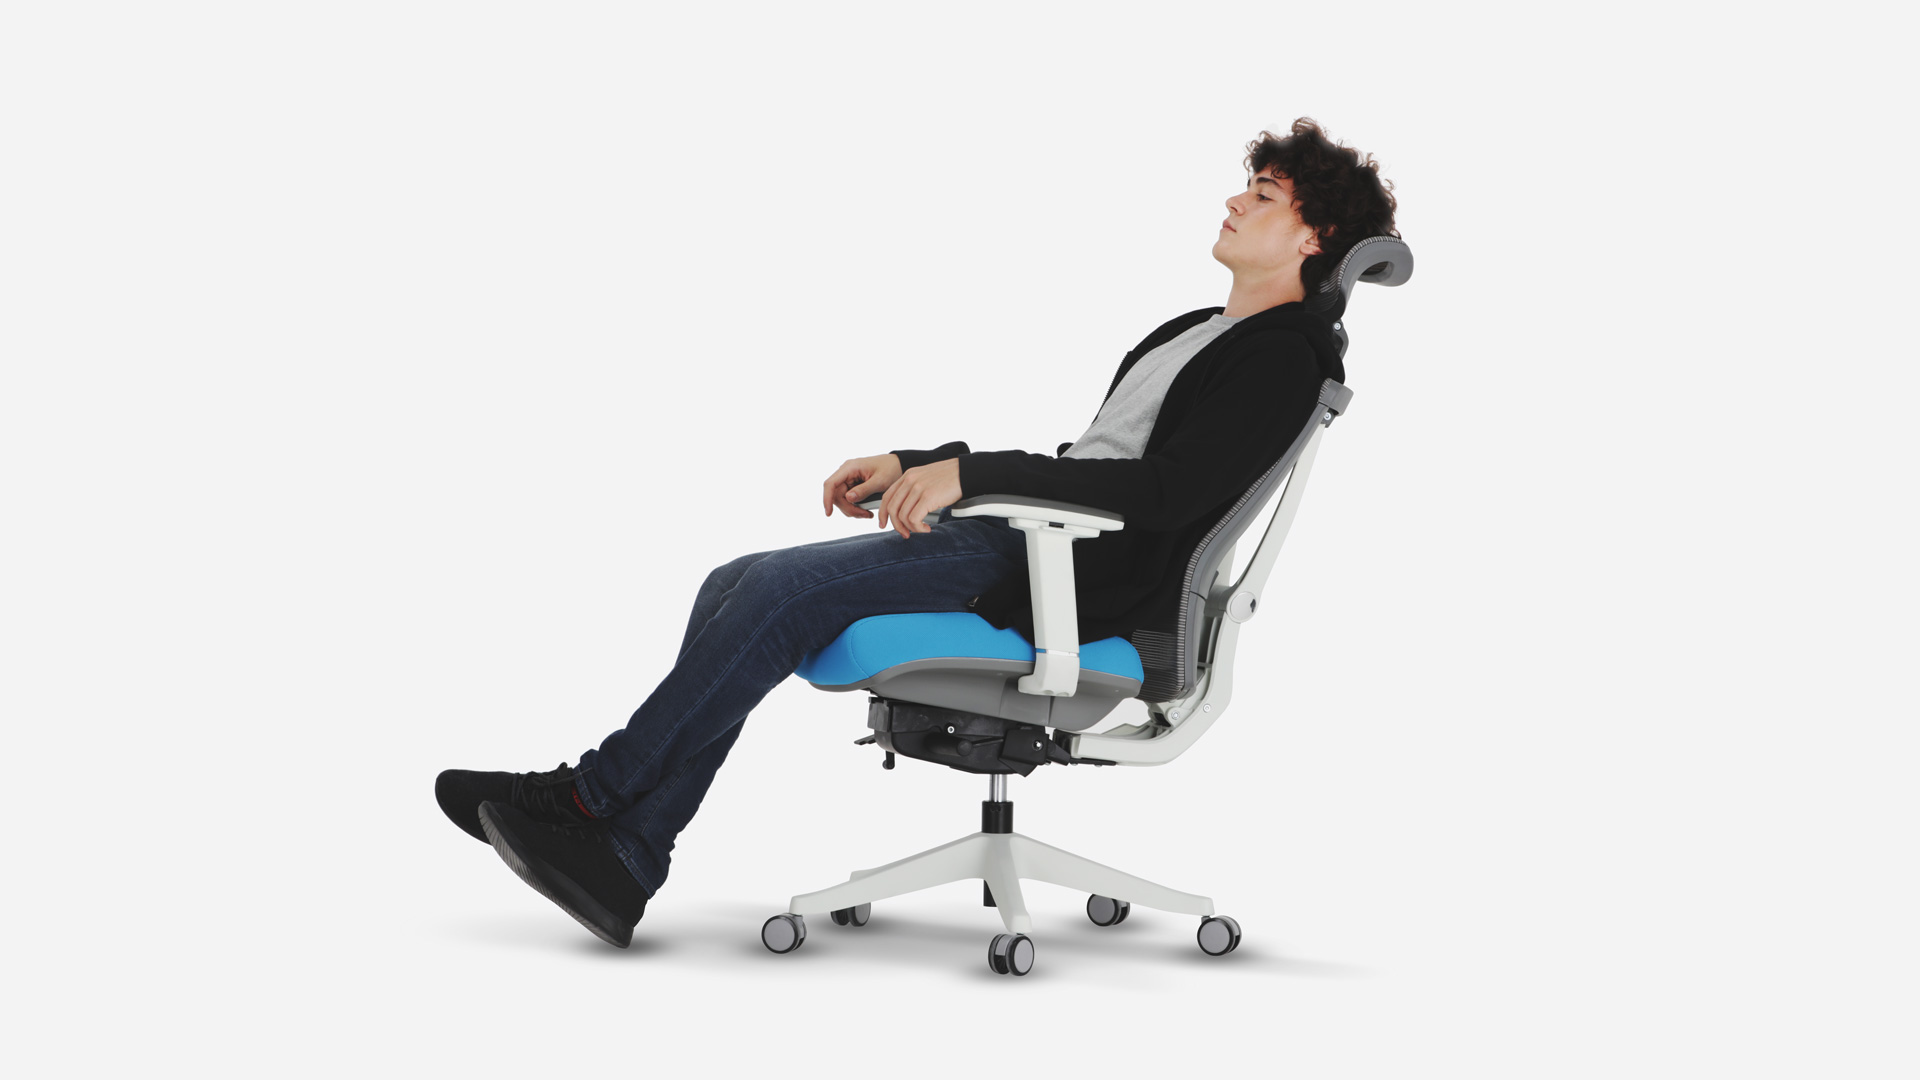
- Height Adjustment: Evaluate the height of the headrest in relation to your seated position. It should comfortably cradle the back of your head without causing strain or discomfort. Adjust the headrest’s height according to your preference, ensuring that it aligns with the natural curvature of your neck.
- Tilt Angle: Many headrests feature a tilt mechanism that allows you to adjust the angle for personalized support. Experiment with different tilt settings to find the position that provides optimal comfort and alleviates any tension in your neck and upper back.
- Depth and Forward Position: Depending on the headrest design, you may have the option to adjust its depth and forward position. Customize these settings to ensure that the headrest provides adequate support without interfering with your natural posture.
- Tighten Adjustments: Once you’ve found the ideal positioning for the headrest, securely tighten all adjustment mechanisms to prevent unintended movement or shifts during use. Confirm that the headrest remains stable and supportive after making adjustments.
By carefully fine-tuning the headrest’s settings, you can optimize its functionality and enjoy personalized comfort while using your office chair. Paying attention to the details of adjustment ensures that the headrest complements your posture and minimizes strain, contributing to a more ergonomic and enjoyable seating experience.
Read more: How To Sit In An Office Chair
Conclusion
Enhancing your office chair with a headrest is a practical and beneficial upgrade that can significantly improve your comfort and support during long hours of work or relaxation. By following the steps outlined in this guide, you can seamlessly add a headrest to your chair and customize it to meet your specific ergonomic needs. The process of gathering the necessary materials, preparing the chair, attaching the headrest, and adjusting its settings is straightforward and rewarding, resulting in a more comfortable and personalized seating solution.
Once the headrest is installed and adjusted to your liking, take the time to appreciate the enhanced support and relaxation it provides. Whether you’re engaged in focused work tasks or simply taking a moment to unwind, the presence of a well-positioned headrest can make a noticeable difference in your overall well-being.
Remember to periodically assess the headrest’s settings and make any necessary adjustments to ensure continued comfort and support. Regularly maintaining and caring for your office chair, including the newly added headrest, will prolong its longevity and contribute to a healthier and more enjoyable seating experience.
With a properly installed and adjusted headrest, you can look forward to a more ergonomic, comfortable, and supportive seating experience, allowing you to focus on your tasks with reduced strain and enhanced relaxation.
Frequently Asked Questions about How To Add A Headrest To An Office Chair
Was this page helpful?
At Storables.com, we guarantee accurate and reliable information. Our content, validated by Expert Board Contributors, is crafted following stringent Editorial Policies. We're committed to providing you with well-researched, expert-backed insights for all your informational needs.


0 thoughts on “How To Add A Headrest To An Office Chair”