Home>Furniture & Design>Office Furniture>How To Build An Office Chair
Office Furniture
How To Build An Office Chair
Modified: January 14, 2024
Learn how to build an office chair with our comprehensive guide. Find the best office furniture and design tips for a comfortable workspace. Ideal for office furniture enthusiasts.
(Many of the links in this article redirect to a specific reviewed product. Your purchase of these products through affiliate links helps to generate commission for Storables.com, at no extra cost. Learn more)
Introduction
Welcome to the world of office chair assembly! Building your own office chair can be a rewarding and practical endeavor. Whether you are a DIY enthusiast or simply looking to customize your workspace, constructing your office chair allows you to tailor its design and features to your specific needs. In this comprehensive guide, we will walk you through the step-by-step process of assembling an office chair from scratch.
Assembling an office chair may seem like a daunting task at first, but with the right guidance and a bit of patience, you can create a comfortable and stylish seating solution that complements your office decor. By understanding the intricacies of office chair construction, you gain insight into the functionality and ergonomics of these essential pieces of furniture.
Throughout this guide, we will explore the various components of an office chair, from the base and seat to the armrests and casters. We will delve into the selection of materials, the assembly process, and the final adjustments to ensure that your custom-built office chair meets your expectations in terms of comfort, durability, and aesthetics.
So, roll up your sleeves, gather your tools, and get ready to embark on a fulfilling journey of crafting your very own office chair. Whether you are a seasoned DIYer or a novice in the realm of furniture assembly, this guide will equip you with the knowledge and confidence to bring your vision of the perfect office chair to life. Let's dive into the exciting world of office chair construction and unleash your creativity in designing a personalized seating solution that suits your unique preferences and enhances your workspace.
Key Takeaways:
- Building your own office chair allows you to customize its design and features to your specific needs, enhancing comfort and aesthetics while gaining insight into furniture functionality and ergonomics.
- Selecting high-quality materials and meticulously assembling the chair base are crucial for creating a durable and stable office chair, ensuring long-lasting comfort and support.
Read more: What Is A Task Chair Vs. Office Chair
Choosing the Right Materials
Before diving into the assembly process, it’s crucial to select high-quality materials that will form the foundation of your custom office chair. The choice of materials not only influences the chair’s durability but also contributes to its overall comfort and visual appeal. Here’s a breakdown of the key components and materials you’ll need:
- Chair Frame: The frame serves as the structural backbone of the chair, providing stability and support. Opt for sturdy materials such as steel or aluminum for the frame to ensure long-lasting durability.
- Seat and Backrest: The seat and backrest materials play a pivotal role in comfort and ergonomics. Consider using high-density foam padding for the seat and backrest, as it offers both comfort and resilience. Additionally, upholstery options range from breathable mesh to luxurious leather, allowing you to tailor the chair to your desired aesthetic and level of breathability.
- Armrests: If your design includes armrests, look for materials that provide a balance of comfort and support. Soft, padded armrests can enhance the overall sitting experience, especially during extended periods of use.
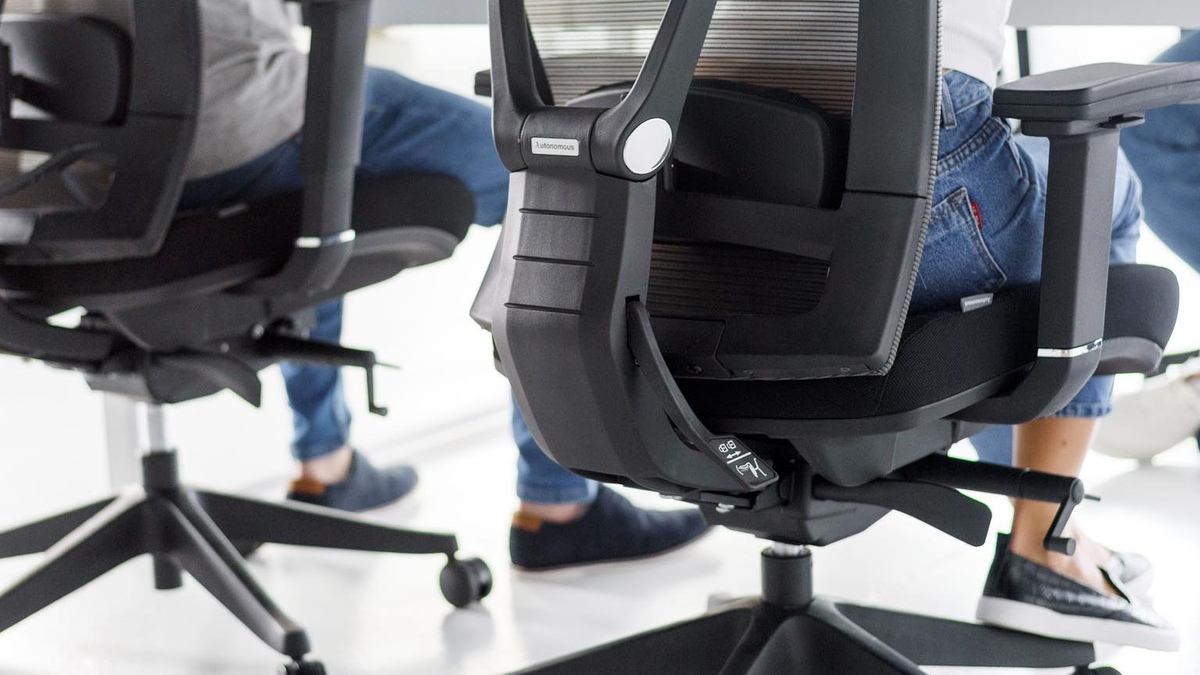
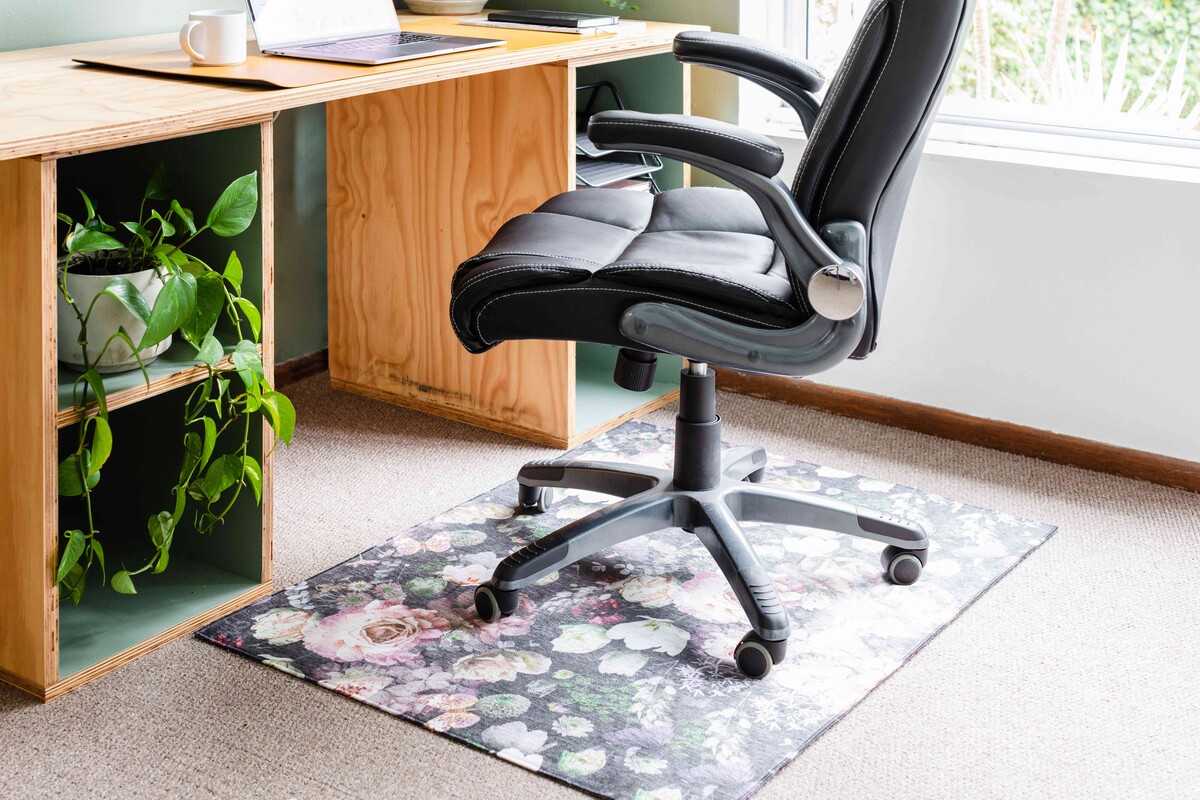
- Base and Casters: The base of the chair, typically constructed from durable materials like nylon or aluminum, should provide stability and smooth mobility. Equipping the chair with high-quality casters ensures easy maneuverability across various floor surfaces.
- Gas Lift: A reliable gas lift mechanism is essential for adjusting the chair’s height to suit your workspace and preferred sitting position. Look for gas lifts with a smooth, effortless operation and sturdy construction.
When selecting materials, prioritize both functionality and aesthetics. The right combination of materials will result in a well-crafted office chair that not only offers comfort and support but also enhances the visual appeal of your workspace. By carefully considering the materials at this initial stage, you set the stage for a successful and satisfying office chair assembly experience.
Assembling the Chair Base
Building a sturdy and stable base is essential for the overall functionality and longevity of your office chair. The chair base serves as the anchor, supporting the seat, casters, and gas lift mechanism. Here’s a step-by-step guide to assembling the chair base:
- Prepare the Components: Lay out all the base components, including the central hub, wheelbase, and any additional support pieces. Ensure that you have all the necessary hardware, such as screws and bolts, at hand.
- Attach the Central Hub: Begin by securing the central hub to the wheelbase. Depending on the design, this may involve aligning the screw holes and using the provided hardware to firmly attach the hub to the base.
- Install Additional Supports: If your chair base includes extra support pieces for added stability, carefully follow the manufacturer’s instructions to attach these components securely.
- Tighten and Test: Once all the components are in place, double-check the tightness of the connections to ensure that the base is solid and stable. Give the chair base a gentle shake to confirm that it is securely assembled.
As you assemble the chair base, pay close attention to the manufacturer’s instructions and any specific guidelines for the components you are using. A well-constructed base forms the groundwork for a reliable and long-lasting office chair, providing the stability and support necessary for everyday use.
By meticulously assembling the chair base, you lay the groundwork for a reliable and long-lasting office chair, providing the stability and support necessary for everyday use. With the base in place, you are one step closer to creating a functional and comfortable seating solution that caters to your specific needs and preferences.
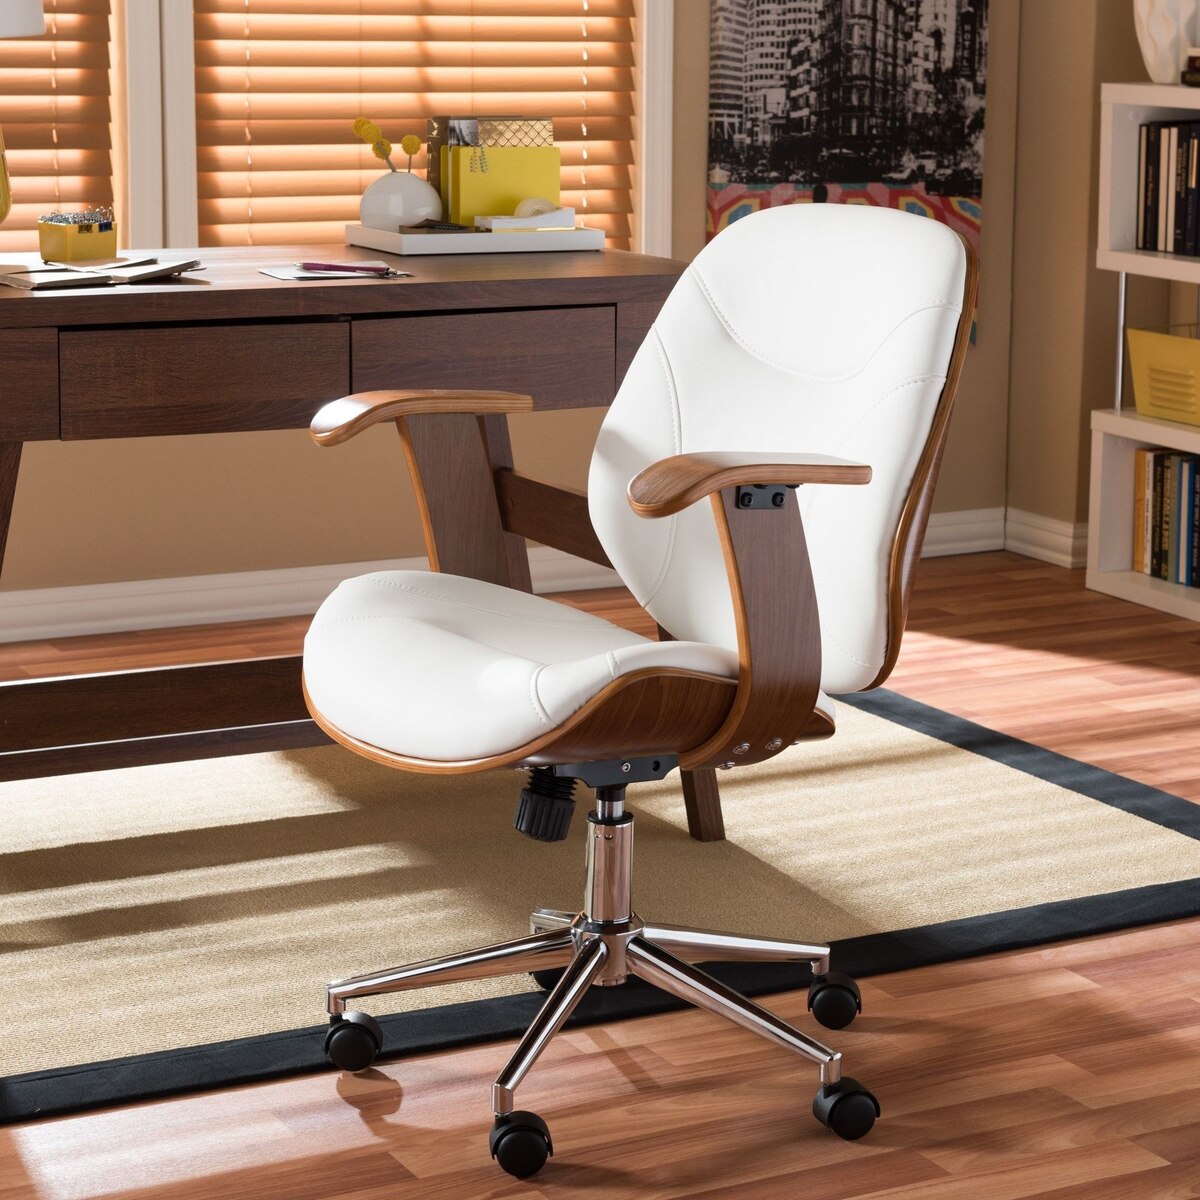
Attaching the Seat and Backrest
Once the chair base is securely assembled, it’s time to attach the seat and backrest, transforming the base into a functional seating unit. This stage of the assembly process involves integrating the key components that directly impact comfort and posture. Here’s a detailed guide to attaching the seat and backrest:
- Position the Seat: Place the seat onto the chair base, aligning it with the mounting points or brackets. Ensure that the seat fits securely and aligns properly with the base to prevent any wobbling or instability.
- Secure the Seat: Using the designated hardware, such as screws or bolts, fasten the seat to the base according to the manufacturer’s instructions. Tighten the connections to ensure a stable and secure attachment.
- Attach the Backrest: With the seat in place, proceed to attach the backrest to the chair base. Align the backrest with the mounting points and secure it using the provided hardware, following the manufacturer’s guidelines for a proper fit.
- Test for Stability: Once the seat and backrest are attached, perform a stability check by gently rocking the chair back and forth. This test ensures that the seat and backrest are firmly secured and that the overall structure is stable.
Attaching the seat and backrest marks a significant milestone in the assembly process, as it transforms the chair base into a functional seating unit. The proper alignment and secure attachment of these components are crucial for ensuring the chair’s stability and comfort during use.
By carefully following the assembly instructions and paying attention to the fit and stability of the seat and backrest, you are one step closer to completing your custom-built office chair. The integrated seat and backrest form the core of the chair’s ergonomic design, setting the stage for a comfortable and supportive seating experience tailored to your preferences.
When building an office chair, make sure to carefully follow the assembly instructions provided by the manufacturer. This will ensure that the chair is properly constructed and safe to use.
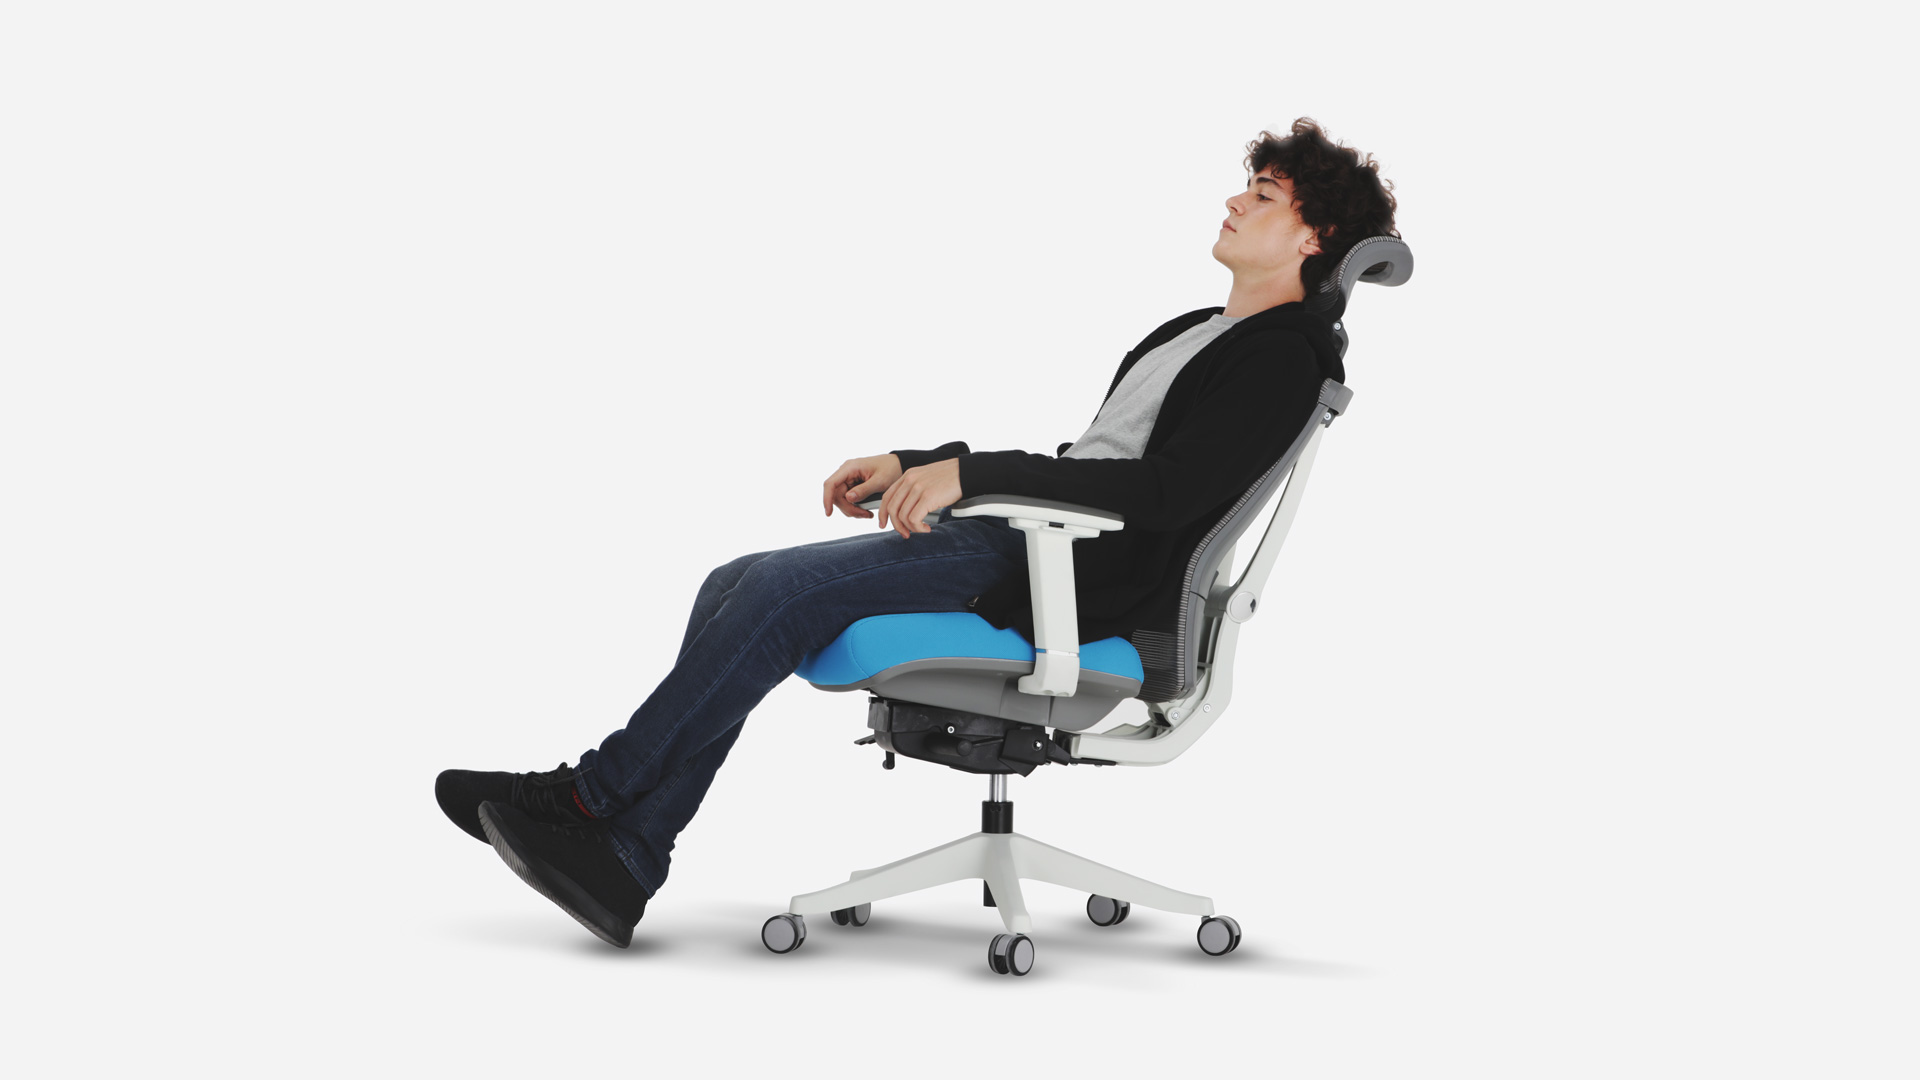
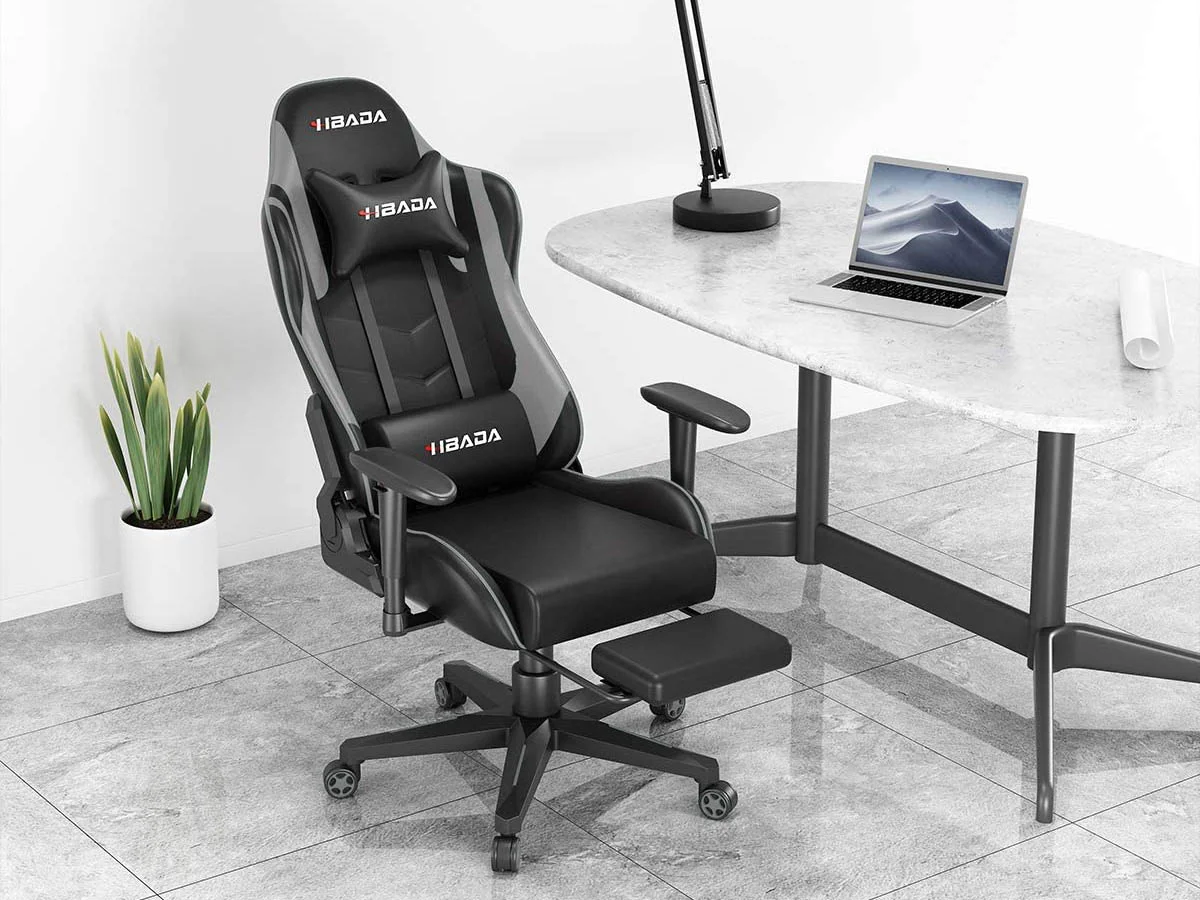
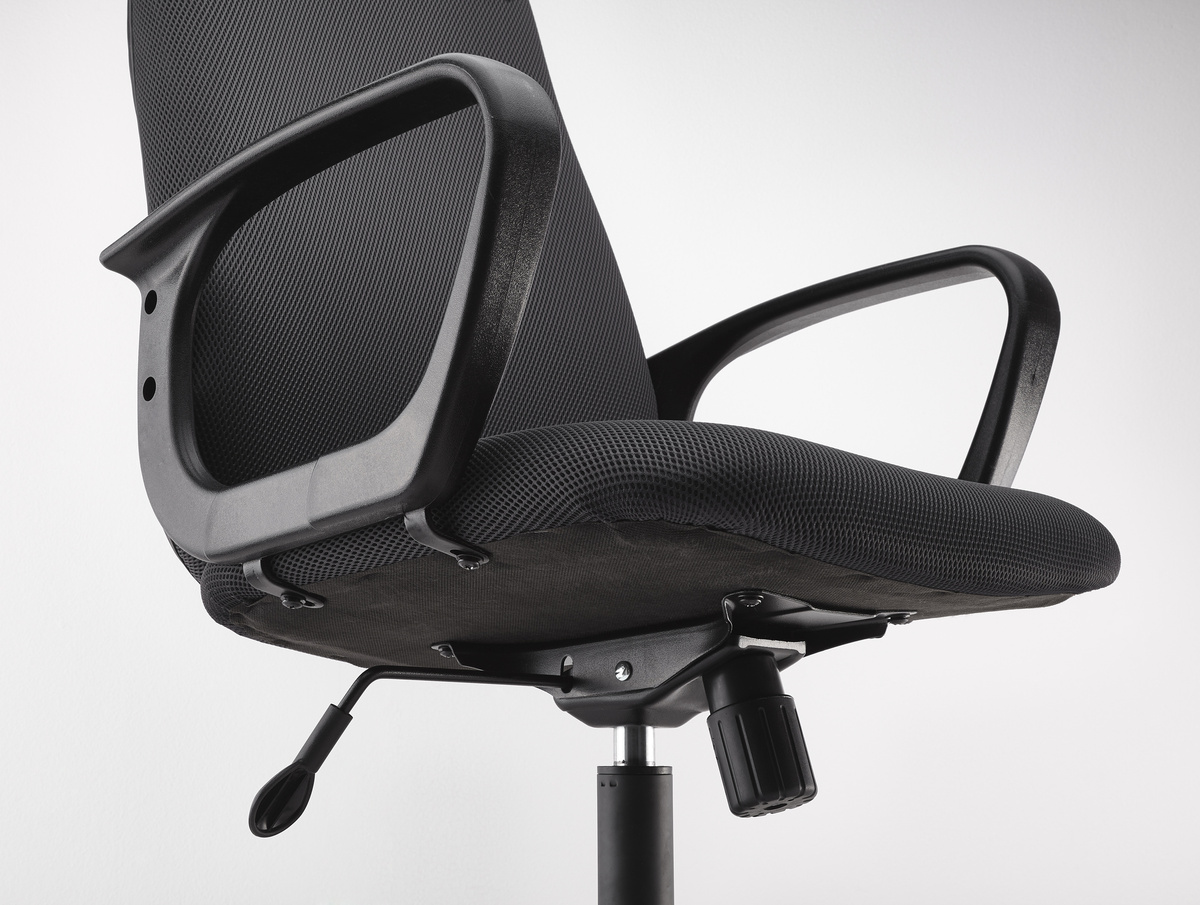
Adding Armrests and Headrest
As you progress with the assembly of your office chair, the addition of armrests and a headrest contributes to the overall comfort and ergonomics of the seating solution. These components play a crucial role in providing support and promoting proper posture during extended periods of use. Here’s a step-by-step guide to adding armrests and a headrest to your custom office chair:
- Position the Armrests: Place the armrests in the designated mounting locations on the chair, ensuring that they align symmetrically and at a comfortable height for your arms.
- Secure the Armrests: Using the provided hardware, attach the armrests to the chair frame or seat, following the manufacturer’s instructions for a secure and stable fit.
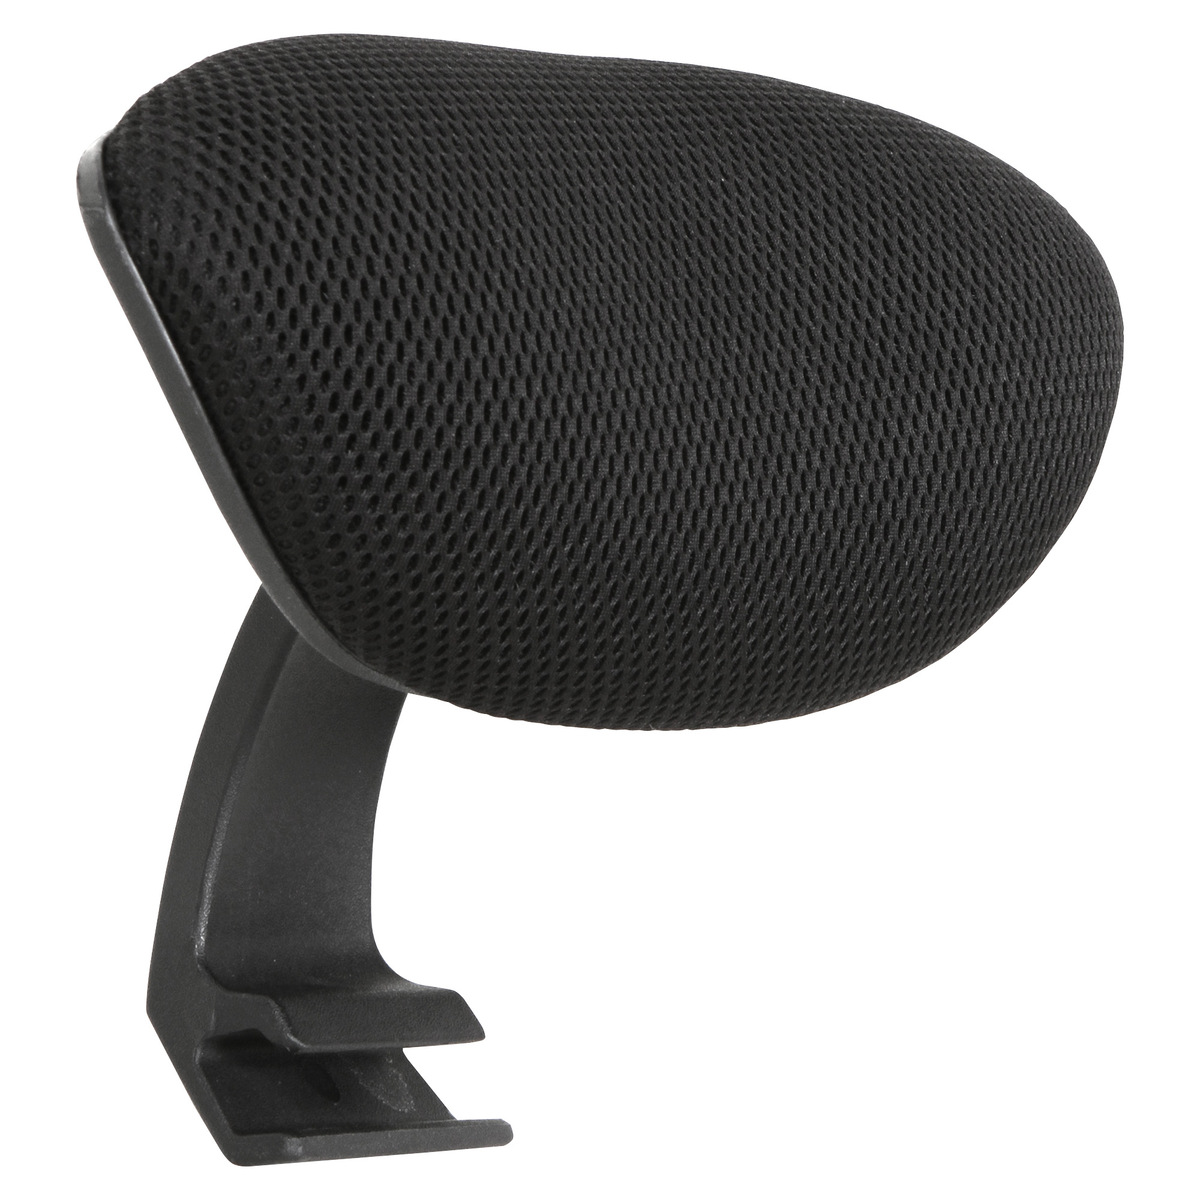
- Attach the Headrest (if applicable): If your office chair design includes a headrest, position it at the top of the backrest and secure it according to the provided guidelines, ensuring proper alignment and stability.
- Test for Comfort: Sit in the chair and assess the positioning and comfort of the armrests and headrest. Ensure that they provide adequate support and promote a natural and relaxed posture while seated.
Adding armrests and a headrest to your office chair enhances its functionality and ergonomic design, catering to your comfort and support requirements. Properly positioned and securely attached armrests contribute to a comfortable sitting experience, especially during tasks that require prolonged sitting. Similarly, a well-placed headrest can alleviate neck strain and enhance overall comfort.
By integrating armrests and a headrest into your custom office chair, you are further personalizing the seating experience to align with your unique preferences and ergonomic needs. These components add both practical functionality and a touch of luxury to your custom-built office chair, elevating its comfort and usability in your workspace.
Read more: How To Sit In An Office Chair
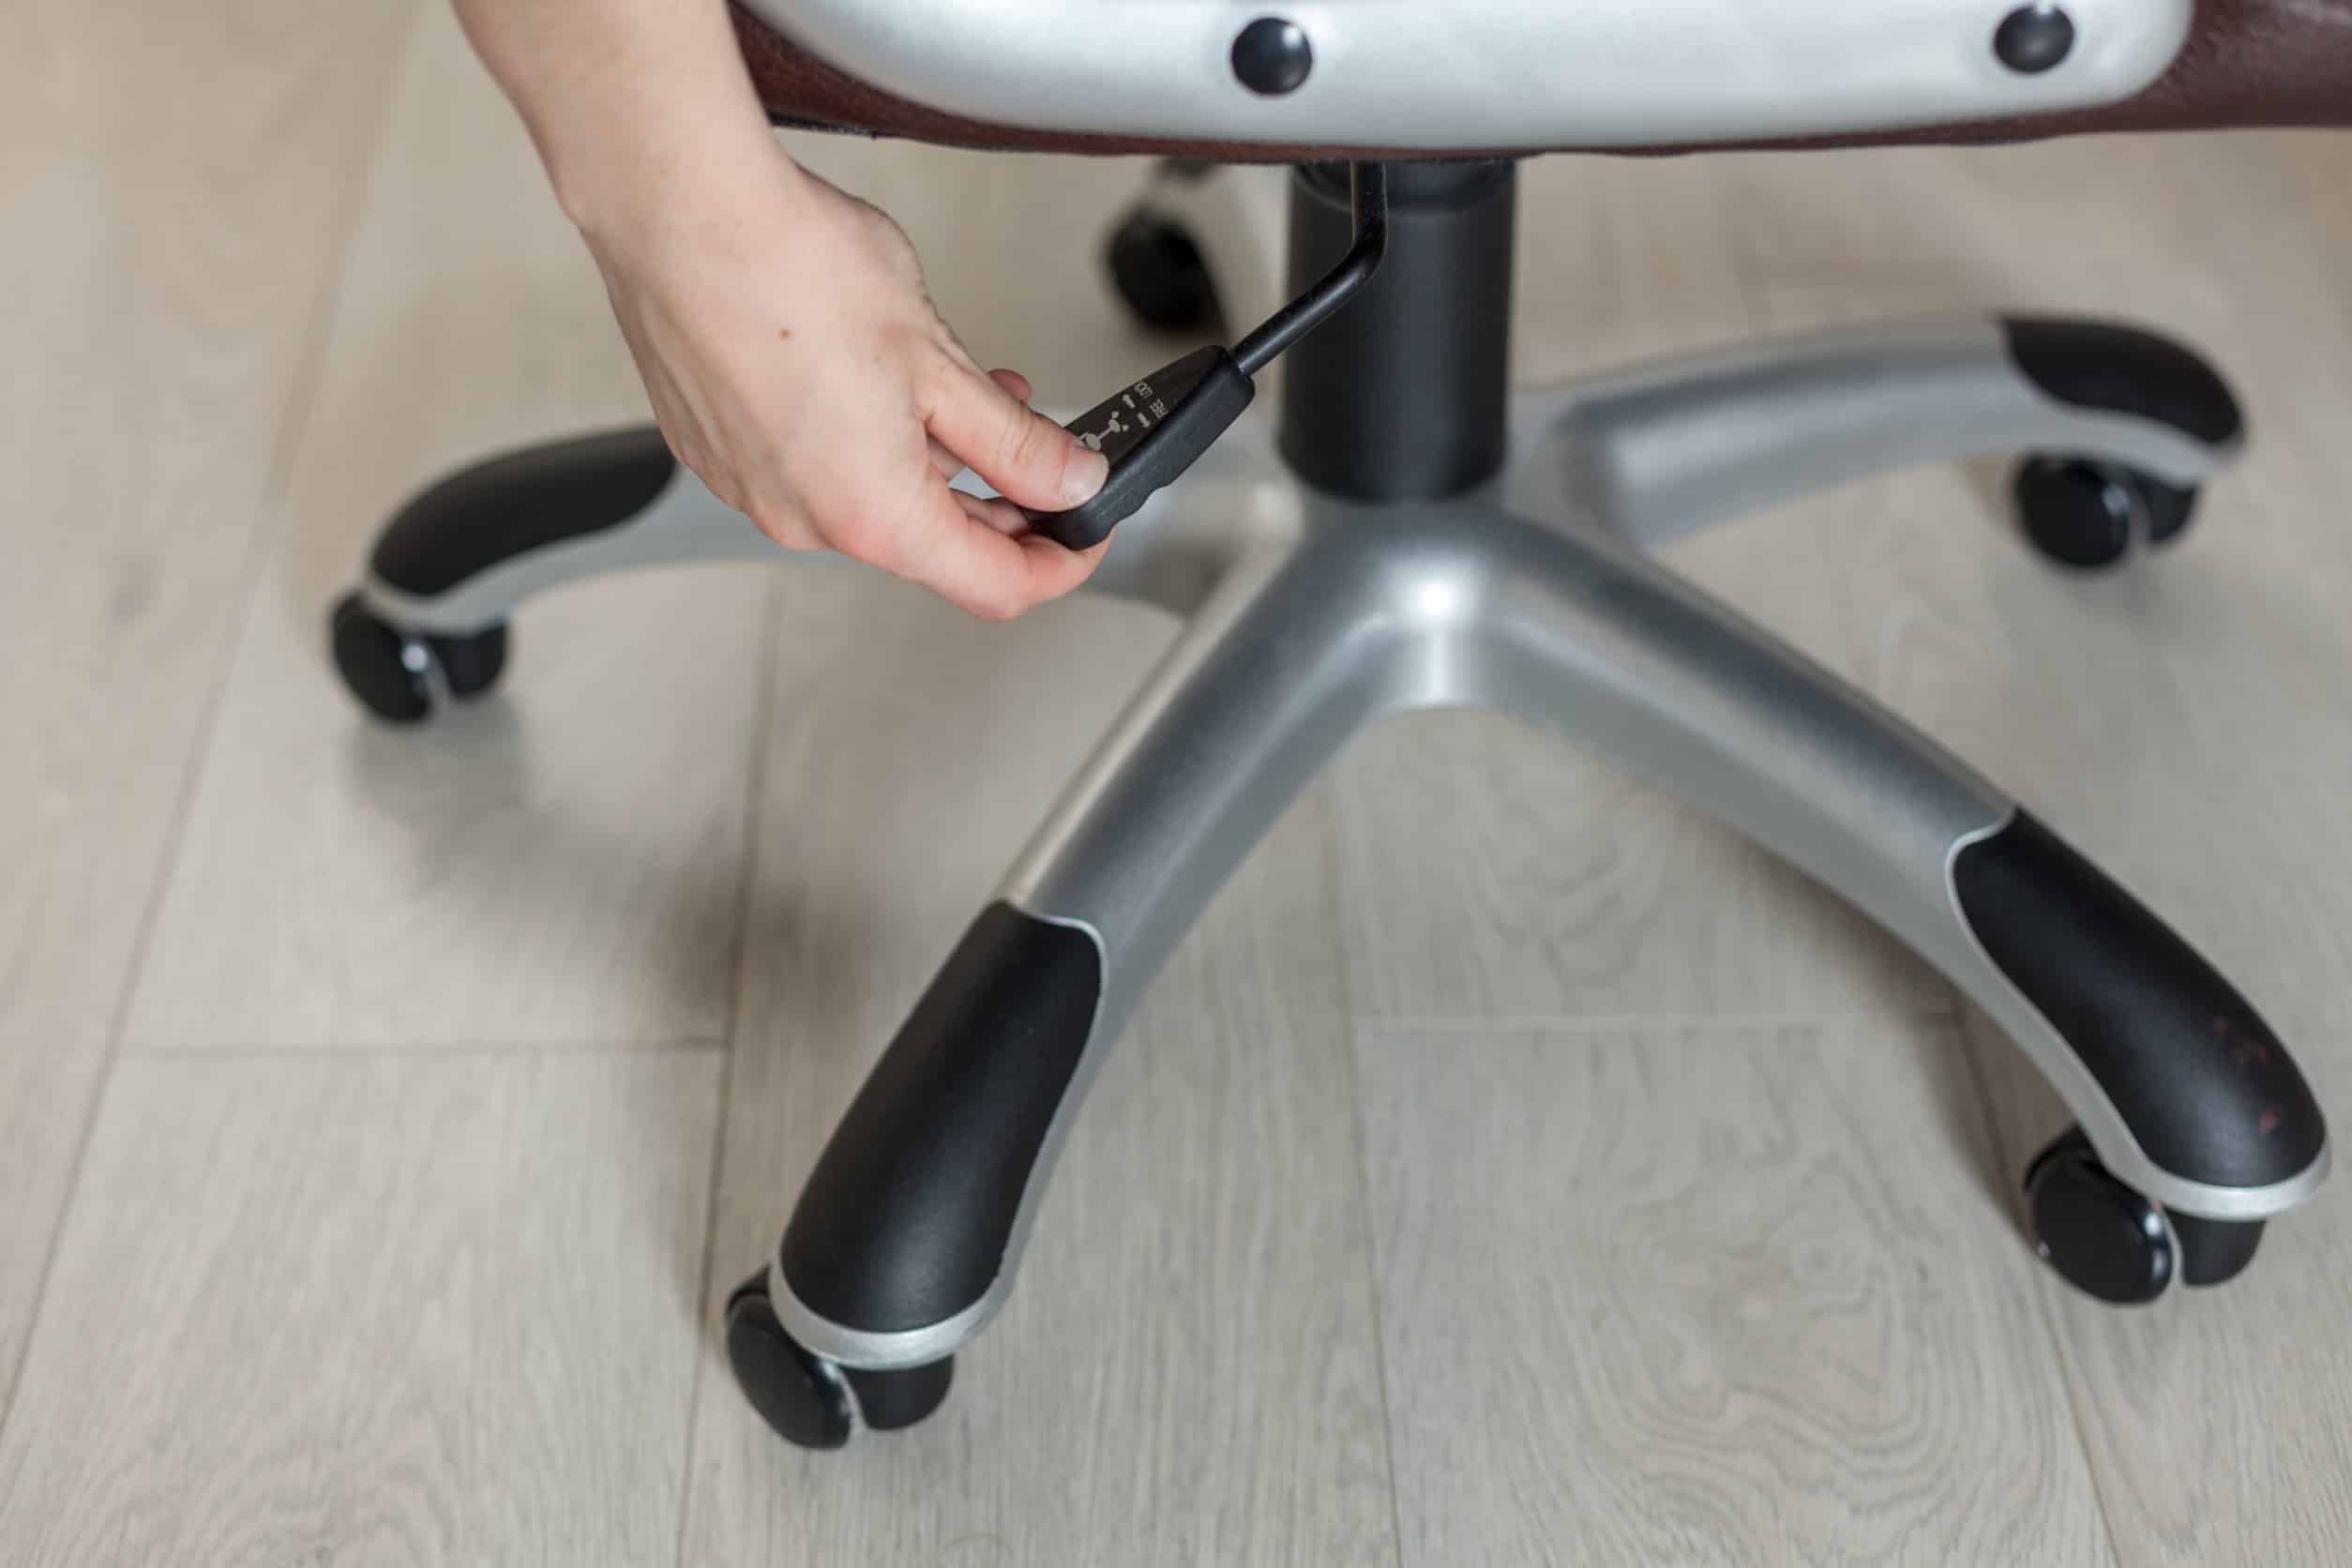
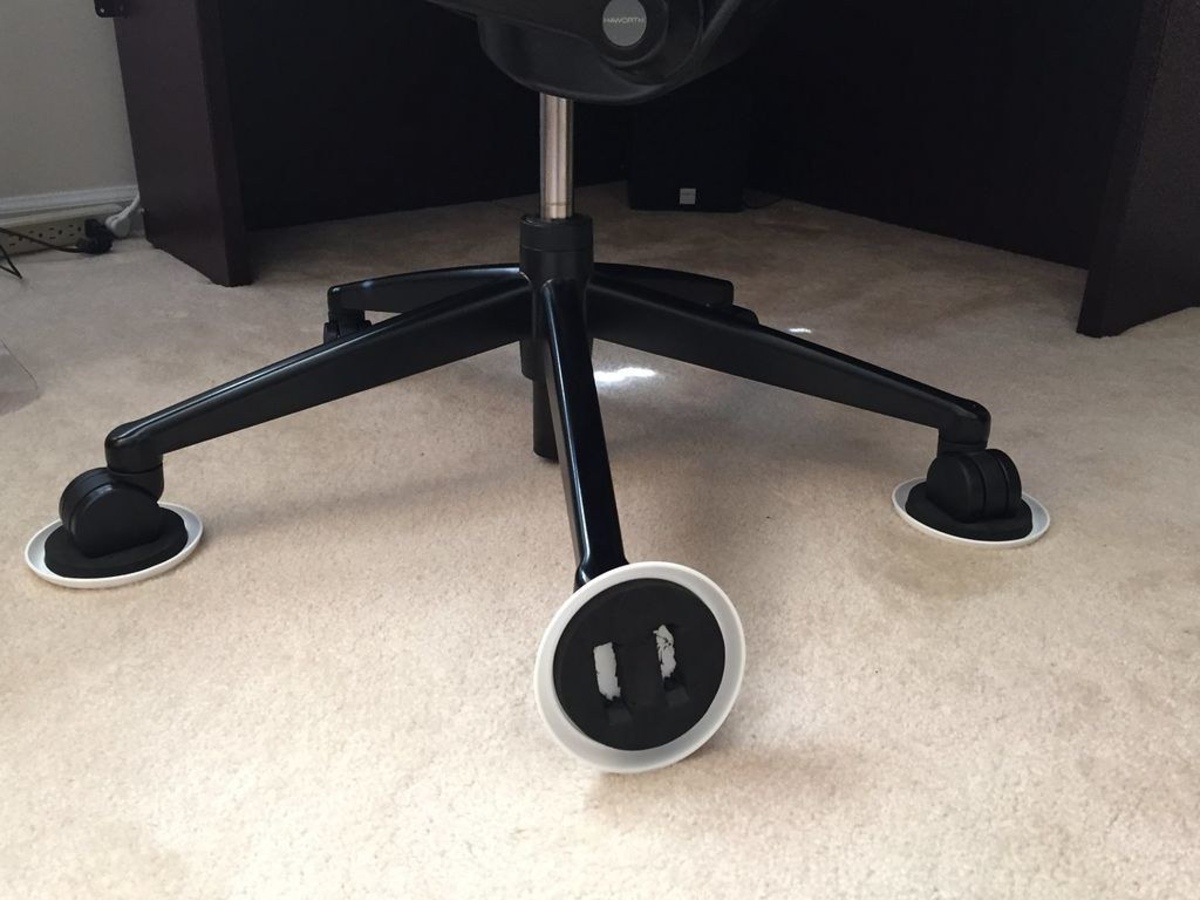
Installing the Casters and Gas Lift
As you near the completion of your office chair assembly, the installation of casters and a gas lift mechanism is essential for ensuring mobility and adjustable height functionality. These components contribute to the chair’s maneuverability and adaptability to different work environments. Here’s a detailed guide to installing the casters and gas lift:
- Attach the Casters: Begin by inserting the casters into the designated sockets on the wheelbase of the chair. Apply firm pressure to ensure that the casters are securely in place, allowing for smooth and effortless movement across various floor surfaces.
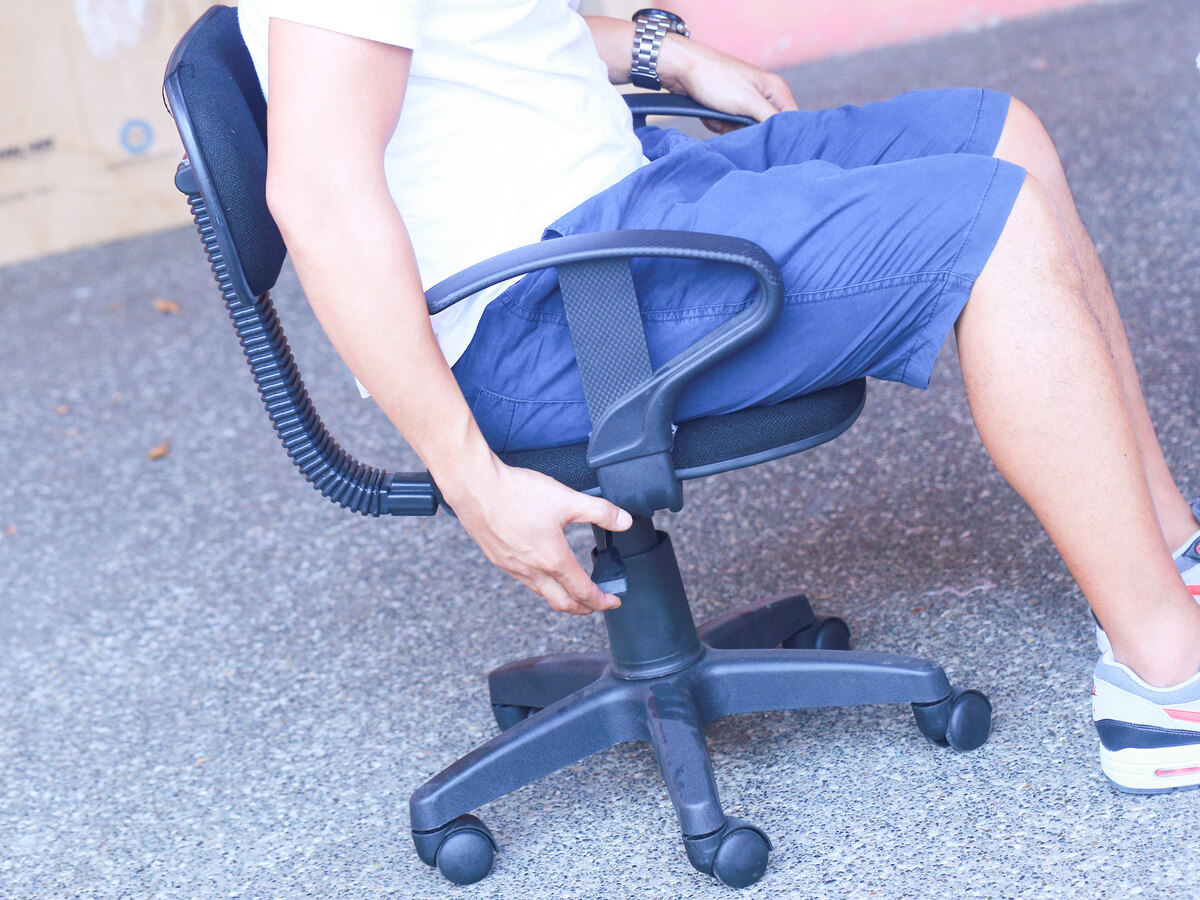
- Secure the Gas Lift: Position the gas lift mechanism into the central hub of the chair base, aligning it with the provided slots or mounting points. Ensure that the gas lift is securely seated, ready to facilitate easy height adjustments for the chair.
- Test Mobility and Height Adjustment: Once the casters and gas lift are installed, test the chair’s mobility by rolling it across the floor. Additionally, adjust the chair’s height using the gas lift to ensure smooth and effortless operation.
Installing the casters and gas lift marks the final stages of transforming your chair into a fully functional and adaptable seating solution. The casters enable seamless movement, allowing you to navigate your workspace with ease, while the gas lift empowers you to customize the chair’s height for optimal comfort and ergonomics.
With the casters and gas lift in place, your custom office chair is now equipped with essential features that enhance its usability and versatility. These components enable you to effortlessly move and adjust the chair to suit your specific working preferences, contributing to a dynamic and ergonomic seating experience tailored to your needs.
Final Adjustments and Testing
As you approach the completion of your custom office chair assembly, the final adjustments and testing phase ensures that the chair meets your expectations in terms of comfort, functionality, and stability. This stage allows you to fine-tune the chair’s components and assess its performance before integrating it into your workspace. Here’s a comprehensive guide to the final adjustments and testing process:
- Check and Tighten Connections: Inspect all the chair’s components, ensuring that each connection, screw, and bolt is securely fastened. Tighten any loose connections to reinforce the chair’s stability and structural integrity.
- Test the Swivel and Tilt Mechanisms: If your chair features swivel and tilt functionalities, test these mechanisms to ensure smooth operation and adjustability. Verify that the chair swivels effortlessly and that the tilt mechanism provides the desired level of flexibility and support.
- Assess Comfort and Support: Sit in the chair for an extended period to evaluate its comfort and ergonomic support. Pay attention to the seat cushioning, backrest contour, and armrest positioning to ensure that they promote a natural and relaxed sitting posture.
- Conduct Mobility and Height Adjustments: Roll the chair across different floor surfaces to assess its mobility and stability. Additionally, utilize the gas lift to adjust the chair’s height, confirming that the mechanism operates smoothly and securely locks into position.
- Personalize Settings: Customize the chair’s settings, such as armrest height and headrest positioning, to align with your individual preferences and ergonomic needs. Ensure that the chair accommodates your unique sitting requirements.
The final adjustments and testing phase allows you to ensure that your custom office chair meets the highest standards of comfort, functionality, and durability. By meticulously evaluating and fine-tuning the chair’s components, you can confidently integrate it into your workspace, knowing that it has been tailored to your specific preferences and ergonomic requirements.
Upon completing the final adjustments and testing, you can take pride in the successful assembly of your custom office chair. Your diligence in fine-tuning the chair’s components and evaluating its performance ensures that it is ready to enhance your workspace with its personalized comfort and functionality, reflecting your unique style and ergonomic priorities.
Frequently Asked Questions about How To Build An Office Chair
Was this page helpful?
At Storables.com, we guarantee accurate and reliable information. Our content, validated by Expert Board Contributors, is crafted following stringent Editorial Policies. We're committed to providing you with well-researched, expert-backed insights for all your informational needs.


0 thoughts on “How To Build An Office Chair”